Home>Gardening Tips and Tricks>Problem Solving>How To Install Irrigation Valve Box
Problem Solving
How To Install Irrigation Valve Box
Modified: January 22, 2024
Learn how to install an irrigation valve box with our step-by-step guide. Solve your irrigation problems efficiently and effectively with our expert tips and techniques.
(Many of the links in this article redirect to a specific reviewed product. Your purchase of these products through affiliate links helps to generate commission for Chicagolandgardening.com, at no extra cost. Learn more)
Table of Contents
- Introduction
- Step 1: Gather the required tools and materials
- Step 2: Determine the valve box location
- Step 3: Prepare the area for installation
- Step 4: Dig the hole for the valve box
- Step 5: Install the valve box
- Step 6: Connect the irrigation pipes to the valve box
- Step 7: Test the valve box and pipes
- Step 8: Backfill the hole and clean up the area
- Conclusion
Introduction
Installing an irrigation valve box is essential for a properly functioning irrigation system. It serves as a protective enclosure that houses the valves, wires, and connections necessary for controlling the flow of water to different zones in your garden or lawn. Without a valve box, these components would be exposed to the elements and susceptible to damage.
Whether you are a seasoned gardener or a DIY enthusiast, learning how to install an irrigation valve box can save you time and money. With the right tools and materials, along with a step-by-step approach, you can easily complete this project and ensure that your irrigation system operates efficiently.
In this article, we will guide you through the process of installing an irrigation valve box, from gathering the necessary tools and materials to testing the system after installation. By following these steps, you’ll have a functional valve box that protects your irrigation components and keeps your garden or lawn well-watered.
Before you begin the installation process, it’s important to ensure that you have the required tools and materials on hand. Let’s move on to the next section to learn more.
Step 1: Gather the required tools and materials
Before you start installing the irrigation valve box, it’s crucial to gather all the necessary tools and materials. Having everything prepared will ensure a smooth and efficient installation process. Here are the tools and materials you’ll need:
- Shovel: A shovel will be used for digging the hole for the valve box.
- Tape measure: You’ll need a tape measure to accurately determine the valve box’s location.
- Level: A level will help you ensure that the valve box is installed evenly and on a flat surface.
- PVC pipe cutter: If you need to cut any PVC pipes during the installation, a PVC pipe cutter is essential.
- PVC primer and cement: These are used for gluing the PVC pipes and fittings together.
- Screwdriver: A screwdriver is required for tightening any screws or fittings.
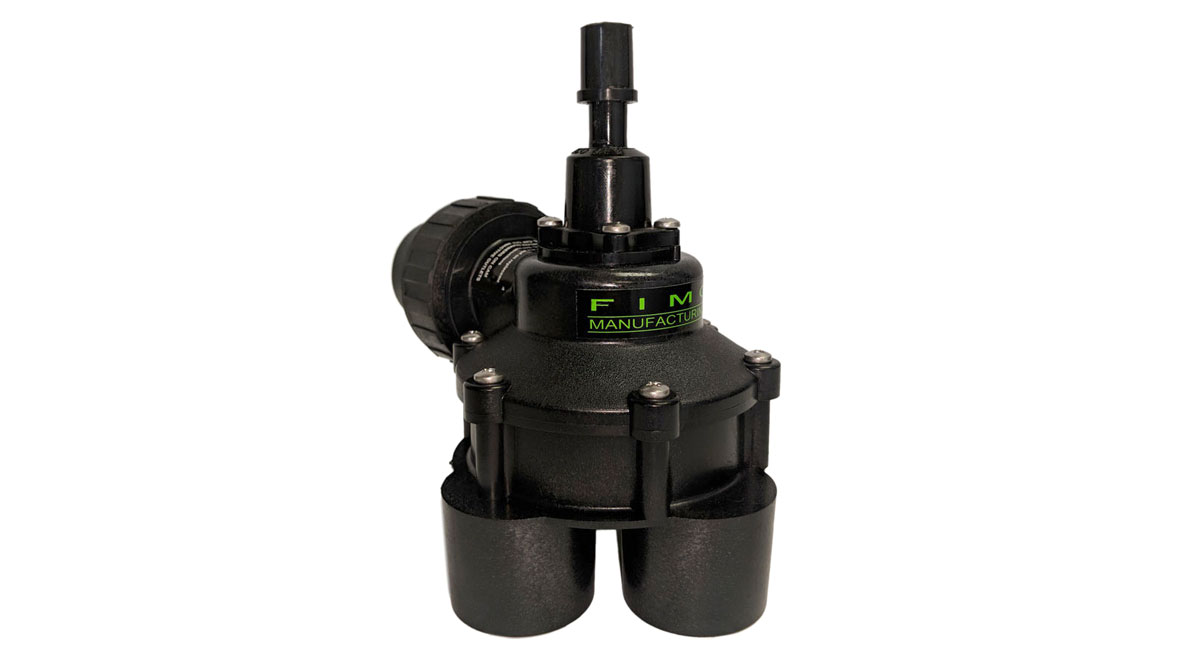
- Valve box: Purchase a valve box that suits your needs and is compatible with the size and layout of your irrigation system.
- Solvent weld bottom outlet: This fitting is used for connecting the irrigation pipes to the valve box.
- PVC pipes and fittings: You’ll need PVC pipes and fittings to connect the valve box to the main irrigation supply line.
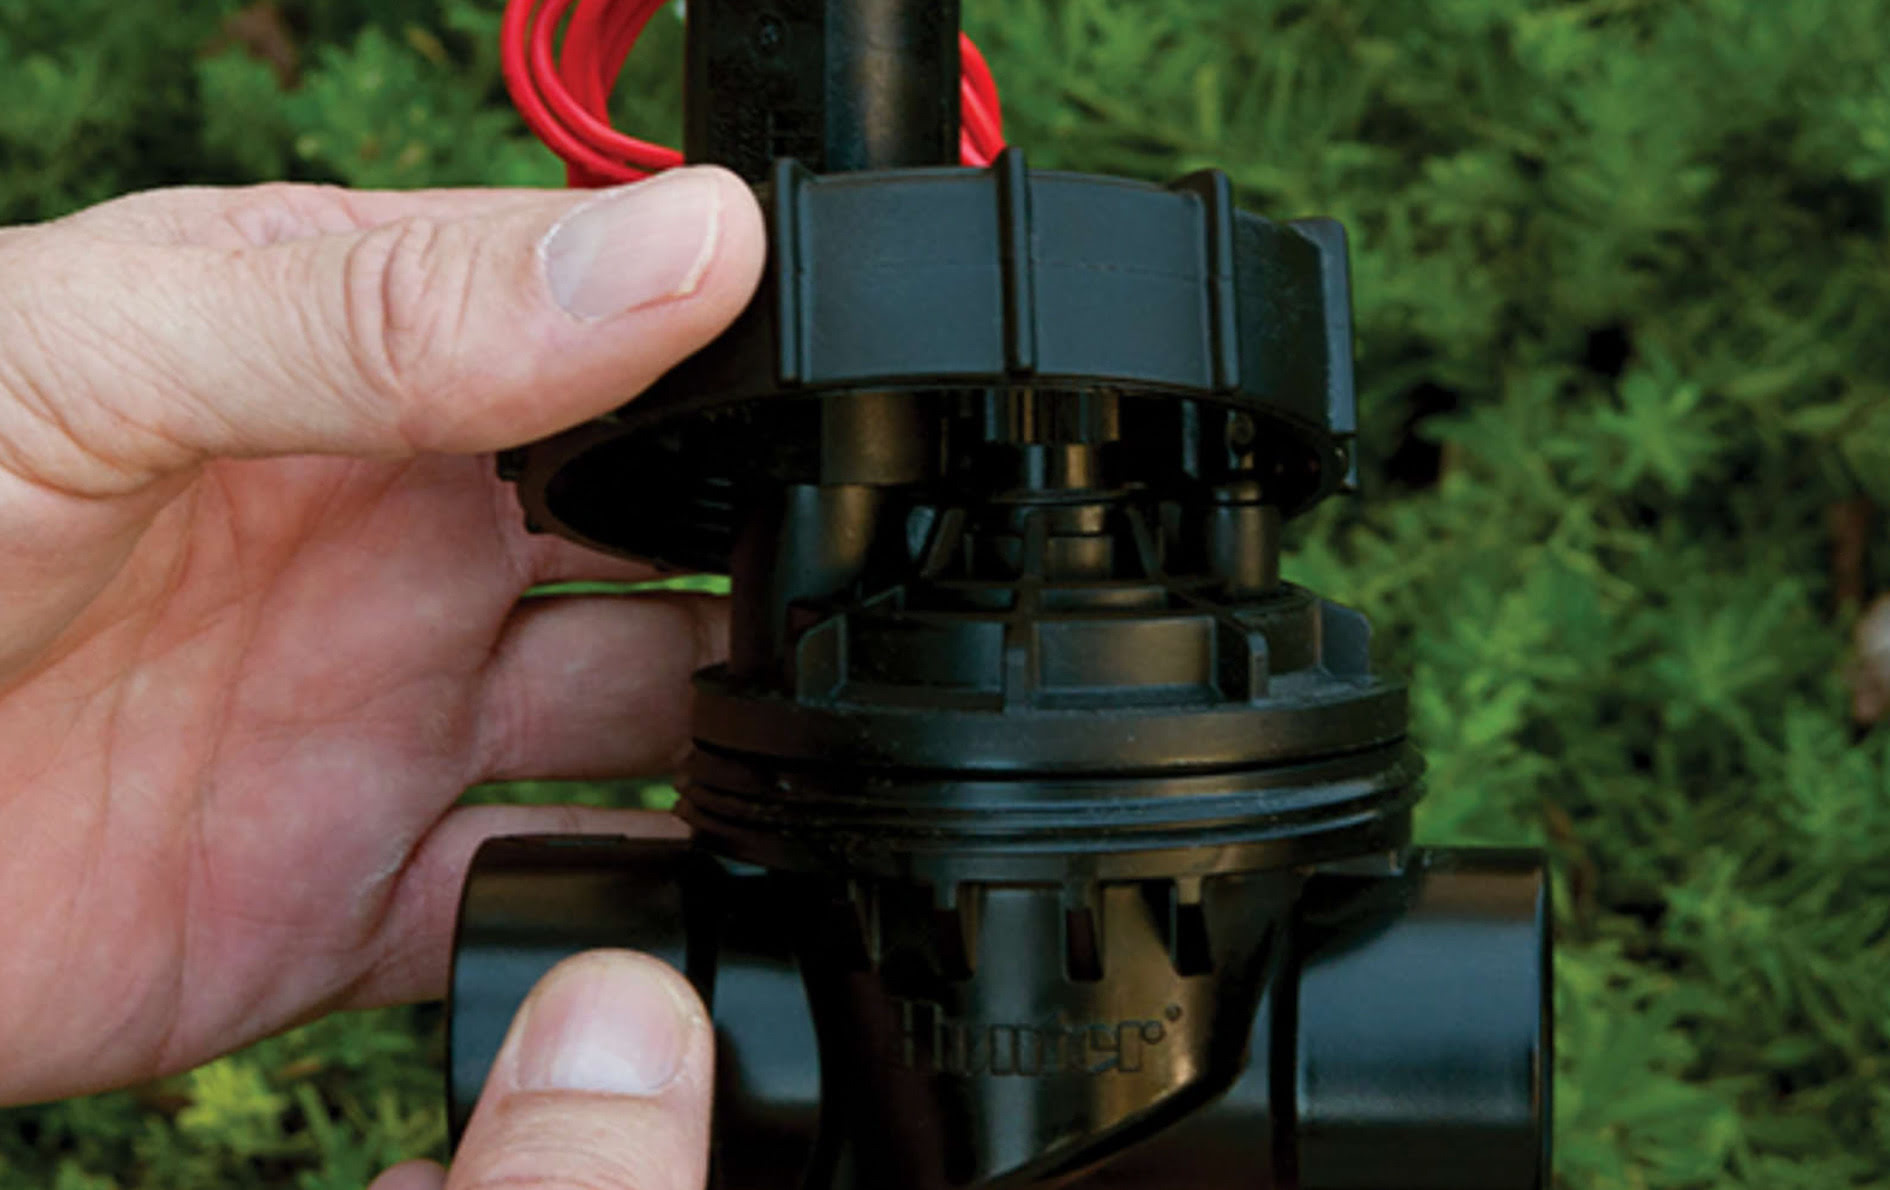
- Wire connectors: These are essential for connecting the electrical wires to the valve box and irrigation system.
- Electrical wires: Ensure you have the necessary length of electrical wires to connect the valves to the controller.
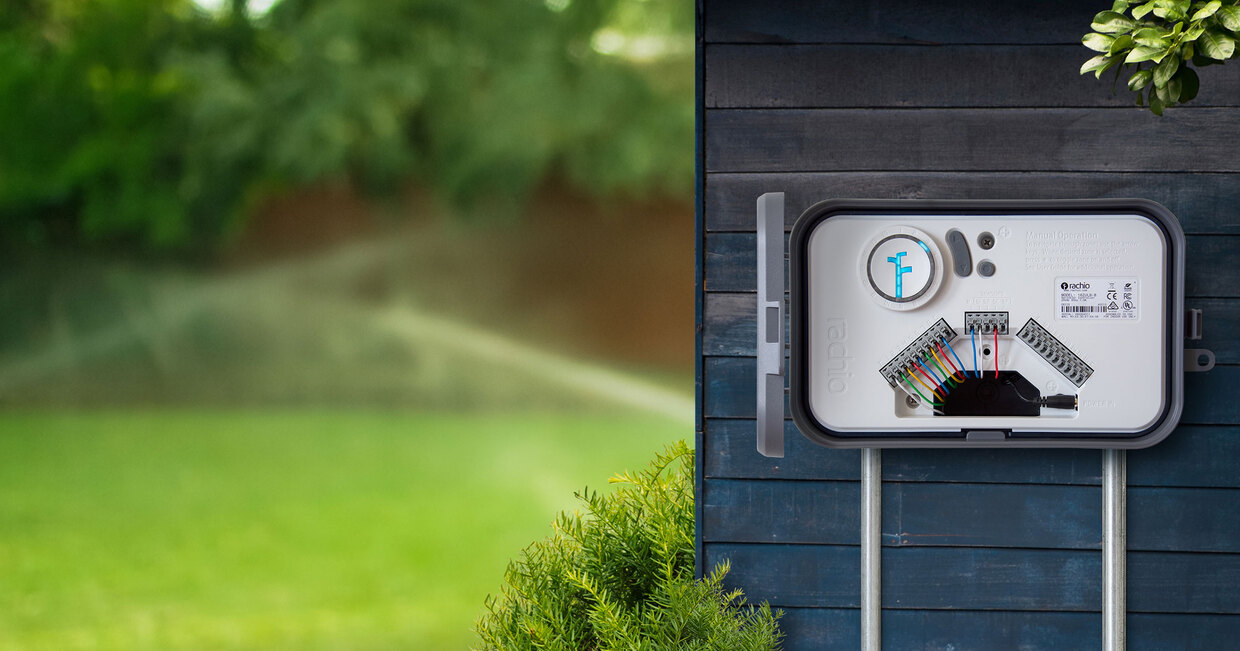
- Controller: If you haven’t already installed an irrigation controller, you’ll need one to automate the watering process.
- Valves: Depending on the zones in your irrigation system, you’ll need valves to control the water flow.
Make sure to gather all these tools and materials before proceeding to the next step. Having everything in place will help you avoid unnecessary delays and ensure a successful installation of your irrigation valve box.
Step 2: Determine the valve box location
Choosing the right location for your irrigation valve box is crucial for the overall efficiency and functionality of your system. Here’s how to determine the ideal location:
- Accessibility: The valve box should be easily accessible for maintenance and repairs. Avoid placing it in areas that are difficult to reach or obstructed by other objects.
- Proximity to water source: The valve box should be positioned close to the main water supply line to minimize the length of the PVC pipes. This reduces the risk of pressure loss and ensures a more efficient irrigation system.
- Safety considerations: It’s important to consider any potential hazards or obstructions in the chosen location. Ensure that the valve box is not located near electrical lines, gas lines, or tree roots that could interfere with its installation or cause damage in the future.
- Slope: If your garden or lawn has a slope, it’s advisable to position the valve box at the highest point. This will prevent water from accumulating in the box and potentially causing damage to the valves and electrical components.
- Protection: Try to place the valve box in an area that is protected from extreme weather conditions, such as direct sunlight or heavy rainfall. This will help prolong the lifespan of the valves and prevent any damage to the electrical connections.
- Marker: Once you have determined the best location for the valve box, use a marker or stake to indicate the spot. This will serve as a reference point during the digging and installation process.
Take your time to carefully assess these factors before finalizing the valve box’s location. It’s crucial to choose a spot that ensures easy access, optimal functionality, and the longevity of your irrigation system.
Step 3: Prepare the area for installation
Before you start installing the valve box, it’s essential to prepare the area to ensure a smooth and successful installation. Here are the steps to prepare the area:
- Clear the area: Remove any debris, plants, or obstacles from the chosen location. Make sure the area is clear and free of any materials that could interfere with the installation process.
- Mark the perimeter: Use a marking paint or flags to outline the perimeter of the valve box. This will help you visualize the space and ensure accurate digging.
- Measure and mark: Use a tape measure and mark the locations where the PVC pipes will connect to the valve box. This will help you determine the exact placement of the fittings and ensure proper alignment.
- Check for obstructions: Before digging, scan the area for any underground utilities or structures that could be damaged during the installation process. Take precautions and contact the appropriate authorities if necessary.
- Provide drainage: If the chosen location is prone to water accumulation, consider creating a small drain or gravel pit to prevent water from pooling around the valve box. This will help maintain the integrity of the box and prevent any moisture-related issues.
- Turn off water supply: Ensure that the main water supply to your irrigation system is turned off before starting the installation. This will prevent any water flow and ensure a safer working environment.
By preparing the area beforehand, you can promote a smoother installation process and minimize any potential complications. Taking these proactive steps will help ensure a successful installation of your irrigation valve box.
Step 4: Dig the hole for the valve box
Digging the hole for the valve box is a crucial step in the installation process. Follow these guidelines to ensure a properly sized and positioned hole:
- Measure the depth and width: Use a tape measure to determine the appropriate depth and width for the hole. The depth should accommodate the height of the valve box, while the width should allow for easy access to the valves and connections.
- Start digging: Begin digging the hole using a shovel or an appropriate digging tool. Start from the marked perimeter and work your way towards the center. Take your time and remove the soil gradually to avoid damaging any existing underground wires or pipes.
- Check the depth: Periodically measure the depth of the hole to ensure it matches the required depth for the valve box. Make adjustments if necessary to achieve the desired depth.
- Create a level base: Use a level or straightedge to ensure the bottom of the hole is level. This will provide a stable foundation for the valve box and prevent any tilting or instability.
- Check the width: Measure the width of the hole to ensure it is wide enough to comfortably fit the valve box and allow for easy access to the valves and connections. Make adjustments as needed to achieve the desired width.
- Remove any excess soil: As you dig, periodically remove any excess soil from the hole to maintain a clean working area. This will make it easier to position and level the valve box.
- Double-check the measurements: Before proceeding to the next step, double-check the depth and width of the hole to ensure it aligns with the specifications of the valve box.
By following these steps and taking the time to properly dig the hole, you can ensure a secure and stable installation of the valve box. This will provide a solid foundation for the rest of the installation process and help maintain the integrity of your irrigation system.
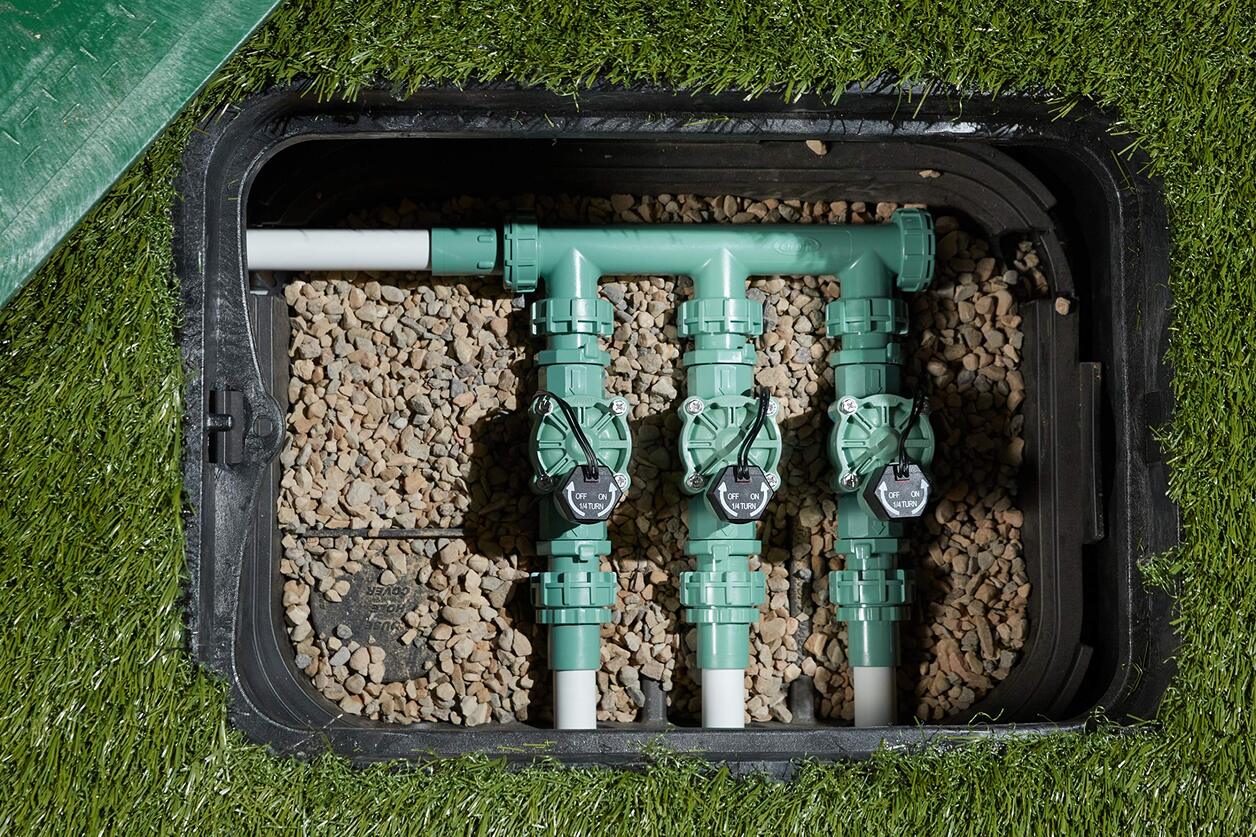
Step 5: Install the valve box
Now that the hole is prepared, it’s time to install the valve box. Follow these steps to ensure a proper installation:
- Position the valve box: Carefully place the valve box into the hole, ensuring that it sits level and firmly on the prepared base. Adjust the position as needed to ensure proper alignment.
- Check for levelness: Use a level to ensure that the valve box is completely level in all directions. Adjust the position as necessary to achieve a level installation.
- Secure the valve box: If the valve box includes anchor tabs or screw holes, anchor it to the ground using the appropriate fasteners. This will provide additional stability and prevent any movement or shifting.
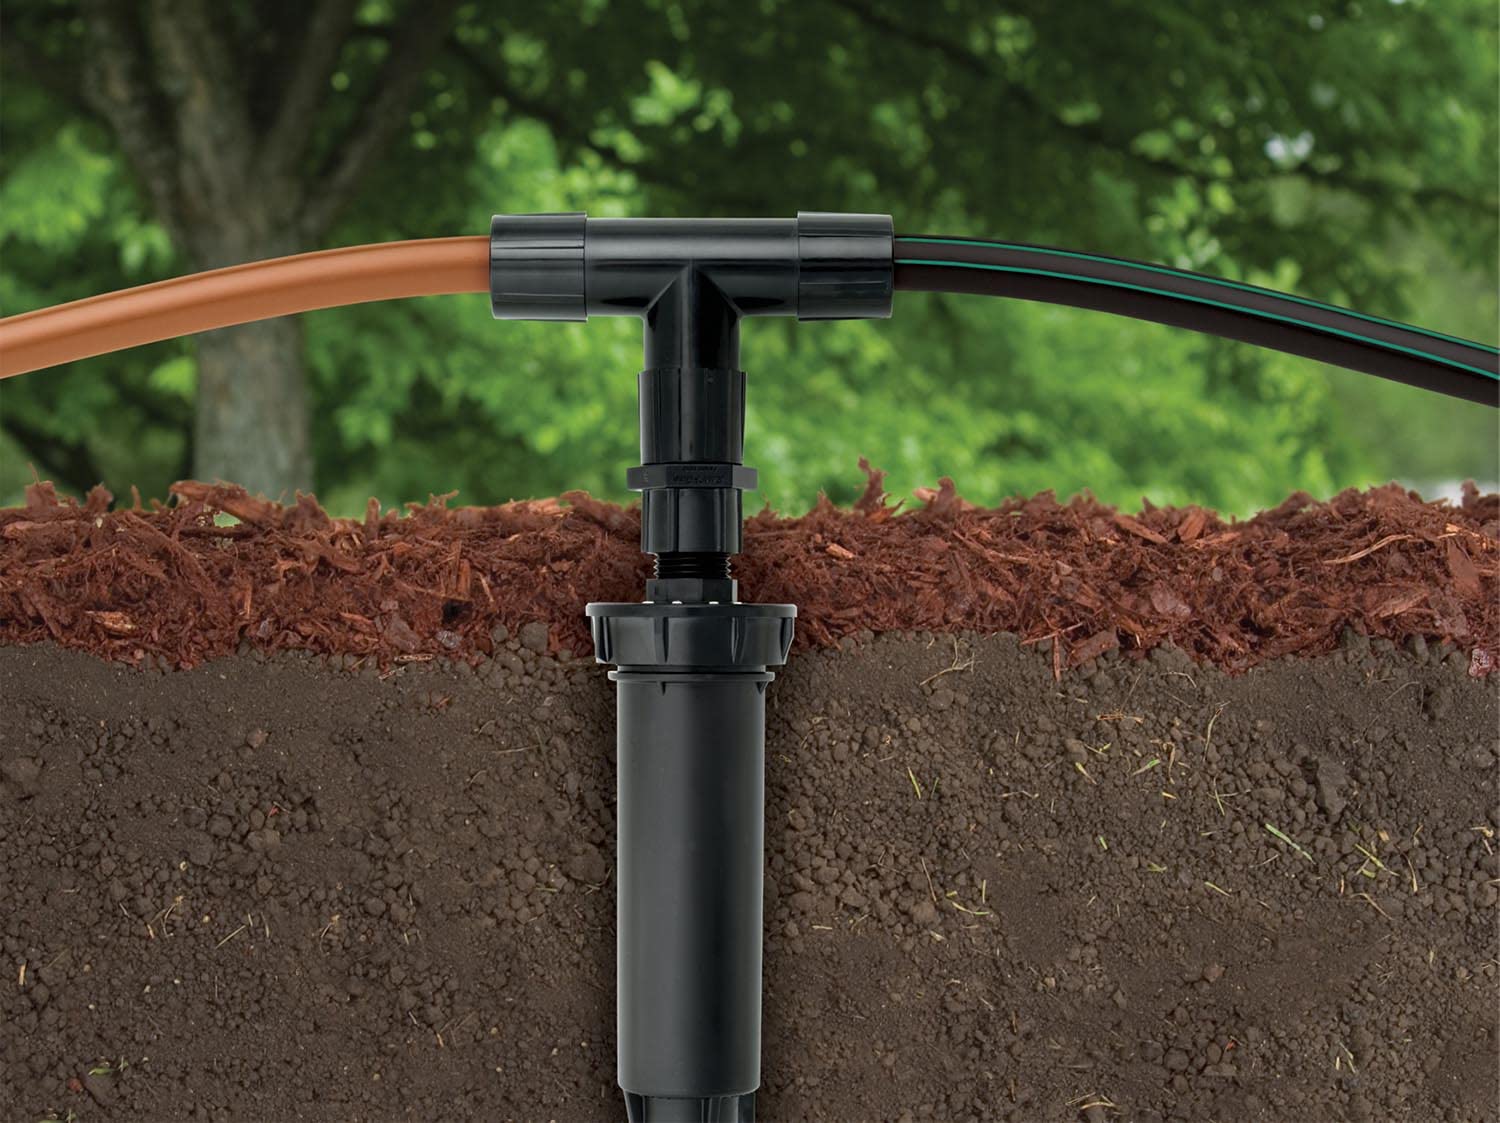
- Attach the bottom outlet: Connect the solvent weld bottom outlet to the valve box. Ensure a tight and secure connection to prevent any leaks.
- Prepare the PVC pipe: Cut the PVC pipe to the necessary length, making sure to account for any fittings or connections. Use a PVC pipe cutter to achieve a clean and precise cut.
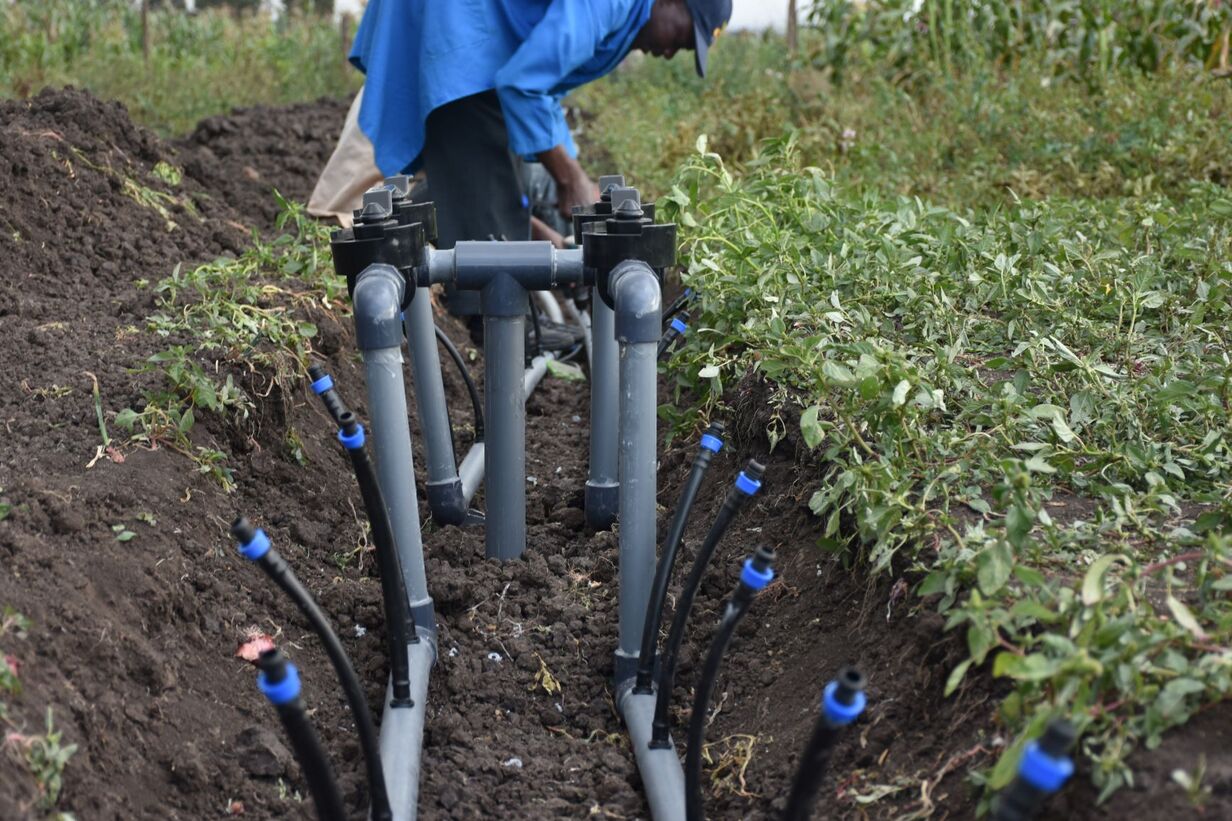
- Attach the PVC pipe: Connect the PVC pipe to the bottom outlet of the valve box, applying PVC primer and cement to ensure a secure and watertight connection. Use PVC fittings as necessary to route the pipe to the main irrigation supply line.
- Secure the PVC pipe: Use pipe clamps or straps to secure the PVC pipe to the ground or nearby structure. This will prevent any movement or strain on the connections.
- Check for leaks: Before proceeding to the next step, turn on the water supply temporarily to check for any leaks in the valve box and PVC connections. Address any leaks immediately to ensure a proper functioning system.
By following these steps, you can successfully install the valve box and ensure a secure and reliable connection to your irrigation system. This step brings you one step closer to having a fully operational and efficient irrigation system for your garden or lawn.
Step 6: Connect the irrigation pipes to the valve box
With the valve box securely installed, the next step is to connect the irrigation pipes to the valve box. Follow these steps to ensure a proper connection:
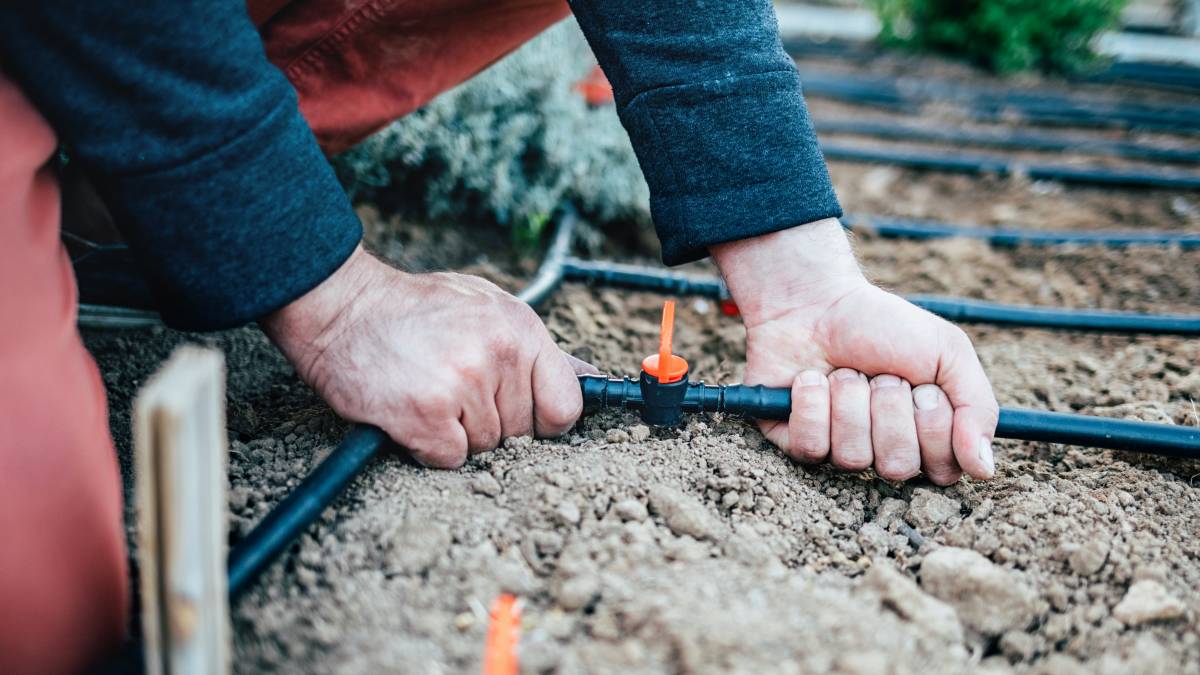
- Measure and cut the PVC pipe: Measure the required length of PVC pipe to connect from the main irrigation supply line to the valve box. Use a PVC pipe cutter to achieve a clean and precise cut.
- Prime and glue the PVC connections: Apply PVC primer to the outside of the pipe and the inside of the fittings. Follow the manufacturer’s instructions for the specific primer and cement you are using. Once the primer has dried, apply PVC cement to both the pipe and fittings and press them together firmly. Twist the pipe slightly to ensure a secure bond.
- Connect the pipes to the valve box: Attach one end of the PVC pipe to the outlet of the valve box using the appropriate fittings. Ensure a tight and secure connection.
- Route the pipes: Lay out the PVC pipes according to your irrigation system layout, ensuring proper alignment and connection to all the necessary zones. Use PVC fittings as necessary to create the desired configuration.
- Secure the pipes: Use pipe clamps or straps to secure the PVC pipes to the ground or nearby structures. This will prevent any movement or strain on the connections and ensure the pipes stay in place.
- Check for leaks: Before proceeding, turn on the water supply temporarily to check for any leaks in the PVC connections. Address any leaks immediately to prevent water wastage and ensure a properly functioning irrigation system.
By following these steps and ensuring proper connections, you can successfully connect the irrigation pipes to the valve box. This will allow for the controlled flow of water to different zones in your garden or lawn, ensuring optimal irrigation and healthy plants.
Step 7: Test the valve box and pipes
After connecting the irrigation pipes to the valve box, it’s crucial to test the system to ensure proper functioning before completing the installation. Follow these steps to test the valve box and pipes:
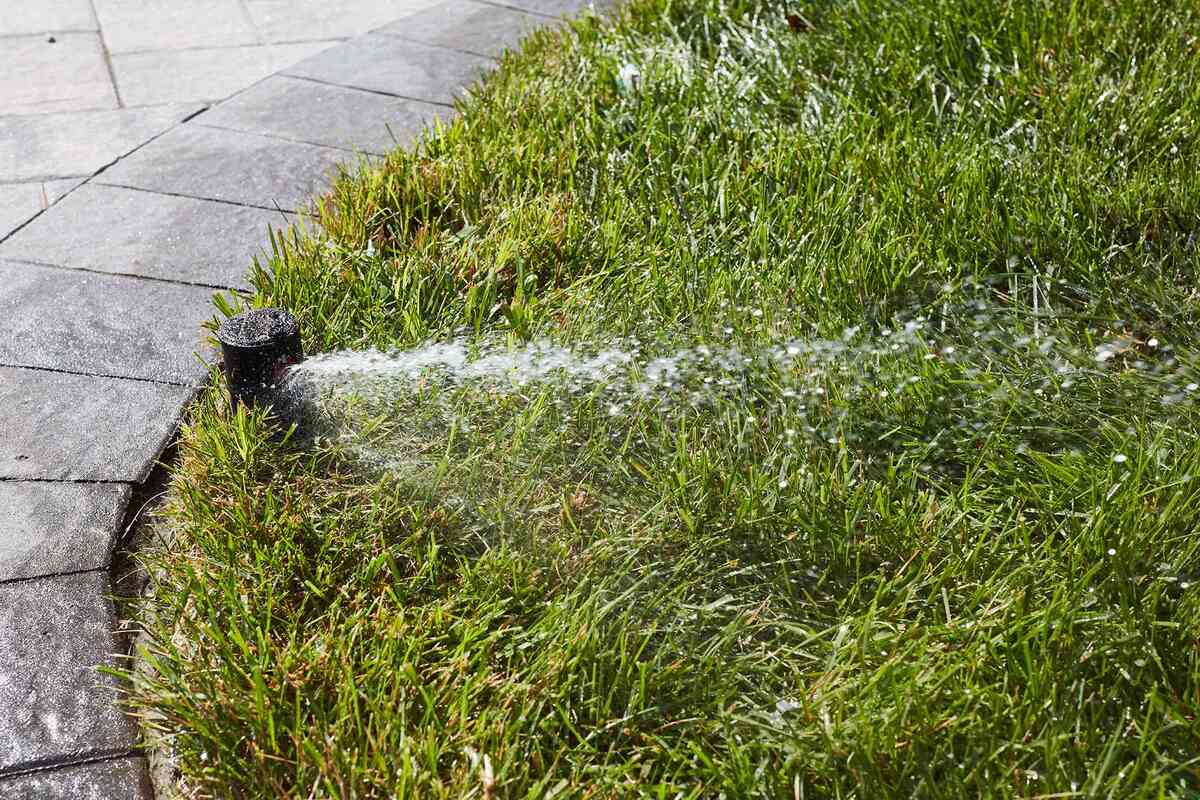
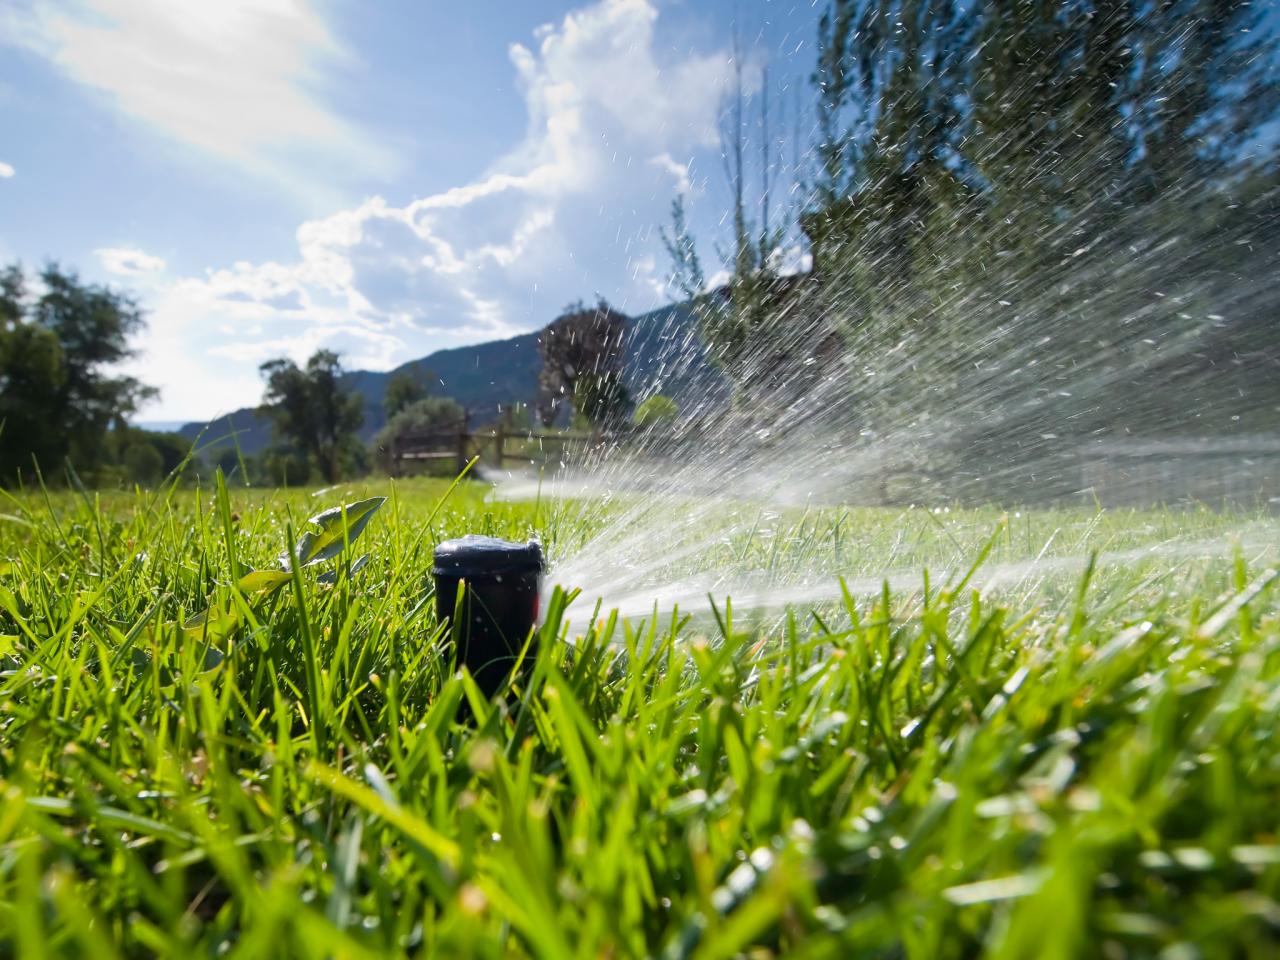
- Turn on the water supply: Open the main water supply to the irrigation system and gradually increase the pressure. Allow the water to flow through the system and check for any leaks or abnormal water flow.
- Check each zone: Activate each zone individually from the irrigation controller and observe the water flow and coverage. Make sure that all the valves open and close correctly, and that water is properly distributed to each zone without any blockages or uneven spray patterns.
- Inspect the valve box: While the water is running, carefully inspect the valve box for any signs of leaks or moisture. Check the connections, valves, and electrical wiring to ensure everything is secure and functioning properly.
- Check the electrical connections: Ensure that the electrical wiring is properly connected to the irrigation controller and the valves. Test the communication between the controller and the valves to make sure they are responding as expected.
- Adjust, repair, or replace: If you notice any issues during the testing phase, such as leaks, improper water flow, or faulty electrical connections, take the necessary steps to address them. This may involve adjusting or repairing the connections, replacing faulty valves or wiring, or making any necessary adjustments to the sprinkler heads or nozzles.
- Repeat the testing: After making any necessary adjustments or repairs, repeat the testing process to ensure that the issues have been resolved and that the valve box and pipes are functioning properly.
Thoroughly testing the valve box and pipes is essential to identify and address any issues before completing the installation. By taking the time to conduct these tests, you can ensure a reliable and efficient irrigation system that will keep your garden or lawn well-watered.
Step 8: Backfill the hole and clean up the area
After successfully testing the valve box and pipes, the final step is to backfill the hole and clean up the surrounding area. Follow these steps to complete the installation:
- Backfill the hole: Use the soil that was originally removed from the hole to backfill it. Gradually fill the hole, compacting the soil as you go to ensure a stable and level surface.
- Leave proper clearance: Ensure that there is enough clearance around the valve box to allow for easy access and maintenance. Leave at least a few inches of space around the box to accommodate any future adjustments or repairs.
- Check for levelness: Use a level to verify that the valve box is still level after backfilling. Make any necessary adjustments to ensure it sits evenly.
- Remove excess soil: Remove any excess soil from the surrounding area and dispose of it properly. This will leave the area clean and tidy.
- Replace plants or landscaping: If any plants or landscaping were temporarily removed during the installation process, now is the time to replant or replace them in their original locations. Take care to water and care for them as needed.
- Clean up tools and materials: Properly clean and store all the tools and materials used during the installation. Remove any trash or debris from the worksite.
- Make note of the valve box location: Take note of the valve box’s location for future reference. This will be helpful when performing maintenance or repairs on the irrigation system.
Completing these steps will ensure a neat and professional finish to your irrigation valve box installation. By backfilling the hole and cleaning up the area, you can fully enjoy the benefits of a properly functioning and visually appealing irrigation system.
Conclusion
Installing an irrigation valve box is an essential part of creating an efficient and effective irrigation system for your garden or lawn. By following the step-by-step instructions outlined in this guide, you can successfully install a valve box and ensure the proper functioning of your irrigation system.
From gathering the necessary tools and materials to testing the valve box and pipes, each step plays a crucial role in the overall installation process. Taking the time to properly prepare the area, dig the hole, and secure the valve box will ensure a stable and reliable foundation for your irrigation system.
Connecting the irrigation pipes to the valve box and testing the system is a crucial step to ensure that water flows smoothly to all the desired zones, without any leaks or issues. Regular maintenance and repairs may be needed over time, but by following the correct installation procedures, you can minimize the potential for future problems.
Remember to always prioritize safety during the installation process. Turn off the water supply before starting and take precautions to avoid damaging any existing underground utilities or structures. If you’re unsure about any aspect of the installation, consult a professional for guidance and assistance.
With the valve box properly installed, you can confidently enjoy the benefits of a well-maintained irrigation system, keeping your plants healthy and your outdoor space thriving. Regularly inspect and maintain the valve box and system to ensure optimal performance and longevity.
By following these steps and incorporating best practices, you will have a functional and reliable irrigation valve box that protects your irrigation components and maximizes the efficiency of your watering system.