Home>Gardening Techniques>DIY Projects>How To Install Soaker Hose Irrigation System
DIY Projects
How To Install Soaker Hose Irrigation System
Modified: January 22, 2024
Learn how to install a soaker hose irrigation system with this easy DIY project. Save time and water with this efficient method.
(Many of the links in this article redirect to a specific reviewed product. Your purchase of these products through affiliate links helps to generate commission for Chicagolandgardening.com, at no extra cost. Learn more)
Table of Contents
- Introduction
- Step 1: Gather the necessary materials
- Step 2: Measure and plan the layout
- Step 3: Prepare the area for installation
- Step 4: Connect the soaker hose to the water source
- Step 5: Lay out the soaker hose in the desired pattern
- Step 6: Secure the soaker hose in place
- Step 7: Test the system for leaks
- Step 8: Adjust the water flow and pressure
- Step 9: Monitor and maintain the irrigation system
- Conclusion
Introduction
Welcome to the world of DIY projects! If you’re looking for a cost-effective way to keep your garden watered and thriving, installing a soaker hose irrigation system is a fantastic option. This simple yet efficient watering method ensures that your plants receive a slow, steady supply of water directly to their roots, minimizing water waste and promoting healthier growth.
In this step-by-step guide, we’ll walk you through everything you need to know to install a soaker hose irrigation system in your garden. Whether you’re a seasoned DIY enthusiast or a complete beginner, this project is perfect for those looking to save time, money, and water while still maintaining a beautiful and flourishing garden.
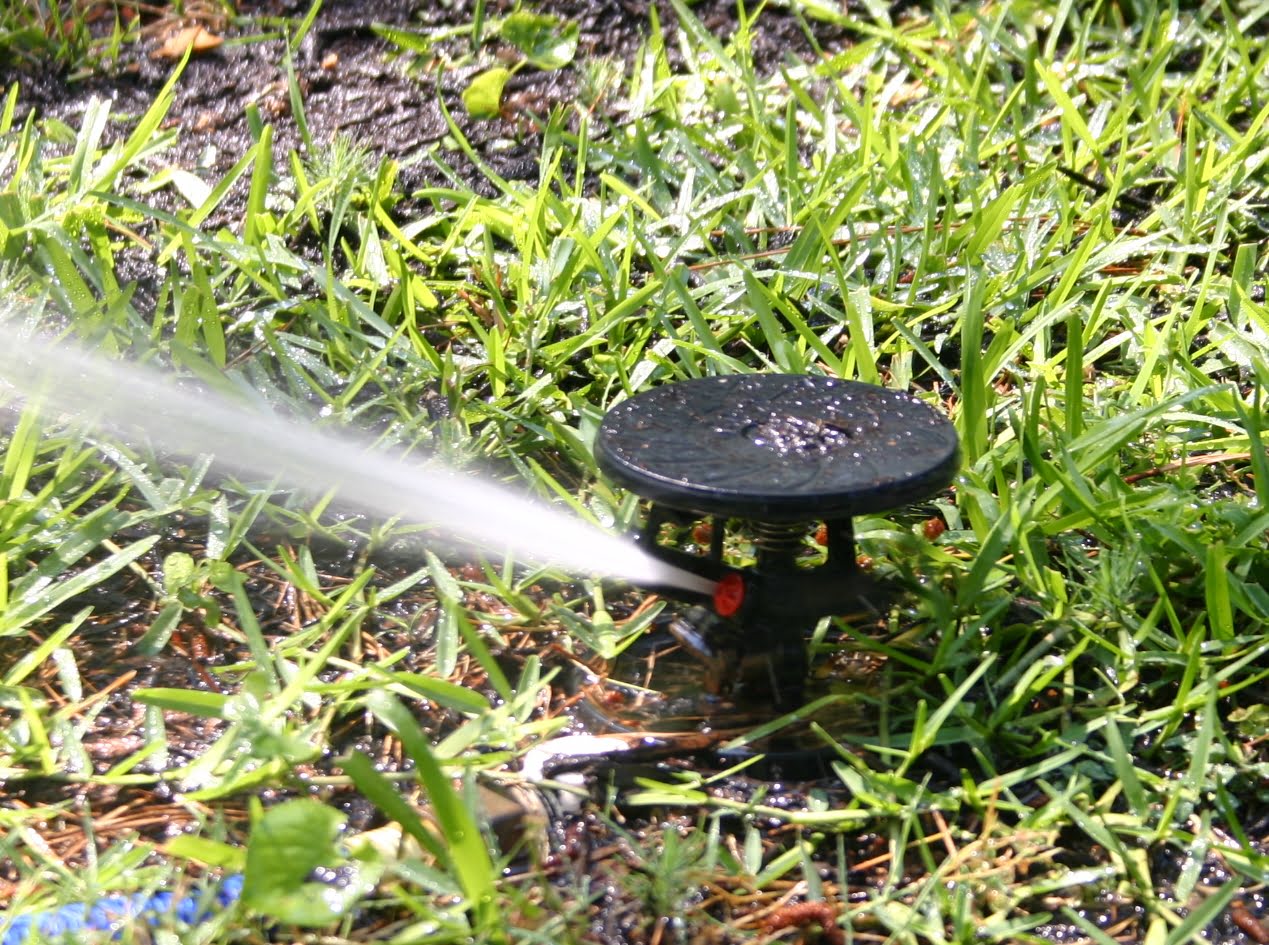
Not only does a soaker hose irrigation system provide targeted watering, but it also helps reduce the risk of overwatering and fungal diseases that can result from wet foliage. By delivering water directly to the root zone, you’ll also avoid watering areas of your garden that don’t need it, such as weeds or pathways. Installed on the surface or buried just beneath the soil, soaker hoses are simple to set up, highly customizable, and compatible with both traditional and raised bed gardens.
So, grab your gloves, gather your tools, and let’s dive into the world of soaker hose irrigation systems. By the end of this guide, you’ll be equipped with the knowledge and confidence to complete this project successfully and enjoy the benefits of a well-maintained and lush garden.
Step 1: Gather the necessary materials
Before you begin installing your soaker hose irrigation system, it’s crucial to gather all the necessary materials. Having everything on hand will help ensure a smooth and seamless installation process.
Here’s a list of the main materials you’ll need:
- Soaker Hose: Choose a high-quality soaker hose made of porous material that releases water evenly along its length. The length and diameter of the hose will depend on the size of your garden and water pressure.
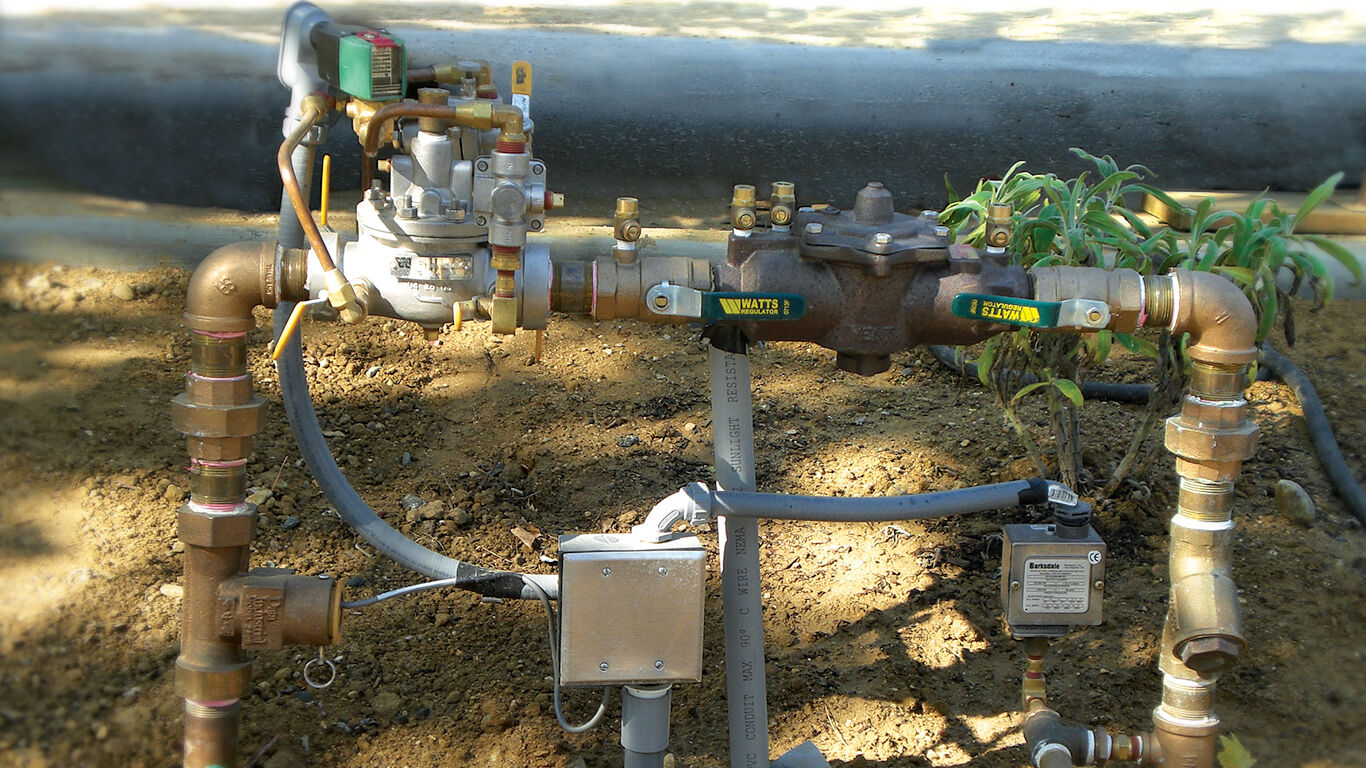
- Water Source: Identify a water source near your garden, such as an outdoor faucet or a rain barrel. Make sure the water source has a suitable supply and sufficient pressure to deliver water to the soaker hose.
- Pressure Regulator: Consider installing a pressure regulator to maintain a consistent water pressure for optimal performance of the soaker hose. This is especially important if your water source has high water pressure.
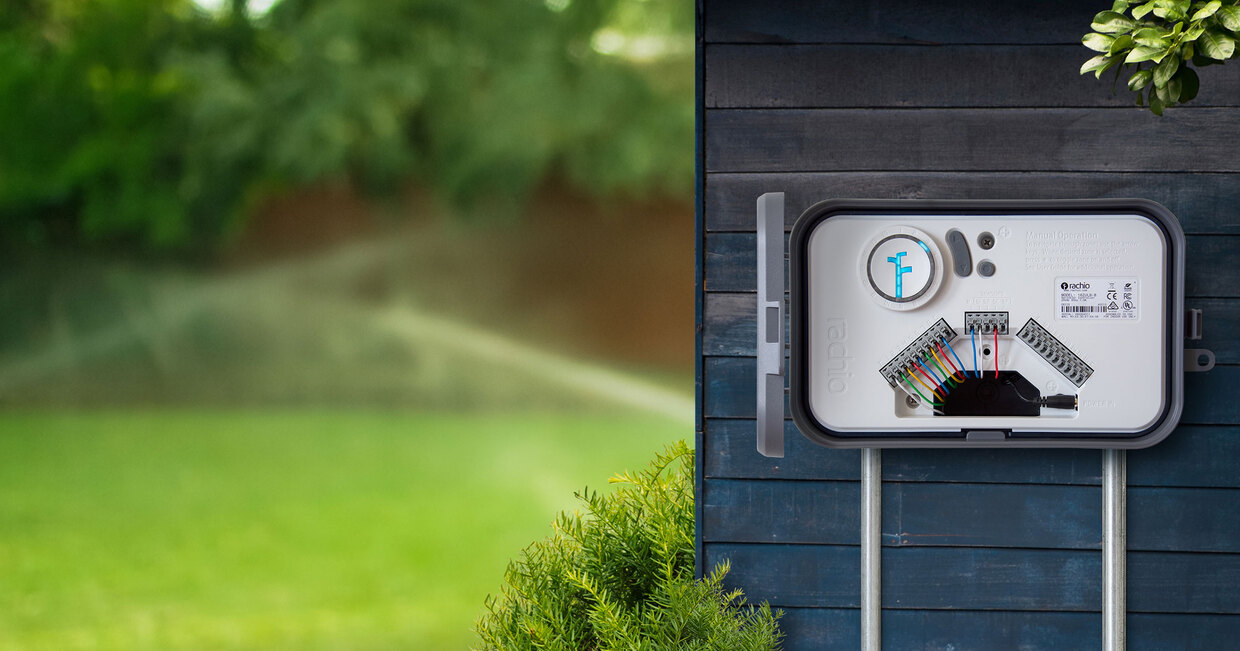
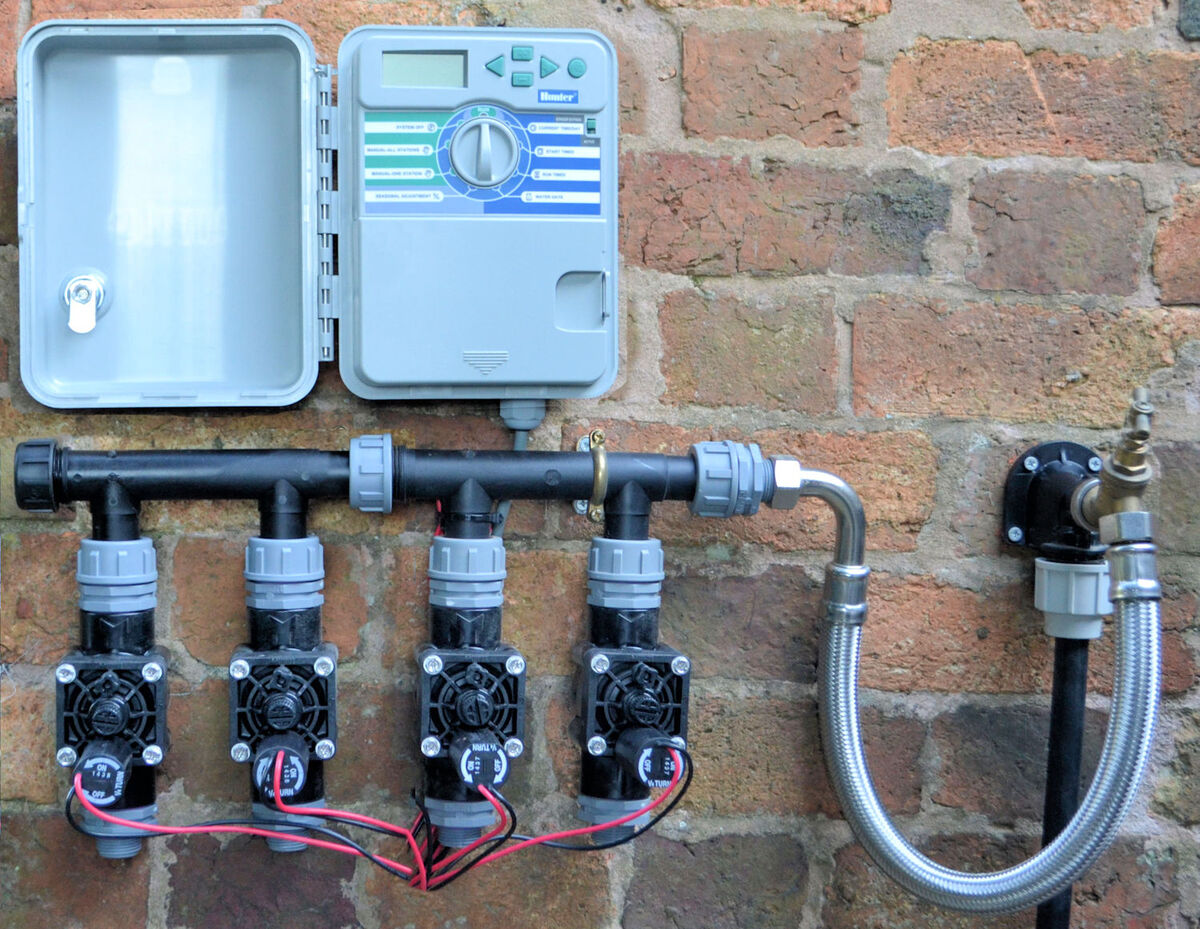
- Timer: To automate the watering process and ensure your plants receive consistent moisture, consider getting a timer that can be connected to your water source and set up specific watering schedules.
- Connectors and Fittings: Depending on the layout of your garden and the distance between the water source and the soaker hose, you may need connectors, fittings, and adapters to extend the reach of the hose.
- Stakes or Landscape Pins: These will be used to secure and hold the soaker hose in place, preventing it from shifting or being easily dislodged when water pressure is applied.
- Mulch: Although not mandatory, applying a layer of organic mulch over the soaker hose can help conserve moisture and further prevent water evaporation from the soil.
- Tools: Depending on your installation method, you may need tools such as a shovel, utility knife, pliers, and a hose wrench.
By gathering all the necessary materials beforehand, you’ll be well-prepared for the installation process, ensuring a successful and efficient soaker hose irrigation system that will benefit your garden for years to come.
Step 2: Measure and plan the layout
Once you have all the necessary materials, it’s time to measure your garden and plan the layout of your soaker hose irrigation system. This step is crucial to ensure that every plant and area in your garden receives adequate water.
Here are the key steps to follow:
- Take Measurements: Use a measuring tape to determine the length and width of your garden. This will help you calculate the amount of soaker hose you’ll need for an effective watering system.
- Identify Planting Areas: Take note of the different planting areas in your garden, such as beds, borders, or containers. This will help you determine the amount of hose required for each section.
- Create a Layout Plan: Using graph paper or a garden planner tool, sketch out a plan of your garden and mark the planting areas. Consider any obstacles or pathways that need to be navigated around when laying out the soaker hose.
- Determine Hose Placement: Decide whether you want to lay the soaker hose on the surface or bury it slightly beneath the soil. Burying the hose can provide a neater appearance and minimize the risk of tripping over it.
- Plan Water Source Placement: Determine the best location for your water source, keeping in mind the proximity to the soaker hose and any necessary connections or fittings.
By taking accurate measurements and planning the layout in advance, you’ll have a clear roadmap for installing your soaker hose irrigation system. This careful planning will also help optimize water distribution and ensure that each plant receives the right amount of moisture.
Step 3: Prepare the area for installation
Preparing the area for the installation of your soaker hose irrigation system is crucial for its long-term success. By properly clearing and prepping the garden, you’ll ensure optimal water flow and prevent any potential issues down the line.
Here are the key steps to follow:
- Clear the Garden: Remove any debris, rocks, or weeds from the area where the soaker hose will be placed. Clearing the surface will prevent damage to the hose and ensure proper water distribution.
- Loosen the Soil: Use a garden fork or tiller to loosen the soil in the planting areas. Loosening the soil will promote better water absorption and allow the soaker hose to effectively deliver water to the plant roots.
- Level the Ground: Ensure that the ground where the soaker hose will be placed is level. Uneven surfaces can lead to uneven water distribution and create dry or waterlogged spots in the garden.
- Remove Obstacles: Clear any obstructions that may impede the installation of the soaker hose, such as large roots, stones, or other objects. You want to create a clear and unobstructed path for the hose.
- Consider Mulching: Applying a layer of organic mulch around the planting areas can help conserve moisture, suppress weeds, and enhance the effectiveness of the soaker hose irrigation system.
By taking the time to properly prepare the area, you’ll ensure that your soaker hose irrigation system functions optimally. Clearing the garden, loosening the soil, and creating a level surface will provide the perfect foundation for efficient water distribution and healthy plant growth.
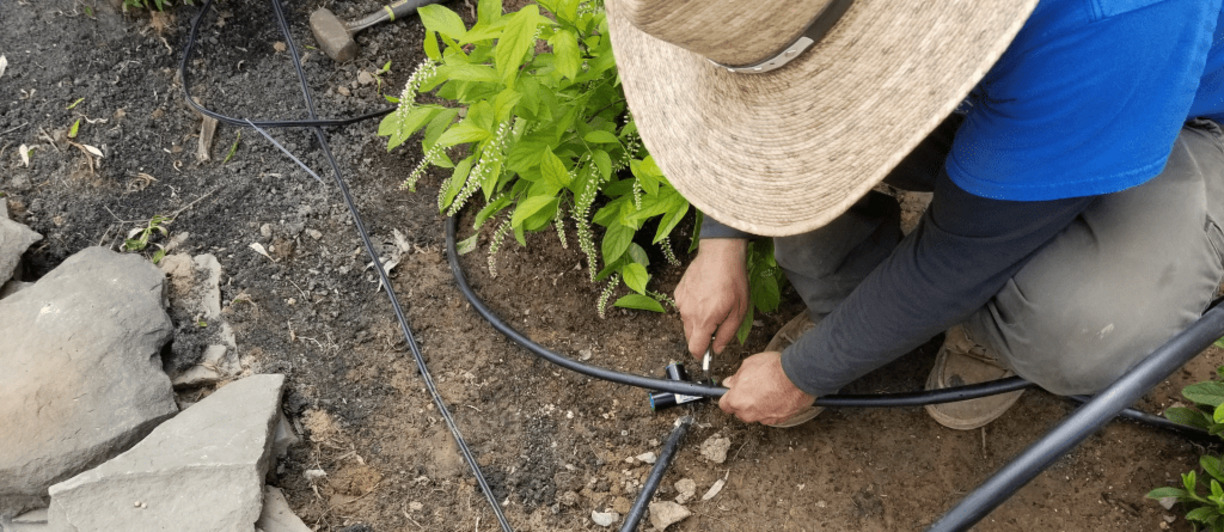
Step 4: Connect the soaker hose to the water source
Now that you have prepared the area, it’s time to connect the soaker hose to the water source. This step is crucial for ensuring a proper flow of water throughout your garden and delivering moisture to your plants.
Here’s how you can connect the soaker hose to the water source:
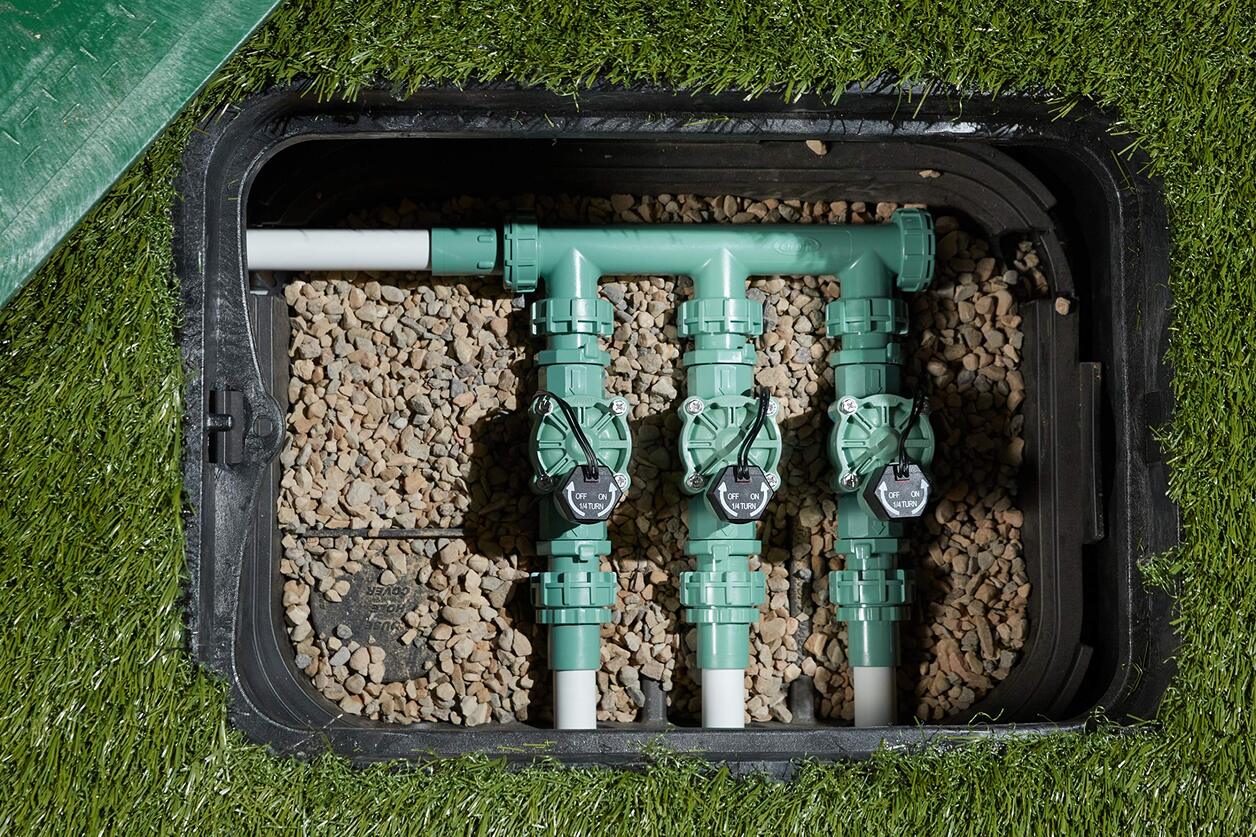
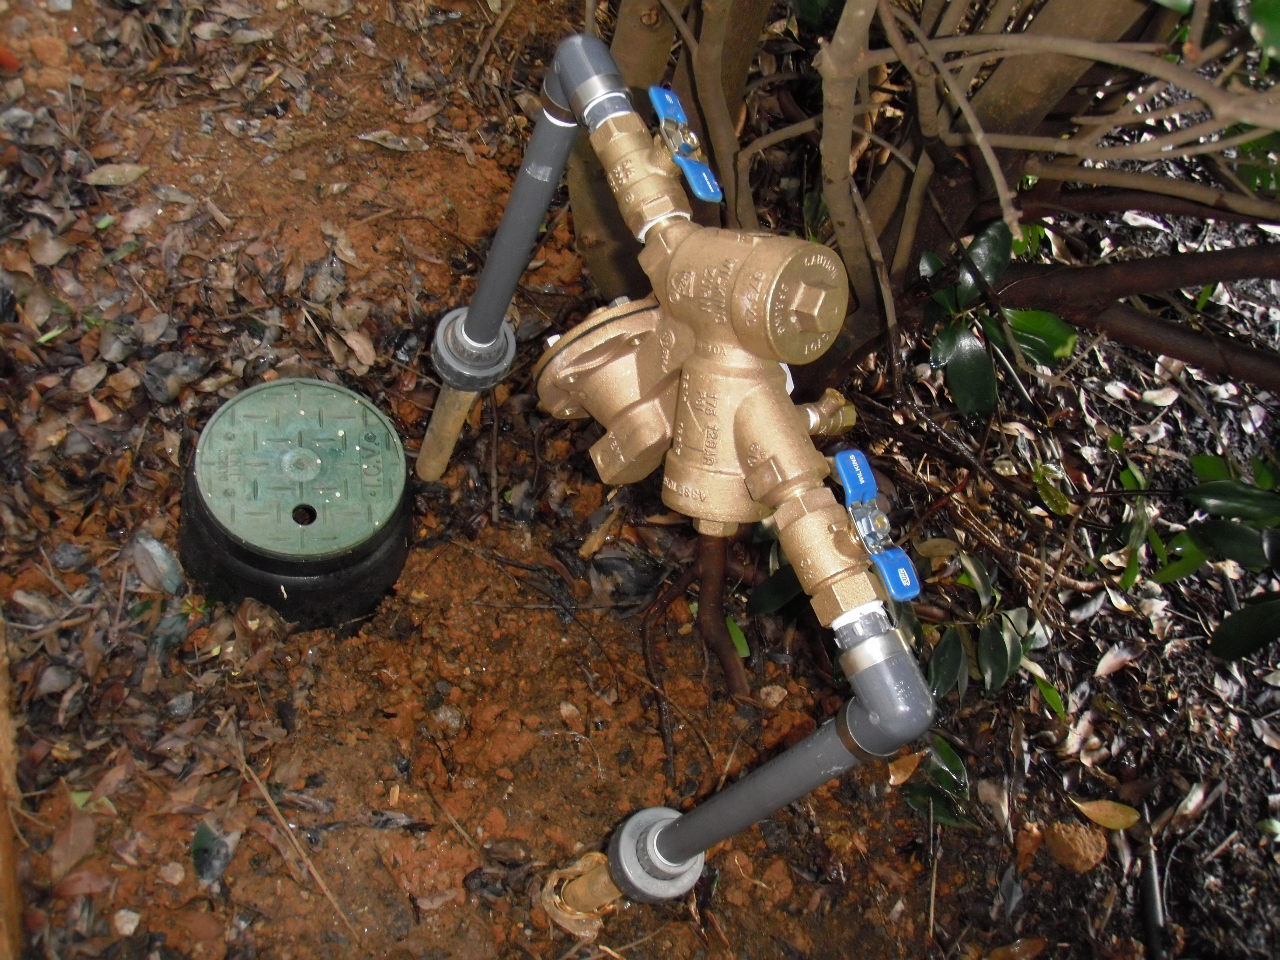
- Attach a backflow preventer: To prevent any potential contaminants from entering your water source, it’s advisable to install a backflow preventer. This device ensures that water flows in only one direction, preventing any backflow from the irrigation system.
- Connect the pressure regulator: If you haven’t already installed a pressure regulator, it’s recommended to do so at this stage. Connect the pressure regulator to the water source to control and maintain a steady water pressure for optimal performance of the soaker hose.
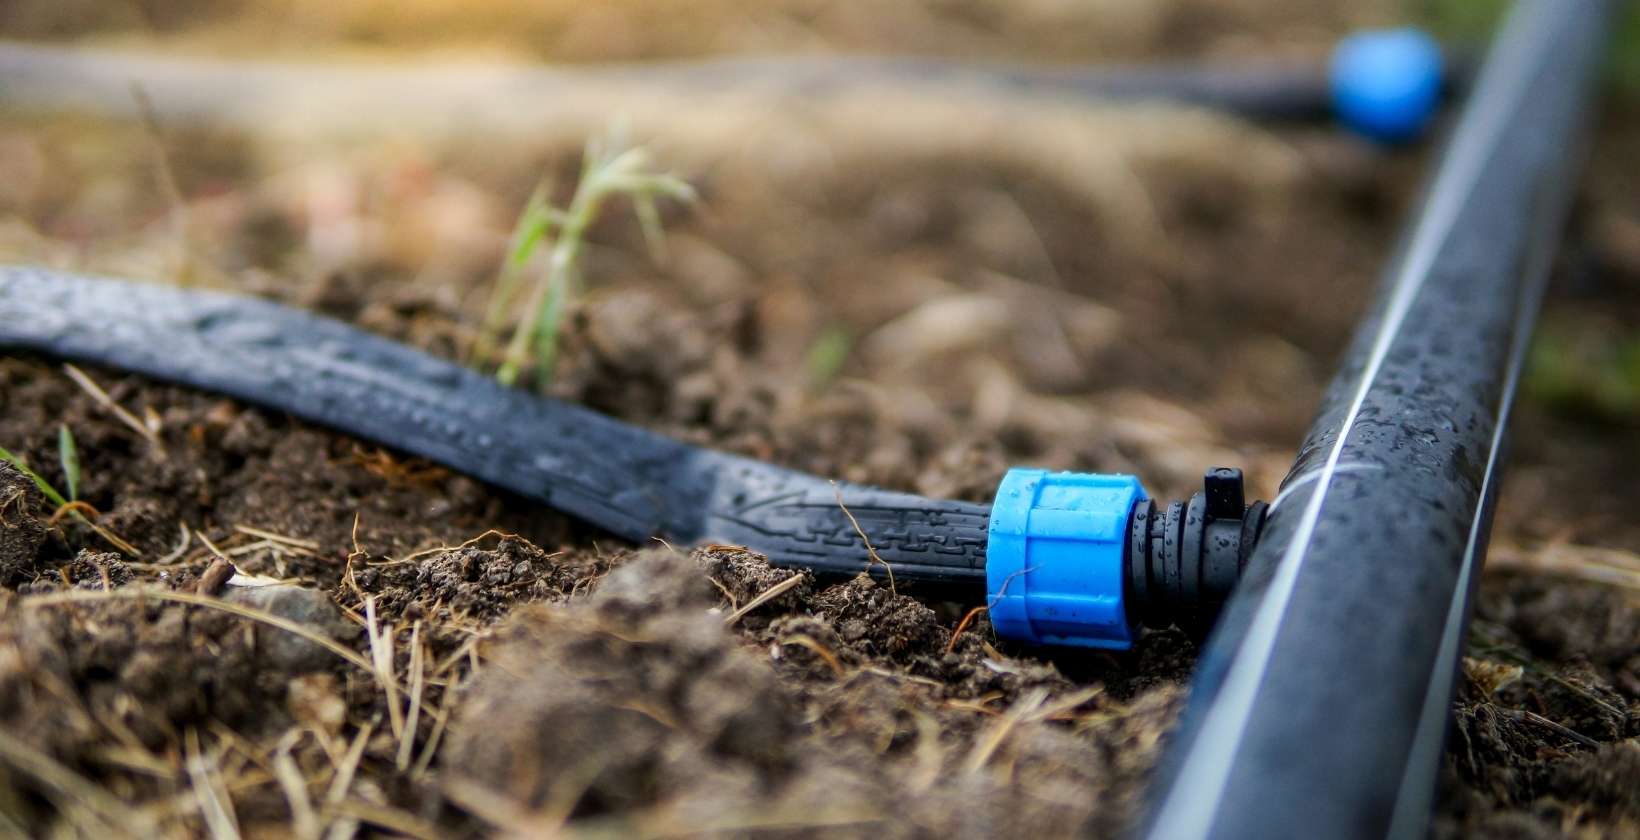
- Attach a hose connector: Use a hose connector to connect the soaker hose to the water source. Ensure a secure and watertight connection to prevent any leaks or water wastage.
- Connect additional hoses: If your garden layout requires additional hose lengths, join them together using hose connectors or fittings. Be sure to use the appropriate connectors that fit the diameter of the hoses you are using.
- Secure the connections: Once all the connections are in place, double-check to ensure they are securely tightened. Loose connections can lead to water leakage and poor water distribution along the hose.
Connecting the soaker hose to the water source properly is essential for a well-functioning irrigation system. By using backflow preventers, pressure regulators, and secure hose connectors, you’ll ensure consistent water flow and prevent any potential issues that may arise during the watering process.
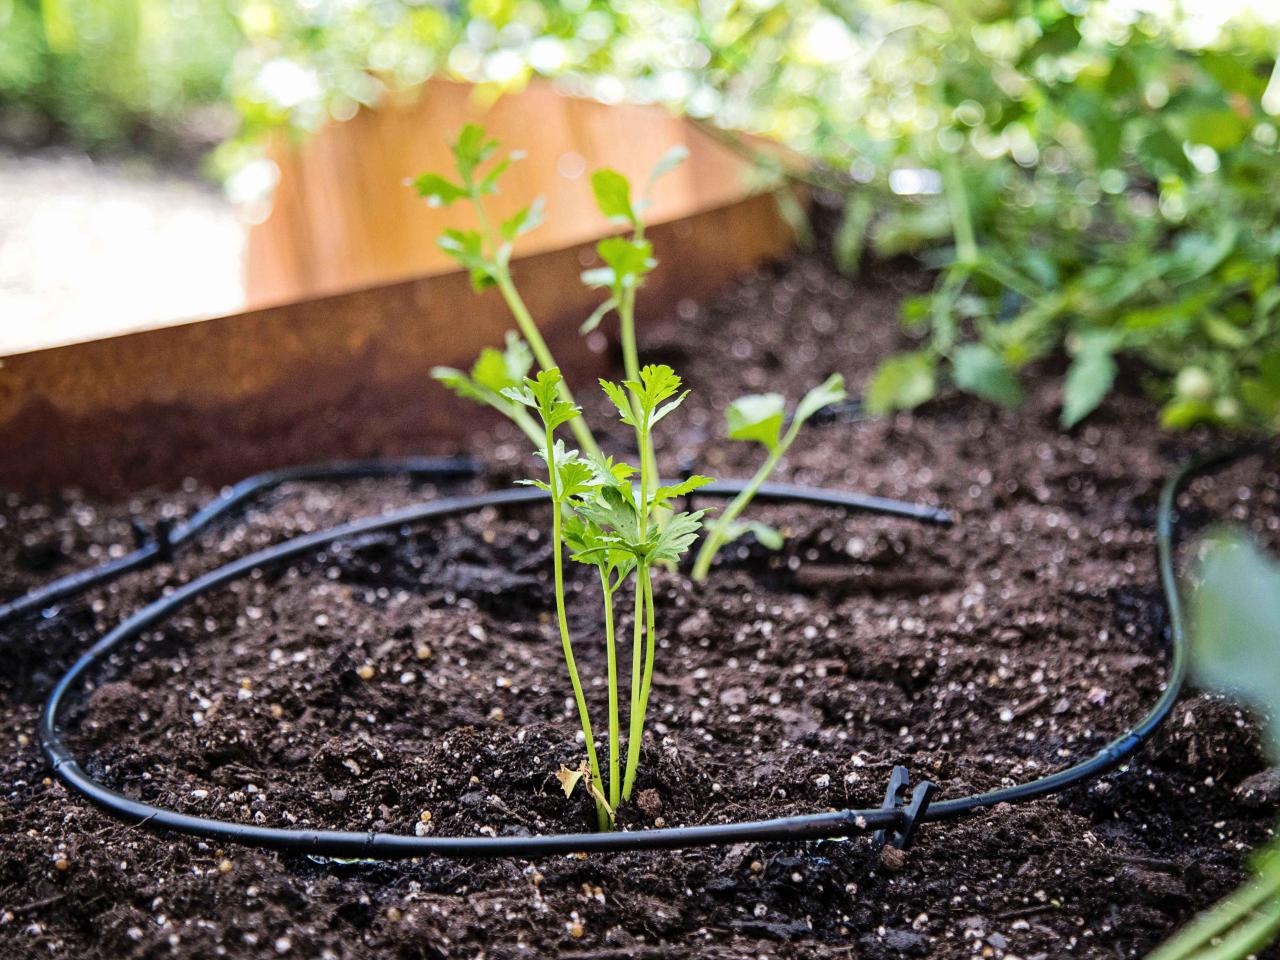
Step 5: Lay out the soaker hose in the desired pattern
With the water source connected, it’s time to lay out the soaker hose in your desired pattern. This step is crucial for ensuring effective water distribution and targeting specific areas in your garden that require irrigation.
Follow these steps to lay out the soaker hose:
- Unroll the hose: Start by unrolling the soaker hose along the planting areas, following the layout plan you created earlier. The hose should be laid out in a way that provides adequate coverage to each plant or area you want to water.
- Position the hose: Position the soaker hose close to the plants, making sure it is within reach of the plant roots. Avoid placing the hose too far away from the plants, as this may result in inadequate watering.
- Snake the hose: Instead of laying the soaker hose in a straight line, consider snaking it around the planting areas. This will ensure more even water distribution and prevent pooling in one area.
- Adjust the hose length: If the soaker hose is longer than needed for a particular section, you can adjust the length by folding or looping it back on itself. This will prevent excessive water flow and ensure that all plants receive water evenly.
- Avoid overlaps: Make sure that the soaker hose sections don’t overlap each other. Overlapping can lead to excessive water in certain areas and insufficient watering in others.
Remember, the goal is to provide thorough and even watering to your plants. By strategically laying out the soaker hose, you’ll be able to achieve this and ensure that each plant receives the required amount of water for healthy growth.
Step 6: Secure the soaker hose in place
Once you have laid out the soaker hose in the desired pattern, it’s important to secure it in place to prevent shifting or accidental damage. Properly securing the hose will ensure consistent water distribution and maintain the integrity of your irrigation system.
Here’s how you can effectively secure the soaker hose:
- Use stakes or landscape pins: Insert stakes or landscape pins at regular intervals along the length of the soaker hose. This will help keep the hose in place and prevent it from moving or shifting when water pressure is applied.
- Push pins into the ground: Gently push the stakes or pins into the soil on either side of the soaker hose, ensuring they are firmly anchored. Be careful not to apply excessive force that could damage the hose.
- Secure the connections: Check the connections between hoses, fittings, and the water source to ensure they are secure and leak-free. Use hose clamps or additional fittings if needed to create tight and reliable connections.
- Bury the hose (optional): If you prefer a neater appearance or want to protect the hose from accidental damage, you can choose to bury it slightly beneath the soil. Use a garden shovel or spade to create a shallow trench and carefully lay the hose inside, covering it back up with soil.
- Avoid kinks: Make sure the soaker hose is laid out without any kinks or sharp bends. Kinks can restrict water flow and result in uneven watering.
Securing the soaker hose will ensure that it remains in place and delivers water precisely where it’s needed. By using stakes, pins, or burying the hose, you’ll minimize the risk of damage or disruption to the irrigation system and optimize water distribution in your garden.
Step 7: Test the system for leaks
Before fully relying on your soaker hose irrigation system, it’s important to test it for any potential leaks or issues. This step ensures that water is being efficiently delivered to your garden and helps you identify and fix any problems before they worsen.
Here’s how you can test your system for leaks:
- Turn on the water: Slowly turn on the water at the source, allowing it to flow through the soaker hose.
- Inspect for leaks: Walk alongside the hose and carefully examine it for any leaks or spraying water. Pay close attention to the connection points and areas where the hose may have been secured with stakes or pins.
- Check for uneven water flow: Observe the water coming out of the soaker hose along its entire length. Ensure that the water flow is consistent and there are no sections with significantly less or more water distribution.
- Adjust connections: If you notice any leaks or uneven water flow, turn off the water source and inspect the connections. Tighten any loose fittings or replace any damaged parts that may be causing the issue.
- Re-test the system: After making adjustments or repairs, turn on the water again and re-test the system. Ensure that it is now functioning properly with no leaks or irregularities.
Testing your soaker hose system for leaks is essential for maximizing water efficiency and preventing water waste. By identifying and resolving issues early on, you’ll ensure that your plants receive the proper amount of water and that your system operates smoothly for optimal garden health.
Step 8: Adjust the water flow and pressure
Once you have tested your soaker hose irrigation system for leaks and confirmed that it is functioning properly, you may need to adjust the water flow and pressure to ensure optimal watering conditions for your plants. This step allows you to fine-tune the system and customize it according to the specific needs of your garden.
Follow these steps to adjust the water flow and pressure of your soaker hose system:
- Check water pressure: Use a water pressure gauge to measure the pressure coming from your water source. Ideal pressure for most soaker hoses ranges from 10 to 25 psi (pounds per square inch), although this can vary depending on the specific type of hose you are using.
- Adjust pressure regulator: If you installed a pressure regulator, make any necessary adjustments to achieve the desired water pressure. Usually, turning the adjustment screw clockwise will increase the pressure, while turning it counterclockwise will reduce the pressure.
- Observe water flow: Observe the water flowing from the soaker hose and assess the coverage and volume. Ensure that the water is evenly distributed along the length of the hose and that all areas of your garden receive sufficient moisture.
- Make flow adjustments: If certain areas of your garden are receiving too much or too little water, you can make flow adjustments using flow control valves or by adjusting the positioning of the soaker hose. Restricting the flow to certain areas or redirecting the hose can help achieve more balanced watering.
- Regular monitoring: Monitor your garden regularly to ensure that the water flow and pressure are still optimal. Make any necessary adjustments as your plants grow or as environmental conditions change.
By fine-tuning the water flow and pressure of your soaker hose system, you can ensure that each plant in your garden receives the appropriate amount of water. Regular monitoring and adjustments will help you maintain a healthy and thriving garden throughout the growing season.
Step 9: Monitor and maintain the irrigation system
After setting up your soaker hose irrigation system, it’s important to continuously monitor and maintain it to ensure optimal performance and the health of your plants. Regular maintenance will help prevent issues, conserve water, and promote efficient watering throughout your garden.
Here are some key tips to monitor and maintain your irrigation system:
- Inspect for clogs or blockages: Periodically check the soaker hose for any clogs or blockages that may impede water flow. Remove any debris or sediment from the hose, ensuring that the pores remain open.
- Adjust for plant growth: As your plants grow, you may need to make adjustments to the placement of the soaker hose. Ensure that it is positioned near the roots of your plants to provide targeted watering.
- Regularly check for leaks: Keep an eye out for any new leaks that may develop over time. Promptly repair any leaks to prevent water wastage and maintain efficient water distribution.
- Monitor soil moisture: Regularly check the moisture level of the soil around your plants. Adjust the watering schedule accordingly to prevent over or under watering.
- Consider adding a timer: Installing a timer to automate your irrigation system can provide consistent and timed water delivery to your plants, even when you’re not available.
- Protect the system during winter: If you live in an area with freezing temperatures, make sure to drain the water from the system or disconnect and store it indoors to prevent damage caused by freezing water.
- Replace worn-out parts: Over time, components of your soaker hose system may wear out. Keep an eye on the condition of the hoses, connectors, and fittings, replacing any worn-out parts as needed.
Regular monitoring and maintenance of your soaker hose irrigation system will keep it functioning at its best, ensuring that your plants receive the appropriate water supply for healthy growth. By taking care of your system, you’ll enjoy the benefits of a vibrant and thriving garden year-round.
Conclusion
Congratulations! You have successfully learned how to install a soaker hose irrigation system for your garden. By following the steps outlined in this guide, you can save water, time, and effort while still providing your plants with the moisture they need to thrive.
A soaker hose irrigation system offers numerous benefits, including targeted watering, reduced water wastage, and prevention of fungal diseases. With the right materials, careful planning, and proper installation techniques, you can create an efficient and cost-effective watering solution for your garden.
Remember to gather all the necessary materials, accurately measure and plan your garden layout, and prepare the area for installation. Then, connect the soaker hose to the water source, lay it out according to your desired pattern, and secure it in place.
After testing the system for leaks and adjusting the water flow and pressure, it’s important to monitor and maintain the irrigation system regularly. Inspect for clogs, check for leaks, and adjust as your plants grow or environmental conditions change.
By implementing these steps and staying vigilant, you’ll have a well-functioning soaker hose irrigation system that delivers water efficiently and promotes healthy growth in your garden.
Now, it’s time to sit back, relax, and enjoy the benefits of your beautifully watered garden, all thanks to your DIY skills and the installation of a soaker hose irrigation system!