Home>Gardening Tips and Tricks>Problem Solving>How To Patch Irrigation Hose
Problem Solving
How To Patch Irrigation Hose
Modified: January 22, 2024
Learn how to solve common irrigation hose problems with our step-by-step guide on patching irrigation hose. Save time and money by fixing leaks and ensuring optimal watering for your garden.
(Many of the links in this article redirect to a specific reviewed product. Your purchase of these products through affiliate links helps to generate commission for Chicagolandgardening.com, at no extra cost. Learn more)
Table of Contents
Introduction
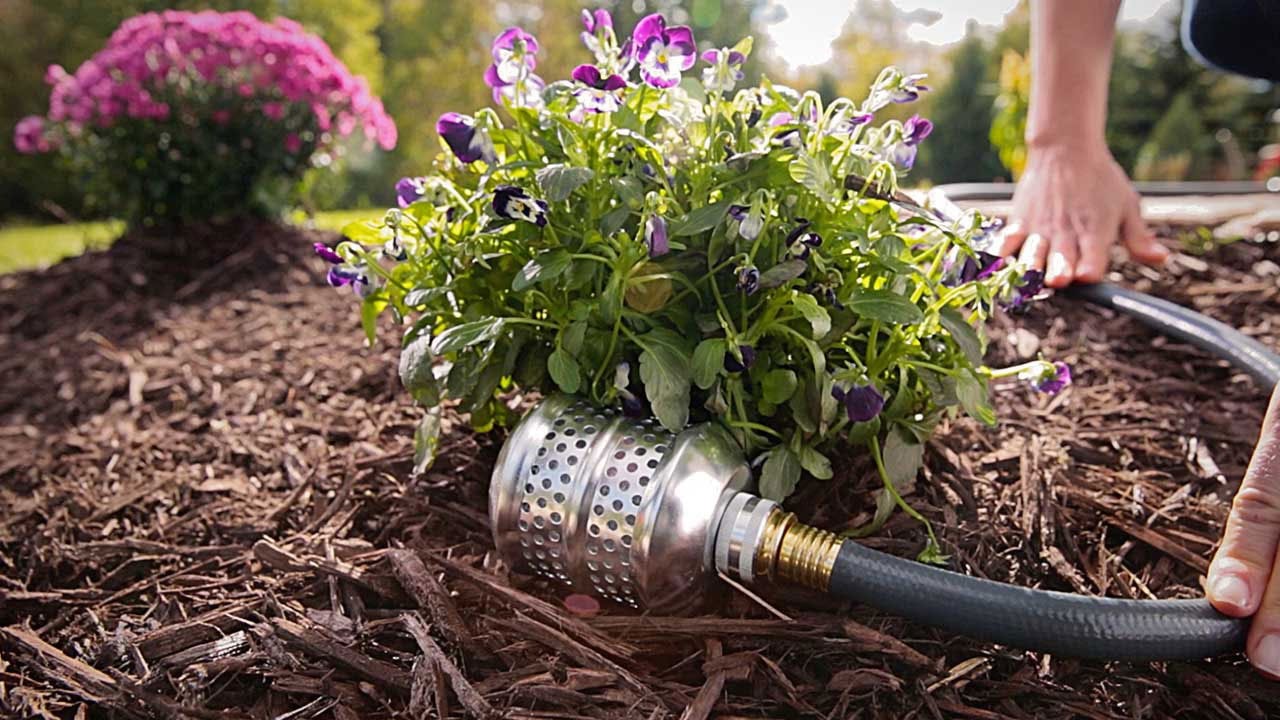
When it comes to maintaining a well-functioning irrigation system, it’s inevitable that you may encounter leaks in your hose. These leaks can lead to water loss, decreased system efficiency, and potentially damage to your plants and garden. However, patching an irrigation hose doesn’t have to be a daunting task. With the right tools and materials, as well as some simple steps, you can easily fix the leaks and have your irrigation system up and running smoothly again.
In this article, we will provide a comprehensive guide on how to patch an irrigation hose. We will walk you through each step of the process, from locating the leak to testing the repair. By following these steps, you can save time and money by avoiding the need to purchase a new hose or hire a professional to fix the issue.
Before we dive into the repair process, it’s important to note that prevention is key when it comes to maintaining your irrigation system. Regular inspection and maintenance can help identify potential leaks early on and prevent them from becoming a larger problem. However, if you do find yourself with a leaking hose, don’t worry! With a little bit of effort and the right techniques, you’ll have it fixed in no time.
Tools and Materials Needed
Before you start the process of patching your irrigation hose, it’s important to gather all the necessary tools and materials. Having everything prepared beforehand will help streamline the repair process and ensure that you have everything you need. Here are the tools and materials you will need:
- Scissors or utility knife: These will be used to cut the hose and remove the damaged section.
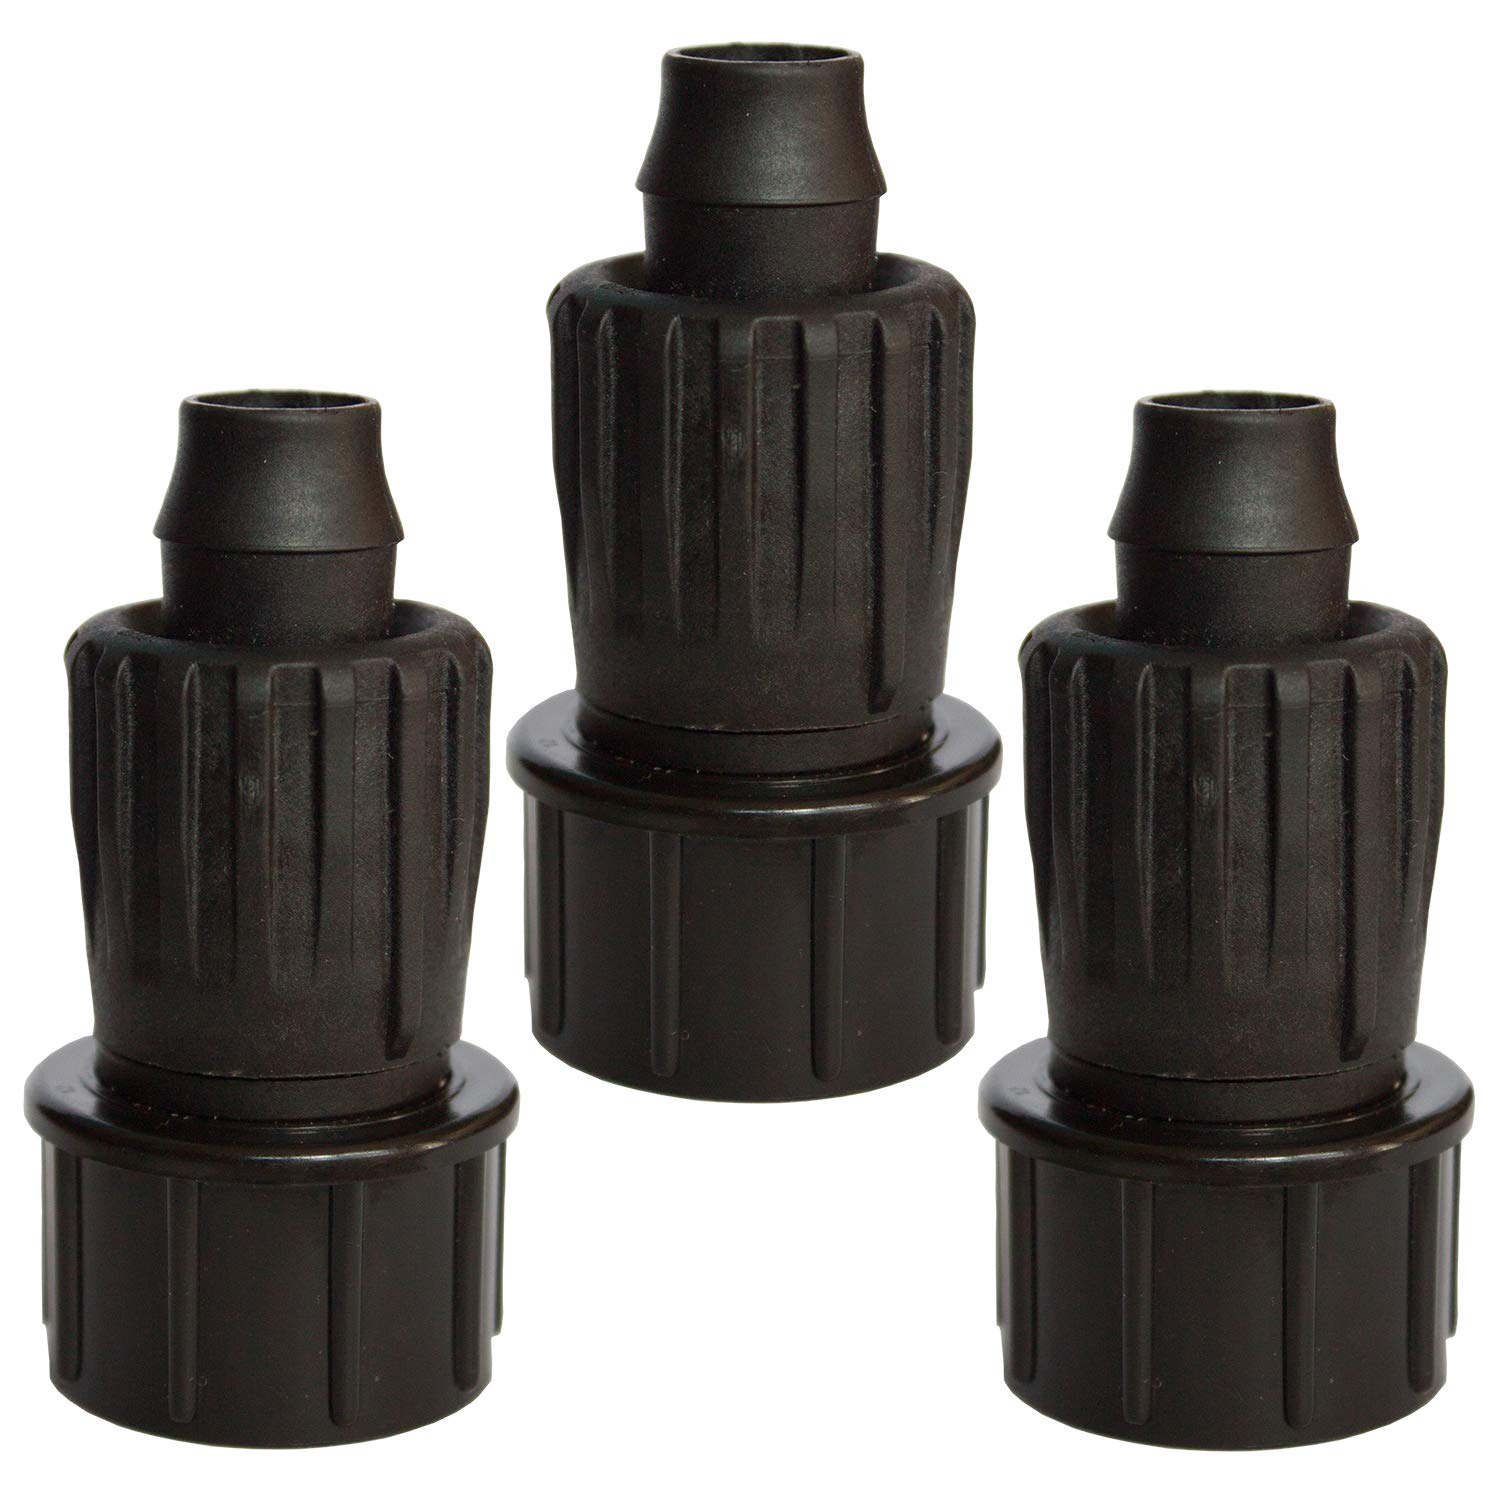
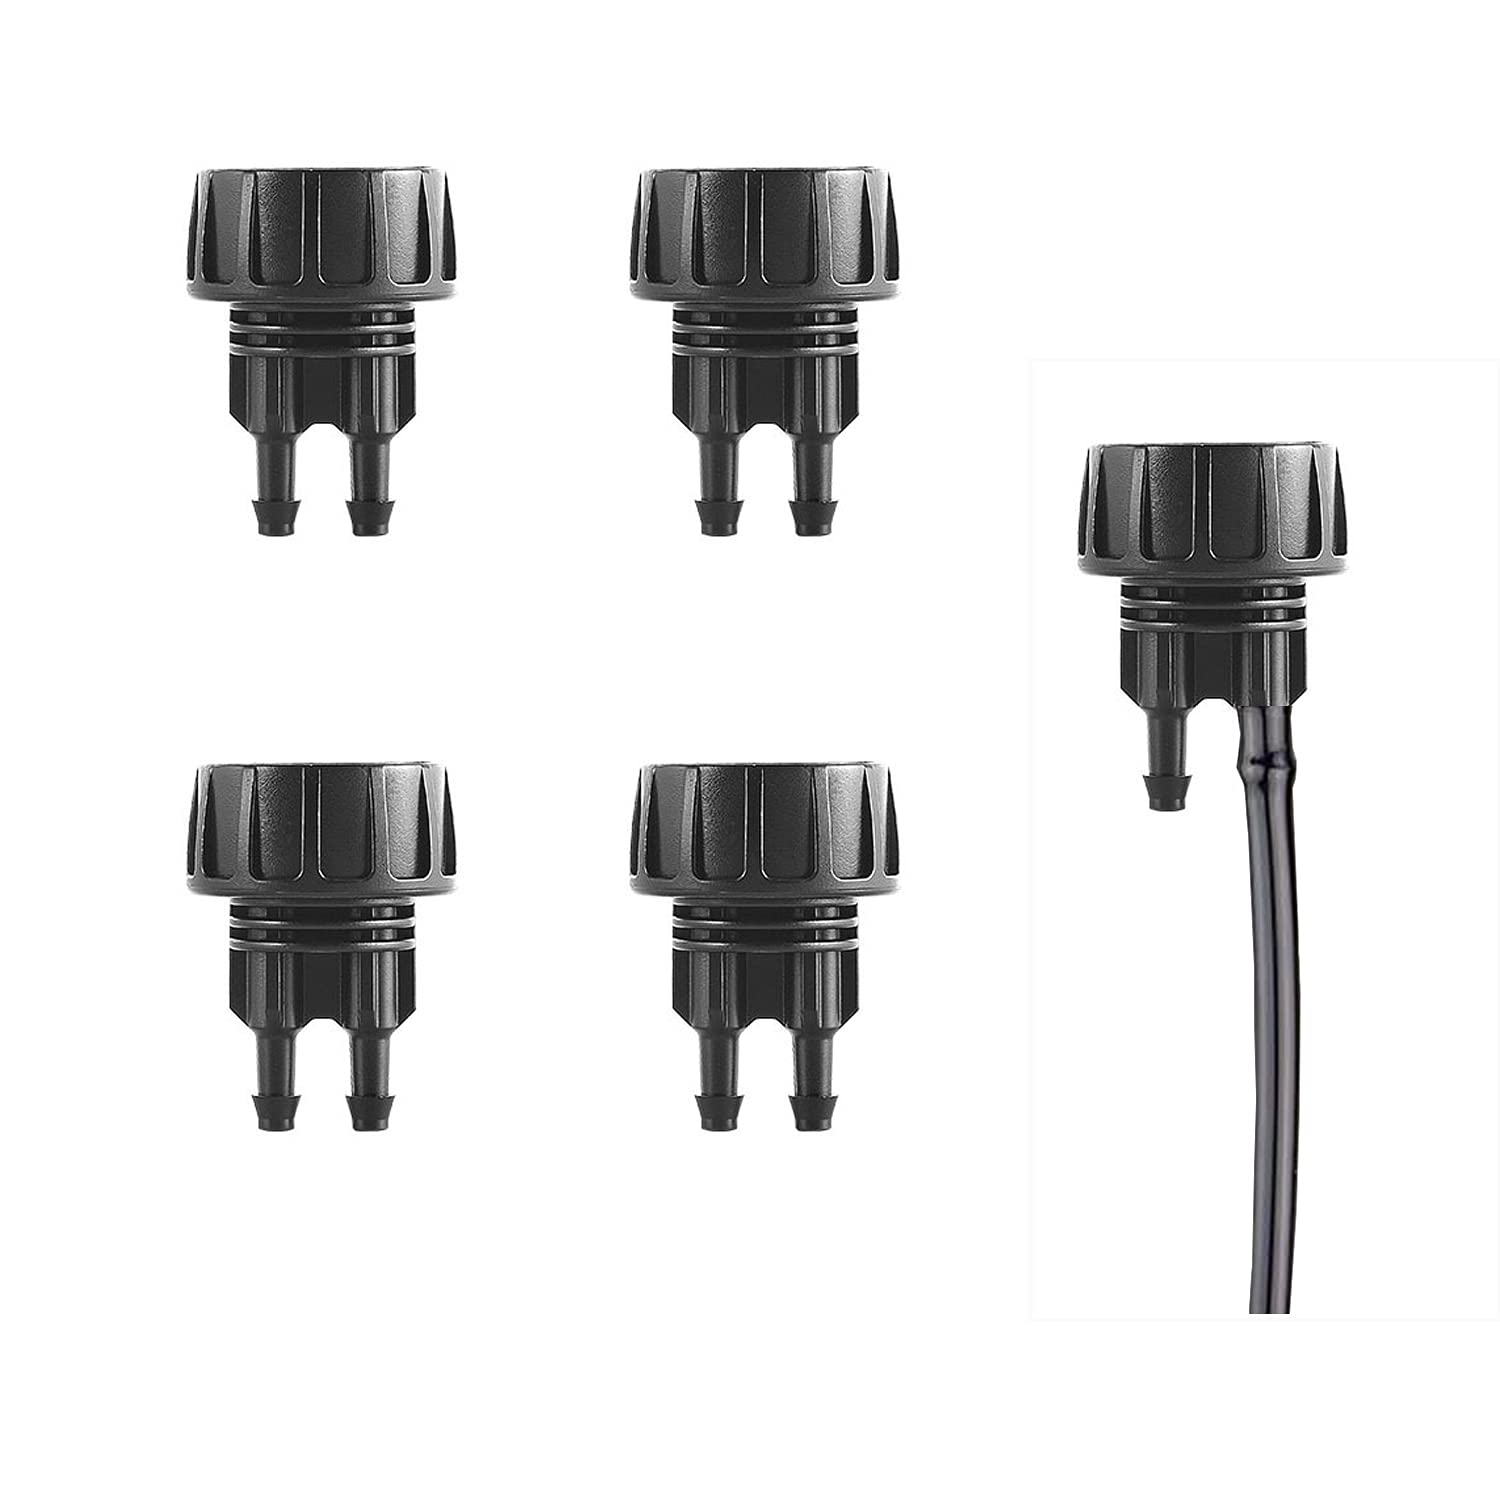
- Hose couplings or connectors: These are fittings that will be used to join the two ends of the hose after the damaged section has been removed.
- Hose clamps: These are used to secure the connection between the hose and the couplings or connectors.
- Rubber or silicone tape: This type of tape is specifically designed for sealing leaks in hoses. It will help provide a secure and watertight connection.
- Bucket or basin: You will need to collect any water that may flow out of the hose during the repair process.
- Waterproof adhesive: This may be necessary to provide extra reinforcement for the repair, especially for larger holes or tears.
- Gloves: It’s always a good idea to protect your hands during any repair work. Choose gloves that are suitable for handling water and potentially adhesive materials.
It’s important to note that the specific tools and materials you will need may vary depending on the type of irrigation hose you have and the extent of the damage. Additionally, if you prefer using a hose repair kit, you can purchase one that includes the necessary components.
Now that you have your tools and materials ready, it’s time to begin the repair process. In the next section, we will guide you through each step of the process, starting with locating the leak in your irrigation hose.
Step 1: Locate the Leak
The first step in patching an irrigation hose is to locate the exact location of the leak. This will help you determine the extent of the damage and the specific area that needs to be repaired. Here’s how you can locate the leak:
- Turn off the water: Before you start inspecting the hose, make sure to turn off the water supply. This will prevent any further leakage and make it easier to locate the exact spot of the leak.
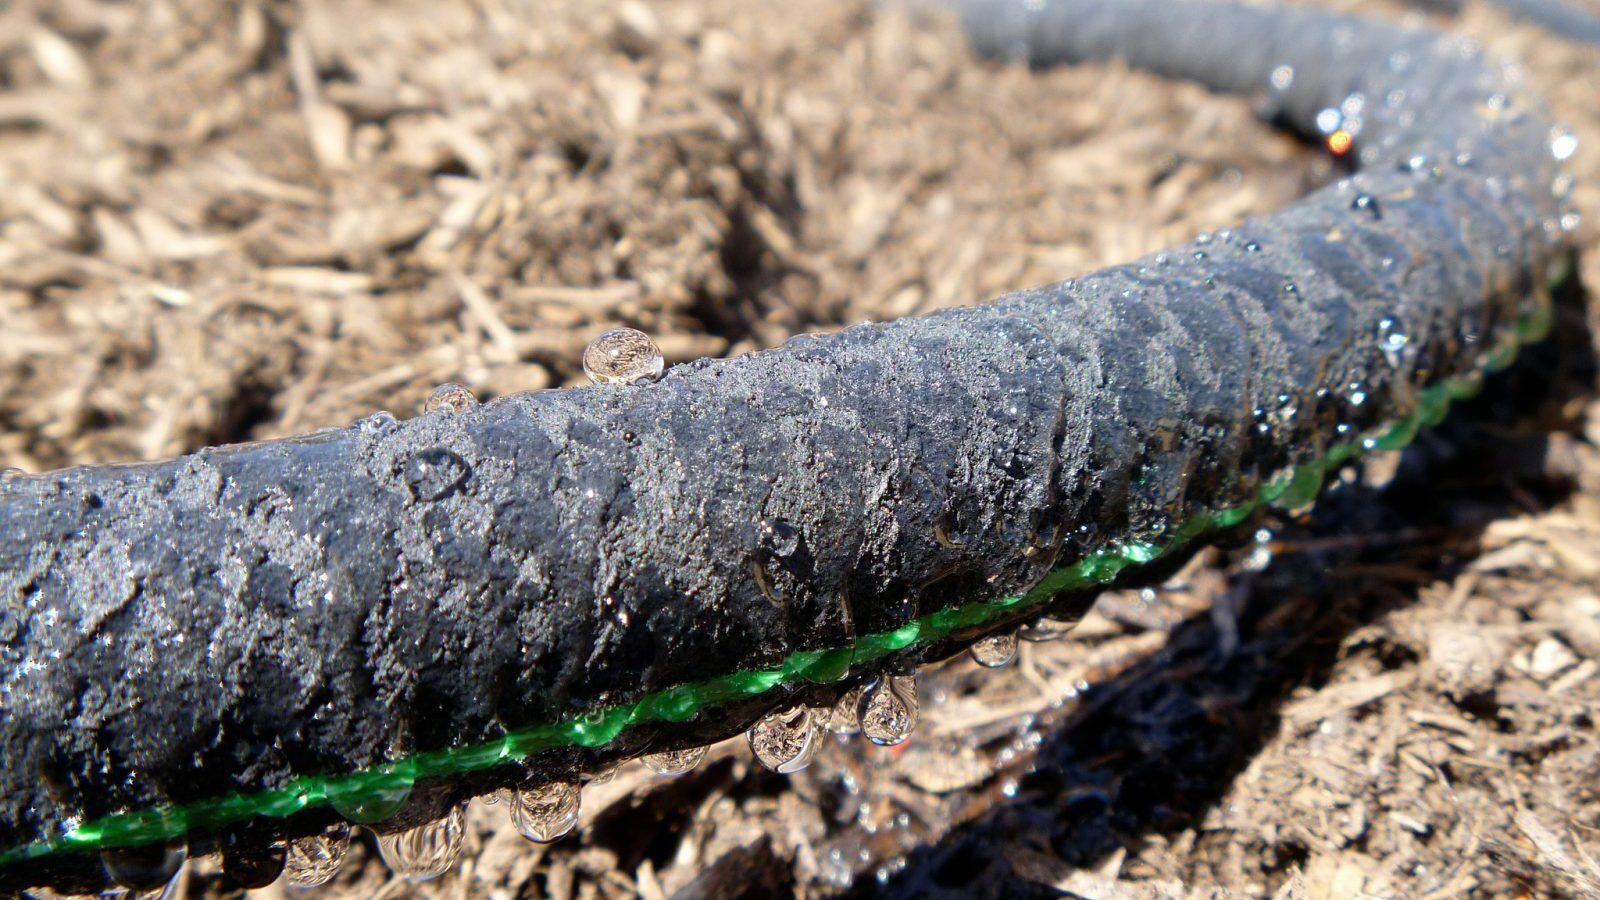
- Check for obvious signs: Start by visually inspecting the hose for any obvious signs of leaks. Look for dripping water, bulges, or areas where the hose appears to be wet or damaged.
- Feel for moisture: Run your hand along the length of the hose, feeling for any moisture or dampness. Pay close attention to areas where the hose connects to fittings or bends, as these are common weak points.
- Use a soapy water solution: Another way to locate the leak is by using a soapy water solution. Mix a small amount of dish soap with water and spray or apply it to the hose. Turn on the water supply and look for any bubbles forming along the hose. The bubbles will indicate the presence of a leak.
Once you have located the leak, mark the area using a pen or marker. This will help you accurately cut out the damaged section in the next step. Remember to allow for some extra length on both sides of the marked area to ensure a proper repair.
Now that you have successfully located the leak, you can proceed to the next step: preparing the hose for repair.
Step 2: Prepare the Hose
After locating the leak in your irrigation hose, the next step is to prepare the hose for repair. Proper preparation will ensure a successful and long-lasting fix. Follow these steps to prepare the hose:
- Turn off the water: Before you start working on the hose, make sure to turn off the water supply. This will prevent any water from flowing through the hose and allow you to work on it safely.
- Cut off the water supply: If you haven’t already done so, make sure to cut off the water supply to the irrigation system. This will ensure that no unexpected water flow occurs during the repair.
- Drain the hose: To remove any remaining water inside the hose, elevate one end of the hose and allow it to drain into a bucket or basin. This will prevent water from spilling out during the repair process.
- Dry the hose: Once the hose is drained, use a clean cloth or towel to dry the exterior of the hose. It’s important to have a dry surface to work on and create a strong bond when applying the repair materials.
- Cut off the damaged section: Using scissors or a utility knife, carefully cut out the damaged section of the hose that includes the marked leak. Make sure to create clean and straight cuts on both ends of the removed section.
- Inspect the hose ends: After cutting off the damaged section, inspect the ends of the hose for any frayed or uneven edges. Trim them if necessary, ensuring that the ends are smooth and even.
By properly preparing the hose, you are setting the foundation for a successful repair. With the hose prepared, you can now move on to the next step: cutting out the damaged section of the hose.
Step 3: Cut out the Damaged Section
Now that you have prepared the irrigation hose for repair, it’s time to cut out the damaged section. Removing the damaged portion will ensure a clean and precise repair. Follow these steps to cut out the damaged section:
- Measure the length: Before making any cuts, measure the length of the damaged section that you marked in the previous step. This will help you determine the length of the replacement coupling or connector needed.
- Place a coupling or connector: Take the replacement coupling or connector and place it at one end of the cut hose. Make sure it is positioned securely and aligned with the hose.
- Mark the hose: Use a pen or marker to mark the hose at the opposite end of the coupling or connector. This will indicate where you need to make the second cut.
- Remove the coupling/connector: Carefully remove the coupling or connector from the hose. You will need to keep it separate during the cutting process.
- Make the second cut: Using scissors or a utility knife, make a straight cut at the marked location on the hose. This will remove the damaged section, leaving you with two clean ends.
It’s important to ensure that the cuts are straight and clean to ensure a proper and secure attachment of the replacement coupling or connector. Take your time during this step to achieve accurate cuts.
With the damaged section of the hose removed, you can now move on to the next step: inserting a coupling or connector to join the two ends of the hose.
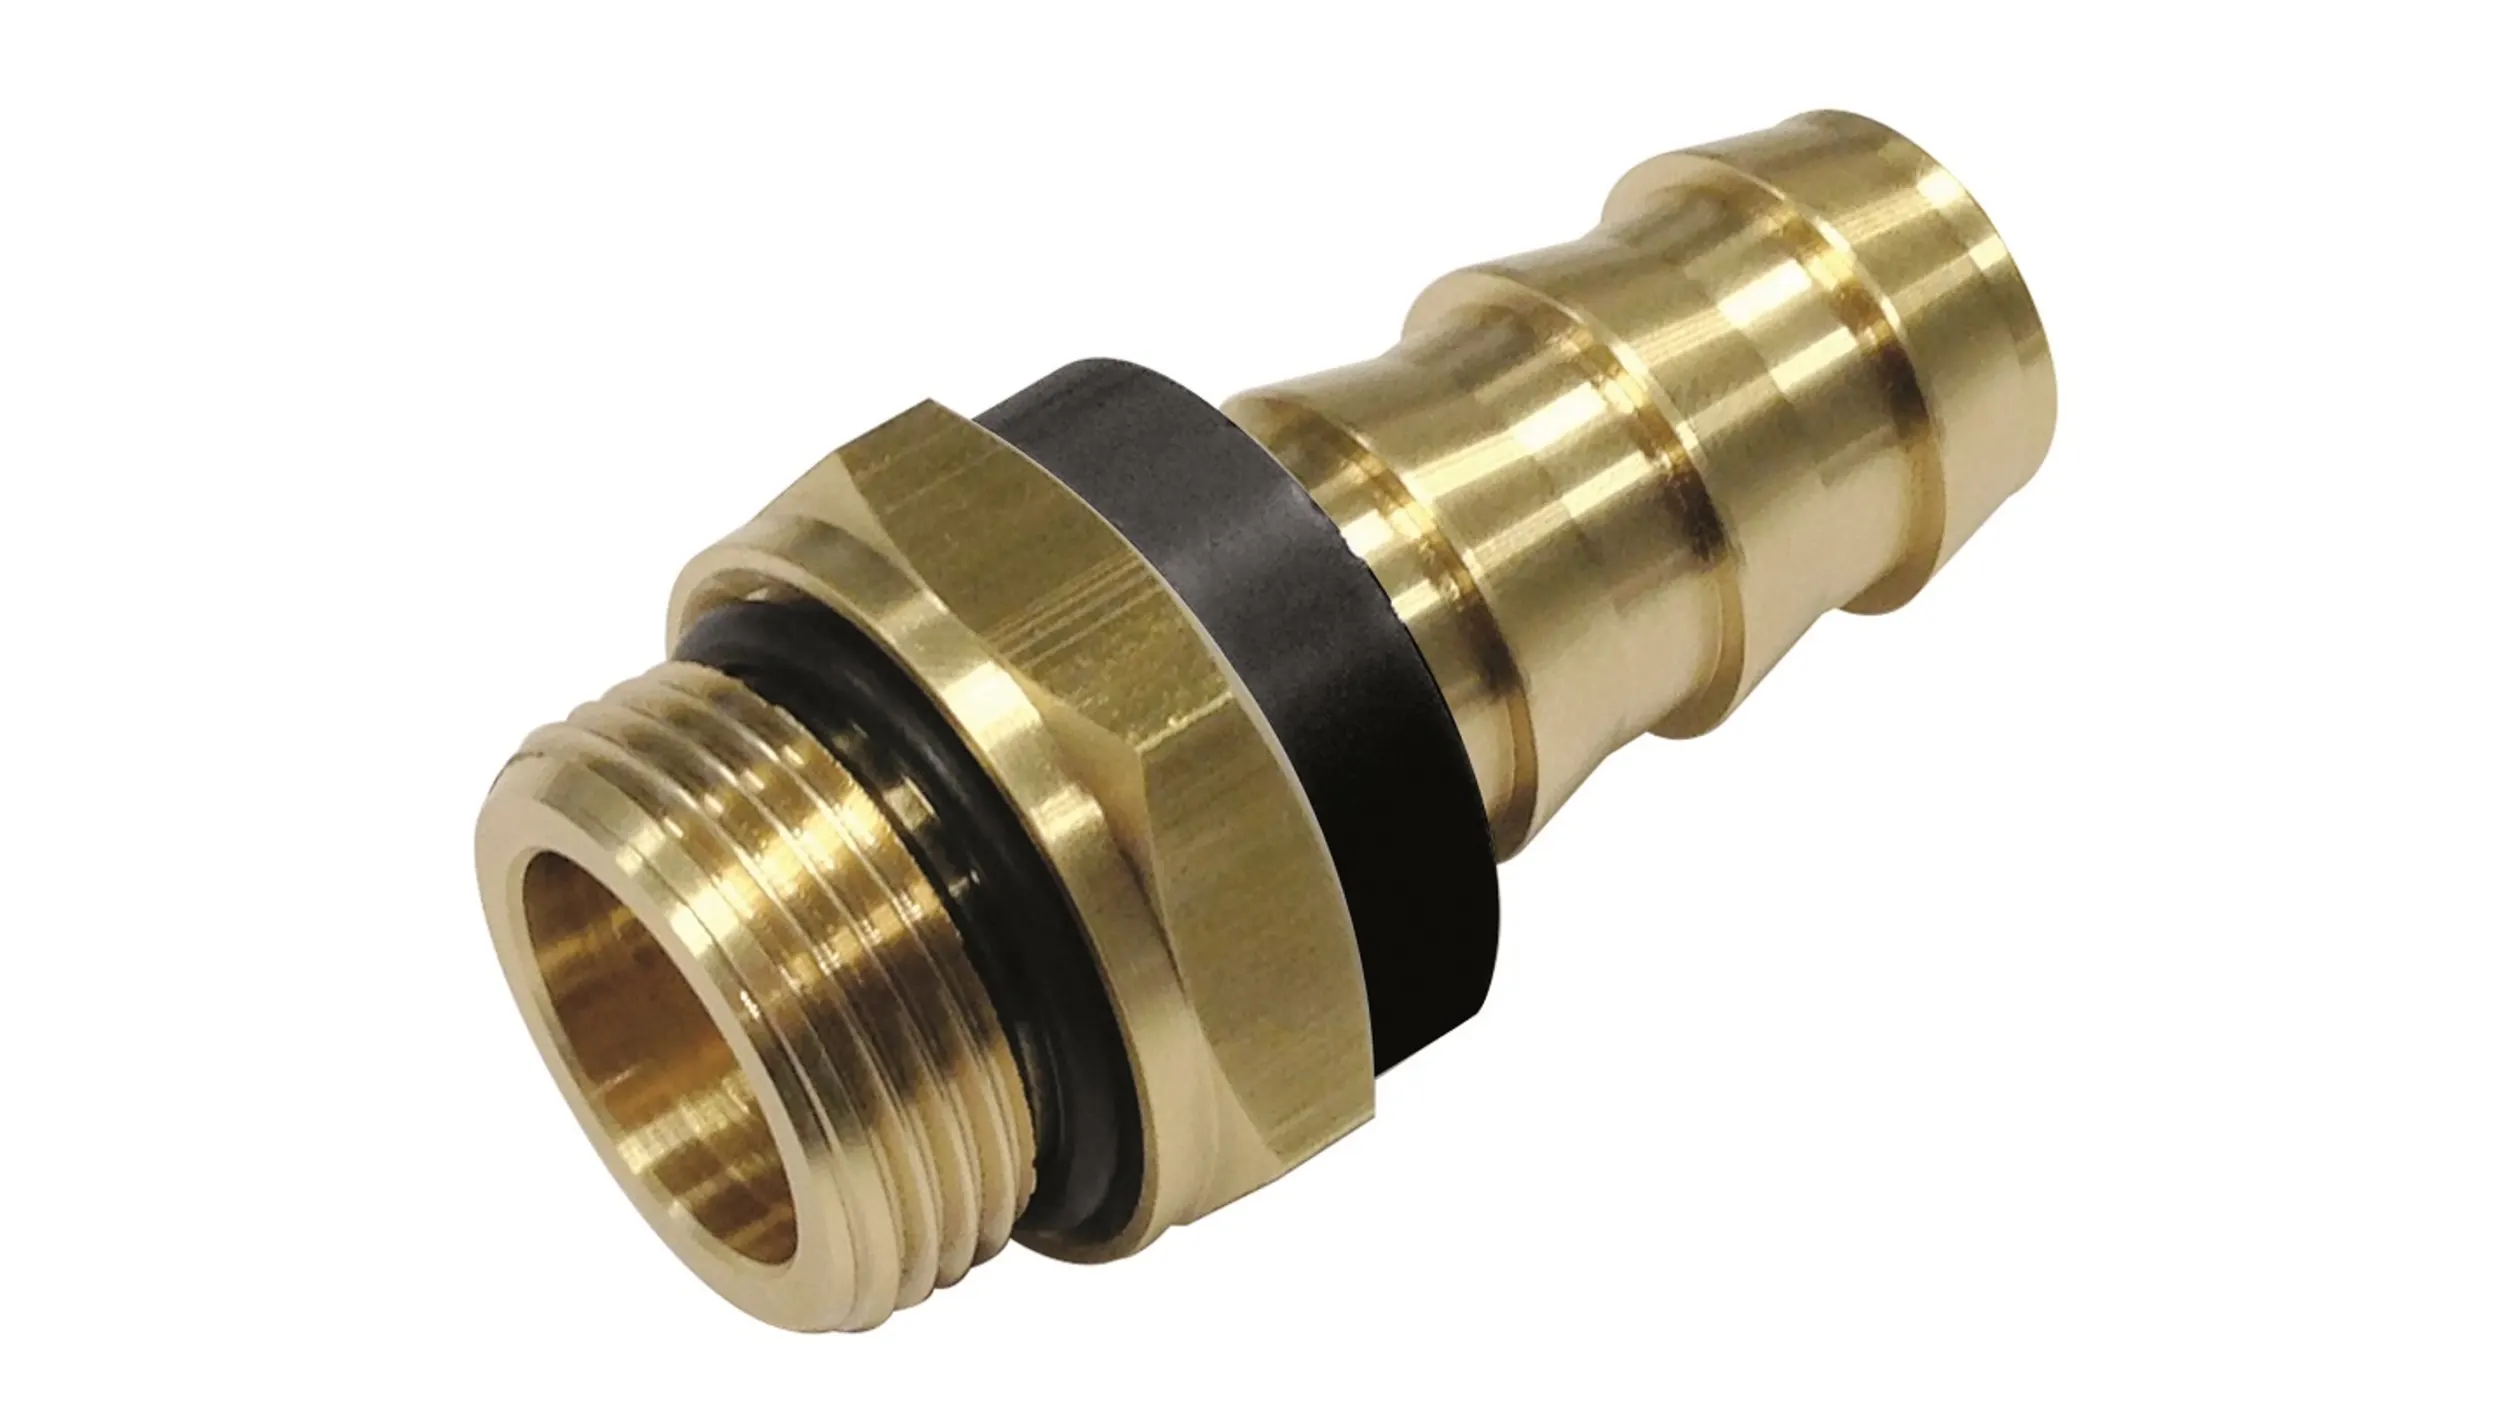
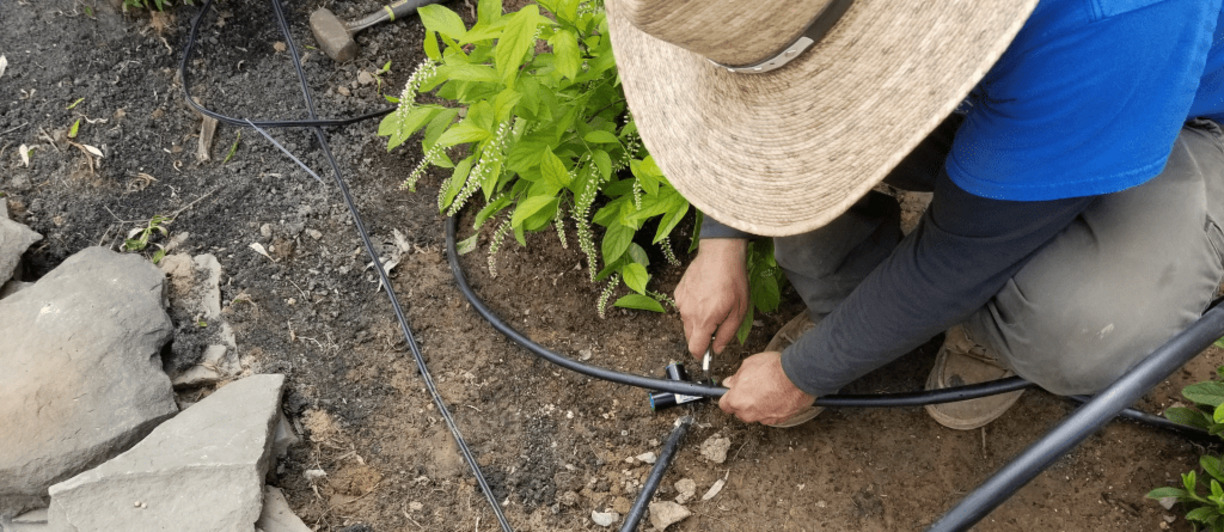
Step 4: Insert a Coupling or Connector
After cutting out the damaged section of your irrigation hose, the next step is to insert a coupling or connector to join the two ends of the hose together. This will create a secure and watertight connection. Follow these steps to insert a coupling or connector:
- Choose the appropriate coupling or connector: Select a coupling or connector that matches the size and type of your irrigation hose. Make sure it is compatible and will create a tight fit.
- Lubricate the ends of the hose: Apply a small amount of water or a lubricating solution to the ends of the hose. This will make it easier to insert the coupling or connector and reduce the risk of damaging the hose.
- Insert one end into the coupling/connector: Take one end of the hose and insert it into one side of the coupling or connector. Push it all the way in until it is snug and secure.
- Repeat for the other end: Take the other end of the hose and insert it into the remaining side of the coupling or connector. Push it in firmly until it is well-seated.
- Ensure a tight fit: Check that both ends are securely inserted into the coupling or connector. There should be no gaps or wobbling. The connection should be tight and stable.
It’s important to follow the instructions provided with the coupling or connector to ensure a proper installation. Different types and brands may have specific guidelines and requirements for insertion.
Once you have successfully inserted the coupling or connector, you are ready to move on to the next step: securing the connection between the hose and the coupling or connector.
Step 5: Secure the Connection
After inserting a coupling or connector to join the two ends of your irrigation hose, the next step is to secure the connection to ensure it remains tight and leak-free. This will help maintain the integrity of your repair. Follow these steps to secure the connection:
- Slide hose clamps onto the hose: Take hose clamps that are appropriate for the size of your hoses and slide them onto each end of the hose. Position them close to the coupling or connector but leave enough space to work with.
- Tighten the hose clamps: Using a screwdriver, tighten each hose clamp to secure the connection. Start from one end and work your way to the other, making sure the clamps are tightened evenly. Be careful not to overtighten and damage the hose or coupling.
- Check for any gaps or leaks: Once the hose clamps are tightened, visually inspect the connection for any gaps or leaks. Tighten the clamps further if needed to ensure a tight and secure connection.
It’s essential to ensure that the hose clamps are properly tightened but not overly tightened. Over-tightening can cause damage to the hose or the coupling, leading to leaks or a weakened connection. Use caution and tighten the clamps just enough to create a secure fit.
With the connection securely fastened, you are nearing the end of the repair process. However, before concluding, it’s important to test the repair to ensure its effectiveness.
Step 6: Test the Repair
After securing the connection between the two ends of your irrigation hose, it’s crucial to test the repair to ensure that it is effective and leak-free. Testing the repair will give you confidence that your irrigation system is working properly. Follow these steps to test the repair:
- Turn on the water supply: Gradually turn on the water supply to your irrigation system. Start with a low flow setting to ease into the testing process.
- Check for leaks: Inspect the repaired section of the hose for any signs of leaks. Look for drips, water spraying, or any water escaping from the repaired area.
- Monitor the repair: Allow water to flow through the hose for a few minutes and closely observe the repaired section. Ensure that the connection remains tight and there are no signs of water leakage.
If you notice any leaks or issues during the testing phase, you may need to reevaluate the repair and make adjustments. This could involve tightening the hose clamps, applying additional sealing materials, or considering alternative repair methods.
Once you have confirmed that the repair is successful and there are no leaks, you can proceed with operating your irrigation system as usual. Regularly monitor the repaired area in the following days to ensure that the repair holds up over time.
Congratulations! You have successfully patched your irrigation hose and restored its functionality. By following these steps and taking proper maintenance measures, you can extend the lifespan of your hose and avoid unnecessary water loss and expenses.
Conclusion
Patching an irrigation hose is a straightforward and cost-effective solution for fixing leaks and ensuring the efficient operation of your irrigation system. By following the steps outlined in this guide, you can easily locate the leak, prepare the hose, cut out the damaged section, insert a coupling or connector, secure the connection, and test the repair.
Remember, prevention is key to maintaining a well-functioning irrigation system. Regularly inspect your hoses for any signs of damage or potential leaks. By identifying and addressing issues early on, you can prevent further damage and costly repairs.
Furthermore, ensure that you have the necessary tools and materials ready before beginning the repair process. This will make the task more efficient and less time-consuming.
By taking the time to patch your irrigation hose, you are not only saving money but also contributing to water conservation efforts. Fixing leaks promptly helps prevent unnecessary water loss and ensures that your plants receive the appropriate amount of water.
With the knowledge and skills gained from this guide, you can confidently tackle any future hose repair needs that may arise. Remember to test your repair and keep an eye on the patched area to ensure its effectiveness over time.
Now, armed with these techniques, go ahead and restore the integrity of your irrigation system with ease. Happy repairing!