Home>Gardening Tips and Tricks>Problem Solving>How To Splice Drip Irrigation Line
Problem Solving
How To Splice Drip Irrigation Line
Modified: January 22, 2024
Learn how to solve common problems with splicing drip irrigation line. Find step-by-step instructions and expert tips for successful splicing.
(Many of the links in this article redirect to a specific reviewed product. Your purchase of these products through affiliate links helps to generate commission for Chicagolandgardening.com, at no extra cost. Learn more)
Table of Contents
Introduction
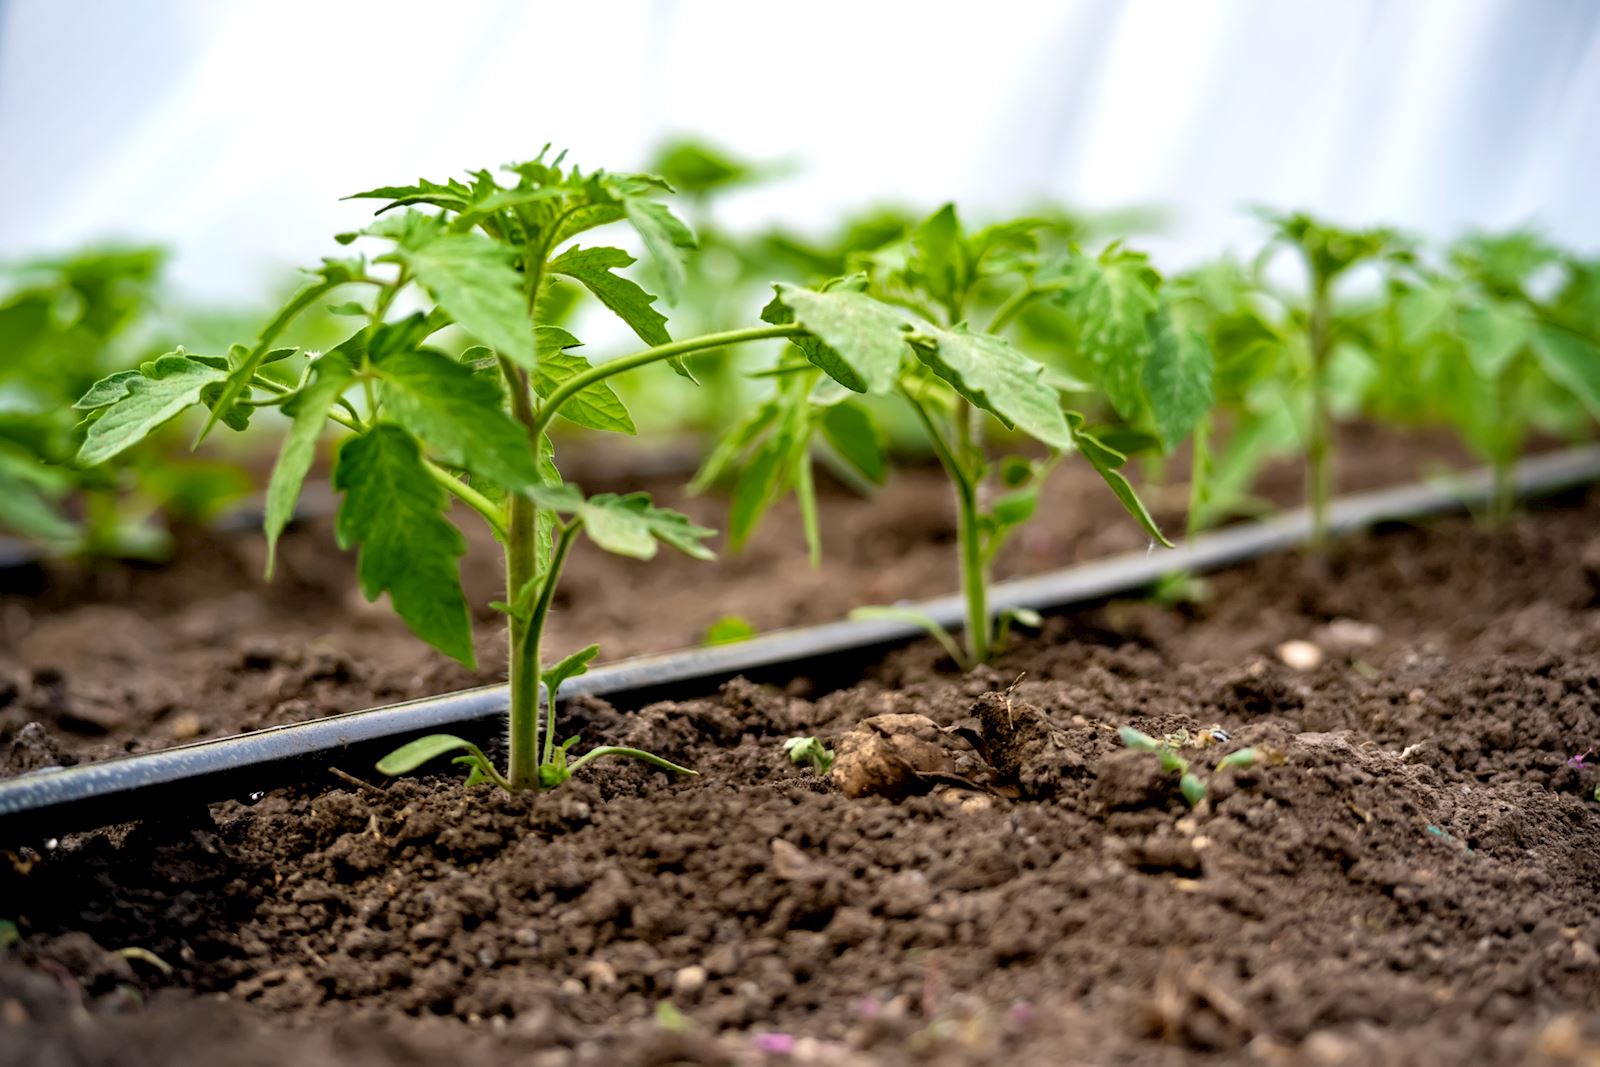
Welcome to the world of drip irrigation! If you’re a gardener or a farmer looking for an efficient and effective way to water your plants, drip irrigation can be a game-changer. It delivers water directly to the root zone, minimizing evaporation and ensuring that your plants receive the perfect amount of water they need to thrive.
One crucial aspect of installing and maintaining a drip irrigation system is splicing the drip irrigation line. This process involves connecting two pieces of tubing securely, ensuring a continuous and leak-free flow of water. Properly splicing the drip irrigation line is essential for preventing water wastage and maximizing the efficiency of your system.
In this article, we will guide you through the process of splicing a drip irrigation line, step-by-step. Whether you’re a beginner or have some experience with drip irrigation, this guide will provide you with the knowledge and insights you need to successfully splice your drip irrigation line.
We’ll cover everything from the advantages of splicing drip irrigation lines to the tools and materials required for the job. Additionally, we’ll share tips and tricks to help you avoid common mistakes and ensure a seamless and secure splice. So, let’s dive in and explore the world of drip irrigation line splicing!
What is Drip Irrigation Line Splicing?
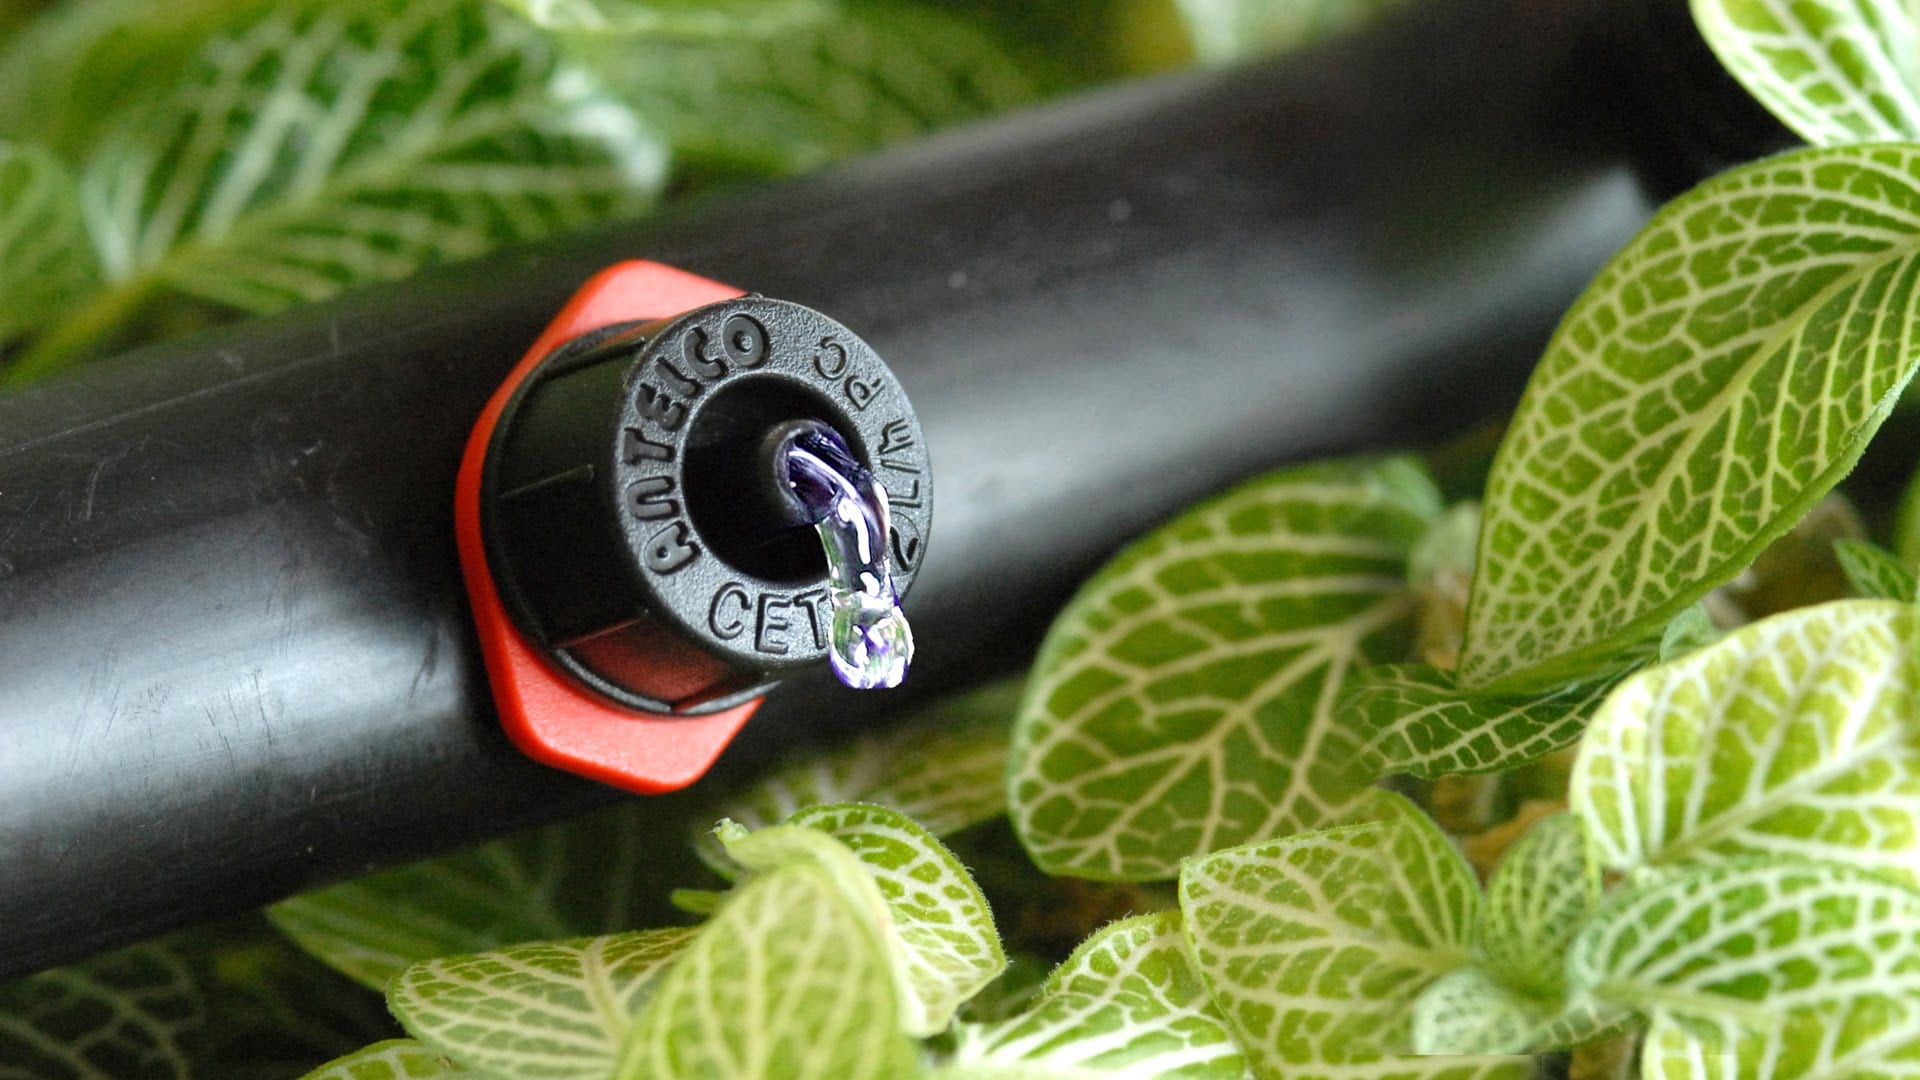
Drip irrigation line splicing refers to the process of joining two sections of drip irrigation tubing together to create a continuous and leak-free flow of water. This is typically done when extending or repairing an existing drip irrigation system. Splicing allows water to flow seamlessly from the water source to the plants, ensuring efficient water distribution and maximizing the system’s effectiveness.
There are various methods and techniques used for splicing drip irrigation lines, such as using connectors, compression fittings, or barbed fittings. The specific method you choose will depend on the type of drip tubing you’re working with and personal preference.
Splicing the drip irrigation line is an essential skill for anyone looking to install or maintain a drip irrigation system. It allows you to customize the layout of your system, adapt it to specific garden or field configurations, and overcome any obstacles in the way.
By properly splicing the drip irrigation line, you can ensure a steady and precise flow of water to your plants, preventing water wastage and promoting plant health. Additionally, splicing can save you time and money by avoiding the need for expensive replacements or extensive modifications to your existing system.
When done correctly, drip irrigation line splicing creates a secure connection that is durable and resistant to leaks. This ensures that water is delivered directly to the plant roots, reducing the risk of evaporation and water loss.
Whether you’re a professional farmer or an avid gardener, understanding and mastering the art of splicing drip irrigation lines is an essential skill that will enhance the efficiency and effectiveness of your watering system.
Advantages of Splicing Drip Irrigation Line
Splicing the drip irrigation line offers several advantages that make it a worthwhile practice for any gardener or farmer utilizing a drip irrigation system. Let’s explore some of the key benefits:
- Flexibility: Splicing allows for greater flexibility in designing and customizing your drip irrigation system. By being able to connect and disconnect sections of tubing, you can easily adapt the system to fit the specific layout of your garden or field. This flexibility ensures that every plant receives the right amount of water, enhancing overall efficiency and plant health.
- Cost-effective: Splicing the drip irrigation line is a cost-effective solution compared to replacing or extending the entire tubing. By reusing existing sections and only adding the necessary connecting components, you can save money while still achieving a seamless water flow in your system.
- Time-saving: Repairing or expanding a drip irrigation system can be time-consuming if you have to dig up and replace an entire section of tubing. Splicing allows for quick and efficient repairs or modifications, minimizing the downtime of your system and ensuring that your plants receive the water they need without delay.
- Prevents water wastage: Properly splicing the drip irrigation line ensures a leak-free connection, preventing water wastage. Water is delivered directly to the plant roots, minimizing evaporation and maximizing water efficiency. This not only helps conserve water but also saves you money on water bills and reduces the environmental impact of irrigation.
- Durability: When done correctly, splicing creates a strong and secure connection between the tubing sections. This helps prevent damage and leaks, ensuring a long-lasting and reliable drip irrigation system.
By utilizing the advantages of splicing drip irrigation lines, you can have a more efficient, cost-effective, and environmentally friendly watering system for your plants.
Tools and Materials Required
Before you start splicing the drip irrigation line, it’s important to gather the necessary tools and materials. Having everything on hand will ensure a smooth and efficient splicing process. Here’s a list of the essential items you’ll need:
- Drip irrigation tubing: The tubing is the main component that carries water from the source to your plants. Make sure you have enough tubing to connect the desired sections.
- Splicing connectors: Depending on the type of drip irrigation tubing you’re using, you’ll need suitable connectors for splicing. These connectors may include compression fittings, barbed fittings, or other compatible connectors.
- Utility knife or tubing cutter: A sharp utility knife or a dedicated tubing cutter will come in handy for cutting the drip irrigation tubing cleanly and accurately.
- Teflon tape: Teflon tape is used to create a watertight seal when connecting threaded fittings, such as those found in compression fittings.
- Pressure regulator (optional): If your drip irrigation system requires a pressure regulator, make sure to have one available. This device helps control and maintain the appropriate water pressure within the system.
- Adjustable wrench: An adjustable wrench can be useful for tightening fittings and ensuring a secure connection.
- Pipe cleaner or sandpaper: Depending on the type of connectors you’re using, a pipe cleaner or sandpaper may be needed to clean and prepare the ends of the tubing for splicing.
It’s essential to use high-quality tools and materials to ensure a successful and long-lasting splice. Investing in reliable components will save you time and frustration in the long run.
Before starting the splicing process, double-check that you have all the necessary tools and materials. This preparation will help you complete the task smoothly and efficiently without any interruptions.
Step-by-Step Guide to Splice Drip Irrigation Line
Splicing the drip irrigation line may seem daunting at first, but with the right approach, it can be a straightforward process. Here’s a step-by-step guide to help you splice your drip irrigation line:
- Prepare the tubing: Cut the drip irrigation tubing cleanly and squarely using a utility knife or tubing cutter. Ensure that the ends of the tubing are straight and free from any debris.
- Clean the ends: If you’re using connectors that require a clean and smooth surface for a secure connection, use a pipe cleaner or sandpaper to clean and prepare the ends of the tubing. This step ensures a better bond between the tubing and the connectors.
- Insert the connector: Depending on the type of connector you’re using, carefully insert it into the end of the tubing. Make sure the connector is pushed in fully to create a tight connection.
- Secure the connection: If you’re using compression fittings, hand-tighten the nut onto the connector. Then, use an adjustable wrench to give it an extra quarter-turn to ensure a secure connection. If you’re using barbed fittings, use pliers to squeeze the tubing onto the barbs, creating a tight seal.
- Repeat the process: If you need to extend the drip irrigation line or connect multiple sections, repeat the process for each splice. Remember to clean the ends, insert the connectors, and secure the connections properly.
- Pressure test: Once all the splices are completed, turn on the water supply and check for any leaks or drips. If you notice any leaks, tighten the connections further or replace any faulty components.
- Secure the tubing: Use stakes or clips to secure the drip irrigation tubing to the ground or supporting structures. This will prevent any movement or disconnection of the spliced sections.
- Monitor and adjust: Regularly monitor your drip irrigation system for any issues or adjustments that may be needed. This includes checking for leaks, adjusting water flow rates, and ensuring proper coverage for your plants.
By following these step-by-step instructions, you’ll be able to splice your drip irrigation line with confidence and achieve a reliable and efficient water distribution system for your plants.
Tips for Successful Splicing
Splicing drip irrigation lines can be a straightforward process, but here are some tips to ensure a successful splice and achieve optimal performance from your system:
- Choose the right connectors: Select connectors that are compatible with the type of drip irrigation tubing you’re using. Make sure they provide a secure and leak-free connection.
- Follow manufacturer instructions: Each brand and type of connector may have specific instructions for installation. Read and follow the manufacturer’s guidelines to ensure a proper splice.
- Clean and prepare the tubing: Clean the ends of the tubing and remove any debris or dirt before inserting the connectors. This will ensure a better connection and prevent blockages or leaks.
- Avoid over-tightening: While it’s important to secure the connections, be careful not to over-tighten compression fittings, as this can cause damage or leaks. Follow the recommended tightening instructions provided by the manufacturer.
- Test for leaks: After completing the splices, turn on the water supply and carefully inspect the connections for any leaks. It’s better to address any leaks immediately to prevent water wastage and potential damage to your plants.
- Use Teflon tape: When using compression fittings with threaded connections, wrap the threads with Teflon tape to create a watertight seal. This will help minimize the risk of leaks.
- Properly support the tubing: Use stakes, clips, or other supports to secure the drip irrigation tubing in place. This will prevent strain on the splices and minimize the risk of disconnection.
- Regularly check and maintain the system: Periodically inspect and maintain your drip irrigation system. Look for any signs of leaks, blockages, or damage, and address them promptly.
By following these tips, you’ll increase the success rate of your splices and ensure the longevity and efficiency of your drip irrigation system. Remember, proper installation and maintenance are key to achieving optimal performance from your system.
Common Mistakes to Avoid
When splicing drip irrigation lines, it’s important to be aware of common mistakes that can lead to issues or inefficiencies in your system. By avoiding these mistakes, you can ensure a smooth and successful splice. Here are some common mistakes to watch out for:
- Inadequate cleaning: Failing to properly clean the ends of the tubing before splicing can result in poor connections and leaks. Take the time to thoroughly clean the tubing to remove debris and ensure a secure bond.
- Using the wrong connectors: Not all connectors are compatible with all types of drip irrigation tubing. Using connectors that are not designed for your specific tubing can lead to loose connections, leaks, or even system failures. Ensure you choose connectors that are recommended for your tubing.
- Over-tightening: While it’s important to securely tighten the connections, over-tightening compression fittings can damage the tubing or fittings, leading to leaks. Follow the manufacturer’s instructions for proper tightening.
- Underestimating water pressure: Water pressure can cause stress on the spliced connections. It’s crucial to ensure that your system’s pressure is within the recommended range to avoid blowouts, leaks, or other issues.
- Ignoring leaks: Even a minor leak can waste a significant amount of water and impact the effectiveness of your drip irrigation system. Don’t overlook or ignore leaks – address them promptly to prevent water loss and damage to your plants.
- Not securing the tubing: Failing to properly secure the tubing with stakes, clips, or other supports can lead to movement or disconnection of the spliced sections. This can disrupt the water flow and compromise the efficiency of your system. Make sure to secure the tubing properly.
- Neglecting regular maintenance: Drip irrigation systems require ongoing maintenance to ensure optimal performance. Ignoring regular checks, cleaning, and maintenance can result in clogged emitters, leaks, or other system failures. Establish a maintenance routine and follow it consistently.
By being aware of these common mistakes and taking the necessary precautions, you can avoid potential issues and enjoy a well-functioning and efficient drip irrigation system.
Conclusion
Splicing drip irrigation lines is a fundamental skill for anyone utilizing a drip irrigation system. By connecting tubing sections securely and efficiently, you can ensure a continuous and leak-free flow of water to your plants, promoting healthier growth and conserving water in the process.
In this article, we explored the importance of drip irrigation line splicing and the advantages it offers. We discussed the tools and materials required and provided a step-by-step guide to help you successfully splice your drip irrigation line. Additionally, we shared tips to ensure a successful splice and common mistakes to avoid.
Remember, proper installation, maintenance, and attention to detail are key to achieving an efficient and effective drip irrigation system. Take the time to clean and prepare the tubing, choose the right connectors, and secure the connections properly. Regularly inspect and maintain your system to address any issues promptly.
By mastering the art of splicing drip irrigation lines, you can optimize the efficiency of your system, conserve water, and promote the overall health and productivity of your plants. So, roll up your sleeves, gather your tools, and dive into the world of drip irrigation line splicing!