Home>Gardening Techniques>DIY Projects>How To Use Drip Tape Irrigation
DIY Projects
How To Use Drip Tape Irrigation
Modified: January 22, 2024
Learn how to use drip tape irrigation for your DIY projects and maximize water efficiency. Step-by-step instructions and tips for successful installation.
(Many of the links in this article redirect to a specific reviewed product. Your purchase of these products through affiliate links helps to generate commission for Chicagolandgardening.com, at no extra cost. Learn more)
Table of Contents
Introduction
Are you tired of spending hours watering your garden manually? Do you want a more efficient and automated way to ensure your plants receive the right amount of water? Look no further than drip tape irrigation! Drip tape irrigation is a versatile and cost-effective method of delivering water directly to the roots of your plants. Whether you have a small vegetable garden or a sprawling landscape, this DIY project can revolutionize your watering routine.
In this article, we will guide you through the world of drip tape irrigation, explaining its benefits, components, installation process, watering schedule, and maintenance tips. By the end, you’ll have all the knowledge you need to set up your own efficient and effective drip tape irrigation system.
Drip tape irrigation offers numerous advantages over traditional watering methods. Not only does it reduce water loss from evaporation and runoff compared to overhead sprinklers, but it also minimizes weed growth and disease spread by targeting water directly at the root zone of your plants. Additionally, this method allows for better control over water distribution and conservation, making it an eco-friendly choice for gardeners.
Before we dive into the details, let’s explore the components that make up a drip tape irrigation system. Understanding these components will help you plan and execute your project with ease.
Benefits of Drip Tape Irrigation
Drip tape irrigation offers a wide range of benefits that make it an attractive option for gardeners and homeowners. Let’s take a closer look at some of the key advantages:
- Water Efficiency: Drip tape irrigation is incredibly water-efficient. With this method, water is delivered directly to the plant’s root zone, minimizing water loss due to evaporation and runoff. Compared to traditional systems, you can reduce water usage by up to 50%.
- Weed Control: By targeting water only at the base of your plants, drip tape irrigation helps to suppress weed growth. By reducing moisture on the surface of your garden, you can significantly minimize weed germination and establishment.
- Disease Prevention: Overhead watering methods, such as sprinklers, can lead to foliage diseases. Drip tape, on the other hand, keeps the foliage dry, making it less susceptible to diseases caused by excessive moisture.
- Customizable Watering: Drip tape allows you to customize the watering schedule and duration based on individual plant needs. This precision watering ensures that each plant receives the optimal amount of water, reducing the risk of over or under-watering.
- Time and Labor Savings: Once the drip tape irrigation system is set up, it requires minimal maintenance and supervision. This means you can spend less time manually watering your garden and more time enjoying its beauty.
In addition to these core benefits, drip tape irrigation also helps promote healthy plant growth, prevents soil erosion, conserves water resources, and can even increase the overall yield of certain crops. All of these factors combined make drip tape irrigation a smart and sustainable choice for your garden or landscape.
Now that you’re aware of the numerous benefits of drip tape irrigation, let’s dig deeper into its components and how to install them in the next section.
Components of Drip Tape Irrigation System
A drip tape irrigation system consists of several key components that work together to deliver water efficiently to your plants. Understanding these components will help you plan and assemble your own system. Let’s explore each component in detail:
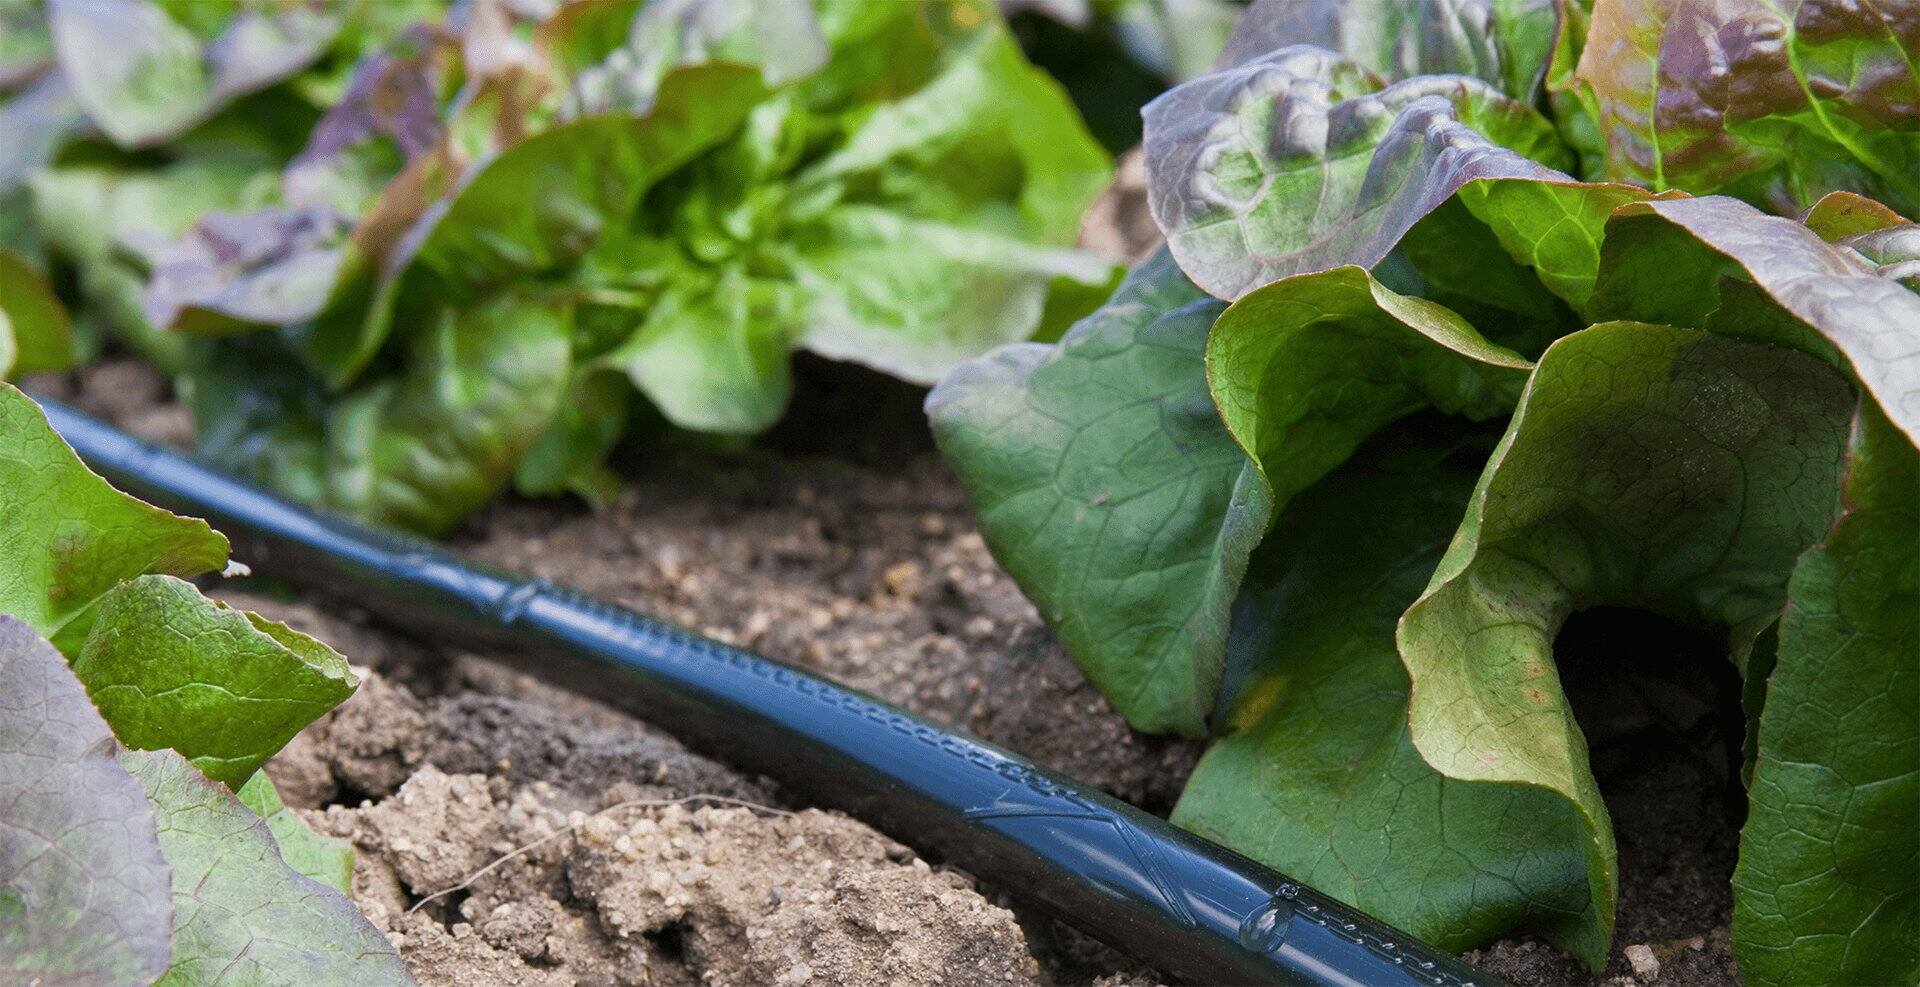
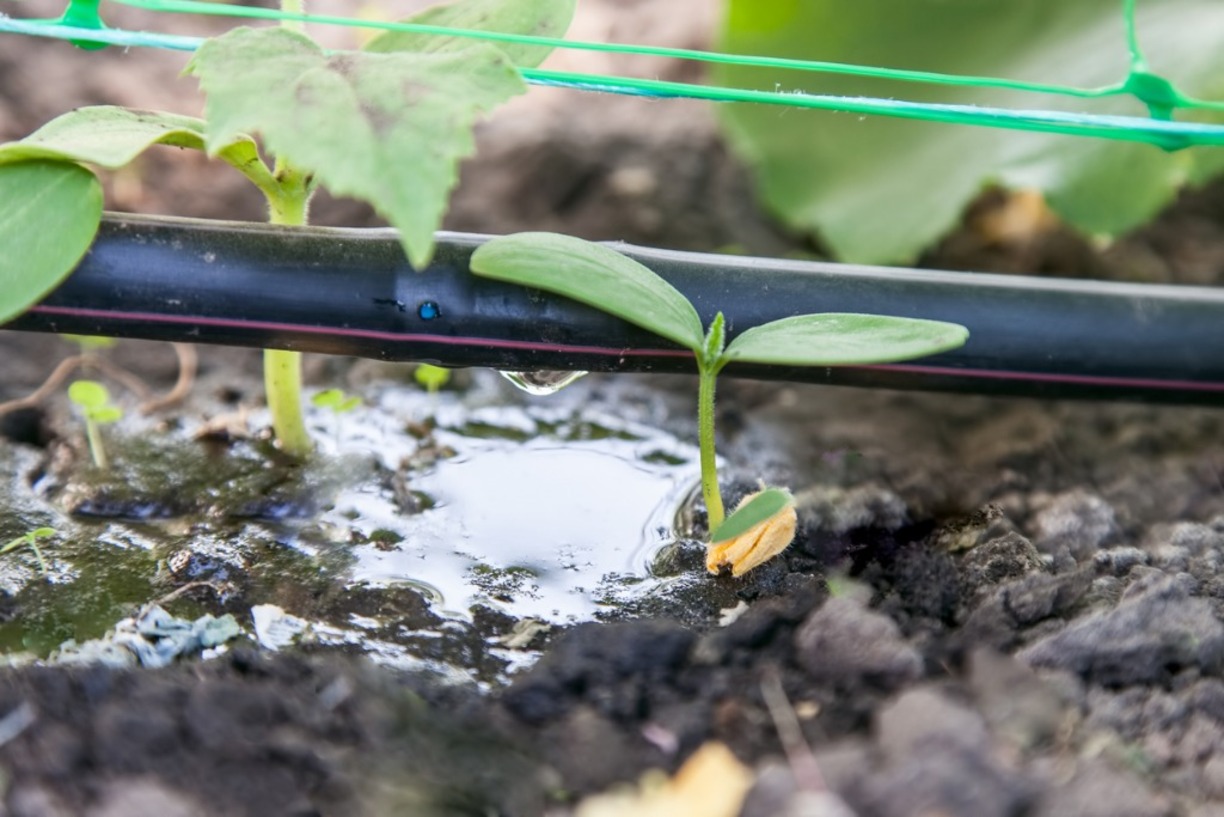
- Drip Tape: The heart of the system, drip tape is a thin, flexible tube with evenly spaced tiny emitters. The emitters release water in a slow and controlled manner, ensuring precise watering at the root zone of your plants.
- Water Source: You will need a reliable water source to supply your drip tape irrigation system. This can be a garden hose connected to an outdoor spigot, a rain barrel, or even a more sophisticated setup like a well or irrigation system.
- Backflow Preventer: To prevent any potential contamination of your water source, a backflow preventer is essential. It stops the water from flowing back into the main water supply, ensuring clean and safe irrigation.
- Pressure Regulator: Drip tape operates at a lower pressure than traditional sprinkler systems. A pressure regulator helps reduce the water pressure from your water source to the optimal level for efficient drip tape performance.
- Filters: Filters are crucial to keep debris and sediments from clogging the tiny emitters on the drip tape. Install a filter to prevent any potential blockages and ensure smooth and uninterrupted water flow.
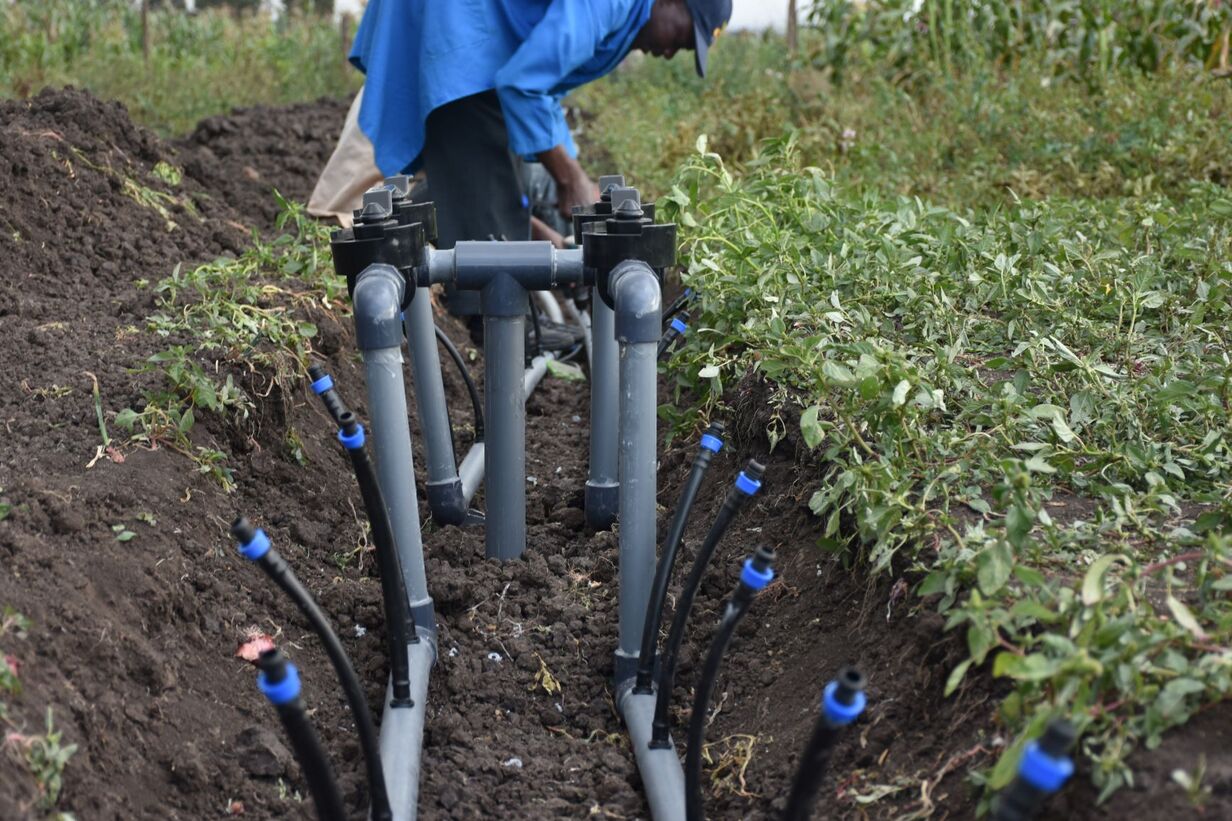
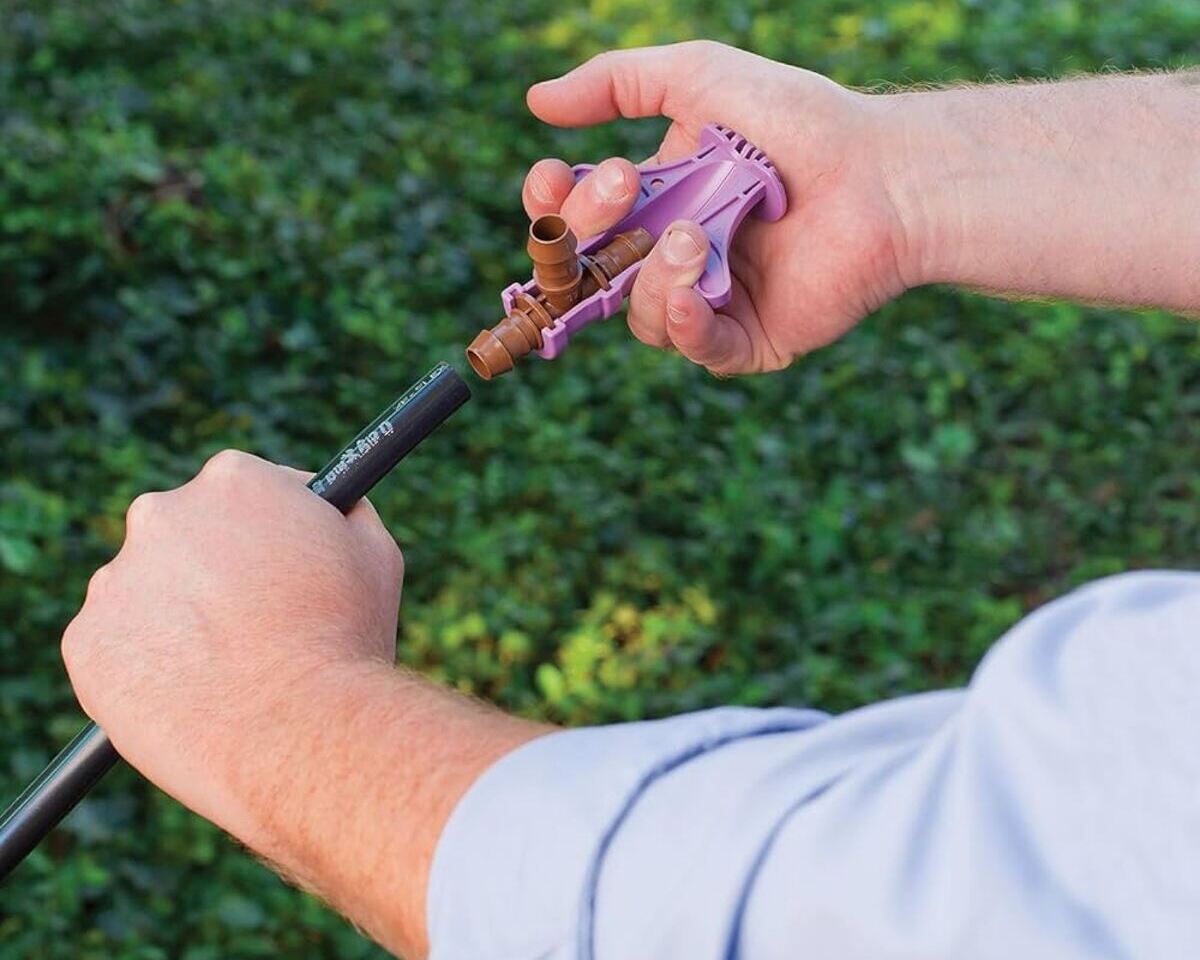
- Tubing and Fittings: Connect the drip tape to the water source using flexible tubing and specialized fittings. Tubing carries water from the main line to individual sections of the garden, while fittings create a secure connection between the drip tape and tubing.
- End Caps and Flush Valves: End caps seal the ends of the drip tape to prevent water leakage. Flush valves are used to flush out dirt and debris from the system during maintenance.
- Timer: While optional, a timer can be a valuable addition to your drip tape irrigation system. It helps automate the watering process, allowing for precise scheduling and consistent watering intervals.
These components form the foundation of your drip tape irrigation system. Before you proceed to the installation process, ensure you have all the necessary components and materials. Now, let’s move on to the next section and learn how to install a drip tape irrigation system in your garden.
Installing Drip Tape Irrigation
Installing a drip tape irrigation system may seem daunting, but with the right guidance, it can be a straightforward and rewarding DIY project. Follow these steps to set up your own drip tape irrigation system:
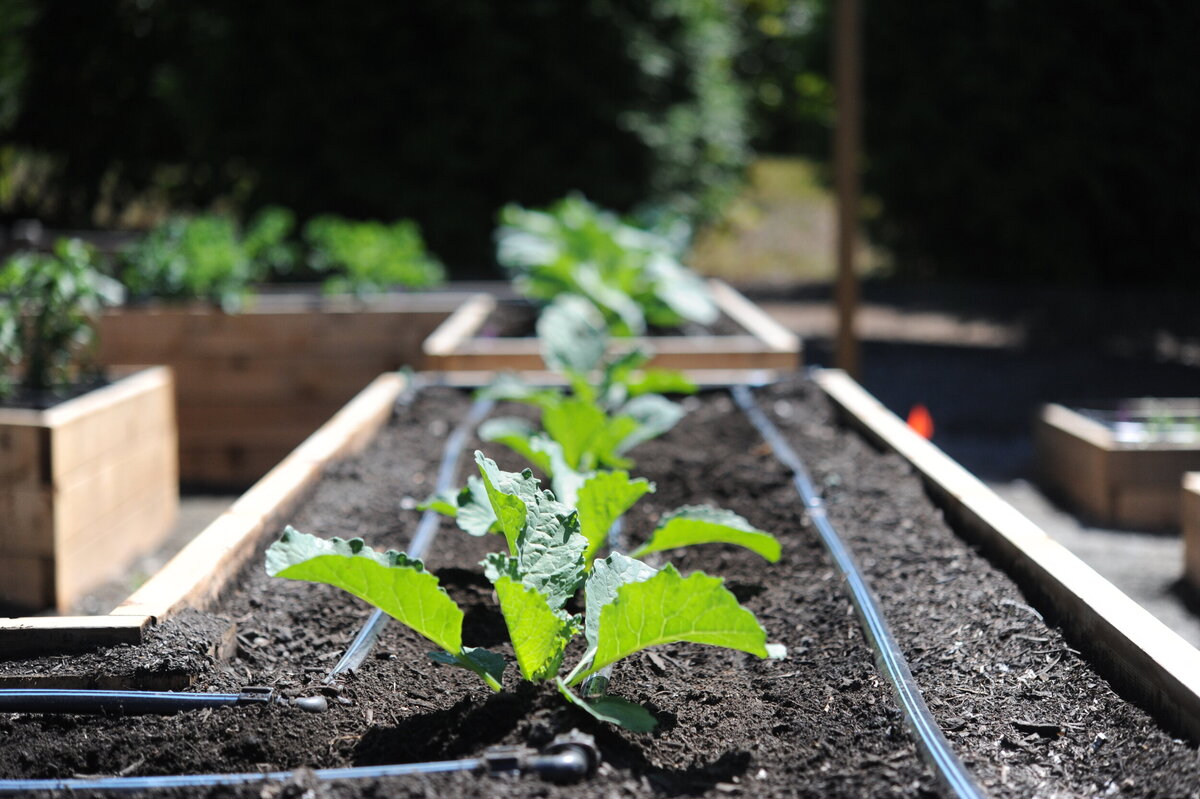
- Plan Your Layout: Before installation, create a layout for your garden or landscape. Determine the area you want to irrigate and identify the location of plants, ensuring proper spacing for the drip tape.
- Prepare the Water Source: Make sure your water source is ready. Attach a backflow preventer to the outdoor spigot or connect the system to a rain barrel or well. Install a pressure regulator and filters to ensure clean and optimal water flow.
- Lay the Mainline Tubing: Begin by laying the mainline tubing along the desired irrigation area. Connect the tubing to the water source using appropriate fittings and secure the tubing with stakes or clips at regular intervals to keep it in place.
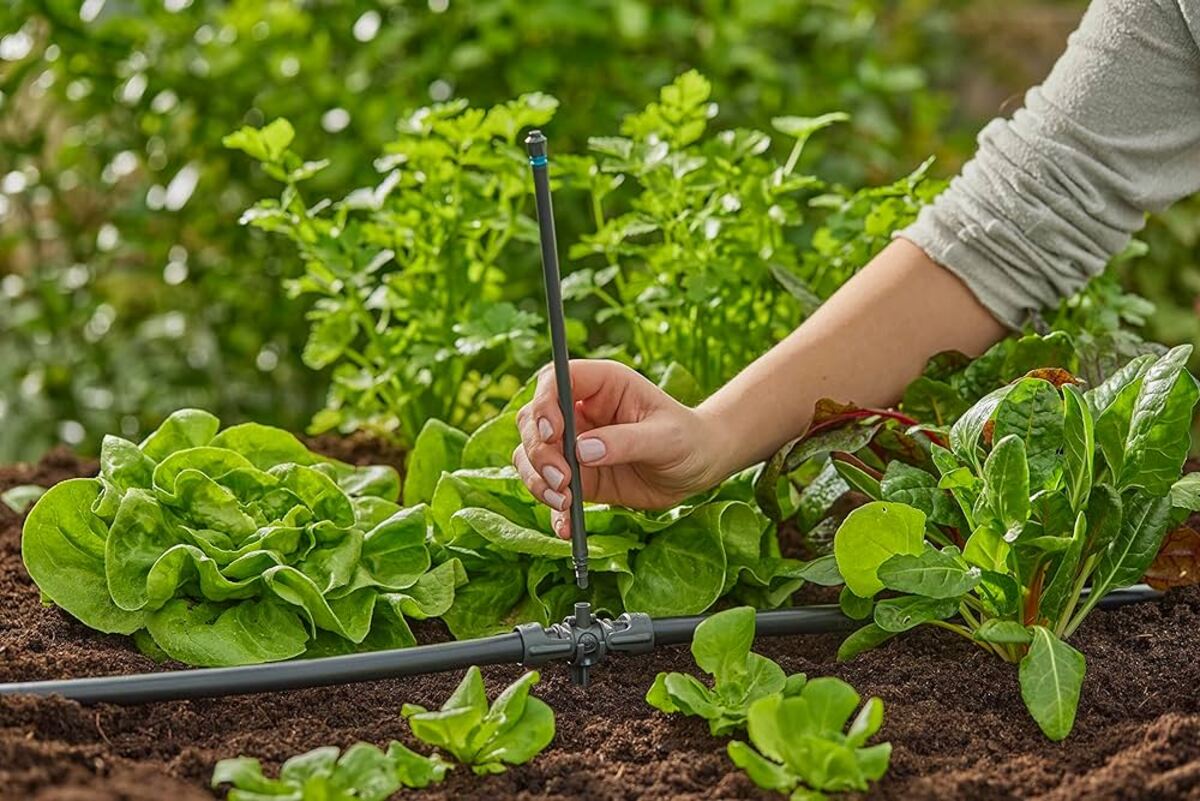
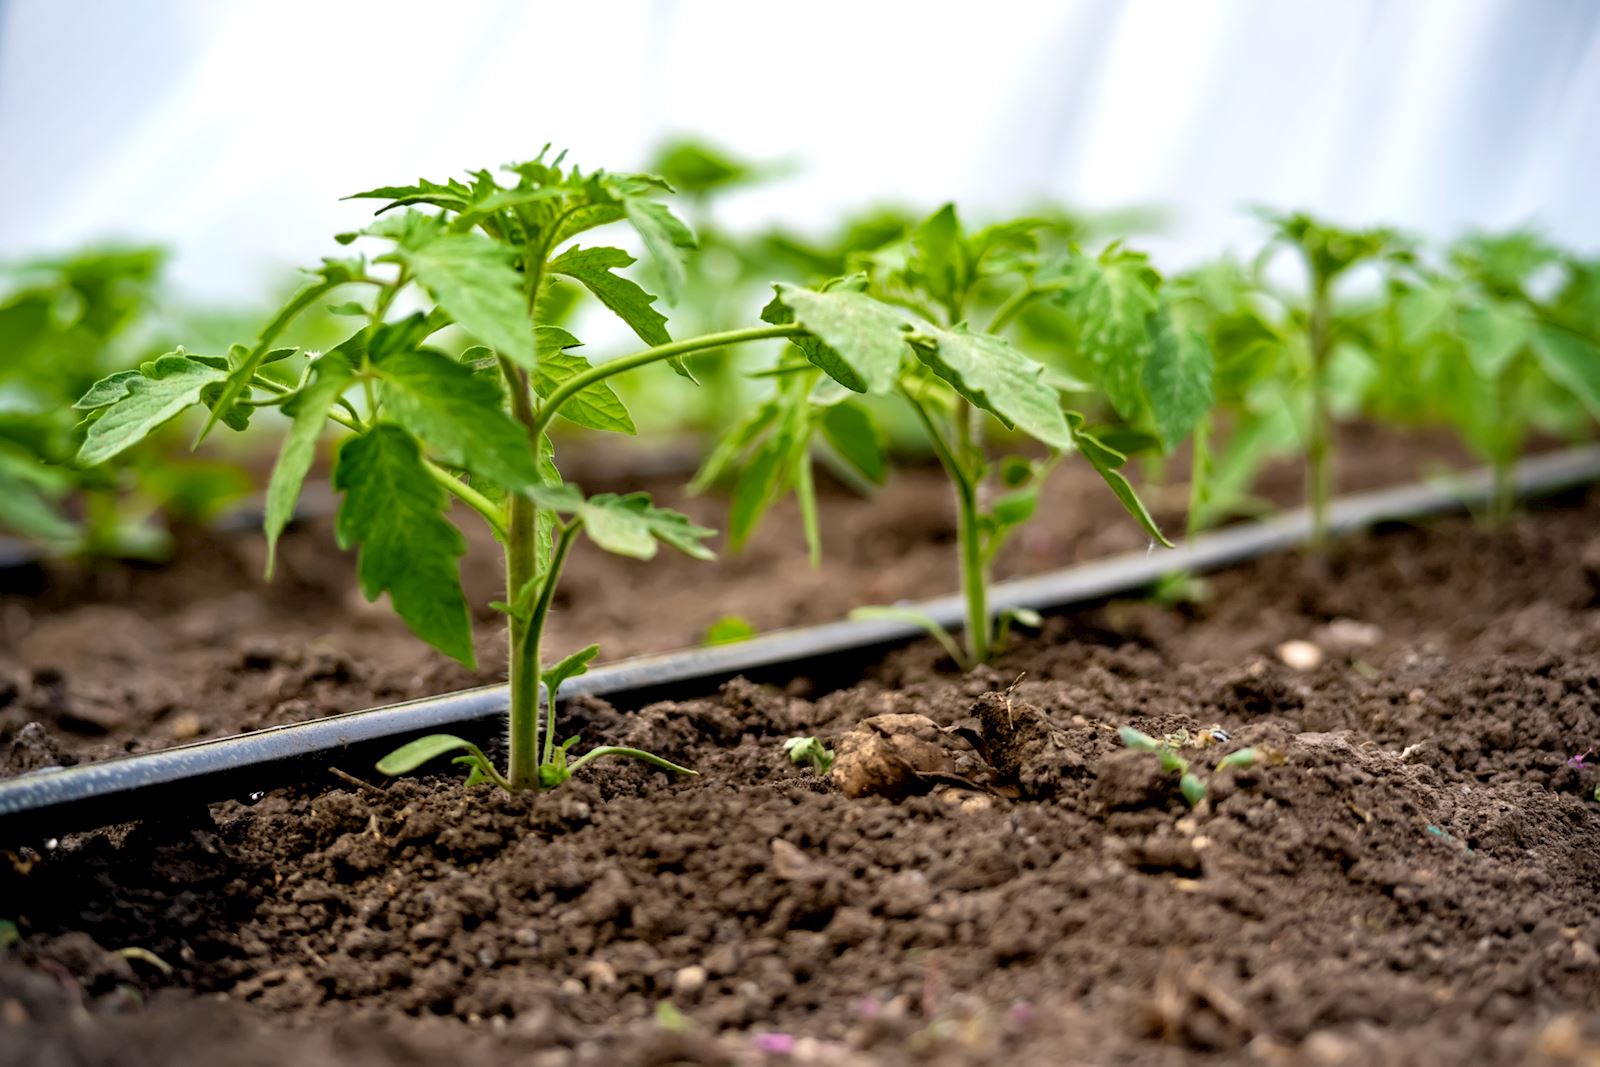
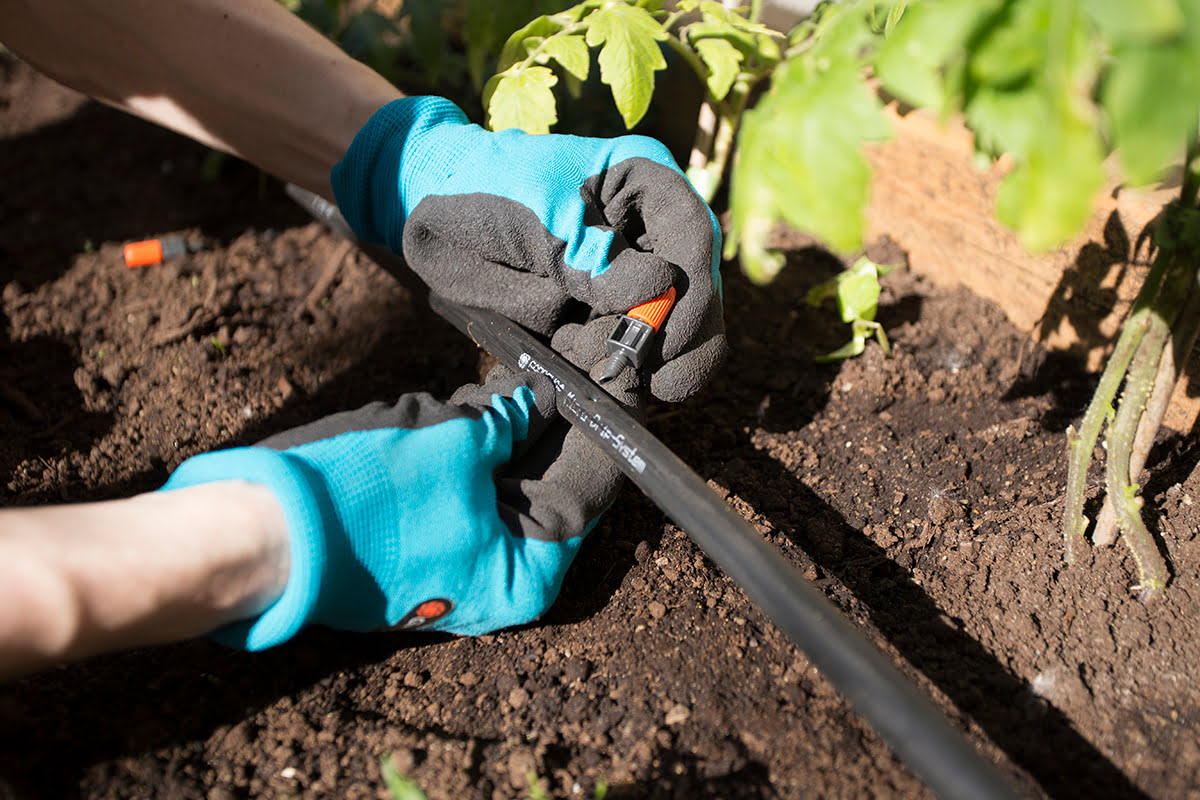
- Install the Drip Tape: Unroll the drip tape along the planting rows or around the base of individual plants. Attach the drip tape to the mainline tubing using fittings, making sure the emitters face down towards the soil. Secure the connection with clamps or zip ties.
- Attach End Caps and Flush Valves: Seal the ends of the drip tape with end caps to prevent leakage. Install flush valves at the end of each drip tape line to facilitate easy maintenance and cleaning of the system.
- Test and Adjust: Turn on the water supply and check for any leaks or issues. Adjust the water flow and ensure that each plant receives adequate irrigation. Make any necessary adjustments to the system, such as adding or relocating emitters, to ensure uniform water distribution.
- Add a Timer (Optional): If desired, install a timer to automate the watering process. Connect the timer to the water source and set the desired watering schedule and duration for optimal plant health.
Remember to regularly monitor and maintain your drip tape irrigation system. Inspect for clogs, leaks, or damage, and replace any faulty components promptly. Proper maintenance will ensure the longevity and efficiency of your system.
Now that you’ve successfully installed your drip tape irrigation system, it’s time to establish a watering schedule that meets the specific needs of your plants.
Watering Schedule for Drip Tape Irrigation
Establishing an appropriate watering schedule is essential to ensure the health and vitality of your plants when using a drip tape irrigation system. While the frequency and duration of watering will vary depending on factors such as plant type, weather conditions, and soil moisture levels, here are some general guidelines to follow:
- Know Your Plants: Different plants have varying water requirements. Research the specific watering needs of the plants in your garden or consult a gardening guide to determine the optimal watering schedule for each type of plant.
- Consider Weather Conditions: Take into account the prevailing weather conditions, including temperature, humidity, and rainfall. Adjust your watering schedule accordingly. For example, during hot and dry periods, you may need to increase the frequency and duration of watering.
- Observe Soil Moisture: Regularly monitor the moisture levels of the soil. Stick your finger about an inch into the soil to determine if it feels dry. If the soil feels moist, you can reduce the watering frequency, but if it feels dry, it’s time to water your plants.
- Watering Time: It’s generally recommended to water in the early morning or late evening when the temperatures are cooler and evaporation rates are lower. This allows the plants to absorb the water more effectively without the risk of excessive moisture sitting on the foliage.
- Watering Duration: The duration of watering will depend on factors such as the soil type, plant size, and water requirements. Aim to provide enough water to thoroughly saturate the root zone without causing excessive runoff. As a starting point, water for around 30 minutes to an hour, and adjust as needed based on the moisture level of the soil.
- Adjust as Needed: Periodically reassess and adjust your watering schedule as plants grow and the weather changes. Be flexible and responsive to the specific needs of your garden, making any necessary modifications to ensure optimal plant health.
Remember that these are general guidelines, and it’s important to make adjustments based on your specific plants and the unique conditions of your garden. Regularly assess your plants’ health, monitor soil moisture, and make changes to your watering schedule as needed.
Now that you have a good understanding of the watering schedule, let’s move on to the next section, where we’ll explore maintenance and troubleshooting tips for your drip tape irrigation system.
Maintenance and Troubleshooting Tips
To keep your drip tape irrigation system functioning optimally and ensure long-term success, regular maintenance and proactive troubleshooting are essential. Here are some key maintenance and troubleshooting tips:
- Inspect Regularly: Regularly inspect your drip tape irrigation system for any signs of damage, leaks, or clogs. Look for cracked or misaligned fittings, damaged drip tape, or sediment buildup in filters. Address any issues promptly to prevent further problems.
- Clean Filters: Clean or replace filters regularly to prevent clogging and ensure uninterrupted water flow. Sediments, debris, or algae can accumulate in filters over time, reducing the efficiency of your system. Follow the manufacturer’s instructions for proper cleaning and maintenance of the filters.
- Flush the System: Periodically flush the system to remove any dirt or debris that may have accumulated in the drip tape and emitters. This will help prevent clogging and keep your system performing at its best. Use the flush valves installed at the end of the drip tape lines to facilitate this process.
- Check for Leaks: Check for any leaks in the system, including at the connections, fittings, and end caps. Even a minor leak can lead to significant water wastage and compromise the overall effectiveness of your irrigation. Tighten connections or replace faulty components to resolve leaks.
- Adjust Emitters: Regularly check and adjust the emitters to ensure they are effectively delivering water to the root zone of your plants. Sometimes, emitters may become clogged or misdirected, impacting water distribution. Clean or reposition emitters as necessary for optimal performance.
- Monitor Soil Moisture: Continuously monitor the moisture levels of the soil to ensure plants are receiving adequate water. Use a moisture meter or perform regular manual checks. Adjust your watering schedule as needed to maintain optimal soil moisture levels for plant health.
- Protect from Freezing: If you live in an area with freezing temperatures, take precautions to protect your drip tape irrigation system during the winter months. Drain the water from the system, remove and store the drip tape, and protect the fittings and tubing from potential damage caused by freezing.
By following these maintenance and troubleshooting tips, you can keep your drip tape irrigation system running smoothly and ensure healthy plants throughout the growing season.
Now that you’re equipped with the knowledge for maintaining and troubleshooting your system, let’s wrap up this article with a quick summary.
Conclusion
Drip tape irrigation is a game-changer for gardeners and homeowners looking for a more efficient and effective way to water their plants. With its numerous benefits, such as water conservation, weed control, disease prevention, and customizable watering, drip tape irrigation is a smart and sustainable choice for any garden or landscape.
In this article, we have explored the key components of a drip tape irrigation system, guiding you through the installation process step by step. We have also discussed the importance of establishing a proper watering schedule based on plant needs, weather conditions, and soil moisture levels.
To ensure the long-term success of your drip tape irrigation system, regular maintenance is crucial. By conducting routine inspections, cleaning filters, flushing the system, and addressing any leaks or issues promptly, you can keep your system running smoothly and your plants thriving.
Remember, every garden is unique, and it may take some trial and error to find the perfect watering schedule and maintenance routine for your specific plants and conditions. Stay vigilant, observe how your plants respond to the irrigation, and make adjustments as necessary.
With a properly installed and maintained drip tape irrigation system, you can enjoy the benefits of reduced water consumption, healthier plants, and less time spent on manual watering. So, roll up your sleeves, gather the necessary components, and embark on this DIY project to transform your garden into a flourishing oasis.
Happy gardening!