Home>Gardening Tips and Tricks>Problem Solving>How To Winterize Drip Irrigation System
Problem Solving
How To Winterize Drip Irrigation System
Published: November 13, 2023
Learn how to solve common problems when winterizing your drip irrigation system with our helpful guide.
(Many of the links in this article redirect to a specific reviewed product. Your purchase of these products through affiliate links helps to generate commission for Chicagolandgardening.com, at no extra cost. Learn more)
Table of Contents
- Introduction
- Steps to Winterize a Drip Irrigation System
- Step 1: Turn off the Water Supply
- Step 2: Drain the Mainline and Filters
- Step 3: Flush the System
- Step 4: Remove and Store Emitters
- Step 5: Protect Pipes and Tubing
- Step 6: Insulate Backflow Preventer
- Step 7: Cover Above-Ground Components
- Step 8: Regular Maintenance Tips for Winterizing
- Conclusion
Introduction
During the winter months, it is essential to take steps to protect your drip irrigation system from freezing temperatures. Winterizing your drip irrigation system ensures that it remains in good working condition, ready to use when warmer weather arrives. By properly winterizing your system, you can prevent costly repairs and extend the lifespan of your irrigation equipment.
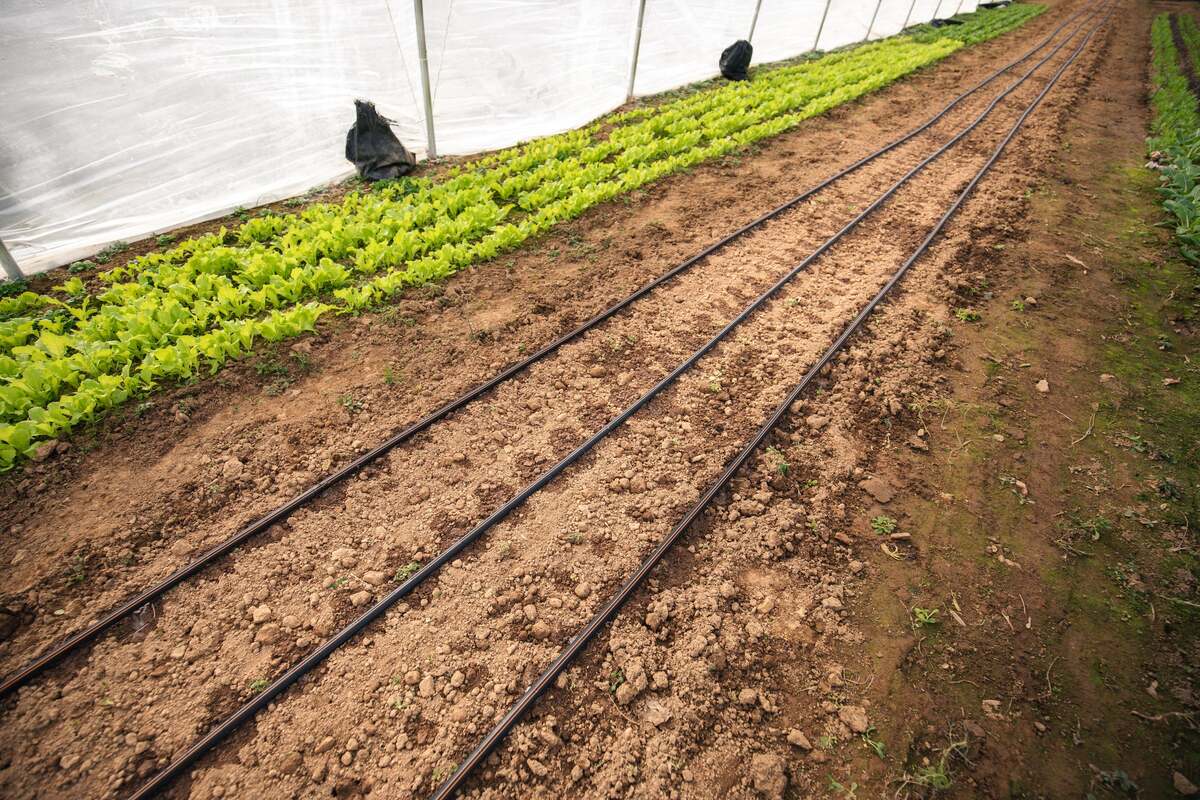
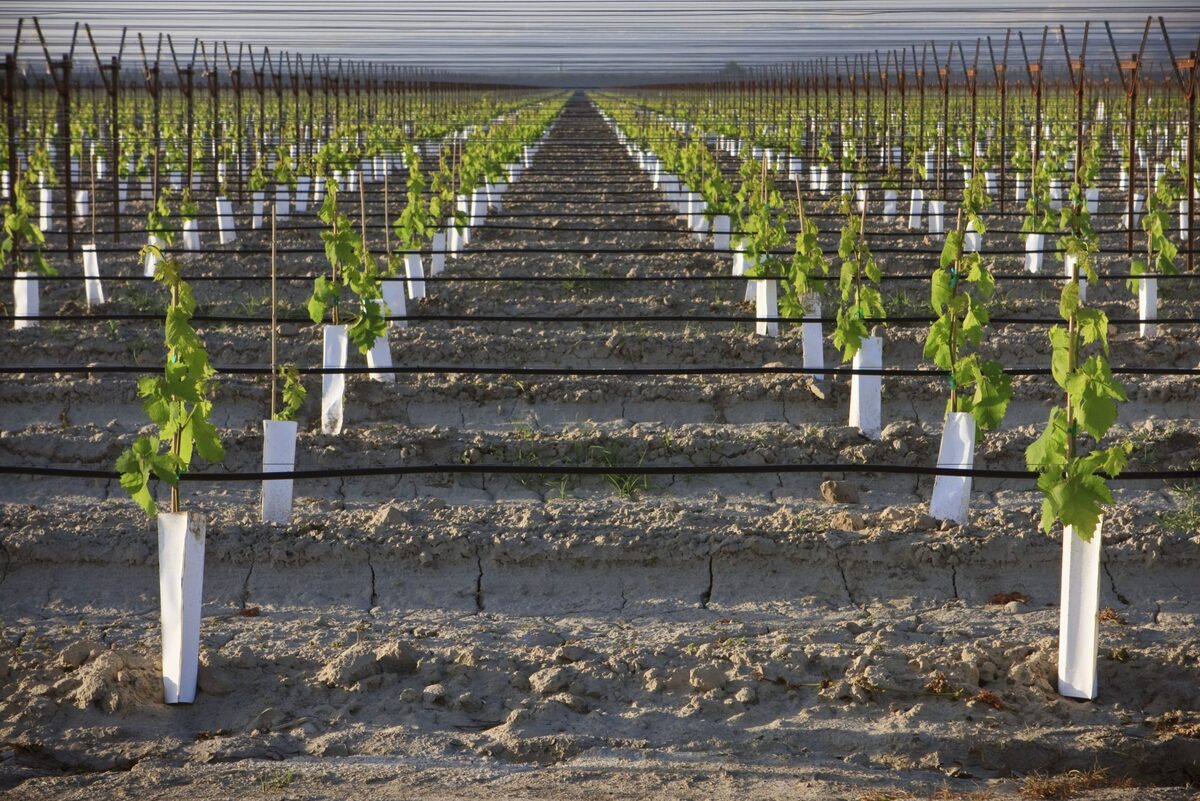
Drip irrigation systems are popular for their water efficiency and ability to deliver precise amounts of water directly to plant roots. However, the components of a drip irrigation system, including pipes, tubing, filters, and emitters, are susceptible to damage from freezing temperatures. If water freezes inside the system, it can expand and cause pipes to burst, resulting in leaks and water wastage.
Winterizing your drip irrigation system involves a series of steps to ensure that water is removed from the system and that the components are protected against freezing. It is important to follow these steps before the first freeze to avoid any potential damage.
In this article, we will guide you through the process of winterizing your drip irrigation system, step by step. By following these instructions, you can safeguard your investment and ensure that your system functions optimally for years to come.
Steps to Winterize a Drip Irrigation System
Properly winterizing your drip irrigation system involves a series of steps to ensure that all water is drained out and that the components are protected from freezing temperatures. Follow these steps to effectively winterize your drip irrigation system:
- Turn off the Water Supply: Begin by shutting off the water supply to your drip irrigation system. Locate the main shut-off valve and close it to prevent any water from flowing into the system.
- Drain the Mainline and Filters: Open all drain valves and remove any filters from the mainline. Allow the water to drain completely from the system. This step is crucial to prevent any leftover water from freezing and causing damage to the pipes.
- Flush the System: To ensure that no water remains in the pipes, open all the emitters and let water flow through the system until it runs dry. This will flush out any excess water and prevent freezing.
- Remove and Store Emitters: Take out all the emitters from the tubing and store them in a safe place for the winter. This will protect them from potential freezing and damage.
- Protect Pipes and Tubing: Inspect all pipes and tubing for any signs of damage or leaks. Repair or replace any damaged components, and insulate the pipes with foam insulation or pipe sleeves. This insulation will provide an extra layer of protection against freezing temperatures.
- Insulate Backflow Preventer: If your drip irrigation system has a backflow preventer, be sure to insulate it properly. Wrap it with insulation tape or use a protective cover specifically designed for backflow preventers.
- Cover Above-Ground Components: If you have any above-ground components, such as pressure regulators or timers, cover them with insulation bags or tarps to protect them from freezing temperatures.
- Regular Maintenance Tips for Winterizing: In addition to the specific steps outlined above, there are a few general maintenance tips to keep in mind when winterizing your drip irrigation system. These include:
- Checking for leaks or clogs in the system and addressing them before winter arrives.
- Cleaning and storing any tools or equipment used for your drip irrigation system.
- Marking the location of all buried components, such as valves or junctions, for easy identification in the spring.
By following these steps and incorporating regular maintenance, you can effectively winterize your drip irrigation system and protect it from potential damage caused by freezing temperatures. Taking the time to properly winterize your system will save you time and money, ensuring that your drip irrigation system remains in optimal condition for many growing seasons to come.
Step 1: Turn off the Water Supply
Before you begin the process of winterizing your drip irrigation system, the first step is to turn off the water supply. Locate the main shut-off valve that controls the water flow to your irrigation system and close it to prevent any water from entering the system.
Turning off the water supply is essential to ensure that no water flows into the system during the winter months. If water were to remain in the system and freeze, it could expand and cause pipes to burst, resulting in leaks and potential damage to your irrigation system.
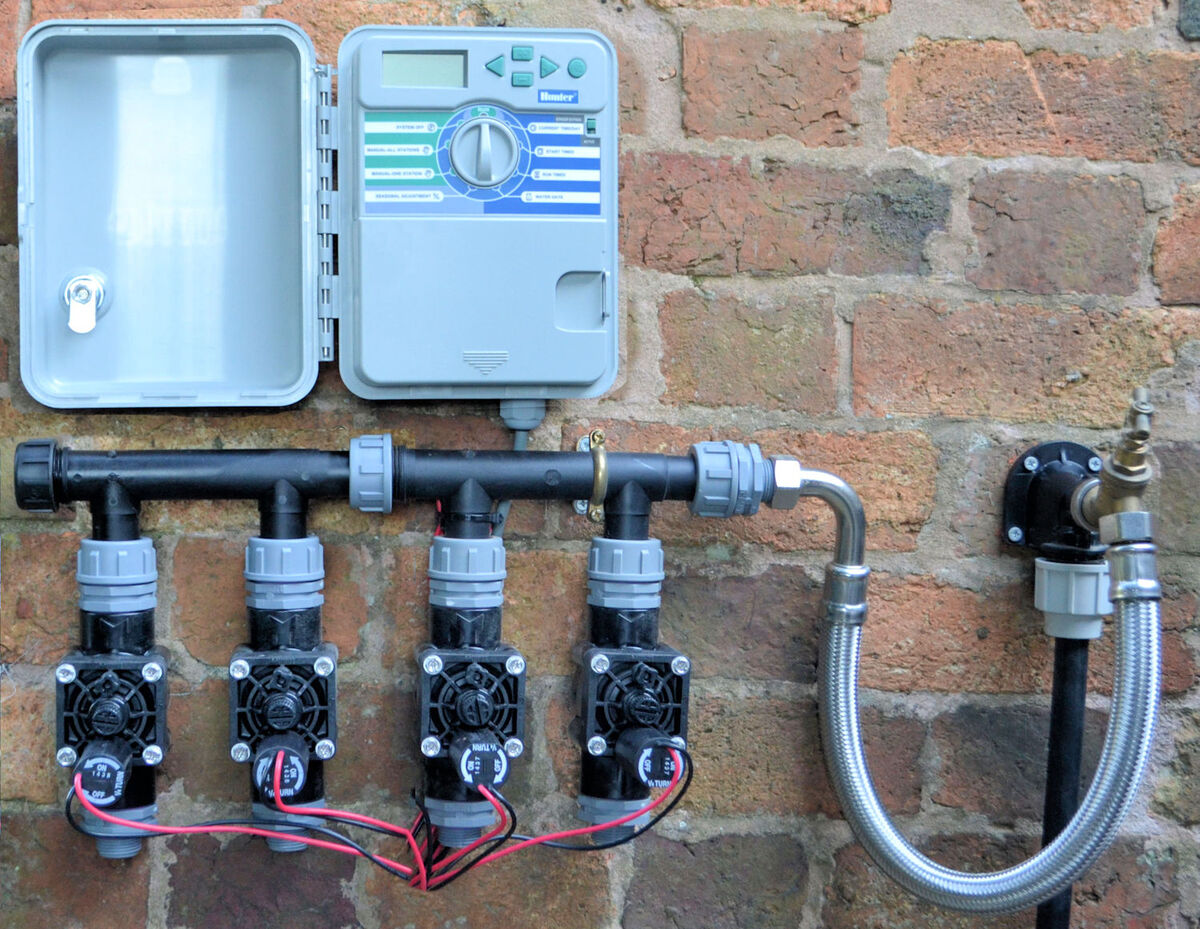
The main shut-off valve is typically located near the point where the water supply enters your property. It may be on a pressure regulator or a backflow prevention device. Familiarize yourself with the location of this valve before winter sets in, so you can easily locate and close it when needed.
To turn off the water supply, simply rotate the valve to the “closed” or “off” position. This will prevent water from flowing into the system and ensure that it remains dry during the winter months. It is a good idea to label or mark the shut-off valve to easily identify it in the future.
If you’re unsure about the location or operation of the shut-off valve, consult the user manual for your drip irrigation system or contact a professional for assistance. They can guide you through the process and ensure that you turn off the water supply correctly.
By turning off the water supply, you take an important first step in the winterization process. It is a simple but crucial measure that helps protect your drip irrigation system from freezing temperatures and potential damage. Now that the water supply is off, you can proceed with the remaining steps to winterize your system effectively.
Step 2: Drain the Mainline and Filters
After turning off the water supply, the next step in winterizing your drip irrigation system is to drain the mainline and filters. This crucial step ensures that there is no water left in the system that could freeze and cause damage during the winter months.
To drain the mainline and filters, you will need to open all the drain valves in your system. These drain valves are typically located at the lowest points of the system, such as at the end of the mainline or at the lowest point of each zone. Consult your system’s user manual or consult a professional if you’re unsure about the exact location of the drain valves.
Start by closing any valves that are connected to the mainline. Then, open the drain valves one by one, allowing any water to flow out. You may need to use a wrench or pliers to open stubborn drain valves that may have accumulated debris or become stuck over time.
While the mainline is draining, take the opportunity to remove any filters from the system as well. Filters play a crucial role in preventing clogs and maintaining the efficiency of the drip irrigation system. Check the filters for any debris or build-up and clean them if necessary. Once cleaned, store the filters in a safe place for the winter.
Allow the water to flow out of the system until it runs completely dry. This ensures that no water remains in the pipes or filters that could freeze during the colder months. Pay attention to any slow or delayed drainage, as it may indicate a blockage or clog in your system that needs to be addressed before winter arrives.
Draining the mainline and filters is an essential step in winterizing your drip irrigation system. By removing all water from the system, you prevent any potential damage from freezing temperatures. Once the mainline and filters are drained, you can proceed with the next steps to ensure comprehensive winterization of your drip irrigation system.
Step 3: Flush the System
After draining the mainline and filters, it is important to flush the drip irrigation system to ensure that no water remains in the pipes or emitters that could freeze and cause damage during the winter. Flushing the system helps remove any lingering moisture and debris, making it an essential step in the winterization process.
To flush the system, you will need to open all the emitters or drippers. This can be done by removing the end caps or opening the valves on each zone. By opening the emitters, you allow water to flow freely through the system, flushing out any remaining water and loosening any debris that may have accumulated.
Let the water flow through the system until it runs completely dry. You may notice some sputtering or spurts of water at first, but continue to let it flow until the water runs clear and no longer contains any debris. This ensures that all water has been effectively flushed out of the system.
While flushing the system, take the opportunity to inspect the emitters for any clogs or blockages. Clean or replace any faulty emitters to ensure that they are in good working condition when you start using the system again in the spring.
Flushing the system not only removes water but also helps remove any sediments or contaminants that may have accumulated in the pipes and emitters. By flushing the system thoroughly, you help maintain the efficiency and longevity of your drip irrigation system.
Once the system has been flushed and all water has been drained, you can proceed to the next steps in winterizing your drip irrigation system. Flushing the system is a critical step in the process as it ensures that your system is prepared for the winter months and minimizes the risk of damage from freezing temperatures.
Step 4: Remove and Store Emitters
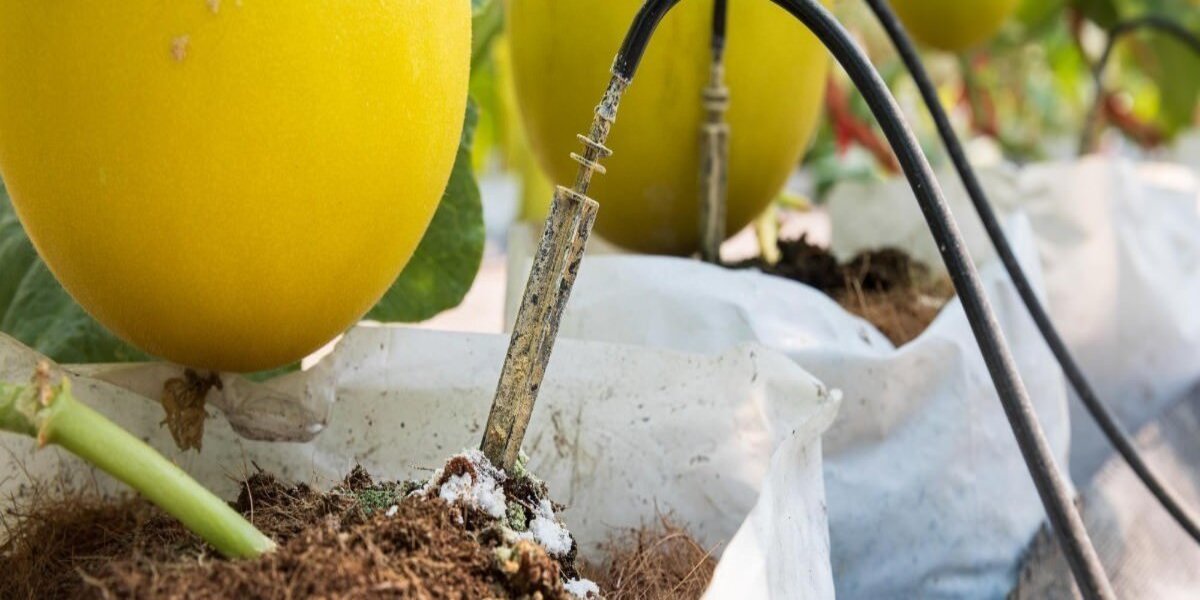
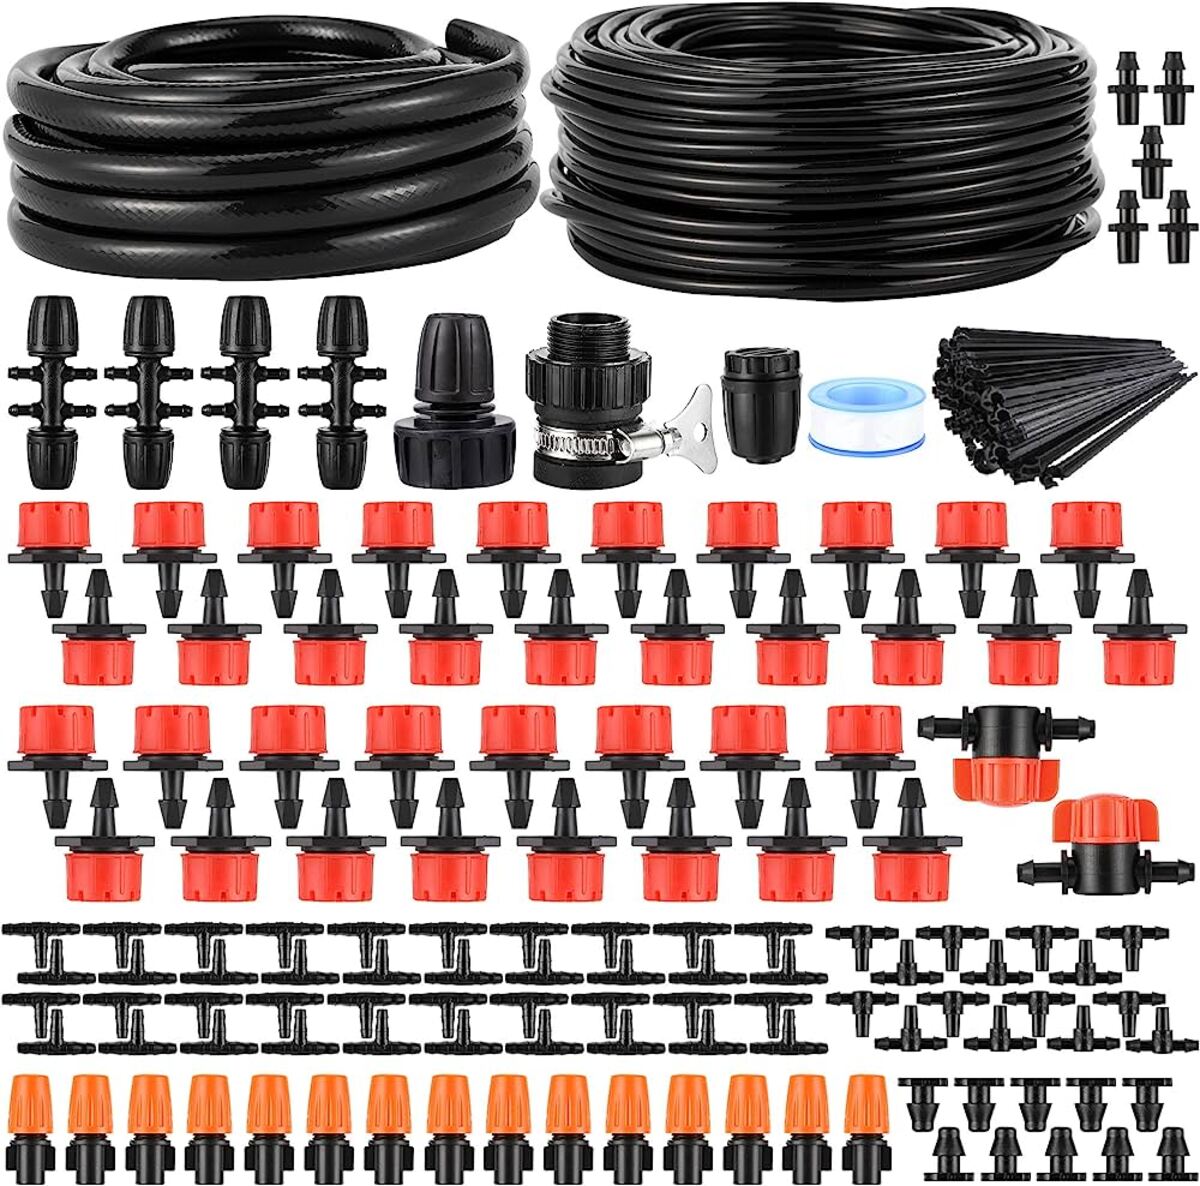
Removing and storing the emitters is an important step in winterizing your drip irrigation system. Emitters, also known as drippers, are the devices that deliver water directly to the plant roots. By removing and properly storing the emitters, you protect them from potential damage during the winter months.
To remove the emitters, start by locating each individual emitter along the tubing. Unscrew or unclip the emitters from the tubing carefully. Pay attention to any emitters that may be clogged or damaged and replace them as necessary.
Once removed, clean the emitters thoroughly to remove any debris or build-up that may have accumulated during the growing season. You can use a small brush or soak the emitters in a gentle cleaning solution to ensure they are free from any clogs or blockages.
After cleaning, allow the emitters to dry completely before storing them. Storing them while damp or wet can lead to mold or other issues. Consider placing the clean and dry emitters in a storage container or bag, ensuring they are protected from dust, moisture, and pests during the winter months.
Label the storage container or bag, if necessary, to easily identify the specific type of emitters for each zone or area in your drip irrigation system. This will be helpful when you reinstall the emitters in the spring.
Storing the emitters properly during the winter months not only protects them from potential damage but also makes the process of reinstalling them in the spring much easier. By taking care of your emitters, you can ensure their longevity and optimal performance for the next growing season.
With the emitters removed and safely stored, you can move on to the next steps of winterizing your drip irrigation system. Properly storing the emitters is a vital part of the process, as it protects them from winter elements and ensures that they will be ready to use when the growing season begins again.
Step 5: Protect Pipes and Tubing
Protecting the pipes and tubing of your drip irrigation system is crucial to prevent any potential damage from freezing temperatures during the winter months. By insulating and safeguarding the pipes and tubing, you ensure their longevity and optimal performance when the irrigation system is used again in the spring.
Start by inspecting all pipes and tubing for any signs of damage, leaks, or wear. Replace any damaged components to maintain the integrity of your system. It is important to address any issues before winter sets in to prevent further damage during freezing conditions.
Once the pipes and tubing have been inspected and repaired, it’s time to protect them for the winter. One common method of protection is to wrap the pipes and tubing with foam insulation or pipe sleeves. These insulating materials provide an additional layer of protection against freezing temperatures.
To insulate the pipes, simply wrap the foam insulation or pipe sleeves around the entire length of each pipe or tubing section. Make sure to cover all exposed areas, including any joints or connections. Secure the insulation in place using tape or zip ties to prevent it from shifting during winter weather.
In addition to insulating the pipes and tubing, consider protecting any above-ground components, such as valves or junctions, with insulated covers. These covers can be purchased specifically for irrigation systems or improvised using materials like burlap or tarp. The covers will shield these vulnerable components from direct exposure to cold temperatures and harsh weather conditions.
Properly protecting the pipes and tubing of your drip irrigation system reduces the risk of freezing and subsequent damage caused by expanding ice. This, in turn, helps to prolong the lifespan of your system and ensures its proper functionality when it’s time to use it again in the spring.
Once the pipes and tubing are secured and protected, you can proceed with the remaining steps in winterizing your drip irrigation system. Taking the time to protect the pipes and tubing now will save you time and money on potential repairs and replacements later.
Step 6: Insulate Backflow Preventer
Insulating the backflow preventer is an important step in protecting your drip irrigation system from freezing temperatures during the winter. The backflow preventer is a crucial component that ensures that water flows in the correct direction and prevents contamination of the main water supply.
To insulate the backflow preventer, start by cleaning it thoroughly and removing any debris or dirt that may have accumulated. This will ensure that the preventer operates smoothly and efficiently during the winter months.
Once the backflow preventer is clean, you can proceed with insulating it. There are different methods of insulating a backflow preventer, depending on the design and model you have. One common method is to wrap the preventer with insulation tape or foam pipe insulation.
Start by wrapping the insulation tape or foam around the backflow preventer, covering all exposed areas. Ensure that you cover any valves, pipes, or joints connected to the preventer as well.
If using foam pipe insulation, cut the insulation to fit around the backflow preventer and secure it in place using tape or zip ties. Make sure there are no gaps or areas left exposed.
This insulation provides a protective barrier against freezing temperatures, helping to prevent any damage to the backflow preventer. It helps to keep the preventer warm and ensures its optimal functioning when it’s time to use the system again in the spring.
It is essential to insulate the backflow preventer properly, as failure to do so can result in freezing, cracking, or even bursting of the preventer, leading to significant damage and potential contamination of the water supply.
Take the time to carefully insulate the backflow preventer following the manufacturer’s instructions or consult a professional for guidance. By properly insulating the preventer, you protect your drip irrigation system and ensure its continued functionality when warmer weather arrives.
With the backflow preventer insulated, you can move on to the remaining steps in winterizing your drip irrigation system. Insulating the preventer is an important measure to mitigate the risk of damage and ensure the proper functioning of your system.
Step 7: Cover Above-Ground Components
Covering above-ground components of your drip irrigation system is an important step in protecting them from the harsh winter elements. These components, such as pressure regulators, timers, and valves, are often vulnerable to freezing temperatures and can become damaged if left exposed.
Begin by identifying all the above-ground components that need protection. These components are typically located above the ground surface and may be attached to a wall or a stake. It’s important to note that not all drip irrigation systems have above-ground components, so this step may not be applicable to all systems.
Once you have identified the above-ground components, you can proceed with covering them. There are a few options to consider for covering these components:
- Insulation Bags: Insulation bags are specifically designed to protect above-ground components from freezing temperatures. These bags are typically made of durable, weather-resistant material and come with adjustable straps or ties for easy installation. Wrap the insulation bags around the components and secure them tightly to ensure maximum protection.
- Tarps or Plastic Covers: If insulation bags are not available, you can use tarps or heavy-duty plastic covers to protect the above-ground components. Ensure that the cover completely encloses the components and is securely fastened to prevent it from being blown away by strong winds.
- Improvise with burlap or blankets: In a pinch, you can use burlap or old blankets to cover the above-ground components. Wrap these materials around the components and secure them with twine or zip ties. While not as effective as insulation bags or tarps, they provide an additional layer of protection.
When covering the above-ground components, it’s important to ensure that they are fully enclosed and protected from moisture, wind, and extreme temperatures. This will help prevent damage, such as cracking or freezing, which could affect the functionality of these components.
Properly covering the above-ground components is an important step in winterizing your drip irrigation system. By taking the time to protect these vulnerable parts, you can extend their lifespan and ensure their optimal performance when you start using the system again in the spring.
With the above-ground components securely covered, you can proceed with the remaining steps to complete the winterization of your drip irrigation system. Remember, the goal is to protect all the components of your system from freezing temperatures, ensuring that they are in good condition and ready to use when the warmer weather returns.
Step 8: Regular Maintenance Tips for Winterizing
In addition to the specific steps outlined above, there are some general maintenance tips to keep in mind when winterizing your drip irrigation system. These tips will help ensure that your system is in optimal condition and ready to use when the growing season returns. Consider the following maintenance tips:
- Check for leaks or clogs: Before winter arrives, thoroughly inspect your system for any leaks, clogs, or damaged components. Address any issues promptly to prevent further damage during freezing temperatures.
- Clean and store equipment: Take the time to clean and store any tools or equipment used for your drip irrigation system. This includes removing any dirt, debris, or plant residue from hoses, nozzles, and other accessories. Properly store the equipment in a dry and protected area for the winter.
- Mark buried components: If you have any buried components, such as valves or junctions, it’s a good idea to mark their locations. This will help you easily identify and access these components when it’s time to reactivate your system in the spring.
By regularly inspecting and maintaining your drip irrigation system, you can identify and address any potential issues before they worsen. This proactive approach will save you time, money, and effort in the long run, ensuring that your system remains in top condition for years to come.
In addition to these general maintenance tips, it’s important to follow a regular maintenance schedule throughout the year. This includes regular checks for leaks, clogs, and proper functioning of all components. By staying proactive and attentive, you can address any issues promptly and maintain the efficiency of your drip irrigation system.
Remember, proper winterization is just one part of the overall maintenance of your drip irrigation system. Regular maintenance throughout the year helps prevent issues and ensures that your system remains in excellent working condition.
By following these regular maintenance tips and incorporating them into your winterization process, you can guarantee that your drip irrigation system will be ready for the next growing season. Keeping your system properly maintained will save you time, money, and potential headaches down the line, allowing you to enjoy the benefits of a functional and efficient irrigation system year after year.
Conclusion
Winterizing your drip irrigation system is a necessary step to protect your investment and ensure its longevity. By following the steps outlined in this article, you can effectively prepare your system for the cold winter months and prevent any potential damage caused by freezing temperatures.
From turning off the water supply to draining the mainline and filters, flushing the system, removing and storing emitters, to protecting pipes and tubing, insulating the backflow preventer, covering above-ground components, and performing regular maintenance, each step plays a crucial role in the overall winterization process.
Properly winterizing your drip irrigation system helps prevent freezing, bursting of pipes, and damage to components, thus saving you time and money on repairs in the future. It also ensures that your system remains in optimal condition and ready to use when the growing season returns.
In addition to the specific steps, remember to follow regular maintenance tips and maintain a proactive approach towards your drip irrigation system throughout the year. This includes checking for leaks, clogs, and addressing any issues promptly. By doing so, you can ensure that your system functions efficiently for many seasons to come.
Remember to consult your system’s user manual or seek professional advice if you are unsure about any steps or procedures. They can provide guidance specific to your system and ensure that you complete the winterization process correctly.
By taking the time to properly winterize your drip irrigation system, you are investing in its longevity and ensuring that it continues to provide efficient water delivery and promote healthy plant growth. So, don’t neglect this important task and give your drip irrigation system the care it deserves.
Now that you have all the necessary information and steps required to winterize your drip irrigation system, it’s time to get started. Follow the guidelines provided and enjoy the peace of mind knowing that your system is protected throughout the winter. Happy winterization and may your irrigation system thrive in the seasons to come!