Home>Gardening Tips and Tricks>Problem Solving>How To Prime An Irrigation Pump
Problem Solving
How To Prime An Irrigation Pump
Modified: January 22, 2024
Learn how to prime an irrigation pump with easy problem-solving techniques to ensure optimal functioning and efficient water distribution.
(Many of the links in this article redirect to a specific reviewed product. Your purchase of these products through affiliate links helps to generate commission for Chicagolandgardening.com, at no extra cost. Learn more)
Table of Contents
Introduction
An irrigation pump plays a crucial role in ensuring the success of agricultural operations and maintaining beautiful landscapes. It is a vital tool that helps deliver water to crops, gardens, and lawns. However, before an irrigation pump can efficiently do its job, it needs to be properly primed.
Priming an irrigation pump is the process of removing air from the pump and filling it with water. This allows the pump to create the necessary pressure and suction to draw water from its source and distribute it through the irrigation system. Proper priming ensures that the pump operates at its optimal efficiency, preventing damage and enhancing its overall lifespan.
While priming an irrigation pump may seem like a daunting task, it is actually a relatively simple process that can be done by following a few steps. Understanding how to prime an irrigation pump is essential for farmers, gardeners, and landscaping professionals, as it helps ensure that water is delivered effectively to where it is needed most.
In this guide, we will walk you through the steps needed to prime an irrigation pump successfully. By following these instructions and using the right materials and tools, you can save time, effort, and potential damage to your equipment.
What is an Irrigation Pump?
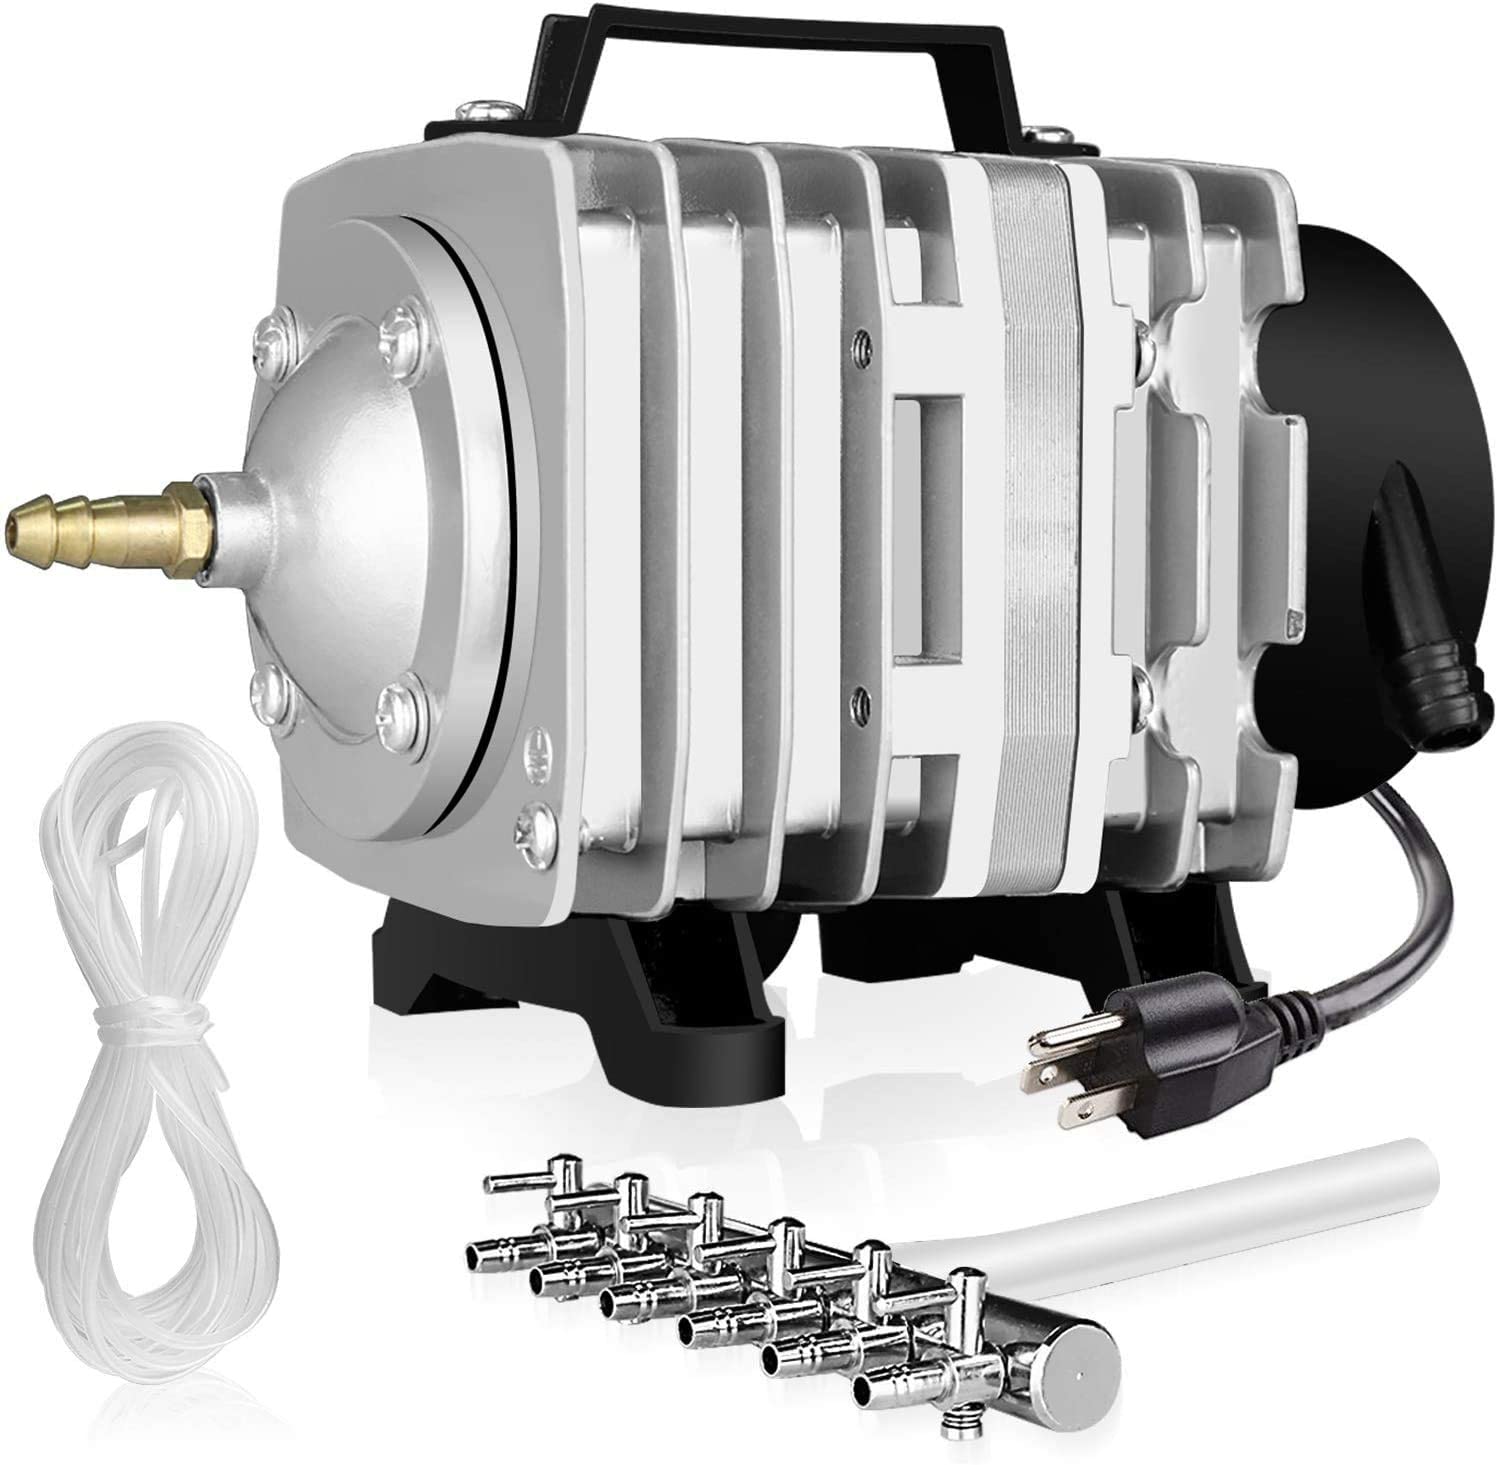
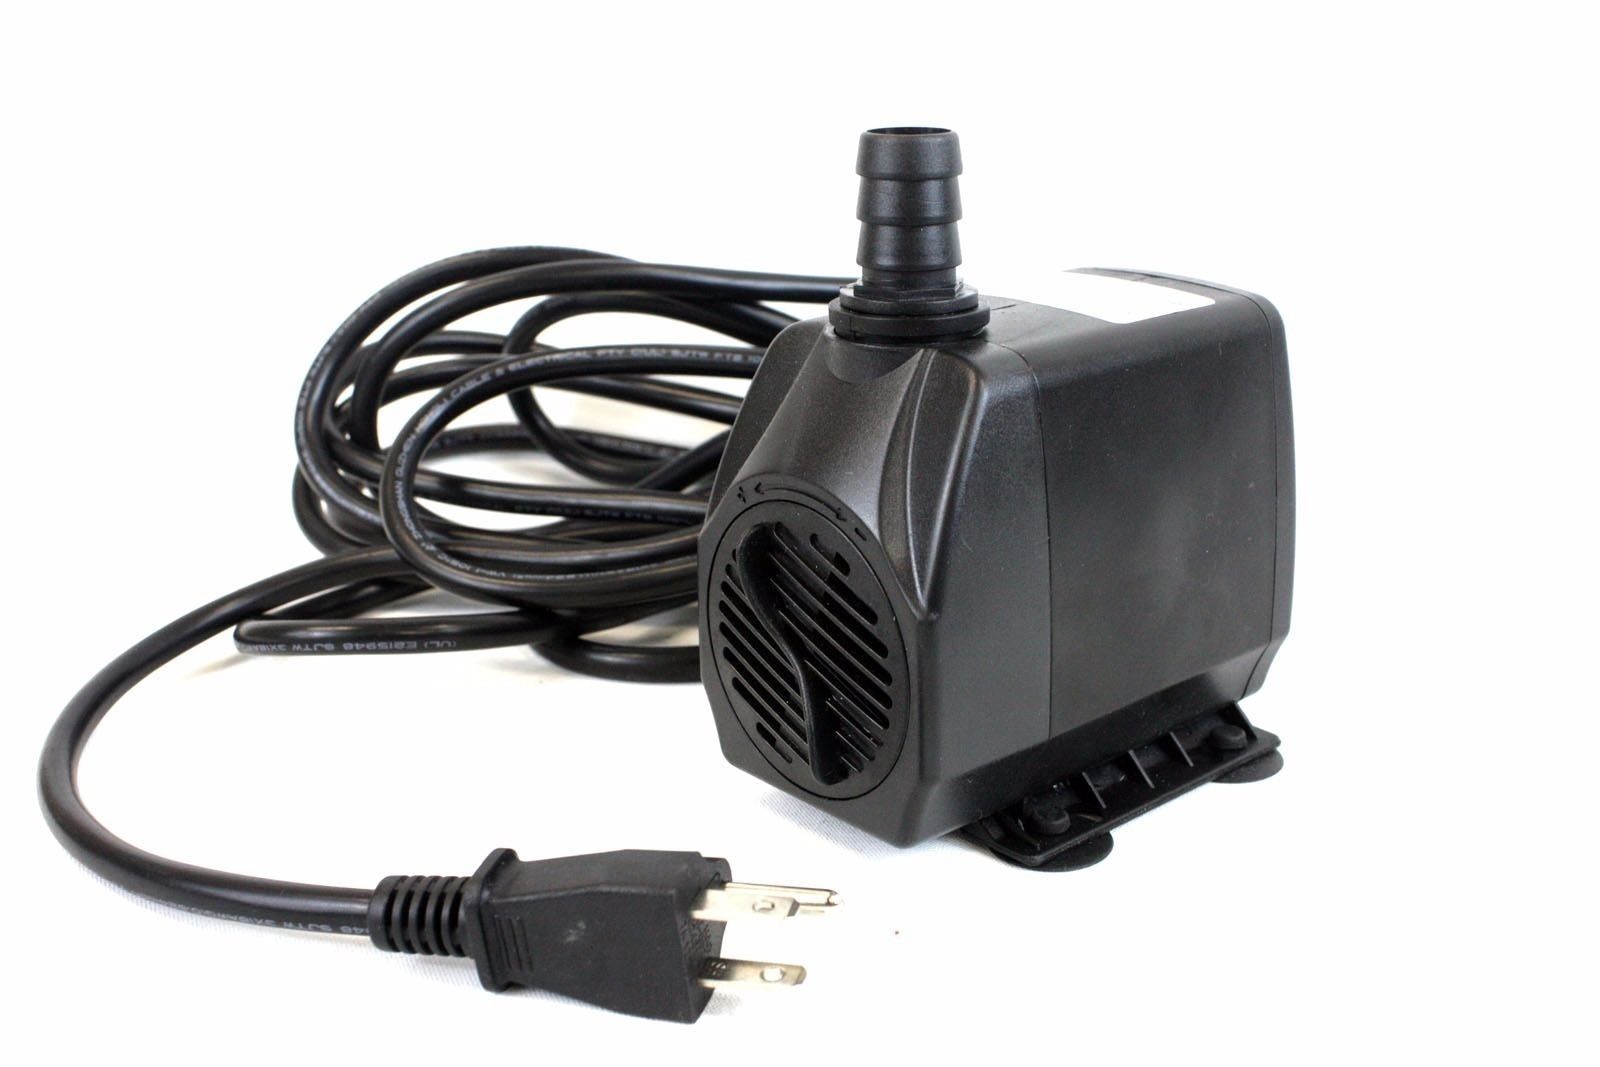
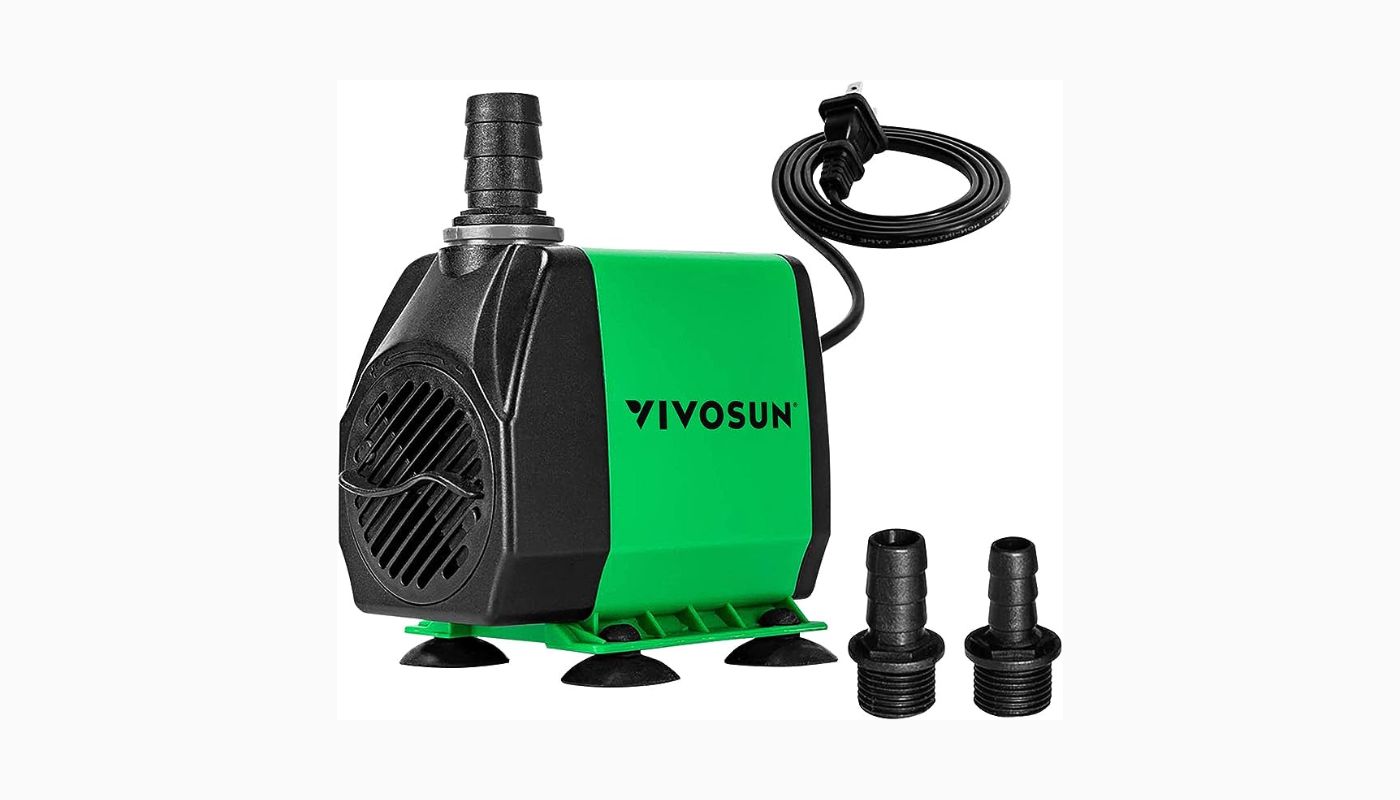
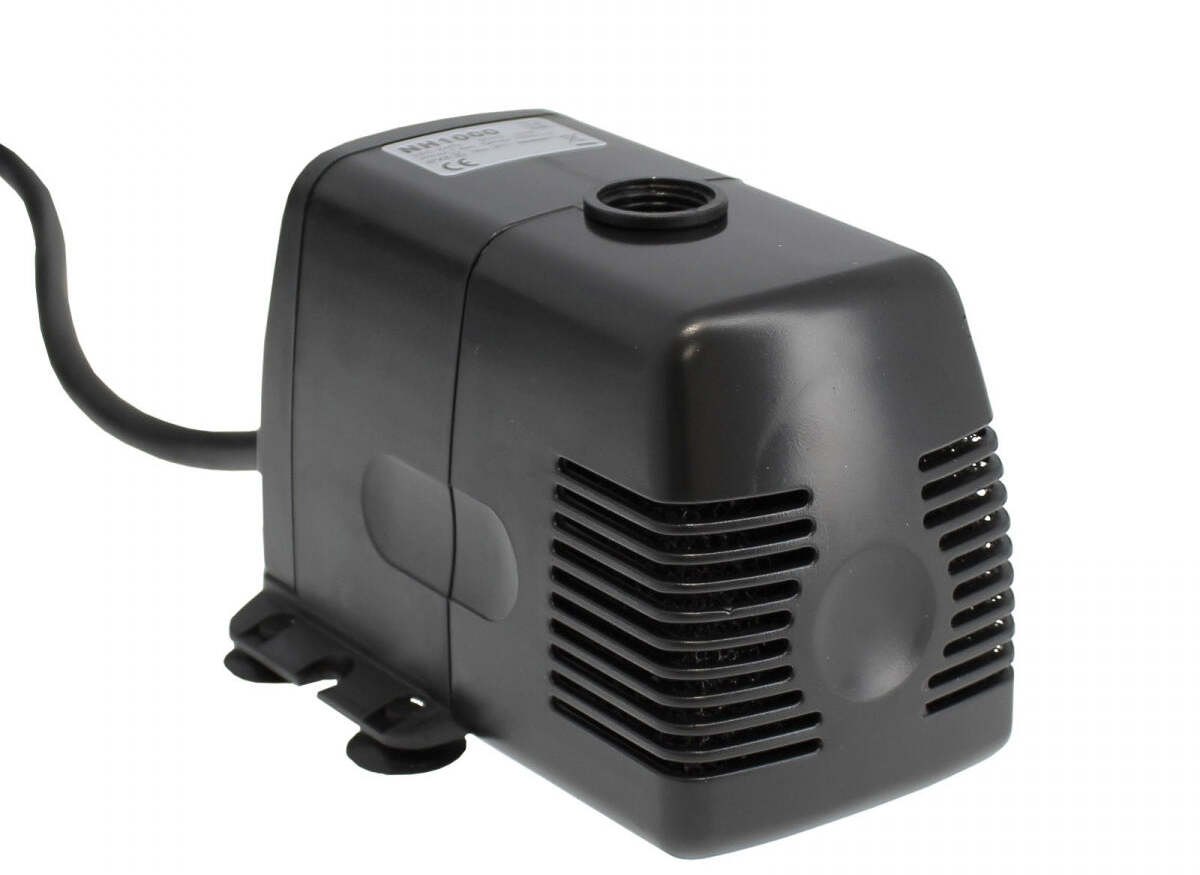
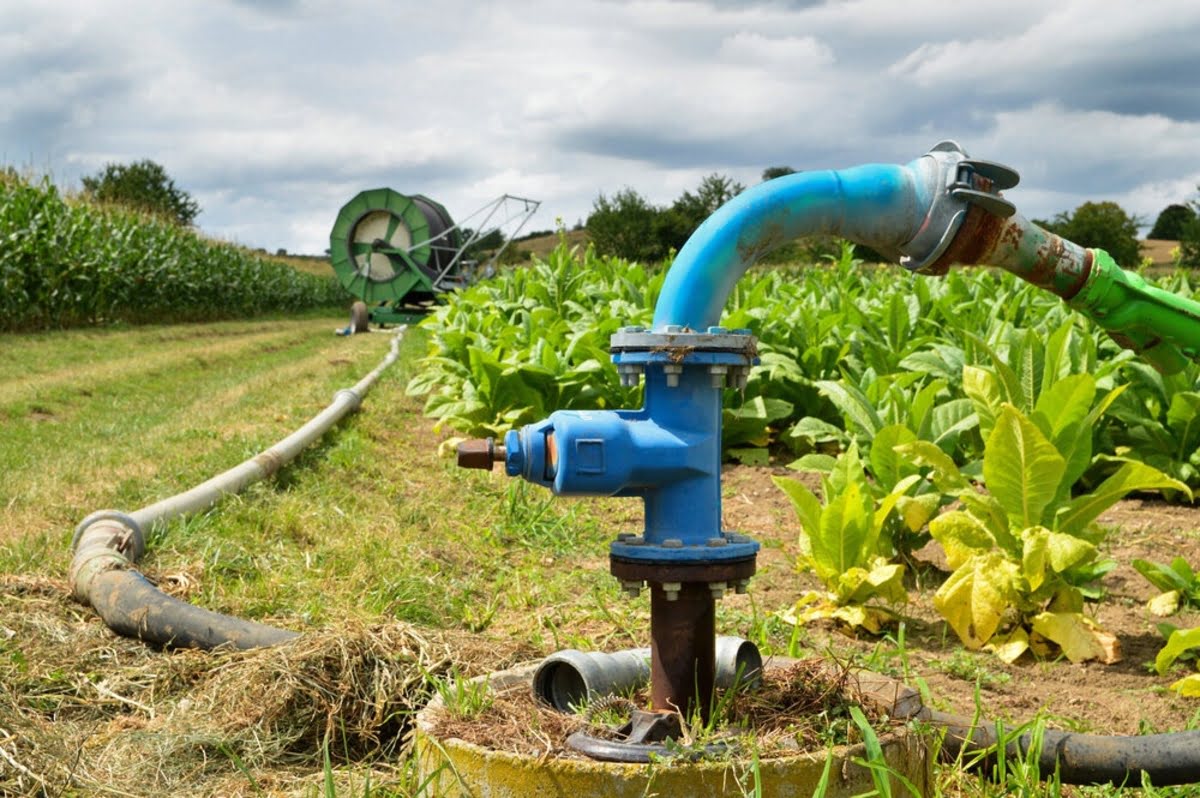
An irrigation pump is a mechanical device used to draw water from a water source, such as a well, pond, or river, and distribute it to an irrigation system. It is an essential component of agricultural and landscaping operations, as it ensures a consistent water supply to crops, gardens, and lawns.
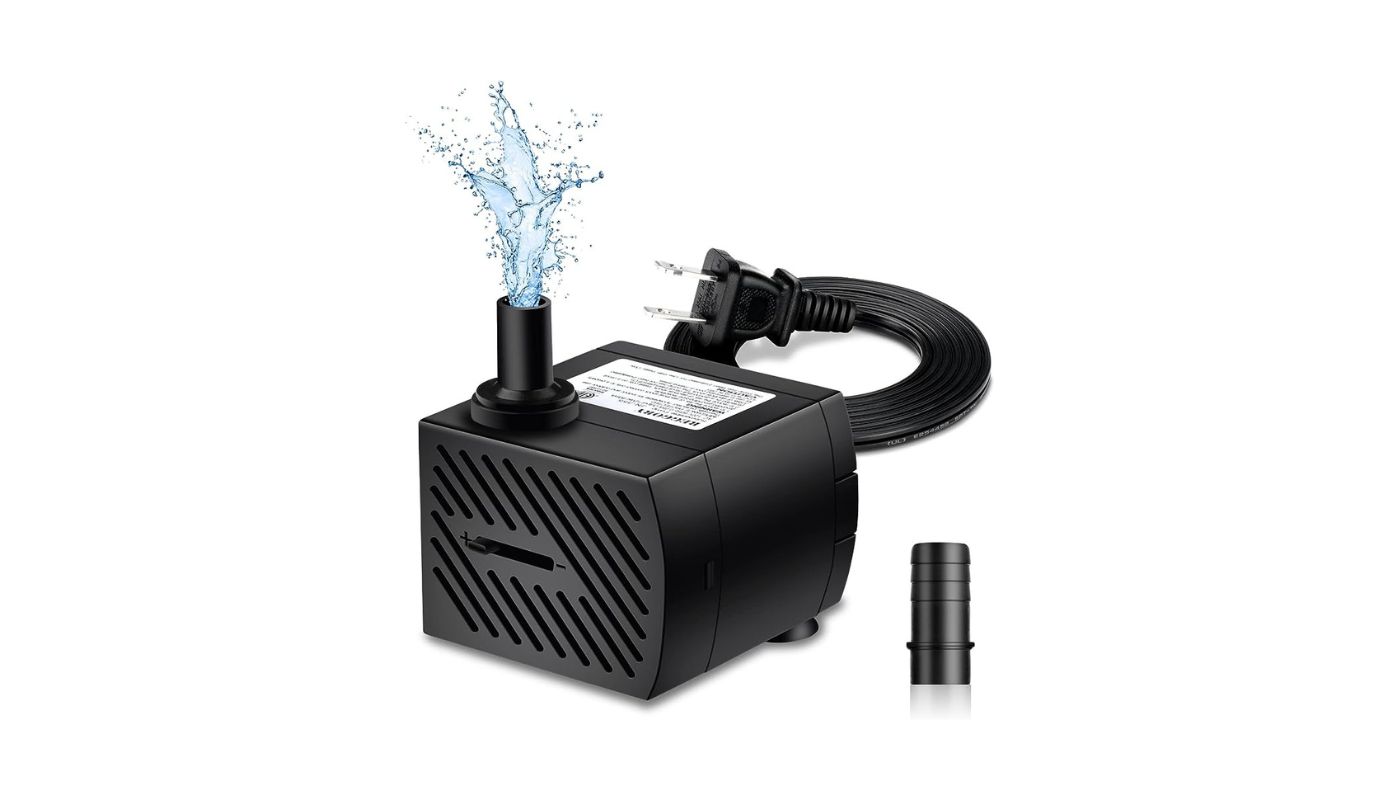
There are various types of irrigation pumps available, each designed to meet specific needs and requirements. The most common types include centrifugal pumps, submersible pumps, and turbine pumps. These pumps differ in terms of their power source, pumping capacity, and installation method.
Centrifugal pumps are widely used in irrigation systems due to their ability to handle large volumes of water. They work by using centrifugal force to push water from the inlet to the outlet. Submersible pumps, on the other hand, are submerged in water and are suitable for deep wells or bodies of water. They are often used in agricultural applications where a high volume of water is required.
Turbine pumps are typically used for larger irrigation systems that demand high pressure and flow rates. They consist of a series of rotating impellers that generate the necessary pressure to move water from the source to the irrigation system.
Irrigation pumps are available in various sizes and power capacities to accommodate different irrigation needs. Factors such as the size of the area to be irrigated, the distance water needs to be pumped, and the desired pressure all play a role in choosing the right irrigation pump.
With the right irrigation pump, farmers can efficiently water their crops, ensuring they receive the essential nutrients needed for growth. Gardeners can maintain healthy and vibrant gardens, while landscapers can create beautiful and well-maintained lawns. An irrigation pump is a valuable tool that maximizes water efficiency and optimizes plant growth in agricultural and landscaping settings.
Why is Priming Important?
Priming an irrigation pump is a crucial step in ensuring its proper functionality and efficiency. Without proper priming, the pump may fail to create the necessary suction and pressure to draw water from the source and distribute it through the irrigation system. Here are some reasons why priming is important:
- Prevents Air Lock: When an irrigation pump is not properly primed, it can suffer from airlock, which occurs when air becomes trapped inside the pump or suction pipe. Airlock obstructs the flow of water and prevents the pump from effectively drawing water from the source. Priming removes excess air and allows the pump to operate smoothly.
- Ensures Efficient Operation: Priming allows the pump to quickly establish suction and generate the necessary pressure to move water through the system. This ensures efficient and consistent water delivery, preventing delays in irrigation and ensuring that crops, gardens, and lawns receive the water they need in a timely manner.
- Protects the Pump: Priming helps protect the pump from damage caused by dry running. Dry running occurs when a pump operates without sufficient water, leading to overheating and potential mechanical failure. Proper priming ensures that the pump is filled with water, providing lubrication and cooling as it runs.
- Extends Pump Lifespan: By priming the irrigation pump correctly, you not only prevent immediate damage but also extend the overall lifespan of the pump. Regularly priming the pump and ensuring its efficient operation reduces the risk of wear and tear, allowing the pump to last longer and provide reliable service over time.
- Minimizes Energy Consumption: A properly primed pump requires less energy to operate, as it can quickly establish suction and maintain consistent water flow. This results in lower energy consumption, helping to reduce operating costs and promote sustainable water usage.
Overall, priming an irrigation pump is a vital step in the proper functioning of the system. It ensures efficient water delivery, protects the pump from damage, and extends its lifespan. By taking the time to properly prime your irrigation pump, you can optimize its performance and ensure reliable water distribution for your agricultural or landscaping needs.
Materials Needed for Priming
Before you can prime an irrigation pump, it’s important to gather all the necessary materials. Having these items on hand will make the priming process smoother and more efficient. Here are the materials you will need:
- Water Source: You will need a water source, such as a hose, bucket, or nearby body of water, to fill the pump with water.
- Priming Plug or Valve: Many irrigation pumps come equipped with a priming plug or valve. This allows for easy access to the pump chamber for filling and priming.
- Teflon Tape: Teflon tape is often used to create a watertight seal when connecting pipes and fittings. It helps prevent leaks and ensures a secure connection.
- Wrenches: Depending on the type of pump and connections, you may need various wrenches or pliers to tighten or loosen fittings.
- Pipe Cutter or Saw: If you need to cut pipes to fit the irrigation system or make modifications, a pipe cutter or saw will come in handy.
- Measuring Tape: A measuring tape will be useful for taking accurate measurements during the installation or modification of the irrigation system.
- Pipe Fittings: Depending on your specific setup, you may need various pipe fittings, such as elbows, couplings, or connectors, to ensure proper connection and flow of water through the system.
- Hose Clamps: Hose clamps are used to secure hoses to fittings or other components, ensuring a tight and leak-free connection.
- Bucket: A bucket or container can be useful for collecting any excess water or debris during the priming process.
- Gloves and Safety Gear: It’s always a good idea to wear gloves and appropriate safety gear, such as safety goggles or ear protection, while working with irrigation pumps and equipment.
Having these materials ready before you begin priming your irrigation pump will save you time and ensure a smoother process. It’s essential to have everything you need within reach to avoid interruptions or delays during the priming procedure.
Step 1: Prepare the Pump
Before you can start priming your irrigation pump, it is important to prepare the pump and surrounding area to ensure a smooth and efficient priming process. Follow these steps to prepare the pump:
- Turn off the Power: Safety should always be a top priority. Before starting any work on the pump, make sure to turn off the power supply to prevent accidents.
- Clean the Pump: Inspect the pump for any dirt, debris, or obstructions. Clean the pump and remove any foreign objects that may hinder its operation.
- Check the Oil Level: If your irrigation pump has an oil reservoir, check the oil level and ensure it is at the recommended level. Refer to the pump’s manual for specific instructions on checking and replenishing the oil if necessary.
- Inspect the Seals and Gaskets: Carefully examine the seals and gaskets for any signs of damage or wear. Replace any faulty or worn-out seals and gaskets to prevent leaks during the priming process and subsequent operation.
- Verify the Intake and Discharge Connections: Ensure that the intake and discharge connections are properly secured and tightened. Use wrenches or pliers if necessary to ensure a tight connection.
- Check for Any Damaged Parts: Inspect the pump for any visible damage or worn-out components. Replace any damaged parts to prevent potential issues during the priming process or operation of the pump.
- Position the Pump: Place the pump in a stable and level position, ideally on a solid surface. This will ensure stability and prevent vibration or movement during the priming process.
- Remove Any Air Vent Plugs: Some pumps may have air vent plugs that need to be removed to allow for proper priming. Consult the pump’s manual to determine if this is necessary and remove any plugs as required.
By properly preparing the pump before priming, you ensure that it is in good working condition and ready to efficiently draw water from the source. This step also helps identify any potential issues or maintenance needs that may need to be addressed before proceeding with the priming process.
Step 2: Fill the Pump with Water
Once you have prepared the pump, the next step in priming an irrigation pump is to fill it with water. Follow these steps to properly fill the pump with water:
- Locate the Priming Plug/Valve: Locate the priming plug or valve on the pump. This is usually located near the top or side of the pump and allows access to the pump chamber.
- Open the Priming Plug/Valve: Using a wrench or pliers, carefully loosen and remove the priming plug or open the priming valve. This will allow you to access the pump chamber for water filling.
- Prepare the Water Source: Connect a hose or use a bucket to fill the pump with water. If using a hose, make sure the other end of the hose is connected to a reliable water source, such as a faucet or a nearby body of water.
- Fill the Pump: Begin filling the pump with water. If using a hose, gently insert the end of the hose into the pump chamber through the priming plug or valve opening. If using a bucket, carefully pour the water into the pump chamber.
- Continue Filling Until Water Flows Out: Keep filling the pump with water until you see it coming out through the priming plug or valve opening. This indicates that the pump is filled with water and air is being pushed out.
- Close the Priming Plug/Valve: Once water is flowing out of the priming plug or valve opening, quickly close it to prevent water from escaping and air from entering the pump chamber.
- Tighten the Priming Plug/Valve: Use a wrench or pliers to securely tighten the priming plug or valve. This ensures a watertight seal and prevents any leaks during operation.
By properly filling the pump with water, you eliminate trapped air and allow the pump to create the necessary suction and pressure for optimum performance. It is important to ensure that the pump is completely filled with water and that the priming plug or valve is tightly closed to prevent air from entering the chamber.
Step 3: Connect the Pipes
After filling the pump with water, the next step in priming an irrigation pump is to connect the pipes. Properly connecting the pipes ensures that water can flow smoothly from the pump to the irrigation system. Follow these steps to connect the pipes:
- Prepare the Pipes: Measure and cut the necessary lengths of pipe using a pipe cutter or saw. Be sure to remove any burrs or rough edges from the ends of the pipes.
- Apply Teflon Tape: Wrap Teflon tape around the threaded ends of the pipes and fittings. The Teflon tape helps create a watertight seal and prevents leaks.
- Assemble the Pipes: Attach the pipes to the pump outlet and any necessary fittings using pipe wrenches or pliers. Hand-tighten the connections, making sure they are secure but not over-tightened.
- Tighten with Wrenches: Use wrenches or pliers to tighten the pipe connections further, ensuring a snug fit. Be careful not to overtighten, as this can damage the pipes or fittings.
- Connect to the Irrigation System: Attach the other end of the pipes to the irrigation system, such as sprinklers or drip lines. Secure the connections with hose clamps to ensure a tight and leak-free fit.
- Check for Leaks: Once all the connections are made, turn on the pump briefly to check for any leaks. Inspect all the joints and connections for water drips or leaks. If you detect any leaks, tighten the connections further or reapply Teflon tape as needed.
Properly connecting the pipes is crucial for the efficient operation of the irrigation system. It ensures that water flows smoothly from the pump to the desired areas, without any obstructions or leaks. Taking the time to carefully assemble and secure the pipes will help maintain a reliable and leak-free irrigation system.
Step 4: Open the Air Vent
Once the pipes are connected, the next step in priming an irrigation pump is to open the air vent. The air vent allows any remaining trapped air inside the pump and pipes to escape, ensuring optimal water flow. Follow these steps to open the air vent:
- Locate the Air Vent: Find the air vent on the pump or any high points in the irrigation system. It is typically a small valve or plug designed to release air.
- Open the Air Vent Valve: If the air vent has a valve, carefully turn it counterclockwise to open it. If it is a plug, use a wrench or pliers to loosen and remove it.
- Monitor the Air Escape: Once the air vent is open, you may notice air escaping from it. This indicates that trapped air is being released from the system.
- Continue Monitoring: Keep an eye on the air vent and observe any air bubbles or hissing sounds. This is a sign that the remaining air is being pushed out by the water pressure.
- Close the Air Vent: When water starts flowing steadily from the air vent without any noticeable air bubbles, close the air vent valve or replace the plug.
- Tighten the Air Vent Valve: Use a wrench or pliers to securely tighten the air vent valve or plug. This ensures a proper seal and prevents water leakage.
Opening the air vent allows trapped air to escape from the irrigation system, promoting smooth water flow and preventing airlocks. It is important to monitor the air vent closely and ensure that all the trapped air is released before closing it.
Step 5: Turn on the Pump
After completing the previous steps, you are now ready to turn on the irrigation pump. Follow these steps to safely and effectively start the pump:
- Double-check Connections: Before turning on the pump, ensure that all the connections, including the pipes and fittings, are secure and tightly sealed.
- Close the Air Vent: Make sure that the air vent valve or plug is closed tightly to prevent water from escaping or air from entering the system.
- Restore Power: If you previously turned off the power supply, restore the power to the pump by switching it on or plugging it in.
- Turn on the Pump: Locate the pump’s power switch or control panel and turn on the pump. Allow it a few moments to build up pressure and start drawing water from the source.
- Monitor Pump Activity: Observe the pump’s operation and listen for any unusual noises. Ensure that water is flowing through the pipes and reaching the desired areas of your irrigation system.
- Adjust Pressure and Flow: If necessary, consult the pump’s manual or control panel to adjust the pressure and flow rate according to your specific needs. Be cautious when making adjustments and check for any adverse effects.
- Monitor for Leaks: Keep a close eye on all the pipe connections, fittings, and the pump itself for any signs of leaks. Address any leaks promptly to prevent water waste and potential damage.
Turning on the pump is the final step in the priming process and brings the irrigation system to life. By carefully monitoring the pump’s activity and ensuring all connections are secure, you can ensure a successful priming and a well-functioning irrigation system.
Step 6: Monitor the Pressure
Once the pump is running, it is important to monitor the pressure to ensure that it is within the desired range for efficient and effective irrigation. Follow these steps to monitor the pressure:
- Locate the Pressure Gauge: Locate the pressure gauge on the pump or near the control panel. This gauge displays the pressure reading of the system.
- Read the Pressure: Refer to the pressure gauge and note the current pressure reading. This will give you an idea of the system’s performance.
- Compare with Recommended Range: Consult the pump’s manual or manufacturer’s specifications to determine the recommended pressure range for your irrigation system. Compare the current pressure reading with the desired range.
- Adjust Pressure if Needed: If the pressure is higher or lower than the recommended range, adjustments may be necessary. Refer to the pump’s manual or control panel for instructions on adjusting the pressure settings.
- Observe Water Distribution: While monitoring the pressure, observe how water is distributed through the irrigation system. Ensure that water is reaching all desired areas and that the flow is consistent and adequate.
- Check for Pressure Fluctuations: Keep an eye out for any noticeable fluctuations in pressure. Fluctuations may indicate issues such as leaks, blockages, or inadequate pump performance.
- Address Any Problems: If you encounter any pressure-related issues or abnormalities, address them promptly. This may involve adjusting the pressure settings, inspecting and repairing any leaks or blockages, or contacting a professional if needed.
Monitoring the pressure is crucial to ensure that the irrigation system is operating optimally. By regularly monitoring and maintaining the pressure within the recommended range, you promote efficient water distribution and increase the longevity of your irrigation system.
Step 7: Check for Leaks
After priming the irrigation pump and starting the system, it is important to thoroughly check for any leaks in the system. Identifying and addressing leaks promptly will help conserve water, prevent damage, and maintain the efficiency of your irrigation system. Follow these steps to check for leaks:
- Visual Inspection: Start by visually inspecting all the pipe connections, fittings, and components of the irrigation system. Look for any signs of water dripping, pooling, or wet spots.
- Listen for Unusual Sounds: Pay attention to any unusual hissing or spraying sounds that may indicate the presence of a leak. These sounds are often most noticeable around pipe fittings or joints.
- Feel for Moisture Around Connections: Run your hand along the pipe connections and fittings to feel for any moisture or wetness. Even small amounts of moisture can indicate a leak.
- Monitor Water Meter: If you have a water meter installed, observe the movement of the meter needle or digital display while the irrigation system is running. A sudden increase in water consumption may suggest a leak.
- Inspect Sprinklers or Drip Emitters: Check each sprinkler head or drip emitter in the system individually. Look for signs of leaks, such as water spraying in the wrong direction or excessive moisture around the emitters.
- Repair or Replace Faulty Components: If you discover any leaks, promptly repair or replace the affected components. This may involve tightening connections, sealing gaps, or replacing damaged parts.
- Recheck System after Repairs: Once you have fixed any leaks, go through the checking process again to ensure that the repairs were successful and that no additional leaks have developed.
Regularly checking for leaks is essential for maintaining the efficiency and effectiveness of your irrigation system. By promptly addressing any leaks you find, you can conserve water, minimize waste, and keep your system operating at its best.
Conclusion
Priming an irrigation pump is a crucial step in ensuring the proper functioning of your irrigation system. By following the steps outlined in this guide, you can effectively prime your pump and ensure efficient water distribution to your crops, gardens, or lawns.
Starting with the preparation of the pump and filling it with water, each step plays a vital role in eliminating airlocks and ensuring proper pressure and flow. Connecting the pipes securely and opening the air vent allow water to flow smoothly through the system. Monitoring the pressure and checking for leaks are essential to maintaining an efficient irrigation system.
Remember to take necessary safety precautions while working with the pump and irrigation system. Always follow the manufacturer’s instructions and guidelines to prevent accidents or damage to the equipment.
By properly priming your irrigation pump, you can optimize its performance, protect it from damage, and extend its lifespan. This will allow you to conveniently and effectively fulfill the irrigation needs of your agricultural operations, gardens, or landscapes.
Regular maintenance and checks of your irrigation system, including priming, will help keep it in optimal condition. By ensuring efficient water delivery, you can promote healthy plant growth, conserve water resources, and achieve the best possible results from your irrigation efforts.