Home>Gardening Tips and Tricks>Problem Solving>How To Winterize A Irrigation System
Problem Solving
How To Winterize A Irrigation System
Modified: January 22, 2024
Learn effective problem-solving techniques for winterizing your irrigation system and prevent costly repairs with our step-by-step guide. Prepare your system for the cold weather efficiently and avoid potential issues.
(Many of the links in this article redirect to a specific reviewed product. Your purchase of these products through affiliate links helps to generate commission for Chicagolandgardening.com, at no extra cost. Learn more)
Table of Contents
Introduction
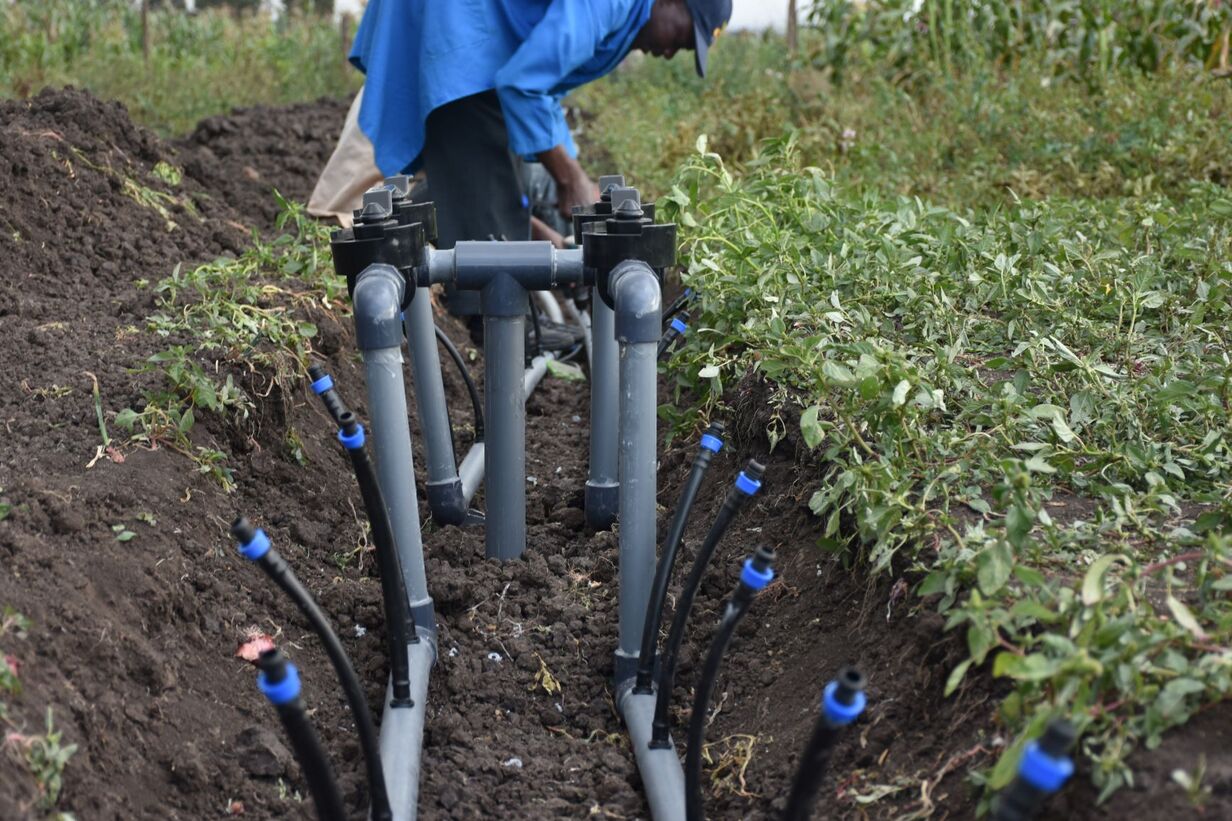
As winter approaches, it’s important to properly prepare your irrigation system to prevent potential damage caused by freezing temperatures. Winterizing your irrigation system is a crucial step to ensure its longevity and functionality for the next growing season. By taking proactive measures to protect your pipes, valves, and sprinkler heads, you can avoid costly repairs and extend the lifespan of your irrigation system.
In this comprehensive guide, we will walk you through the step-by-step process of winterizing your irrigation system. From shutting off the water supply to insulating exposed pipes, we will cover all the essential tasks to safeguard your system against freezing temperatures.
Before we delve into the steps, it’s important to understand why winterizing your irrigation system is necessary. When water freezes, it expands, which can lead to ruptured pipes, cracked valves, and damaged sprinkler heads. These issues can result in water leaks, decreased water pressure, and costly repairs once spring arrives. By properly winterizing your system, you can avoid these headaches and have peace of mind knowing that your irrigation system is well-protected during the winter months.
Now that we’ve highlighted the importance of winterizing your irrigation system, let’s move on to the step-by-step process that will guide you through the task. By following these steps, you can ensure that your irrigation system remains in top-notch condition and ready to go when warmer weather returns.
Step 1: Shut off the Water Supply
The first step in winterizing your irrigation system is to shut off the water supply. Locate the main shut-off valve, which is typically located near the water meter or in a utility box. This valve controls the water flow to your irrigation system. Turn the valve to the “off” position to stop the water from entering the system.
It’s crucial to ensure that all water sources to your irrigation system are turned off, including any secondary shut-off valves or irrigation pumps. This step is essential to prevent any water from entering the system and potentially causing damage when temperatures drop.
If you have a manual drain valve, open it to drain any remaining water from the pipes. This valve is usually located near the main shut-off valve. Simply turn the valve to the “open” position to allow the water to drain out. Keep in mind that this may take some time, depending on the size of your system and the water pressure.
If your system uses an automatic drain valve, it will automatically release any remaining water when the water pressure drops. However, it’s still important to shut off the main water supply to ensure no additional water enters the system. Automatic drain valves are typically located at the lowest point in the system, such as at the end of a sprinkler line or near the backflow preventer.
Once you have successfully shut off the water supply and drained any remaining water from the system, you can move on to the next step: draining the pipes.
Step 2: Drain the Pipes
After shutting off the water supply, the next step in winterizing your irrigation system is to drain the pipes. This is essential to prevent any remaining water from freezing and causing damage to your system during the winter months.
Start by opening all the drain valves or low points in the system. These are typically located at the lowest points of your irrigation lines, such as at the end of a sprinkler line or near the backflow preventer. Use a flathead screwdriver or a valve key to open these drain valves.
Once the drain valves are open, gravity will help pull the water out of the pipes. It’s important to be patient during this process, as it can take some time for all the water to drain out completely. You can also gently shake the pipes or use compressed air to help remove any trapped water.
Additionally, you can use a sponge or a cloth to soak up any remaining water that may be present in valve boxes or other low-lying areas of your irrigation system. It’s crucial to remove as much water as possible to prevent any potential freezing and expansion that can cause damage.
As you drain the pipes, pay close attention to any areas where water may be trapped or difficult to access. These areas include low spots in the pipes, dips in the terrain, and areas with poor drainage. Taking the time to properly drain these sections will help ensure that your entire system is free of water and protected from freezing temperatures.
Once you are confident that all the water has been drained from the pipes, you can move on to the next step: removing any remaining water from the backflow preventer.
Step 3: Remove any Remaining Water from Backflow Preventer
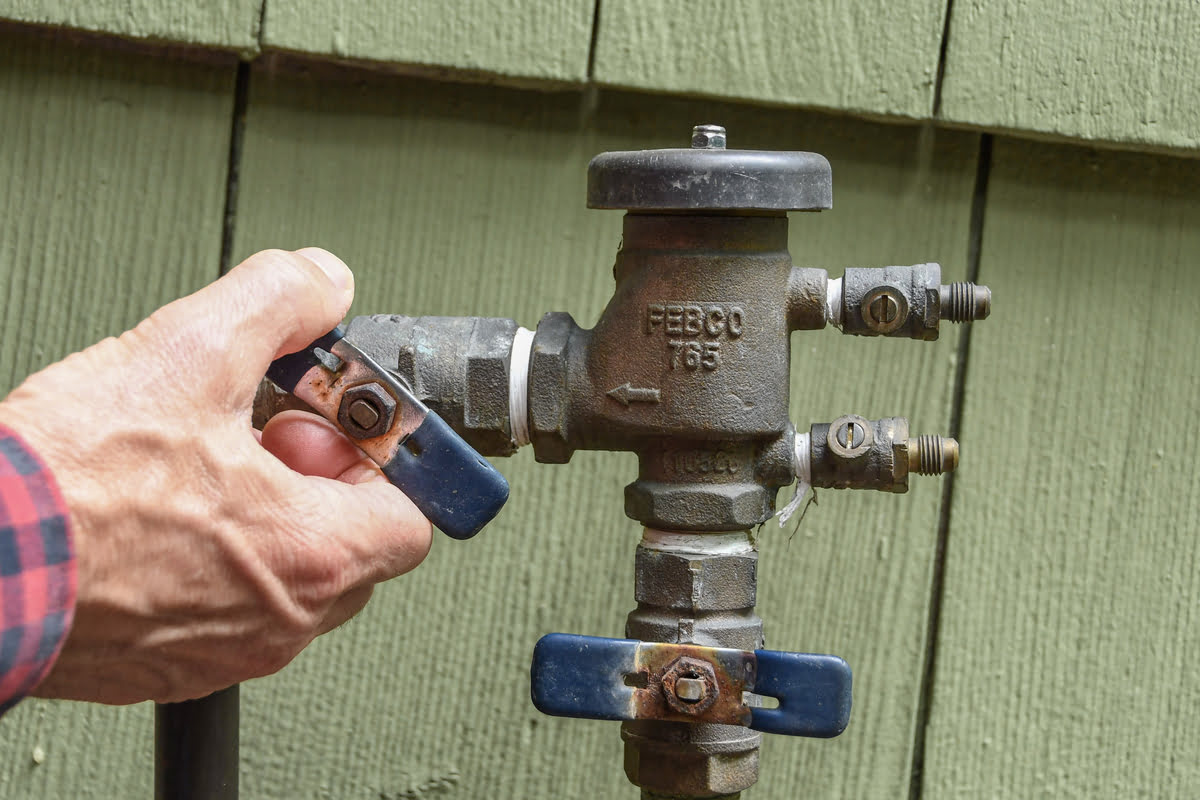
After draining your irrigation system’s pipes, the next crucial step is to remove any remaining water from the backflow preventer. The backflow preventer is an important component of your irrigation system that prevents contaminated water from flowing back into the main water supply.
To remove the remaining water from the backflow preventer, start by shutting off the main isolation valve. This valve is typically located on the side of the preventer and controls the water flow into the device. Turning the valve to the “off” position will stop the water from entering the preventer.
Next, slowly open the test cocks or bleed screws on the backflow preventer. These are small valves located on the top or side of the device. By opening these valves, any remaining water will be released from the preventer.
It’s important to note that some backflow preventers may have multiple test cocks or bleed screws. Make sure to open all of them to ensure a thorough removal of water. Use a small bucket or towel to catch any water that comes out of the preventer.
Once you have opened all the test cocks, you can use compressed air to blow out any remaining water from the preventer. Use an air compressor with a nozzle attachment and set the pressure to a safe level, following the manufacturer’s guidelines. Gently blow air through each test cock to thoroughly remove any residual water from the preventer.
When using compressed air, be cautious not to exceed the recommended pressure, as it can damage the preventer. It’s also important to wear safety goggles and protective gear while working with compressed air to prevent any potential injuries.
After using compressed air, close all the test cocks or bleed screws on the backflow preventer. Double-check that the main isolation valve is still in the “off” position to prevent any water from entering the system.
With the backflow preventer free from water, you can proceed to the next step, which involves disconnecting and storing the sprinkler heads.
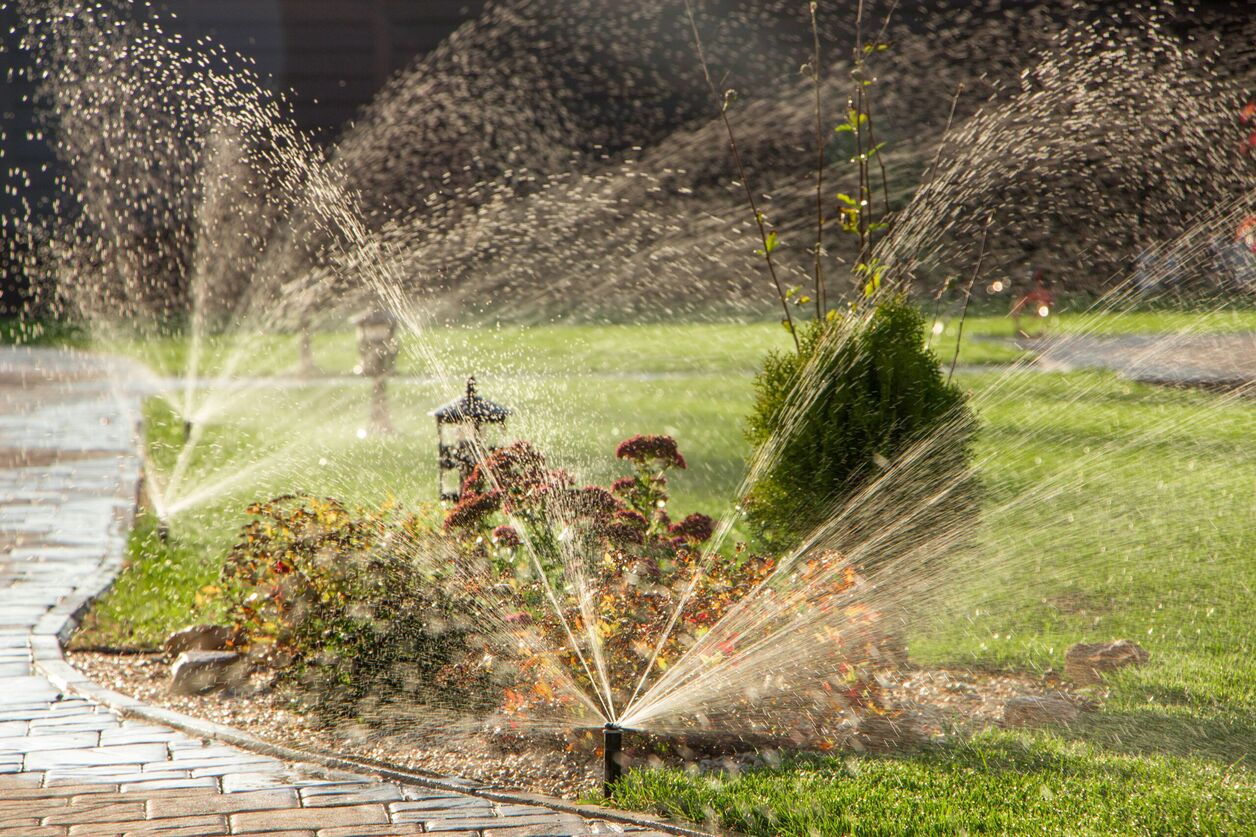
Step 4: Disconnect and Store Sprinkler Heads
Once you have removed water from the backflow preventer, it’s time to disconnect and store the sprinkler heads. This step is crucial to protect them from potential damage caused by freezing temperatures and ensure their proper functionality in the next irrigation season.
Start by carefully unscrewing each sprinkler head from its riser or pipe. Use a wrench or pair of pliers if necessary, but be gentle to avoid damaging the threads. Once removed, inspect each sprinkler head for any signs of wear or damage, such as clogs or broken parts.
If you come across any damaged sprinkler heads, replace them with new ones to ensure optimal performance when you reactivate your irrigation system in the spring. It’s also a good idea to clean any debris or sediment from the sprinkler heads with a soft brush or nozzle attachment, as this can impact their efficiency.
After inspecting and cleaning the sprinkler heads, it’s time to store them properly. Find a dry and temperature-controlled area, such as a garage or basement, where you can safely store them. Make sure the area is free from any chemicals or sharp objects that can potentially damage the sprinkler heads.
You can place the sprinkler heads in plastic bags or containers to keep them dust-free and protected. If you have multiple types of sprinkler heads, it’s helpful to label the containers or bags accordingly for easy identification when reassembling the system in the spring.
Remember to store any removable nozzles or other small parts with the corresponding sprinkler heads to ensure that everything is easily accessible when you need to reassemble the system. This will save you time and effort in the future.
By disconnecting and properly storing your sprinkler heads, you are taking a proactive step to protect them from the harsh winter conditions. This will prolong their lifespan and ensure that they function optimally when it’s time to water your lawn again.
Once you have completed this step, you can move on to the next step, which involves insulating exposed pipes to provide additional protection against freezing temperatures.
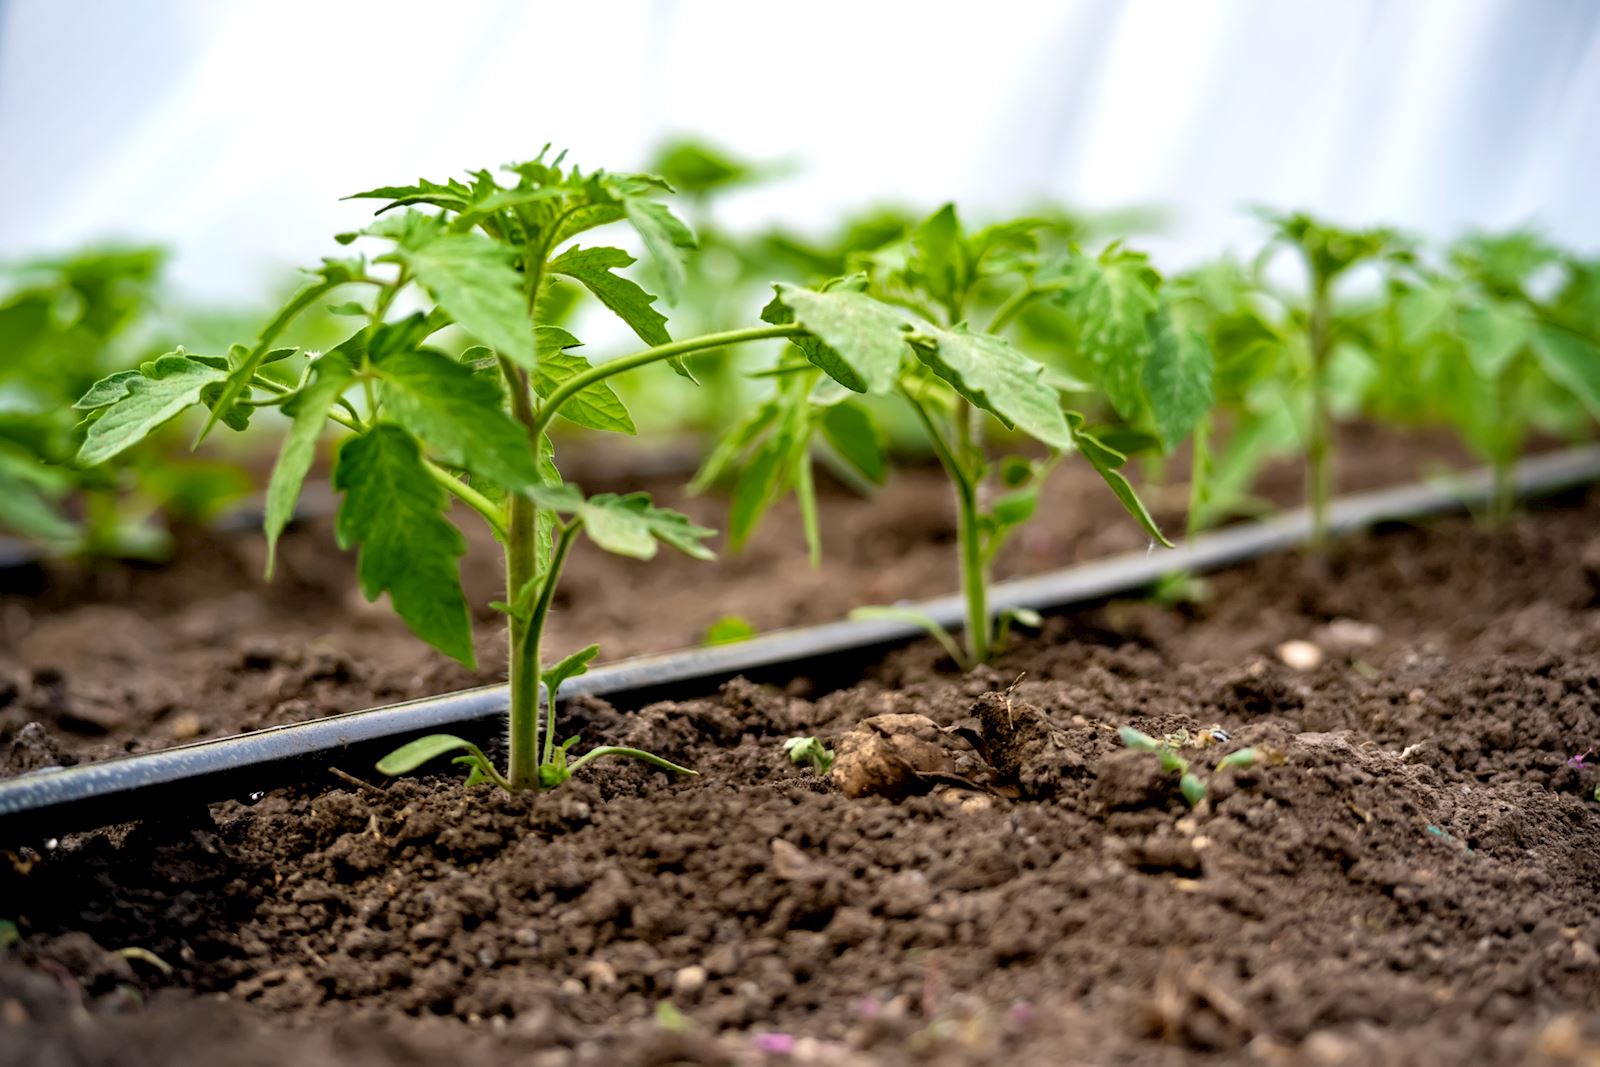
Step 5: Insulate Exposed Pipes
Insulating exposed pipes is an essential step in winterizing your irrigation system. Insulation helps to protect the pipes from freezing temperatures, which can lead to cracks and costly repairs. By adding insulation, you can minimize the risk of damage and ensure the longevity of your irrigation system.
Start by identifying any exposed pipes in your irrigation system. These are typically located above ground, such as pipes that run along exterior walls, in crawl spaces, or in unheated areas of your property. Examine the pipes for any signs of existing insulation or areas that may be vulnerable to the cold.
There are several insulation options available, including foam pipe sleeves, heat tape, and pipe wrap. Foam pipe sleeves are a popular choice as they are easy to install and provide effective insulation. Simply cut the foam sleeves to the appropriate length and slip them over the exposed pipes, ensuring a snug fit. This will create a barrier between the pipes and the cold air.
If you choose to use heat tape, follow the manufacturer’s instructions carefully to ensure safe and proper installation. Heat tape should be applied directly to the pipes and plugged into an electrical outlet. The tape will generate heat to keep the pipes warm and prevent freezing.
For added protection, you can also wrap the pipes with pipe wrap insulation. This can be beneficial in areas with extreme cold temperatures or pipes that are particularly vulnerable to freezing. Pipe wrap insulation is typically made of fiberglass or foam and provides an extra layer of insulation.
When insulating the pipes, pay special attention to areas where the pipes may be exposed to drafts or cold air. Use sealant or insulation tape to close any gaps or openings around the pipes. This will further prevent cold air from reaching the pipes and causing them to freeze.
After insulating the exposed pipes, it’s important to secure the insulation in place. You can use zip ties, duct tape, or special adhesive designed for pipe insulation. This will ensure that the insulation remains intact and effective throughout the winter season.
By taking the time to insulate exposed pipes, you are adding an extra layer of protection to your irrigation system. This will safeguard the pipes from freezing temperatures and reduce the risk of damage. With the pipes properly insulated, you can proceed to the next step, which involves scheduling a professional blowout (optional).
Step 6: Schedule a Professional Blowout (Optional)
As the final step in winterizing your irrigation system, you have the option to schedule a professional blowout. While not necessary for all systems, a blowout can provide an extra level of protection against freezing temperatures and ensure that all remaining water is removed from the system.
A professional blowout involves using compressed air to force any lingering water out of the pipes, sprinkler heads, and valves. This process helps to prevent freezing and potential damage during the winter months.
If you choose to have a professional blowout, it’s important to hire a qualified irrigation professional with experience in winterization. They will have the necessary equipment and knowledge to perform the blowout safely and effectively.
The blowout process typically involves connecting an air compressor to the irrigation system using a special blowout adapter. The technician will then use regulated air pressure to systematically blow out each zone of the system, starting with the farthest zone from the water source.
During the blowout, the water will be forced out through the sprinkler heads and drain valves. The technician will continuously check each zone to ensure that all water has been properly removed. This process may take some time, depending on the size and complexity of the system.
While a professional blowout is optional, it can provide peace of mind knowing that all water has been effectively removed from the system. This is especially beneficial for regions with harsh winters or if you have experienced freezing or damage to your irrigation system in the past.
Keep in mind that a professional blowout may come with a cost, but it can save you from potential repairs or replacements that may be required if the system is not adequately prepared for winter.
Once the professional blowout is completed, you can rest assured that your irrigation system is well-protected against freezing temperatures. It will be ready to go in the spring when you reactivate your system for the upcoming growing season.
With the completion of step 6, you have successfully winterized your irrigation system. By following these steps, you have taken the necessary precautions to protect your system from freezing temperatures and potential damage. Now you can confidently await the arrival of warmer weather, knowing that your irrigation system is in optimal condition.
Conclusion
Winterizing your irrigation system is a crucial step in ensuring its longevity and functionality. By following the step-by-step process outlined in this guide, you can protect your system from freezing temperatures and potential damage.
Throughout the winterization process, we covered important tasks such as shutting off the water supply, draining the pipes, removing any remaining water from the backflow preventer, disconnecting and storing the sprinkler heads, insulating exposed pipes, and scheduling a professional blowout if desired.
By taking these proactive measures, you can prevent frozen pipes, cracked valves, and damaged sprinkler heads, which can lead to water leaks, decreased water pressure, and costly repairs in the spring. Properly winterizing your irrigation system ensures that it will be ready and fully functional when the next growing season begins.
Remember, it’s essential to start the winterization process before freezing temperatures arrive. Waiting until the last minute can result in potential damage to your system and costly repairs. Plan and schedule your winterization tasks accordingly to ensure that everything is completed in a timely and efficient manner.
While the steps outlined in this guide provide a comprehensive approach to winterizing your irrigation system, it is important to consult the manufacturer’s guidelines for your specific system. Different systems may have unique requirements or additional steps that need to be followed.
By taking the time to properly winterize your irrigation system, you are investing in its longevity and performance. A well-maintained system not only saves you money on repairs but also ensures that your landscape or garden receives the proper hydration it needs for healthy growth.
So take the necessary steps to protect your irrigation system from freezing temperatures this winter. By following the guidelines provided in this guide, you can enjoy a worry-free winter and look forward to a thriving and efficient irrigation system in the coming year.