Home>Garden Design>Planning Your Garden>How To Plan Irrigation System
Planning Your Garden
How To Plan Irrigation System
Modified: January 22, 2024
Learn how to plan an efficient irrigation system for your garden. Follow these easy steps for successful garden planning and ensure proper watering for your plants.
(Many of the links in this article redirect to a specific reviewed product. Your purchase of these products through affiliate links helps to generate commission for Chicagolandgardening.com, at no extra cost. Learn more)
Table of Contents
- Introduction
- Step 1: Assessing your landscape
- Step 2: Determining water requirements
- Step 3: Choosing the right irrigation system
- Step 4: Designing the layout
- Step 5: Calculating system capacity
- Step 6: Selecting irrigation components
- Step 7: Installing the system
- Step 8: Setting up timers and controllers
- Step 9: Adjusting and maintaining the system
- Conclusion
Introduction
Planning your garden is an exciting and rewarding endeavor. It allows you to create a beautiful outdoor space that brings joy, relaxation, and a sense of accomplishment. One crucial aspect of planning your garden is designing an efficient and effective irrigation system. Whether you have a small backyard garden or a larger landscape, a well-designed irrigation system is essential to ensure your plants receive the water they need while conserving water resources.
An irrigation system helps deliver water directly to the roots of your plants, promoting healthy growth and minimizing water waste. By designing and implementing an irrigation system tailored to your garden’s specific needs, you can conserve water, save time, and ensure your plants thrive. However, planning an irrigation system can be a daunting task if you’re unfamiliar with the process. That’s why this guide is here to help you navigate through the steps involved in planning your garden’s irrigation system.
In this comprehensive guide, we will cover each step of the planning process, from assessing your landscape to adjusting and maintaining the system. By following these steps, you will have a clear roadmap to design and install an efficient irrigation system that will support the growth and health of your garden plants.
Before delving into the specific steps, it is important to note that each garden is unique, with different soil types, plant varieties, and climatic conditions. Therefore, it is essential to adapt the information provided in this guide to suit your individual garden’s requirements.
So, let’s get started with the first step, which is assessing your landscape. By understanding the characteristics of your garden, you will be able to make informed decisions about the type of irrigation system that will work best for your specific needs.
Step 1: Assessing your landscape
Before you can design an effective irrigation system, it is important to assess the unique characteristics of your landscape. Understanding factors such as soil type, plant types, and sun exposure will help you make informed decisions throughout the planning process.
Start by examining your soil type. Different soil types have varying water-holding capacities and drainage abilities. Sandy soils, for example, drain quickly but do not retain moisture well, while clay soils retain water but can become waterlogged. Knowing your soil type will help you determine the frequency and duration of watering.
Next, consider the types of plants in your garden. Different plants have varying water requirements. Take note of any water-sensitive or drought-tolerant plants in your landscape. Grouping plants with similar water needs together can make irrigation more efficient.
Evaluate the amount of sun exposure in different areas of your garden. Some areas may be more shaded, while others receive full sun throughout the day. This information will help you adjust irrigation schedules to account for differences in evaporation rates.
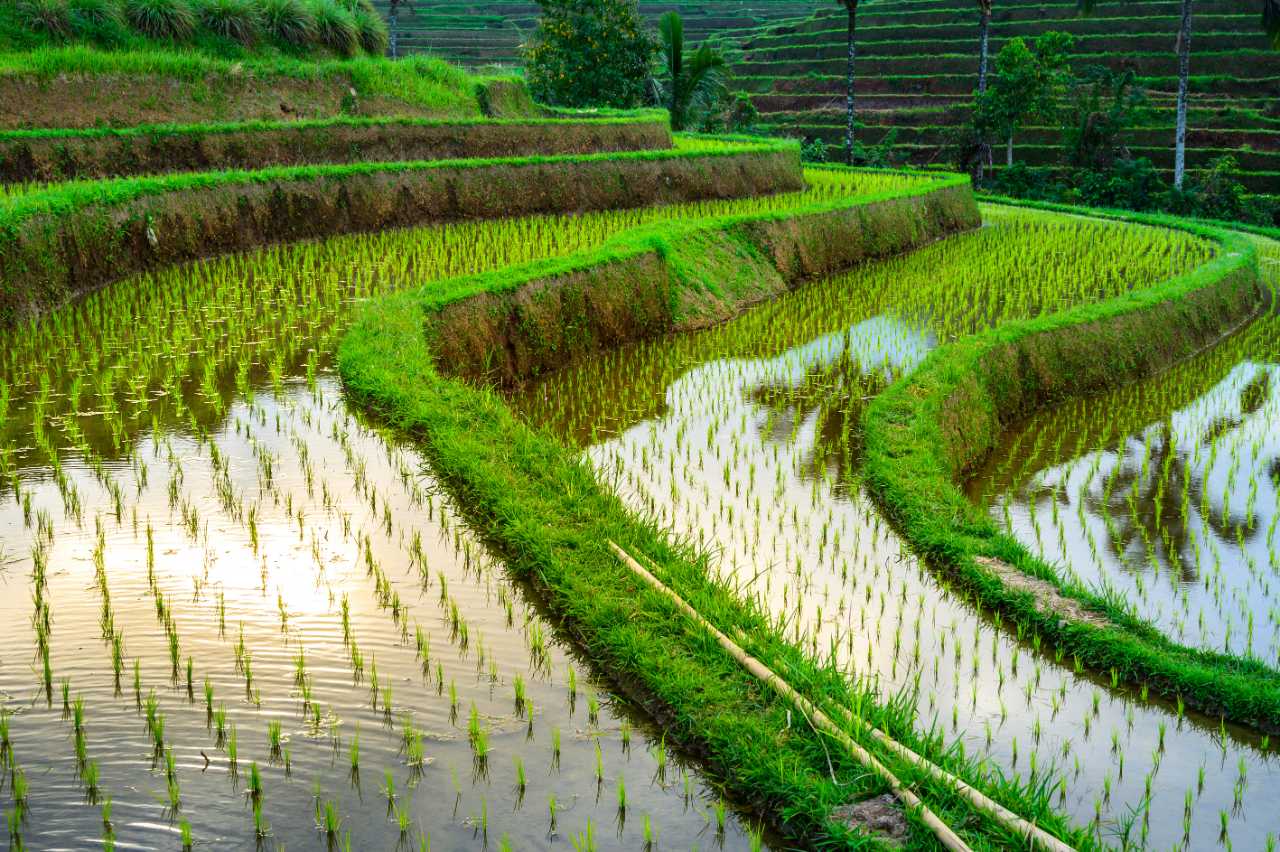
Additionally, assess the slope and drainage of your landscape. Areas with significant slopes may require irrigation strategies that prevent water runoff. You may need to incorporate features such as terracing or drip irrigation to ensure water reaches the plants’ roots.
Finally, consider any existing structures in your garden, such as pathways, trees, or structures. These elements may influence the placement and design of your irrigation system.
By assessing your landscape thoroughly, you will have a better understanding of the specific needs and challenges of your garden. This knowledge will guide your decisions in selecting the most appropriate irrigation system and designing its layout, which we will explore in the next step.
Step 2: Determining water requirements
In order to design an effective irrigation system, it is crucial to determine the water requirements of your garden plants. Providing the right amount of water will ensure healthy growth and prevent water wastage. To determine the water requirements, you need to consider factors such as plant type, weather conditions, and evapotranspiration.
Start by identifying the specific water needs of your plants. Some plants require more frequent watering, while others are more drought-tolerant. Familiarize yourself with the specific water requirements of each plant in your garden. This information can usually be found on plant labels or through online research.
Next, consider the climate and weather patterns in your region. If you live in a hot and dry climate, your plants may need more water compared to those in a cooler and more humid climate. Take into account any seasonal variations in rainfall and adjust your irrigation accordingly.
Evapotranspiration (ET) is the combined process of water evaporation from the soil surface and transpiration from plant leaves. It plays a crucial role in determining how much water your plants need. Several factors affect ET, including temperature, humidity, wind speed, and solar radiation. You can consult local weather data or use online tools to estimate the ET rate in your area.
By considering these factors – plant type, climate, and evapotranspiration – you can calculate the water requirements for your garden. With this information, you will be able to determine how much water your irrigation system should deliver to ensure your plants receive adequate moisture.
It is important to note that overwatering can be just as harmful to plants as underwatering. Excessive water can lead to root rot, disease, and wastage. Therefore, it is crucial to strike a balance and provide only the necessary amount of water. This can be achieved through proper irrigation system design and scheduling, which we will explore in the subsequent steps.
Step 3: Choosing the right irrigation system
Choosing the right irrigation system for your garden is essential to ensure efficient water distribution and minimize waste. There are several types of irrigation systems to consider, each with its own advantages and suitability for different garden sizes and plant types.
1. Drip Irrigation: Drip irrigation is a popular choice for gardens of all sizes. It delivers water directly to the root zone of plants through a network of tubes or drip emitters. This system is highly efficient, minimizing water loss due to evaporation or runoff. Drip irrigation is ideal for vegetable gardens, flower beds, and container plants.
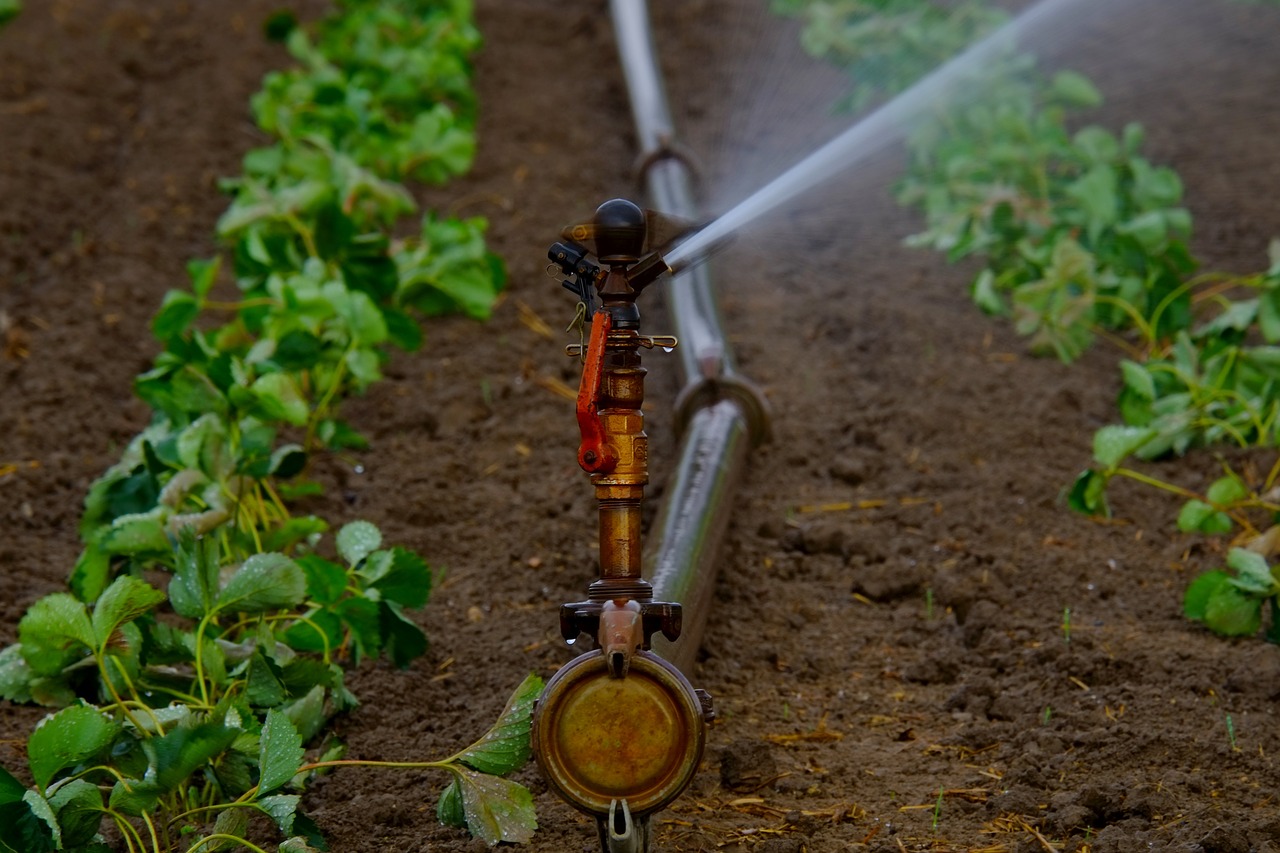
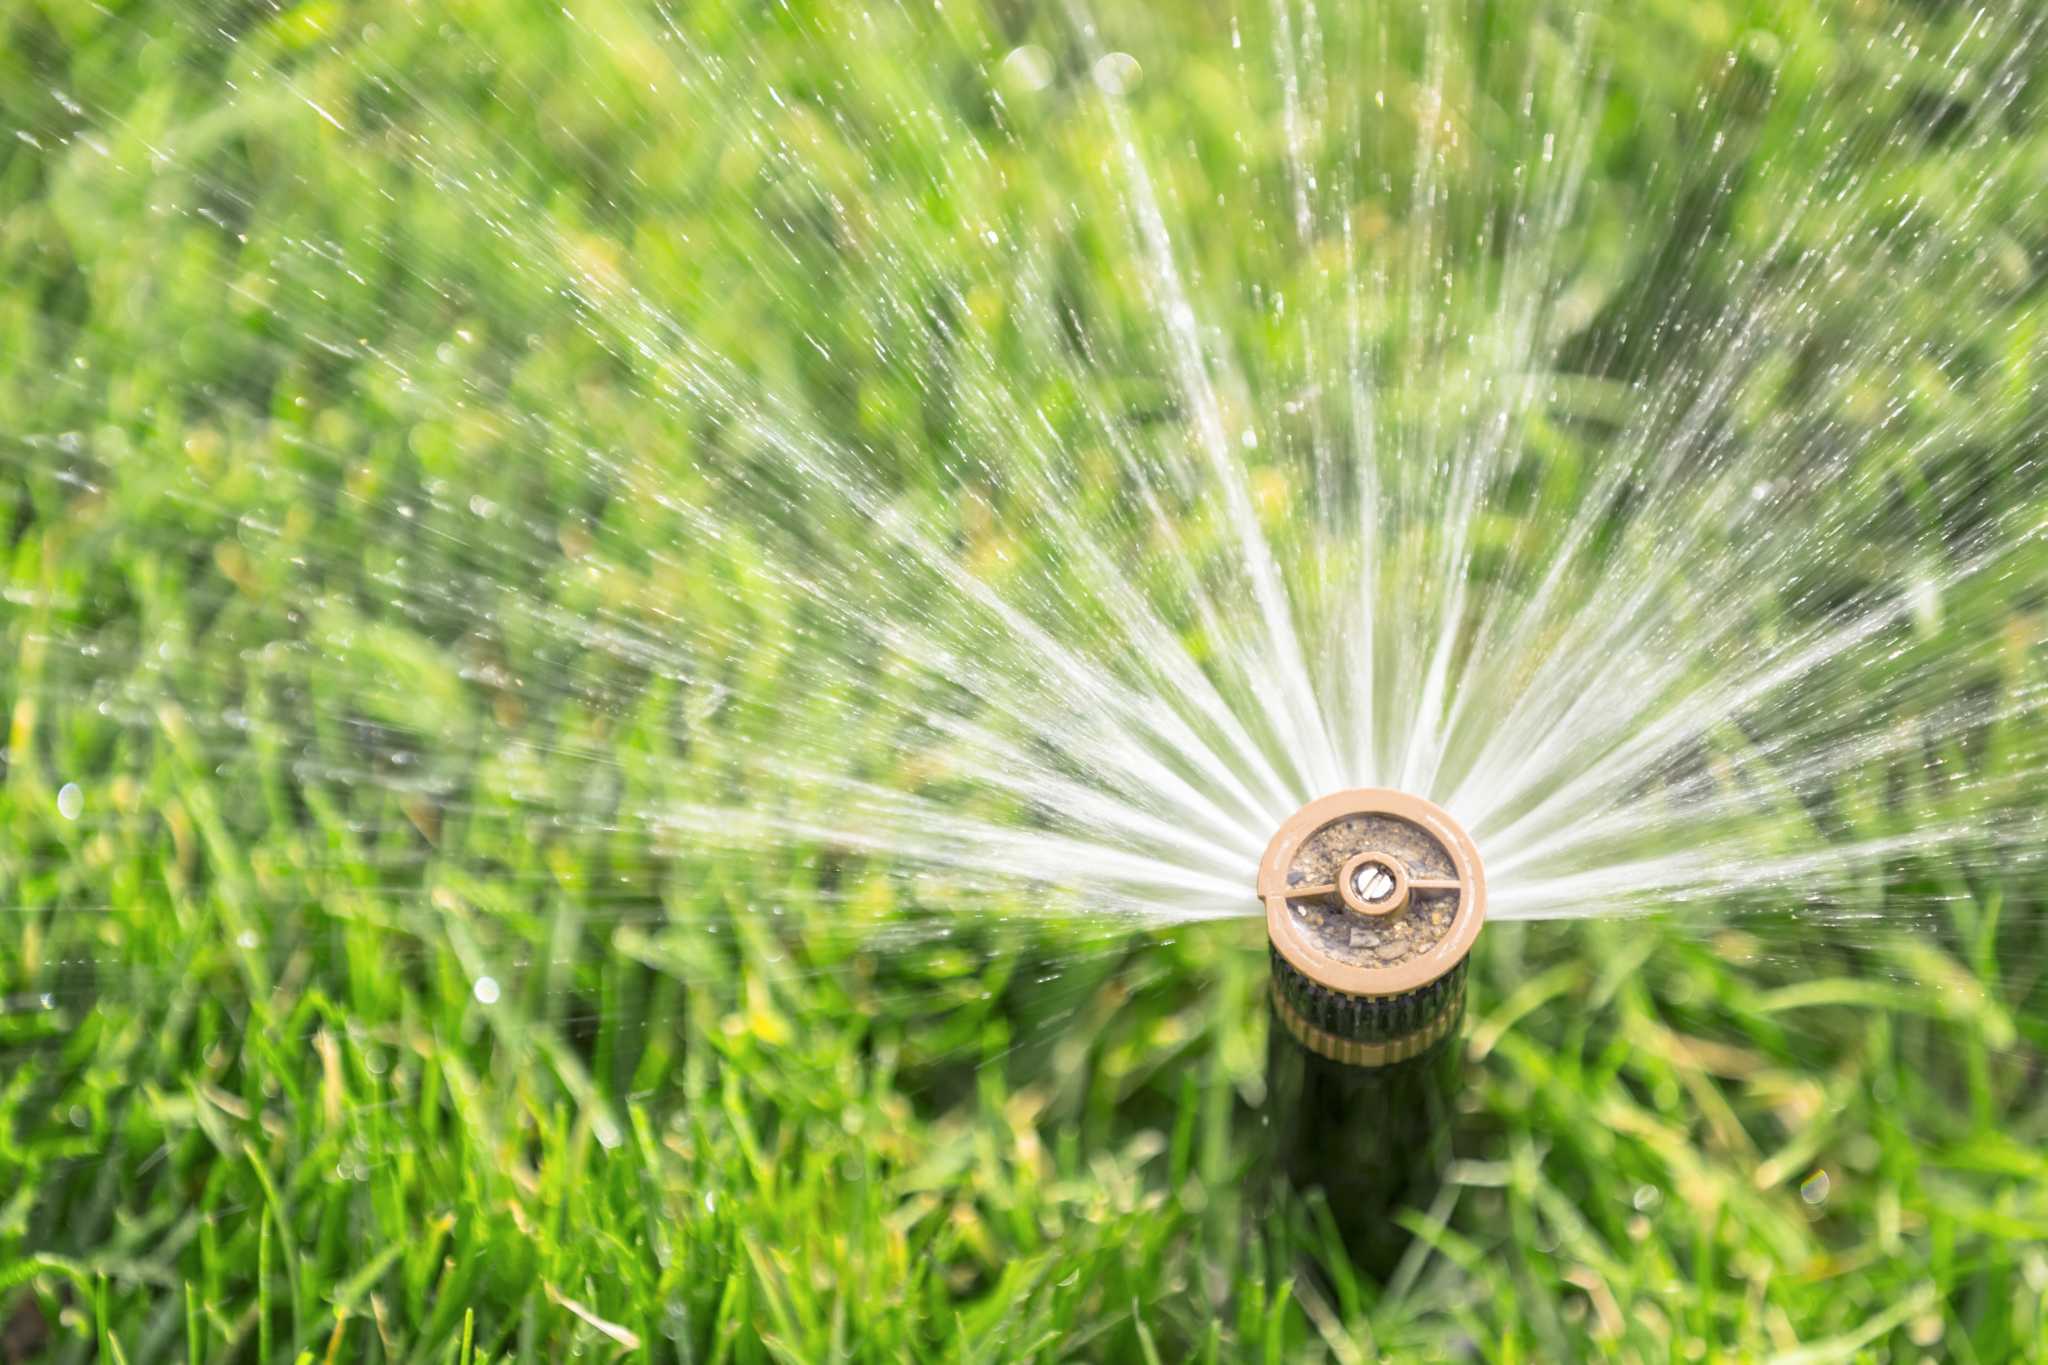
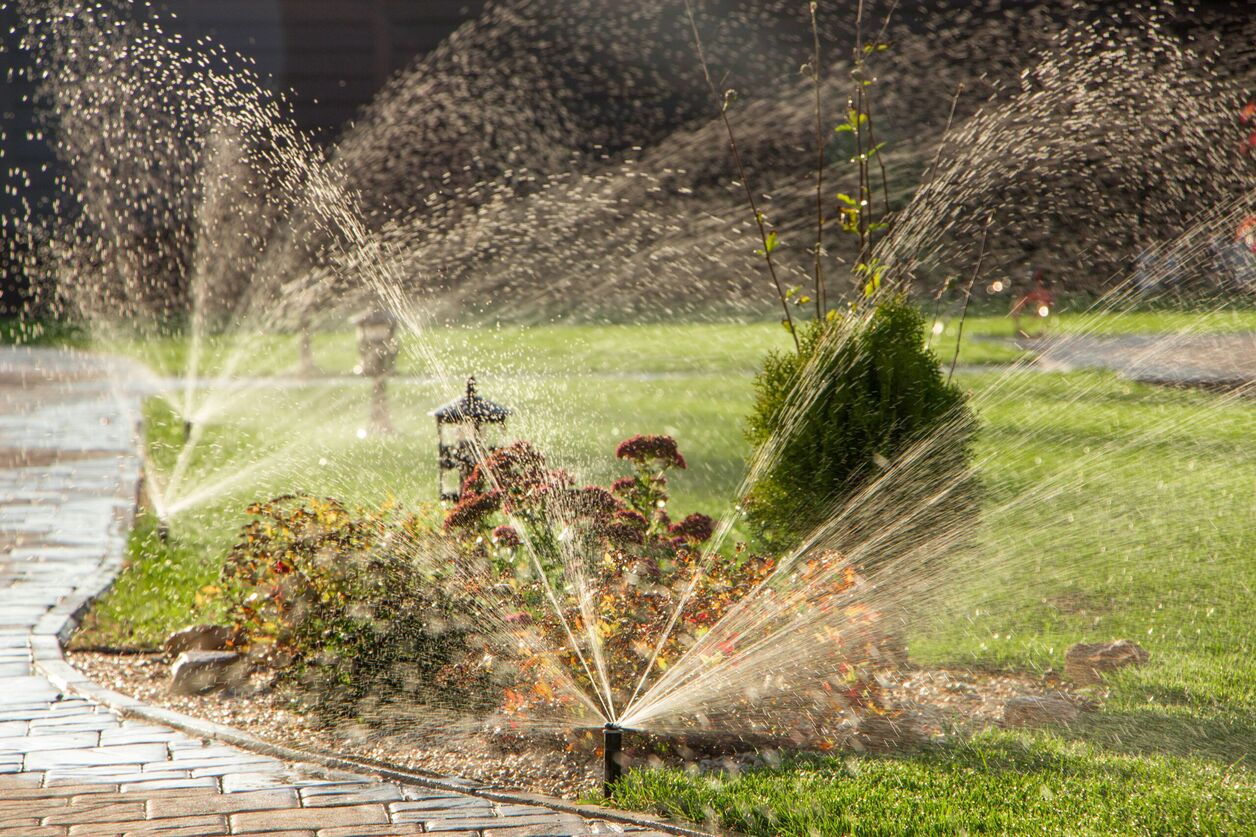
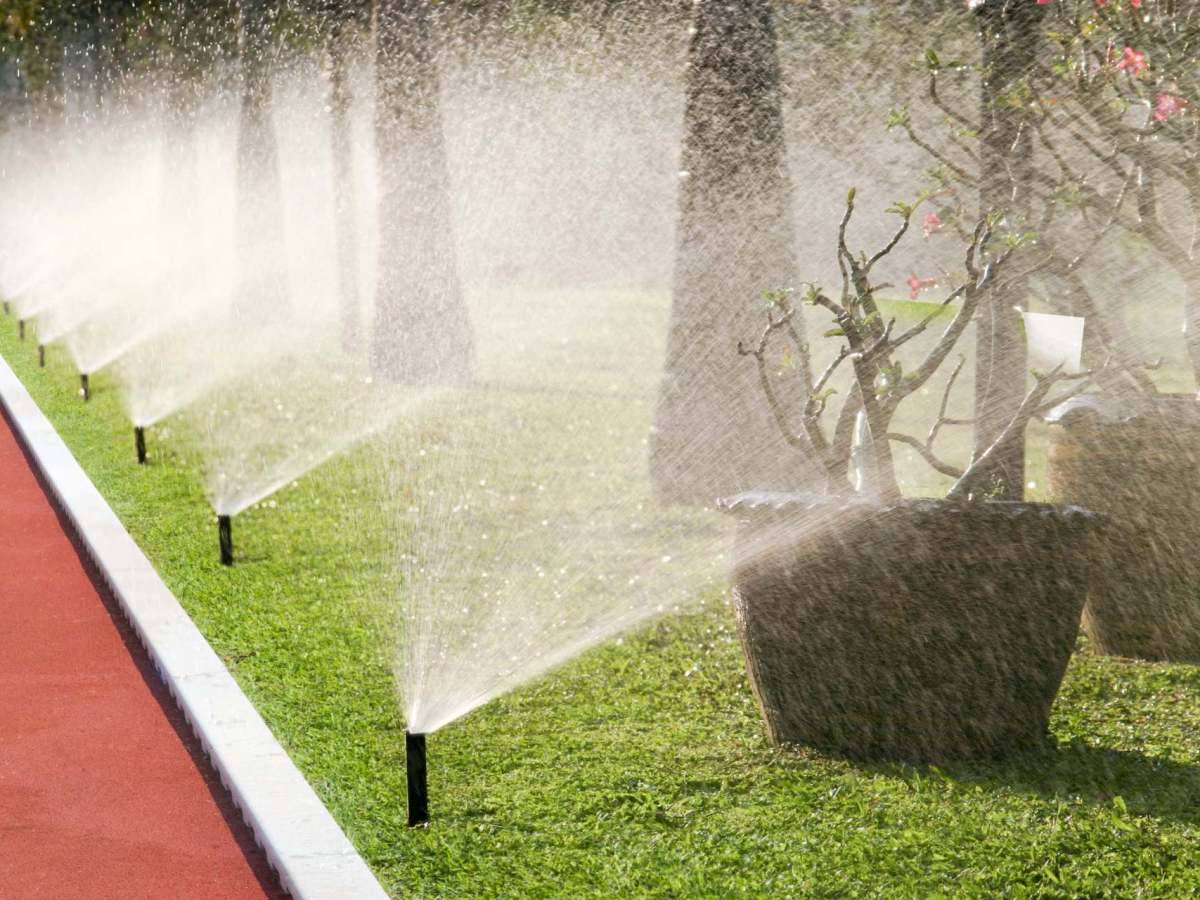
2. Sprinkler Irrigation: Sprinkler systems are commonly used for larger grassy areas such as lawns or athletic fields. They distribute water overhead in a spray pattern, mimicking rainfall. Sprinkler irrigation can be adjusted to cover a specific area and is suitable for a wide range of plant types.
3. Soaker Hoses: Soaker hoses are a simple and cost-effective irrigation option. They are made of porous material that allows water to seep out slowly, delivering moisture directly to the soil. Soaker hoses are best suited for gardens with rows of plants or hedges.
4. Micro-Sprinklers: Micro-sprinklers are similar to traditional sprinklers but deliver water in a gentler, more targeted manner. They are effective for irrigating small areas or specific plantings, such as flower beds or individual trees.
When choosing an irrigation system, consider factors such as water efficiency, ease of installation, maintenance requirements, and cost. Assess your garden’s specific needs and consult with professionals or local garden centers for recommendations.
Remember that combining different types of irrigation systems may be appropriate for different areas or plant types within your garden. This will allow you to tailor the irrigation to the needs of each individual plant, maximizing efficiency and water conservation.
Once you have selected the appropriate irrigation system for your garden, you can move on to the next step in the planning process, which is designing the layout.
Step 4: Designing the layout
Designing the layout of your irrigation system is a crucial step in ensuring efficient water distribution and coverage for your garden. A well-planned layout will take into account the size and shape of your garden, the specific water requirements of different areas, and the type of irrigation system you have chosen.
Start by creating a map or drawing of your garden, including any existing structures or features. This will help you visualize the layout and identify areas that require irrigation.
Next, divide your garden into zones based on the specific water requirements of different areas and plant types. For example, a zone might be dedicated to water-sensitive plants that require frequent and precise watering, while another zone might be for drought-tolerant plants that need less frequent irrigation.
Consider the spacing and placement of your irrigation components within each zone. This will depend on the type of irrigation system you have chosen. For drip irrigation, ensure that the emitters are positioned close to the roots of the plants. For sprinkler systems, make sure the sprinkler heads are spaced evenly to provide uniform coverage.
Take into account any slopes or uneven terrain in your garden. Adjust the layout accordingly to prevent water runoff or pooling. If needed, incorporate features such as terracing or elevation changes to ensure optimal water distribution.
Incorporate any existing structures or features in your garden into your irrigation system layout. This might include pathways, trees, or raised beds. Ensure that these elements do not obstruct the water flow and adjust the layout accordingly.
Consider the accessibility of your irrigation components for maintenance and adjustments. Leave enough space between plants and hardscape elements to allow for easy access to irrigation valves, timers, and sprinkler heads.
Once you have finalized the layout design, you can move on to the next step, which is calculating the system capacity. This will help you determine the amount of water your irrigation system needs to deliver to meet the water requirements of your plants.
Step 5: Calculating system capacity
Calculating the system capacity of your irrigation system is crucial to ensure that it can deliver the required amount of water to your garden. By accurately determining the system capacity, you can avoid issues such as under or over-watering, and maximize the efficiency of your irrigation system.
Start by measuring the water flow rate of your water source. To do this, connect a flow meter to the spigot or hose bib and record the flow rate in gallons per minute (GPM). This value represents the maximum amount of water your irrigation system can deliver.
Next, determine the water requirements of your garden. This involves calculating the water needs of each zone or specific plant types in your garden. Refer to Step 2, where we determined the water requirements based on plant types, climate, and evapotranspiration.
To calculate the system capacity, you need to ensure that your irrigation system can provide enough water to meet the peak demand of your garden. Consider factors such as the number of sprinkler heads or drip emitters, the precipitation rate, and the duration of watering for each zone.
For example, if you have a zone with 10 sprinkler heads, and each sprinkler head has a flow rate of 2 GPM, the total flow rate for that zone would be 20 GPM. Ensure that your water source can supply a flow rate equal to or greater than the total flow rate of all your zones combined.
Additionally, consider the duration of watering for each zone. This will depend on the water requirements of the plants in that zone. Multiply the flow rate by the duration to determine the volume of water needed for each zone.
Apart from calculating the system capacity, it is important to consider water pressure as well. Ensure that your irrigation system can achieve the required operating pressure to adequately distribute water to all areas of your garden.
By calculating the system capacity, you can ensure that your irrigation system is capable of delivering the necessary amount of water to your garden, allowing your plants to thrive. In the next step, we will discuss the selection of irrigation components to bring your system design to life.
Step 6: Selecting irrigation components
Selecting the right irrigation components is crucial for the successful implementation of your irrigation system. Each component plays a vital role in delivering water efficiently to your plants and ensuring optimal performance of your system. Here are some key components to consider:
- Sprinkler Heads: Choose sprinkler heads that are suitable for the specific needs of your garden. Consider factors such as coverage area, precipitation rate, and adjustable features. Different types of sprinkler heads include pop-up spray heads, rotor sprinklers, and impact sprinklers.
- Drip Emitters or Soaker Hoses: Depending on your chosen irrigation system, select drip emitters or soaker hoses that match the water requirements of your plants. Consider factors such as flow rate, spacing, and pressure compensating capabilities.
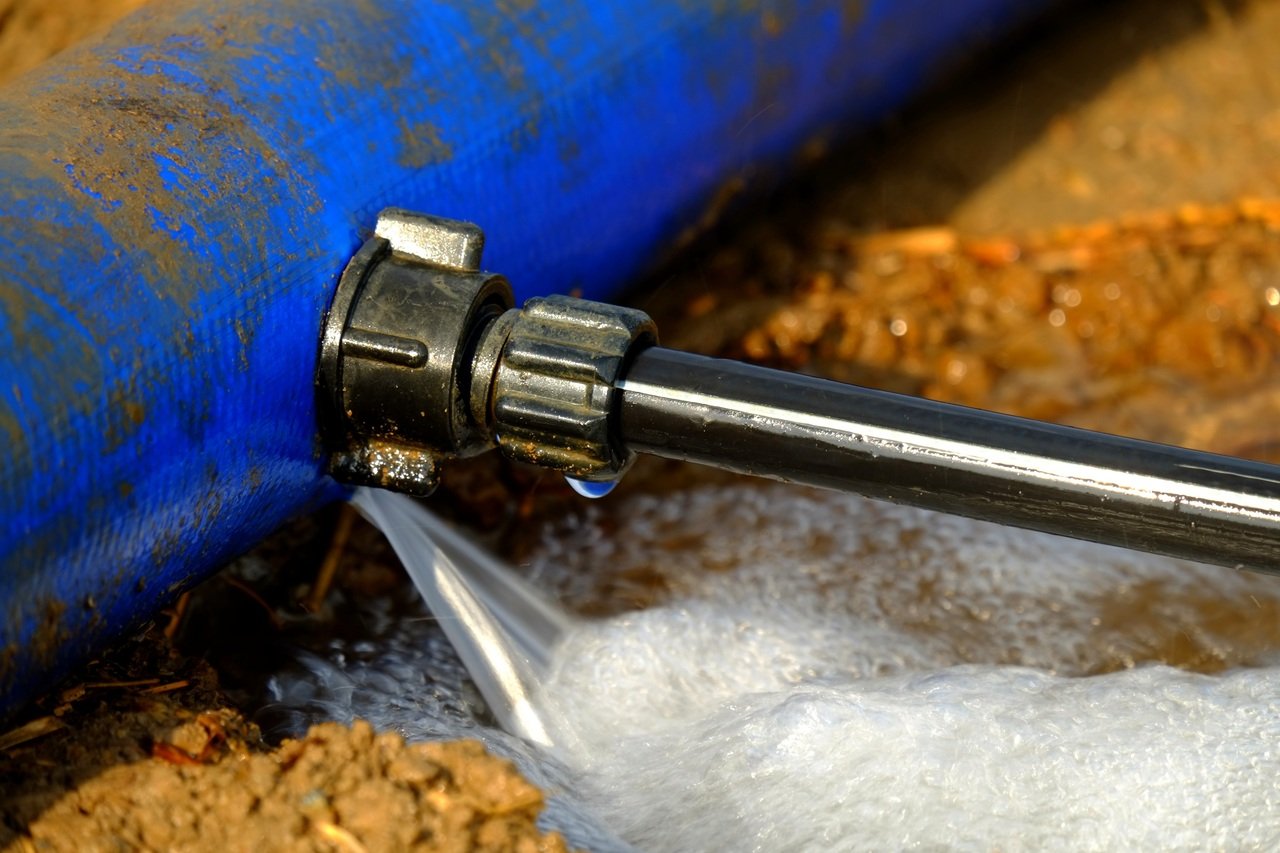
- Pipes and Tubing: Choose pipes and tubing that are durable and resistant to UV rays and temperature fluctuations. PVC pipes and polyethylene tubing are commonly used options. Ensure that the diameter and length of the pipes or tubing are suitable for the flow rate and pressure requirements of your system.
- Valves: Valves control the water flow to different zones or sections of your garden. Choose valves that are compatible with your irrigation system type and can handle the required flow rate. Consider factors such as manual or automatic operation, solenoid valves, and pressure regulation capabilities.
- Timers and Controllers: Timers and controllers automate the watering process, providing convenience and flexibility. Choose a timer or controller that meets your specific needs, such as programmable schedules, multiple zones, and rain sensors for water conservation.
- Filters and Pressure Regulators: Filters remove debris from the water and prevent clogging of the irrigation system. Pressure regulators ensure a consistent and optimal water pressure. Select filters and pressure regulators that match the flow rate and pressure requirements of your system.
When selecting irrigation components, consider quality, efficiency, compatibility, and ease of maintenance. It is also beneficial to consult with experts or professionals to ensure you choose the most suitable components for your specific garden and irrigation system requirements.
By carefully selecting the right irrigation components, you can maximize the efficiency and effectiveness of your irrigation system, ensuring that your plants receive the water they need to thrive. In the next step, we will discuss the installation process to bring your irrigation system to life.
Step 7: Installing the system
Installing an irrigation system is a significant step towards efficiently and effectively watering your garden. Proper installation ensures that water is distributed evenly and reaches the roots of your plants. While it may seem like a daunting task, following these steps will help you successfully install your irrigation system:
- Mark the layout: Use stakes and string to mark the layout according to your design plan. Clearly indicate the locations of valves, sprinkler heads, and drip emitters.
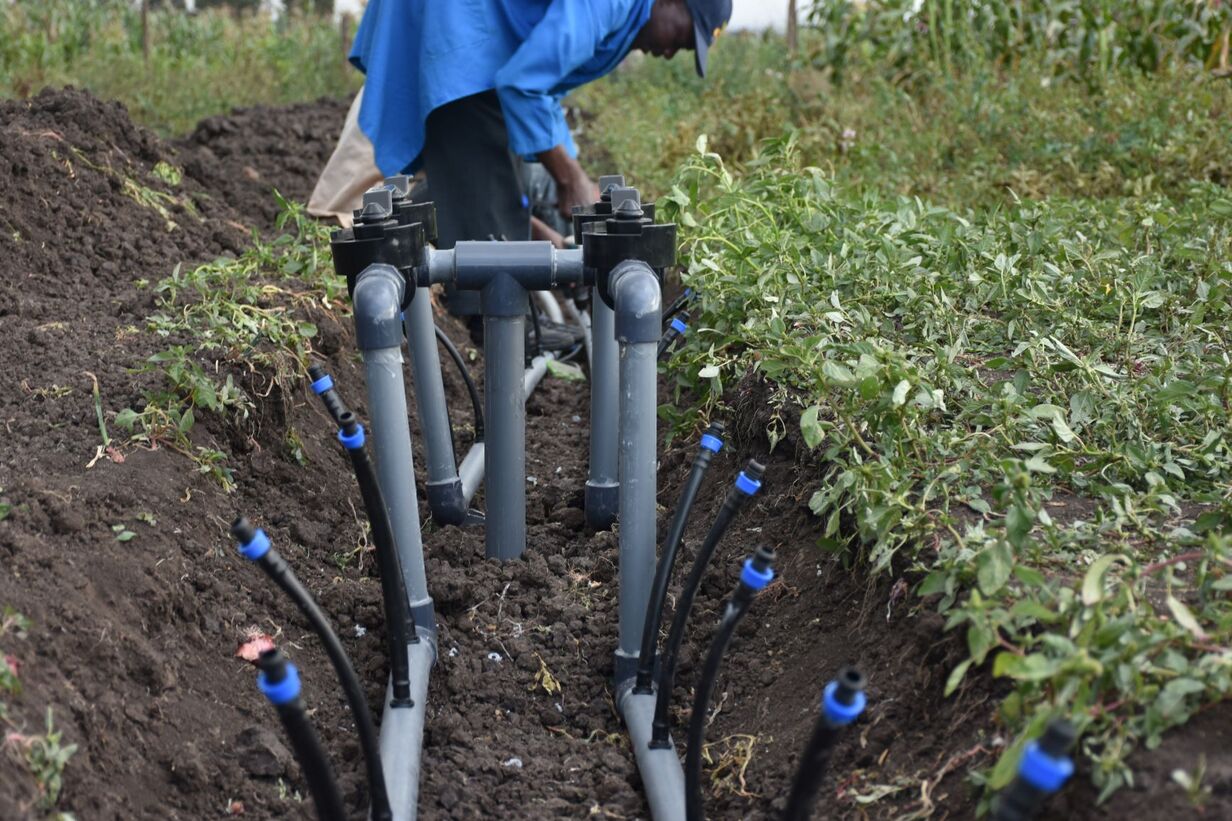
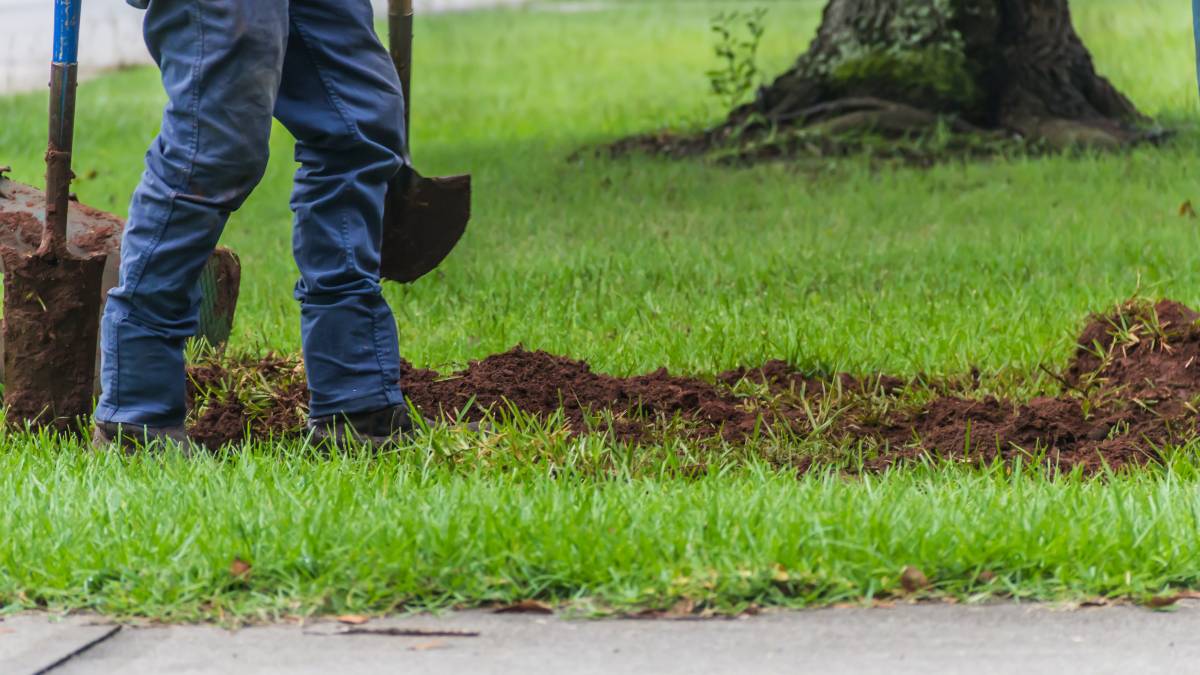
- Trenching: Dig trenches along the layout to accommodate the pipes and tubing. Ensure the trenches are deep enough to bury the components but allow easy access for maintenance.
- Lay pipes and tubing: Install the pipes and tubing in the trenches, connecting them to the appropriate fittings and valves. Check for proper alignment, ensuring no sharp bends or kinks that could impede water flow.
- Connect irrigation components: Attach sprinkler heads, drip emitters, filters, pressure regulators, and valves according to the manufacturer’s instructions. Use appropriate fittings and secure connections to prevent leaks.
- Connect to the water source: Connect the main pipe or tubing to the water source, typically a spigot or mainline. Install a backflow preventer to ensure water flows in one direction, preventing contamination of the water supply.
- Test the system: Turn on the water supply to test the irrigation system. Check for leaks, proper water flow, and coverage. Make necessary adjustments and repairs as needed.
- Bury components: Once the system has been tested and verified, carefully backfill the trenches, ensuring the pipes and tubing are properly buried and protected.
Ensure that you follow local regulations and guidelines when installing your irrigation system, particularly for backflow prevention and connection to the water supply.
If you are uncertain or uncomfortable with any aspect of the installation process, it is recommended to consult with a professional irrigation contractor to ensure proper installation and prevent any potential issues.
With the irrigation system installed, you are now ready to move on to the next step, which is setting up timers and controllers to automate the watering process.
Step 8: Setting up timers and controllers
Setting up timers and controllers for your irrigation system is a key step in automating the watering process and ensuring that your plants receive water at the right time and in the right amount. Timers and controllers provide convenience, flexibility, and water conservation benefits. Follow these steps to effectively set up timers and controllers for your irrigation system:
- Select the appropriate timer or controller: Consider the number of zones or sections in your garden and the desired features, such as multiple programs, adjustable schedules, and water-saving options. Choose a timer or controller that meets your specific needs.
- Read the manufacturer’s instructions: Familiarize yourself with the instructions provided by the manufacturer for the specific timer or controller you have chosen. Understand the programming options, wiring connections, and interface features.
- Connect the timer or controller: Install the timer or controller in a suitable location, protected from the elements. Follow the wiring instructions provided, ensuring proper connections and adhering to electrical safety guidelines.
- Program the watering schedule: Set the desired days and times for watering each zone. Consider the water requirements of each zone, including the specific plant types and soil conditions. Adjust the duration and frequency accordingly.
- Include rain sensors or moisture sensors: If available and compatible with your timer or controller, consider installing rain sensors or moisture sensors. These devices help prevent unnecessary watering when there is sufficient rainfall or when the soil is already adequately moist.
- Test and adjust: Activate the timer or controller and test the watering schedule. Verify that each zone receives the appropriate amount of water and that the timing is suitable for your garden’s needs. Make adjustments as necessary.
It is important to periodically review and adjust the watering schedule as needed, especially during different seasons or changing weather conditions. This allows you to optimize water usage and accommodate specific plant requirements.
By setting up timers and controllers, you can ensure that your irrigation system operates efficiently, saving time and water while providing your plants with the necessary moisture. In the next step, we will explore how to adjust and maintain your irrigation system for continued optimal performance.
Step 9: Adjusting and maintaining the system
Adjusting and maintaining your irrigation system is an ongoing process that ensures its continued optimal performance and longevity. Regular maintenance and adjustments are crucial for efficient watering, preventing leaks, and prolonging the lifespan of your system. Here are some key steps to follow:
- Regular inspection: Conduct regular inspections of your irrigation system to check for any leaks, damaged or clogged sprinkler heads, or misaligned emitters. Look for wet or dry spots in your landscape, as these can indicate issues with water distribution.
- Check for proper coverage: Verify that all areas of your garden are receiving adequate water coverage. Adjust sprinkler heads or emitters as needed to ensure water reaches the intended target and there is no overspray onto hardscape areas.
- Monitor water pressure: Regularly check the water pressure within your irrigation system to ensure it falls within the recommended range. High or low water pressure can affect the efficiency and performance of the system.
- Clear debris: Regularly clear any debris, dirt, or plant material that may accumulate around sprinkler heads or emitters. This helps to maintain proper water flow and prevent clogging.
- Seasonal adjustments: Adjust the watering schedule and duration based on seasonal changes in temperature, rainfall, and plant needs. Reduce watering during cooler months or periods of increased rainfall, and increase it during hot and dry periods.
- Winterization: If you live in an area with freezing temperatures, properly winterize your irrigation system to prevent damage from frozen water in the pipes. Drain the water from the system or use an air compressor to blow out any remaining water.
- Professional maintenance: Consider hiring a professional irrigation specialist to conduct periodic maintenance and tune-ups of your system. They can identify and resolve any issues that may not be apparent to the untrained eye.
Regular maintenance and adjustments will ensure that your irrigation system operates optimally, conserves water, and provides the necessary moisture for your plants to thrive. By investing time and effort in maintaining your system, you can enjoy a beautiful and healthy garden for years to come.
With these steps, you have successfully navigated the process of planning and implementing an efficient irrigation system for your garden. By assessing your landscape, determining water requirements, choosing the right system and components, and maintaining the system, you have created an environment where your plants can flourish. Enjoy the benefits of a lush and vibrant garden while conserving water and promoting sustainability. Happy gardening!
Conclusion
Planning and implementing an efficient irrigation system is a crucial step in creating a thriving garden while conserving water resources. By following the steps outlined in this guide, you can design and install an irrigation system that meets the specific needs of your garden, promotes healthy plant growth, and minimizes water waste.
Assessing your landscape and determining your garden’s water requirements lay the foundation for designing the right irrigation system. Choosing the appropriate irrigation components and installing the system accurately ensure efficient water distribution.
Setting up timers and controllers automate the watering process, providing convenience and flexibility. Regularly adjusting and maintaining the system guarantees continued optimal performance and extends the system’s lifespan.
Remember that every garden is unique, and adapting the information provided in this guide to suit your specific needs is crucial. Consider the size and layout of your garden, the types of plants you have, the climate of your region, and any other factors that may affect water requirements and irrigation efficiency.
By planning your garden’s irrigation system thoughtfully and maintaining it properly, you can create a beautiful, sustainable, and flourishing outdoor space that brings joy and satisfaction for years to come.