Home>Gardening Tips and Tricks>Problem Solving>How To Blow Out An Irrigation System
Problem Solving
How To Blow Out An Irrigation System
Modified: January 22, 2024
Learn how to solve common irrigation system problems with our step-by-step guide, including tips on how to blow out your system for winter.
(Many of the links in this article redirect to a specific reviewed product. Your purchase of these products through affiliate links helps to generate commission for Chicagolandgardening.com, at no extra cost. Learn more)
Table of Contents
- Introduction
- Step 1: Gather the necessary tools and equipment
- Step 2: Shut off the main water supply
- Step 3: Open all the manual drain valves
- Step 4: Connect the air compressor to the blow-out port
- Step 5: Gradually increase the air pressure
- Step 6: Blow out each irrigation zone
- Step 7: Monitor the process and adjust air pressure as needed
- Step 8: Disconnect the air compressor
- Step 9: Close all the manual drain valves
- Step 10: Restore water supply and check for any leaks
- Conclusion
Introduction
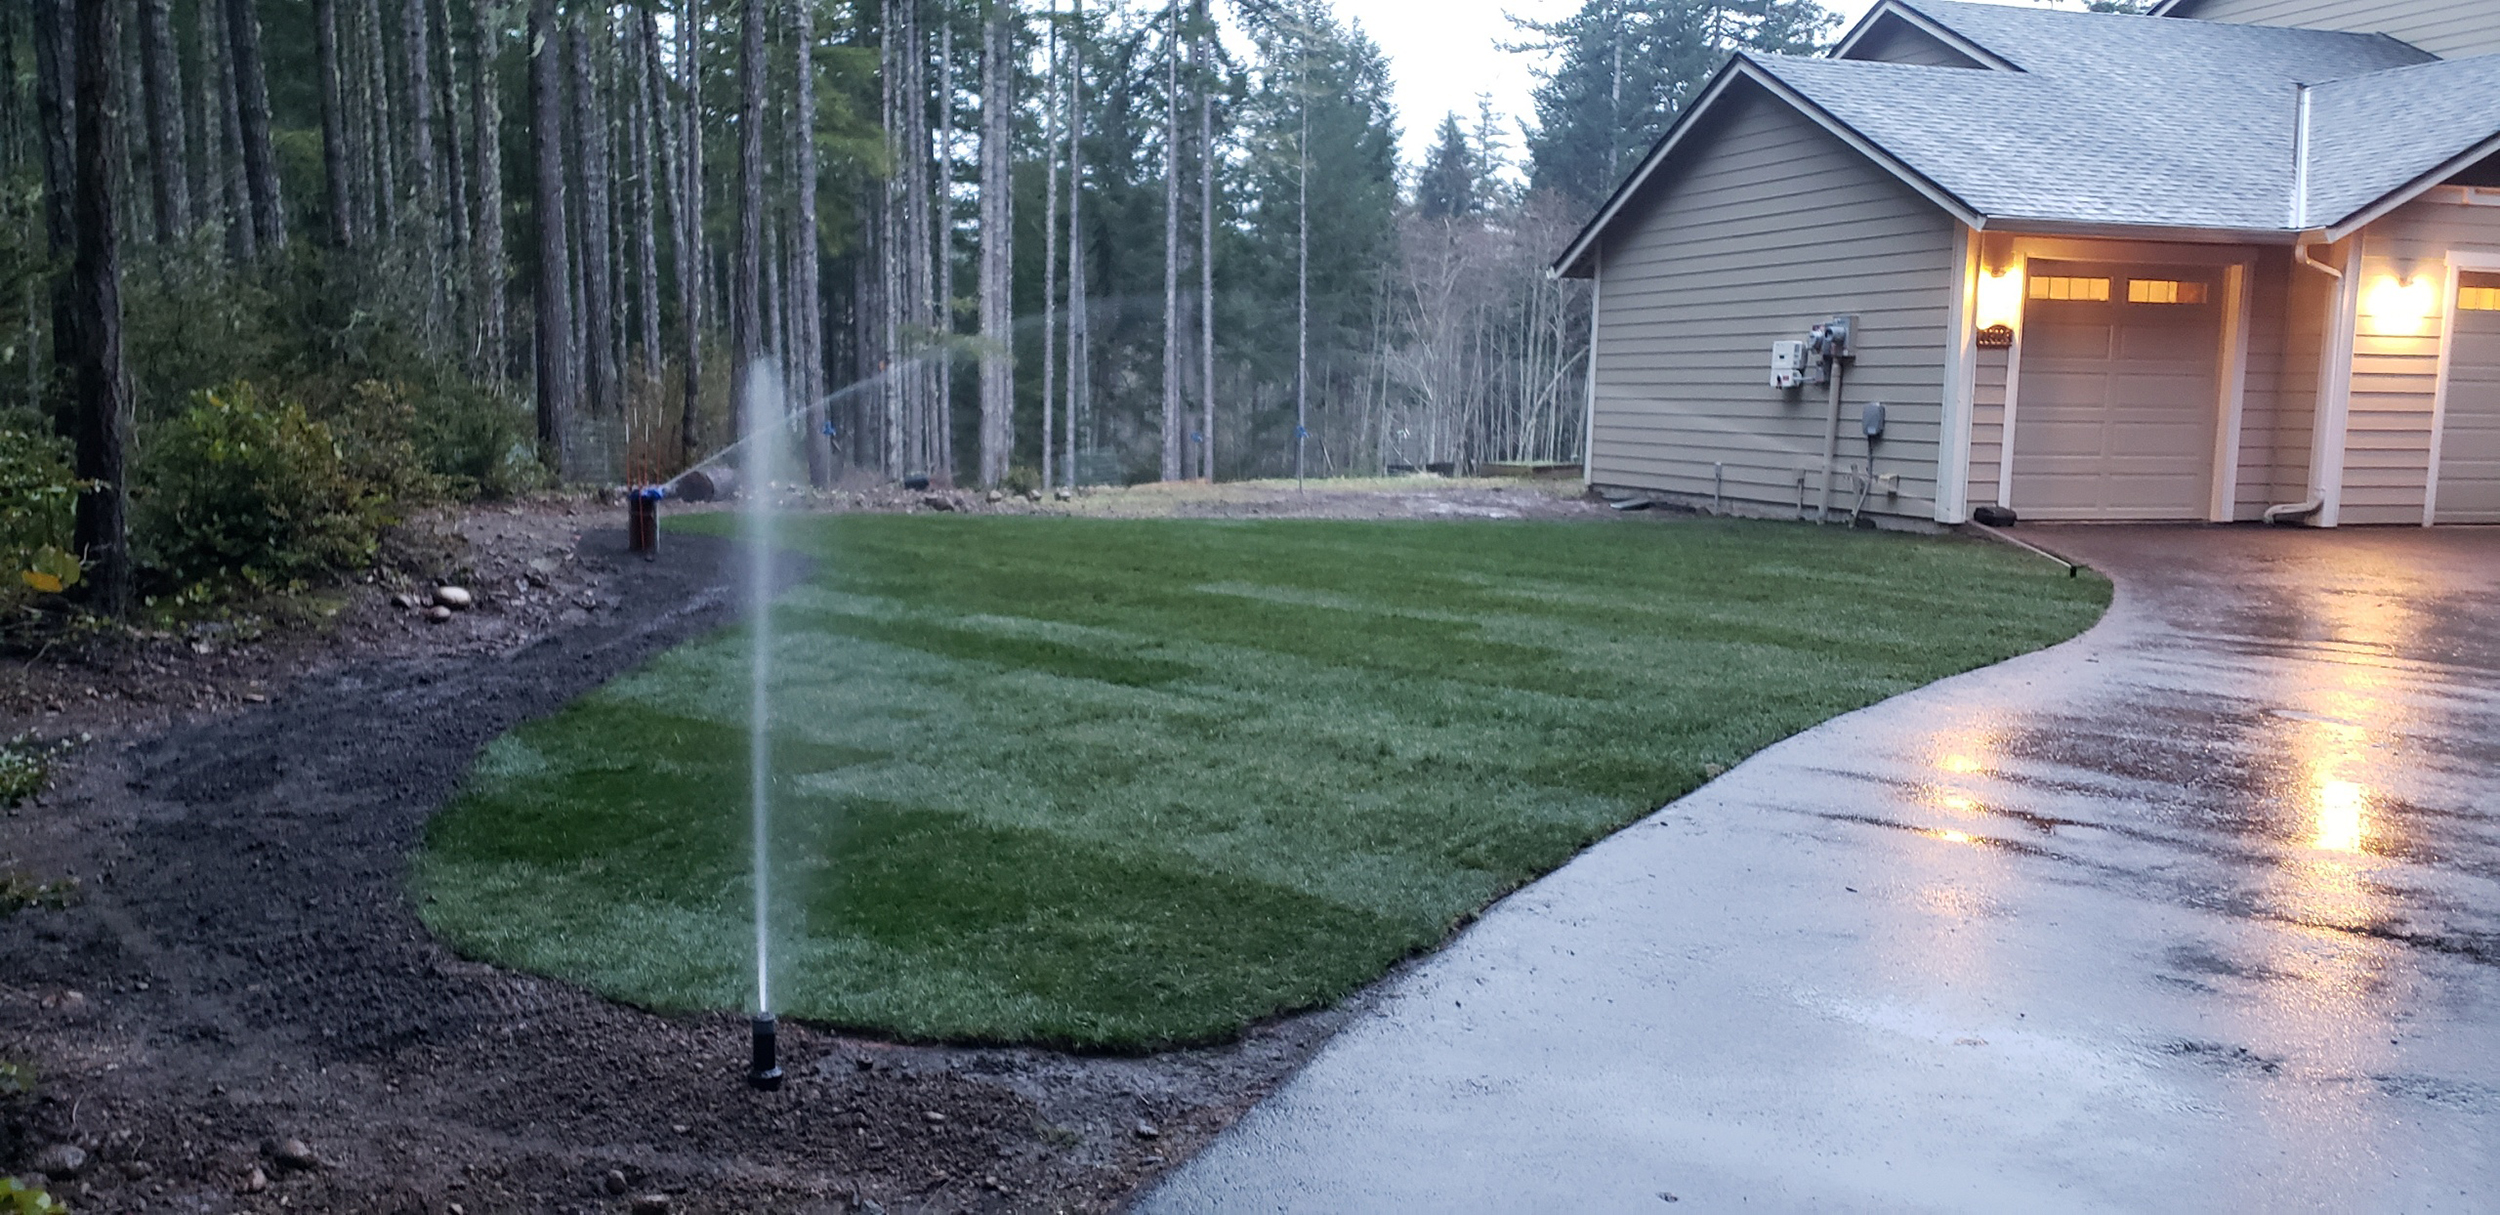
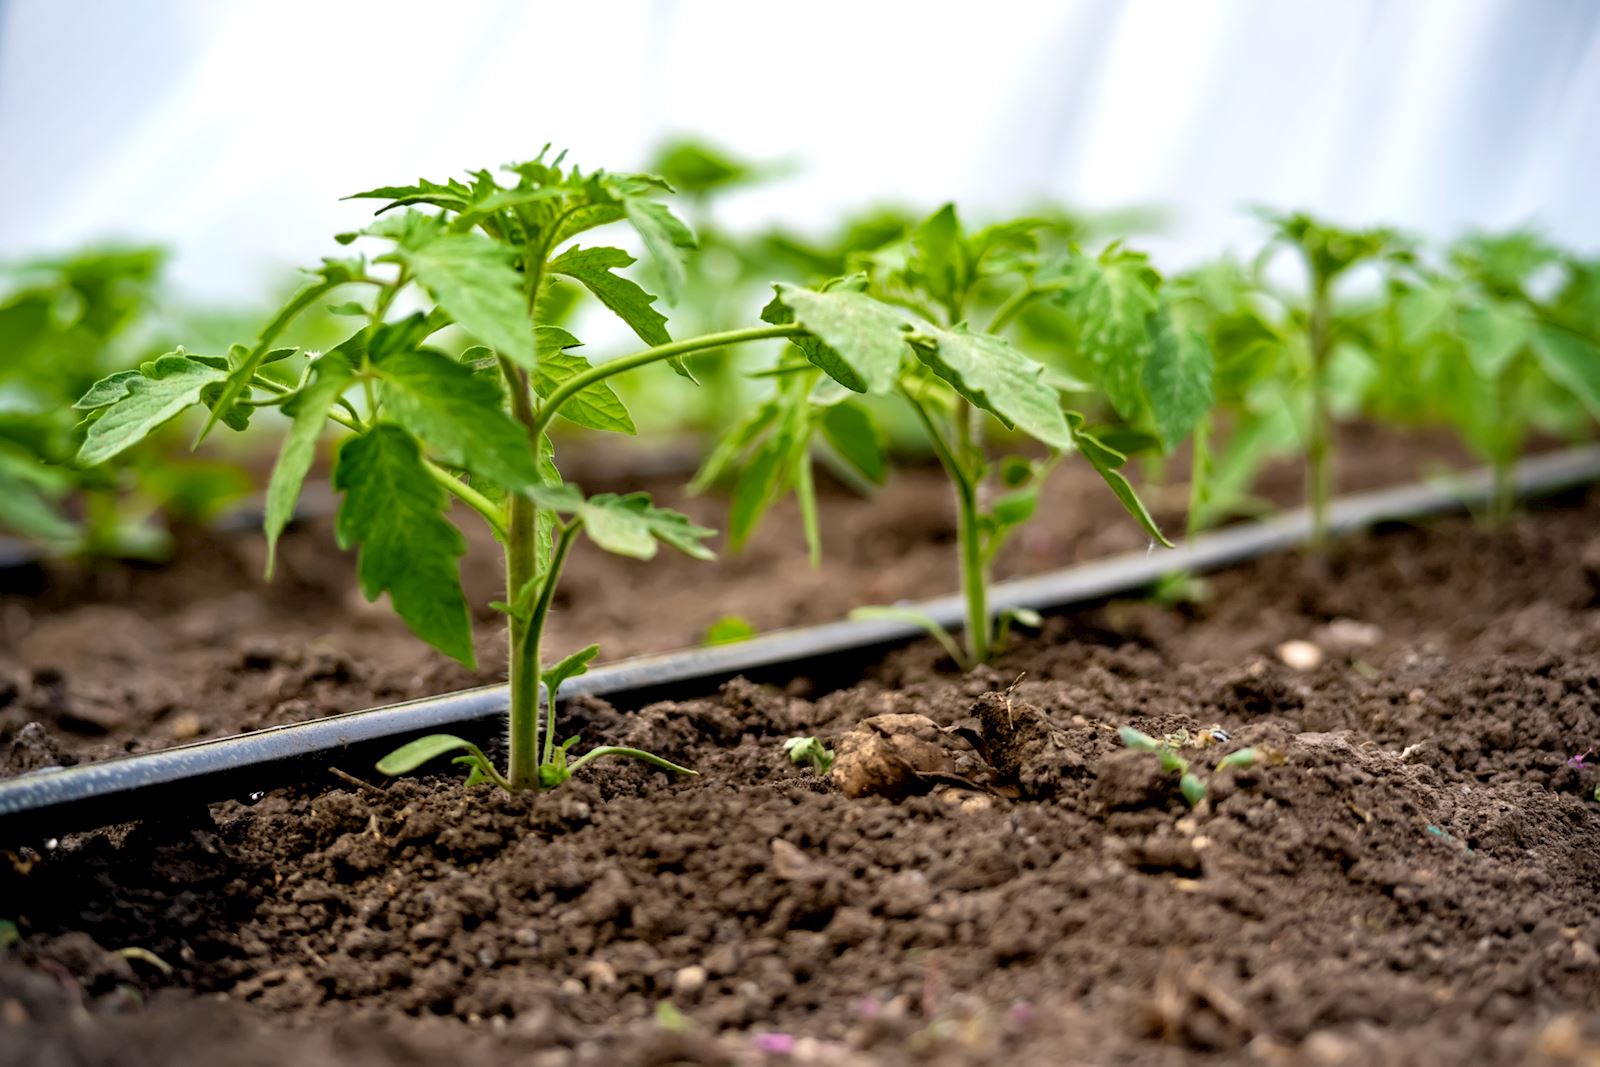
An irrigation system is a crucial component of any landscape or garden, ensuring that plants receive the water they need to thrive. However, as winter approaches, it is important to prepare your irrigation system for the colder months to prevent any damage caused by freezing temperatures. One essential step in winterizing your irrigation system is blowing it out. Blowing out the system involves removing all the water from the pipes, valves, and sprinkler heads to prevent them from freezing and bursting.
In this article, we will guide you through the process of blowing out an irrigation system step-by-step. It is important to note that blowing out an irrigation system should be done carefully and thoroughly to avoid any potential damage. By following these steps, you will be able to protect your irrigation system and ensure its proper functioning when spring arrives. So, let’s dive into the process of blowing out an irrigation system!
Step 1: Gather the necessary tools and equipment
Before you begin the process of blowing out your irrigation system, it is essential to gather all the necessary tools and equipment. Here are the items you will need:
- Air compressor: This is the key tool you will use to blow out the system. Make sure you have an air compressor with enough power to generate sufficient air pressure.
- Air hose: You will need a sturdy air hose that is long enough to reach all the zones of your irrigation system.
- Pressure regulator: This device helps regulate the air pressure and prevents it from exceeding the recommended limit for your system.
- Blow-out adapters: These adapters are used to connect the air hose to the irrigation system’s blow-out port.
- Pliers or adjustable wrench: These tools will be helpful for tightening and loosening any connections.
- Safety goggles and gloves: It is important to protect your eyes and hands during the process.
Make sure all your tools and equipment are in good working condition before you begin. This will ensure a smooth and efficient blowing out process.
Step 2: Shut off the main water supply
Before you start blowing out your irrigation system, it is crucial to shut off the main water supply. This will prevent any additional water from flowing into the system during the process.
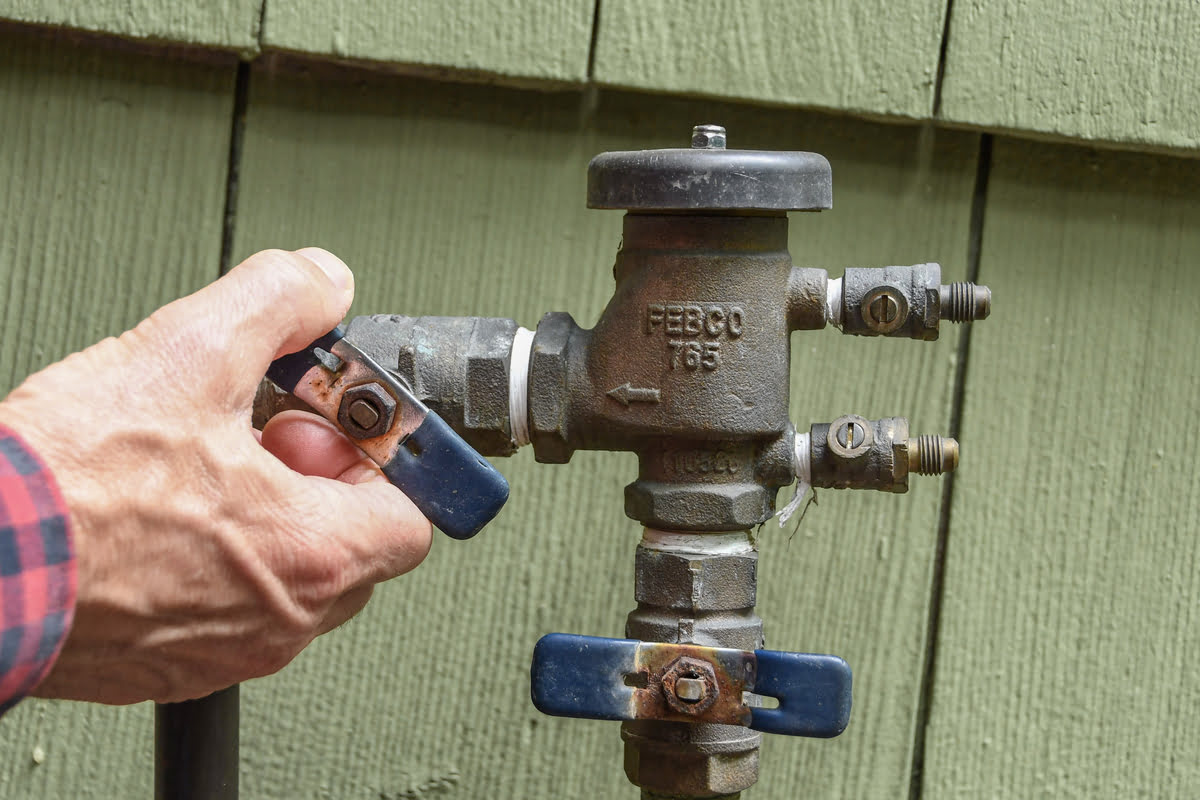
To shut off the main water supply, locate the main shut-off valve for your irrigation system. This valve is typically located near the water source or in a utility area. It may be a lever or a knob that you need to turn clockwise to close.
Once you’ve closed the main shut-off valve, it is essential to drain any remaining water from the system before proceeding with the blowing out process. This can be done by opening all the manual drain valves, which are usually located at the lowest points of the system. By opening these valves, any water trapped in the pipes and valves will be released.
It is important to ensure that all the water is drained from the system before moving on to the next step. Leaving any water behind can lead to freezing and potential damage to the irrigation components.
Remember to take precautions while working with the main shut-off valve and opening the drain valves. Use pliers or an adjustable wrench if necessary, and be cautious to avoid any injuries.
Step 3: Open all the manual drain valves
After shutting off the main water supply, the next step is to open all the manual drain valves in your irrigation system. These manual drain valves are typically located at the lowest points of the system and are designed to allow water to drain out.
To open the manual drain valves, you will need to turn them counterclockwise. Keep in mind that some valves may require the use of a wrench or pliers to loosen them, especially if they haven’t been opened in a while.
As you open each drain valve, you will hear a hissing sound as the remaining water in the pipes and valves starts to drain out. It is important to wait until you no longer hear any water flowing before moving on to the next step.
The purpose of opening the manual drain valves is to ensure that all the water is released from the irrigation system. This step is crucial in preventing any water from freezing and causing damage during the winter months.
Once you have opened all the manual drain valves and confirmed that no more water is draining out, you can proceed to the next step of connecting the air compressor to the blow-out port.
Step 4: Connect the air compressor to the blow-out port
With the manual drain valves open and the water drained from the system, it’s time to connect the air compressor to the irrigation system’s blow-out port. The blow-out port is a fitting that allows you to connect the air compressor and introduce pressurized air into the system to remove any remaining water.
Locate the blow-out port, which is usually located near the backflow preventer or the main valve of the irrigation system. It may be labeled as “blow-out” or have a distinctive design, such as a threaded or capped connection.
If the blow-out port has a cap, remove it by turning it counterclockwise. You may need to use pliers or an adjustable wrench to loosen it if it’s tight. Set the cap aside in a safe place so you don’t lose it.
Next, connect the air hose from the air compressor to the blow-out port. If necessary, use a blow-out adapter to ensure a secure and airtight connection. Make sure the connection is tight but be careful not to overtighten it as it may damage the threads or fittings.
It is important to note that different systems may have different blow-out port designs. Some may require a specific adapter or fitting for connection, so it’s crucial to refer to the manufacturer’s instructions or consult with a professional if you have any doubts.
Once you have successfully connected the air compressor to the blow-out port, you are ready to move on to the next step of gradually increasing the air pressure.
Step 5: Gradually increase the air pressure
With the air compressor connected to the blow-out port, it’s time to start introducing pressurized air into the irrigation system. However, it is important to proceed with caution and gradually increase the air pressure to avoid damaging the pipes, valves, or sprinkler heads.
Start by setting the air compressor to a low pressure setting, usually around 40-50 psi (pounds per square inch). This initial low pressure helps gently push any remaining water out of the system without causing excessive force.
Once you have set the air compressor to the desired low pressure, turn it on to initiate the air flow. You will notice pressurized air moving through the hose and into the irrigation system.
As the air flows through the system, gradually increase the pressure in small increments. Monitor the system as you increase the pressure and listen for any unusual sounds or signs of water spluttering out. If you notice any issues, immediately stop increasing the pressure and investigate the problem.
Take your time during this step and pay attention to any potential signs of leaks, bursts, or other issues. It is better to go slowly and ensure the system is properly blown out rather than risk damaging any components by rushing the process.
Continue increasing the air pressure until you reach the recommended pressure level for your specific irrigation system. This pressure will vary depending on the size and design of your system, so refer to the manufacturer’s guidelines or consult with a professional if you are unsure.
By gradually increasing the air pressure, you will effectively remove any remaining water from the irrigation system, preparing it for the winter months. Once you have reached the desired pressure, you can move on to the next step of blowing out each irrigation zone.
Step 6: Blow out each irrigation zone
Now that you have increased the air pressure in the irrigation system, it’s time to blow out each individual zone to ensure that all water has been removed. This step is crucial to prevent any potential freezing and damage during the winter.
Start by closing the manual drain valve for the first zone you want to blow out. This will prevent air from escaping through the drain valve and ensure that the air pressure is forced through the irrigation pipes and sprinkler heads.
Once the drain valve is closed, move to the irrigation controller or timer and activate the zone you want to blow out. The air from the compressor will be forced through the pipes, pushing out any remaining water.
As you blow out each zone, pay attention to any sprinkler heads or emitters that may have residual water or clogs. Keep a close eye on them and listen for any gurgling or spluttering noises, which may indicate water still in the system.
For areas with stubborn water or clogs, you can try cycling the zone on and off a few times to help dislodge any debris and ensure thorough water removal.
Repeat this process for each zone in your irrigation system until you have blown out all of them. Remember to close the manual drain valve of each zone before moving on to the next one.
By blowing out each irrigation zone individually, you ensure that all water is removed from the system, leaving it ready for the winter months. Once you have completed blowing out all zones, you can proceed to the next step of monitoring the process and adjusting the air pressure as needed.
Step 7: Monitor the process and adjust air pressure as needed
While blowing out your irrigation system, it is essential to carefully monitor the process to ensure that water is effectively removed from the system. This step allows you to adjust the air pressure if necessary and address any issues that may arise.
As you continue to blow out each zone, pay close attention to any signs of water remaining in the system. Look out for water droplets, leaks, or any unusual sounds that may indicate water is not being adequately removed.
If you notice any issues, such as water still flowing from sprinkler heads or weak air pressure, it may be necessary to adjust the air pressure. Decrease the pressure slightly and observe if it improves the removal of water. Conversely, if the airflow seems weak or there are signs of insufficient clearing, you may need to increase the pressure gradually.
Keep in mind that it is crucial to strike a balance – you want enough air pressure to remove water efficiently, but not so much that it causes damage to the system. Continuously monitor and make small adjustments as needed.
Throughout the process, also be mindful of any unusual sounds or vibrations coming from the system. This could indicate a potential problem, such as a blockage or damaged pipe. If you encounter any such issues, stop the blowing out process and inspect the affected area before proceeding.
By carefully monitoring the process and making adjustments as necessary, you can ensure that your irrigation system is thoroughly blown out, reducing the risk of damage caused by freezing temperatures during the winter months.
Step 8: Disconnect the air compressor
Once you have completed blowing out each irrigation zone and ensured that all water has been removed from the system, it’s time to disconnect the air compressor from the irrigation system. Disconnecting the compressor properly ensures a safe and efficient process.
Start by turning off the air compressor to stop the flow of pressurized air. This will prevent any abrupt release of air pressure when disconnecting the hose.
Carefully disconnect the air hose from the blow-out port, ensuring that no air pressure is remaining in the system. To do this, release any remaining air pressure by opening the manual drain valve or loosening the fitting on the blow-out port.
Once the air pressure is released, disconnect the air hose from the blow-out port by twisting it counterclockwise, gently pulling it away. Be cautious not to force or yank the hose, as this could damage the fittings or components.
After disconnecting the air hose, inspect the blow-out port for any signs of damage or debris. Clean the area if necessary and replace the cap, if applicable, to protect the blow-out port from debris, dirt, or insects.
Finally, ensure that the air compressor is stored properly, following the manufacturer’s recommendations. This may include draining any remaining water from the compressor, coiling the air hose, and storing it in a dry and safe location.
By disconnecting the air compressor properly, you conclude the blowing out process and prepare your irrigation system for the winter. The next step will be to close all the manual drain valves to ensure the system remains protected until spring arrives.
Step 9: Close all the manual drain valves
After disconnecting the air compressor, the next step is to close all the manual drain valves in your irrigation system. Closing the drain valves is crucial to ensure that the system remains protected during the winter months.
Start by going to each manual drain valve and turning them clockwise to close them. Use pliers or an adjustable wrench if necessary, especially if the valves are tight or difficult to turn.
Be thorough and make sure that every manual drain valve is securely closed. This will prevent any potential water leakage or air intrusion into the system, which can lead to damage and inefficiency when you re-activate your irrigation system in the spring.
It’s important to note that some irrigation systems may have additional drain valves apart from the main manual drain valves. Check your system thoroughly to ensure that all drain valves are closed properly.
Once you have closed all the manual drain valves, ensure that they are tightly sealed to prevent any air or water from entering the system. This step will help maintain the integrity of your irrigation system throughout the winter months.
With all the manual drain valves closed, you’re on the last leg of the irrigation system blowing out process. The final step involves restoring the water supply and checking for any leaks or issues.
Step 10: Restore water supply and check for any leaks
Now that you have closed all the manual drain valves, it’s time to restore the water supply to your irrigation system. Restoring the water supply will allow you to check for any leaks or issues that may have occurred during the blowing out process.
To restore the water supply, locate the main shut-off valve for your irrigation system. Turn the valve counterclockwise to open it and allow water to flow back into the system.
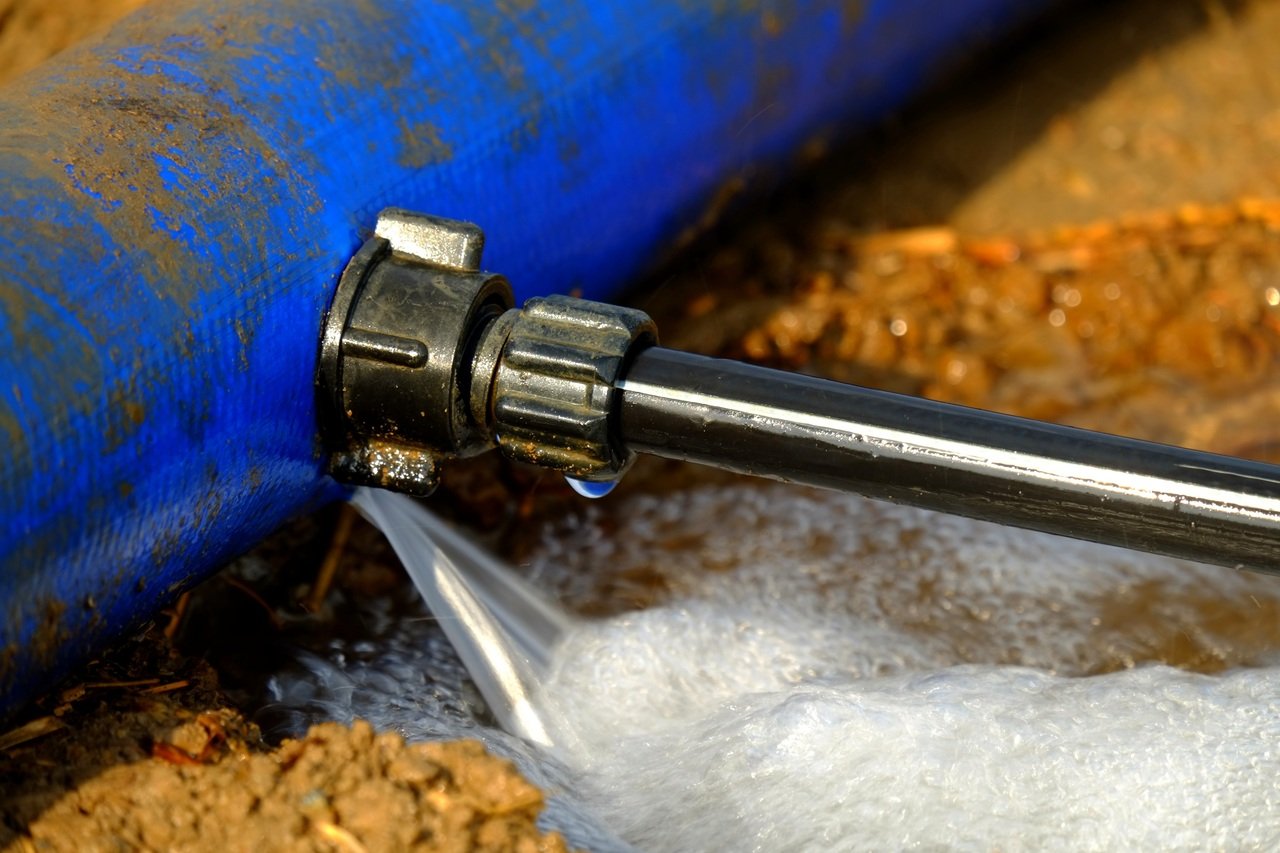
Once the water supply is restored, carefully inspect your entire irrigation system for any signs of leaks or water escaping from the pipes, valves, or sprinkler heads. Look for wet spots, dripping water, or any unusual sounds.
If you notice any leaks or issues, take note of their locations and make a plan to address them. It may be necessary to repair or replace damaged components or seek professional help to ensure the proper functioning of your irrigation system.
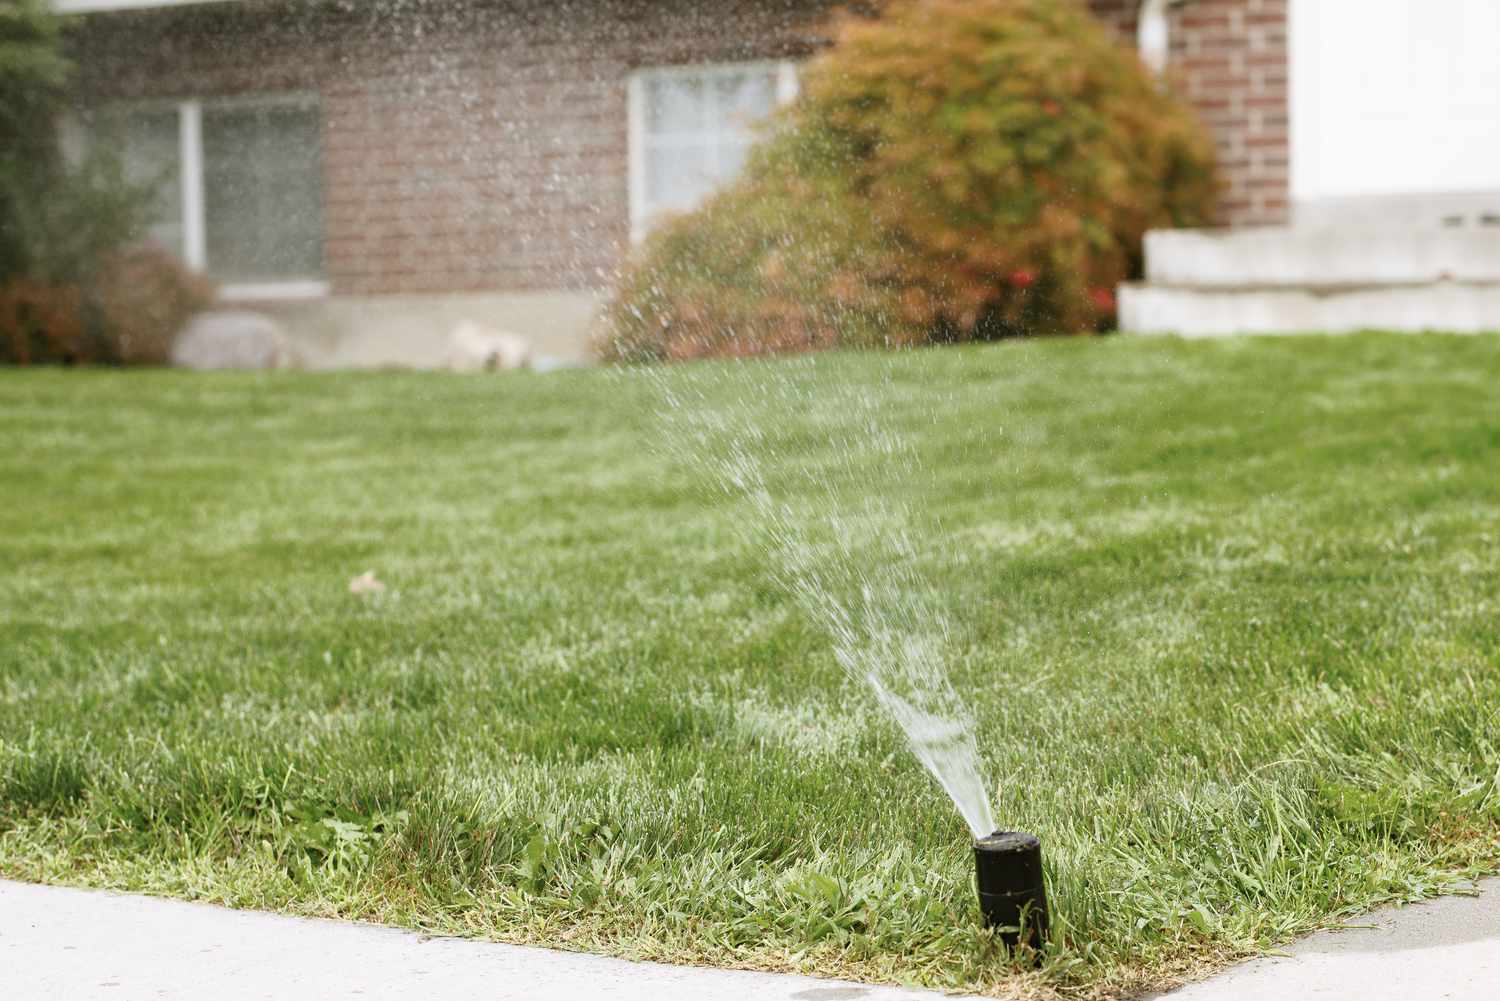
In addition to checking for leaks, it is also a good practice to test each zone of your irrigation system to ensure that all sprinklers or emitters are working correctly. Adjust any misaligned or malfunctioning heads to ensure optimal coverage.
By restoring the water supply and checking for any leaks or issues, you complete the blowing out process for your irrigation system. With proper winterization, your system can remain protected and ready to be used again in the spring for efficient and effective watering of your landscape or garden.
Conclusion
Blowing out your irrigation system is a crucial step in preparing it for the winter months. By removing all the water from the pipes, valves, and sprinkler heads, you can prevent freezing and potential damage. Following the step-by-step process outlined in this article, you can effectively blow out your irrigation system and ensure its proper functioning when spring arrives.
Remember to gather all the necessary tools and equipment, shut off the main water supply, and open all the manual drain valves to release any remaining water. Connect the air compressor to the blow-out port and gradually increase the air pressure, adjusting as needed. Blow out each irrigation zone, monitor the process, and make adjustments accordingly.
Once all zones are blown out, disconnect the air compressor and close all the manual drain valves. Finally, restore the water supply and check for any leaks or issues. Address any problems that you come across to maintain the integrity and effectiveness of your irrigation system.
By taking the time to properly blow out your irrigation system, you can ensure its longevity and minimize potential damage caused by freezing temperatures. With a well-maintained system, you can enjoy a healthy and vibrant landscape or garden year after year.