Home>Gardening Tips and Tricks>Problem Solving>How To Open Your Irrigation System
Problem Solving
How To Open Your Irrigation System
Modified: January 22, 2024
Learn how to open your irrigation system and solve common problems with this comprehensive guide. Improve your watering efficiency and avoid costly repairs.
(Many of the links in this article redirect to a specific reviewed product. Your purchase of these products through affiliate links helps to generate commission for Chicagolandgardening.com, at no extra cost. Learn more)
Table of Contents
- Introduction
- Step 1: Gather the necessary tools and equipment
- Step 2: Shut off the water supply
- Step 3: Locate the main control valve
- Step 4: Open the main control valve
- Step 5: Inspect and clean the irrigation system components
- Step 6: Check for leaks and repair if necessary
- Step 7: Adjust the irrigation system settings
- Step 8: Test the irrigation system
- Step 9: Make any necessary adjustments or repairs
- Step 10: Regular maintenance tips
- Conclusion
Introduction
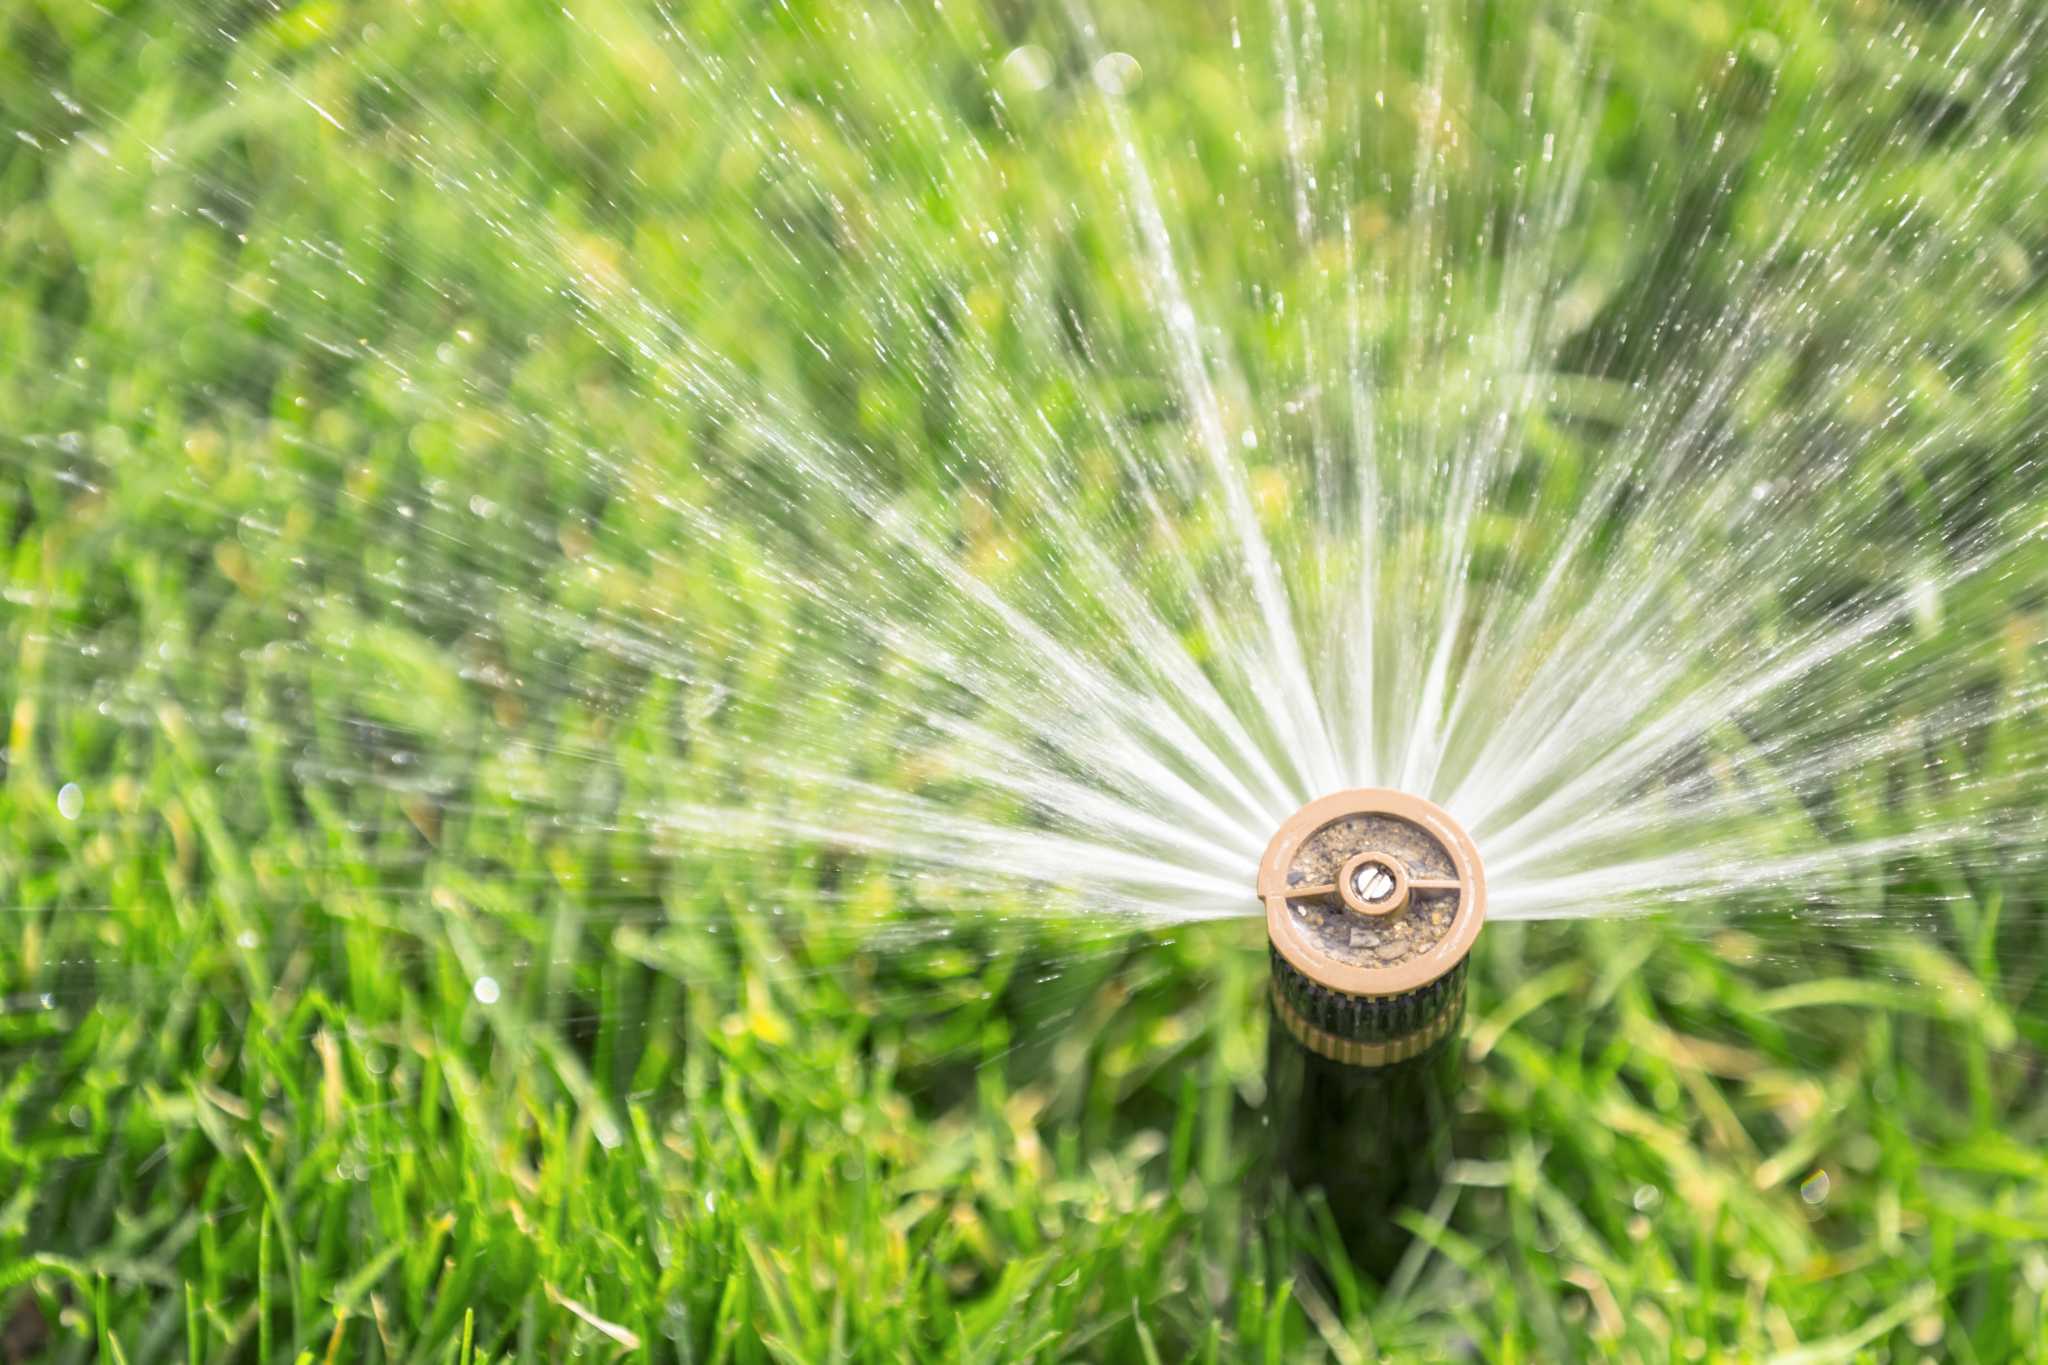
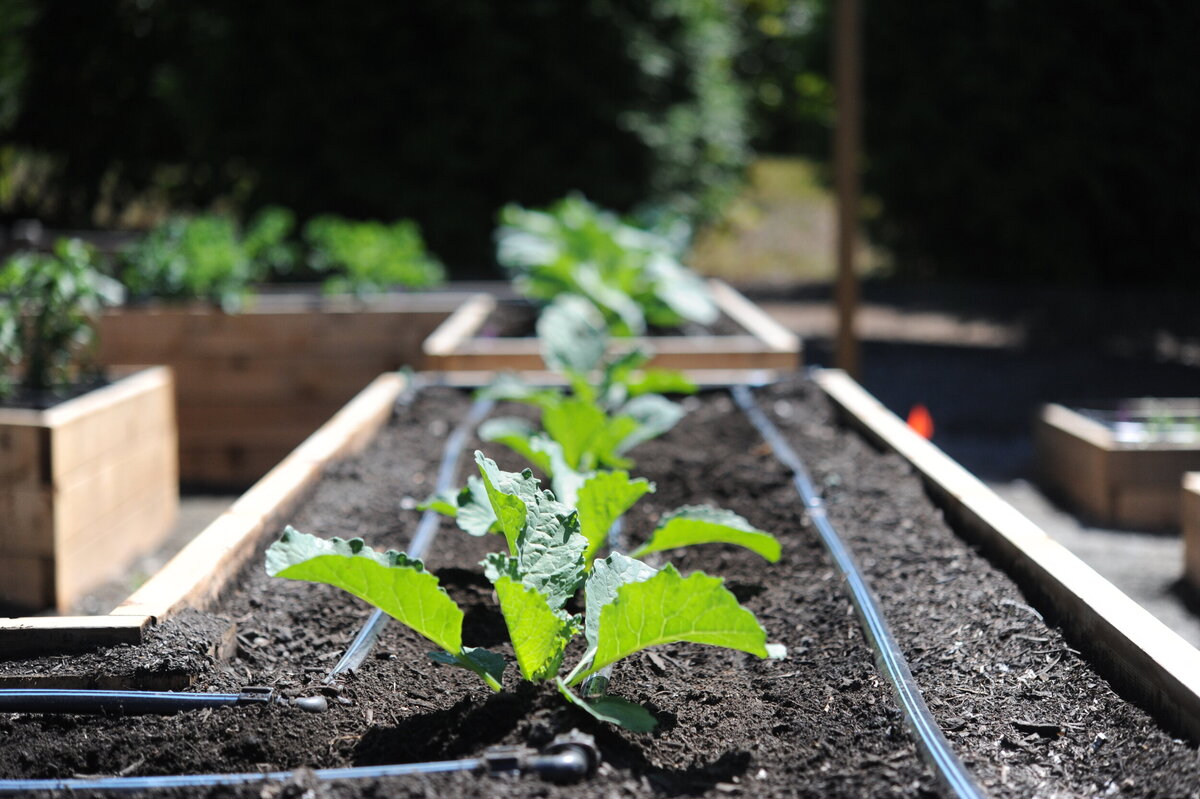
Welcome to the world of irrigation systems! If you have a beautiful garden or a lush lawn, you know how important it is to keep your plants well-hydrated. An efficient and well-maintained irrigation system is key to achieving this goal. Whether you are a seasoned gardening enthusiast or just starting out, learning how to open your irrigation system is an essential skill to ensure your plants thrive.
Opening your irrigation system involves a series of steps to prepare it for the watering season. This process allows you to check for any damages or leaks that may have occurred during the off-season and ensure that the system is in optimal working condition.
In this article, we will guide you through the step-by-step process of opening your irrigation system, from gathering the necessary tools to testing for leaks and making adjustments. By following these steps, you will be well-equipped to start watering your garden or lawn efficiently and effectively.
Before we jump into the specific steps, it’s important to note that safety should always be a priority. Make sure to wear appropriate protective gear, such as gloves and safety glasses, and take necessary precautions when working with water and electrical components.
Now, let’s dive into the exciting world of irrigation systems and learn how to open your system with ease!
Step 1: Gather the necessary tools and equipment
Before you begin opening your irrigation system, it’s essential to gather all the tools and equipment you’ll need. Having everything prepared beforehand will save you time and ensure a smooth process. Here’s a list of the necessary items:
- Plumbing wrench: This tool will come in handy when loosening and tightening connections.
- Utility knife: You may need to cut through any tangled or damaged irrigation lines.
- Screwdriver: Both flathead and Phillips screwdrivers may be necessary for removing covers and accessing components.
- Teflon tape: This tape will help create a watertight seal when connecting fittings.
- Bucket: You’ll need a bucket to catch any excess water or debris that may come out when opening the system.
- Irrigation system manual: If you have one, keep it handy for reference and troubleshooting.
Make sure to have these items readily available before you begin the process. It can be frustrating to realize you’re missing a crucial tool in the middle of the task!
Additionally, it’s a good idea to have a notepad and pen on hand to jot down any observations or necessary repairs. This will help you stay organized and make the necessary adjustments when needed.
Once you have all the tools and equipment ready, you’re one step closer to opening your irrigation system and ensuring your plants receive the water they need. Let’s move on to the next step: shutting off the water supply.
Step 2: Shut off the water supply
Before you start working on your irrigation system, it’s important to shut off the water supply to prevent any potential accidents or water damage. Here’s how you can do it:
- Locate the main water shut-off valve: Typically, the main shut-off valve for your irrigation system is located near the water source, such as a water meter or the main water supply pipe. It may also be located in a valve box underground.
- Turn off the valve: Use a plumbing wrench or a valve key to turn the valve in a clockwise direction. This will shut off the water supply to your irrigation system.
- Confirm the water is off: After turning the valve, check around the irrigation system to ensure that water is no longer flowing. Look for any dripping or leaking that might indicate the valve was not fully closed.
By shutting off the water supply, you prevent water from flowing through the system while you work on it. This safeguards against any accidental water damage or unwanted activation of the system during maintenance.
Remember, the process of shutting off the water supply may vary depending on the type of irrigation system you have and its setup. If you’re unsure about locating or turning off the main water shut-off valve, consult your irrigation system manual or seek professional assistance.
Now that you’ve successfully shut off the water supply, you’re ready to move on to the next step: locating the main control valve. Let’s keep the momentum going!
Step 3: Locate the main control valve
Locating the main control valve of your irrigation system is crucial as it allows you to have control over the water flow and distribution. Here’s how you can find the main control valve:
- Check near the water source: The main control valve is typically located near the water source, such as the main water shut-off valve or a water meter. It is often housed in a protective valve box.
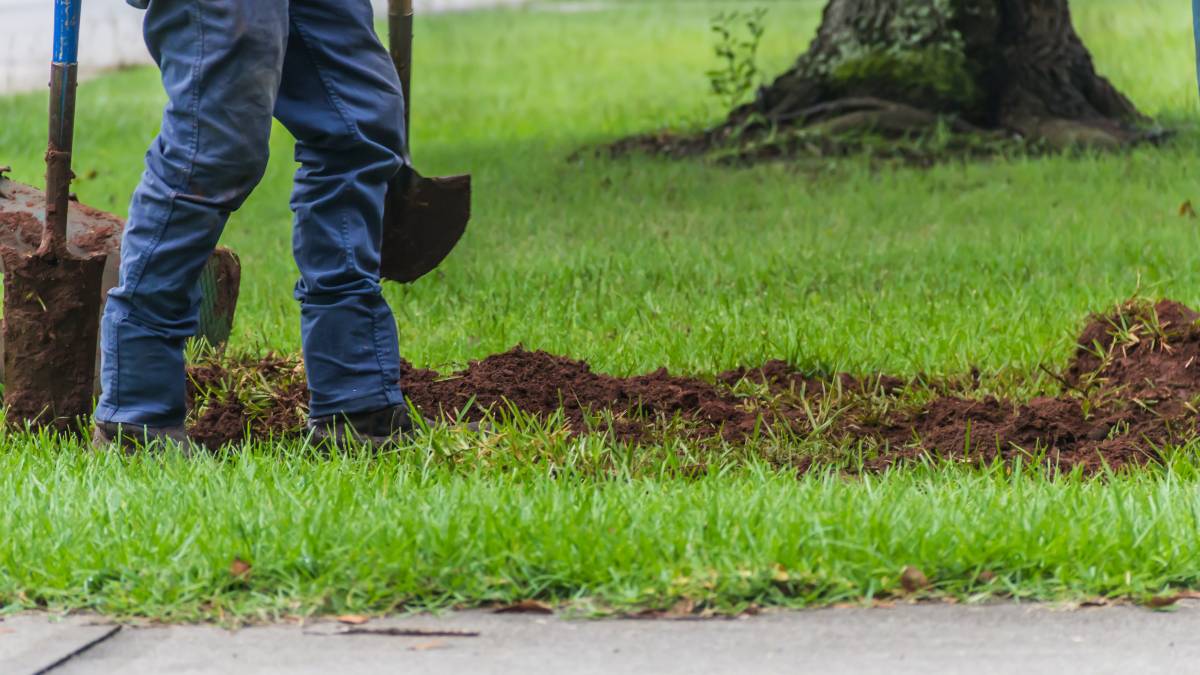
- Look for a rectangular or circular lid: The valve box is usually marked with a rectangular or circular lid made of plastic or concrete. It may be partially buried, so look for any signs of soil disturbance around the area.
- Remove the lid: Once you’ve located the valve box, carefully remove the lid using a screwdriver or a valve box key. Be cautious not to damage any wires or pipes that may be present.
- Inspect the valve box: Inside the valve box, you should find the main control valve along with other valves and components. The main control valve is typically larger and situated in a prominent position.
It’s important to note that the layout and setup of the irrigation system may vary, so the main control valve’s location may differ from one system to another. If you’re unsure about locating the main control valve, refer to your irrigation system manual or consult a professional.
Locating the main control valve is a critical step as it allows you to have control over the water supply to your irrigation system. Once you’ve successfully found the main control valve, you’re ready to move on to the next step: opening the main control valve. Let’s keep the momentum going!
Step 4: Open the main control valve
Now that you’ve located the main control valve of your irrigation system, it’s time to open it to allow water to flow through the system. Opening the main control valve is essential for proper functioning and distribution of water to your plants. Here’s how you can do it:
- Inspect the valve: Before opening the main control valve, visually inspect it to ensure there are no visible damages or obstructions that could hinder its operation. Look for any signs of leaks, cracks, or debris.
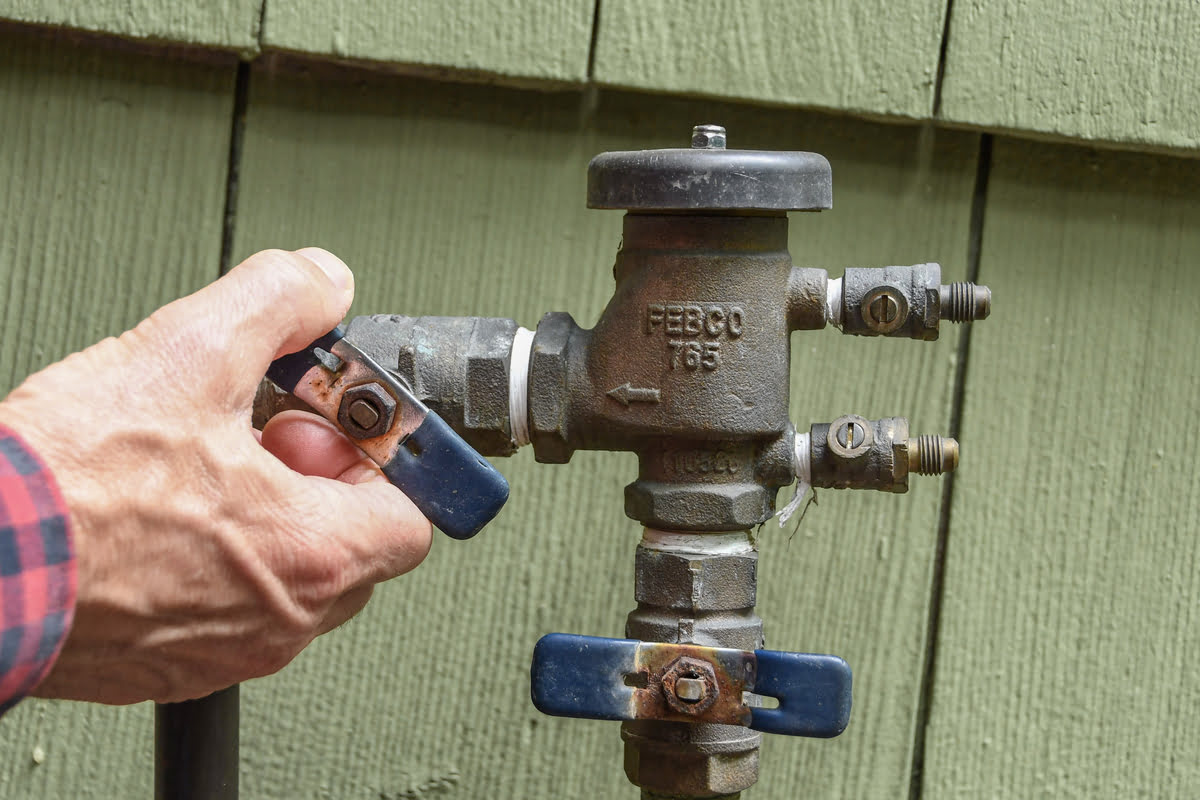
- Turn the valve counterclockwise: Using a valve key or a wrench, turn the main control valve counterclockwise to open it. Start by turning it slowly to prevent any sudden water surges or pressure buildup in the system.
- Monitor the water flow: As you open the main control valve, pay close attention to the water flow in the system. Look for any signs of irregular or weak water flow, which may indicate a potential issue such as a clogged pipe or a faulty valve.
- Allow the system to fill: Once the main control valve is fully open, allow the irrigation system to fill with water. This ensures that water reaches all areas of the system, including the distribution pipes and sprinkler heads.
By opening the main control valve, you activate the irrigation system and allow water to flow through it. This is a critical step in ensuring that your plants receive the necessary hydration.
If you encounter any issues while opening the main control valve, such as excessive leaks or inadequate water flow, it’s important to troubleshoot and address the problem. Consult your irrigation system manual or seek professional assistance if needed.
With the main control valve successfully opened, you’re now ready to move on to the next step: inspecting and cleaning the irrigation system components. Let’s keep the process going smoothly!
Step 5: Inspect and clean the irrigation system components
Inspecting and cleaning the various components of your irrigation system is crucial for its optimal performance. This step allows you to identify any damages, clogs, or obstructions that may hinder the proper functioning of the system. Follow these steps to inspect and clean your irrigation system components:
- Check the sprinkler heads: Examine each sprinkler head for any visible damages, such as broken or misaligned heads. Make sure they are positioned correctly and pointing in the desired direction. Clean any dirt or debris that may be blocking the spray pattern.
- Inspect the valves: Check the valves, both in the valve box and at the individual zones, for any signs of leaks or malfunctions. Look for cracks, worn-out diaphragms, or loose connections. Repair or replace any faulty valves as needed.
- Clear any clogs: Use a small wire or a needle to unclog any nozzles or micro-sprinklers that may be obstructed by dirt or debris. Ensure that the water flow is unimpeded and evenly distributed.
- Inspect the pipes and fittings: Examine the pipes and fittings for any signs of leaks, cracks, or damage. Tighten loose fittings and replace any damaged components to maintain a watertight system.
- Clear the filter: If your irrigation system has a filter, check and clean it according to the manufacturer’s instructions. A clogged filter can restrict water flow and reduce the system’s efficiency.
Regularly inspecting and cleaning your irrigation system components helps prevent costly damages and ensures that water is distributed effectively to your plants. By addressing any issues discovered during the inspection, you can enhance the performance and longevity of your system.
Keep in mind that maintenance requirements may vary depending on the type of irrigation system you have. Refer to your system’s manual for specific guidelines and recommendations.
Once you’ve thoroughly inspected and cleaned the irrigation system components, you’re ready to move on to the next step: checking for leaks and making any necessary repairs. Let’s continue the process of opening your irrigation system!
Step 6: Check for leaks and repair if necessary
Checking for and addressing any leaks in your irrigation system is crucial to ensure efficient water distribution and prevent water waste. Here’s how you can check for leaks and make necessary repairs:
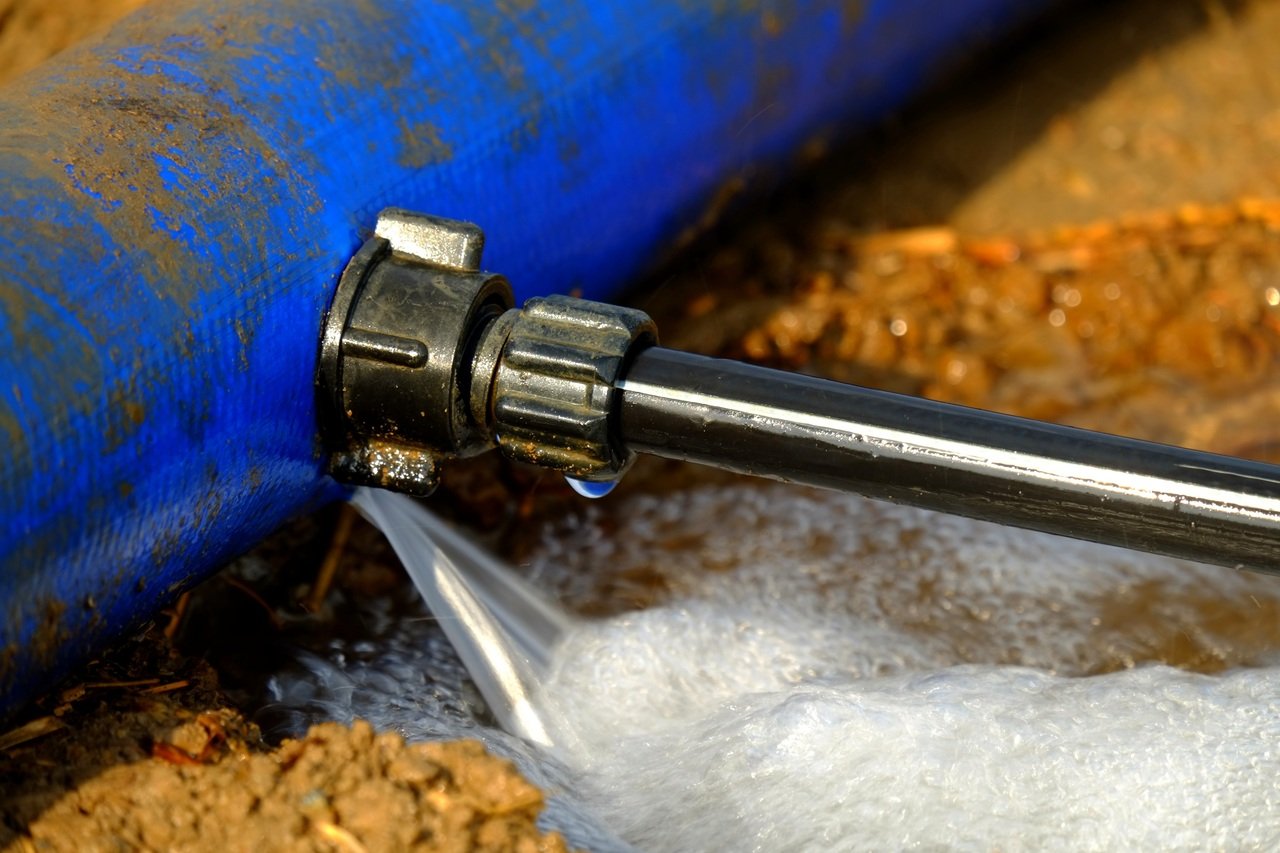
- Inspect visible areas: Start by examining visible areas of your irrigation system, such as the pipes, fittings, and sprinkler heads, for any signs of leaks. Look for damp soil, pooling water, or constant dripping.
- Check the valve box: Inspect the valve box for any leaks or excessive moisture. Leaking water inside the valve box could indicate a faulty valve or damaged pipe.
- Check underground components: If you have buried irrigation lines, use a soil probe or a long screwdriver to check for moisture or water accumulation around the lines. This indicates a potential leak underground.
- Perform a system pressure test: Shut off the main control valve and pressurize the system. Monitor the pressure gauge for any drop in pressure, which could indicate a leak or a faulty valve.
- Repair leaks: If you identify any leaks during the inspection, promptly repair them. Replace damaged sprinkler heads, tighten loose fittings, and patch any holes or cracks in the pipes using appropriate materials.
Addressing leaks in your irrigation system not only saves water but also ensures that your plants receive adequate hydration. Water leaks can lead to water wastage, higher water bills, and potentially damage your landscape.
Remember to always follow safety precautions and wear protective gear when working with water and plumbing components. If you’re unsure about how to perform repairs or locate hidden leaks, it’s best to consult a professional to avoid causing further damage.
By checking for leaks and making necessary repairs, you’re taking a proactive step towards maintaining a functional and water-efficient irrigation system. With any repairs completed, you’re ready to move on to the next step: adjusting the irrigation system settings. Let’s continue the process!
Step 7: Adjust the irrigation system settings
Adjusting the settings of your irrigation system is essential to ensure that your plants receive the appropriate amount of water at the right times. Fine-tuning the settings allows you to customize the watering schedule and duration based on the specific needs of your garden or lawn. Follow these steps to adjust the irrigation system settings:
- Refer to the manufacturer’s instructions: Consult the user manual or documentation provided by the manufacturer to understand how to adjust the settings of your specific irrigation system. It will provide valuable guidance and specific instructions for your model.
- Set the watering schedule: Determine the frequency of watering that suits your plants and the climate conditions in your area. Consider factors such as soil type, sun exposure, and plant types to create an effective watering schedule.
- Adjust the watering duration: Set the duration for each watering cycle to ensure that the water penetrates the root zone adequately. Avoid overwatering or underwatering by considering the water needs of your plants and the soil moisture levels.
- Consider weather-based adjustments: Some advanced irrigation systems have the option to adjust watering schedules based on weather conditions. Take advantage of this feature to optimize water usage and ensure that your plants aren’t watered unnecessarily during rainy periods.
- Program multiple zones: If your irrigation system has multiple zones, program each zone with the appropriate settings to accommodate the specific watering needs of different areas of your garden or lawn. Adjust the schedule and duration accordingly.
- Test the settings: After adjusting the irrigation system settings, run a test cycle to observe the water distribution and ensure that it aligns with your desired settings. Make any necessary tweaks or adjustments based on the results.
By adjusting the irrigation system settings, you’ll be able to provide the ideal watering conditions for your plants, promoting healthy growth and minimizing water waste. Regularly review and adjust the settings as needed, considering the changing seasons and weather patterns.
Remember to regularly monitor and fine-tune the irrigation system settings to ensure they meet the changing needs of your plants and landscape. With the settings adjusted, you’re ready to move on to the next step: testing the irrigation system. Let’s keep the process going!
Step 8: Test the irrigation system
Testing your irrigation system is a crucial step to ensure that it is functioning properly and delivering water efficiently to your plants. By testing the system, you can identify any issues, such as uneven watering, clogged sprinkler heads, or misaligned spray patterns. Here’s how you can test your irrigation system:
- Activate each zone: Start by activating each zone of your irrigation system one at a time. This will allow you to observe the water flow and distribution in each area of your garden or lawn.
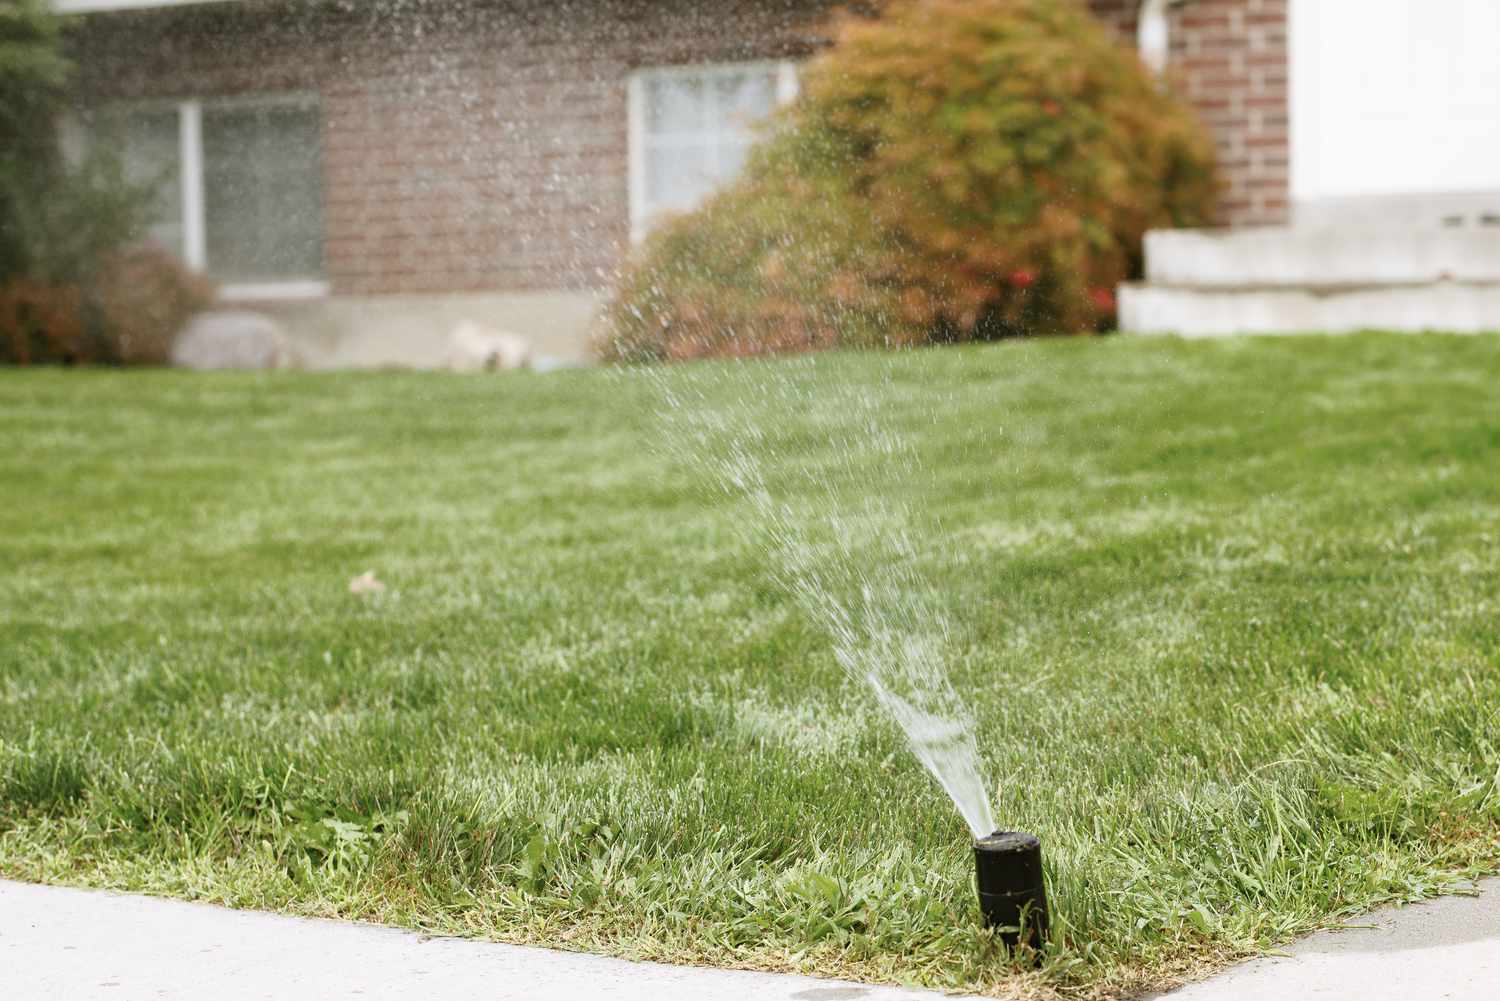
- Observe the sprinkler heads: Watch each sprinkler head closely to ensure that it is spraying water in the intended direction and pattern. Look for any signs of broken or damaged heads that may need to be replaced.
- Check for even coverage: Verify that each zone is receiving even coverage by observing the spray pattern and the distance of water distribution. Adjust the sprinkler heads’ position and angle as necessary to achieve uniform water distribution.
- Inspect for leaks: Keep an eye out for any signs of leaking water, dripping, or pooling around the sprinkler heads, pipes, or fittings. Address any leaks promptly to prevent water waste and potential damage to your landscape.
- Measure water flow rate and pressure: Use a flow meter or pressure gauge to measure the water flow rate and pressure for each zone. Compare the measurements to the recommended levels provided by the manufacturer or irrigation specialist for optimal performance.
Testing your irrigation system allows you to make any necessary adjustments or repairs to ensure that water is being distributed effectively and efficiently. Periodic testing helps maintain the health and vitality of your plants and conserves water.
If you notice any issues during the testing process, such as uneven coverage, low pressure, or malfunctioning heads, make the necessary adjustments or repairs. This can involve replacing damaged components, adjusting sprinkler heads, or reconfiguring the system’s settings.
Regularly testing your irrigation system throughout the watering season will help you catch and address any problems early on, ensuring that your plants receive consistent and adequate hydration. With the system tested and any adjustments made, you’re ready to move on to the next step: making any necessary adjustments or repairs. Let’s keep the process going!
Step 9: Make any necessary adjustments or repairs
After testing your irrigation system, it’s important to make any necessary adjustments or repairs to ensure its optimal performance. Identifying and addressing issues promptly will help prevent further damage, conserve water, and promote healthy plant growth. Here’s how you can make adjustments or repairs:
- Address uneven water distribution: If you notice areas of overwatering or underwatering during the testing, adjust the sprinkler heads or modify the system’s settings to improve water distribution. This may involve changing the head’s angle, replacing nozzles, or adjusting flow rates.
- Repair or replace damaged components: If you identified any damaged sprinkler heads, pipes, fittings, or valves during the testing, now is the time to repair or replace them. Ensure a proper seal and connection to prevent leaks and ensure reliable operation.
- Unclog any blocked nozzles or pipes: If you observed any areas with reduced water flow or blockages, clear them by unclogging the nozzles or removing any obstructions from the pipes. This will allow water to flow freely and prevent further issues.
- Adjust the system’s programming: Based on the testing results, make necessary adjustments to the irrigation system’s programming. This may involve tweaking the watering schedule, duration, or frequency to better match the needs of your plants and the prevailing weather conditions.
- Consider system upgrades: If you encountered persistent issues or inefficiencies during the testing, it might be worthwhile to consider system upgrades. This could include installing rain sensors, upgrading to more efficient nozzles, or implementing smart irrigation technology for automated water management.
Regularly monitoring and addressing any necessary adjustments or repairs will ensure that your irrigation system performs optimally and conserves water. It’s important to stay proactive to prevent small issues from escalating into larger, more costly problems.
If you’re unsure about how to make certain adjustments or repairs, consider consulting an irrigation specialist who can offer guidance and expertise specific to your system. They can also provide recommendations on system optimizations and efficient water management practices.
With necessary adjustments made and repairs completed, you’re now ready to move on to the final step: maintaining your irrigation system. Let’s wrap up the process and ensure the longevity of your system!
Step 10: Regular maintenance tips
Maintaining your irrigation system on a regular basis is essential for its continued functionality and longevity. By following these maintenance tips, you can ensure that your system operates efficiently and effectively:
- Schedule regular inspections: Set aside time for routine inspections of your irrigation system. This allows you to identify any issues early on and address them promptly.
- Monitor water usage: Keep track of your water usage to ensure that it aligns with your plants’ needs and any water restrictions in your region. Regularly review water bills and compare them to historical usage data.
- Check for leaks: Regularly inspect the system for any leaks, including dripping or pooling water, moist soil, or unusual water flow. Promptly repair any leaks to prevent water waste and potential damage.
- Clean and adjust sprinkler heads: Routinely clean debris and dirt from sprinkler heads to maintain proper function. Adjust the direction and spray pattern of the heads as needed to ensure uniform water distribution.
- Clear vegetation: Remove any vegetation or obstacles that may impede water flow or block sprinkler heads. Trim plants or shrubs that have grown too close to the irrigation system components.
- Update system programming: Regularly review and update the programming of your irrigation system to account for seasonal changes and the water needs of your plants. Adjust watering schedules and durations accordingly.
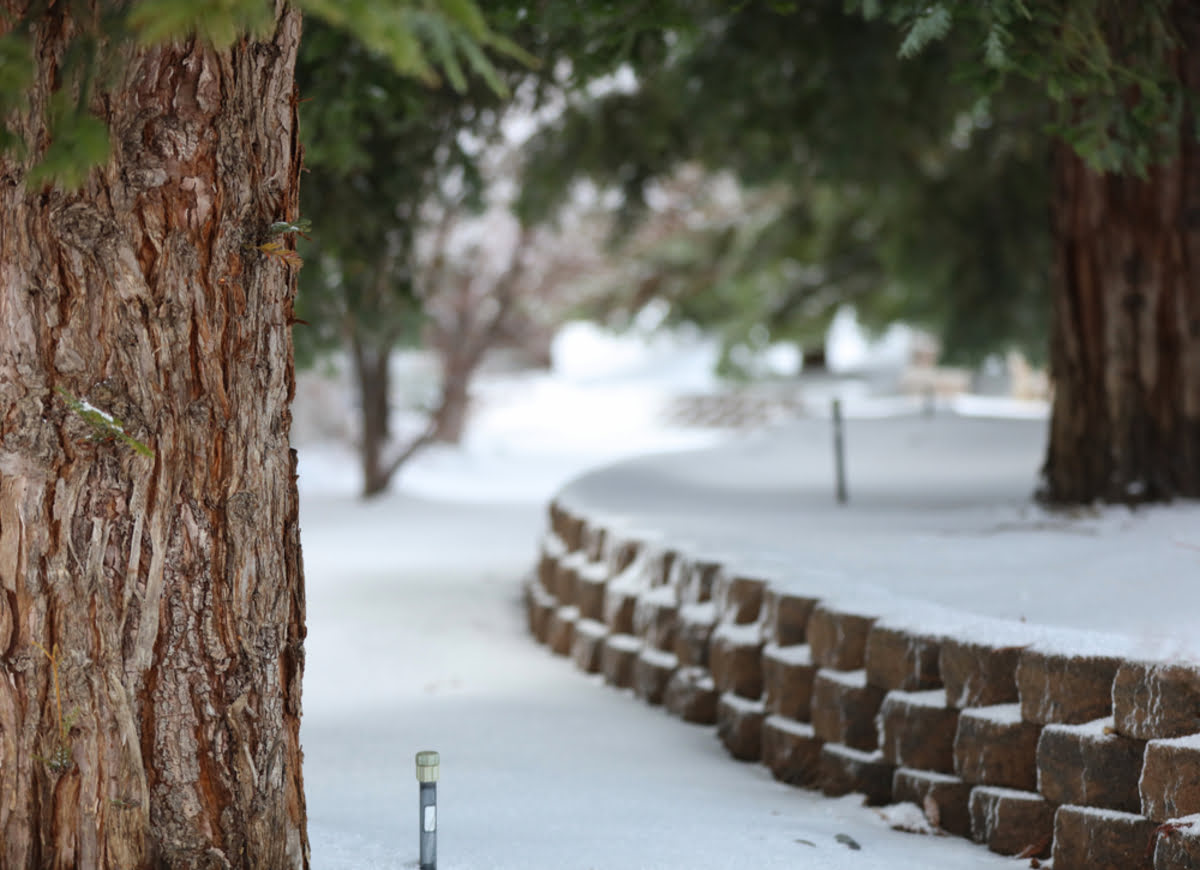
- Protect against freezing: If you live in an area with freezing temperatures, take appropriate measures to protect your irrigation system from damage. Drain and disconnect the system or install insulation to prevent freezing and potential rupturing of pipes.
- Keep records: Maintain a record of repairs, adjustments, and maintenance performed on your irrigation system. This allows you to track the system’s history and schedule future tasks.
- Consider professional servicing: If you’re unsure about certain maintenance tasks or if you prefer the expertise of professionals, consider hiring an irrigation specialist to inspect and service your system periodically.
By implementing these regular maintenance tips, you can prolong the life of your irrigation system, conserve water, and ensure that your plants receive optimal hydration. Stay proactive and address any issues promptly to prevent them from escalating into more significant problems.
Remember, each irrigation system is unique, so it’s important to refer to the specific maintenance guidelines provided by the manufacturer. Following their recommendations will help you maximize the performance and efficiency of your system.
With regular maintenance practices in place, you can enjoy the benefits of a well-maintained irrigation system and a luscious garden or lawn for years to come.
Conclusion
Congratulations! You have successfully learned how to open your irrigation system and perform the necessary steps to ensure its optimal functioning. By following these steps, you will be able to maintain a healthy and vibrant garden or lawn while conserving water and preventing potential damages. Opening your irrigation system is an essential task to prepare it for the watering season and ensure that your plants receive the moisture they need.
Remember, safety should always be a priority when working with water and electrical components. Wear appropriate protective gear and exercise caution throughout the process.
By gathering the necessary tools, shutting off the water supply, locating the main control valve, inspecting and cleaning the components, checking for leaks, adjusting the settings, testing the system, making necessary adjustments or repairs, and performing regular maintenance, you will be well-equipped to maintain an efficient irrigation system.
Regular monitoring and proactive maintenance will help you address any issues promptly and ensure the longevity of your system. Remember to adjust the settings, check for leaks, and make necessary repairs as needed. Additionally, consider upgrading your system to take advantage of features like weather-based adjustments and smart irrigation technology for optimal water management.
By following these steps and incorporating regular maintenance into your routine, you’ll enjoy the benefits of a well-maintained irrigation system and a thriving landscape. Cheers to beautiful, healthy plants and an environmentally responsible approach to watering!