Home>Gardening Tips and Tricks>Problem Solving>How To Start Up Irrigation System
Problem Solving
How To Start Up Irrigation System
Modified: February 6, 2024
Learn the best techniques for problem solving in irrigation system start-up. Discover step-by-step tips and troubleshooting methods to ensure a successful and efficient irrigation system.
(Many of the links in this article redirect to a specific reviewed product. Your purchase of these products through affiliate links helps to generate commission for Chicagolandgardening.com, at no extra cost. Learn more)
Table of Contents
- Introduction
- Step 1: Assessing your irrigation needs
- Step 2: Choosing the right irrigation system
- Step 3: Gathering necessary equipment and materials
- Step 4: Preparing the irrigation area
- Step 5: Installing the main water source
- Step 6: Laying out the irrigation pipes
- Step 7: Installing sprinklers or drip emitters
- Step 8: Connecting the irrigation system to a timer or controller
- Step 9: Testing and adjusting the irrigation system
- Step 10: Proper maintenance and troubleshooting tips
- Conclusion
Introduction
Welcome to our comprehensive guide on how to start up an irrigation system. Whether you’re a seasoned gardener or a beginner looking to keep your plants hydrated and healthy, setting up an efficient irrigation system is crucial. Proper irrigation not only saves time and effort but also ensures that your plants receive the right amount of water at the right time.
In this guide, we will take you through a step-by-step process to help you start up your irrigation system successfully. From assessing your irrigation needs to testing and maintaining the system, we’ve got you covered. By the end of this guide, you’ll have the knowledge and confidence to set up an efficient irrigation system that will keep your plants thriving.
But before we dive into the details, let’s take a moment to understand the importance of a well-designed and properly functioning irrigation system. Water is a vital resource for plants, and providing them with the correct amount of water is essential for their growth and survival. Overwatering can lead to root rot and other diseases, while underwatering can stunt growth and reduce crop yields.
By implementing an irrigation system, you can optimize water usage, conserve water, and ensure that your plants receive the appropriate amount of water consistently. Additionally, an irrigation system allows you to automate the watering process, saving you time and effort.
In the following sections, we will guide you through the step-by-step process of starting up your irrigation system. We will cover everything from assessing your irrigation needs to choosing the right system, gathering equipment, and ensuring proper installation. We will also provide tips for testing, adjusting, and maintaining your system to ensure optimal performance.
Ready to get started? Let’s dive into the first step: assessing your irrigation needs.
Step 1: Assessing your irrigation needs
Before you begin setting up your irrigation system, it’s important to assess your specific irrigation needs. This step will help you determine the type of system that will best suit your needs and ensure that your plants are adequately watered.
The first consideration is the size of the area you need to irrigate. Determine whether you’ll be watering a small garden or a large yard. This will help you determine the number of sprinkler heads or drip emitters you’ll need and the length of irrigation pipes required.
Next, consider the type of plants you’ll be watering. Different plants have different water requirements, and it’s important to group them accordingly. Assess if you’ll be watering a lawn, flower beds, shrubs, or vegetable gardens. Lawns typically require more water, while flower beds and shrubs may need targeted watering.
Additionally, take into account the soil type and drainage in your area. Sandy soil drains faster, while clay soil retains water. Understanding your soil type will help you determine the frequency and duration of watering.
Consider your local climate as well. If you live in an area with frequent rainfall, you may need a more flexible system that adjusts to rainfall patterns. In arid regions, you may need to invest in a more efficient system that conserves water.
Lastly, consider your budget and time constraints. Determine how much you’re willing to invest in your irrigation system and how much time you can dedicate to its setup and maintenance. This will help you prioritize certain features or automated components.
By assessing these factors, you can make informed decisions about the type of irrigation system that will work best for your needs. Whether it’s a sprinkler system, drip irrigation, or a combination of both, understanding your irrigation needs will set the foundation for a successful setup.
Now that you’ve assessed your irrigation needs, let’s move on to step two: choosing the right irrigation system.
Step 2: Choosing the right irrigation system
Now that you’ve assessed your irrigation needs, it’s time to choose the right irrigation system for your garden or yard. There are various types of irrigation systems available, each with its own advantages and considerations. By understanding the different options, you can select the one that best fits your specific requirements.
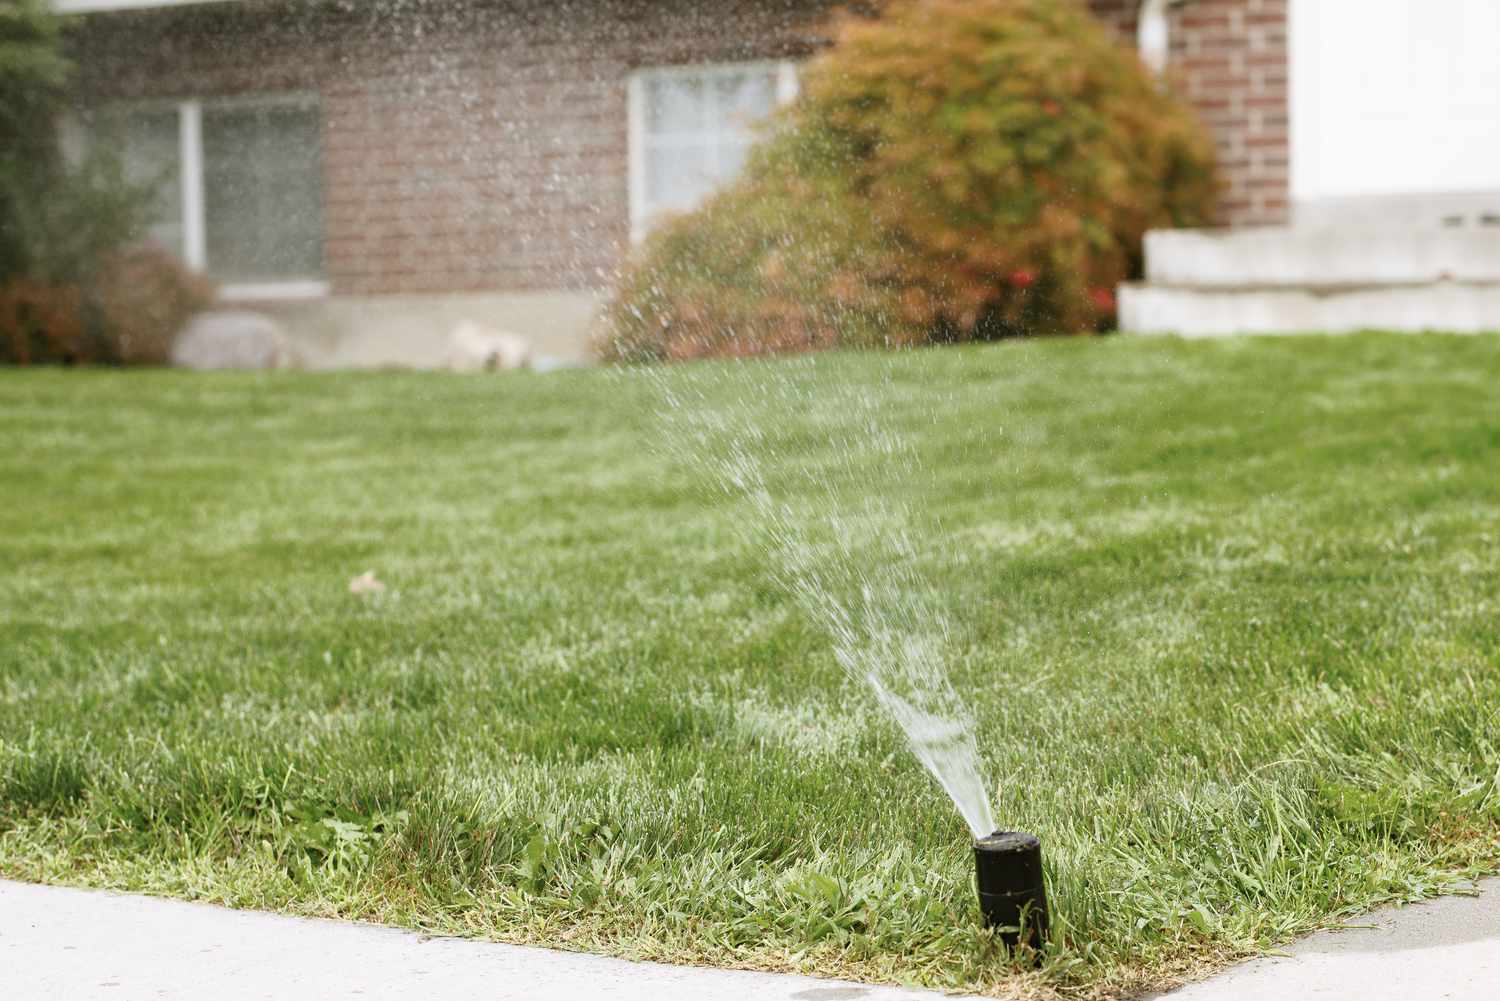
One common type of irrigation system is the sprinkler system. These systems distribute water through sprinkler heads that spray water over a specified area. Sprinkler systems are versatile and can be suitable for both large lawns and smaller gardens. They are often adjustable, allowing you to control the direction and range of the water spray.
Another popular option is the drip irrigation system. Drip irrigation delivers water directly to the plants’ root zones, minimizing water loss through evaporation or runoff. This system is ideal for watering specific plants or garden beds and is known for its water efficiency. Drip irrigation can also be automated and controlled with timers or controllers.
For larger agricultural or commercial applications, consider a center pivot or linear irrigation system. These systems use a moving arm or a series of nozzles to distribute water across a large field. They are typically suitable for farms or large-scale irrigation needs.
When choosing the right irrigation system, consider factors such as water efficiency, ease of installation, and maintenance requirements. Evaluate the system’s coverage area, water distribution uniformity, and adaptability to different soil types and plants. Take into account your budget and the availability of water resources in your area.
It’s also worth noting that you can combine different irrigation systems to make the most of their advantages. For example, you may use a sprinkler system for your lawn and a drip irrigation system for your garden beds.
Research different brands and models, read reviews, and consult with experts or professionals if needed. They can provide valuable insights and help you make an informed decision.
By choosing the right irrigation system, you can ensure that your plants receive the water they need while optimizing water usage. With this step complete, you’re ready to move on to step three: gathering the necessary equipment and materials for your irrigation system setup.
Step 3: Gathering necessary equipment and materials
Once you’ve chosen the right irrigation system for your needs, it’s time to gather the necessary equipment and materials to set up your system. Having all the required components will make the installation process smoother and more efficient.
The specific equipment and materials you’ll need will depend on the type of irrigation system you’ve chosen. However, here are some common items you may need:
- Irrigation pipes: These are used to transport water from the water source to the desired areas of your garden. PVC pipes are commonly used for sprinkler systems, while drip irrigation systems may require flexible polyethylene tubing.
- Sprinkler heads or drip emitters: Depending on the irrigation system you’re installing, you’ll need sprinkler heads for a sprinkler system or drip emitters for a drip irrigation system. These components are responsible for releasing water onto the plants.
- Valves: Valves are used to control the flow of water in the irrigation system. They allow you to turn on or off specific sections of the system, providing flexibility and control.
- Fittings and connectors: These are necessary to join and secure the irrigation pipes and components together. Elbows, tees, couplings, and connectors ensure a watertight and secure connection.
- Timer or controller: If you want to automate your irrigation system, you’ll need a timer or controller. These devices allow you to set specific watering schedules and durations, ensuring consistent and efficient watering.
- Tools: Depending on the installation requirements, you may need tools such as a shovel, pipe cutter, wrench, or screwdriver to assemble and install the various components of your irrigation system.
Before purchasing the equipment and materials, it’s essential to measure the dimensions and layout of your garden or yard accurately. This will help determine the appropriate lengths of pipes and the number of sprinkler heads or drip emitters you’ll need.
Consider the quality and durability of the materials. Investing in high-quality components may cost more upfront but can save you from future repairs or replacements. Research reputable brands and read customer reviews to ensure you’re purchasing reliable and long-lasting products.
Furthermore, take into account any specific requirements or restrictions in your area, such as local regulations on irrigation systems, water conservation measures, or restrictions on certain types of materials. Adhering to these guidelines will ensure compliance and prevent any setbacks.
Once you have gathered all the necessary equipment and materials, you’re one step closer to setting up your irrigation system. In the next step, we’ll guide you through preparing the irrigation area.
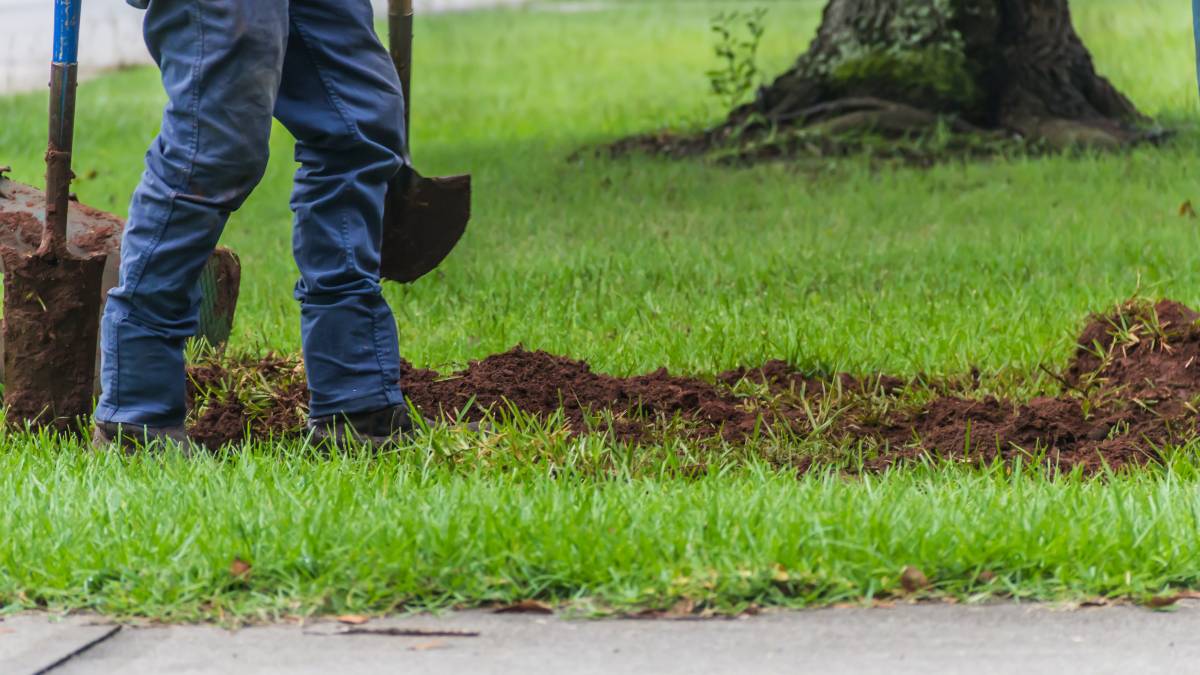
Step 4: Preparing the irrigation area
Before you start installing your irrigation system, it’s crucial to properly prepare the irrigation area. This step ensures that the installation process goes smoothly and that your system functions optimally once it’s in place.
Here are some important steps to follow when preparing the irrigation area:
- Clear the area: Remove any obstacles, debris, or plants that may obstruct the installation process. Clearing the area allows for easier access and ensures that the irrigation components can be placed correctly.
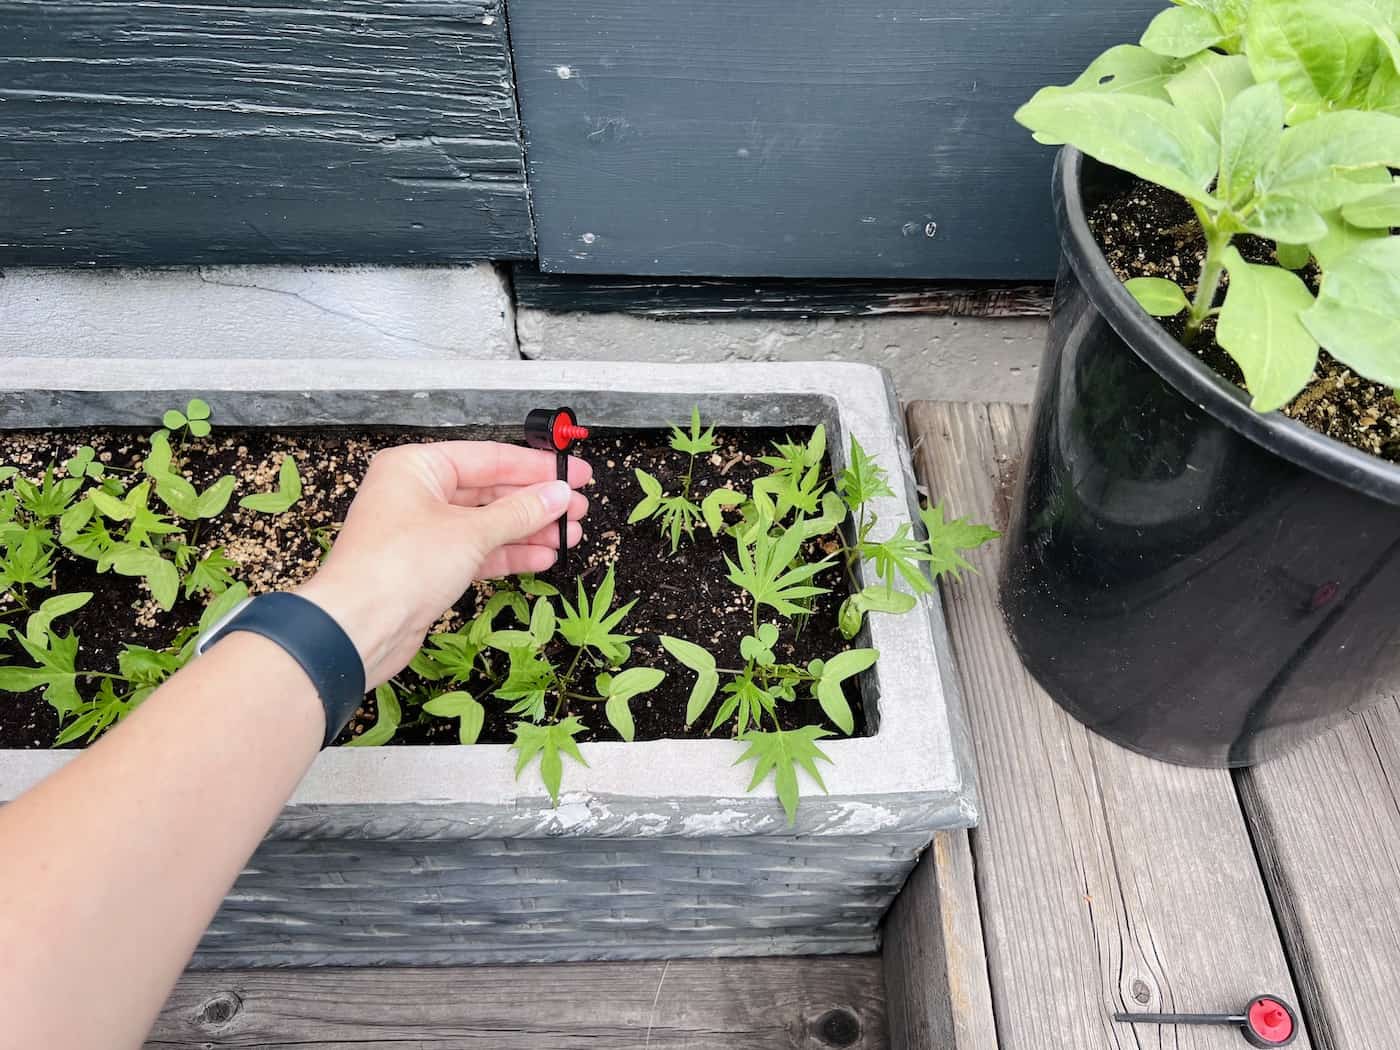
- Mark the desired watering areas: Use stakes or flags to mark the areas that require irrigation. These markers will help you determine the placement of sprinkler heads or drip emitters and ensure that water is distributed evenly.
- Check for proper drainage: Ensure that the area where the irrigation system will be installed has proper drainage. Poor drainage can lead to waterlogging and other issues. If needed, make necessary adjustments, such as adding slopes or installing drainage pipes.
- Locate the main water source: Determine the location of the main water source, such as a faucet or a water supply line. Make sure there is easy access to the water source and check for any leaks or issues that may need to be addressed before connecting the irrigation system.
- Plan the layout: Take time to plan the layout of your irrigation system. Consider factors such as the location of plants, water pressure, and the coverage area of sprinkler heads or drip emitters. This planning will ensure that the system is installed in the most efficient and effective way.
- Measure and mark the pipe routes: Measure the required lengths of irrigation pipes and mark the routes where they will be installed. This step ensures that you have accurately estimated the amount of piping needed and allows for smoother installation.
By properly preparing the irrigation area, you can avoid unnecessary delays and complications during the installation process. It also sets the foundation for a well-functioning irrigation system that will keep your plants healthy and thriving.
Now that you’ve prepared the irrigation area, it’s time to move on to the next step: installing the main water source for your irrigation system.
Step 5: Installing the main water source
Installing the main water source is a crucial step in setting up your irrigation system. This step involves connecting your irrigation system to a reliable and accessible water source, ensuring a steady supply of water for your plants.
Here’s how to install the main water source for your irrigation system:
- Locate the main water supply: Identify the main water supply line or the nearest outdoor faucet that you will be connecting to your irrigation system. Ensure that the water source can provide sufficient water pressure to meet the requirements of your irrigation system.
- Turn off the water supply: Before you begin any installation work, remember to turn off the water supply. This will prevent any accidental water flow and ensure a safe working environment.
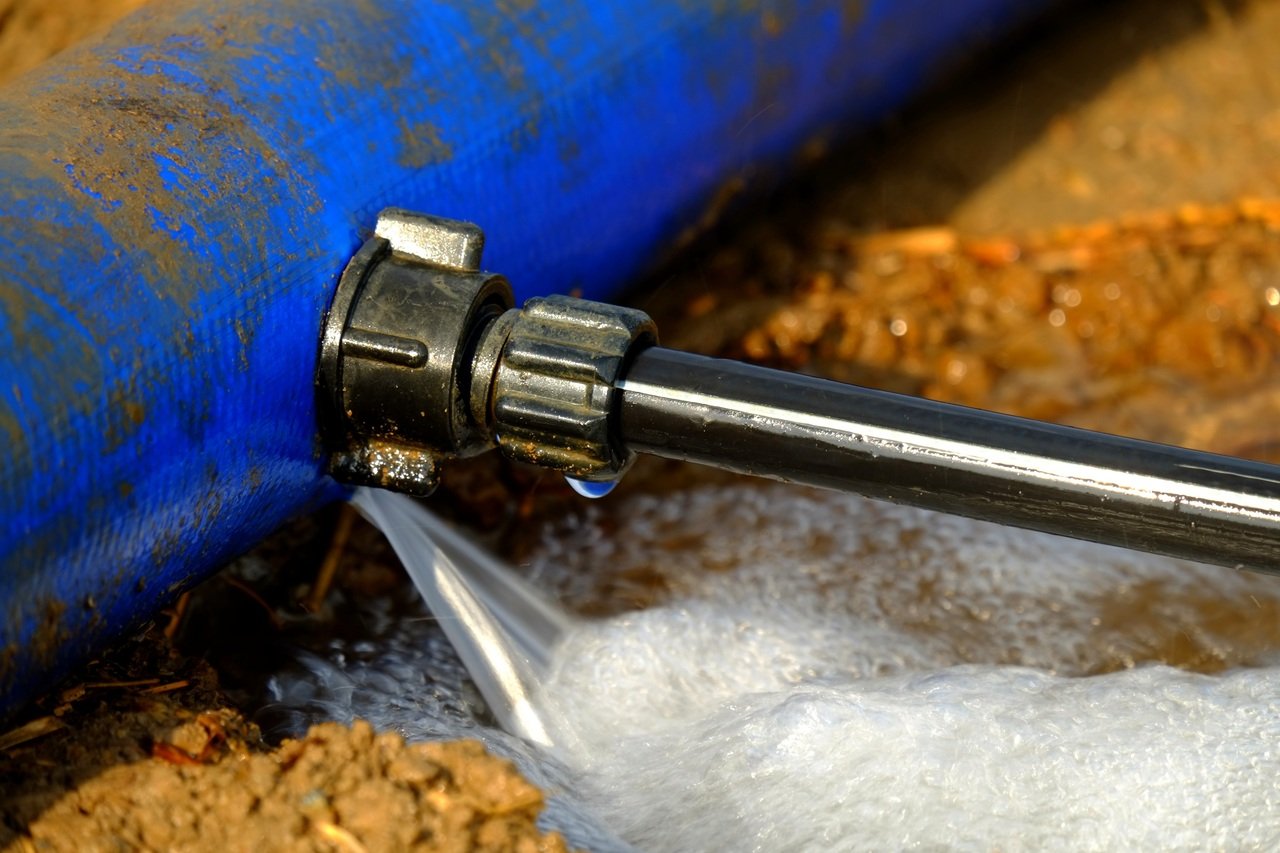
- Install a backflow preventer: A backflow preventer is a device that prevents water from flowing back into the main water supply. It is a crucial component to ensure that contaminated water does not enter the drinking water supply. Follow the manufacturer’s instructions to install the backflow preventer in the appropriate location.
- Connect the water source to the irrigation system: Depending on your system’s requirements, you may need to use fittings, connectors, or a manifold to connect the water source to the irrigation system pipes. Make sure the connections are secure and tight to prevent any leaks.
- Install a shut-off valve: To control the water flow to your irrigation system, install a shut-off valve. This valve allows you to turn off the water supply to the system when needed, such as during maintenance or repairs.
- Test for leaks: Turn on the water supply and carefully inspect all the connections for any signs of leaks. If you notice any leaks, make the necessary adjustments or use plumbing tape or sealant to ensure a watertight connection.
It’s important to follow local building codes and regulations when installing the main water source. Some areas may require permits or have specific guidelines for backflow preventers and other components. Ensure compliance to avoid any legal issues and to protect the integrity of your water supply.
By properly installing the main water source, you ensure a reliable and consistent water supply for your irrigation system. With this step completed, you’re ready to move on to the next step: laying out the irrigation pipes.
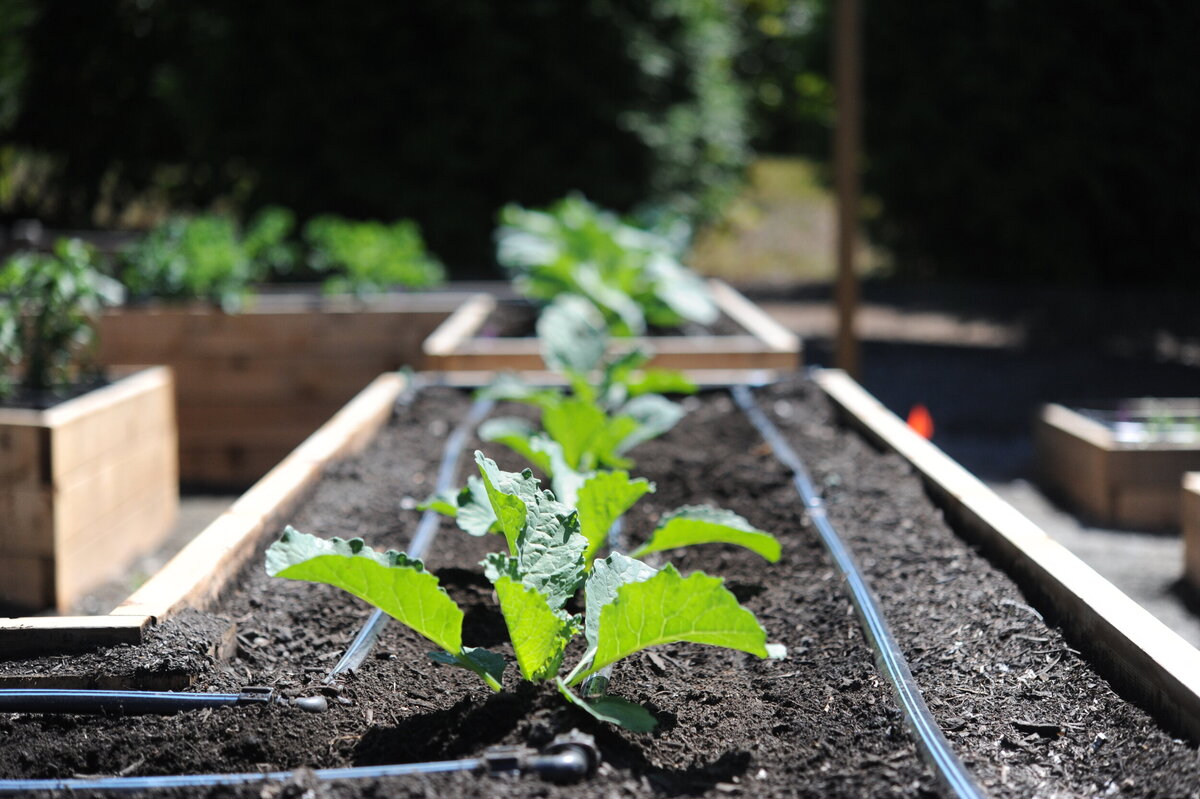
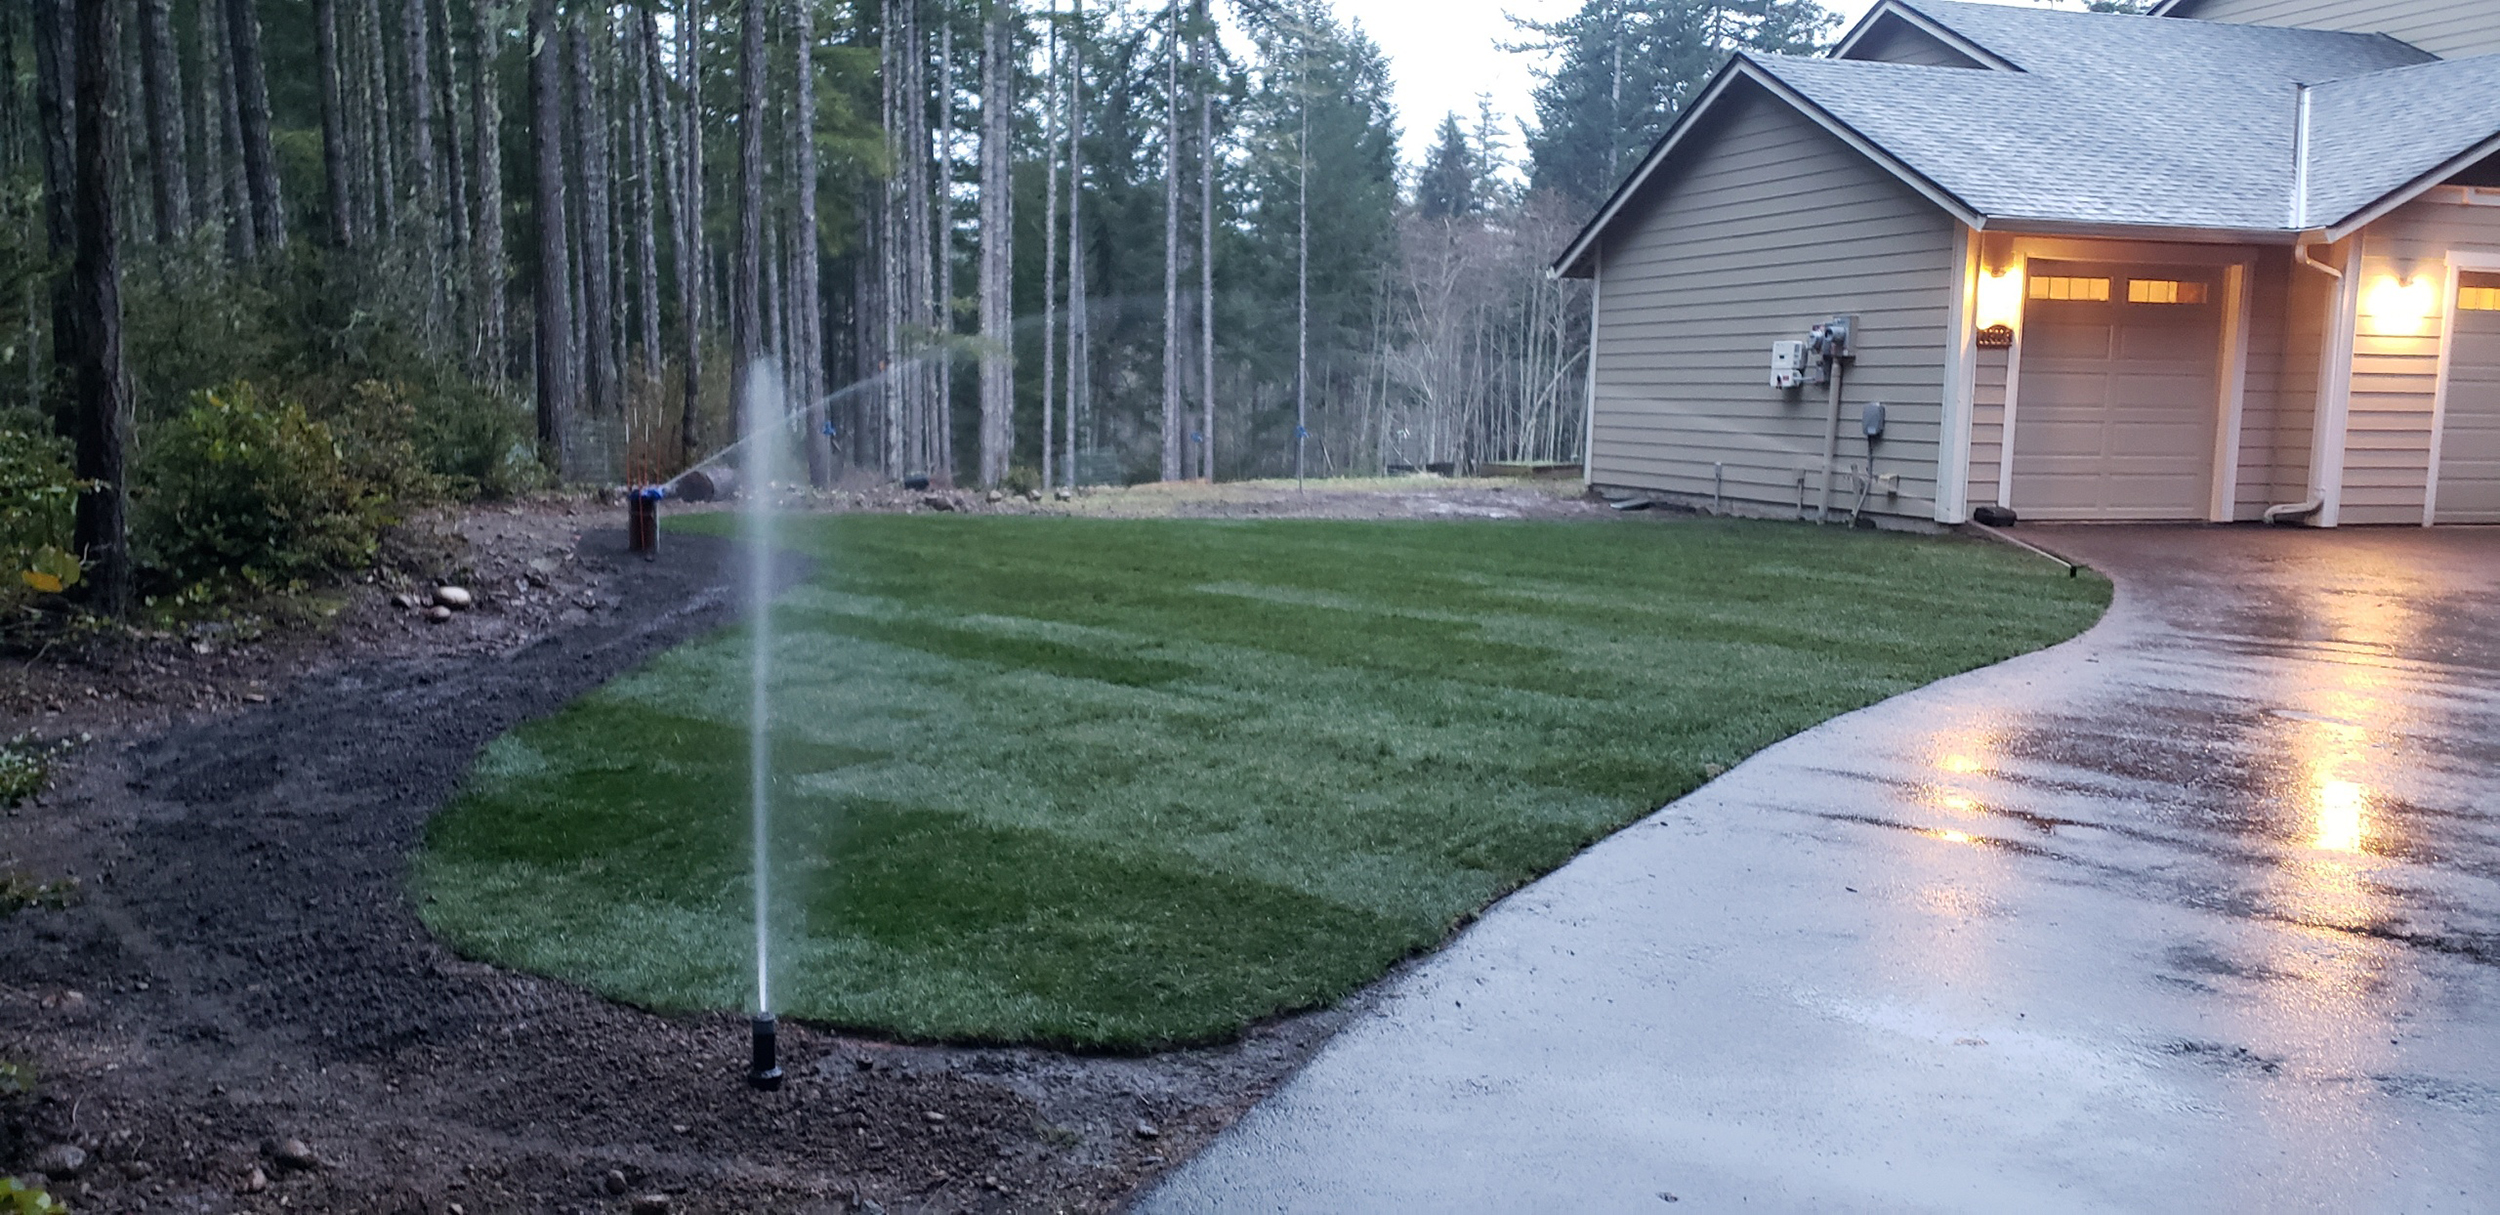
Step 6: Laying out the irrigation pipes
Once you’ve installed the main water source for your irrigation system, the next step is to lay out the irrigation pipes. This involves determining the positioning and routing of the pipes to ensure proper water distribution to your plants.
Here’s a breakdown of how to lay out the irrigation pipes for your system:
- Plan the pipe routes: Use the layout plan you created earlier to determine the routes for your irrigation pipes. Consider factors such as the location of plants, water pressure, and the coverage area of sprinkler heads or drip emitters. Plan the routes in a way that allows for efficient water distribution and easy maintenance.
- Connect the pipes: Begin by connecting the pipes to the main water source, using the appropriate fittings and connectors. Ensure that the connections are secure and watertight to prevent leaks.
- Lay the pipes: Lay the irrigation pipes along the planned routes, securing them in place using stakes or pipe clamps. Make sure the pipes are properly aligned and positioned to reach the desired watering areas.
- Pay attention to slopes: If your garden has slopes, it’s important to consider the water flow and pressure. Position the pipes accordingly to allow for proper water distribution, preventing water pooling or uneven watering.
- Consider expansion and flexibility: Leave room for expansion and flexibility in your pipe layout, especially if you plan to add or modify your irrigation system in the future. Use connectors or couplings that allow for easy adjustments or additions.
- Install tees and elbows: Depending on the layout and design of your irrigation system, you may need to install tees and elbows to direct the flow of water at certain points. These components ensure that water is distributed properly to all areas of your garden.
- Protect the pipes: If your irrigation system is installed above ground, consider adding pipe insulation or protective covers to prevent damage from extreme weather conditions or accidental impact from gardening activities.
- Test for leaks: Once the pipes are laid out, turn on the water supply and run a pressure test to check for any leaks. Inspect all the connections and joints carefully, and address any leaks promptly to maintain the efficiency of your irrigation system.
Properly laying out the irrigation pipes is critical for ensuring even water distribution and efficient operation of your system. Take the time to plan and execute this step accurately to avoid any future issues with your irrigation setup.
With the pipes laid out, you’re now ready to move on to the next step: installing sprinklers or drip emitters to deliver water to your plants.
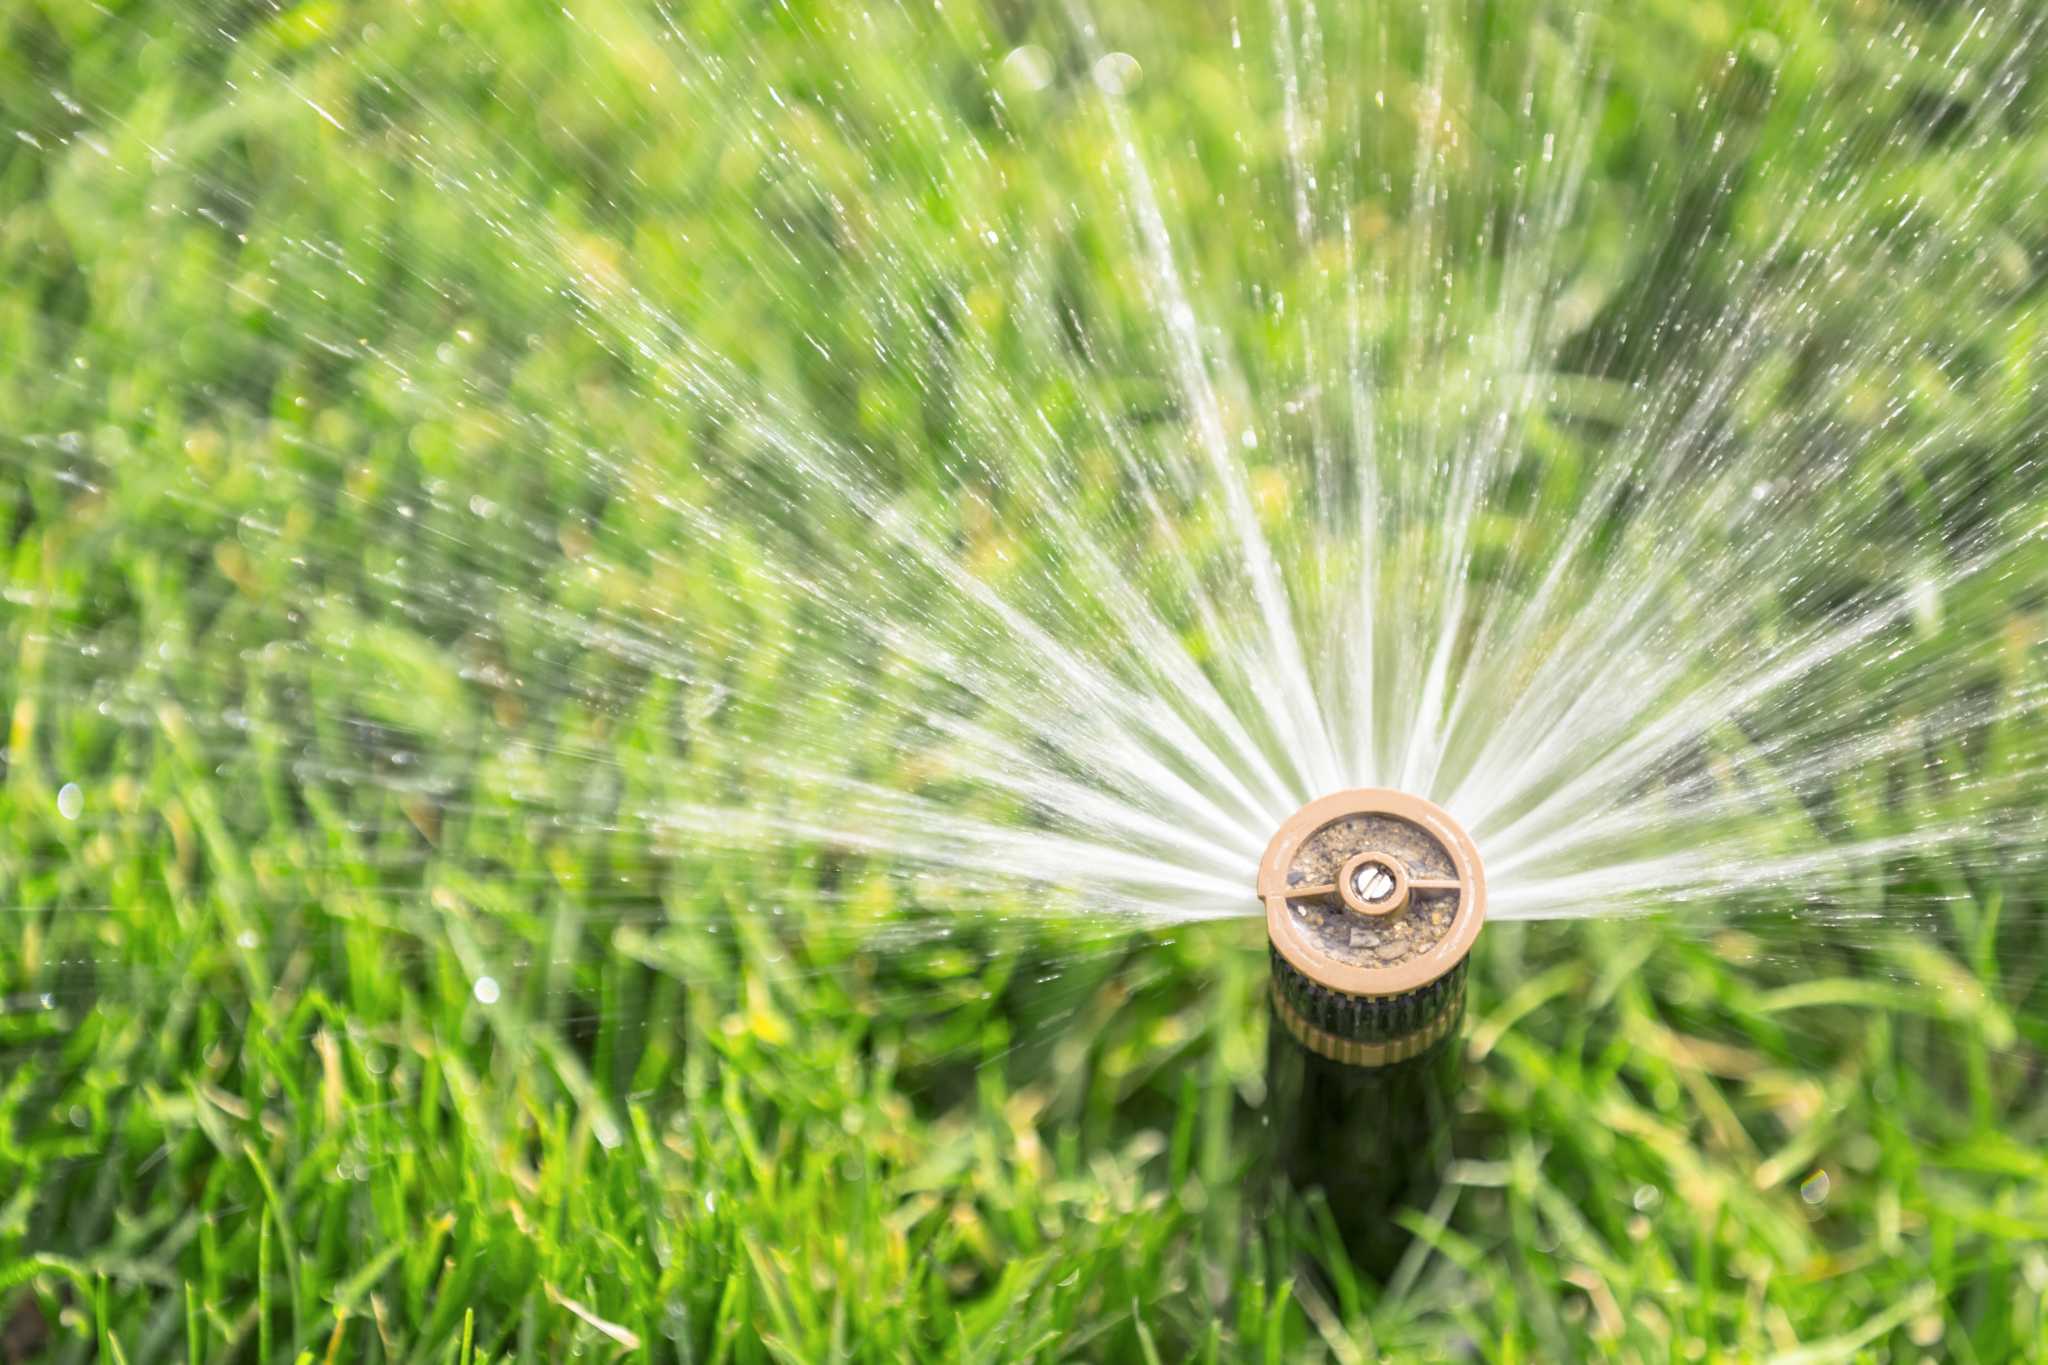
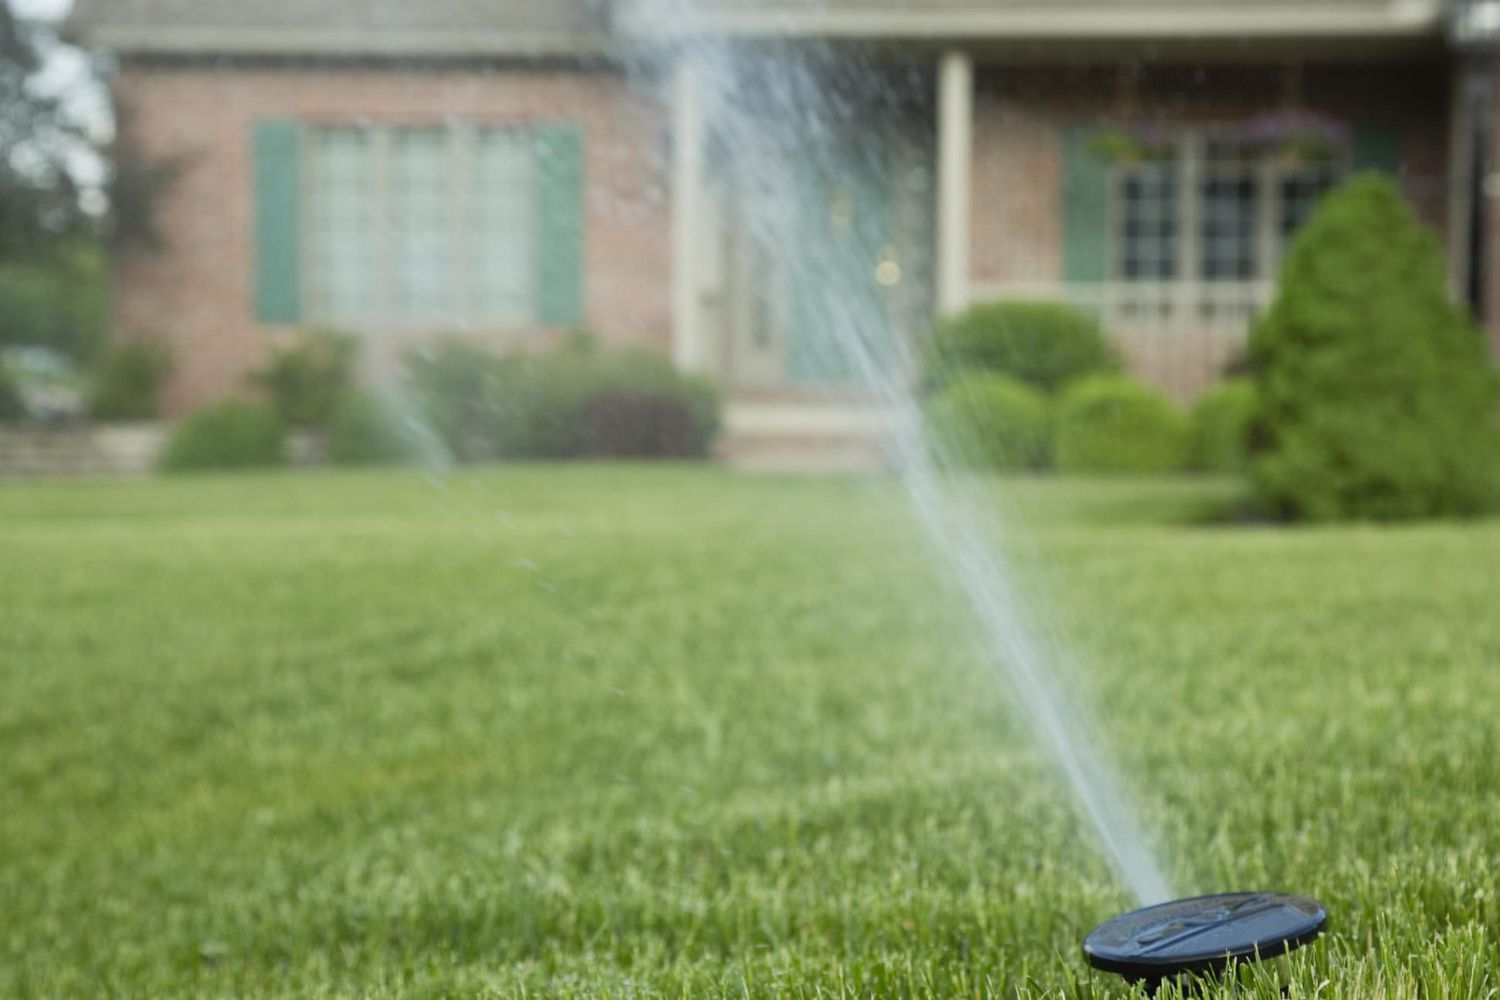
Step 7: Installing sprinklers or drip emitters
Now that you have laid out the irrigation pipes, it’s time to install the sprinklers or drip emitters that will deliver water to your plants. This step is crucial as it determines the effectiveness and efficiency of water distribution in your irrigation system.
Here are the steps to follow when installing sprinklers or drip emitters:
- Determine the placement: Consider the coverage area and water requirements of your plants to determine the ideal placement of sprinklers or drip emitters. Sprinklers should be positioned to cover the desired area, while drip emitters should be placed close to the roots of individual plants.
- Install sprinkler heads: If you’re using a sprinkler system, dig holes at the marked locations and install the sprinkler heads. Connect the sprinkler heads to the irrigation pipes using the appropriate fittings, ensuring a secure connection. Adjust the direction and range of the sprinkler heads to match the watering needs of your plants.
- Install drip emitters: For a drip irrigation system, attach the drip emitters to the main irrigation pipe or tubing. Ensure that each plant receives the appropriate number of emitters based on its water needs. Secure the drip emitters close to the roots of the plants using stakes or supports.
- Check for proper water flow: Before covering the sprinkler heads or drip emitters, turn on the irrigation system and check the water flow. Adjust the flow rate if needed to ensure proper watering. Inspect each sprinkler head or drip emitter for any signs of clogging or malfunctioning, and clean or replace as necessary.
- Ensure equal water distribution: Walk around your garden or yard to ensure that the sprinkler heads or drip emitters are covering the area evenly. Adjust the placement or angle of the sprinklers or emitters if there are any dry spots or overlapping areas.
- Make adjustments as needed: As your plants grow, you may need to adjust the position or flow rate of the sprinklers or drip emitters to accommodate their changing water needs. Regularly monitor your irrigation system and make necessary adjustments to ensure optimal performance.
- Consider additional features: Depending on your specific needs, you may want to incorporate additional features such as a rain sensor or pressure regulator to enhance the efficiency of your irrigation system. These features help conserve water and prevent overwatering.
By installing sprinklers or drip emitters properly, you ensure that your plants receive the appropriate amount of water in the most efficient manner. With this step completed, you’re ready to move on to connecting the irrigation system to a timer or controller in the next step.
Step 8: Connecting the irrigation system to a timer or controller
Connecting your irrigation system to a timer or controller is an essential step in automating the watering process and ensuring precise control over your irrigation schedule. By incorporating a timer or controller, you can save time, conserve water, and maintain consistent watering for your plants.
Here’s a step-by-step guide for connecting your irrigation system to a timer or controller:
- Select a suitable timer or controller: Choose a timer or controller that suits your needs and budget. Consider factors such as the number of zones or areas you need to control, the available programming options, and the ease of use. Opt for a weather-resistant model if your controller will be located outdoors.
- Mount the timer or controller: Install the timer or controller in a convenient location near the main water source and within range of the irrigation valves. Ensure that it is securely mounted and protected from the elements.
- Connect the wires: Follow the manufacturer’s instructions to connect the wiring of the timer or controller to the corresponding irrigation valves. Each valve usually has two wire connections, commonly labeled as “common” and “zone.” Connect the wires accordingly, ensuring a tight and secure connection. If necessary, use waterproof wire connectors or electrical tape for added protection.
- Program the timer or controller: Set up the irrigation schedule on the timer or controller. This includes specifying the watering days, start times, and duration for each zone. Some advanced controllers may even have features to adjust watering based on weather conditions, soil moisture sensors, or plant types.
- Test the system: Activate the timer or controller and test the watering schedule. Ensure that each zone is operating as expected and that water is being delivered to the designated areas. Adjust the programming if necessary to achieve optimal water distribution and coverage.
- Regularly check and maintain the timer or controller: Inspect the timer or controller periodically to ensure that it is functioning correctly. Replace batteries if necessary and clean the unit to prevent any malfunctions that could disrupt your watering schedule.
By connecting your irrigation system to a timer or controller, you gain greater control and convenience in managing your watering schedule. This automation helps ensure that your plants receive consistent and adequate water without the need for manual intervention.
With the irrigation system now connected to a timer or controller, you’re ready to move on to the next step: testing and adjusting the irrigation system.
Step 9: Testing and adjusting the irrigation system
Once you have set up your irrigation system and connected it to a timer or controller, it is crucial to test and adjust the system to ensure optimal performance. Testing and adjusting your irrigation system will help you identify any issues, fine-tune the settings, and ensure that your plants receive the right amount of water.
Follow these steps to effectively test and adjust your irrigation system:
- Run a complete system test: Activate the irrigation system using the timer or controller and observe the flow of water through the sprinklers or drip emitters. Walk through each zone and check for uniform water distribution, ensuring that all areas are adequately covered.
- Check for leaks and clogs: Inspect all connections, sprinkler heads, and drip emitters for any signs of leaks or clogs. Repair or replace any damaged components to prevent water waste and ensure even watering.
- Measure water coverage: Place empty cans or containers throughout the irrigation area to measure the amount of water being delivered. Check the depth of water collected in each container to ensure that it is consistent across the area. Adjust the flow rate or sprinkler positioning if there are any discrepancies.
- Assess soil moisture levels: Dig small holes in different areas of the irrigation zone and check the soil moisture levels. Ensure that the water penetrates the desired depth for the specific plants and soil conditions. Adjust the watering duration or frequency as needed to achieve the appropriate moisture level for healthy plant growth.
- Inspect for overspray or runoff: Look for any areas where water may be overspraying onto non-target areas, such as walkways or driveways. Adjust the sprinkler heads or emitters to prevent wasteful watering and runoff.
- Make adjustments for seasonal changes: Regularly evaluate and adjust the watering schedule and duration to accommodate seasonal changes in temperature, rainfall, and plant growth. Increase or decrease watering as needed to meet the evolving needs of your plants throughout the year.
Testing and adjusting your irrigation system is an ongoing process to ensure optimal water efficiency and plant health. It may take some time and trial-and-error to find the ideal settings for your specific landscape, but regular monitoring and adjustment will lead to a well-tailored watering system.
By thoroughly testing and adjusting your irrigation system, you can address any issues, optimize water distribution, and provide your plants with the ideal watering conditions for their growth and vitality.
With your irrigation system now tested and adjusted, you’re ready to move on to the final step: proper maintenance and troubleshooting tips to ensure the continued success of your system.
Step 10: Proper maintenance and troubleshooting tips
Proper maintenance is essential to keep your irrigation system running smoothly and efficiently. Regular maintenance tasks and troubleshooting will help you identify and address any issues promptly, ensuring that your plants continue to receive the necessary water for their health and growth.
Follow these maintenance and troubleshooting tips to keep your irrigation system in optimal condition:
- Inspect the system regularly: Conduct regular inspections of your irrigation system to check for leaks, clogged sprinkler heads, or damaged components. Address any issues immediately to prevent water waste and ensure consistent watering.
- Clean or replace sprinkler heads and emitters: Over time, sprinkler heads and drip emitters can become clogged or worn out. Clean them regularly or replace them if necessary to maintain proper water flow and distribution.
- Adjust the watering schedule as needed: Monitor the weather conditions and adjust your irrigation schedule accordingly to avoid over or under watering. Consider using rain sensors or soil moisture sensors to automate adjustments based on environmental factors.
- Inspect and repair leaks: Regularly check for any signs of leaks in the pipes, valves, or connections. Repair leaks promptly to prevent water loss and damage to your irrigation system.
- Protect the system during the winter: If you live in an area with freezing temperatures, make sure to winterize your irrigation system. Drain the pipes and disconnect the system from the water source to prevent freezing and bursting of pipes.
- Maintain proper water pressure: Ensure that your irrigation system operates at the correct water pressure. High pressure can lead to misting or over spraying, while low pressure can result in inadequate water distribution. Use pressure regulators if necessary.
- Evaluate coverage and adjust as the landscape changes: As your plants grow and your landscape evolves, assess the coverage of your irrigation system. Adjust sprinkler heads or emitters to ensure proper coverage and avoid spraying non-target areas.
- Keep the system clear of debris: Regularly remove any debris, such as leaves or dirt, that may block sprinkler heads or clog drip emitters. This will help maintain optimal performance and prevent water flow disruptions.
- Seek professional help if needed: If you encounter complex issues or are unsure about troubleshooting steps, don’t hesitate to seek assistance from a professional irrigation specialist. They can provide expertise and guidance to resolve any problems with your system.
Proper maintenance and troubleshooting are key to the longevity and effectiveness of your irrigation system. By implementing these practices, you can ensure that your plants receive consistent and efficient watering while minimizing water waste and potential damage.
With these maintenance and troubleshooting tips, you now have the knowledge to keep your irrigation system in excellent condition for years to come.
Conclusion
Congratulations! You have successfully learned how to start up an irrigation system. By following these ten steps, you have gained the knowledge and skills to set up an efficient and effective irrigation system for your garden or yard.
Assessing your irrigation needs is the crucial first step, as it helps you determine the requirements and specifications of your system. Choosing the right irrigation system, gathering the necessary equipment and materials, and preparing the irrigation area ensure a smooth installation process.
With the main water source installed, irrigation pipes laid out, and sprinklers or drip emitters installed, you are ready to automate your system by connecting it to a timer or controller. This allows for precise control and saves time and effort.
Testing and adjusting your irrigation system ensures proper water distribution, efficiency, and plant health. Regular maintenance and troubleshooting, such as inspecting the system, cleaning or replacing components, and addressing leaks, are essential for long-term functionality and effectiveness.
Remember to make adjustments for seasonal changes, protect your system during the winter, and seek professional help when necessary. By practicing these maintenance habits, your irrigation system will continue to provide optimal water distribution for your plants.
With your irrigation system in place, you can enjoy the benefits of efficient watering, including healthier plants, water savings, and more time to focus on other aspects of gardening.
We hope this comprehensive guide has been informative and valuable in helping you start up and maintain your irrigation system. Remember to tailor the steps to your specific needs and consult professionals if you require additional guidance.
Now, go ahead and give your plants the water they need to thrive and grow!