Home>Gardening Techniques>DIY Projects>How To Set Up Drip Irrigation For Potted Plants
DIY Projects
How To Set Up Drip Irrigation For Potted Plants
Modified: January 22, 2024
Learn how to set up drip irrigation for potted plants with this easy DIY project guide. Save time and water with efficient watering techniques.
(Many of the links in this article redirect to a specific reviewed product. Your purchase of these products through affiliate links helps to generate commission for Chicagolandgardening.com, at no extra cost. Learn more)
Table of Contents
- Introduction
- Benefits of Drip Irrigation for Potted Plants
- Choosing the Right Drip Irrigation System
- Tools and Materials Needed
- Step 1: Selecting the Right Containers
- Step 2: Installing the Main Water Supply Line
- Step 3: Installing the Drip Emitters
- Step 4: Setting Up a Timer
- Step 5: Flushing and Testing the System
- Troubleshooting Common Issues
- Conclusion
Introduction
Welcome to the world of DIY projects! Whether you’re a seasoned DIY enthusiast or just starting out, there’s something incredibly rewarding about being able to create and build things with your own two hands. And one area where you can easily put your DIY skills to work is in setting up a drip irrigation system for potted plants.
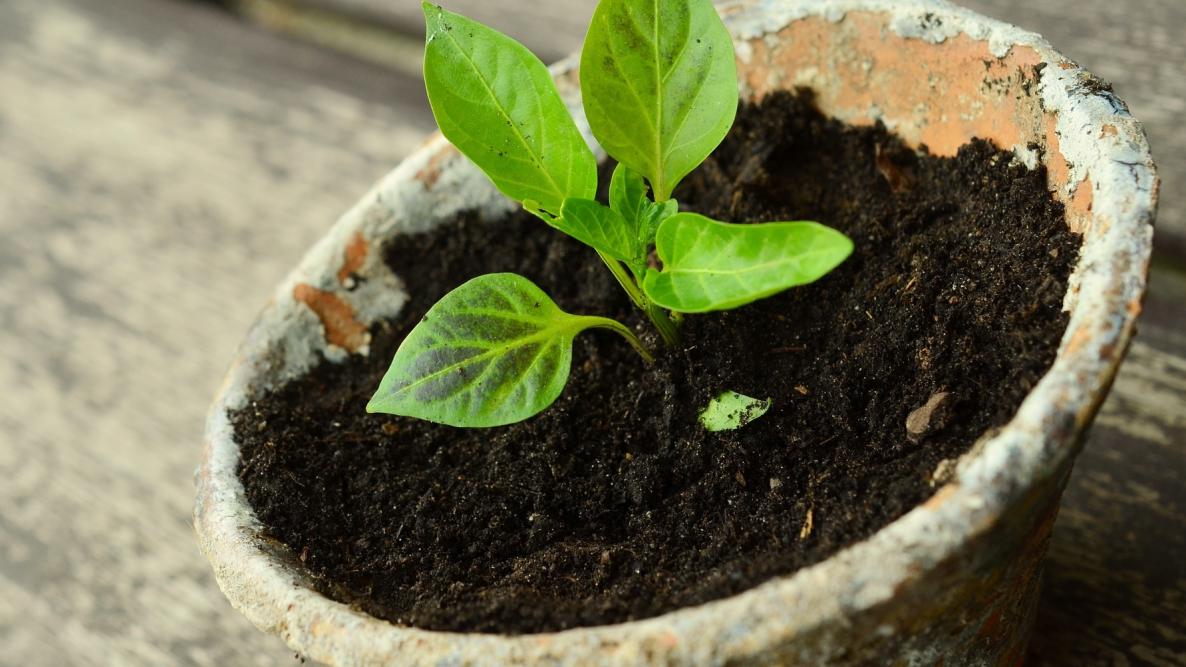
Drip irrigation is a method of watering plants that delivers water directly to the plant’s roots, allowing for better water efficiency and reduced water waste. This is especially important for potted plants, as they have a smaller soil volume and are more prone to drying out quickly.
By setting up a drip irrigation system, you can ensure that your potted plants receive a consistent and adequate water supply, promoting healthier growth and reducing the risk of overwatering or underwatering. Not only will this save you time and effort in manually watering your plants, but it will also help you conserve water and lower your utility bills.
In this comprehensive guide, we will walk you through the process of setting up a drip irrigation system for your potted plants. We’ll cover everything from choosing the right system and tools to step-by-step installation instructions. So, grab your gardening gloves and let’s dive in!
Benefits of Drip Irrigation for Potted Plants
Setting up a drip irrigation system for your potted plants offers a wide range of benefits that go beyond just convenience. Here are some of the advantages you can expect:
- Water Efficiency: Drip irrigation delivers water directly to the roots of the plants, minimizing water loss due to evaporation or runoff. This targeted approach allows for better water absorption, ensuring that your plants receive just the right amount of water they need.
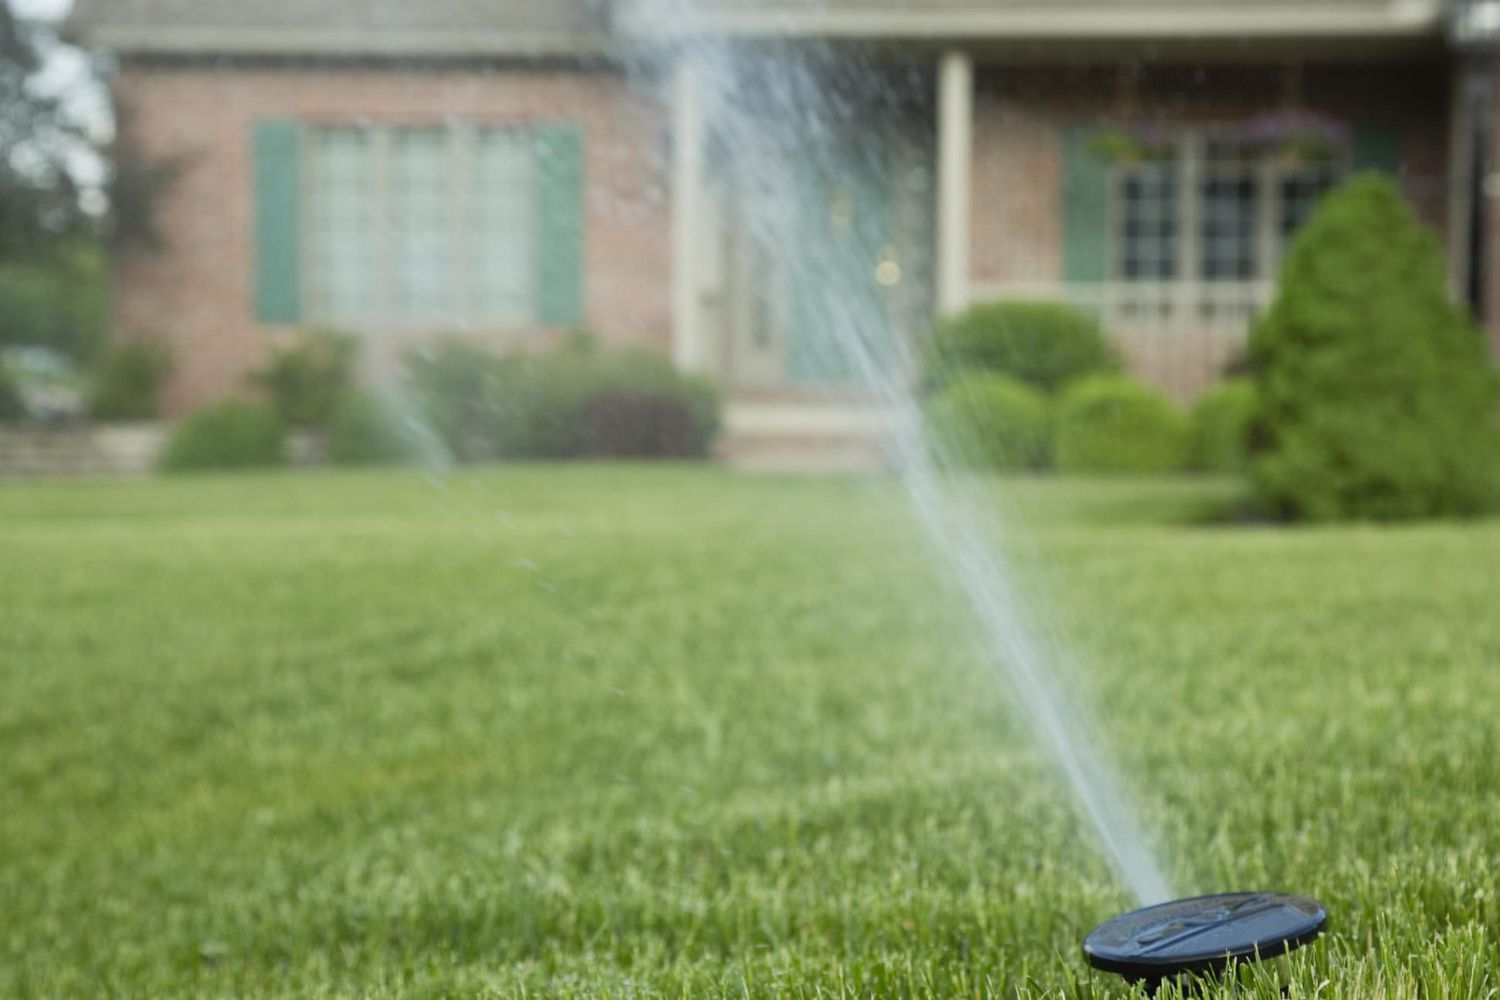
- Conserves Water: By reducing water waste, drip irrigation helps conserve one of our most precious resources. It is estimated that drip irrigation systems can save up to 50% more water compared to traditional watering methods like sprinklers or hand watering.
- Promotes Healthy Growth: Consistent and adequate watering is crucial for the health and growth of potted plants. With a drip irrigation system, plants receive a steady supply of water, preventing underwatering or overwatering, which can lead to root rot and other plant diseases.
- Time-Saving: With a drip irrigation system in place, you can automate the watering process, saving you time and effort. No more hauling watering cans or dragging hoses around. Simply set up a timer, and the system will take care of watering your plants on a regular schedule.
- Reduces Weeds and Diseases: Drip irrigation delivers water directly to the plant’s root zone, minimizing water contact with the plant’s foliage and surrounding soil. This reduces the chance of weed growth and fungal diseases caused by wet foliage, keeping your plants healthy and vibrant.
- Customizable and Scalable: Drip irrigation systems are highly customizable and can be tailored to meet the specific needs of your potted plants. You can easily adjust the water flow and distribution by adding or removing emitters, making it suitable for different types of plants and container sizes.
By harnessing the benefits of drip irrigation, you can create an optimal environment for your potted plants, setting them up for success and ensuring their long-term health. So, let’s explore how to choose the right drip irrigation system for your needs.
Choosing the Right Drip Irrigation System
When it comes to selecting a drip irrigation system for your potted plants, there are a few factors to consider:
- Watering Needs: Assess the watering needs of your plants. Different types of plants have varying water requirements, so it’s important to choose a drip irrigation system that can deliver the appropriate amount of water. Some plants may require a higher flow rate, while others may need a slower drip.
- Container Size: Consider the size and shape of your potted plants. Smaller containers may require fewer emitters, while larger containers may need multiple emitters to ensure thorough watering. Take into account the spacing between plants to determine the layout of your drip irrigation system.
- Water Pressure: Check the water pressure available in your outdoor or indoor water supply. Drip irrigation systems typically require a specific range of water pressure to function effectively. If your water pressure is too low or too high, you may need to install a pressure regulator to maintain the optimal flow rate.
- System Components: Look for a drip irrigation system that includes all the necessary components such as tubing, emitters, connectors, and a timer. Ensure that the system is compatible with standard garden hoses or faucet connections for easy installation.
- Durability and Reliability: Invest in a drip irrigation system that is made of high-quality materials and is designed to withstand outdoor conditions. Look for systems that come with warranties for added peace of mind.
If you’re unsure about which drip irrigation system to choose, consider consulting with a local gardening expert or visiting a specialized garden center for recommendations tailored to your specific needs. They can help you select a system that aligns with your gardening goals and provides the best results for your potted plants.
Now that you have an idea of what to look for in a drip irrigation system, it’s time to gather the tools and materials needed for the installation process.
Tools and Materials Needed
Before you begin installing your drip irrigation system for potted plants, make sure you have the following tools and materials on hand:
- Drip Irrigation Kit: Purchase a drip irrigation kit that includes all the essential components such as tubing, emitters, connectors, and a timer. These kits are designed specifically for drip irrigation and provide everything you need to get started.
- Garden Hose or Water Supply Line: You will need a garden hose or a water supply line to connect to your drip irrigation system. Make sure it is long enough to reach your potted plants and has a compatible connection with the kit you have chosen.
- Hose Timer: A hose timer is an optional but highly recommended tool for automating the watering process. It allows you to set a specific schedule for watering your potted plants, ensuring consistency and convenience.
- Pipe Cutter or Scissors: You will need a pipe cutter or scissors to cut the tubing to the desired length. It is important to make clean, straight cuts for proper installation.
- Punch Tool: A punch tool is used to create holes in the tubing for inserting emitters or connectors. It ensures a secure and leak-free connection.
- Stakes or Hold-Downs: To secure the tubing in place, you may need stakes or hold-downs. These will prevent the tubing from shifting or moving once the system is installed.
- Teflon Tape: Teflon tape is used to create a watertight seal when connecting the different components of your drip irrigation system. Wrap it around the threads of the connectors to prevent leaks.
- Measuring Tape: A measuring tape will help you accurately determine the length of tubing needed and ensure proper placement of emitters.
Having these tools and materials ready before you start the installation process will make the setup much smoother and efficient. Now that you’re prepared, let’s move on to the first step: selecting the right containers for your potted plants.
Step 1: Selecting the Right Containers
Choosing the right containers for your potted plants is an important step in setting up a drip irrigation system. Here’s what you need to consider:
- Size and Drainage: Select containers that are appropriate for the size of your plants and have adequate drainage holes. This will ensure proper water flow and prevent waterlogging.
- Material: Consider the material of the containers. Materials like terracotta or clay are porous and allow for better airflow and moisture regulation, while plastic containers are lightweight and durable.
- Number of Plants: Take into account the number of plants you will be watering with your drip irrigation system. Choose containers that can accommodate multiple plants or consider grouping smaller containers together.
- Uniformity: For consistent watering, it’s best to choose containers of similar sizes and shapes. This will make it easier to plan the distribution of emitters and ensure equal watering for all plants.
- Placement: Consider where you will be placing your containers. If they will be exposed to direct sunlight, choose materials that can withstand heat and UV rays. If they will be placed indoors, choose containers that complement your interior décor.
Once you have selected the right containers for your potted plants, you’re ready to move on to the next step: installing the main water supply line for your drip irrigation system.
Step 2: Installing the Main Water Supply Line
Now that you have selected the containers for your potted plants, it’s time to install the main water supply line for your drip irrigation system. Follow these steps:
- Locate the Water Source: Identify the nearest outdoor faucet or water source that you will be using to supply water to your drip irrigation system. Ensure that the water source has a compatible connection for your garden hose or water supply line.
- Attach the Pressure Regulator (if needed): Depending on your water pressure, you may need to install a pressure regulator to maintain a consistent and optimal flow rate. Attach the pressure regulator to the outdoor faucet before connecting the garden hose or water supply line.
- Connect the Garden Hose or Water Supply Line: Connect one end of the garden hose or water supply line to the outdoor faucet or water source. Make sure to use Teflon tape to create a watertight seal.
- Measure and Cut the Main Water Supply Line: Determine how much tubing you will need to reach your potted plants and cut the main water supply line to the desired length using a pipe cutter or scissors. Make sure the cut is clean and straight.
- Attach the Main Water Supply Line: Insert one end of the main water supply line into the connector attached to the garden hose or water supply line. Use a punch tool to create a hole in the main water supply line and insert a connector to secure the connection.
- Position the Main Water Supply Line: Position the main water supply line near your potted plants, ensuring that it can reach all the containers. If necessary, use stakes or hold-downs to secure the main water supply line in place.
- Attach Emitters (if applicable): Depending on your drip irrigation system, you may need to attach emitters along the main water supply line. Follow the manufacturer’s instructions to properly install the emitters at the desired locations.
Once you have successfully installed the main water supply line, you’re ready to move on to the next step: installing the drip emitters for each potted plant. This will ensure that each plant receives the right amount of water directly at its roots.
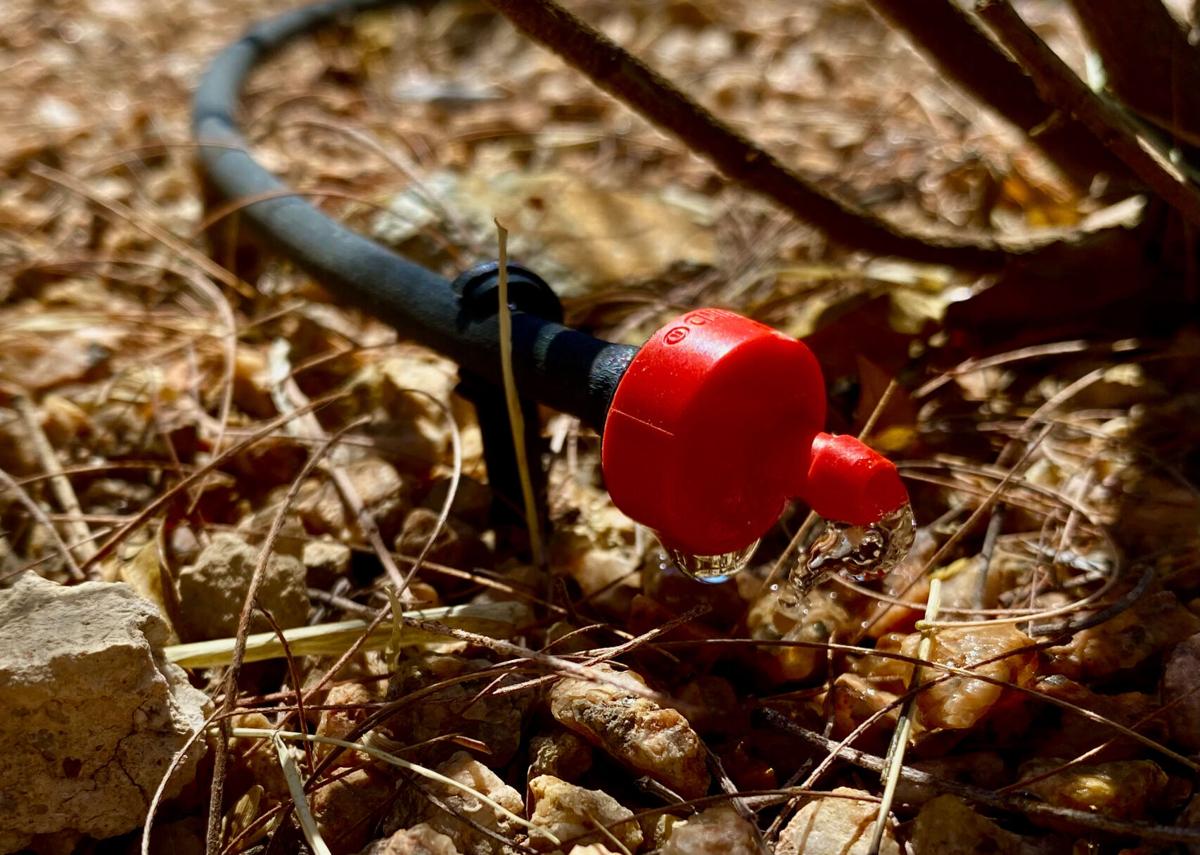
Step 3: Installing the Drip Emitters
Now that you have the main water supply line in place, it’s time to install the drip emitters to deliver water directly to each potted plant. Follow these steps:
- Determine the Number of Emitters: Assess the watering needs of each potted plant and determine the appropriate number of emitters for each container. Smaller plants may only require one emitter, while larger plants may need multiple emitters.
- Locate the Plant’s Root Zone: Identify the root zone of each plant, which is the area beneath the soil where the roots are concentrated. This is the area where you will place the drip emitters.
- Insert the Drip Emitters: Use a punch tool to create a hole in the main water supply line near each potted plant’s root zone. Insert the desired number of drip emitters into the holes, making sure they are securely attached.
- Position the Emitters: Position the drip emitters in a way that allows the water to reach the entire root zone of each plant. The distance between the plant and the emitter should be appropriate for the size of the container and the plant’s watering needs.
- Adjust the Water Flow: Some drip emitters have adjustable flow rates. If needed, adjust the flow rate of each emitter to ensure that the plants receive the right amount of water.
- Secure the Emitters: Depending on the type of drip emitters you’re using, you may need to secure them in place using stakes or clips. This will prevent them from shifting or falling off the main water supply line.
Once you have successfully installed the drip emitters for each potted plant, you’re one step closer to having a fully functional drip irrigation system. But before you can enjoy the convenience of automated watering, it’s important to set up a timer to regulate the watering schedule.
Step 4: Setting Up a Timer
Setting up a timer for your drip irrigation system is essential to ensure that your potted plants receive water on a consistent schedule. Follow these steps to set up a timer:
- Select a Timer: Choose a timer that is compatible with your drip irrigation system and meets your watering needs. There are various types of timers available, including mechanical timers, battery-operated timers, and programmable digital timers.
- Read the Instructions: Familiarize yourself with the instructions provided with your selected timer. Each timer may have specific setup procedures and programming options.
- Attach the Timer: Install the timer between the outdoor faucet or water source and the main water supply line. Connect the timer to the water supply line using the appropriate connectors and ensure a secure fit.
- Program the Timer: Follow the instructions to program the timer based on your desired watering schedule. Set the specific days, start time, and duration of each watering cycle. Keep in mind the watering requirements of your plants and adjust the settings accordingly.
- Test the Timer: After programming the timer, run a test cycle to ensure that it is functioning correctly. Monitor the water flow and check that each potted plant is receiving water through the drip emitters.
- Adjust as Needed: Observe your plants’ response to the watering schedule and make any necessary adjustments to the timer settings. Factors such as weather conditions and seasonal changes may require modifications to the watering frequency and duration.
By setting up a timer, you can automate the watering process and ensure that your potted plants receive water on a consistent schedule, even when you’re away or busy with other tasks.
Now that you have successfully set up a timer for your drip irrigation system, it’s time to move on to the next step: flushing and testing the system to ensure proper functioning.
Step 5: Flushing and Testing the System
Before you can fully rely on your drip irrigation system for potted plants, it’s important to flush and test the system to ensure proper functioning. Follow these steps:
- Flush the System: Open the faucet or water source connected to your drip irrigation system and allow the water to run for a few minutes. This will flush out any debris or air bubbles that may be present in the system.
- Check for Leaks: Inspect all connections, including the main water supply line, emitters, and timer, for any signs of leaks. Tighten or adjust the fittings as necessary to ensure a tight seal.
- Observe Water Distribution: Watch how the water is being distributed through the drip emitters. Ensure that each potted plant is receiving water evenly and that the flow rate is appropriate for the plants’ watering needs.
- Inspect for Clogs: Examine the drip emitters and make sure they are not clogged. If you notice any clogs, remove the affected emitters and clean them thoroughly before reattaching them to the system.
- Monitor Plant Health: Over the next several days, closely monitor the health of your potted plants. Look for signs of underwatering or overwatering, such as wilted leaves or waterlogged soil. Adjust the watering schedule as needed to ensure optimal plant health.
- Make Adjustments: If you encounter any issues during the testing phase, troubleshoot and make the necessary adjustments. This may include relocating emitters, adjusting flow rates, or modifying the watering schedule.
By flushing and testing your system, you can ensure that it is operating properly and providing the right amount of water to your potted plants. Regular maintenance and monitoring will help keep your drip irrigation system in good working order for long-term success.
Now that you have successfully flushed and tested your drip irrigation system, you can enjoy the convenience and benefits of automated watering for your potted plants. Troubleshooting common issues can help ensure that your system continues to function optimally. Let’s explore some common challenges you may encounter and how to address them.
Troubleshooting Common Issues
While drip irrigation systems for potted plants are generally reliable and efficient, you may encounter some common issues along the way. Here are a few troubleshooting tips to help you address them:
- Uneven Water Distribution: If you notice that certain plants are receiving more water than others, check the flow rate of the emitters and adjust as needed. You may also need to reposition or add additional emitters to ensure even water distribution.
- Clogged Emitters: Over time, emitters can become clogged with debris or mineral deposits, hindering water flow. Remove the clogged emitters, soak them in vinegar or a cleaning solution, and scrub gently to remove any obstructions.
- Water Pressure Issues: If you’re experiencing low water pressure, check if there are any obstructions in the main water supply line or the emitters. Clear away any debris or blockages to ensure proper water flow. If the pressure is too high, consider installing a pressure regulator to stabilize the flow rate.
- Leaks and Drips: Inspect all connections for leaks, particularly at the main water supply line, emitters, and timer. Ensure that the fittings are tightened securely and use Teflon tape for a watertight seal. If leaks persist, replace any damaged or faulty components.
- Plant Overwatering: If your plants appear to be overwatered or the soil is constantly saturated, reduce the watering frequency or shorten the watering duration. Monitor the plants closely and adjust the watering schedule accordingly to prevent root rot and fungal diseases.
- Plant Underwatering: If your plants are showing signs of dehydration, increase the watering frequency or lengthen the watering duration. Be mindful of the specific watering needs of each plant and adjust accordingly to ensure they receive adequate moisture.
Remember that troubleshooting is a normal part of maintaining any irrigation system, and addressing issues promptly will help keep your potted plants healthy and thriving. Don’t hesitate to seek advice from local gardening experts or consult the manufacturer’s guidelines for specific troubleshooting instructions.
With the troubleshooting tips in your toolkit, you’re well-equipped to handle common issues that may arise with your drip irrigation system. Enjoy the benefits of automated watering and the satisfaction of watching your potted plants flourish!
Conclusion
Congratulations! You have successfully set up a drip irrigation system for your potted plants, providing them with a consistent and efficient watering solution. By choosing the right drip irrigation system, selecting suitable containers, and installing the main water supply line and drip emitters, you have created an optimal environment for your plants to thrive.
Drip irrigation offers numerous benefits, including water efficiency, conservation, and promoting healthy plant growth. With the added convenience of a timer, you can ensure your plants receive water on a regular schedule, even when you’re busy or away from home.
Remember to regularly flush and test your system, troubleshoot common issues, and make adjustments as needed. This will help maintain optimal performance and ensure the longevity of your drip irrigation system.
Now, sit back, relax, and enjoy the beauty of your flourishing potted plants. With your DIY skills and the power of drip irrigation, you’ve created a sustainable and rewarding oasis of greenery!