Home>Gardening Basics>Tools and Equipment>How To Set Irrigation Timer

Tools and Equipment
How To Set Irrigation Timer
Modified: January 22, 2024
Learn how to set up an irrigation timer effortlessly with our step-by-step guide. Find the best tools and equipment for efficient watering in your garden.
(Many of the links in this article redirect to a specific reviewed product. Your purchase of these products through affiliate links helps to generate commission for Chicagolandgardening.com, at no extra cost. Learn more)
Table of Contents
Introduction
Are you tired of manually watering your plants? Do you worry about over or under-watering, especially when you’re away on vacation? If so, it’s time to consider using an irrigation timer. An irrigation timer is a convenient and efficient solution for automating your watering schedule and ensuring that your plants get the proper amount of water at the right time.
Whether you have a small garden or a large landscape, using an irrigation timer offers numerous benefits. Not only does it save you time and effort, but it also promotes healthier plant growth and conserves water by reducing wastage. With a quality irrigation timer, you can effortlessly maintain a lush and thriving garden without the hassle of manual watering.
The key to maximizing the effectiveness of an irrigation timer lies in choosing the right one for your specific needs and understanding how to properly program and adjust its settings. In this comprehensive guide, we will walk you through the process of selecting the perfect irrigation timer and show you how to set it up to ensure optimal watering for your plants. Whether you’re a seasoned gardener or a beginner, this guide will equip you with the knowledge and tools to make your watering routine a breeze.
Why Use an Irrigation Timer
Using an irrigation timer offers several advantages for gardeners and homeowners. Let’s explore the key reasons why you should consider incorporating an irrigation timer into your watering routine.
- Consistency and Convenience: With an irrigation timer, you can establish a consistent watering schedule for your plants. You no longer have to rely on your memory or manual operation to water your garden. The timer will automatically turn on and off at the specified times, ensuring your plants receive water consistently, even when you’re away.
- Water Efficiency: Over-watering or under-watering plants can be detrimental to their health. With an irrigation timer, you can set precise watering durations and intervals tailored to the needs of different plants. This precision helps prevent water wastage and promotes optimal plant growth by supplying the right amount of water at the right time.
- Time and Energy Savings: Manually watering a garden, especially a large one, can be time-consuming and physically demanding. An irrigation timer eliminates the need for constant supervision and manual operation. You can set it up once and let it do the work for you, freeing up your time to focus on other gardening tasks or simply enjoy your outdoor space.
- Plant Health: Consistent and adequate watering is vital for plant health. By using an irrigation timer, you can ensure that your plants receive water at the optimal times, reducing stress and promoting healthier growth. This is particularly beneficial during hot and dry periods or when you have delicate or sensitive plants that require specific watering conditions.
By incorporating an irrigation timer into your gardening routine, you’ll experience enhanced consistency, water efficiency, time savings, and improved plant health. It’s a smart investment that will not only ease your gardening responsibilities but also contribute to the long-term success and beauty of your garden.
Choosing the Right Irrigation Timer
Selecting the right irrigation timer is crucial to ensure optimal watering for your plants. Here are some factors to consider when choosing an irrigation timer:
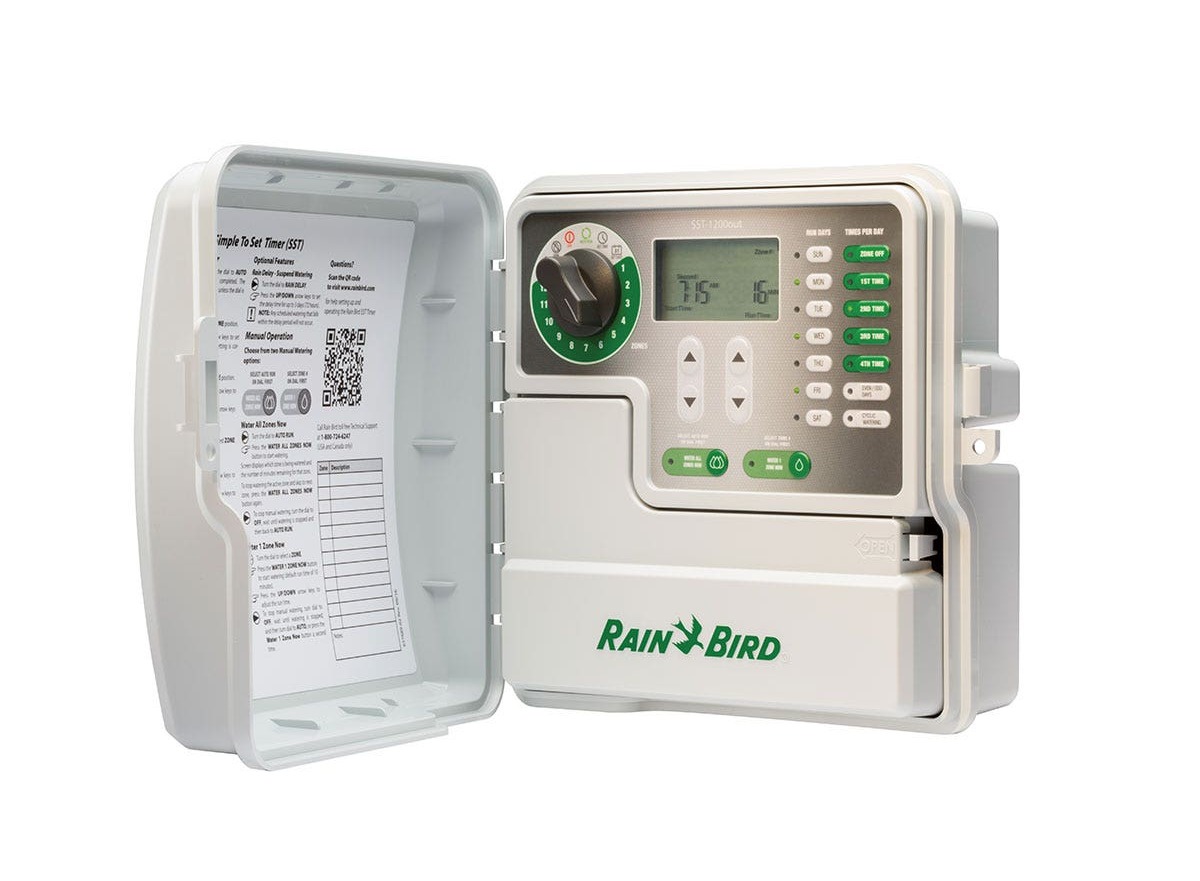
- Watering Needs: Evaluate the specific watering needs of your garden or landscape. Consider factors such as plant types, soil type, sun exposure, and climate conditions. Some timers offer customizable watering programs to accommodate different zones or plant varieties. Determine if you need a timer with multiple outlets to water different areas simultaneously.
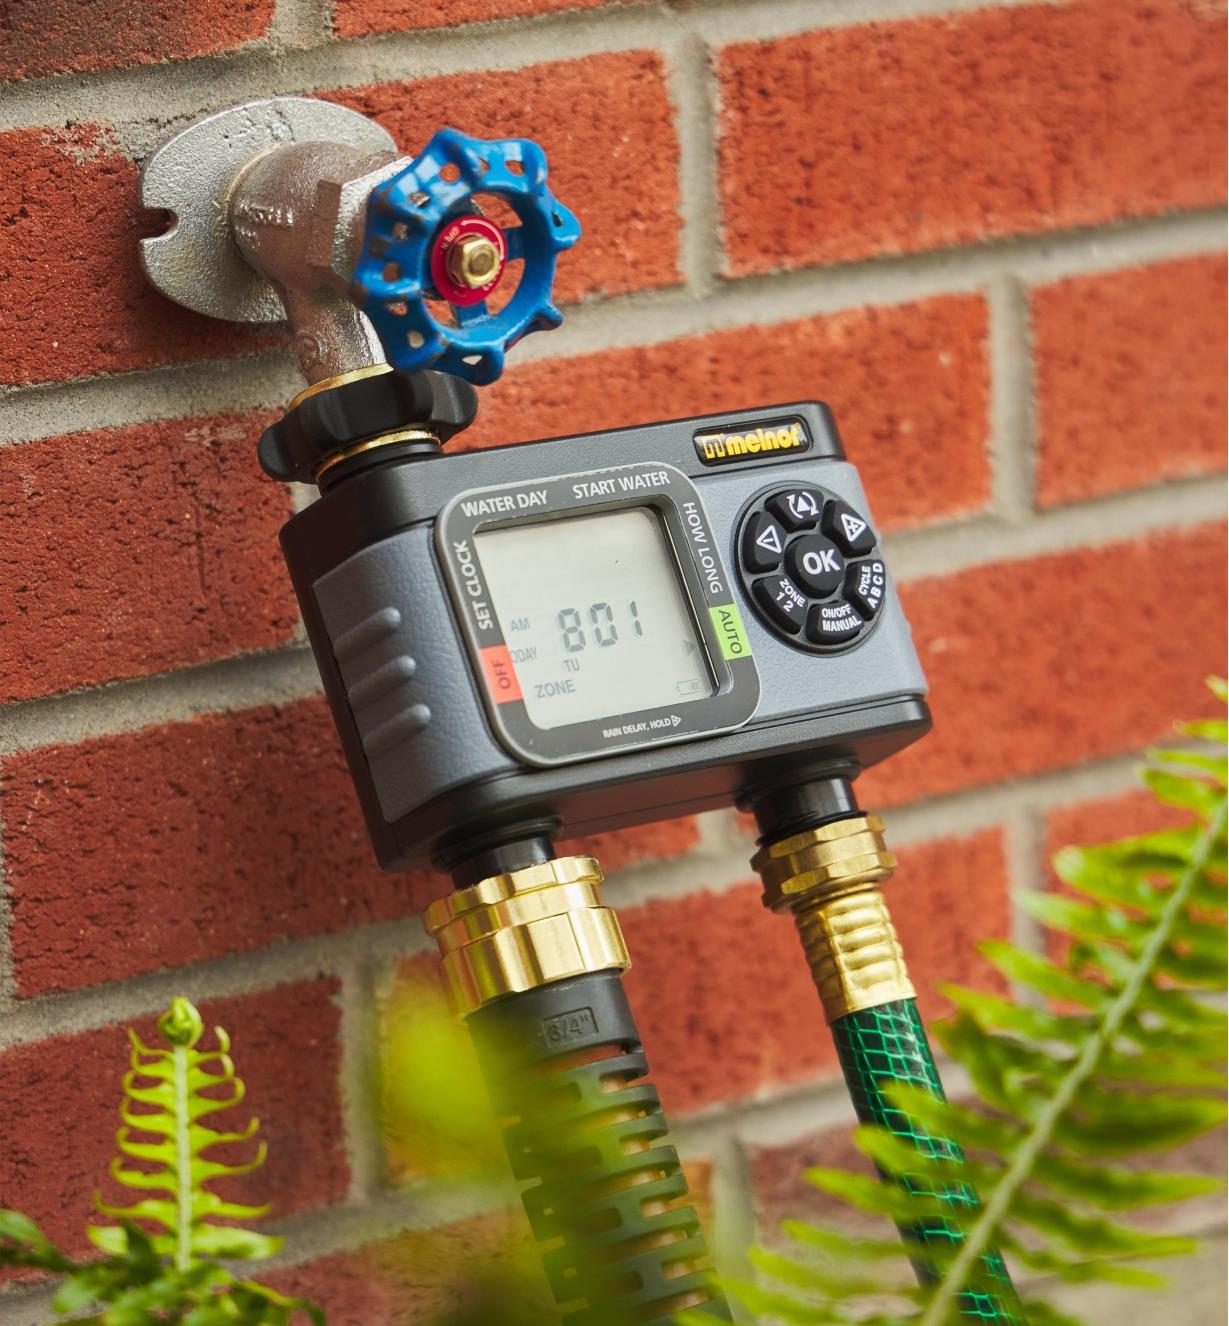
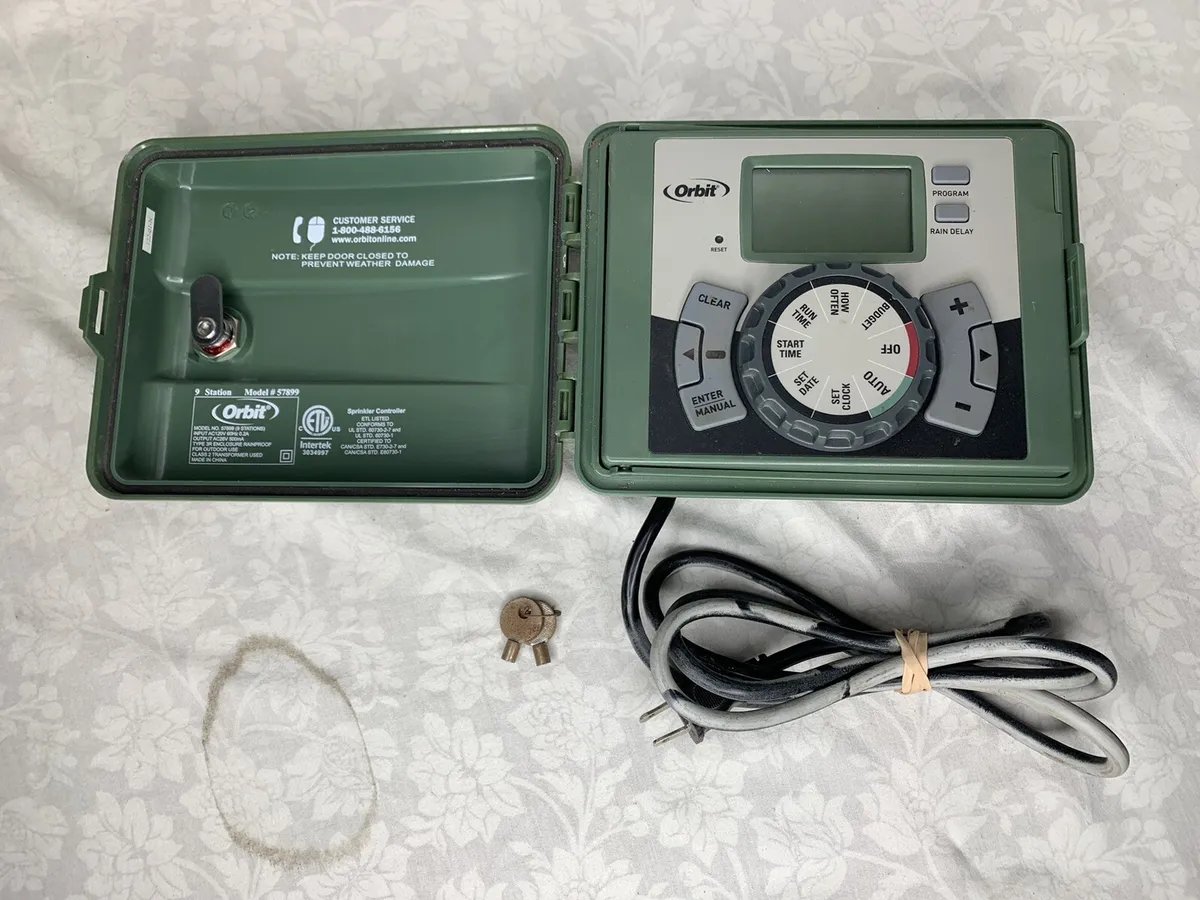
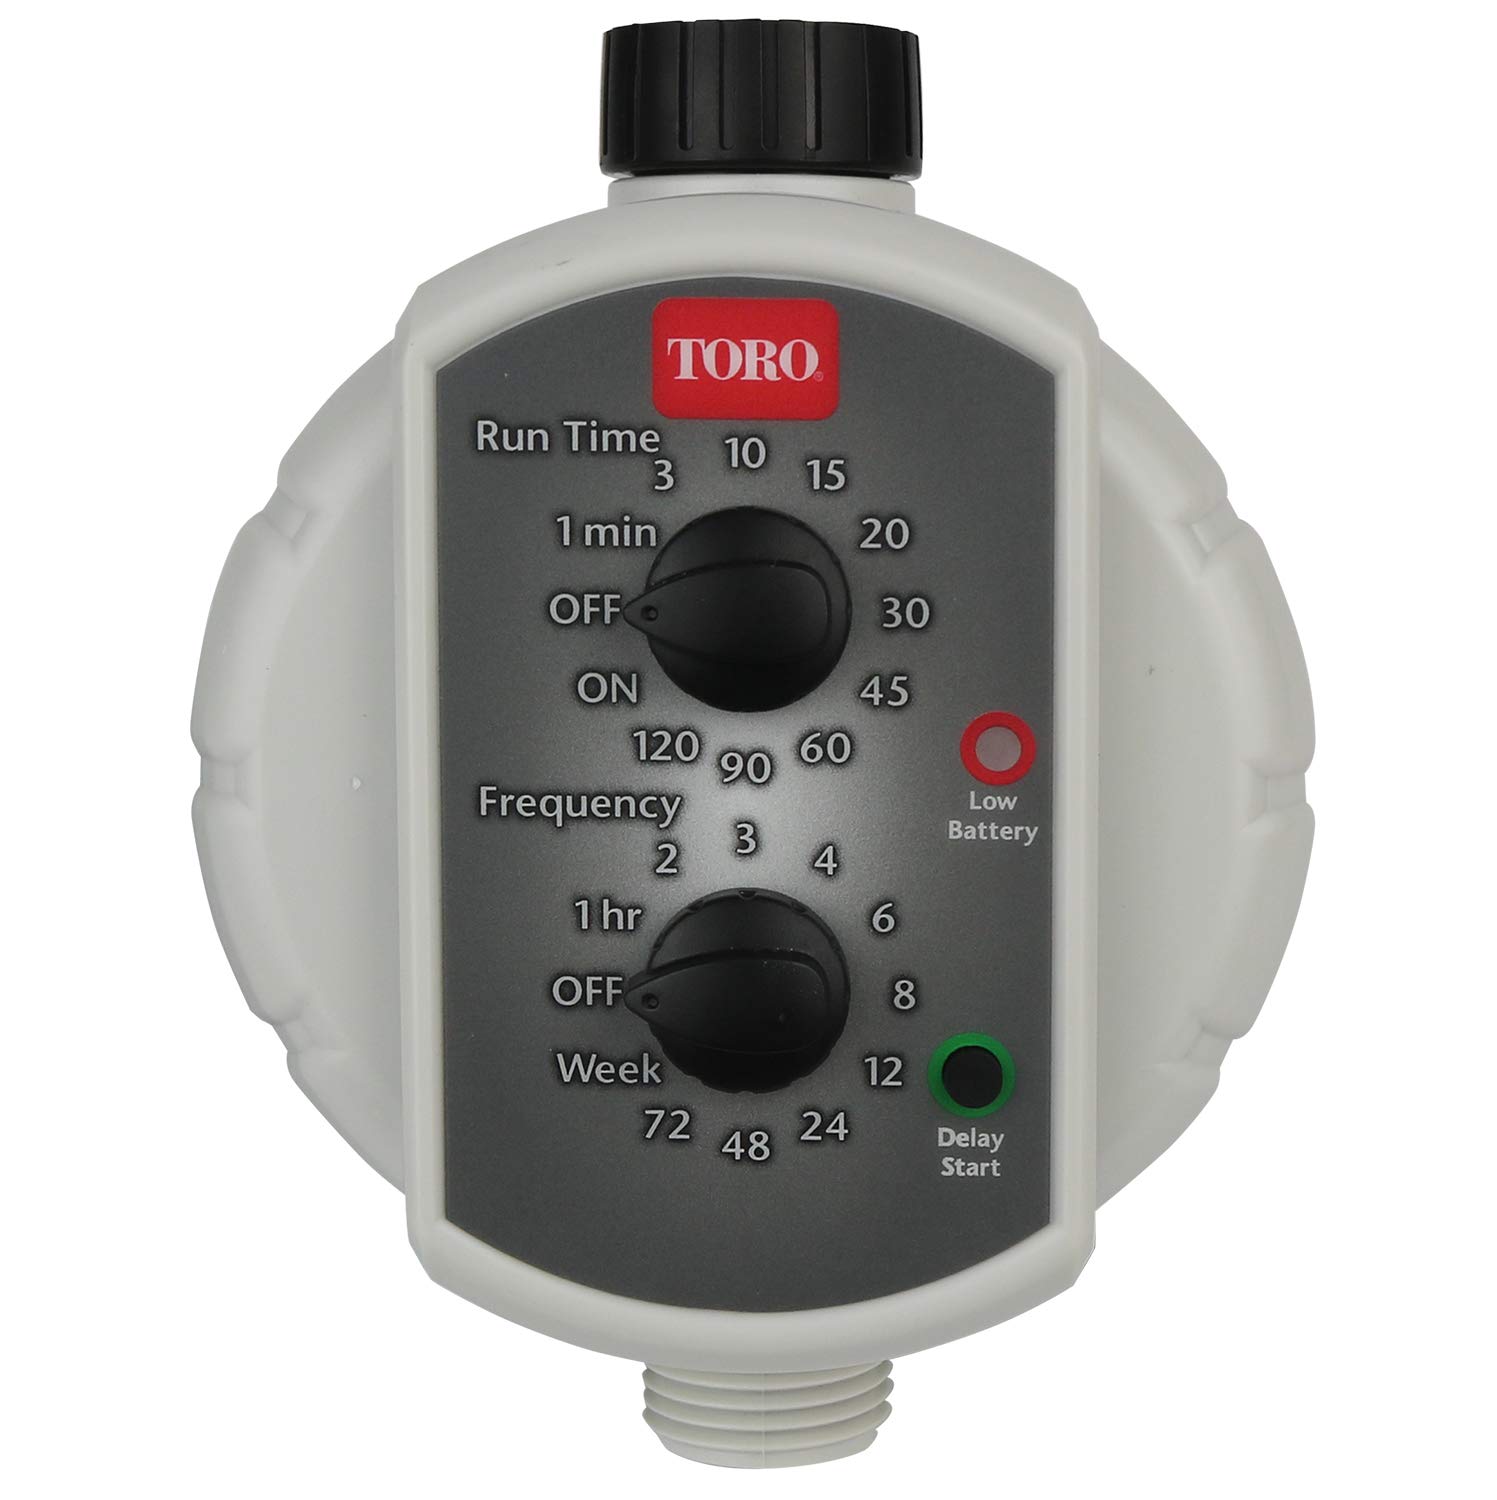
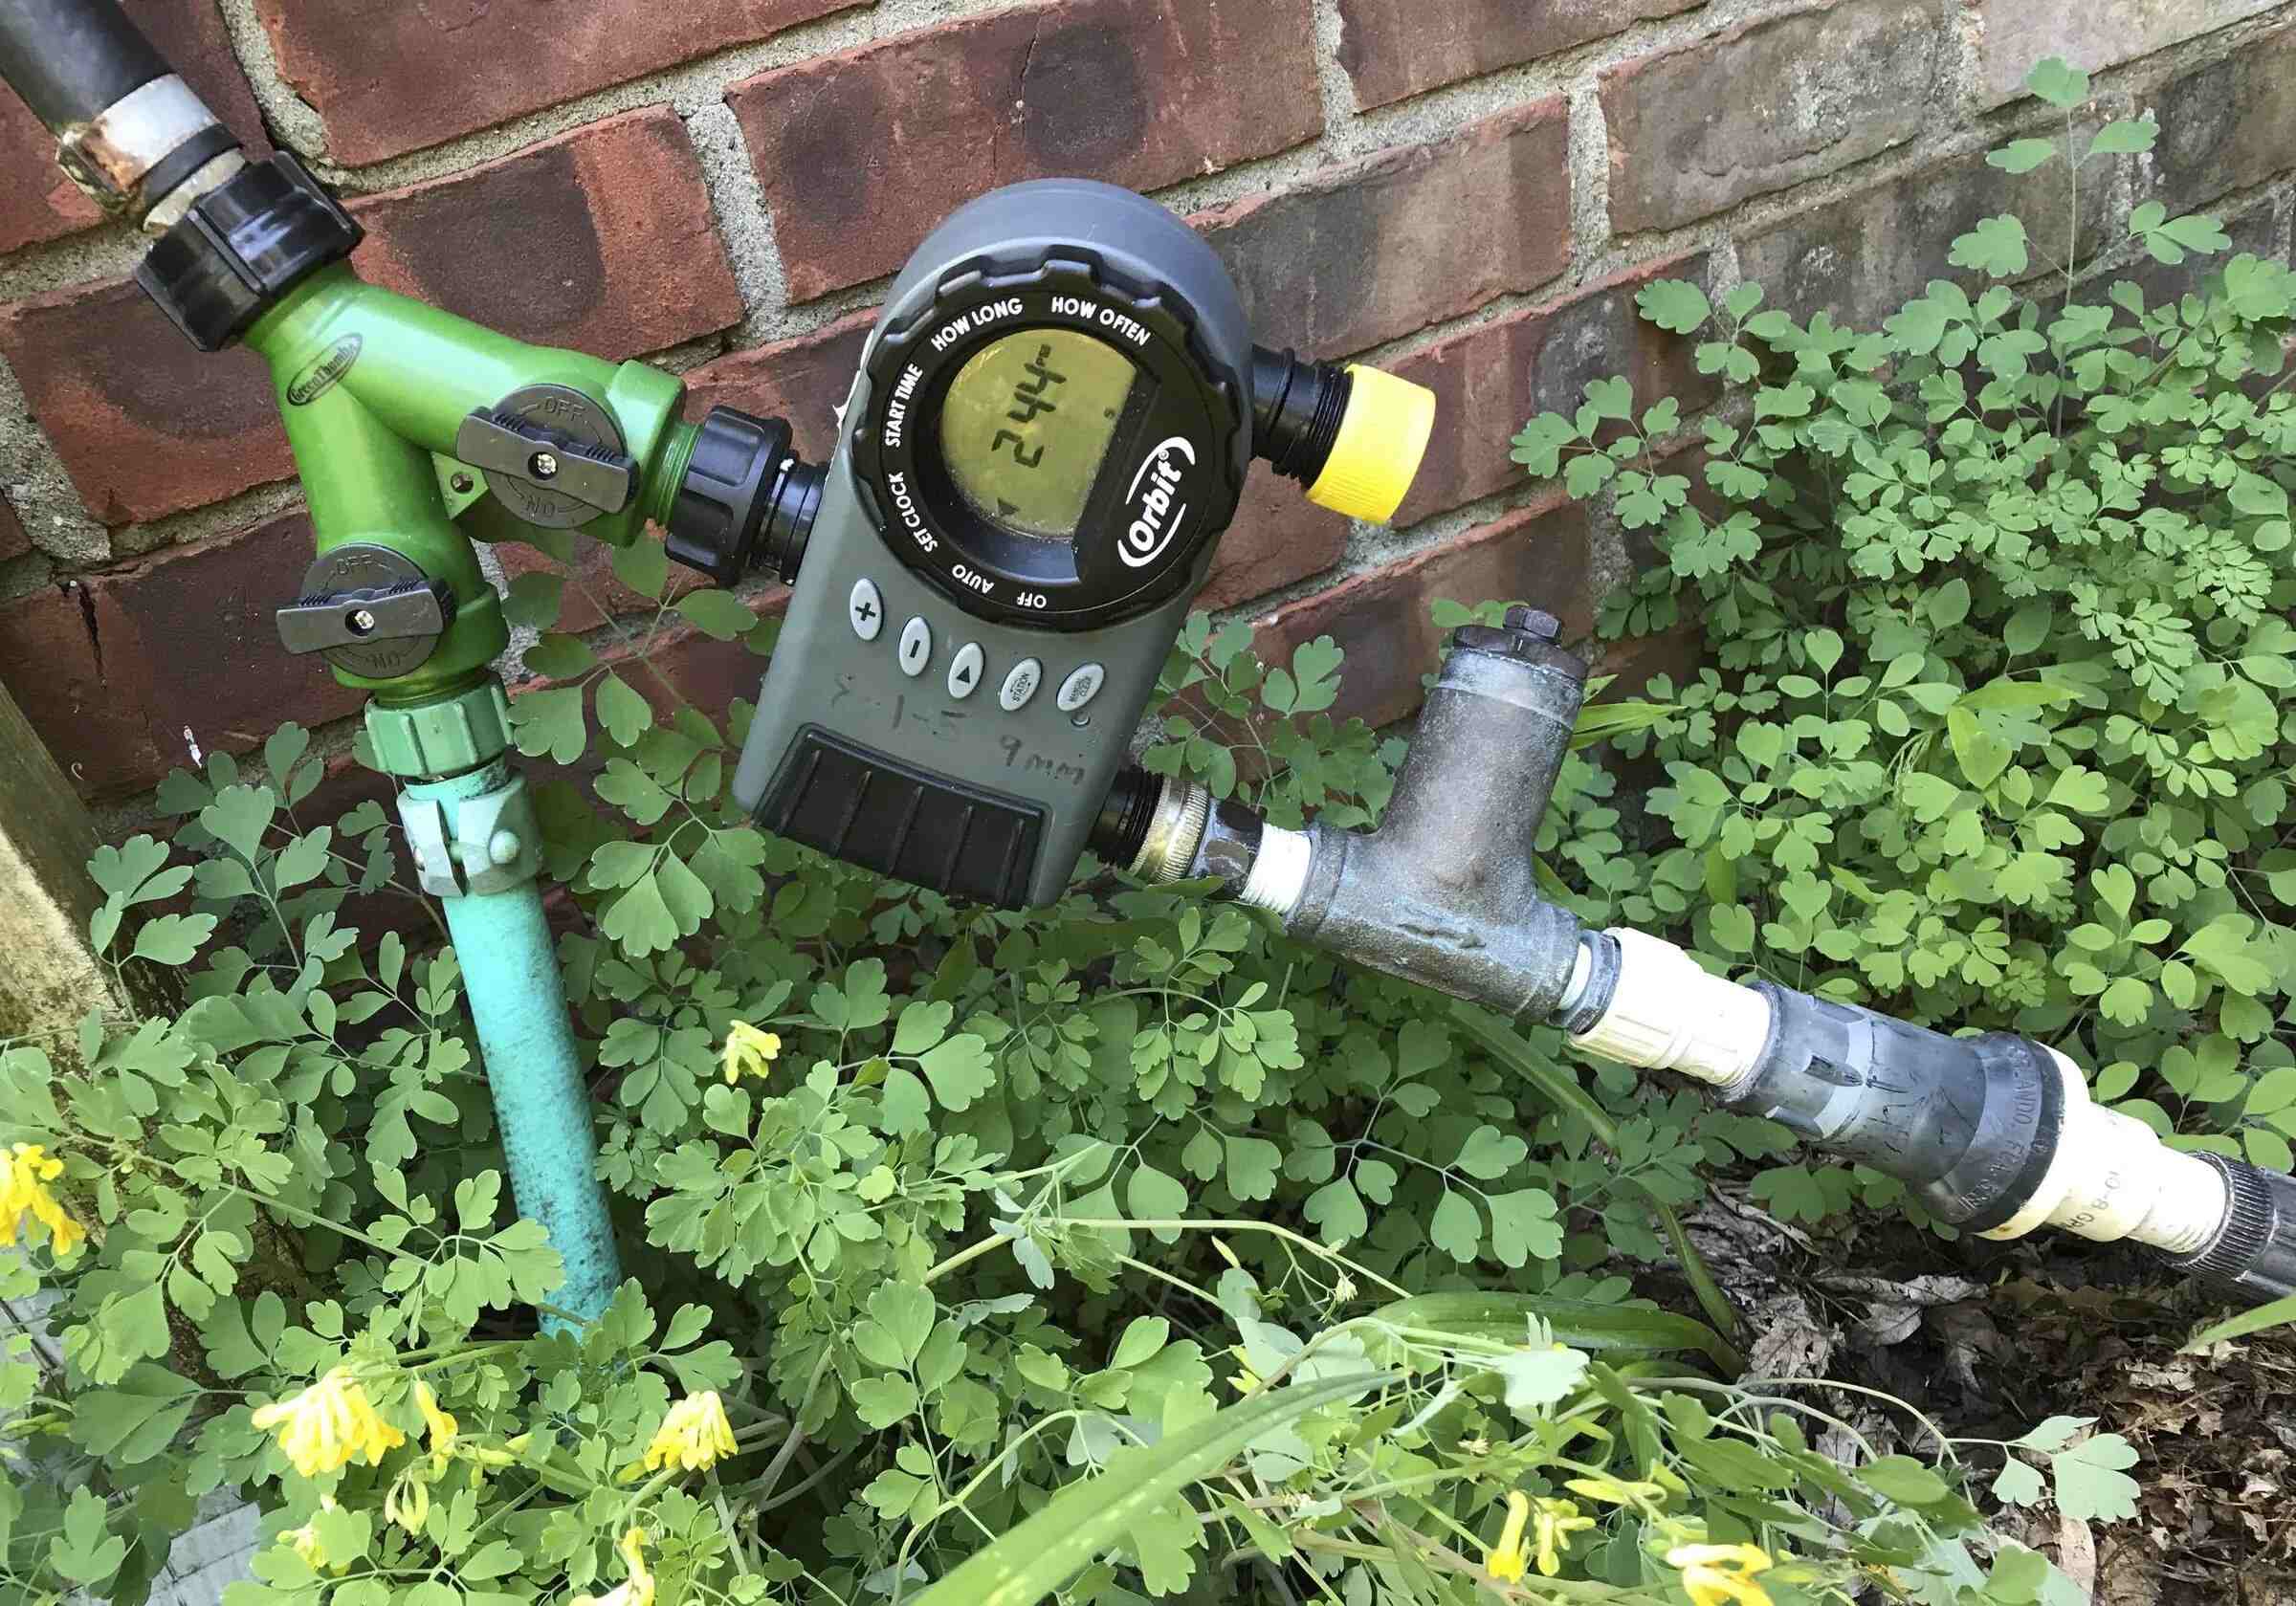
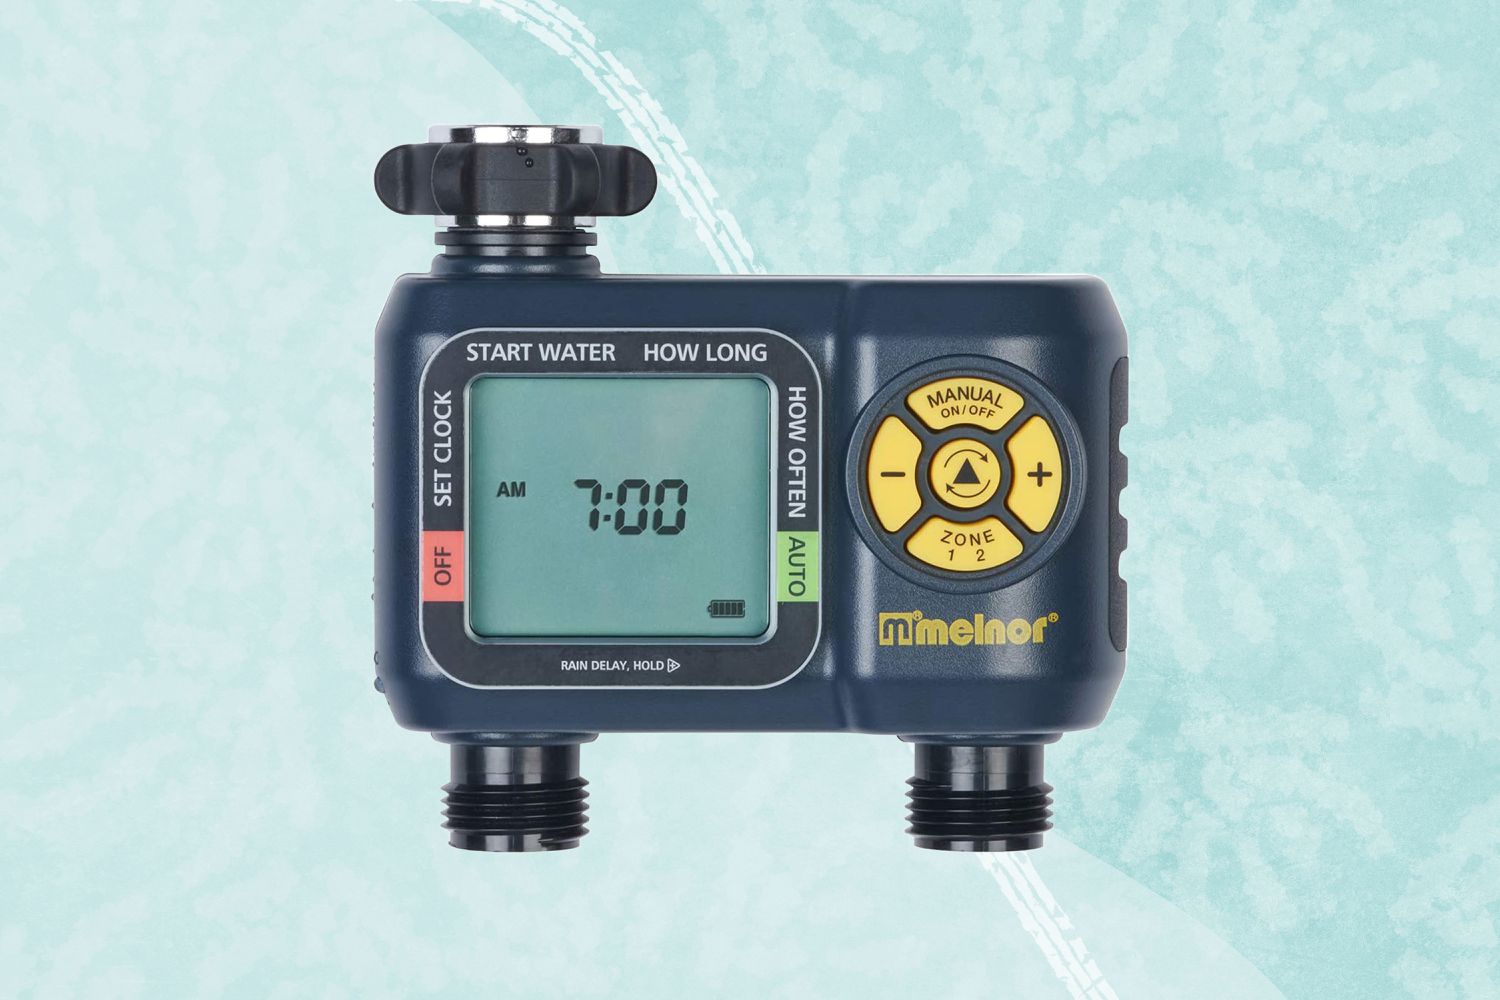
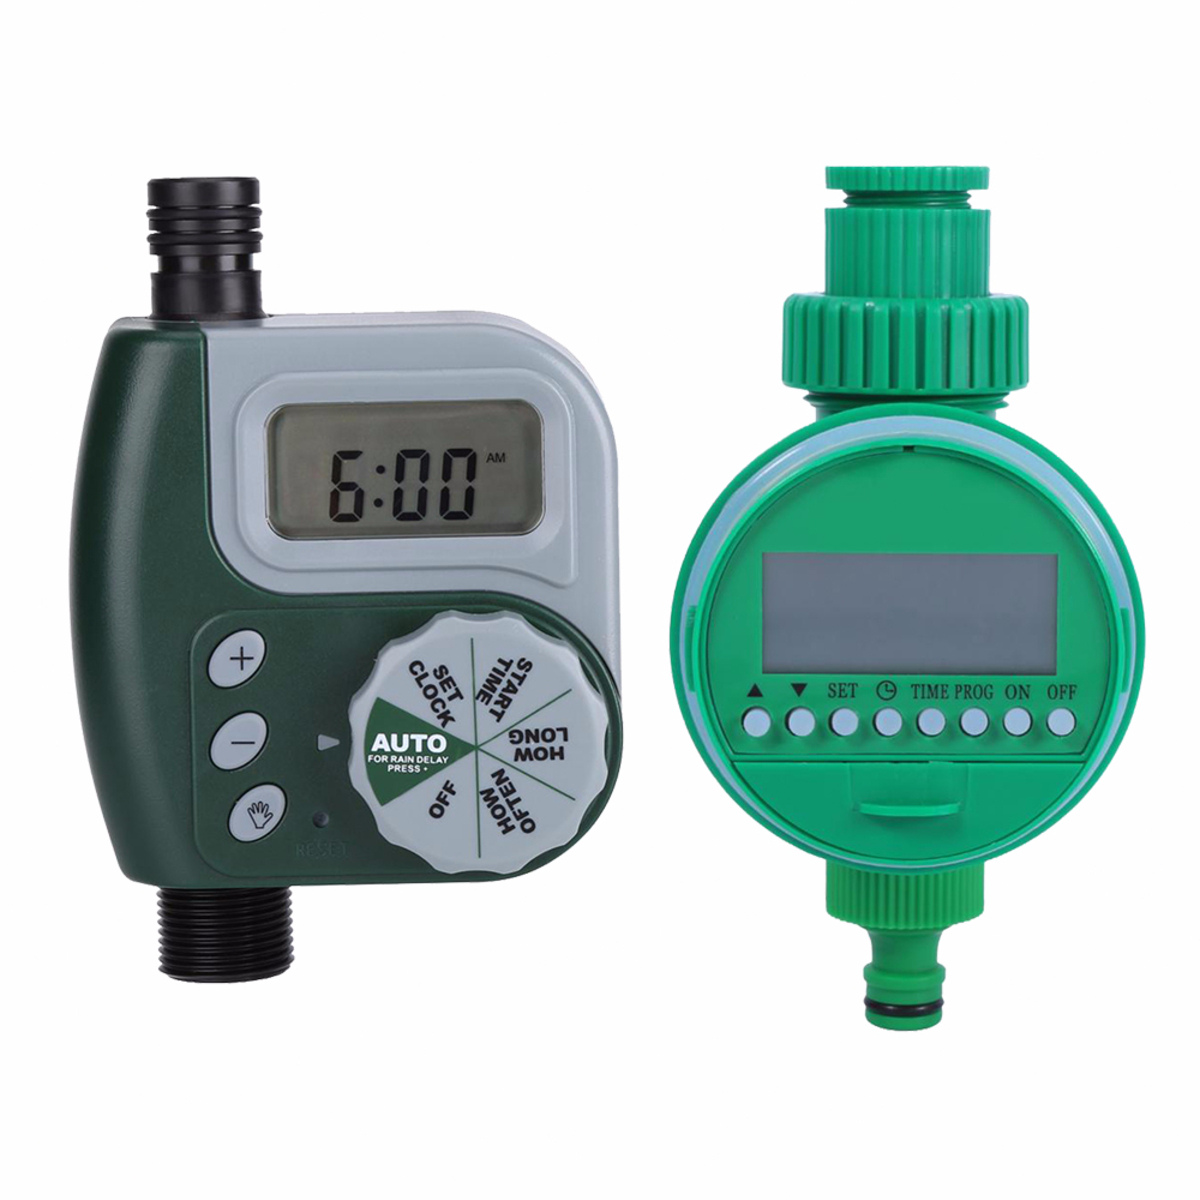
- Timer Type: There are different types of irrigation timers available, including mechanical timers, digital timers, and smart timers. Mechanical timers are simple and affordable but have limited programmability. Digital timers offer more flexibility and advanced features, such as multiple watering programs and rain delay settings. Smart timers connect to Wi-Fi and allow remote control and scheduling via smartphone apps.
- Watering Frequency and Duration: Consider the watering frequency and duration required for your plants. Some timers allow you to set specific schedules for each day of the week, while others offer interval-based settings. Look for timers with adjustable watering duration options to cater to the varying needs of different plants.
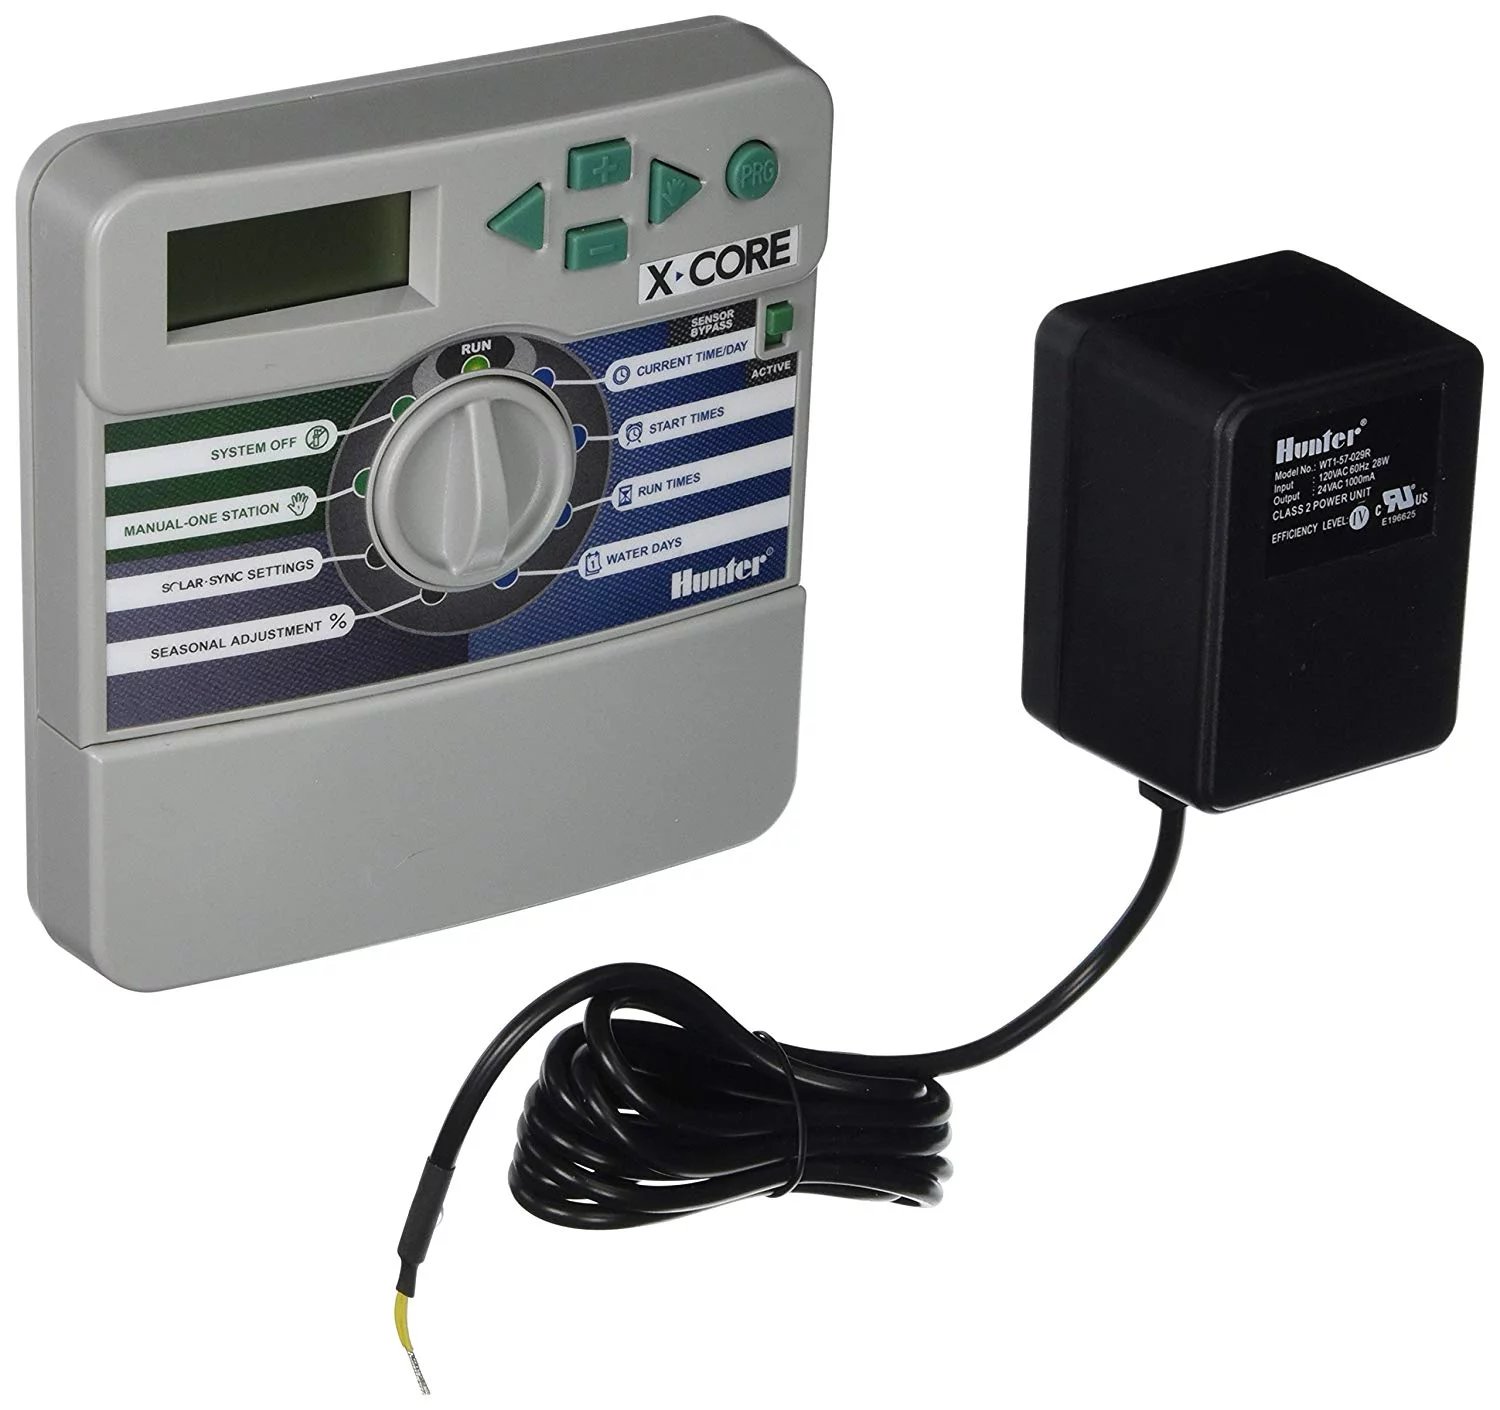
- Power Source: Determine whether you prefer a battery-operated timer or one that plugs into an electrical outlet. Battery-operated timers offer flexibility and can be placed anywhere, while electrical timers eliminate the need for battery replacements but require a power source nearby.
- Budget: Set a budget for your irrigation timer purchase. Prices can vary depending on timer type, features, and brand. Consider the long-term savings in water and time that a more advanced timer offers, as it may be worth the initial investment.
Research different brands and read customer reviews to assess the quality and reliability of various irrigation timers. Once you have considered these factors, you will be equipped to make an informed decision and select the best irrigation timer that meets your specific requirements.
Understanding the Timer Settings
Once you’ve chosen the right irrigation timer for your garden, it’s important to familiarize yourself with its settings and functions. Understanding how the timer works will help you program it correctly and ensure efficient watering. Here are some key timer settings to be aware of:
- Watering Zones: If your garden has different watering zones, identify how many zones your timer can accommodate. This allows you to schedule separate watering programs for different areas with varying watering needs.
- Watering Schedule: Determine the frequency and days when the timer will activate the watering system. Most timers allow you to set specific days of the week for watering or choose interval-based watering, such as every two or three days. Take into account the specific requirements of your plants and adjust the schedule accordingly.
- Start Time: Set the desired start time for watering. Consider the time of day when your plants will benefit the most from watering. Generally, early morning or late evening is ideal as it allows for better absorption and minimizes water loss due to evaporation.
- Watering Duration: Determine the length of time the timer will activate the watering system for each zone. This will depend on factors such as plant type, soil moisture levels, and climate. Start with a conservative duration and monitor your plants’ response. Adjust as needed to ensure they are receiving sufficient water without overwatering.
- Rain Delay: Many irrigation timers offer a rain delay function, allowing you to skip watering cycles when rainfall is sufficient. This feature helps prevent overwatering and promotes water conservation. Set the rain delay duration based on the amount of rainfall received in your area.
- Manual Override: Familiarize yourself with the manual override function of your timer. This feature allows you to temporarily turn on the watering system outside of the programmed schedule. It can be useful for quick spot watering or making immediate adjustments without altering the entire program.
Reading the instruction manual provided with your timer is essential to understand its specific settings and functions. Take the time to experiment with the different settings and ensure you have a clear understanding of how to program and operate your irrigation timer effectively. With this knowledge, you’ll be on your way to a well-managed watering system for your garden.
Programming the Irrigation Timer
Once you have a good understanding of your irrigation timer’s settings, it’s time to program it to match your desired watering schedule. Programming your timer may vary depending on the brand and model, so be sure to refer to the instruction manual for specific guidance. However, here are some general steps to help you get started:
- Clear the Memory: Before programming, clear any existing settings in the timer to start with a clean slate. This ensures that there are no conflicts or previous settings interfering with the new program.
- Select the Watering Zones: If your timer supports multiple zones, designate which zones correspond to specific areas in your garden that require watering.
- Set the Watering Schedule: Determine the watering days and intervals. Refer to your plants’ water requirements and choose a schedule that suits their needs. Program the timer to activate on the desired days of the week or at specific intervals.
- Specify the Start Time: Set the start time for each watering cycle. Consider the optimal time for watering based on weather conditions and the specific needs of your plants.
- Adjust Watering Duration: Set the duration for each watering zone. Start with a conservative time and monitor the health and moisture levels of your plants. Make adjustments as necessary to ensure they are receiving the appropriate amount of water.
- Enable Rain Delay: Activate the rain delay function, if available, to skip watering cycles during rainy periods. Set the duration of the rain delay based on the amount of rainfall received in your area.
- Test the Program: Once you have programmed your timer, run a test cycle to ensure that the watering schedule and duration are working as intended. Check that water is being delivered to the correct zones and adjust any settings if needed.
- Make Adjustments as Needed: As your plants grow and seasons change, you may need to make adjustments to the watering schedule and duration. Regularly monitor the health of your plants and make necessary modifications to ensure they are receiving adequate water.
Remember, every irrigation timer is unique, so be sure to consult the user manual provided by the manufacturer for specific instructions on programming and operating your timer. With patience and practice, you’ll become proficient in programming your irrigation timer to suit your garden’s unique watering needs.
Setting the Watering Schedule
Setting a proper watering schedule is crucial to ensure that your plants receive the right amount of water at the appropriate times. The watering schedule can vary depending on factors such as plant type, soil conditions, and climate. Here are some guidelines to help you establish an effective watering schedule:
- Plant Needs: Different plants have different water requirements. Research the specific watering needs of the plants in your garden. Some plants prefer consistently moist soil, while others tolerate drying out before watering. Group plants together based on their water needs to ensure efficient watering.
- Soil Moisture: Check the moisture level of the soil before watering. Stick a finger into the soil near the plant’s roots. If it feels dry, it may be time to water. However, if the soil feels moist or wet, it is likely still retaining enough moisture, and you may want to delay watering.
- Time of Day: Watering in the early morning or late evening is generally recommended. Watering during these cooler parts of the day minimizes water loss due to evaporation and allows the plants to absorb the water before the heat of the day sets in.
- Climate Conditions: Consider the climate in your area. If you live in a hot and dry region, more frequent watering may be necessary to keep your plants hydrated. In contrast, cooler or more humid climates may require less frequent watering.
- Watering Depth: It’s important to water deeply to encourage deep root growth. This helps plants become more resilient to drought conditions. Watering for a longer duration (as opposed to frequent shallow watering) allows the water to penetrate deeper into the soil.
- Observe Plant Response: Monitor your plants regularly and observe how they respond to the current watering schedule. Signs of overwatering include wilting, yellowing leaves, and fungal growth, while underwatered plants may have dry and brittle leaves. Adjust the watering schedule accordingly based on the observed plant response.
- Consider Local Restrictions: Be aware of any local water restrictions or guidelines in your area. Some regions have specific watering restrictions, particularly during drought conditions. Adhere to these restrictions to ensure responsible water usage in your garden.
Keep in mind that the watering schedule may need to be adjusted based on seasonal changes and individual plant requirements. Regularly assess your plants’ water needs and make any necessary adjustments to maintain healthy growth and conserve water.
Adjusting the Watering Duration
Finding the right watering duration is essential for maintaining the health of your plants. The duration will vary depending on factors such as plant type, soil type, weather conditions, and the depth of root systems. Here are some guidelines to help you adjust the watering duration for optimal plant growth:
- Soil Moisture: Before adjusting the watering duration, check the moisture level of the soil. Stick your finger a few inches into the soil near the plant’s base. If it feels dry, it is an indication that the watering duration is insufficient. If the soil feels consistently wet, it may be a sign of overwatering, and the watering duration should be reduced.
- Plant Type and Size: Different plants have different water requirements. Research the specific needs of the plants in your garden to determine their ideal watering duration. Consider factors such as the size of the plant and the depth of its root system. Deep-rooted plants typically require longer watering durations compared to shallow-rooted ones.
- Weather Conditions: Adjust the watering duration based on the current weather conditions. During hotter and drier periods, plants may require longer watering durations to compensate for increased evaporation and higher water needs. Conversely, during cooler and more humid periods, you may need to reduce the watering duration.
- Soil Type: Soil type plays a significant role in water retention. Sandy soils drain quickly, while clay soils retain moisture for longer periods. Adjust the watering duration accordingly to ensure that sandy soils receive enough water, while avoiding overwatering clay soils.
- Observation and Plant Response: Observe your plants’ response to the current watering duration. Wilting, yellowing leaves, or stunted growth can indicate inadequate watering, while waterlogged soil and root rot may be signs of overwatering. Adjust the watering duration based on the observed plant response, aiming for healthy and vigorous growth.
- Gradual Adjustments: When making adjustments to the watering duration, do so gradually. Increase or decrease the duration in small increments to allow the plants to adapt to the changes. Monitor the plants’ response over a few weeks before making any further adjustments.
- Rainfall: Take into account the amount of rainfall your garden receives. If your plants have been adequately watered by rainfall, you may need to shorten the watering duration or skip watering altogether. Use a rain gauge or refer to local weather reports to determine the amount of rainfall and adjust the watering duration accordingly.
Remember that finding the ideal watering duration may require some trial and error. It’s essential to strike a balance between providing enough water for healthy growth and avoiding waterlogging or wasteful overwatering. Regular monitoring and adjustment of the watering duration will help you maintain thriving and vibrant plants in your garden.
Troubleshooting Common Issues
While irrigation timers are designed to automate and simplify your watering routine, occasional issues may arise. Here are some common problems you may encounter with your irrigation timer and how to troubleshoot them:
- Timer Not Turning On: If your timer is not turning on as programmed, check the power source. Ensure that the timer is properly connected to a power outlet or that the batteries are properly inserted and not depleted. If using an electrical timer, check the circuit breaker to ensure it has not tripped.
- Watering at Incorrect Times: If your timer is watering at the wrong times or not following the programmed schedule, review the settings and ensure they are correctly configured. Check for any conflicting programs or overlapping schedules that may be causing the issue. Reset the timer and reprogram if necessary.
- Uneven Watering: If some areas of your garden are receiving more water than others, it may be due to issues with the sprinkler heads or misalignment. Inspect and clean the sprinkler heads, adjusting their position to ensure proper coverage. If necessary, replace faulty sprinkler heads to achieve uniform watering.
- Water Pressure Problems: Insufficient water pressure can lead to inadequate watering. Make sure the water supply valve is fully open and not obstructed. Check for any clogs or blockages in the irrigation system and clean or replace any damaged components. If the issue persists, consult a professional to assess the water pressure in your system.
- System Leaks: If you notice water pooling or damp areas in your garden, there may be leaks in the irrigation system. Inspect the pipes, fittings, and valves for any signs of leakage. Tighten loose connections or replace damaged components as needed to stop the leaks and conserve water.
- Controller Malfunctions: If your timer’s controller is not responding or functioning correctly, try resetting it to its factory default settings. Ensure that the firmware or software is up to date, as manufacturers often release updates to address any bugs or issues. If the problem persists, contact the manufacturer’s customer support for further assistance.
- Battery Replacement: If your timer is battery-operated, it is important to regularly check and replace the batteries. Low battery power can lead to inconsistent or unreliable operation. Follow the manufacturer’s recommendations for battery replacement to maintain optimal performance.
Regular maintenance, timely troubleshooting, and addressing any issues promptly will help ensure that your irrigation timer operates smoothly and effectively. If you encounter persistent problems that you cannot resolve on your own, don’t hesitate to seek professional assistance from a qualified irrigation specialist.
Conclusion
Incorporating an irrigation timer into your gardening routine can greatly simplify and enhance your watering process. By automating your watering schedule, you can ensure consistent and efficient irrigation for your plants, resulting in healthier growth and water conservation. Choosing the right irrigation timer for your specific needs is key, considering factors such as watering frequency, duration, and the number of zones.
Understanding and adjusting the timer’s settings, such as the watering schedule and duration, will enable you to tailor the watering to the unique requirements of your garden. Regular monitoring and observation of your plants’ response will help you fine-tune the watering routine to optimize plant health and water efficiency.
Troubleshooting any issues promptly and performing regular maintenance will ensure that your irrigation timer operates smoothly and effectively. By addressing common problems such as uneven watering, timer malfunctions, or leaks, you’ll maintain an efficient irrigation system that supports the long-term health and beauty of your garden.
With the knowledge and guidance provided in this comprehensive guide, you are now equipped to choose, program, and adjust your irrigation timer with confidence. Embrace the convenience and benefits of automated watering, allowing you to spend more time enjoying your garden and less time worrying about manual watering. Invest in an irrigation timer today and watch your plants thrive with the perfect amount of water, all at the touch of a button.
