Home>Gardening Basics>Tools and Equipment>How To Program A Hunter Pro C Irrigation System
Tools and Equipment
How To Program A Hunter Pro C Irrigation System
Modified: February 6, 2024
Learn how to program a Hunter Pro C irrigation system with our step-by-step guide. Get the right tools and equipment for the job.
(Many of the links in this article redirect to a specific reviewed product. Your purchase of these products through affiliate links helps to generate commission for Chicagolandgardening.com, at no extra cost. Learn more)
Table of Contents
Introduction
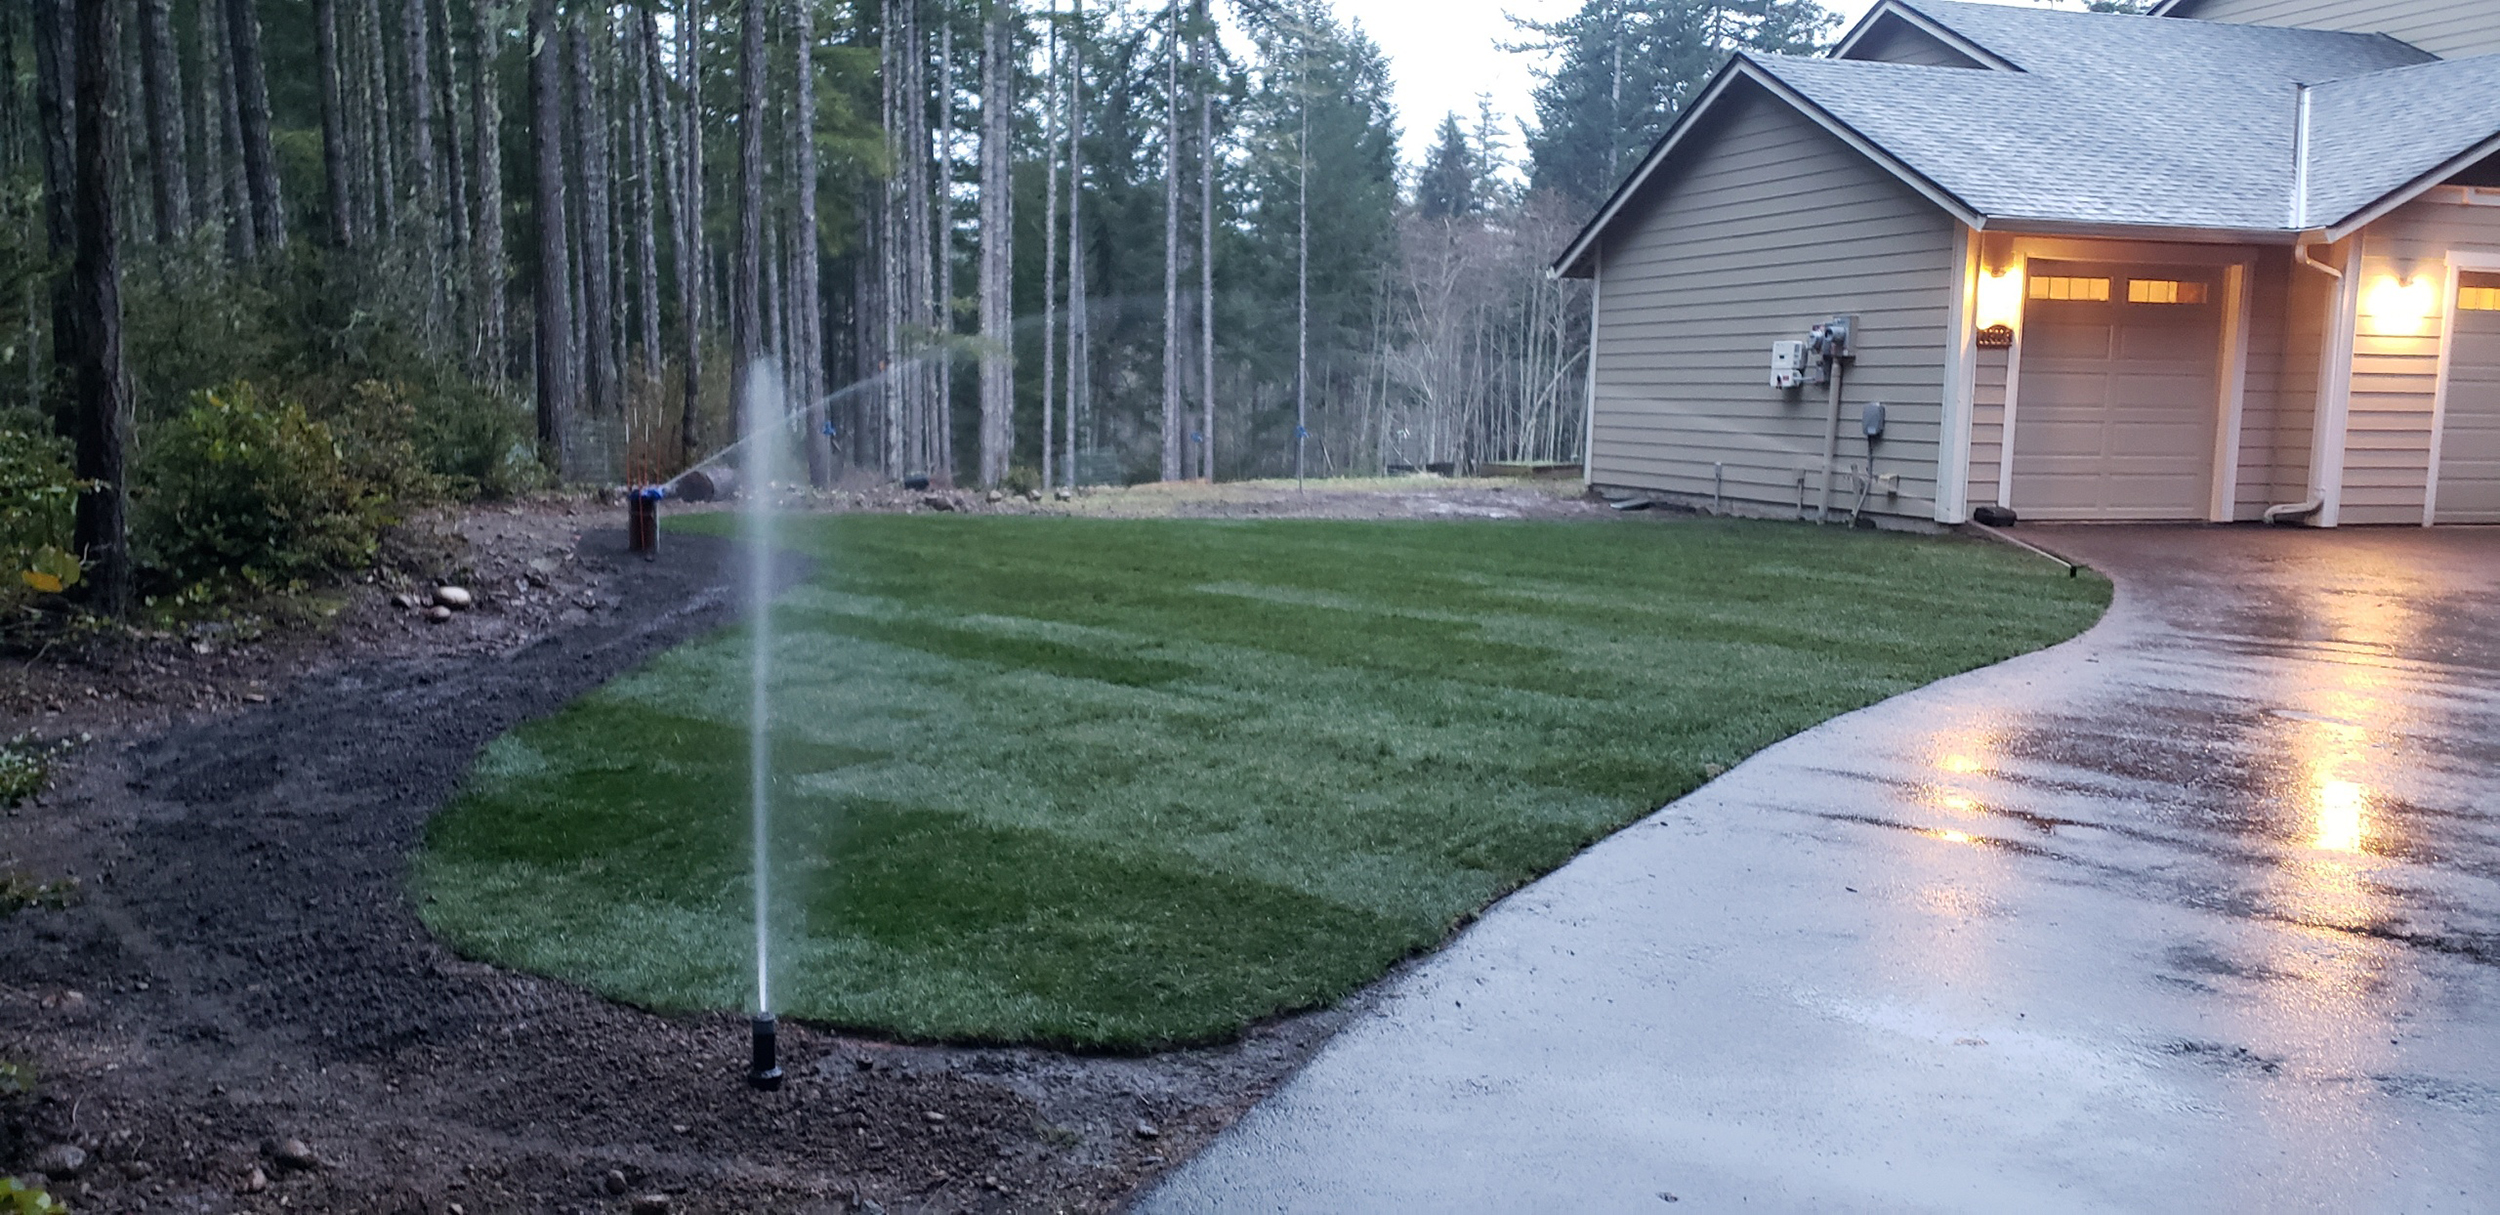
The Hunter Pro C irrigation system is a widely-used and highly-regarded tool for efficiently managing and controlling watering schedules for both residential and commercial landscapes. With its advanced features and user-friendly interface, the Hunter Pro C makes it easy for homeowners and landscapers to create customized watering programs to keep their lawns and gardens healthy and vibrant.
In this article, we will provide a comprehensive guide on how to program a Hunter Pro C irrigation system. Whether you are a homeowner looking to take control of your watering schedules or a professional landscaper needing to optimize irrigation for multiple sites, this article will walk you through the steps to ensure your system is set up correctly.
We will cover everything from understanding the basics of the Hunter Pro C system to setting up zones, programming watering times, and troubleshooting common issues. By the end of this guide, you will have a solid understanding of how to operate your Hunter Pro C system effectively and efficiently.
Before we dive into the programming process, let’s take a closer look at the Hunter Pro C irrigation system and its key features.
Understanding the Hunter Pro C Irrigation System
The Hunter Pro C irrigation system is a state-of-the-art tool designed to automate and optimize the watering process for lawns and gardens. It is equipped with advanced technology and features that allow for precise control and customization.
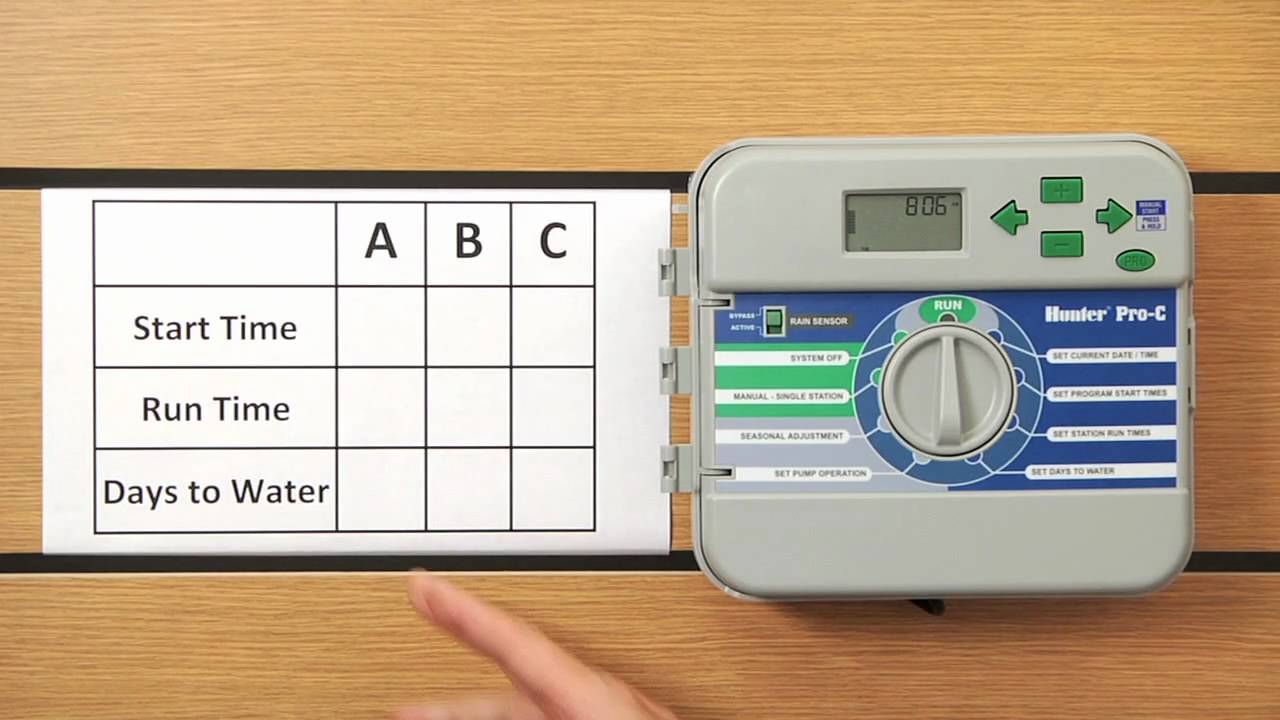
One of the key components of the Hunter Pro C system is its controller. The controller serves as the brain of the system, allowing users to input watering schedules and adjust settings. It features a user-friendly interface with an LCD display and intuitive buttons, making it easy to navigate and program.
Another important aspect of the Hunter Pro C system is its zoning capabilities. The system allows for the creation of multiple zones, which can be independently programmed based on factors such as soil type, sun exposure, and plant water requirements. This ensures that different areas of the landscape receive the appropriate amount of water.
In addition to zoning, the Hunter Pro C system offers advanced water-saving features. The system is equipped with a weather sensor that can automatically adjust watering schedules based on current weather conditions. This helps prevent overwatering during periods of rain or high humidity, conserving water and saving money in the process.
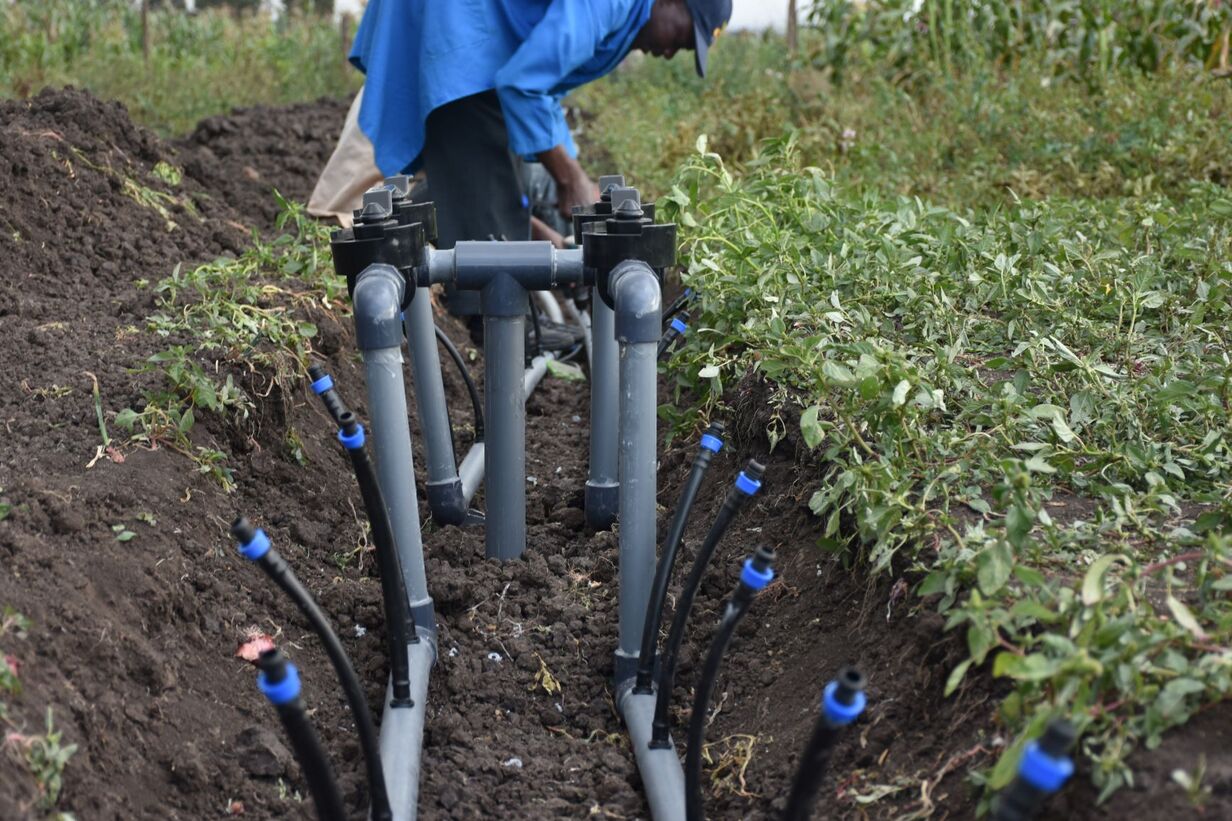
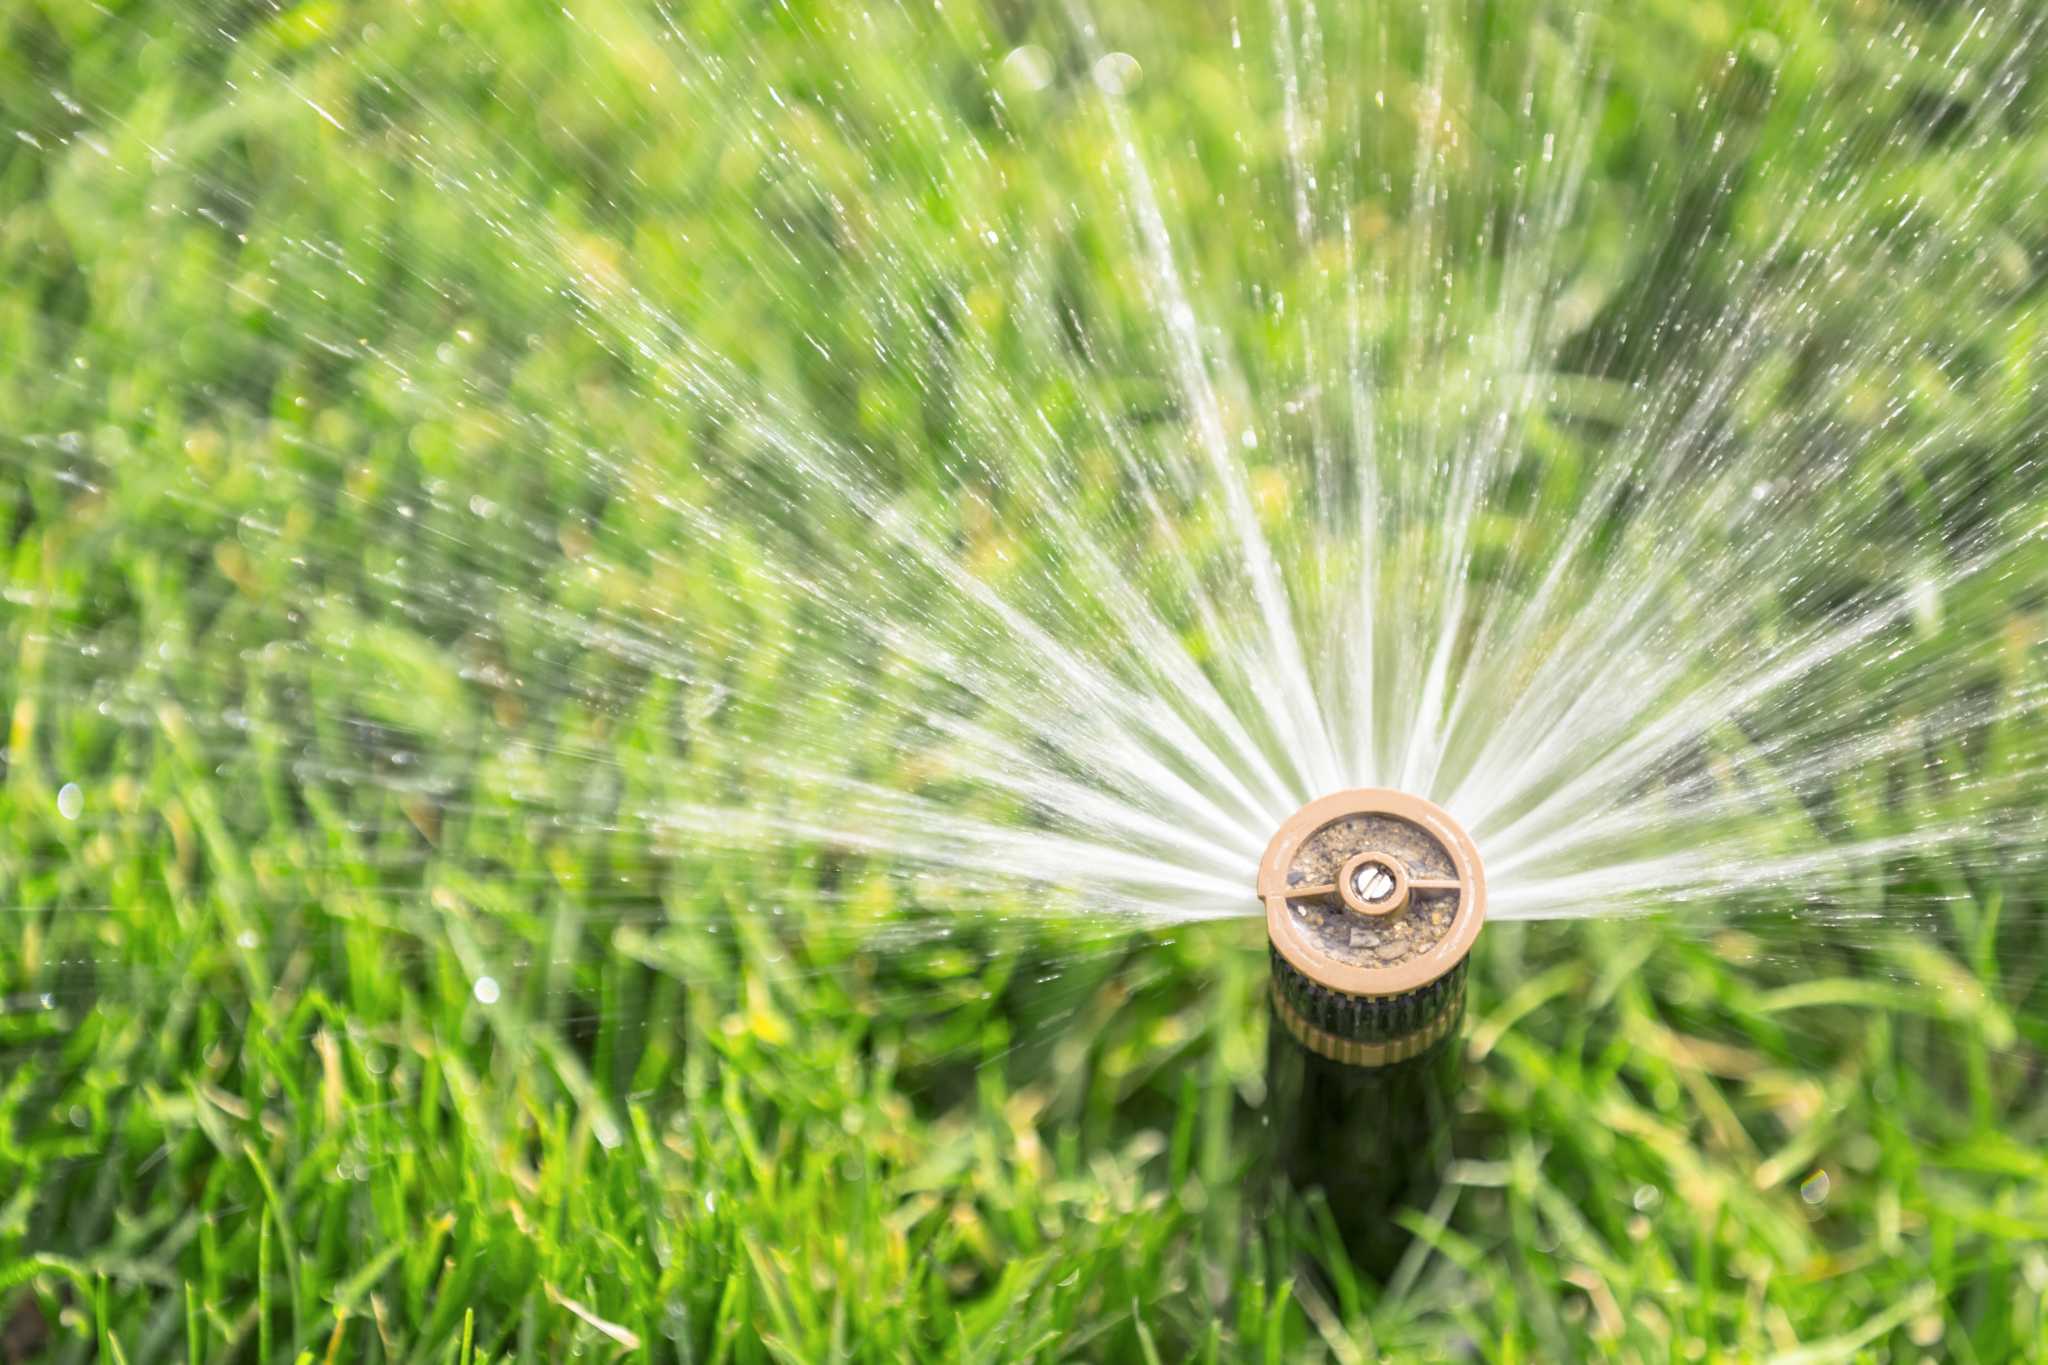
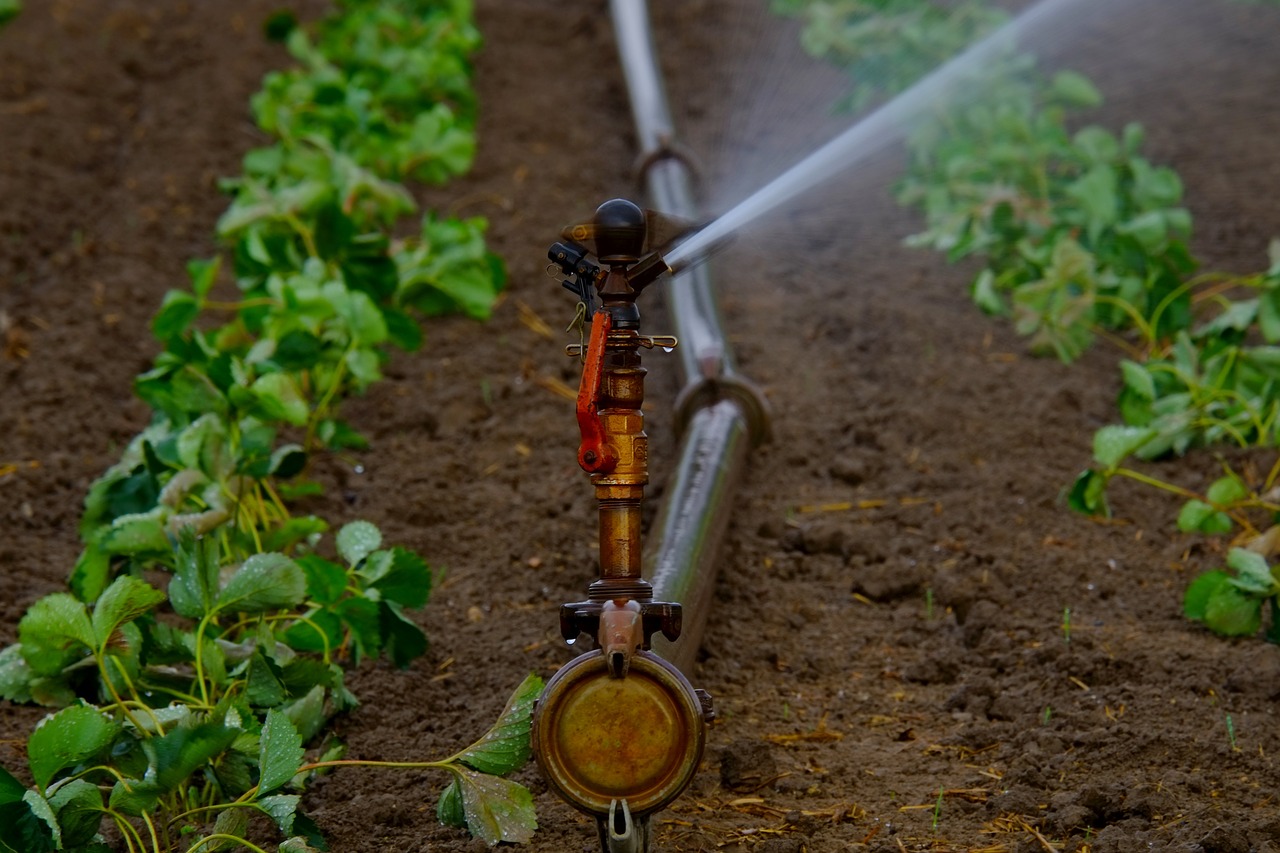
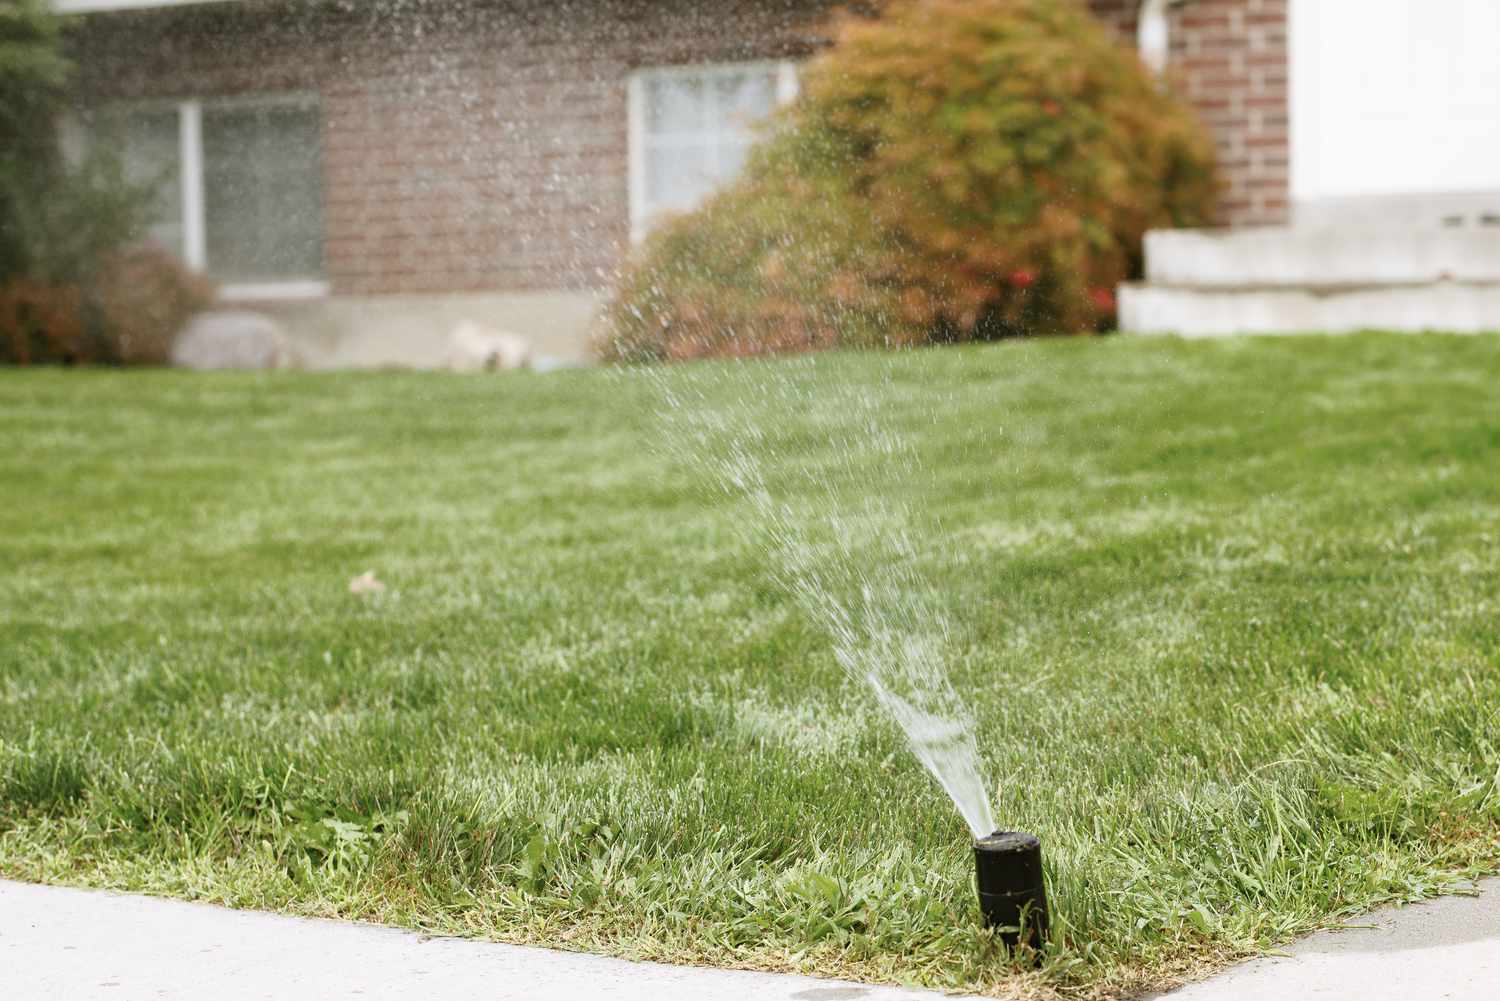
Furthermore, the Hunter Pro C system supports a variety of irrigation methods, including sprinklers, drip systems, and misters. This flexibility allows users to choose the most suitable irrigation method for their specific needs and preferences.
Overall, the Hunter Pro C irrigation system is a versatile and reliable tool that simplifies the process of managing watering schedules. Its advanced features, user-friendly interface, and customizable options make it an ideal choice for homeowners and professionals looking to optimize their irrigation practices.
Programming the Hunter Pro C Irrigation System
Programming the Hunter Pro C irrigation system is a straightforward process that involves a few simple steps. By following these steps, you can ensure that your system is set up to deliver optimal watering schedules for your landscape.
- Access the Controller: Start by locating the Hunter Pro C controller and accessing its programming interface. This is typically done by opening the front panel or removing a cover.
- Set the Date and Time: Use the controller’s buttons and display to set the current date and time. Accurate date and time settings are crucial for scheduling the watering programs correctly.
- Create Zones: Determine the different zones in your landscape and assign each zone a unique identification number. This can be done using zone stickers or labeling the zone wires connected to the controller.
- Program Watering Times: For each zone, determine the desired watering start times and run durations. Input these settings into the controller, making sure to account for factors like plant water requirements, soil type, and sun exposure. The Hunter Pro C system allows for flexible scheduling options, such as specific days of the week or interval-based watering.
- Apply Watering Restrictions: If there are specific watering restrictions in your area, such as designated watering days or time restrictions, make sure to incorporate these into your programming. The Hunter Pro C system allows for easy customization to comply with local regulations.
- Utilize Water-Saving Features: Take advantage of the advanced water-saving features of the Hunter Pro C system. Enable the weather sensor functionality to automatically adjust watering schedules based on current weather conditions, ensuring that you are not watering unnecessarily.
- Save and Test: Once you have finished programming the watering schedules, save the settings in the controller’s memory and conduct a test run to ensure that the system is operating as intended. Check each zone to ensure proper coverage and adjust any settings if necessary.
By following these steps, you can effectively program your Hunter Pro C irrigation system to meet the specific needs of your landscape while conserving water and promoting healthy plant growth.
Setting Up Zones
Setting up zones in the Hunter Pro C irrigation system is an essential step to ensure efficient and targeted watering for your landscape. By dividing your landscape into zones, you can customize watering schedules based on specific needs, such as plant types, soil conditions, and sun exposure. Here’s how to set up zones in the Hunter Pro C system:
- Determine Zone Layout: Assess your landscape and determine how you want to divide it into zones. Consider factors such as plant types, water needs, and sun exposure. For example, a zone for a shaded area with plants that require less water may differ from a zone with sun-loving plants.
- Label Zones: Assign a unique identification number or name to each zone. This will help you easily recognize and program the zones in the Hunter Pro C controller.
- Connect Wiring: Connect the wiring for each zone to the corresponding terminals on the Hunter Pro C controller. Follow the manufacturer’s instructions to ensure proper connections.
- Configure Zone Settings: Use the controller’s interface to configure settings for each zone. This includes setting the run times, start times, and specific days of the week for watering. You can also adjust settings for factors like slope and soil type, if applicable.
- Adjust Nozzle Types: If your zones have different nozzle types, such as sprayers, rotors, or drip emitters, adjust the zone settings accordingly. This will ensure that each zone receives the appropriate amount of water based on the specific nozzle type.
- Consider Water Pressure: Take into account the water pressure in each zone when configuring zone settings. Zones with low water pressure may require longer run times to ensure adequate water distribution.
- Test and Fine-Tune: After setting up the zones, conduct a test run to ensure that each zone is functioning properly. Check for proper coverage and adjust any settings as needed, such as run times or nozzle types.
By setting up zones in the Hunter Pro C irrigation system, you can optimize watering efficiency, conserve water, and ensure that each area of your landscape receives the appropriate amount of water for optimal plant health.
Setting Watering Times
Setting the watering times for your Hunter Pro C irrigation system is a crucial step in ensuring that your landscape receives the right amount of water at the right time. By considering factors such as plant water needs, soil type, and sun exposure, you can create an effective watering schedule. Here’s how to set watering times in the Hunter Pro C system:
- Assess Plant Water Needs: Understand the water requirements of the plants in your landscape. Different plants have varying needs, so it’s important to take this into account when determining watering times.
- Consider Soil Type: Take into consideration the soil type in your landscape. Sandy soil, for instance, drains water more quickly compared to clay soil. Adjust watering times accordingly to ensure that water penetrates deeply into the root zone.
- Factor in Sun Exposure: Sun exposure affects evaporation rates and plant water requirements. Plants in sunny areas may require more frequent watering compared to those in shaded areas. Adjust the watering times accordingly to compensate for sun exposure.
- Determine Run Times: Decide how long each zone should run during each watering cycle. This will depend on factors like plant water requirements, soil type, and nozzle types. Be mindful not to overwater or underwater each zone.
- Set Start Times: Choose the optimal times of day to start watering each zone. Early morning is generally the best time, as it allows water to penetrate the soil before the heat of the day causes evaporation. Avoid watering in the evening, as extended moisture on the leaves overnight can lead to disease and fungus growth.
- Consider Local Watering Restrictions: Check if there are any local watering restrictions or guidelines in your area. Some communities have designated watering days or specific time windows for watering. Adjust your watering times to comply with these restrictions.
- Utilize Smart Watering Features: The Hunter Pro C system offers advanced features like weather sensors that can adjust watering schedules based on current weather conditions. Enable these features to optimize watering efficiency and conserve water.
- Fine-Tune as Needed: After setting the watering times, monitor your landscape and make adjustments as necessary. Factors like changes in weather patterns and plant growth may require you to fine-tune the watering times to ensure optimal plant health.
By carefully setting the watering times in your Hunter Pro C irrigation system, you can provide your landscape with the proper amount of water at the most effective times, promoting healthy plant growth and conserving water in the process.
Adjusting Watering Schedules
Adjusting the watering schedules of your Hunter Pro C irrigation system is a crucial step in ensuring that your landscape receives the optimal amount of water for healthy and thriving plants. As environmental conditions change or as your plants grow and develop over time, it may be necessary to fine-tune the watering schedules. Here’s how to adjust the watering schedules in the Hunter Pro C system:
- Monitor Plant Health: Regularly assess the health and appearance of your plants. Signs of overwatering include waterlogged or wilted leaves. Underwatered plants may have dry, crispy leaves. Keep an eye out for any signs of stress or imbalance in your landscape.
- Check Soil Moisture: Use a moisture meter or perform a simple soil moisture test to determine if the soil is adequately moist or if it needs more water. This can help you determine if adjustments to the watering schedules are necessary.
- Observe Weather Patterns: Keep an eye on weather forecasts and monitor current weather conditions. Heavy rain or extended periods of high humidity may reduce the need for supplemental watering. In contrast, dry and hot conditions may require increased watering times.
- Consider Seasonal Changes: Different seasons bring changes in temperature, daylight hours, and plant growth. Adjust the watering schedules accordingly to meet the evolving needs of your plants throughout the year.
- Review and Analyze Controller Data: The Hunter Pro C system offers data logs and programming options that allow you to review historical watering data. Analyze this data to identify any patterns or inconsistencies in the watering schedules and make adjustments as needed.
- Make Incremental Changes: When adjusting watering schedules, it’s typically recommended to make small, gradual changes rather than drastic adjustments. This allows plants to adapt slowly and reduces the risk of stress or damage due to sudden changes in watering frequency or duration.
- Consult with Experts: If you’re unsure how to adjust your watering schedules or if you’re experiencing recurring issues, don’t hesitate to seek advice from professional landscapers or irrigation specialists. They can provide valuable insights and recommendations tailored to your specific landscape and plant needs.
- Regularly Evaluate and Fine-Tune: Continuously monitor and evaluate the effectiveness of your adjusted watering schedules. Regularly check your plants, soil moisture levels, and observe how the landscape responds to the changes. Fine-tune the schedules as necessary to optimize water usage and plant health.
By actively and attentively adjusting the watering schedules in your Hunter Pro C irrigation system, you can ensure that your landscape receives the appropriate amount of water, promoting healthy and vibrant plants while conserving water resources.
Troubleshooting Common Issues
While the Hunter Pro C irrigation system is known for its reliability and advanced features, occasional issues may arise that require troubleshooting. By understanding common problems and knowing how to address them, you can keep your system running smoothly. Here are some common issues and their solutions:
- System Not Turning On: If your system is not turning on at all, check for power issues. Ensure that the controller is receiving power and that the circuit breaker is not tripped. Also, verify that the system is not set to “off” or in a rain delay mode.
- Uneven Water Distribution: If you notice uneven water distribution in your landscape, it may indicate a problem with the sprinkler heads or nozzles. Check for clogged or damaged heads and clean or replace them as needed. Additionally, make sure the sprinklers are properly adjusted for the desired coverage.
- Zone Not Operating: If a specific zone is not operating, check the wiring connections for that zone at the controller. Ensure that the zone valve is functioning correctly and that the wiring is secure. It may be necessary to replace a faulty valve or repair any damaged wiring.
- Watering Too Much or Too Little: If you notice signs of overwatering or underwatering, review the programming settings for each zone. Verify that the run times and watering frequencies are appropriately set for the specific needs of your plants and your landscape conditions.
- Continuous Watering: If your system continues to water even after the designated watering time has ended, it may indicate an issue with the programming or the controller itself. Check the programming settings and make sure there are no overlapping or conflicting schedules. If the problem persists, consider resetting the controller to its default settings and reprogramming it.
- Controller Display Issues: If the controller display is not functioning properly or showing incorrect information, try resetting the controller by disconnecting the power for a few minutes and then reconnecting it. If the issue persists, consult the manufacturer’s troubleshooting guide or seek professional assistance.
- Lack of Communication with Weather Sensors: If you have weather sensors integrated with your Hunter Pro C system and they are not communicating or adjusting the watering schedules based on weather conditions, check the sensor connections and ensure they are properly installed and configured in the controller. If necessary, recalibrate or replace the sensors.
Remember, if you encounter any issues with your Hunter Pro C irrigation system that you are unable to resolve, it is always recommended to consult the manufacturer’s manual or seek assistance from a professional irrigation technician. They can help diagnose and fix more complex issues to ensure your system operates efficiently and effectively.
Conclusion
The Hunter Pro C irrigation system is a powerful and versatile tool for efficiently managing and controlling watering schedules for your landscape. By understanding the features and functionality of the system, you can ensure that your plants receive the right amount of water at the right time, promoting healthy growth and conserving water resources.
In this comprehensive guide, we have covered the essential steps to program the Hunter Pro C system, including setting up zones, programming watering times, adjusting schedules, and troubleshooting common issues. By following these steps, you can optimize your system’s performance and achieve the best results for your landscape.
Remember to regularly monitor your plants and evaluate their water needs, adjust watering schedules as necessary, and take advantage of the advanced features of the Hunter Pro C system, such as weather sensors and water-saving options, to further enhance efficiency and conservation.
With proper programming and maintenance, your Hunter Pro C irrigation system will provide you with reliable and precise water distribution, ensuring that your lawn and garden stay lush, healthy, and vibrant all year round.
So, take the time to familiarize yourself with your Hunter Pro C system, experiment with different settings, and fine-tune your watering schedules to achieve optimal results. With the right programming and attention to detail, you can enjoy the benefits of a well-maintained landscape while conserving water and promoting environmental sustainability.