Home>Gardening Techniques>DIY Projects>How To Set Up Drip Irrigation For Raised Beds
DIY Projects
How To Set Up Drip Irrigation For Raised Beds
Modified: January 22, 2024
Learn how to set up your own DIY drip irrigation system for raised beds and maximize your gardening efficiency. Get step-by-step instructions and expert tips.
(Many of the links in this article redirect to a specific reviewed product. Your purchase of these products through affiliate links helps to generate commission for Chicagolandgardening.com, at no extra cost. Learn more)
Table of Contents
- Introduction
- Benefits of Drip Irrigation for Raised Beds
- Tools and Materials Needed
- Step 1: Planning and Designing
- Step 2: Choosing the Right Drip Irrigation System
- Step 3: Preparing the Raised Beds
- Step 4: Installing the Main Water Supply Line
- Step 5: Installing the Drip Tape or Drippers
- Step 6: Adding Emitters for Individual Plants
- Step 7: Connecting the System to a Water Source
- Step 8: Testing and Adjusting the System
- Conclusion
Introduction
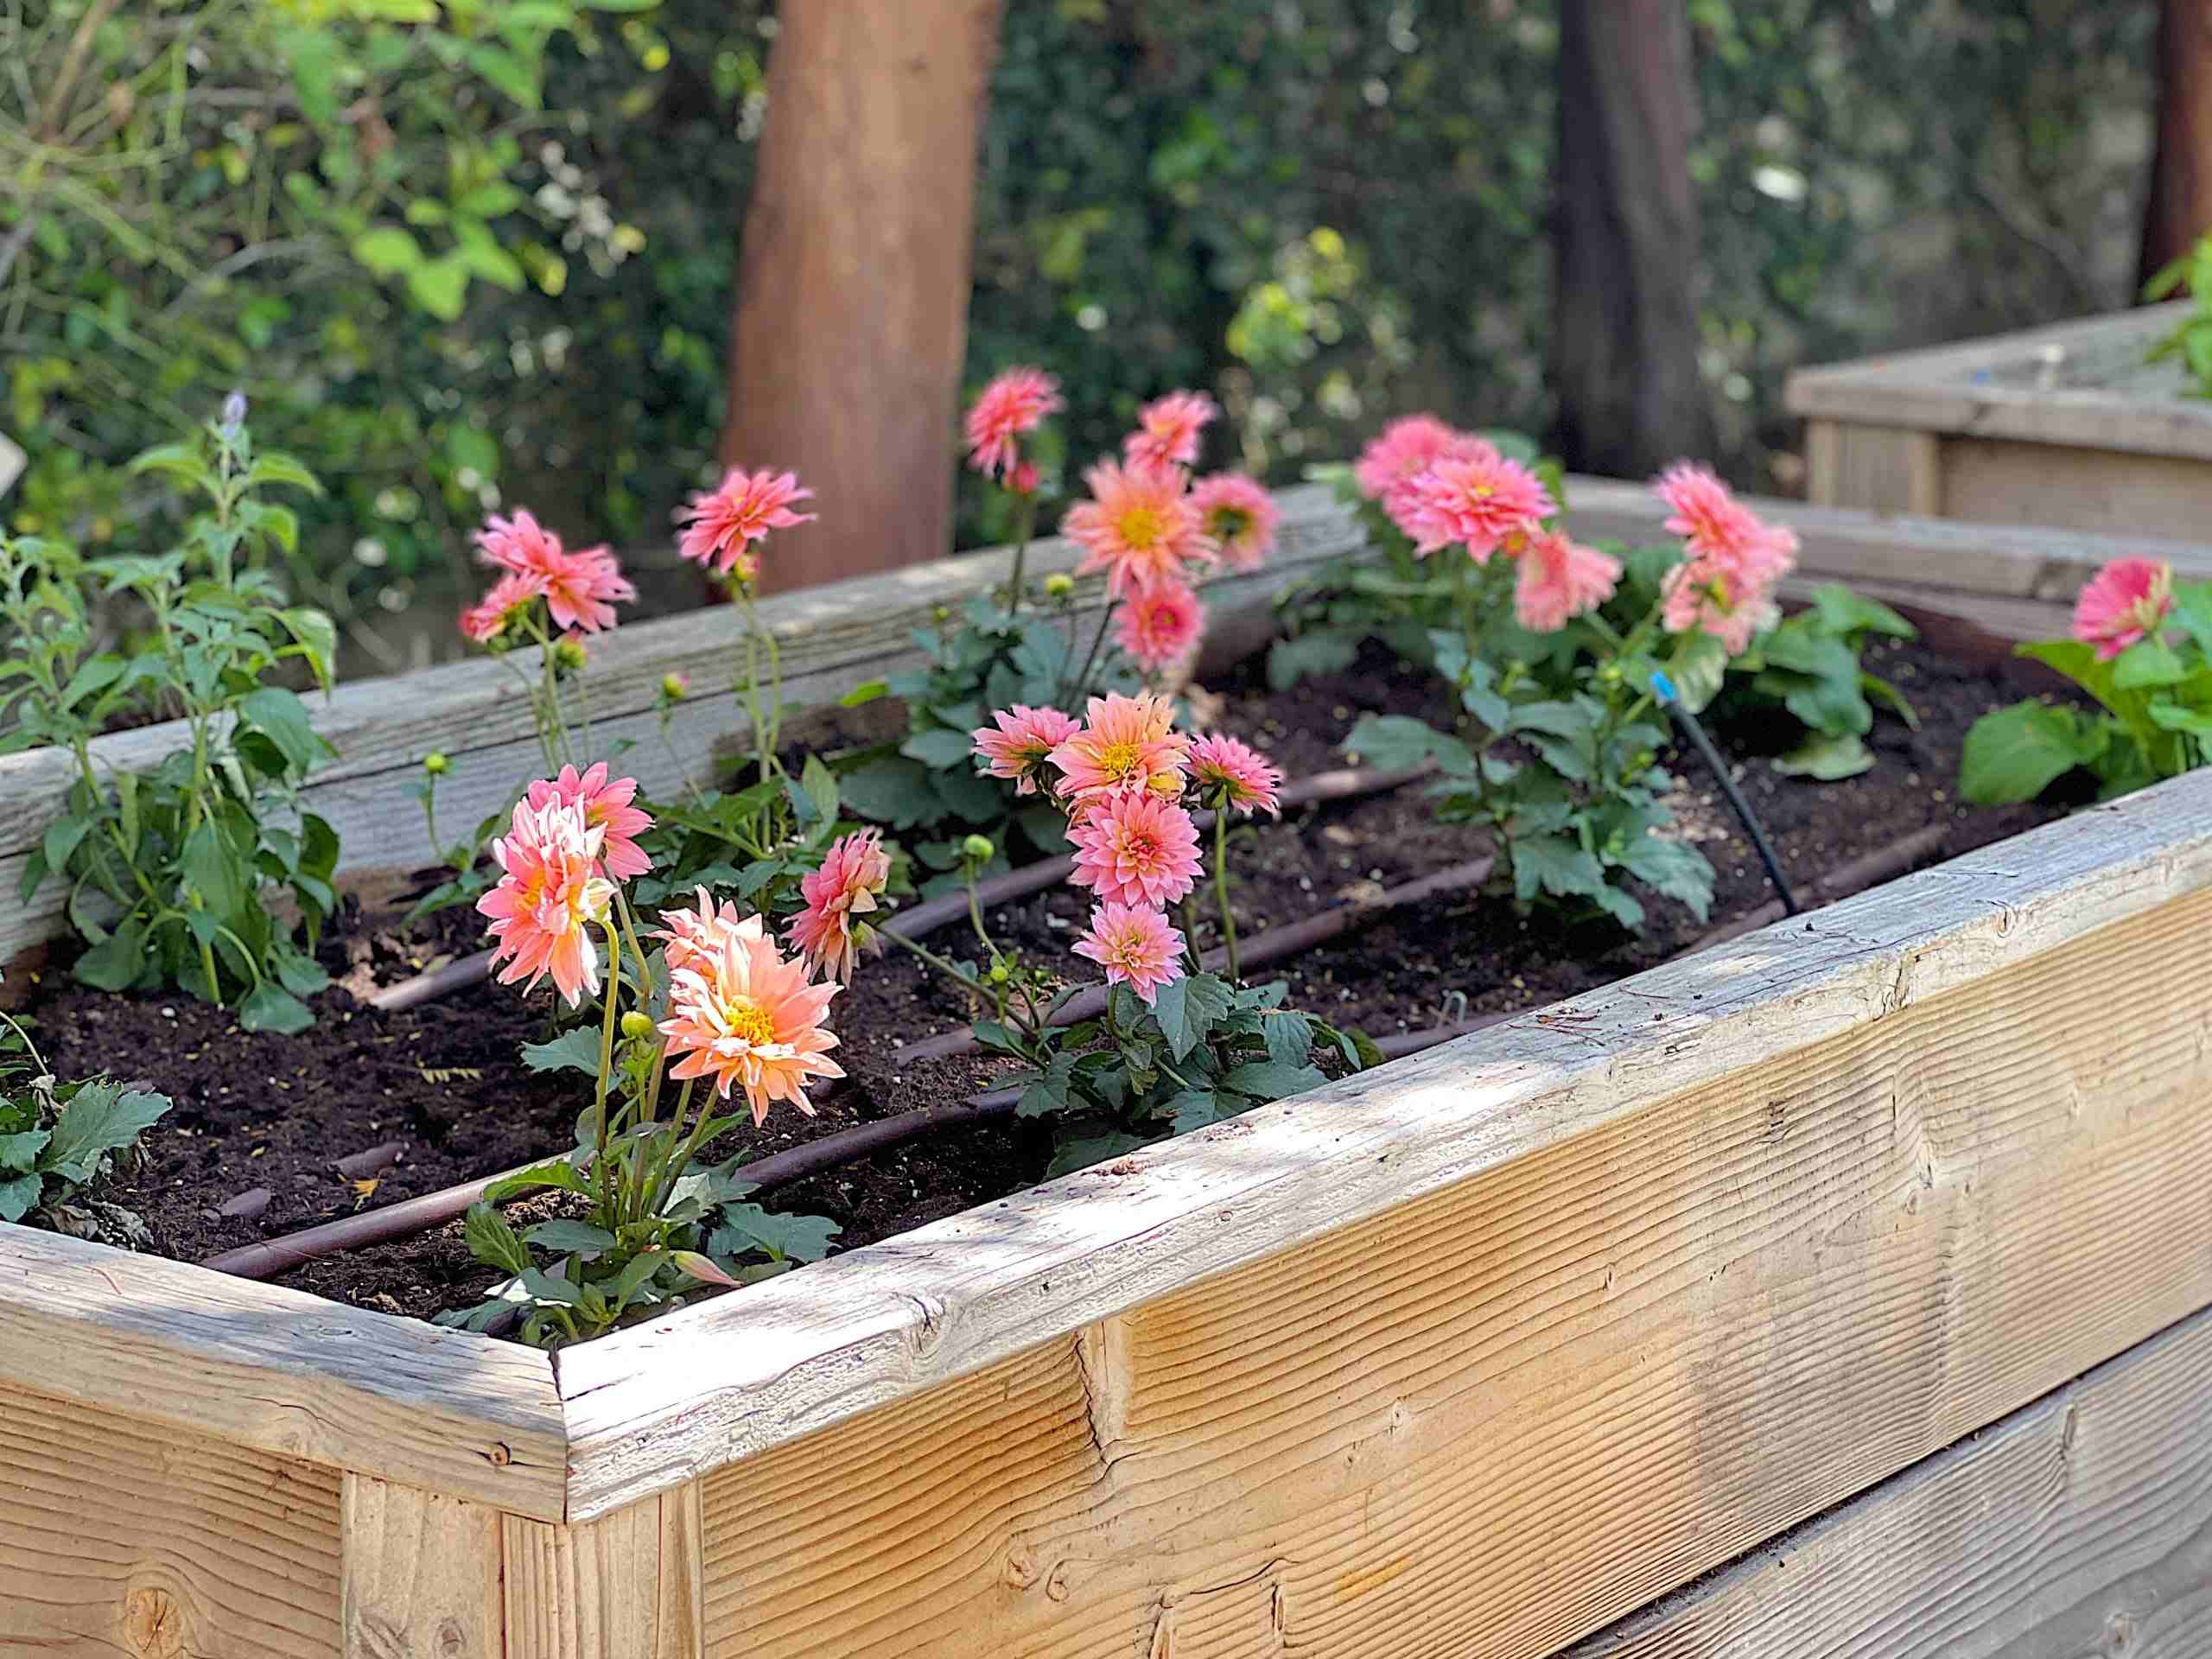
Welcome to the world of DIY projects! If you’ve been looking for a way to enhance your gardening skills and improve the productivity of your raised beds, setting up a drip irrigation system might be just the solution you’re looking for.
Drip irrigation is a method of watering plants that delivers water directly to the root zone, minimizing water waste and ensuring efficient water distribution. Compared to traditional watering methods, such as hand watering or sprinklers, drip irrigation offers numerous benefits for raised beds.
In this comprehensive guide, we will walk you through the process of setting up drip irrigation for your raised beds. We will cover everything from planning and designing to installing the system and connecting it to a water source. By the end, you’ll have all the knowledge and tools you need to create an efficient and effective drip irrigation system for your raised beds.
Before we dive into the steps, let’s explore some of the benefits of drip irrigation for raised beds.
Benefits of Drip Irrigation for Raised Beds
Drip irrigation offers numerous advantages for raised beds, making it the preferred method of watering for many gardeners. Here are some of the key benefits:
- Water Efficiency: Drip irrigation delivers water directly to the root zone of plants, ensuring that every drop is used efficiently. This targeted approach minimizes water waste and reduces the risk of evaporation, especially in hot and dry climates.
- Improved Plant Health: By providing water directly to the roots, drip irrigation eliminates the risk of wetting the foliage, which can lead to fungal diseases. It also prevents waterlogged soil, promoting healthy root growth and preventing root rot.
- Consistent Moisture Levels: With drip irrigation, you can maintain consistent moisture levels in the soil, which is crucial for the successful growth of plants. This is especially beneficial for delicate or sensitive plants that require precise watering.
- Weed Control: Drip irrigation delivers water only to the intended plants, reducing moisture levels between rows and minimizing weed growth. This eliminates the need for manual weeding, saving you time and effort in the long run.
- Saves Time and Energy: Once properly installed, drip irrigation systems require less maintenance and monitoring compared to traditional watering methods. This means you can spend less time manually watering and more time enjoying your garden.
- Customizable and Scalable: Drip irrigation systems are highly customizable and can be tailored to fit the specific needs of your raised beds. Whether you have a small garden or a large-scale operation, drip irrigation can be easily expanded or modified to accommodate your setup.
- Saves Money: While the initial setup cost may be higher than traditional watering methods, drip irrigation can actually save you money in the long run. By reducing water waste and promoting efficient plant growth, you’ll see a decrease in your water bill and potentially save on plant replacement costs.
Now that you’re aware of the benefits of drip irrigation, let’s move on to the tools and materials you’ll need to get started.
Tools and Materials Needed
Before you can begin setting up your drip irrigation system, you’ll need to gather the necessary tools and materials. Here’s a list of what you’ll need:
- Drip Irrigation Kit: Purchase a drip irrigation kit that includes all the essential components such as the tubing, connectors, emitters, and valves. These kits are readily available at garden centers or online retailers. Make sure to choose a kit that suits the size of your raised beds.
- Drip Tape or Drippers: Drip tape is a flat, thin plastic tubing with evenly spaced holes that allows water to seep out. Alternatively, you can use drippers, which are small, adjustable emitters that deliver water directly to the roots. Choose the option that best fits your needs and preferences.
- Pipe Cutter or Scissors: A pipe cutter or strong scissors will be necessary for cutting the tubing to the desired lengths.
- Punch Tool: A punch tool is used to create holes in the tubing for inserting emitters or connectors. You can find punch tools specifically designed for drip irrigation at gardening stores.
- Pressure Regulator: To ensure that the water pressure is suitable for your drip irrigation system, install a pressure regulator. This device helps prevent damage to the system and ensures consistent water flow.
- Backflow Preventer: It’s important to include a backflow preventer in your setup to prevent contaminated water from flowing back into the main water supply. This helps maintain the cleanliness and safety of your water source.
- Hose timer or Irrigation Controller: For convenience and automation, consider investing in a hose timer or irrigation controller. These devices allow you to set a watering schedule and control the duration and frequency of irrigation.
- PVC Pipe and Fittings (optional): Depending on your preferred setup, you may need PVC pipe and fittings to connect the main water supply line to the drip irrigation system.
- Teflon Tape: Teflon tape is essential for creating watertight connections between pipes and fittings. Wrap the threaded ends with a few layers of Teflon tape to ensure a snug fit.
Now that you have the necessary tools and materials, it’s time to move on to planning and designing your drip irrigation system.
Step 1: Planning and Designing
Before you start installing your drip irrigation system, it’s important to spend some time planning and designing to ensure optimal performance and efficiency. Here are the key steps to follow:
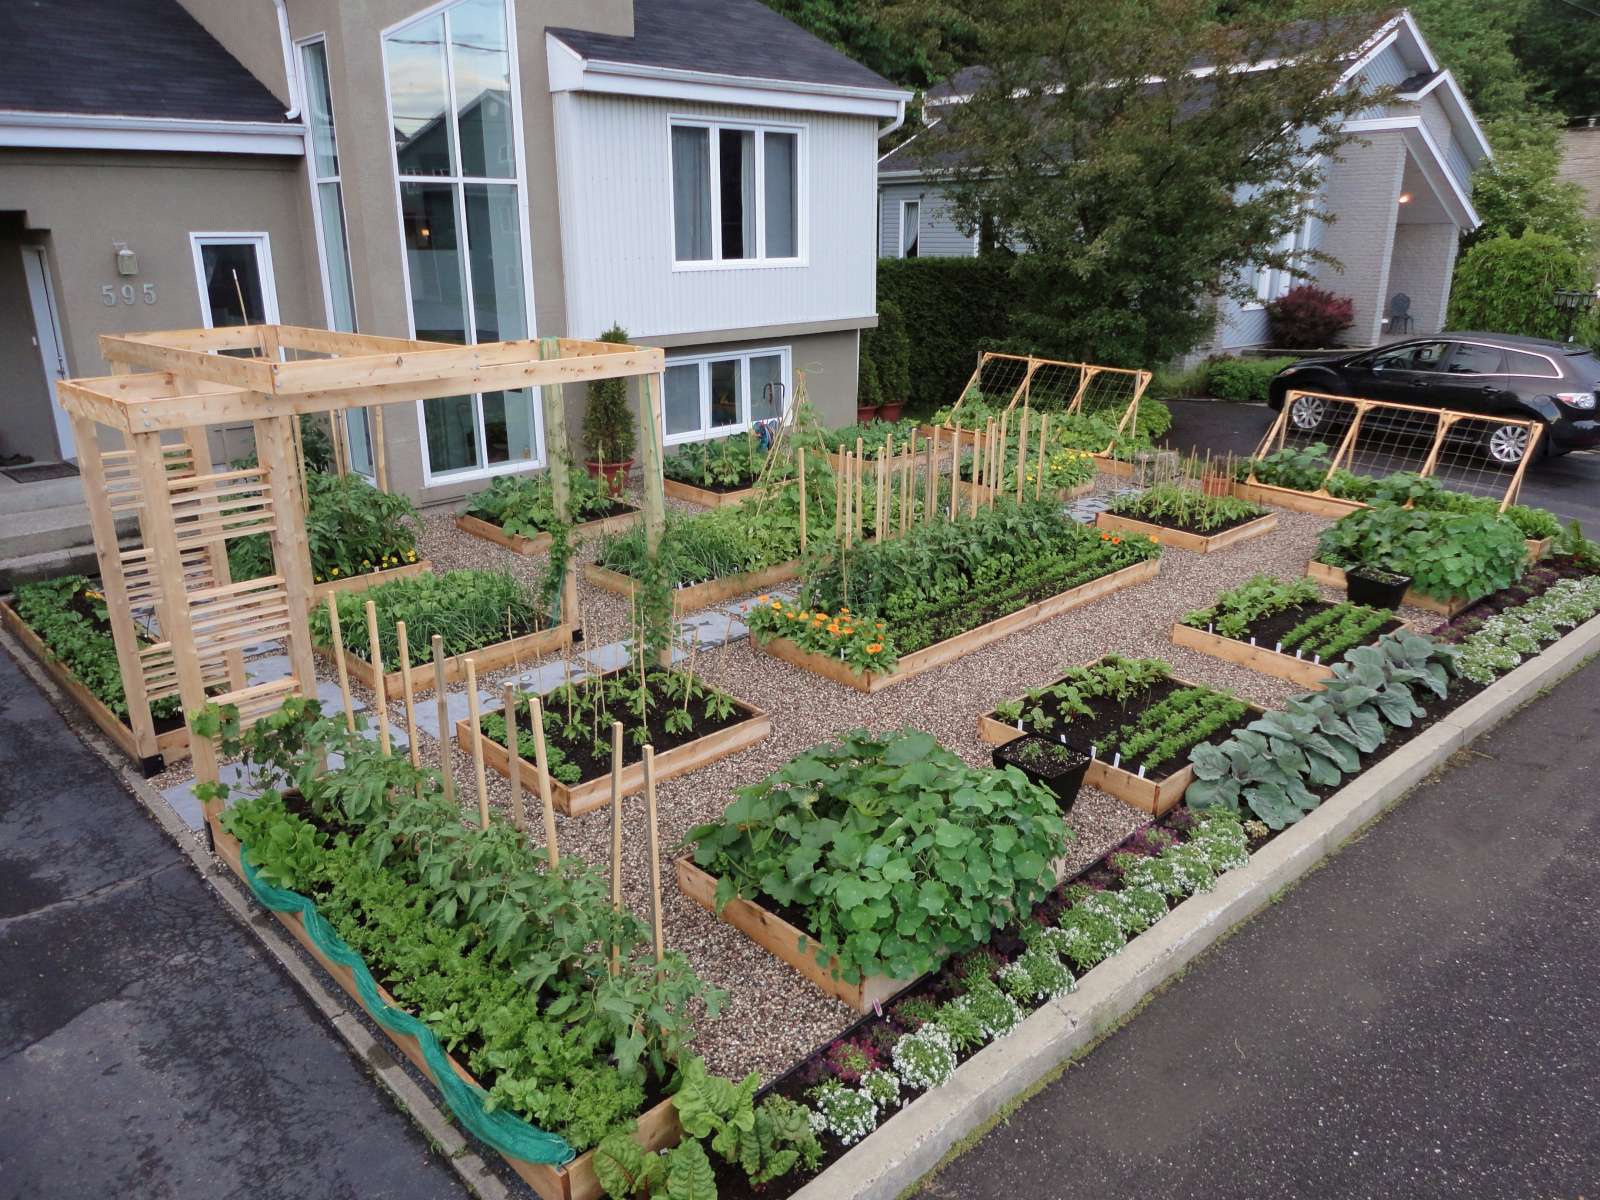
- Measure Your Raised Beds: Start by measuring the dimensions of your raised beds. This will help you determine the length of tubing and the number of emitters or drippers you’ll need. Take note of any irregular or curved shapes that may require additional fittings or connectors.
- Identify Water Source: Determine the location of your water source, such as an outdoor faucet or a rainwater collection system. Make sure it’s easily accessible and can provide sufficient water pressure to support the drip irrigation system.
- Plan the Main Water Supply Line: Decide on the layout of the main water supply line that will distribute water to your raised beds. Consider the most efficient path and avoid any obstacles or obstructions. If using PVC pipe, plan the route and measure the required length of pipe.
- Consider Water Distribution: Analyze the specific watering needs of your plants and the layout of your raised beds. Determine where you’ll place the emitters or drippers, ensuring they are positioned near the root zone of each plant. Take into account the spacing requirements of different plants.
- Sketch the Design: Create a simple sketch or diagram of your drip irrigation system. Mark the location of the main water supply line, the tubing routes, and the placement of the emitters or drippers. This visual representation will serve as a reference during the installation process.
- Consider Expansion: If you plan to expand your garden in the future, allow for additional tubing and connectors in your design. This will make it easier to extend the drip irrigation system without major modifications.
- Check Local Regulations: Before you finalize your design, check if there are any local regulations or restrictions regarding irrigation systems. Some areas have specific guidelines for water usage and may require the installation of certain devices, such as backflow preventers.
By carefully planning and designing your drip irrigation system, you can ensure that it meets the specific needs of your raised beds and provides optimal water distribution. Once you have your design in place, it’s time to move on to choosing the right drip irrigation system.
Step 2: Choosing the Right Drip Irrigation System
When it comes to selecting the right drip irrigation system for your raised beds, there are a few factors to consider. Here’s what you need to do:
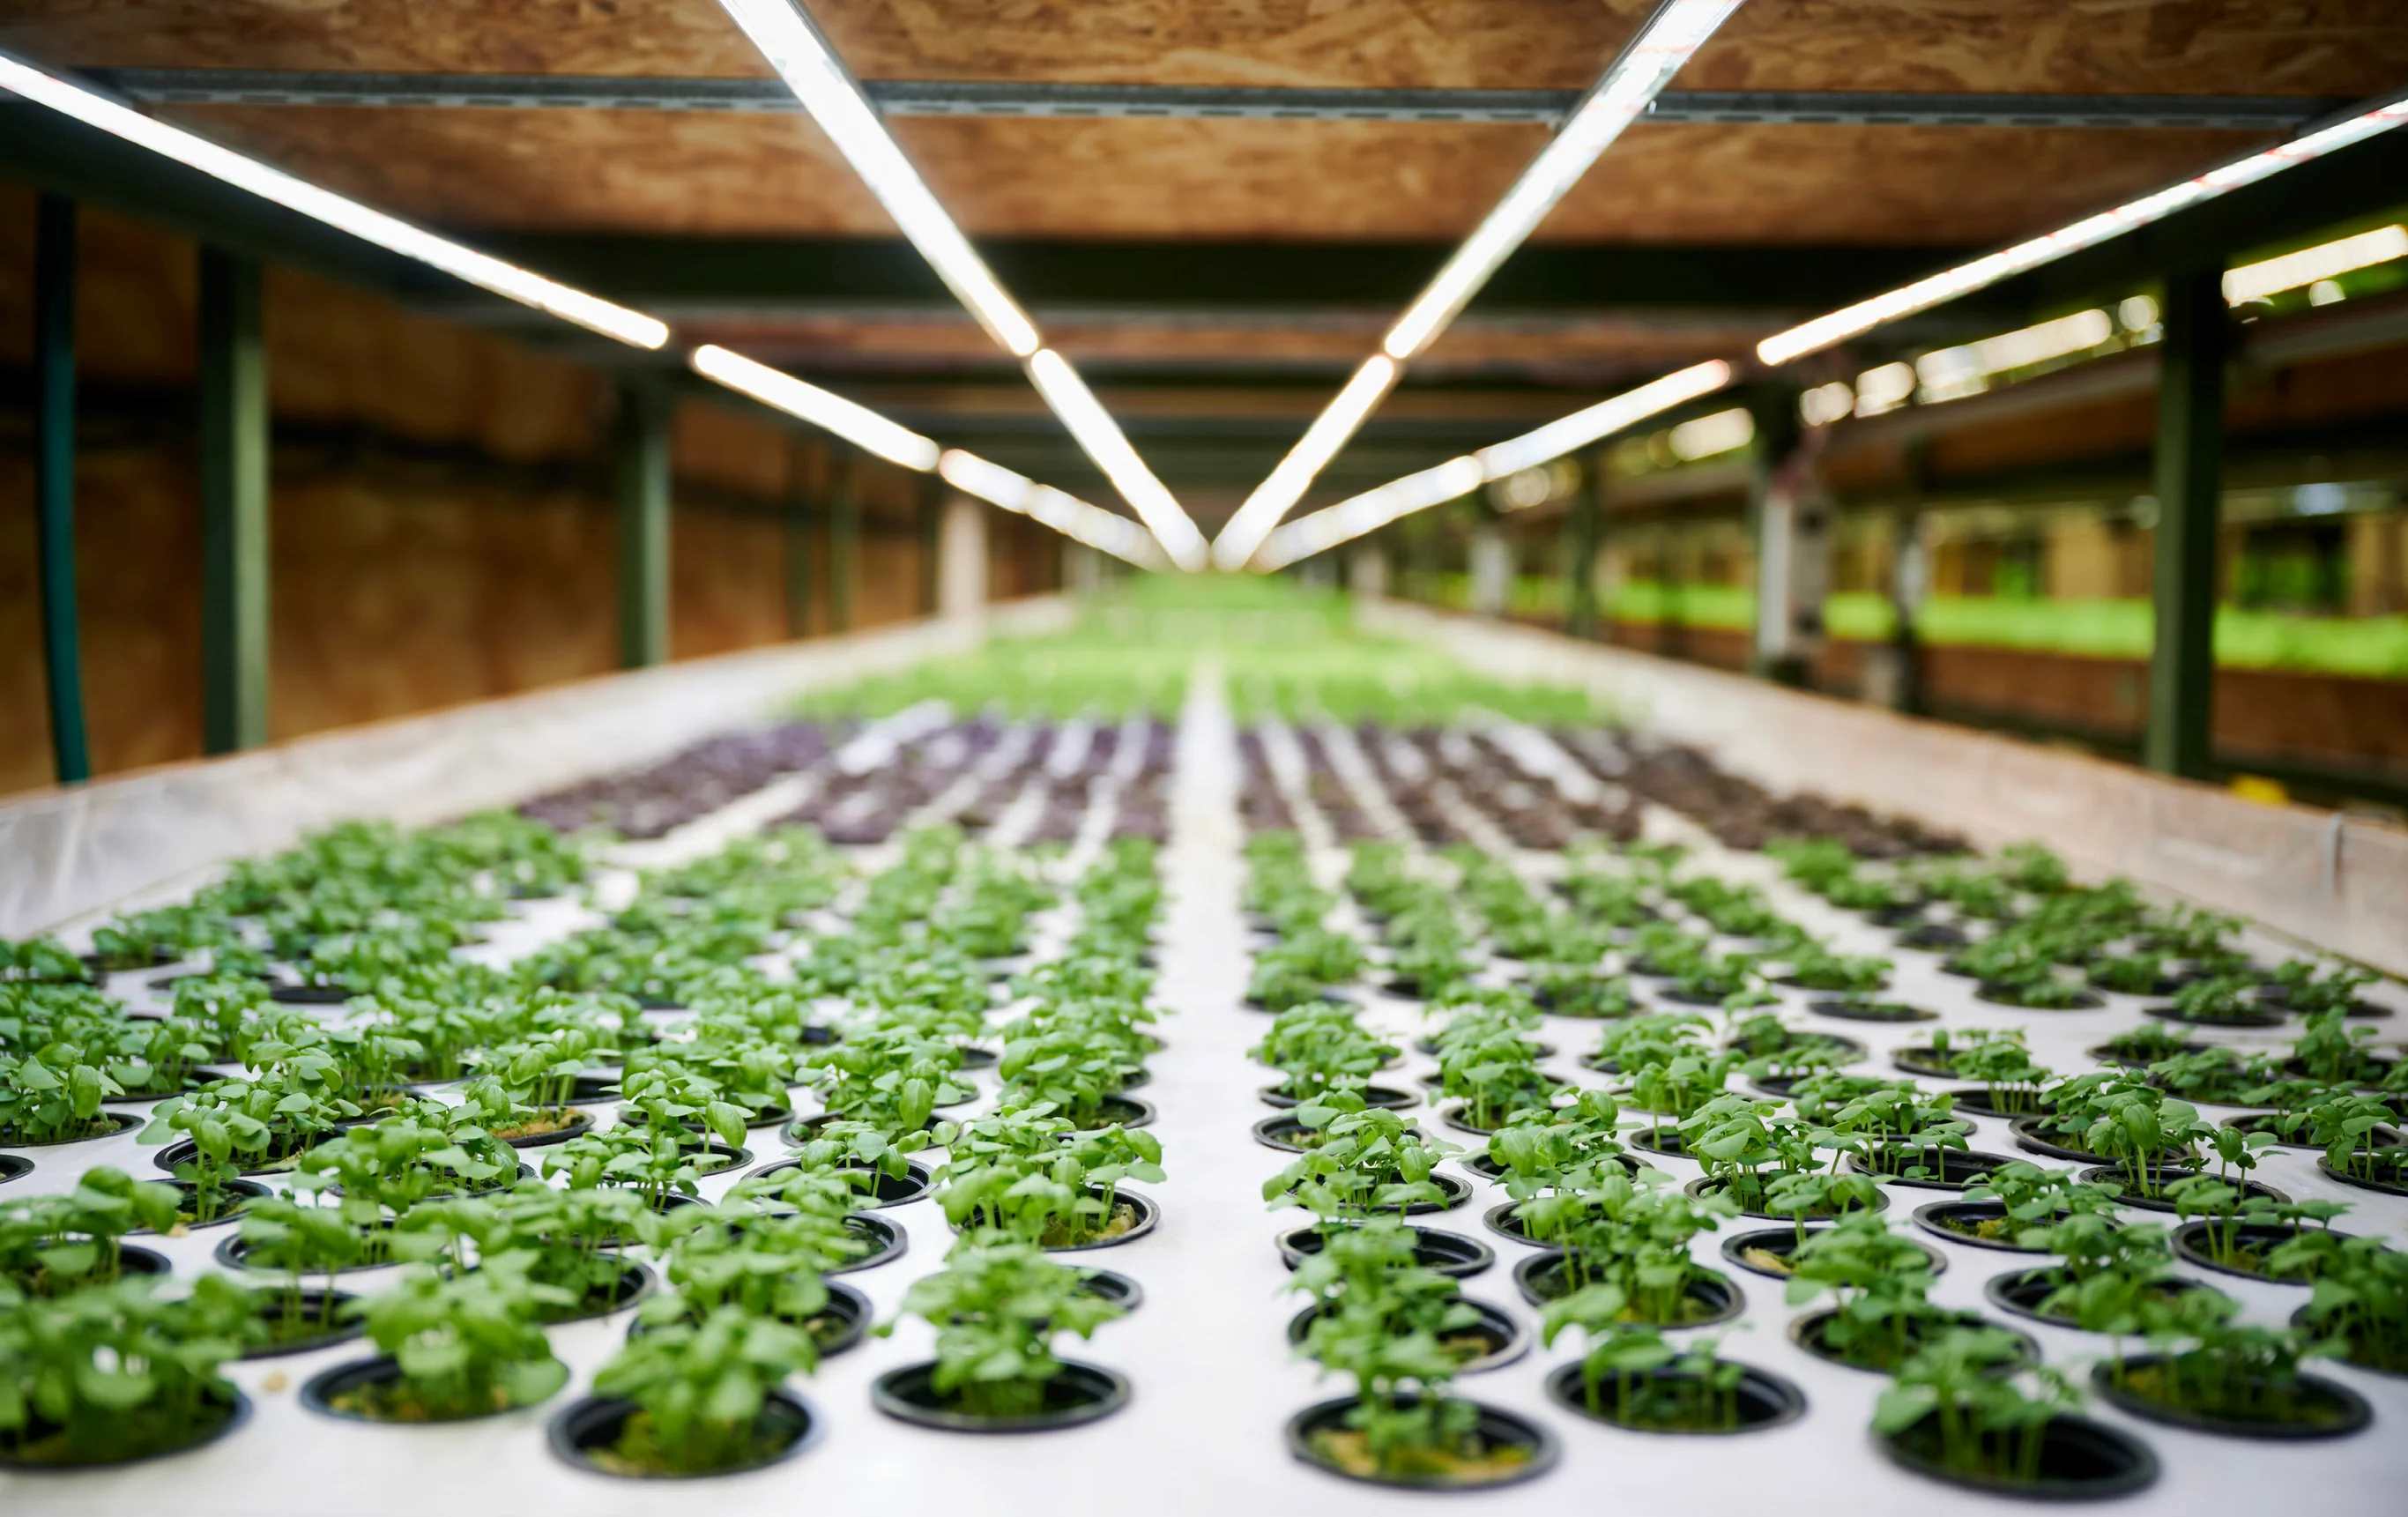
- Evaluate Your Garden’s Needs: Take into account the size of your raised beds, the types of plants you’re growing, and their specific water requirements. This will help you determine the appropriate flow rate and spacing of emitters or drippers.
- Consider the Water Source: Assess the water pressure and flow rate of your water source. Different drip irrigation systems require specific pressure ranges to function optimally. Make sure the system you choose matches the capabilities of your water source.
- Choose Between Drip Tape and Drippers: Decide whether you want to use drip tape or individual drippers for your raised beds. Drip tape is ideal for row crops or long stretches, while drippers are suitable for individual plants or smaller areas. Consider the pros and cons of each option based on your specific needs.
- Look for Quality and Durability: Invest in a high-quality drip irrigation system that is durable and built to withstand outdoor conditions. Look for reliable brands and materials that can handle UV exposure, temperature changes, and potential physical stress.
- Consider Automation: If you prefer a more hands-off approach, consider drip irrigation systems that can be controlled by a timer or an irrigation controller. This allows for automated watering schedules, ensuring consistent and efficient irrigation for your raised beds.
- Budget Considerations: Assess your budget and choose a drip irrigation system that aligns with your financial constraints. Remember that the initial investment may be higher, but the long-term benefits in water savings and plant health may outweigh the cost.
- Read Reviews and Seek Recommendations: Before making a final decision, read customer reviews and seek recommendations from experienced gardeners or professionals. Their feedback can provide valuable insights into the performance and reliability of different drip irrigation systems.
By carefully considering these factors, you can choose a drip irrigation system that suits your raised beds’ needs and ensures efficient and effective water delivery. Once you’ve selected the right system, you’re ready to move on to preparing the raised beds for installation.
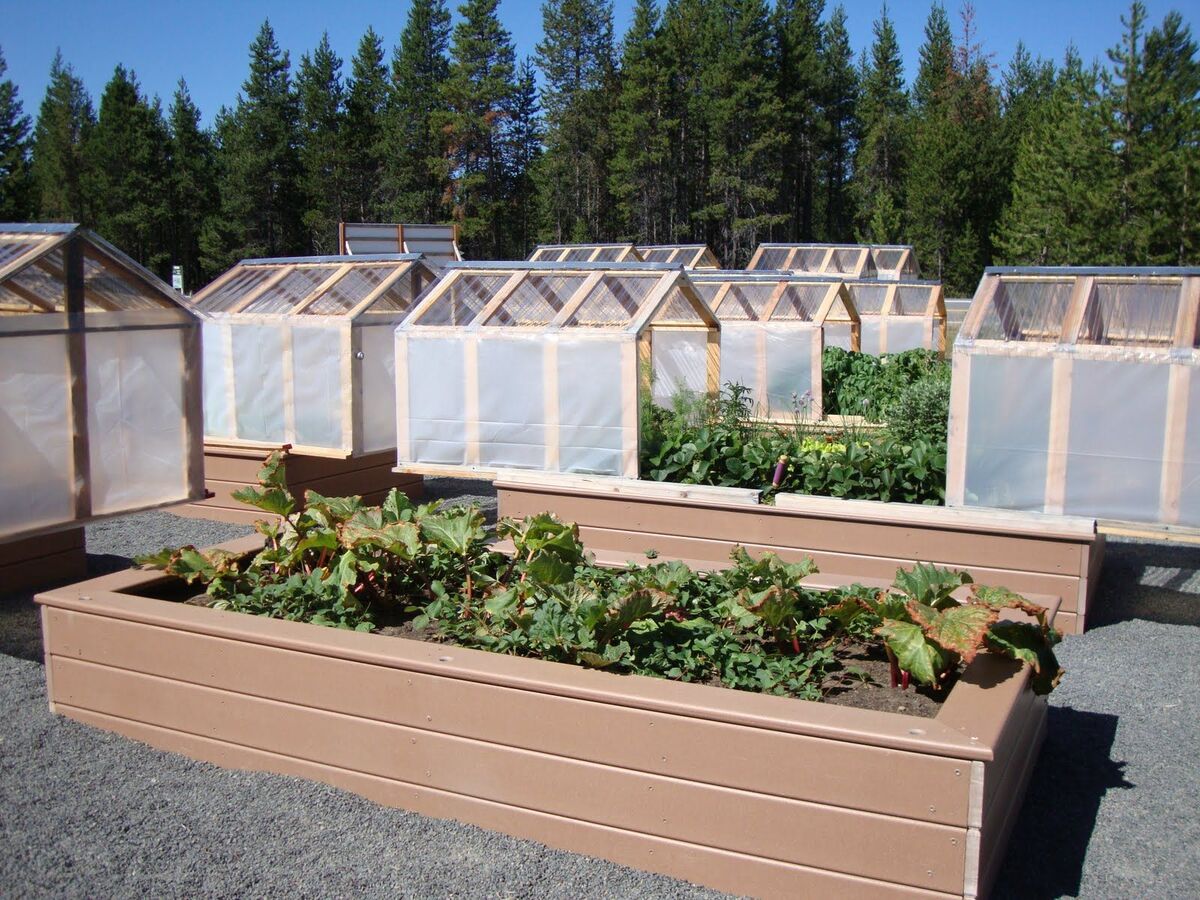
Step 3: Preparing the Raised Beds
Before you can install the drip irrigation system, it’s essential to properly prepare your raised beds. Here are the steps to follow for a successful installation:
- Clean and Clear the Area: Remove any debris, weeds, or existing plants from your raised beds. Clearing the area ensures a clean and accessible space for installing the irrigation system. It also helps prevent any obstruction to the water flow.
- Soil Preparation: Evaluate the soil in your raised beds and make any necessary amendments or improvements. Ensure that the soil is well-draining and has optimal moisture retention to support plant growth. This will further enhance the effectiveness of the drip irrigation system.
- Level the Beds: Use a rake or a garden leveling tool to ensure that the surface of your raised beds is uniform and level. This will promote even water distribution and prevent pooling in certain areas.
- Provide Adequate Spacing: If you’re using drip tape, ensure that the spacing between the rows is appropriate for your crops. Different plants may require different spacing, so consult planting guides or resources specific to your crops for guidance.
- Consider Mulching: Adding a layer of organic mulch to the surface of your raised beds can help conserve moisture and prevent weed growth. Mulch also acts as a barrier, reducing evaporative loss and promoting water retention in the soil.
- Mark Planting Areas: If you haven’t planted your crops yet, it’s a good idea to mark the planting areas in your raised beds. This will help you determine where to install the emitters or drippers, ensuring that water is delivered to the root zones of your plants.
- Plan for Future Expansion: If you anticipate expanding your raised beds in the future, leave some extra space for additional rows or plants. Consider the long-term goals of your garden and allow room for adjustments to your drip irrigation system.
By thoroughly preparing your raised beds, you create an optimal environment for the drip irrigation system to function effectively. Now that your raised beds are ready, it’s time to move on to the installation of the main water supply line.
Step 4: Installing the Main Water Supply Line
The main water supply line is the backbone of your drip irrigation system, delivering water from the source to the raised beds. Follow these steps to install the main water supply line:
- Locate the Water Source: Identify the water source for your drip irrigation system, such as an outdoor faucet or a rainwater collection system. Ensure that it is accessible and has sufficient water pressure to meet the needs of your system.
- Measure and Cut the PVC Pipe: If you are using PVC pipe for your main water supply line, measure and cut the pipe to the appropriate length using a pipe cutter or saw. Make sure to account for any bends or turns in the layout of your system.
- Attach Fittings and Connectors: Install the necessary fittings and connectors to connect the PVC pipe to the water source and to the tubing that will distribute water to the raised beds. Use Teflon tape on the threaded ends of the fittings to create a watertight seal.
- Secure the Pipe: Use pipe clamps or stakes to secure the PVC pipe along its route. This will prevent it from shifting or moving once the system is in operation. Make sure the pipe is level and free from any obstructions.
- Install a Pressure Regulator: To maintain consistent water pressure throughout the system, install a pressure regulator before the main water supply line connects to the tubing. This will help prevent damage to the drip irrigation system and ensure optimal performance.
- Include a Backflow Preventer: Install a backflow preventer to protect your water source from any potential contamination. This is an essential component to maintain the quality and safety of your water supply.
- Connect the Tubing: To connect the main water supply line to the tubing that will deliver water to the raised beds, use the appropriate connectors. Make sure to secure the connections tightly to prevent any water leakage.
- Test the System: Once the main water supply line is installed, turn on the water source to test the system for any leaks or malfunctions. Check all connections and adjust the water pressure as needed using the pressure regulator.
By accurately installing the main water supply line, you establish a reliable and efficient foundation for your drip irrigation system. With this step completed, you’re ready to move on to the next stage, which is installing the drip tape or drippers.
Step 5: Installing the Drip Tape or Drippers
Now that the main water supply line is in place, it’s time to install the drip tape or drippers, which will distribute water directly to your plants’ root zones. Follow these steps for a successful installation:
- Choose the Correct Drip Tape or Drippers: Depending on your preference and the specific needs of your raised beds, select the appropriate drip tape or drippers. Consider factors such as flow rate, spacing, and the type of plants you’re growing.
- Unroll or Position the Drip Tape: If you’re using drip tape, unroll it along the rows in your raised beds, making sure it is positioned close to the plants’ root zones. If using drippers, place them near the base of each plant.
- Secure the Drip Tape or Drippers: Use stakes or clips to secure the drip tape or drippers at regular intervals to prevent movement or displacement. Ensure they are firmly in place but not damaging the plants or obstructing growth.
- Install End Caps and Flush Valves: At the end of each row of drip tape or drippers, install end caps to prevent water from escaping. Add flush valves to easily remove any debris or clogs from the system.
- Insert Emitters or Drippers (If Applicable): Depending on your setup, you may need to insert emitters or drippers to deliver water to individual plants. Use a punch tool to create holes in the drip tape or tubing and insert the emitters or drippers as needed.
- Connect the Drip Tape or Tubing: Connect the drip tape or tubing to the main water supply line using appropriate connectors. Ensure that the connections are secure and leak-free.
- Test the System: Turn on the water source and run the system to check for any leaks, uneven water distribution, or malfunctions. Make adjustments to the flow rate or spacing if necessary.
- Monitor and Adjust: Regularly monitor the drip tape or drippers for any signs of clogging or blockage. Flush the system regularly and make adjustments as needed to ensure proper water distribution and coverage.
By successfully installing the drip tape or drippers, you ensure that water is effectively and efficiently delivered to the root zones of your plants. With this step completed, you’re one step closer to having a fully functional drip irrigation system for your raised beds.
Step 6: Adding Emitters for Individual Plants
In this step, you’ll be adding emitters for individual plants in your raised beds. This allows for precise water delivery to each plant’s root zone, ensuring their specific water needs are met. Follow these steps to successfully add emitters:
- Identify Plants That Require Individual Emitters: Determine which plants in your raised beds require individual emitters. This may include plants with different water requirements or those that are spaced further apart.
- Choose the Correct Emitters: Select emitters that suit the specific needs of your plants. Consider the flow rate and adjustability of the emitters to ensure accurate water delivery.
- Position the Emitters: Place the emitters near the base of each plant in a location that allows water to reach the root zone. Use a punch tool to create holes in the drip tape or tubing, and insert the emitters securely.
- Adjust Flow Rate: If necessary, adjust the flow rate of the emitters to meet the plants’ water requirements. Follow the manufacturer’s instructions for making adjustments.
- Secure Emitters: Ensure that the emitters are securely attached to prevent them from falling out or getting damaged during watering. Use stakes or clips if needed.
- Test the System: Turn on the water source and run the system to check the functionality of the emitters. Ensure that water is being delivered precisely to each plant’s root zone.
- Monitor and Adjust: Regularly monitor the emitters to ensure they are functioning properly and providing adequate water to the plants. Make adjustments as needed to ensure each plant receives the correct amount of water.
- Consider Plant Growth: As your plants grow, adjust the position of the emitters to accommodate their expanding root zones. Ensure that the emitters remain close to the base of the plants to deliver water effectively.
By adding emitters for individual plants, you can customize the water delivery in your raised beds and ensure that each plant receives the appropriate amount of water. With this step completed, you’re ready to move on to connecting the system to a water source.
Step 7: Connecting the System to a Water Source
Now that your drip irrigation system is set up in your raised beds, it’s time to connect it to a water source. Follow these steps to successfully connect the system:
- Locate the Water Source: Identify the nearest outdoor faucet or water outlet to connect your drip irrigation system. Ensure that it is easily accessible and can provide the necessary water flow and pressure.
- Attach a Hose Connector: If necessary, attach a hose connector to the water source. This will allow you to easily connect and disconnect the drip irrigation system as needed.
- Connect the Main Water Supply Line: Connect the main water supply line from your drip irrigation system to the hose connector. Ensure that the connection is secure and tight to prevent any water leakage.
- Turn On the Water: Slowly turn on the water at the source to allow the system to pressurize gradually. Check for any leaks or water seepage at the connections and make adjustments if necessary.
- Monitor Water Flow: Observe the water flow through the system to ensure that it is distributing water evenly and efficiently. Check for any clogs or blockages that may hinder proper water delivery.
- Add a Hose Timer or Irrigation Controller (Optional): If you prefer automated watering, you may choose to install a hose timer or an irrigation controller. This allows you to set the desired watering schedule and duration for your raised beds.
- Adjust Watering Schedule: Fine-tune the watering schedule based on the needs of your plants and the weather conditions. Consider factors such as the type of plants, soil moisture levels, and local climate to ensure optimal irrigation.
- Regularly Monitor and Maintain: Keep a close eye on the drip irrigation system to ensure that it continues to function properly. Check for any leaks, clogs, or damaged components, and perform regular maintenance to keep the system in good working condition.
By connecting your drip irrigation system to a water source, you can now provide regular and efficient watering to your raised beds. With this step completed, you’re nearing the end of the installation process and ready to move on to testing and adjusting the system.
Step 8: Testing and Adjusting the System
After installing your drip irrigation system for your raised beds, it’s crucial to thoroughly test and make necessary adjustments for optimal performance. Follow these steps to ensure your system is functioning properly:
- Turn on the Water: Turn on the water source and allow it to run through the drip irrigation system. Observe the flow rate and check for any leaks or malfunctions.
- Inspect for Even Water Distribution: Walk around your raised beds and observe the water distribution. Ensure that water is evenly distributed to each plant and that there are no dry spots or areas with excessive water accumulation.
- Check for Clogs or Blockages: Examine the emitters, drippers, or drip tape for any clogs or blockages. Use a flushing tool or clean the system manually to remove any debris that may disrupt water flow.
- Adjust Flow and Timing: Assess the flow rate and timing of the system. Make adjustments as necessary to ensure that each plant is receiving the appropriate amount of water based on its specific requirements.
- Monitor for Plant Health: Observe the health of your plants over a period of time. Pay attention to signs of overwatering or underwatering, such as wilting, yellowing leaves, or stunted growth. Make further adjustments to the irrigation schedule if needed.
- Regularly Maintain the System: Perform regular maintenance on your drip irrigation system. Inspect the components, check for leaks, and replace any damaged or worn-out parts. Clean and flush the system periodically to prevent clogs and maintain optimal function.
- Monitor Water Usage: Keep track of your water usage with the drip irrigation system. Monitor your water bills and make adjustments as needed to ensure efficient water usage while still meeting the needs of your plants.
- Make Seasonal Adjustments: Adjust the watering schedule and duration as the seasons change. Consider factors such as rainfall, soil moisture levels, and temperature fluctuations to ensure proper irrigation throughout the year.
By thoroughly testing and adjusting your drip irrigation system, you can maximize water efficiency, promote healthy plant growth, and minimize any potential issues. Regular monitoring and maintenance will ensure that your system continues to operate effectively in the long run.
Conclusion
Congratulations! You have successfully set up a drip irrigation system for your raised beds, providing a reliable and efficient method of watering for your plants. By following the step-by-step process outlined in this guide, you have created a system that minimizes water waste, promotes plant health, and saves you time and effort in maintaining your garden.
Through careful planning and designing, you ensured that your drip irrigation system meets the specific needs of your raised beds. By choosing the right drip irrigation system and preparing your raised beds properly, you created an optimal environment for your plants to thrive.
With the main water supply line and drip tape or drippers installed, you have guaranteed accurate water delivery to each plant’s root zone. Connecting the system to a water source and testing it for even water distribution and functionality further ensures the effectiveness of your system.
Remember, regular monitoring and adjustment of your system are crucial for optimal performance. By maintaining and adjusting your drip irrigation system as needed, you can continue to provide efficient watering to your raised beds and promote the health and growth of your plants.
By implementing a drip irrigation system, you have made a sustainable choice for your garden. Not only does this method conserve water, but it also saves you time and money in the long run. With proper maintenance and adjustments, your drip irrigation system will continue to serve you well for many years to come.
Enjoy the benefits of your newly installed drip irrigation system and watch as your raised beds flourish and thrive with efficient and precise watering!