Home>Gardening Techniques>DIY Projects>How To Prepare Raised Beds For Spring Planting
DIY Projects
How To Prepare Raised Beds For Spring Planting
Modified: January 22, 2024
Get ready for spring planting with these easy DIY projects for preparing raised beds. Follow our step-by-step guide to create the perfect garden beds for your plants.
(Many of the links in this article redirect to a specific reviewed product. Your purchase of these products through affiliate links helps to generate commission for Chicagolandgardening.com, at no extra cost. Learn more)
Table of Contents
Introduction
As winter fades away and spring arrives, it’s time to start planning and preparing for a successful gardening season. One crucial step in getting your garden ready is to prepare raised beds for spring planting. Raised beds offer various benefits such as improved drainage, better soil quality, and easier access for planting and maintenance. By following a few essential steps, you can ensure that your raised beds are primed and ready for a bountiful harvest.
Clearing the bed is the first step in preparing your raised beds. Remove any debris such as leaves, rocks, or leftover plant materials from the previous season. This will provide a clean slate for planting and prevent potential issues with pests and diseases.
Next, it’s important to remove any weeds or grass that may have taken root in the bed. Weeds compete with your plants for nutrients and can hinder their growth. Use a garden fork or a hand trowel to dig out the weeds, ensuring you remove the roots to prevent regrowth.
After clearing the bed, it’s time to turn the soil. This helps to aerate the soil and loosen it up, allowing for better root penetration and water drainage. Use a garden fork or a spade to gently turn over the soil, breaking up any clumps and incorporating air into the bed.
Once the soil is turned, it’s beneficial to add compost to enrich the nutrient content. Compost improves soil structure and fertility, providing essential nutrients for plant growth. Spread a layer of compost over the bed and use a garden fork or rake to mix it into the top few inches of soil.
In addition to compost, applying fertilizer can give your plants an extra boost of nutrients. Choose a balanced organic fertilizer and follow the instructions on the package for application rates. Spread the fertilizer evenly over the bed and gently mix it into the soil. This will provide a steady supply of nutrients for your plants throughout the growing season.
Mulching the bed is another important step in preparing raised beds. Mulch helps to retain moisture, suppress weed growth, and regulate soil temperature. Spread a layer of organic mulch, such as straw or wood chips, over the surface of the bed, ensuring you leave a small gap around the plant stems to prevent rotting.
Creating pathways between your raised beds is not only aesthetically pleasing but also practical. Pathways allow for easy access to tend to your plants and minimize soil compaction in the growing areas. Lay down a layer of landscape fabric or use stepping stones to create defined pathways.
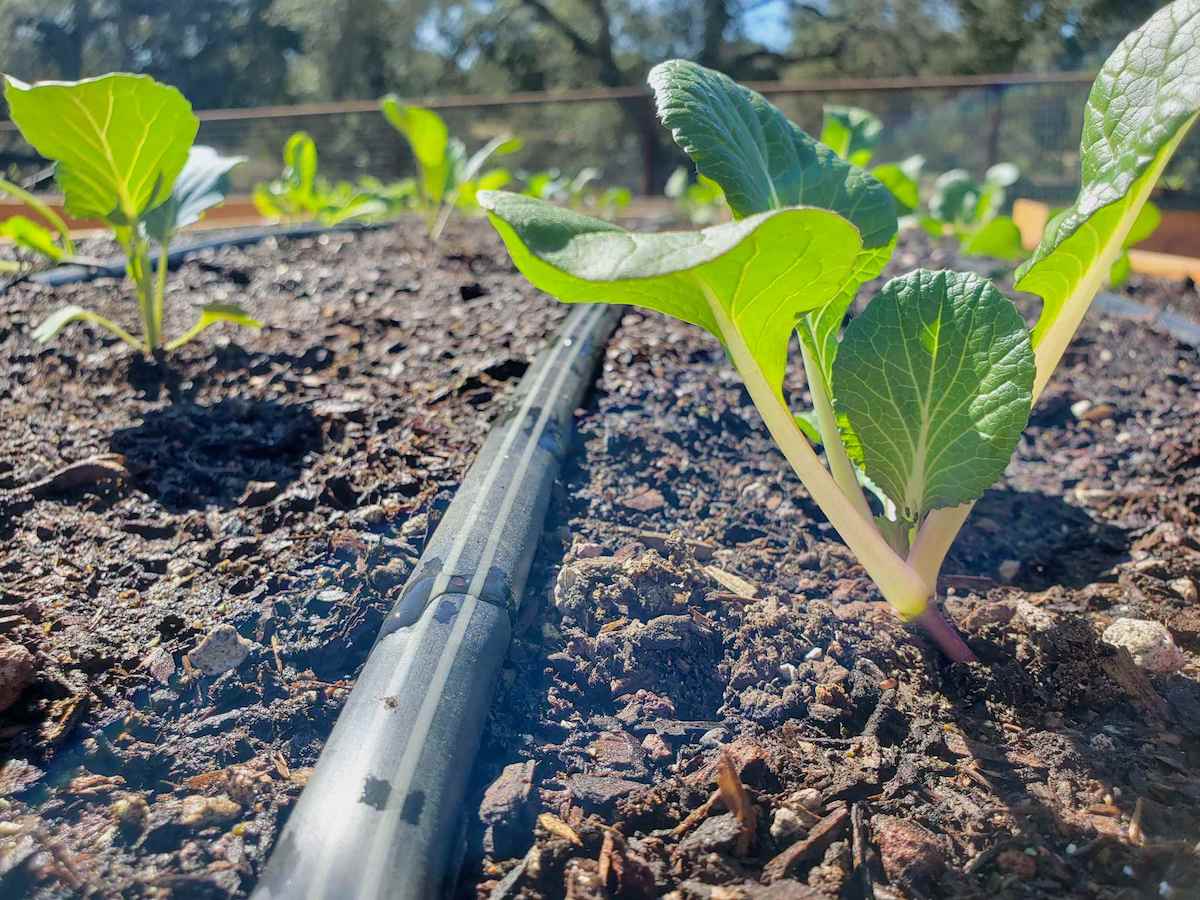
Before planting, make sure to water the bed thoroughly to ensure the soil is moist. This will give your plants a head start in establishing their roots. Consider installing drip irrigation or soaker hoses to provide a consistent water supply throughout the growing season.
Preparing your raised beds for spring planting sets the stage for a successful gardening season. By following these steps, you can ensure that your plants have the best possible start and enjoy a productive and rewarding harvest. So roll up your sleeves, grab your tools, and get ready to transform your raised beds into a thriving garden oasis.
Clearing the Bed
Before you can start preparing your raised beds for spring planting, the first step is to clear the bed of any debris from the previous season. Removing leaves, rocks, or any leftover plant materials will provide a clean slate for your new plants and reduce the risk of pests and diseases.
Begin by carefully inspecting the bed and removing any large debris that may have accumulated over the winter. This can include sticks, branches, or any other items that could impede the growth of your plants. Dispose of these materials properly, either by composting or by placing them in yard waste bins.
Next, rake away any fallen leaves or dead plant matter that may have accumulated on the surface of the bed. Leaves can create a barrier that prevents water and air from reaching the soil, so it’s important to remove them to maintain optimal growing conditions for your plants.
Take the time to carefully remove any weeds that may have sprouted in the bed. Weeds compete with your plants for nutrients and can hinder their growth, so it’s essential to eliminate them before planting. Use a garden fork, a hand trowel, or even your hands to carefully dig out the weed roots, ensuring that you remove them entirely to prevent regrowth.
If there are any remaining plant stalks or stems from the previous season, cut them down to ground level using pruning shears or garden scissors. Removing these remnants will prevent potential disease issues and make it easier to turn and work the soil.
Once the bed is cleared of debris and weeds, take a moment to assess the overall condition of the soil. Look for any compacted areas or areas that may be in need of additional amendments. This will help you determine if any additional steps, such as aerating the soil or adding compost, are necessary before planting.
Remember, the goal of clearing the bed is to create a clean and healthy growing environment for your new plants. By removing debris, weeds, and old plant material, you’ll be setting the stage for a successful gardening season.
Removing Weeds and Grass
One of the essential steps in preparing raised beds for spring planting is removing any weeds and grass that may have taken root in the bed. Weeds and grass can compete with your plants for nutrients, water, and space, hindering their growth and productivity. Therefore, it’s crucial to eliminate them before planting to give your plants the best chance to thrive.
Start by inspecting the bed closely and identifying any weeds or grass that have infiltrated the soil. Weeds can come in various forms, such as broadleaf weeds, grassy weeds, or even invasive species. Take note of their characteristics as this can help you choose the most effective method of removal.
For small-scale weed and grass removal, you can use a hand tool like a garden fork, hand trowel, or even a weeding tool specifically designed to remove weeds. Work carefully to dig out the weeds, ensuring you remove the entire root system to prevent regrowth. Be gentle to avoid disturbing the surrounding soil and damaging your desired plants.
If you are dealing with a larger area affected by weeds and grass, you may consider smothering them with a layer of organic mulch. Spread a thick layer of newspaper, cardboard, or landscape fabric over the affected area, ensuring you completely cover the weeds and grass. Then, apply a layer of organic mulch like straw or wood chips over the top.
The mulch will block the sunlight from reaching the weeds and grass, effectively smothering them over time. This method is particularly useful for preparing a bed over the winter or for areas where you want to suppress weed growth in the long term. Keep in mind, however, that this method may take several weeks or even months to fully eliminate the weeds and grass.
Another option is to use an organic herbicide to target and kill the weeds and grass. Organic herbicides are formulated using natural ingredients without harmful chemicals, making them safer for the environment and your plants. Follow the instructions on the herbicide label carefully, applying it directly to the weeds and grass while avoiding contact with your desired plants.
Remember to be patient and persistent when removing weeds and grass from your raised beds. It may take some time and effort, but the reward is a clean and weed-free bed that allows your plants to thrive.
Turning the Soil
Turning the soil is a crucial step in preparing raised beds for spring planting. It helps to improve soil structure, promote better drainage, and create a loose and aerated environment for plant roots to thrive. By turning the soil, you are breaking up compacted layers, incorporating organic matter, and preparing the bed for optimal plant growth.
To begin, gather your gardening tools, such as a garden fork or a spade, and work your way around the raised bed. Insert the fork or spade vertically into the soil, pushing it down as deep as possible. Then, tilt it back towards you to loosen the soil. Repeat this process across the entire bed, spacing the insertions a few inches apart.
As you work, be mindful of any existing plants or roots in the bed. Take care not to damage their root systems while turning the soil. If necessary, work around the plants or gently lift them aside, ensuring they are replanted at the same depth once the soil is turned.
Turning the soil not only aerates it but also helps to break up any large clumps and distribute nutrients more evenly. It allows for better water absorption, preventing pooling or waterlogged areas in the bed. Additionally, turning the soil exposes any buried weed seeds, which can then be removed or treated accordingly.
After turning the soil, take a moment to assess its condition. Pay attention to the texture, moisture level, and overall quality. If the soil appears dry, consider watering it lightly before proceeding with further steps. If it seems too compacted, you may need to further loosen it using a garden fork or a tiller.
Once the soil is turned, it’s an opportune time to incorporate organic matter such as compost, well-rotted manure, or leaf mold. These amend the soil with essential nutrients, improve its structure, and enhance its water-holding capacity. Spread a layer of the organic matter over the top of the soil and use the garden fork or a garden rake to mix it in thoroughly.
Turning the soil is a vital step in the preparation of raised beds for spring planting. It promotes healthy root growth, ensures optimal soil conditions, and lays the foundation for productive and thriving plants. With a well-turned soil, your plants will have the best chance to flourish and produce a bountiful harvest.
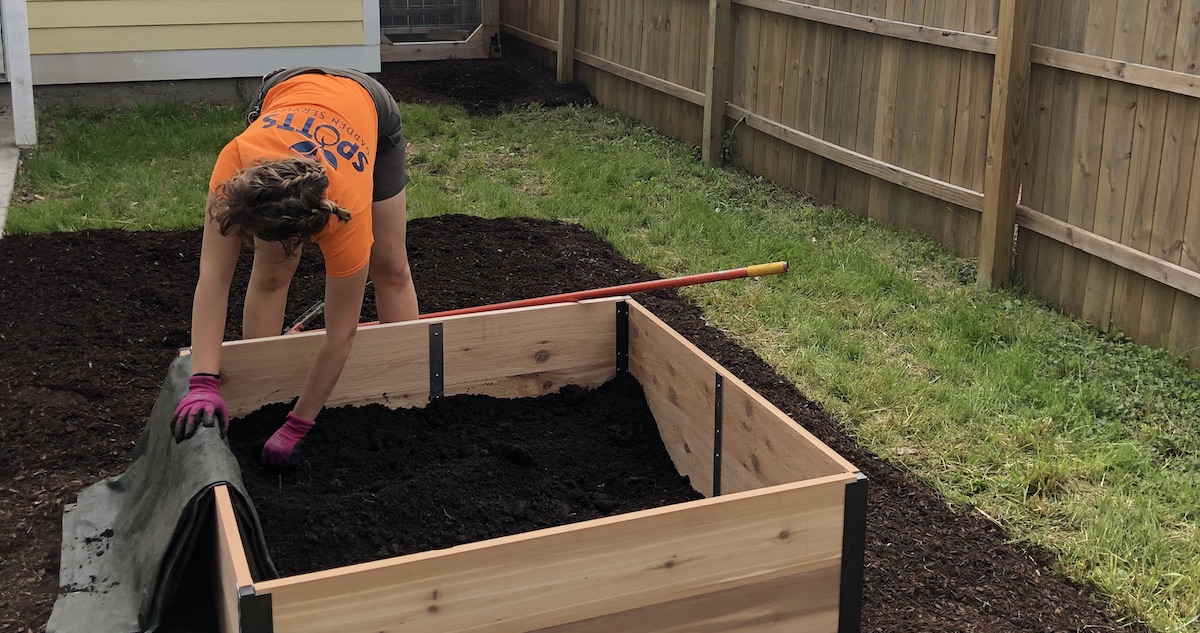
Adding Compost
Adding compost to your raised beds is a key step in preparing for spring planting. Compost not only improves soil fertility but also enhances its structure, water-holding capacity, and overall health. It provides essential nutrients and beneficial microorganisms that promote healthy plant growth and development. By incorporating compost into your raised beds, you are creating a nutrient-rich and fertile environment for your plants to thrive.
To begin, gather well-aged compost from your own compost bin or purchase it from a local nursery or garden center. Ensure that the compost is fully decomposed and free from any weeds or pathogens. You can add compost at any time during the year, but incorporating it before planting season allows it to integrate thoroughly into the soil, providing maximum benefits to your plants.
Spread a generous layer of compost over the surface of the raised bed, aiming for a thickness of about 2 to 4 inches. Use a garden fork or a garden rake to gently mix the compost into the top few inches of soil. This will distribute the organic matter evenly and enhance the nutrient content throughout the bed.
Compost improves soil structure by breaking up compacted soil particles, allowing for better root penetration and air circulation. It also enhances the soil’s water-holding capacity, reducing the risk of drought stress for your plants. Additionally, compost acts as a natural slow-release fertilizer, providing a steady supply of nutrients to your plants as they grow.
The organic matter in compost promotes the growth of beneficial microorganisms, such as bacteria and fungi, that help break down organic materials and release nutrients for plant uptake. These microorganisms contribute to a healthy soil ecosystem and improve overall soil health.
Incorporating compost into your raised beds offers numerous benefits, including increased soil fertility, improved drainage, and healthier plants. However, it’s important to remember that compost should complement your soil’s existing composition. Conduct a soil test to understand your soil’s nutrient levels and pH balance. This will help you determine if any additional amendments are needed to create an optimal growing environment for specific plant requirements.
Adding compost to your raised beds is a simple yet highly effective step that sets the stage for successful spring planting. With nutrient-rich soil, your plants will have the resources they need to thrive and produce a bountiful harvest.
Applying Fertilizer
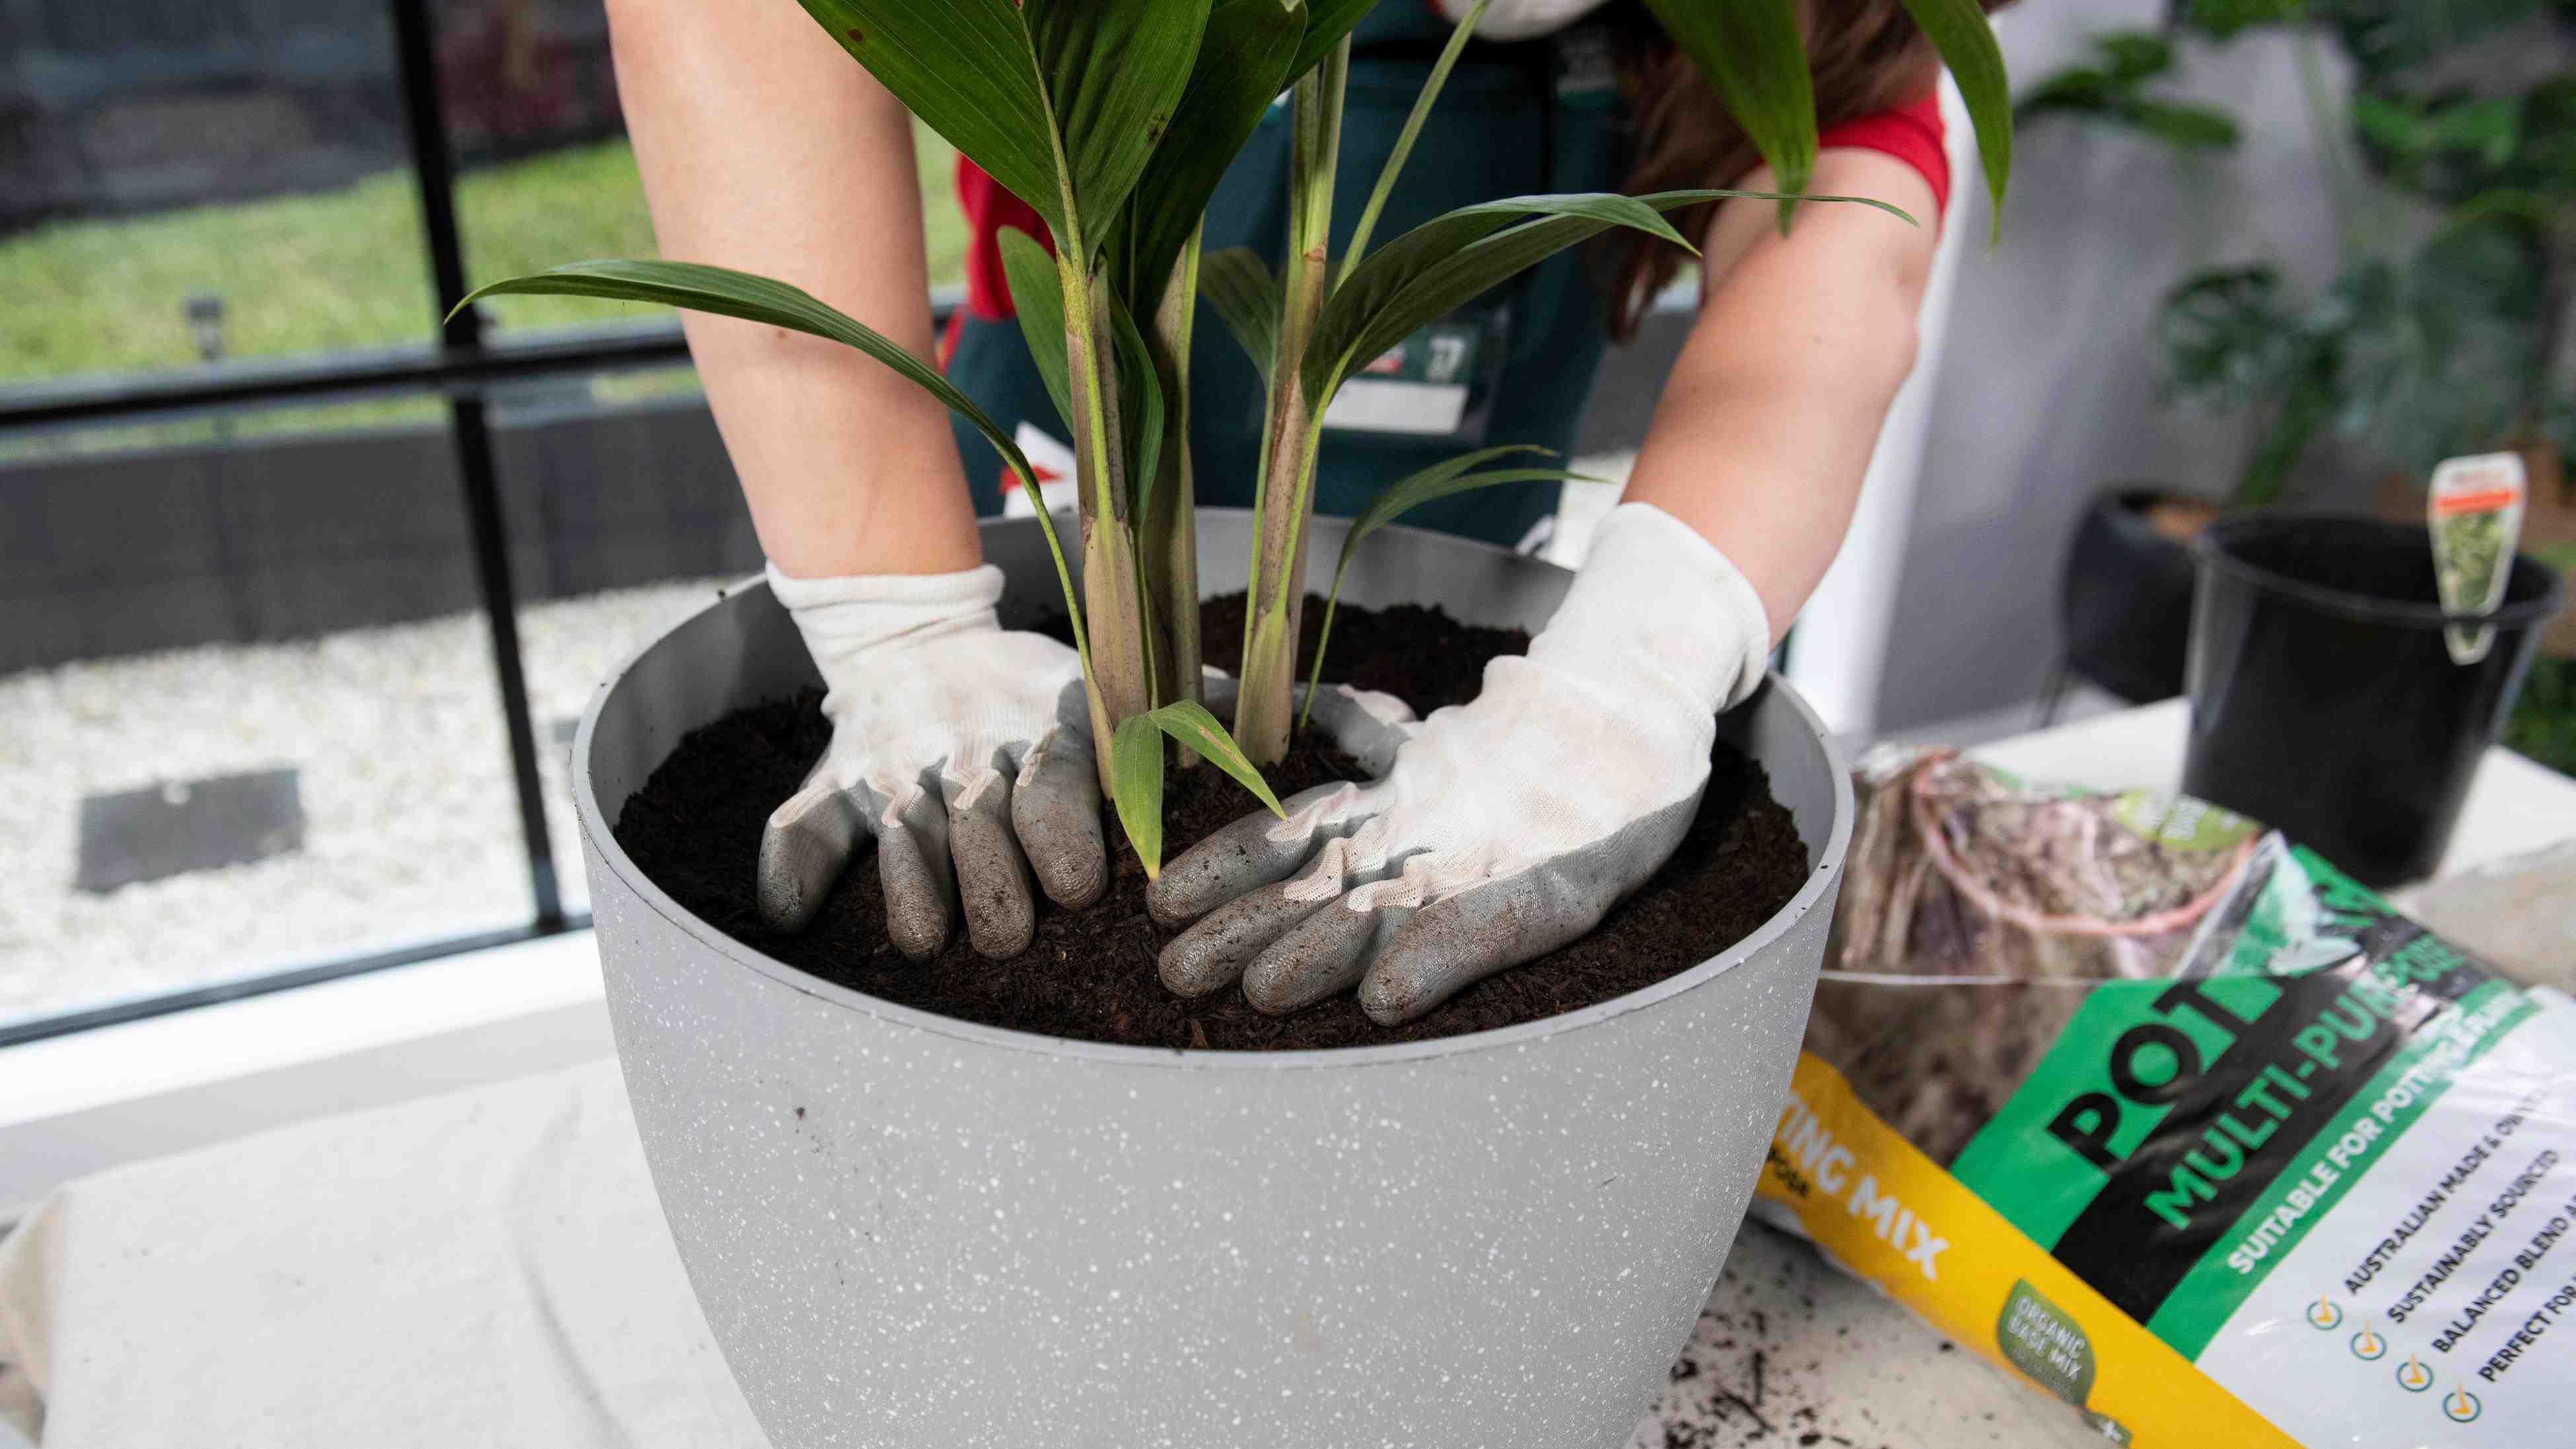
Applying fertilizer to your raised beds is a crucial step in preparing for spring planting. Fertilizers provide essential nutrients that may be deficient in the soil, ensuring healthy plant growth and optimal yields. By choosing the right type of fertilizer and using it appropriately, you can maximize the nutrient availability for your plants and promote their overall well-being.
Begin by selecting a fertilizer that suits the specific needs of your plants. There are different types of fertilizers available, including organic and synthetic options. Organic fertilizers, such as composted manure or fish emulsion, release nutrients slowly over time and improve soil structure. Synthetic fertilizers, on the other hand, provide nutrients in a readily available form, allowing for quick absorption by plants.
Read the label carefully and follow the instructions for application rates and frequency. Over-fertilizing can lead to nutrient imbalances or even burn the plants, so it’s important to apply the right amount. A soil test can also provide valuable information about the existing nutrient levels in your raised beds, helping you determine the specific needs of your plants.
Before applying the fertilizer, ensure that the soil is slightly moist to help the nutrients penetrate effectively. You can water the raised bed lightly the day before or moisten the soil with a gentle sprinkling prior to application.
Spread the fertilizer evenly over the surface of the bed, taking care not to concentrate it around the plant stems or foliage. Use a garden fork, a hand rake, or a broadcast spreader to distribute the fertilizer, ensuring that it reaches the entire bed uniformly.
Once the fertilizer is applied, gently work it into the top inch or so of soil using a garden fork or rake. This helps to incorporate the nutrients into the soil and prevents them from being washed away by rainfall or irrigation. Avoid excessive tilling, as it can disturb the soil structure and root systems of your plants.
After applying the fertilizer, water the raised bed thoroughly to help activate the nutrients and encourage their absorption by the plants. Adequate moisture is crucial for nutrient uptake, so ensure that the bed remains consistently moist throughout the growing season.
It’s important to note that some plants have specific fertilizer requirements. For example, nitrogen-loving plants like leafy greens may benefit from additional nitrogen-rich fertilizers, while fruiting plants may require a balanced fertilizer with higher levels of phosphorus and potassium.
Applying fertilizer to your raised beds provides your plants with the necessary nutrients they need for healthy growth. By choosing the right type of fertilizer and using it correctly, you can promote optimal plant health and ensure a successful growing season.
Mulching the Bed
Mulching your raised beds is a vital step in preparing for spring planting. Mulch offers numerous benefits, including conserving moisture, suppressing weed growth, regulating soil temperature, and improving overall soil health. By applying mulch, you create a protective layer that enhances the growing conditions for your plants and contributes to their success.
Choose an organic mulch material, such as straw, hay, wood chips, or shredded leaves. Organic mulches break down over time, enriching the soil with organic matter and nutrients. Avoid using synthetic or dyed mulches, as they can introduce chemicals or toxins into the soil.
Applying mulch is relatively straightforward. Spread a layer of mulch evenly over the surface of the raised bed, aiming for a thickness of around 2 to 4 inches. Make sure to leave a small gap around the stems of your plants to avoid trapping moisture against their bases, which can lead to rotting.
Mulch serves as an excellent moisture-retaining barrier, reducing evaporation and helping to conserve water in the soil. By minimizing water loss, mulch provides a more consistent and even water supply to your plants, reducing irrigation needs and preventing moisture stress.
In addition to its moisture-conserving properties, mulch also acts as a natural weed suppressant. It forms a barrier that blocks sunlight from reaching weed seeds, preventing their germination and growth. This reduces competition for nutrients and resources, allowing your desired plants to thrive without the interference of unwanted weeds.
Mulch plays a crucial role in regulating soil temperature, keeping it cooler during hot summer months and insulating it during chilly spring nights or frost. This helps to create a more stable and favorable environment for plant roots, promoting healthier growth and reducing stress caused by extreme temperatures.
As organic mulch breaks down, it adds valuable organic matter to the soil, improving its structure and fertility. The decomposition process also attracts beneficial organisms, such as earthworms, which help aerate the soil and create a healthier ecosystem for your plants.
Regularly replenish the mulch layer throughout the growing season as it breaks down or gets displaced. This will maintain its effectiveness in retaining moisture, suppressing weeds, and providing insulation to the soil.
By mulching your raised beds, you create a protective and nurturing environment for your plants. Mulch provides numerous benefits that contribute to the overall health and productivity of your garden. So take the time to spread that layer of mulch and reap the rewards throughout the growing season.
Creating Pathways
Creating pathways in your raised beds not only adds aesthetic appeal but also serves a practical purpose. Well-defined pathways allow for easy access to your plants, minimize soil compaction, and help maintain a tidy and organized garden. By creating pathways, you can navigate through your raised beds with ease and perform necessary tasks without causing damage to your plants.
Start by evaluating the layout and spacing of your raised beds. Determine the best locations for pathways that provide convenient access to all areas of the garden. Consider the size of your garden and the space you have available between the beds. Aim for pathways that are wide enough to comfortably walk through and maneuver garden tools or equipment, typically about 18 to 24 inches wide.
There are several options for creating pathways, depending on your preference and the overall style of your garden. The most common methods include using landscape fabric, spreading mulch, or laying down stepping stones.
If you choose to use landscape fabric, it provides a barrier between the pathway and the soil, preventing weed growth and reducing maintenance. Clear the area where the pathway will be located, removing any grass, roots, or debris. Lay down the landscape fabric, ensuring it extends beyond the boundaries of the pathway. Secure the fabric in place with staples or pins, and cover it with a layer of mulch or decorative gravel for a finished look.
Spreading mulch on the pathway is another popular option. Use a thick layer of organic mulch like wood chips, straw, or shredded leaves. Mulch not only suppresses weed growth but also helps with moisture retention and soil temperature regulation. Regularly replenish the mulch as needed to maintain its effectiveness.
For a more visually appealing pathway, consider laying down stepping stones. Choose stones of appropriate size and thickness, ensuring they are level and stable. Dig out the pathway area slightly to accommodate the stones, then place them in the desired pattern, leaving adequate space between each stone. Fill in the gaps with gravel, sand, or mulch to stabilize the stones and create a cohesive pathway.
Pathways offer more than just a practical route through your raised beds. They also provide structure and create a sense of order in your garden. Envision the pathway design that best complements your garden style, whether it’s a straight pathway, a winding path, or a combination of both.
Regularly maintain and upkeep the pathways by removing debris or fallen leaves and checking for any signs of erosion. Keeping the pathways clean and clear will contribute to the overall aesthetics of your garden and ensure easy access for maintenance tasks.
Creating pathways within your raised beds not only adds functionality but also enhances the visual appeal of your garden space. With well-defined pathways, you can easily navigate while protecting the soil and plants. Take the time to design and create pathways that suit your garden style, and enjoy the convenience and attractiveness they bring to your gardening experience.
Watering and Preparing for Planting
Watering and preparing your raised beds for planting are essential steps to ensure that your plants have the best start and continue to thrive throughout the growing season. Proper watering and thorough preparation set the stage for healthy root development and vigorous growth. By paying careful attention to these factors, you can provide optimal conditions for your plants to flourish.
Before planting, it’s crucial to thoroughly water the raised beds. Moisture is essential for seed germination and root establishment. Ensure that the soil is evenly moist but not waterlogged. If the soil feels dry, water the beds a day or two before planting to allow the moisture to penetrate deeply.
Consider using a gentle watering method such as a soaker hose or drip irrigation system. These methods deliver water directly to the root zone, minimizing loss through evaporation or runoff. This targeted approach promotes efficient water usage and reduces the risk of surface soil crusting or erosion.
As you prepare for planting, take the time to assess the drainage of your raised beds. Good drainage is vital to prevent waterlogged soil, which can lead to root rot and other problems. If the beds have poor drainage, consider amending the soil with organic matter or adjusting the bed’s slope to improve water flow.
Once the beds are thoroughly watered and drainage is addressed, it’s time to prepare the soil further. Rake the surface gently to create a smooth and even planting environment. Remove any remaining debris or rocks to promote healthy growth and prevent potential obstacles for your plants.
Consider creating rows or furrows for planting your seeds or seedlings. This organized approach helps with spacing and makes it easier to care for your plants as they grow. Use a wooden dowel, a garden hoe, or your finger to create the rows, ensuring they are at the appropriate depth and spacing for the specific plants you are planting.
Before placing your plants in the prepared rows, gently loosen their root balls or carefully remove them from their containers. This encourages the roots to spread out and establish themselves more quickly in the new soil. Ensure that the plants are planted at the correct depth, so the soil is level with the base of the stems.
After planting, carefully water the newly planted rows or individual plants. Give them a thorough soaking, ensuring that the water reaches the root zone directly. This will help settle the soil around the roots, eliminate air pockets, and establish good root-to-soil contact.
Water your raised beds regularly, especially during dry periods or when the top inch of soil feels dry. Aim for deep and infrequent watering rather than frequent shallow watering. This encourages the roots to grow deeper, creating a more resilient and drought-tolerant root system.
Regularly monitor the moisture level of the soil by checking it with your finger or using a moisture meter. Adjust your watering schedule accordingly, taking into account the specific needs of the plants you are growing.
Watering and properly preparing your raised beds for planting are crucial steps in ensuring the success of your garden. By providing adequate moisture and preparing the soil, you create the optimal conditions for your plants to establish and thrive. With proper care and attention, your raised beds will yield a bountiful harvest and bring you joy throughout the growing season.
Conclusion
Preparing raised beds for spring planting is vital to ensure a successful and bountiful gardening season. By following the steps outlined in this article, you can create a nurturing and fertile environment for your plants to thrive.
Start by clearing the bed and removing any debris, weeds, or grass that may hinder plant growth. Turning the soil helps to improve its structure and allows for better water drainage and root penetration. Adding compost enriches the soil with nutrients and organic matter, promoting healthy plant growth.
Applying fertilizer provides essential nutrients for your plants, ensuring they have everything they need to grow strong and productive. Mulching the bed conserves moisture, suppresses weed growth, and regulates soil temperature, creating optimal conditions for your plants to flourish.
Creating pathways between your raised beds not only adds aesthetic appeal but also makes it easier to access your plants without compacting the soil. Finally, proper watering and thorough preparation before planting set the stage for healthy root development and vigorous growth.
Remember that gardening is a continuous process that requires ongoing care and attention. Regular monitoring of soil moisture, proper watering, and timely maintenance will help your plants thrive and produce a bountiful harvest.
So, with these steps in mind, roll up your sleeves, grab your gardening tools, and get ready to transform your raised beds into a flourishing oasis of plants and beauty. Happy gardening!