Home>Gardening Basics>Understanding Soil>How To Prepare A Pot For Planting
Understanding Soil
How To Prepare A Pot For Planting
Modified: February 9, 2024
Learn how to prepare a pot for planting with this guide. Understand the importance of soil and get tips for creating the perfect growing environment for your plants.
(Many of the links in this article redirect to a specific reviewed product. Your purchase of these products through affiliate links helps to generate commission for Chicagolandgardening.com, at no extra cost. Learn more)
Table of Contents
Introduction
Welcome to the world of gardening! Whether you are an experienced gardener or a beginner looking to explore the joys of growing plants, understanding the role of soil is essential for success. Soil is the foundation of any garden, providing nutrients, moisture, and support to plants. But before you start digging into the soil, it’s important to have a solid understanding of its composition and characteristics.
Soil is a complex mixture of minerals, organic matter, water, and air. It varies in texture, structure, and fertility based on factors such as climate, geology, and land use. Different types of soil, like sandy, clayey, or loamy, have distinct characteristics that affect plant growth. Some soils drain quickly, while others retain moisture for longer periods. Some soils are rich in nutrients, while others may need amendments to support plant growth.
Understanding the properties of soil is crucial because it enables you to make informed decisions about how to prepare your garden, choose the right plants, and provide appropriate care. By optimizing the soil conditions, you can create an environment that promotes healthy plant growth and minimizes the risk of diseases and pests.
In this article, we will delve into the information on how to prepare a pot for planting. Whether you are planning to grow herbs, flowers, or vegetables in containers, the steps in this guide will help you create an ideal growing environment for your plants. From choosing the right pot to caring for your plants, we will cover everything you need to know to ensure success in your container gardening endeavors.
So let’s get started by first understanding how to choose the right pot for your plants.
Choosing the Right Pot
When it comes to choosing the right pot for your plants, several factors should be considered. The size, material, and drainage capabilities of the pot are all crucial for providing an optimal growing environment for your plants.
Firstly, consider the size of the pot. It is important to choose a pot that is appropriately sized for the plant you intend to grow. A pot that is too small will restrict root growth and may lead to root-bound plants, while a pot that is too large can cause excess moisture retention and hinder the plant’s ability to uptake nutrients. Research the specific plant’s requirements to determine the ideal pot size.
The material of the pot is another key consideration. Common options include plastic, ceramic, terracotta, and fabric pots. Plastic pots are lightweight and affordable, but they may not provide the best insulation. Ceramic and terracotta pots are more aesthetically pleasing and offer better insulation, but they can be more expensive and prone to cracking in freezing temperatures. Fabric pots are breathable and promote healthy root growth, making them a great choice for many plants.
Another important aspect to consider is the pot’s drainage capabilities. Drainage holes are essential for allowing excess water to escape, preventing waterlogged soil and root rot. When selecting a pot, check for drainage holes at the bottom or consider drilling them if necessary. Additionally, ensure that the pot has a saucer or tray to collect water runoff, preventing it from damaging your floors or surfaces.
Lastly, consider the overall aesthetic and style of the pot. Choose a pot that complements your personal taste and the surrounding environment. This will not only enhance the visual appeal of your garden but also create a harmonious and cohesive space.
By considering the size, material, drainage capabilities, and aesthetic appeal of the pot, you can make an informed decision and provide your plants with a suitable home. Now that you have chosen the perfect pot, let’s move on to the next step — cleaning and preparing the pot.
Cleaning and Preparing the Pot
Before planting in a new pot or reusing an old one, it’s crucial to clean and prepare it to create a healthy environment for your plants. Cleaning the pot helps remove any dirt, debris, or potential pathogens that may harm your plants. Additionally, preparing the pot ensures optimal drainage and promotes root growth.
To clean the pot, start by removing any leftover soil or plant debris from previous plantings. Use a brush or sponge to scrub away any stubborn dirt or stains. If the pot has calcium or mineral deposits, soak it in a solution of equal parts water and vinegar overnight, then scrub away the deposits with a brush. Rinse the pot thoroughly with clean water to remove any remaining residue.
Once the pot is clean, it’s time to prepare it for planting. Place a layer of small rocks or broken pottery pieces at the bottom of the pot. This helps improve drainage by preventing the soil from becoming waterlogged. Next, add a layer of horticultural charcoal on top of the rocks. Horticultural charcoal helps absorb excess moisture and keeps the soil fresh.
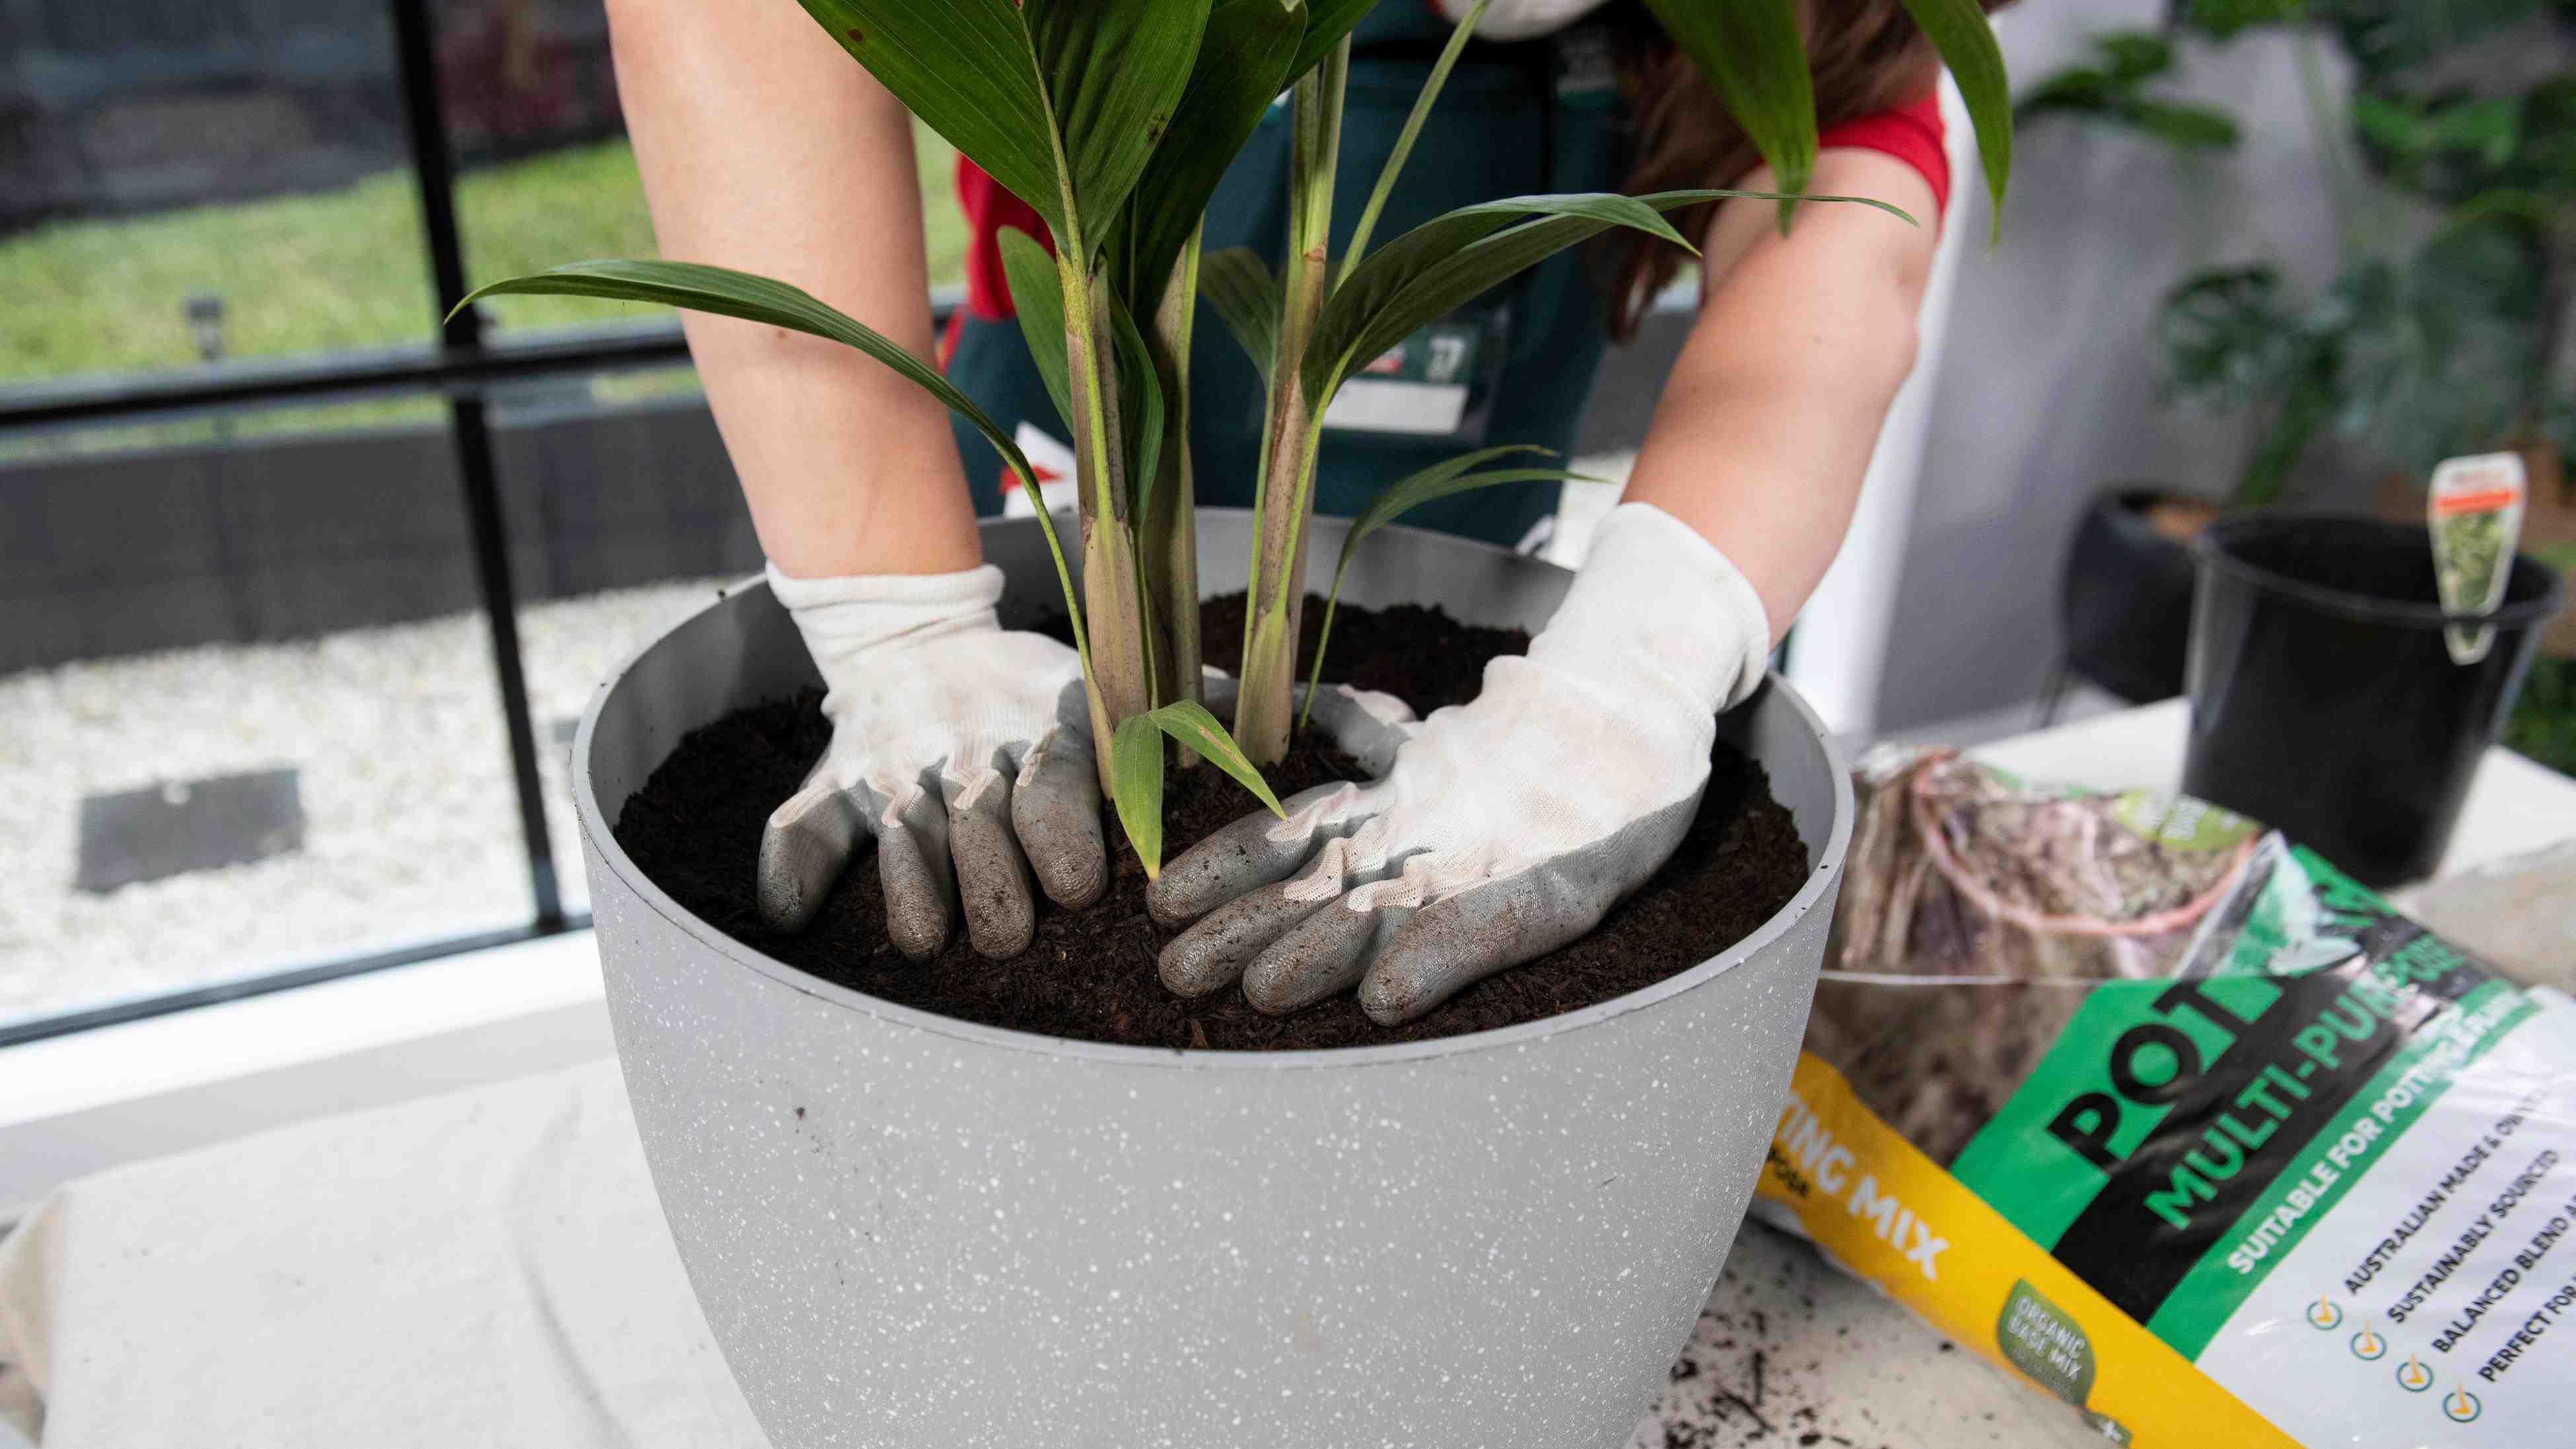
After adding the charcoal, it’s time to fill the pot with potting mix. Use a high-quality potting mix that is suitable for the plants you will be growing. Avoid using garden soil, as it can be heavy and may contain pests or diseases. Fill the pot with the potting mix, leaving enough space at the top for planting.
Before planting, it is recommended to water the potting mix thoroughly. This helps settle the soil and ensures that it is evenly moist before adding the plants. After watering, wait for a few minutes for any excess water to drain out of the pot through the drainage holes.
Now that the pot is cleaned, prepared, and filled with potting mix, it’s time to move on to the next step — selecting the right plants for your container garden.
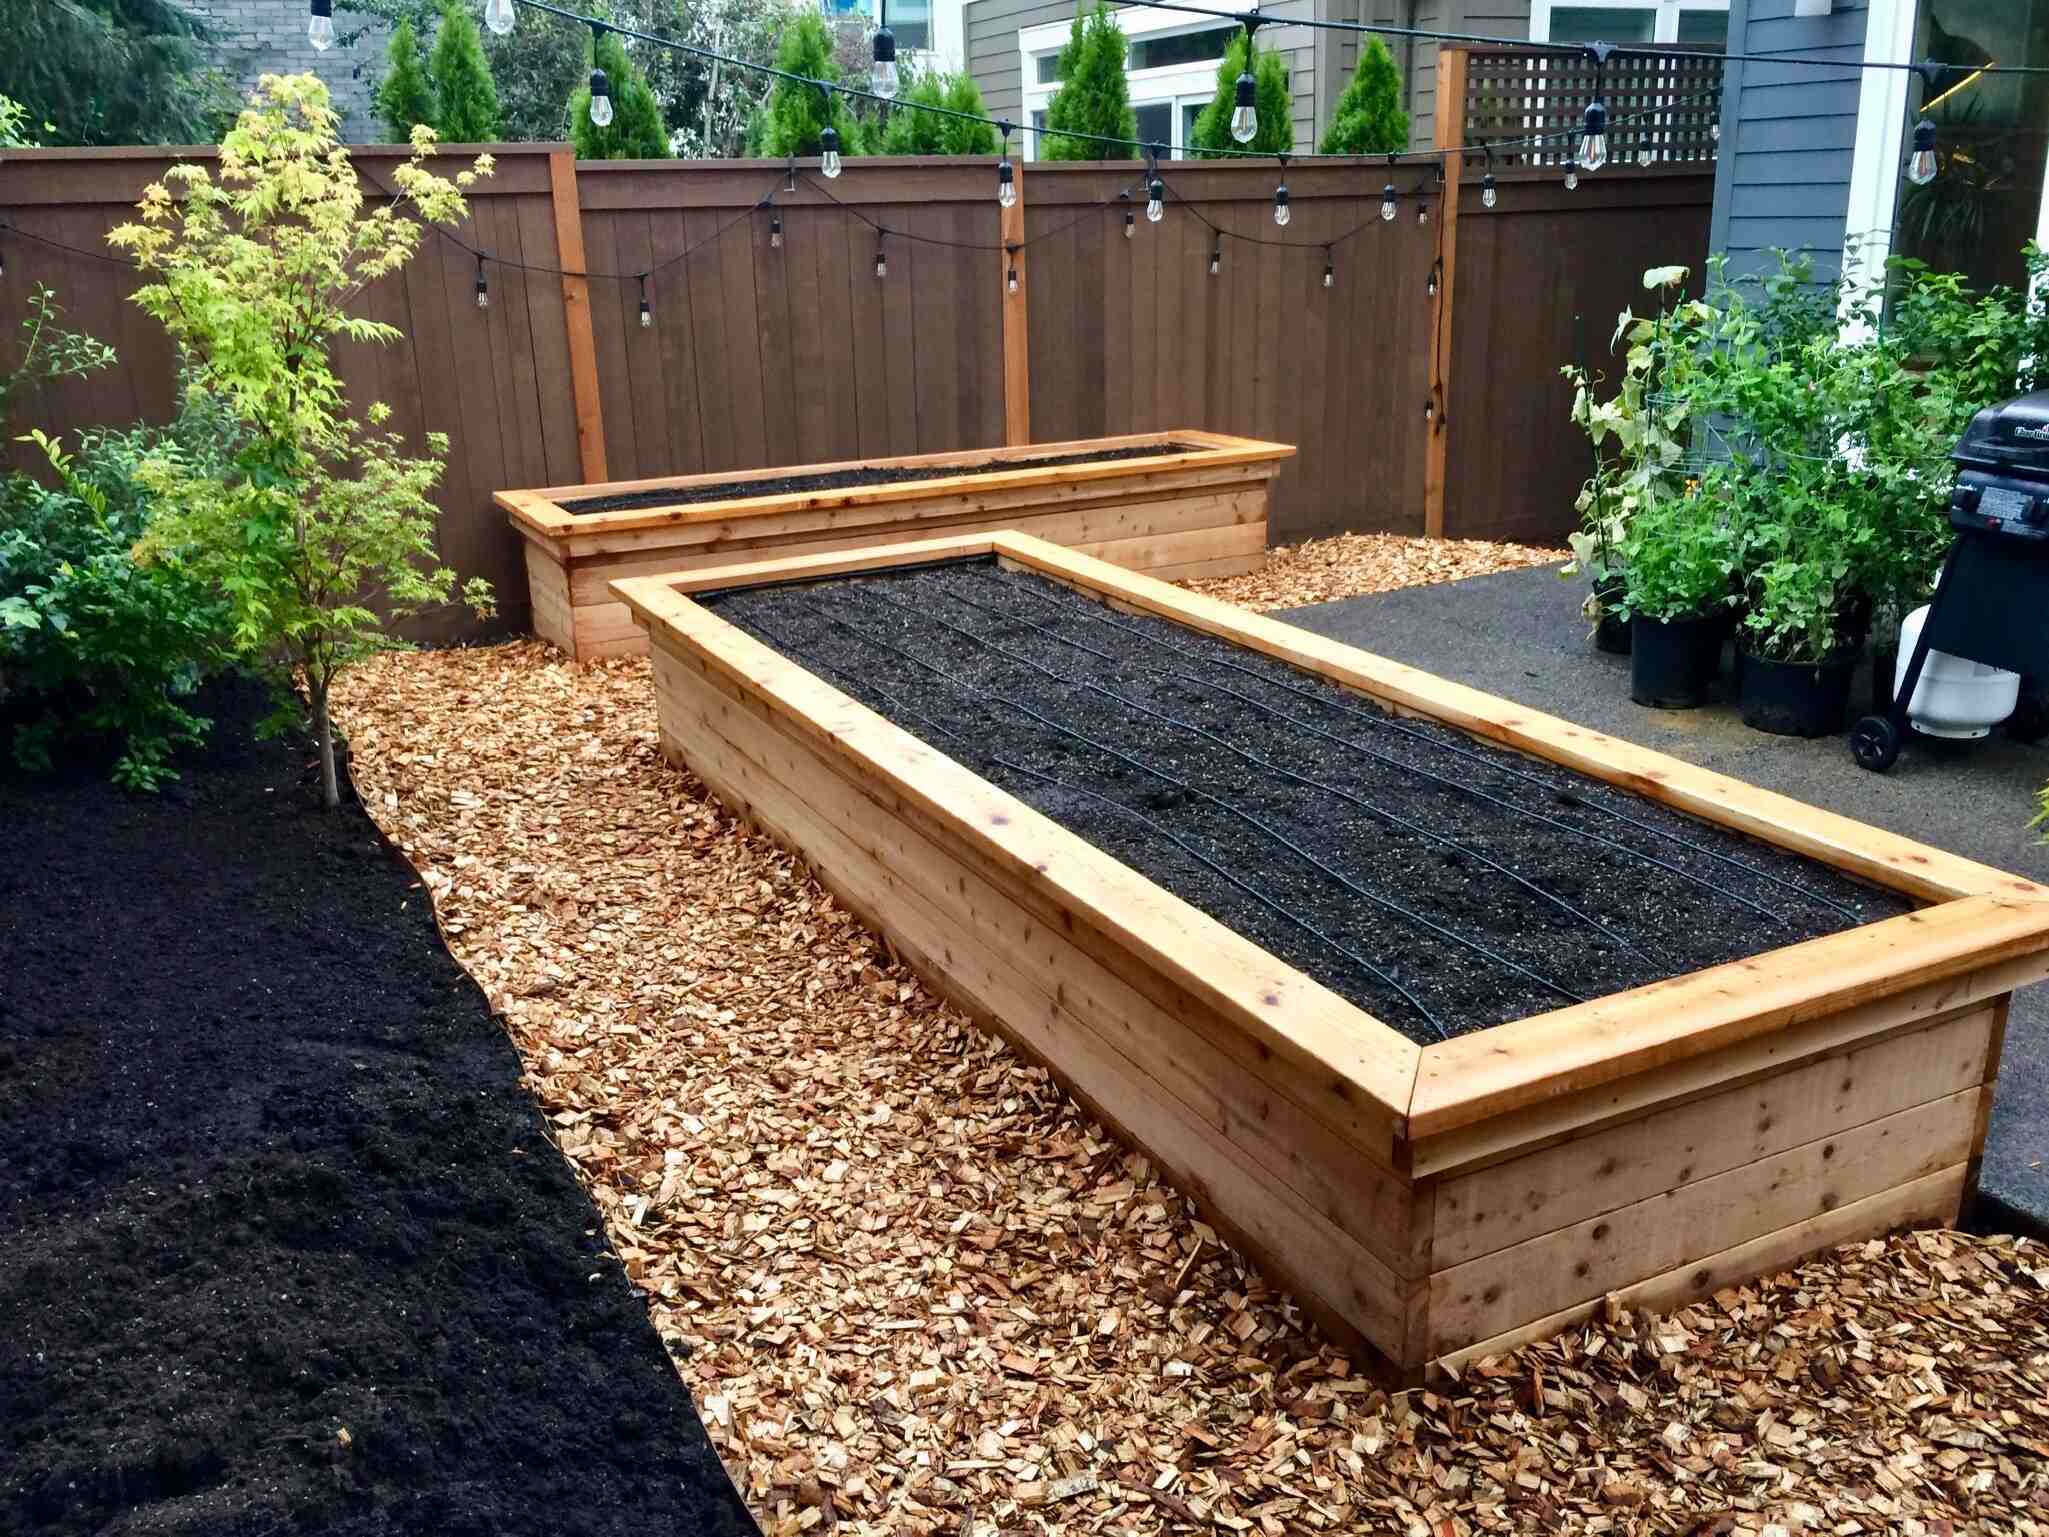
Adding Drainage Holes
Proper drainage is crucial for the health and well-being of your plants. Without adequate drainage, excess water can accumulate in the soil, leading to root rot and other issues. Adding drainage holes to your pot is a simple yet essential step to ensure that water can freely flow out of the container.
If your pot does not already have drainage holes, you can easily add them yourself. Start by choosing a drill bit that is appropriate for the material of your pot. For plastic pots, a standard drill bit will work fine. For ceramic or terracotta pots, use a masonry drill bit to prevent cracking.
Place the pot on a stable surface and mark the desired locations for the drainage holes. Make sure to evenly distribute the holes across the bottom of the pot. Keep in mind that the size and number of holes will depend on the size of your pot. Typically, four to six small holes are sufficient for most pots.
Once you have marked the locations, use the drill to slowly create the drainage holes. Start with a small pilot hole to prevent the drill from slipping, then gradually increase the size of the hole until it reaches the desired diameter. Take care not to apply too much pressure to avoid damaging the pot.
After drilling the holes, clean away any debris or plastic shavings from the pot. You can use a damp cloth or sponge to wipe the inside and outside of the pot, ensuring that no loose fragments remain.
Adding drainage holes allows excess water to escape from the pot, preventing waterlogging and helping to maintain the optimal moisture level for your plants. Coupled with the appropriate potting mix, proper drainage promotes healthy root growth and prevents diseases caused by excess moisture.
Now that your pot has drainage holes, it’s time to move on to the next step — adding the potting mix.
Adding Potting Mix
The quality and composition of the potting mix play a vital role in the success of your container gardening. Unlike garden soil, potting mix is specifically formulated to provide the necessary nutrients, drainage, and aeration for potted plants.
When adding the potting mix to your pot, ensure that it is loose and well-draining. It should be able to hold moisture while allowing excess water to drain away. Avoid using dense or compacted soil, as it can hinder root growth and lead to drainage issues.
Start by partially filling the pot with the potting mix, leaving enough room for the root ball of the plant. Gently tap or shake the pot to settle the soil, ensuring that there are no large air pockets. Add more potting mix as needed, leaving a small gap between the soil surface and the rim of the pot.
Before planting, moisten the potting mix with water until it is evenly damp. This will help provide a good environment for the roots to establish and absorb water. Avoid soaking the soil to the point of waterlogging.
Depending on the type of plant, you may need to amend the potting mix with additional materials. For example, for plants that prefer well-draining soil, you can add perlite or vermiculite to improve the soil’s structure and drainage. For plants that require more moisture retention, adding organic matter like compost or peat moss can help increase water retention in the potting mix.
Remember to choose a potting mix that is appropriate for the specific type of plants you will be growing. Some plants, such as succulents or cacti, require a well-draining mix with low moisture retention, while others, like tropical plants, thrive in a mix with higher moisture retention.
Adding the right potting mix provides your plants with the necessary nutrients and a well-balanced growing medium. It allows for proper root development, water retention, and aeration, setting the foundation for healthy plant growth.
Now that the potting mix is in place, it’s time to move on to the exciting part — selecting the right plants for your container garden.
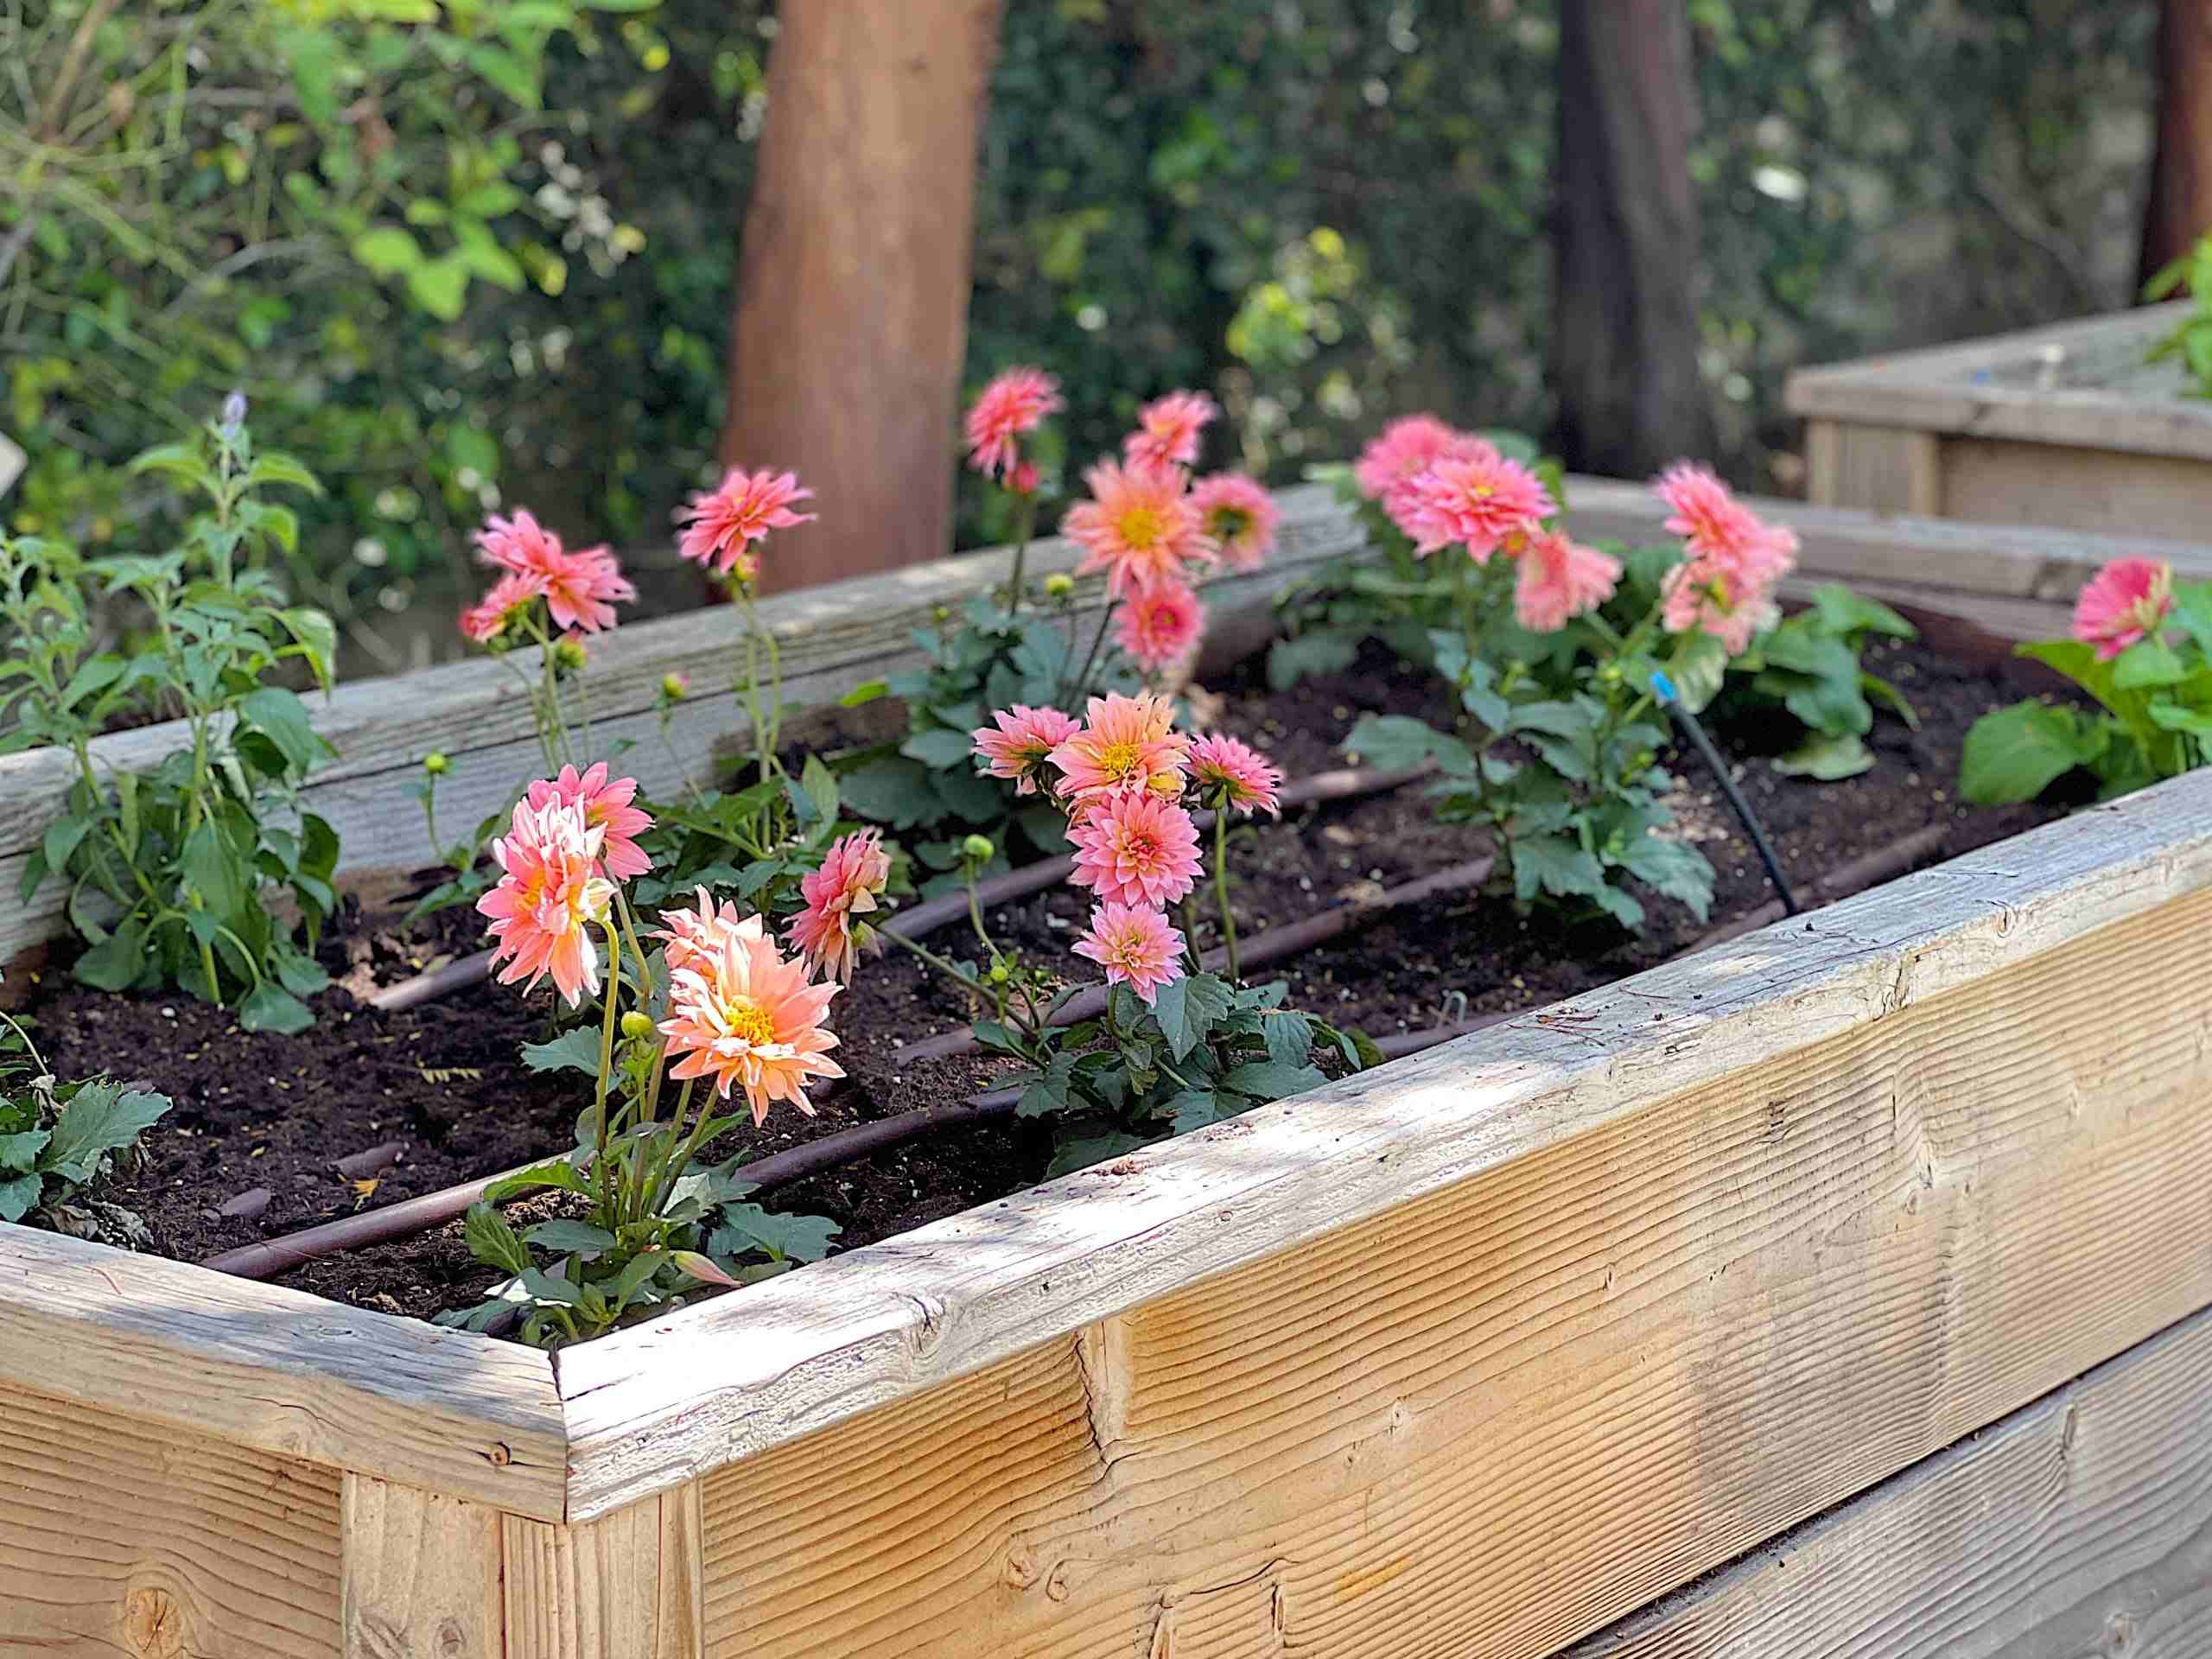
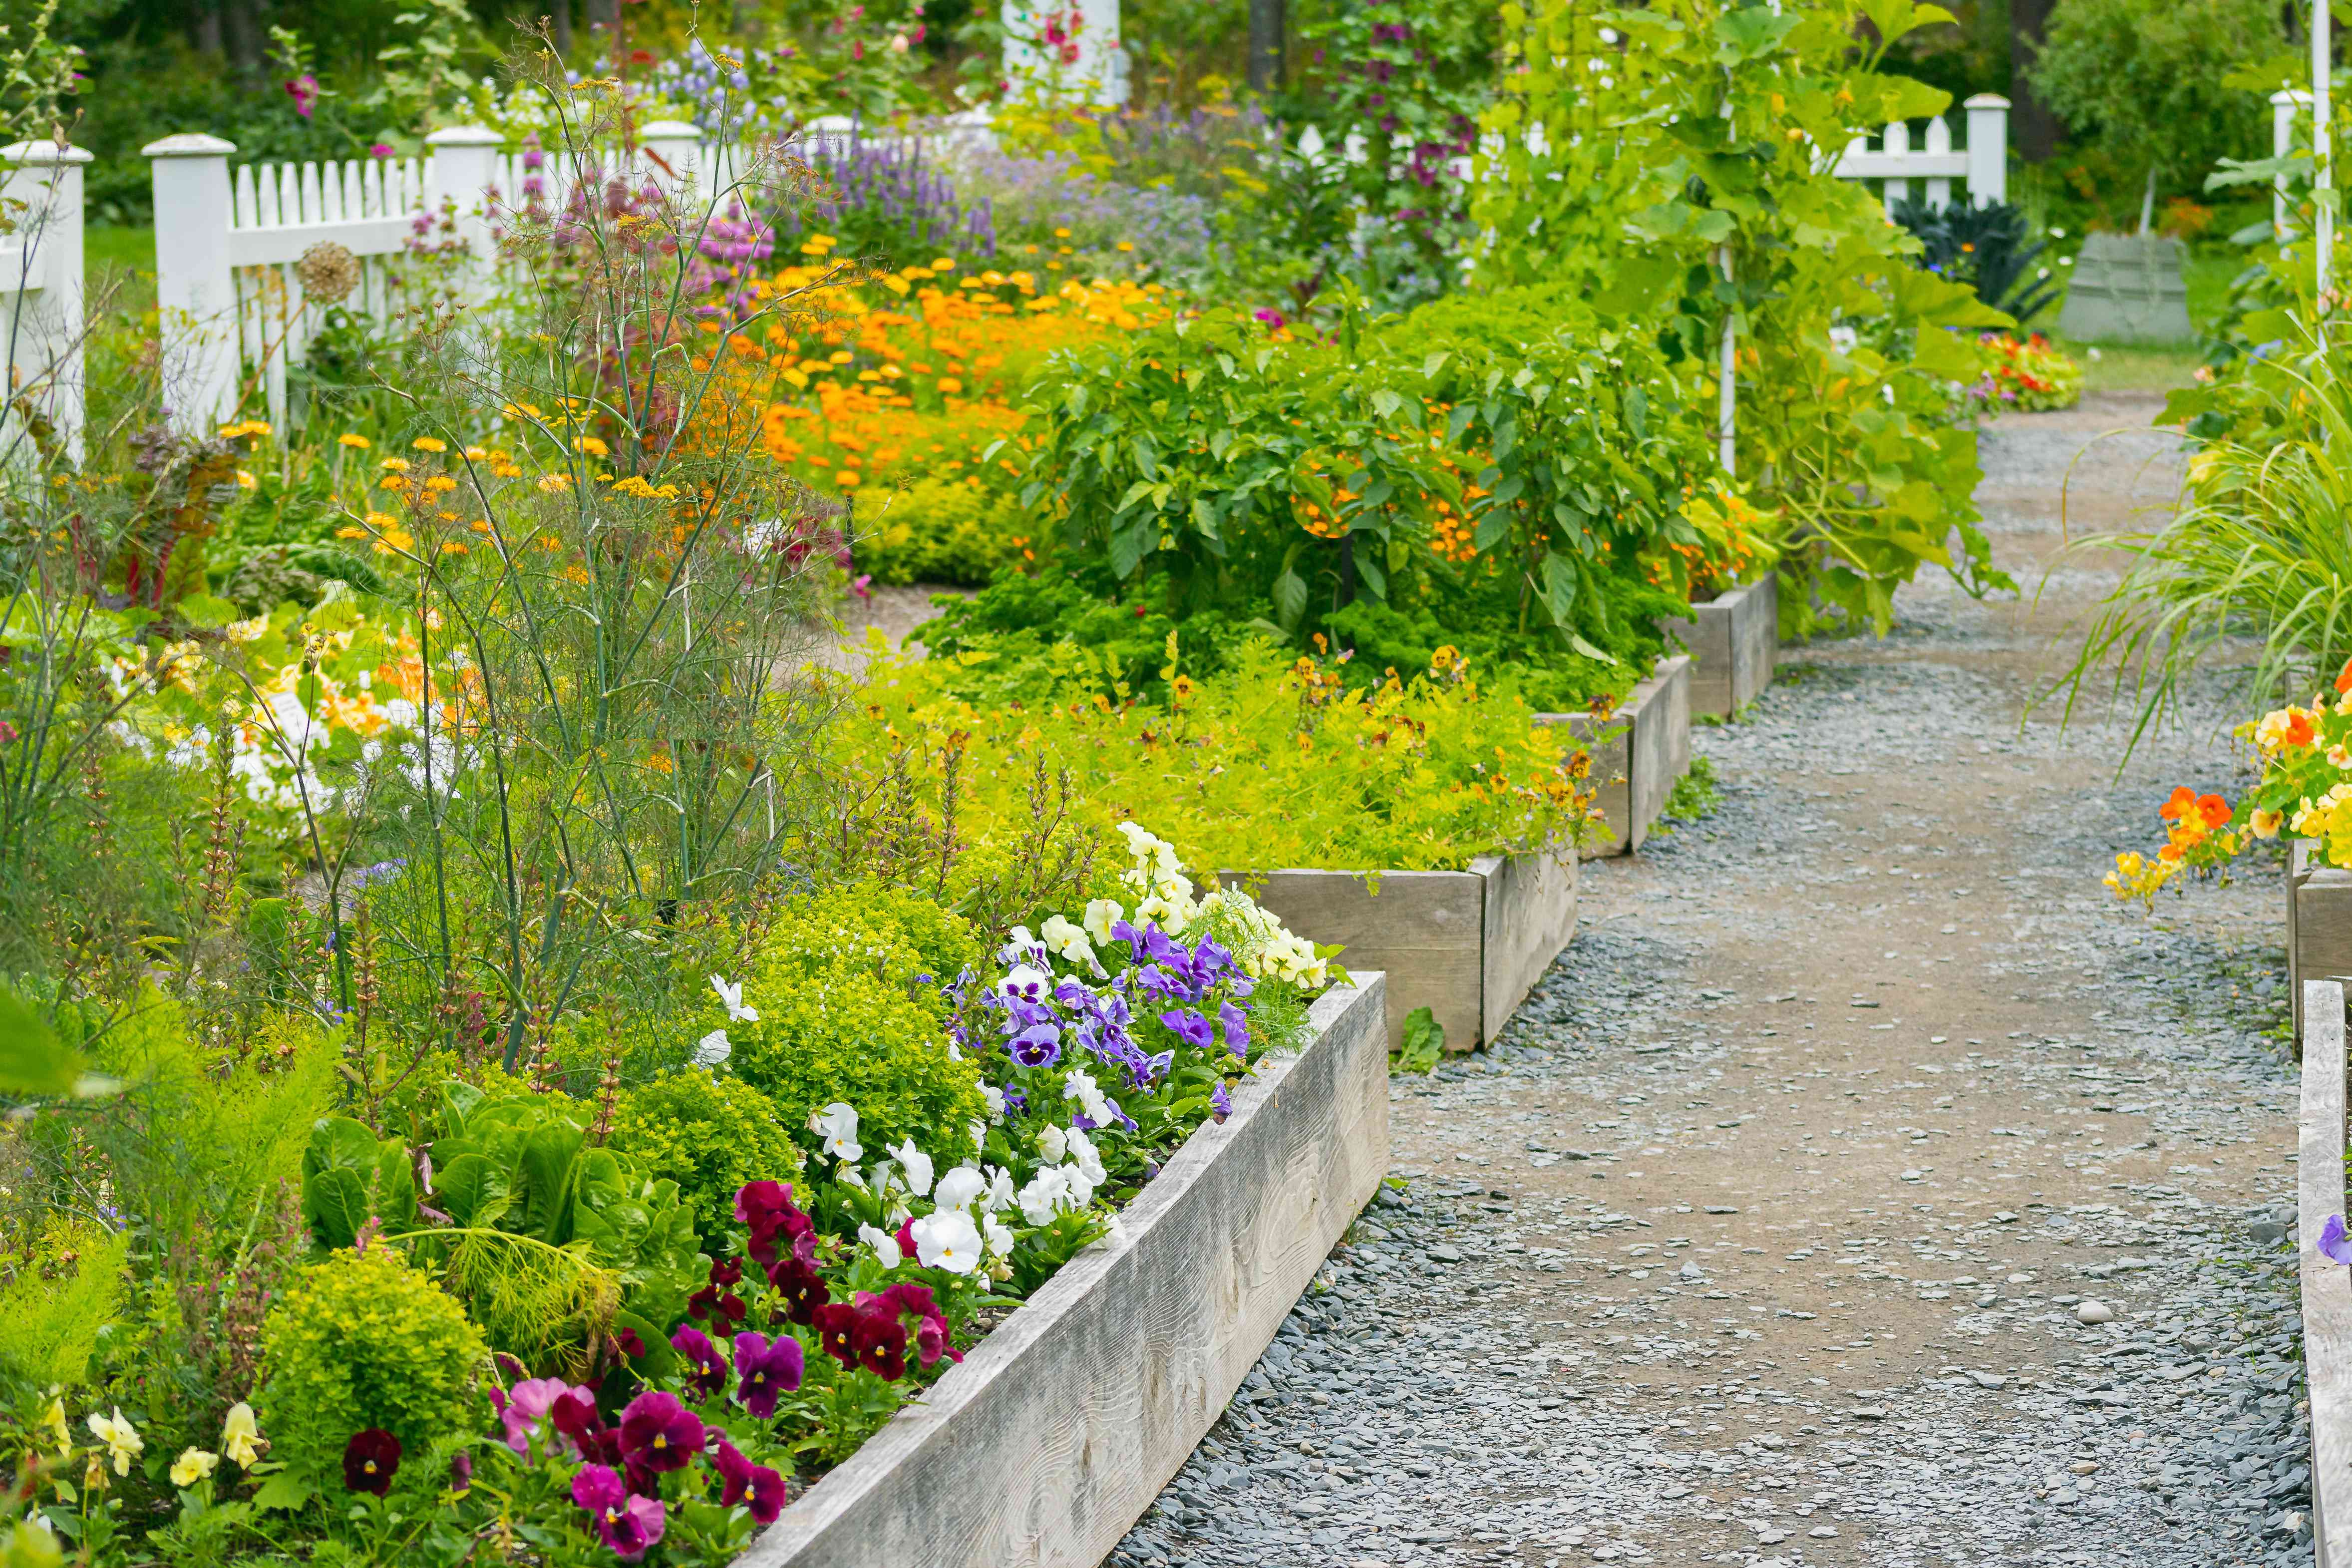
Selecting the Right Plants
Selecting the right plants for your container garden is an exciting and essential step in creating a beautiful and thriving display. Consider the following factors to ensure that you choose plants that are well-suited for your specific growing conditions and desired aesthetic:
1. Light requirements: Assess the amount of sunlight your chosen location receives throughout the day. Some plants thrive in full sun, while others prefer partial shade or full shade. Select plants that match the light conditions of your space to promote healthy growth.
2. Size and growth habit: Take into account the mature size and growth habit of the plants you plan to grow. Ensure that your selected plants have enough space to grow and won’t overcrowd each other in the container.
3. Climate and seasonality: Consider your climate and the seasonal changes your plants will experience. Some plants are frost-tolerant and can withstand colder temperatures, while others thrive in warm or tropical climates. Choose plants that are suitable for your local climate and can adapt to the seasonal fluctuations.
4. Water requirements: Different plants have different water needs. Some prefer moist soil, while others are more drought-tolerant. Consider how often and how much water your chosen plants will require and ensure that it aligns with your watering routine and available resources.
5. Aesthetic appeal: Think about the colors, textures, and shapes you want to incorporate into your container garden. Select plants that complement each other and create an appealing visual display. Consider mixing different foliage colors, heights, and flower shapes to add interest and variety.
6. Maintenance and care: Evaluate the level of care and maintenance required by your chosen plants. Some plants are low maintenance and can thrive with minimal attention, while others may require regular pruning, fertilizing, or pest control. Choose plants that align with your desired level of involvement in their care.
By considering these factors and conducting research on specific plant varieties, you can choose a combination of plants that will thrive in your container garden. Remember to group plants with similar water and light requirements together to ensure they receive the optimal conditions for growth.
Now that you have selected the perfect plants, it’s time to move on to the next step — planting them in the pot.
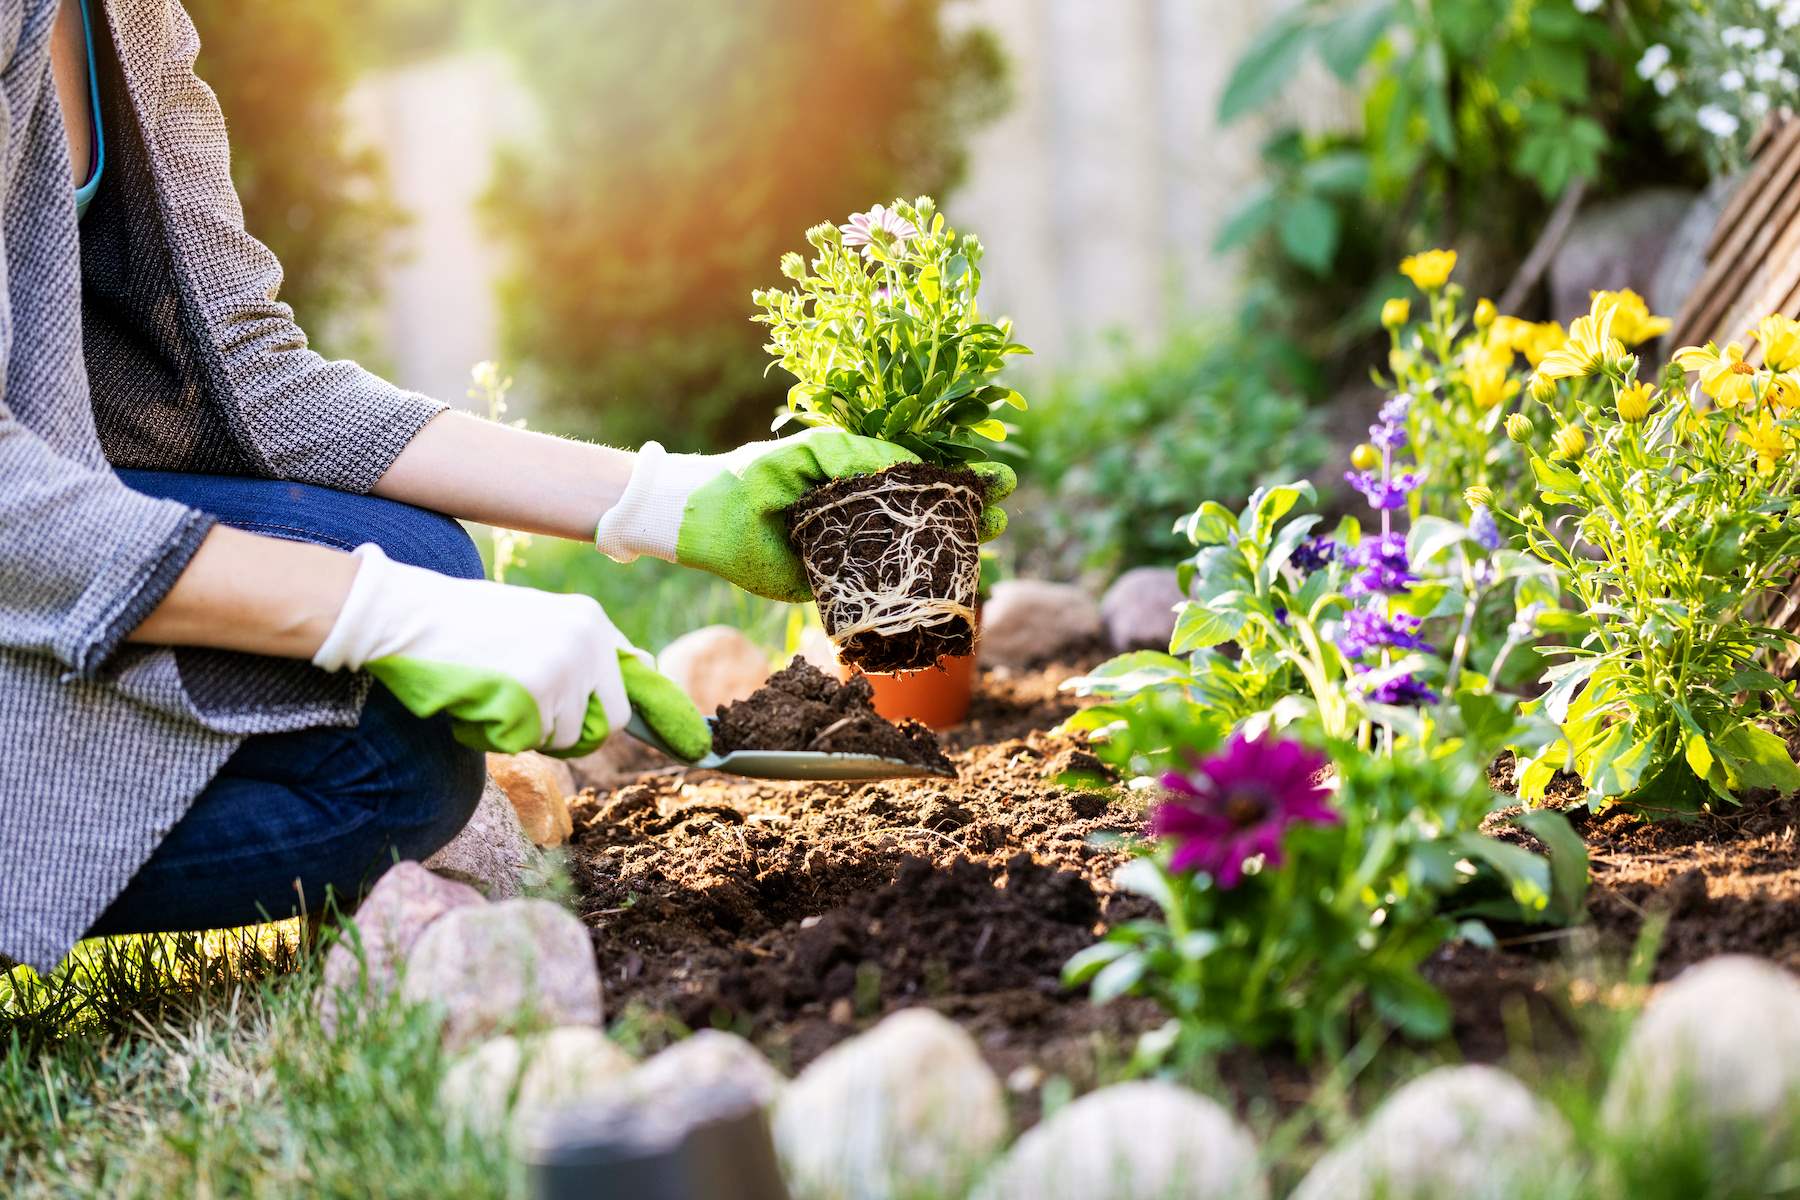
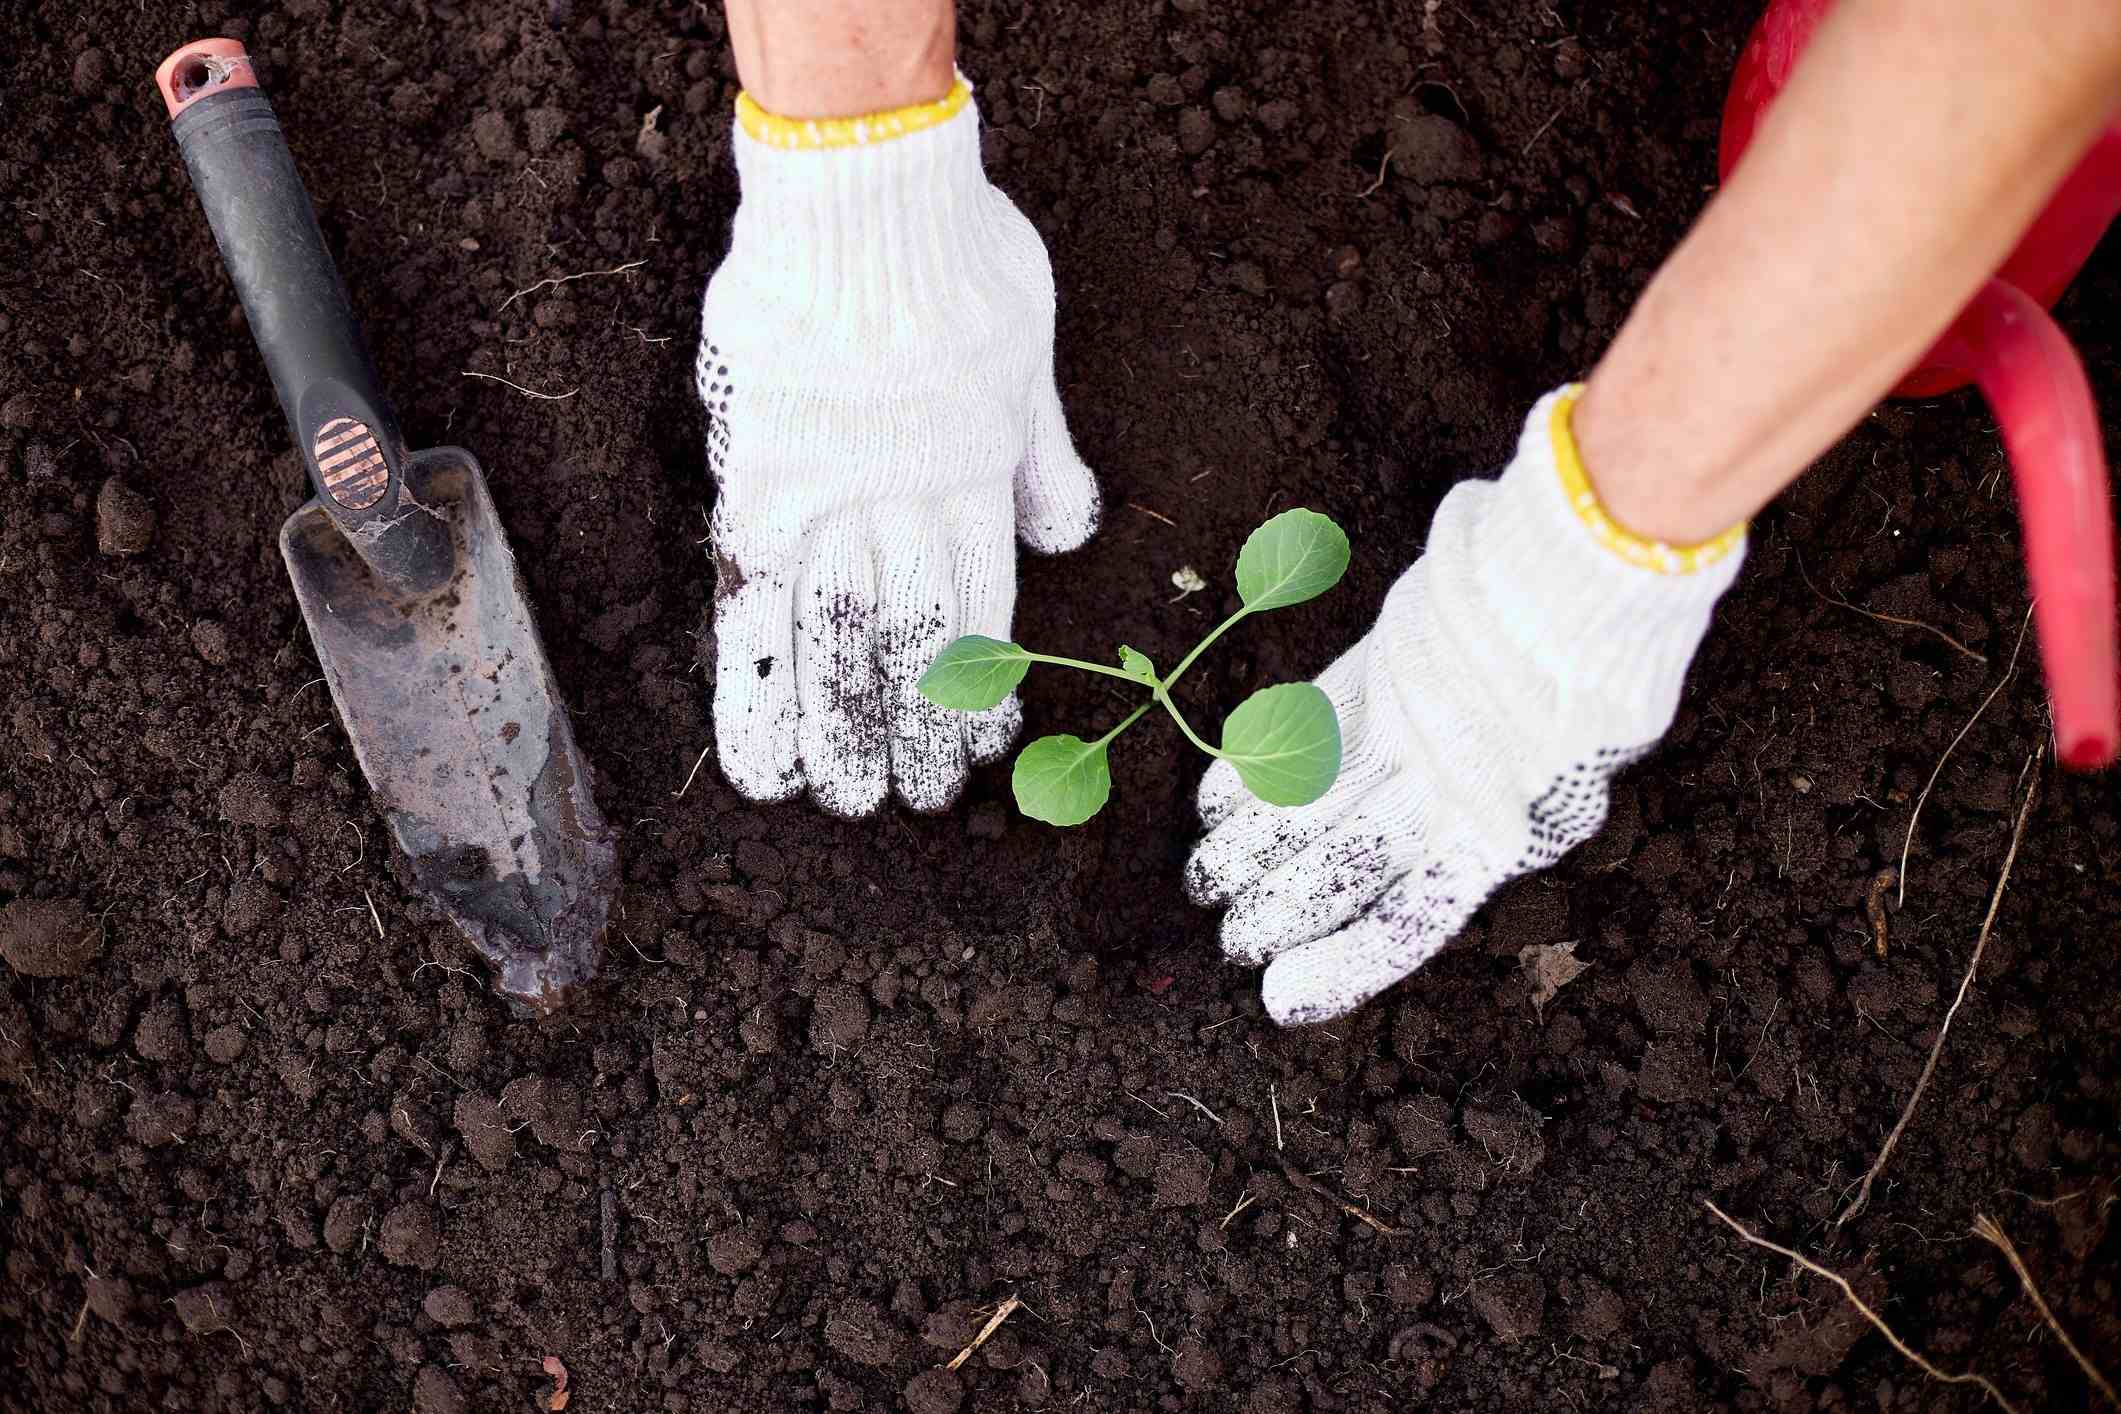
Planting in the Pot
Now that you have everything ready, it’s time to plant your selected plants in the pot. Follow these steps to ensure a successful planting process:
1. Prepare the pot: Make sure the pot is clean and filled with the appropriate potting mix, leaving enough space at the top for planting. Ensure that the pot has drainage holes and a saucer or tray to collect water runoff.
2. Arrange the plants: Place your plants in the pot to determine their ideal positioning. Consider their growth habits, height, and spacing requirements. Arrange the plants in a visually appealing way, keeping in mind any color combinations or contrasting textures you desire.
3. Dig the holes: Once you have decided on the plant arrangement, dig holes in the potting mix that are slightly larger than the plant’s root ball. Be gentle while digging to avoid damaging the plant’s roots.
4. Plant the plants: Carefully remove the plants from their nursery containers, loosening the roots if they are tightly bound. Place each plant into its respective hole, ensuring that it is positioned at the same level it was in the nursery container. Backfill the hole with potting mix and gently press the soil around the plant’s roots to secure it in place.
5. Water thoroughly: After planting, water the pot thoroughly to help settle the soil and ensure good root-to-soil contact. Water until you see water escaping through the drainage holes, indicating that the soil is well-moistened. This initial watering will also help reduce transplant shock and promote root establishment.
6. Mulch (optional): To help conserve moisture and suppress weed growth, you can apply a layer of organic mulch, such as wood chips or straw, on the surface of the potting mix. Mulch also helps regulate soil temperature and adds a finished look to your container garden.
Remember to water your plants regularly, monitoring the moisture levels in the potting mix. Avoid overwatering or letting the soil dry out completely. Adjust your watering frequency based on the specific needs of your plants and the environmental conditions they are exposed to.
With your plants planted and properly watered, admire your beautiful container garden. The next step is to learn how to care for and properly maintain your potted plants.
Watering and Caring for the Plants
Proper watering and care are vital for the health and vitality of your container garden. Here are some guidelines to help you water and care for your plants:
1. Watering frequency: The watering needs of plants can vary depending on factors such as the type of plant, pot size, and environmental conditions. As a general guideline, monitor the moisture level of the potting mix and water your plants when the top inch of soil feels dry to the touch. Avoid overwatering, as it can lead to root rot and other issues.
2. Watering technique: When watering your plants, aim to thoroughly moisten the potting mix without creating waterlogged conditions. Water until you see water escaping through the drainage holes, ensuring that the entire rootball is adequately hydrated. Avoid wetting the foliage excessively, as it can promote fungal diseases.
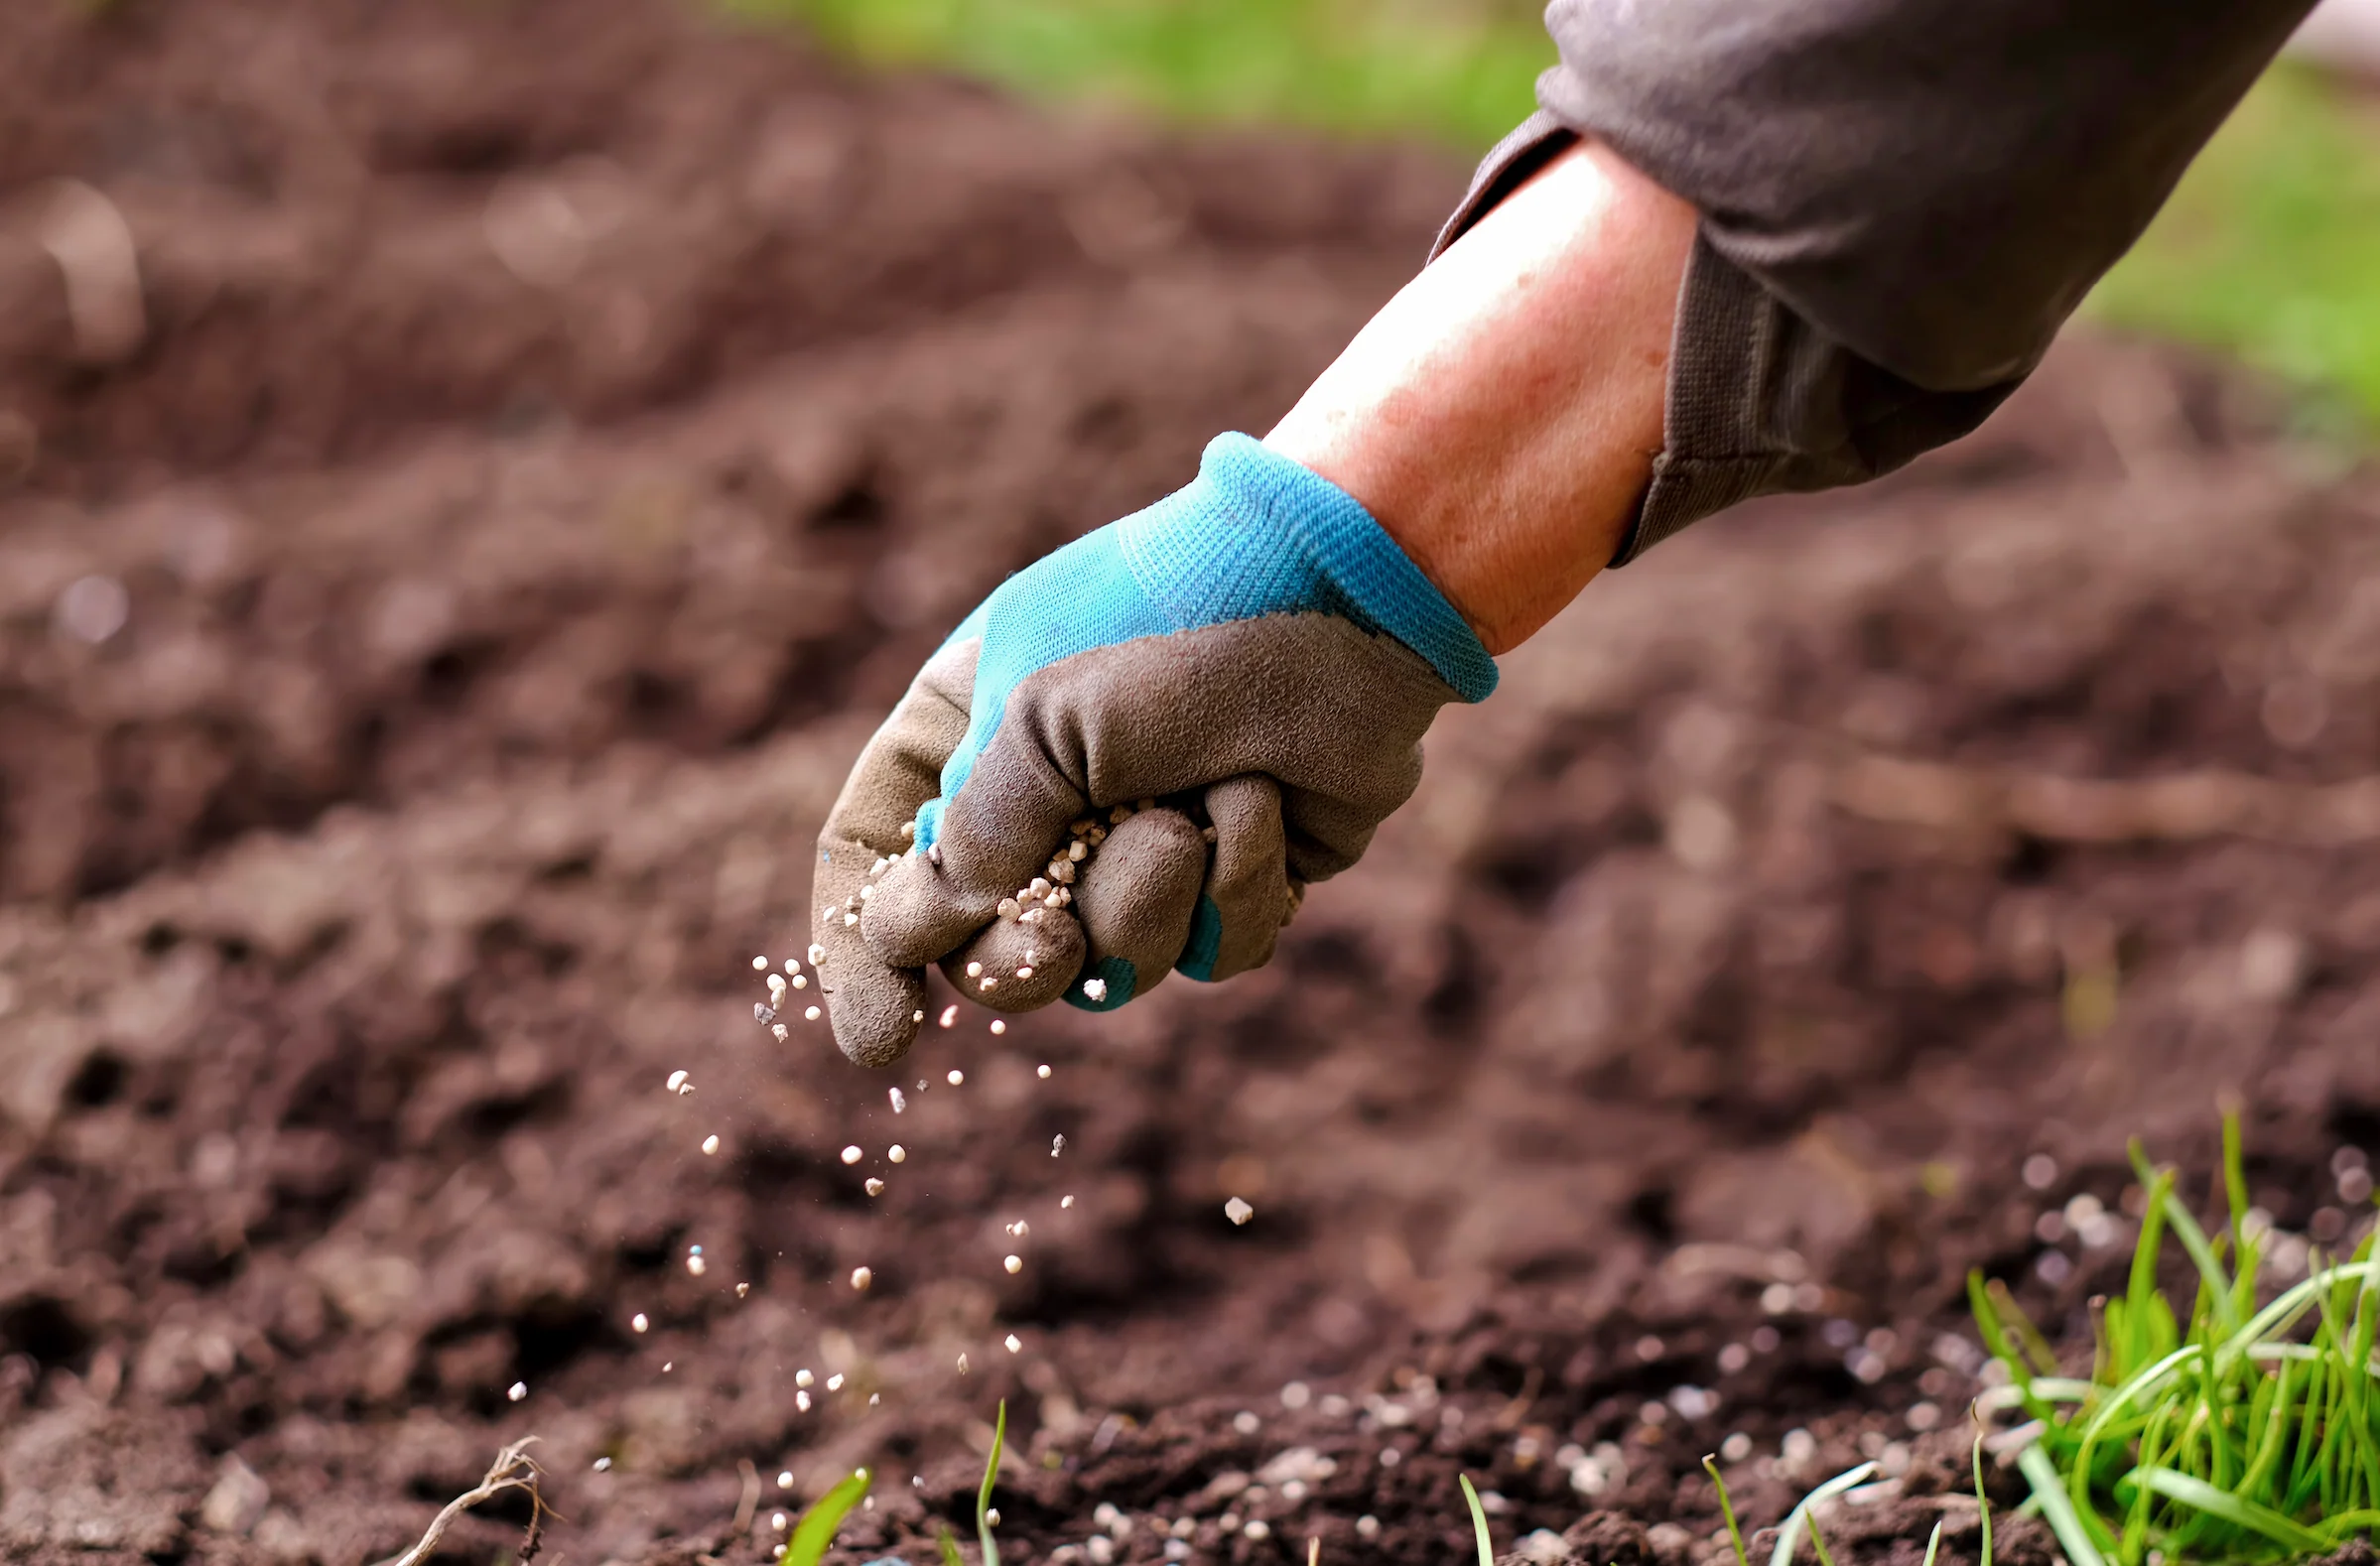
3. Fertilizing: Containerized plants often require regular fertilizing since nutrients can quickly deplete in the limited space of the pot. Use a balanced, slow-release fertilizer or a liquid fertilizer diluted according to the manufacturer’s instructions. Apply the fertilizer at the recommended intervals to ensure your plants receive essential nutrients for healthy growth.
4. Pruning and grooming: Regular pruning helps maintain the shape and size of your plants, promotes bushier growth, and removes dead or damaged foliage. Use clean and sharp pruning tools to make clean cuts, and remove any diseased or pest-infested plant material. Additionally, groom your plants by removing spent flowers or yellowing leaves to encourage new growth.
5. Pests and diseases: Monitor your plants regularly for any signs of pests or diseases. Common pests in container gardens include aphids, mealybugs, and spider mites. Identifying and treating pest or disease issues early can prevent them from spreading and causing significant damage. Use organic pest control methods or consult with a gardening professional if needed.
6. Sun and shade management: Monitor the sunlight exposure of your container garden. Some plants may require protection from intense midday sun, while others thrive in full sunlight. Adjust the position of your pots accordingly, rotating them if necessary, to ensure that each plant receives the right amount of light throughout the day.
7. Seasonal care: Pay attention to seasonal changes and adapt your care routine accordingly. During cooler months, you may need to adjust watering frequency and protect your plants from frost. In hot summers, you might need to provide additional shade or extra watering to combat heat stress.
Remember to observe and understand the specific care requirements of your individual plant species. While these guidelines provide a general framework, different plants may have specific needs and preferences. Regularly monitor your container garden, address any issues promptly, and enjoy the rewards of a flourishing and vibrant display.
With proper watering and care, your plants will thrive and bring joy to your container garden for seasons to come!
Conclusion
Congratulations! You have learned the essential steps for preparing a pot for planting and caring for your plants in a container garden. By understanding the importance of soil, choosing the right pot, preparing it properly, and selecting and planting the right plants, you have set the foundation for a successful and thriving container garden.
Remember to consider the specific needs of your plants, such as light requirements, water needs, and seasonal care, to ensure that they receive the optimal growing conditions. Regular maintenance such as proper watering, fertilizing, pruning, and pest control will help keep your plants healthy and vibrant.
Additionally, don’t forget to assess and adjust your care routine based on the unique characteristics of your climate and local environment. Your container garden will have its own microclimate that may require specific attention to temperature, sunlight exposure, and protection from extreme weather conditions.
Through careful observation, experimentation, and a bit of patience, your container garden will not only provide a beautiful and pleasing display but also offer a rewarding opportunity to connect with nature and enjoy the many benefits of gardening.
So roll up your sleeves, put your gardening gloves on, and let your creativity flourish as you embark on this exciting journey of container gardening. May your plants thrive, bloom, and bring you endless joy and satisfaction!