Home>Types of Gardening>Edible Gardening>How To Prepare A Pineapple Top For Planting
Edible Gardening
How To Prepare A Pineapple Top For Planting
Modified: February 6, 2024
Learn how to prepare a pineapple top for planting in your edible garden. Discover the secrets of growing your own delicious pineapples at home!
(Many of the links in this article redirect to a specific reviewed product. Your purchase of these products through affiliate links helps to generate commission for Chicagolandgardening.com, at no extra cost. Learn more)
Table of Contents
Introduction
Welcome to the world of edible gardening! Growing your own food is not only a rewarding and sustainable practice but also a great way to connect with nature and enjoy the fruits of your labor – quite literally. One popular fruit that can be grown at home is the pineapple. The sweet and tangy taste of a fresh pineapple can transport you to a tropical paradise, and with a little patience and care, you can grow your very own pineapple plant right in your backyard or even indoors.
Before we dive into the process of preparing a pineapple top for planting, let’s take a moment to appreciate the benefits of growing your own pineapple. Firstly, it allows you to have full control over the cultivation process, ensuring that no harmful chemicals or pesticides are used. This means that you can enjoy a truly organic and healthy fruit. Additionally, growing your own pineapple is a cost-effective option, as purchasing a fully grown pineapple from the store can be quite expensive.
Now that we have established the reasons why growing your own pineapple is a fantastic idea, let’s explore the step-by-step process of preparing a pineapple top for planting. It may seem daunting at first, but with patience and a little know-how, you’ll have your own pineapple plant flourishing in no time.
Step 1: Selecting a Fresh Pineapple
The first step in preparing a pineapple top for planting is selecting a fresh pineapple. Look for a pineapple with a vibrant and green crown of leaves. Avoid pineapples with yellow or brown leaves as this may indicate that the fruit is overripe or not in the best condition for planting.
In addition to examining the leaves, take a good look at the pineapple itself. Choose a pineapple that is firm and evenly colored, with no soft spots or bruises. It should also have a strong, sweet aroma, indicating that it is ripe and ready to be eaten.
It’s worth noting that you don’t need to worry about the size of the pineapple, as the crown will be the focus for planting. However, if you prefer a larger fruit, selecting a larger pineapple may increase the chances of having a bigger plant down the line.
When it comes to sourcing your pineapple, you can find them at your local grocery store or farmer’s market. Organic options are preferable, as they reduce the risk of harmful chemicals being present in the plant’s growth process. Alternatively, if you already have a pineapple plant or know someone who does, you can try propagating a new plant from a mature plant’s offsets, also known as “pups.”
Once you have chosen your fresh pineapple, it’s time to move on to the next step in preparing the pineapple top for planting – removing the crown.
Step 2: Removing the Crown
Now that you have your fresh pineapple, it’s time to remove the crown. The crown refers to the leafy top of the pineapple that will be used to propagate a new plant. The process of removing the crown is relatively simple, but it requires a bit of care and precision.
Start by firmly grasping the body of the pineapple with one hand. With your other hand, hold the leaves near the base and gently twist in a clockwise or counterclockwise direction. Apply gentle pressure as you twist to loosen the crown from the fruit. Be careful not to pull too hard, as you don’t want to damage the leaves or rip out any excess fruit.
Once the crown is successfully twisted off, examine the base. You may notice a small portion of fruit flesh still attached to the base of the crown. Use a clean knife or your fingers to carefully remove this excess fruit, ensuring that only the leafy part of the crown remains.
At this point, you may notice that the base of the crown looks slightly ragged or uneven. Don’t worry! This is completely normal. Pineapple crowns have a natural uneven texture, and it won’t affect the plant’s ability to root and grow.
It’s important to note that fresh pineapple crowns have a higher chance of successfully rooting and growing into a new plant compared to crowns that have been left out for an extended period of time. So, aim to remove the crown as soon as possible after getting your fresh pineapple.
Now that you have successfully removed the crown, it’s time to move on to the next step in preparing the pineapple top for planting – removing excess fruit.
Step 3: Removing Excess Fruit
After successfully removing the crown from your fresh pineapple, it’s time to take the next step in preparing the pineapple top for planting. This step involves removing any excess fruit that may be attached to the base of the crown.
Excess fruit can impede the rooting process and increase the risk of rotting. Therefore, it’s important to ensure that only the leafy part of the crown remains, as this is the portion that will be used to grow a new pineapple plant.
To remove the excess fruit, gently examine the base of the crown. You may notice small remnants of fruit flesh or bits of the pineapple core still attached. Use a clean knife or your fingers to carefully remove these remnants, ensuring not to damage the base or any of the leaves in the process. Take your time and be gentle to avoid accidentally damaging the crown.
Removing excess fruit is crucial for creating the ideal conditions for rooting. The presence of fruit can introduce excess moisture, which may lead to rotting or fungal growth. By removing any remnants of fruit, you can help promote a healthy and successful rooting process.
Once you have removed all excess fruit, take a moment to inspect the crown. Ensure that it appears clean and free from any leftover debris. This will help minimize the risk of any potential pests or diseases affecting the rooting process.
With the excess fruit removed, you are now ready to move on to the next step in preparing the pineapple top for planting – drying the crown.
Step 4: Drying the Crown
Now that you have removed any excess fruit from the pineapple crown, the next step in preparing the pineapple top for planting is to ensure that it is properly dried. Drying the crown is essential as it helps prevent rotting and provides an optimal environment for successful rooting.
First, set aside the crown in a well-ventilated area with indirect sunlight. It is important to choose a spot where the crown will not be exposed to direct sunlight, as this can cause it to dry out too quickly and potentially damage the plant tissue.
Allow the crown to dry for about a week, or until the cut part of the crown has hardened and formed a callus. During this time, avoid watering or exposing the crown to excessive moisture, as it can lead to rotting. The drying process helps prevent fungal or bacterial infections, ensuring the best chances for successful rooting.
While drying, it’s normal for the color of the cut part of the crown to darken slightly. This is an indication that the crown is healing and forming a protective layer. However, if you notice any signs of mold or excessive softness, it is best to discard the crown and start with a fresh one.
Remember to be patient during this process. Rushing the drying phase can negatively impact the success of rooting. Carefully observe the crown during this week, ensuring it remains in a safe and dry location.
Once the crown is fully dried and a callus has formed on the cut part, you are now ready to proceed to the next step – rooting the crown in water.
Step 5: Rooting the Crown in Water
With the dried crown in hand, it’s time to move on to the next step in preparing the pineapple top for planting: rooting it in water. This method allows the crown to develop a strong root system before being transferred to soil.
To begin, fill a glass or container with clean, filtered water. Make sure the container is deep enough to submerge the base of the crown without completely covering the leaves. Partially filling the container will help prevent drowning or oversaturation of the crown.
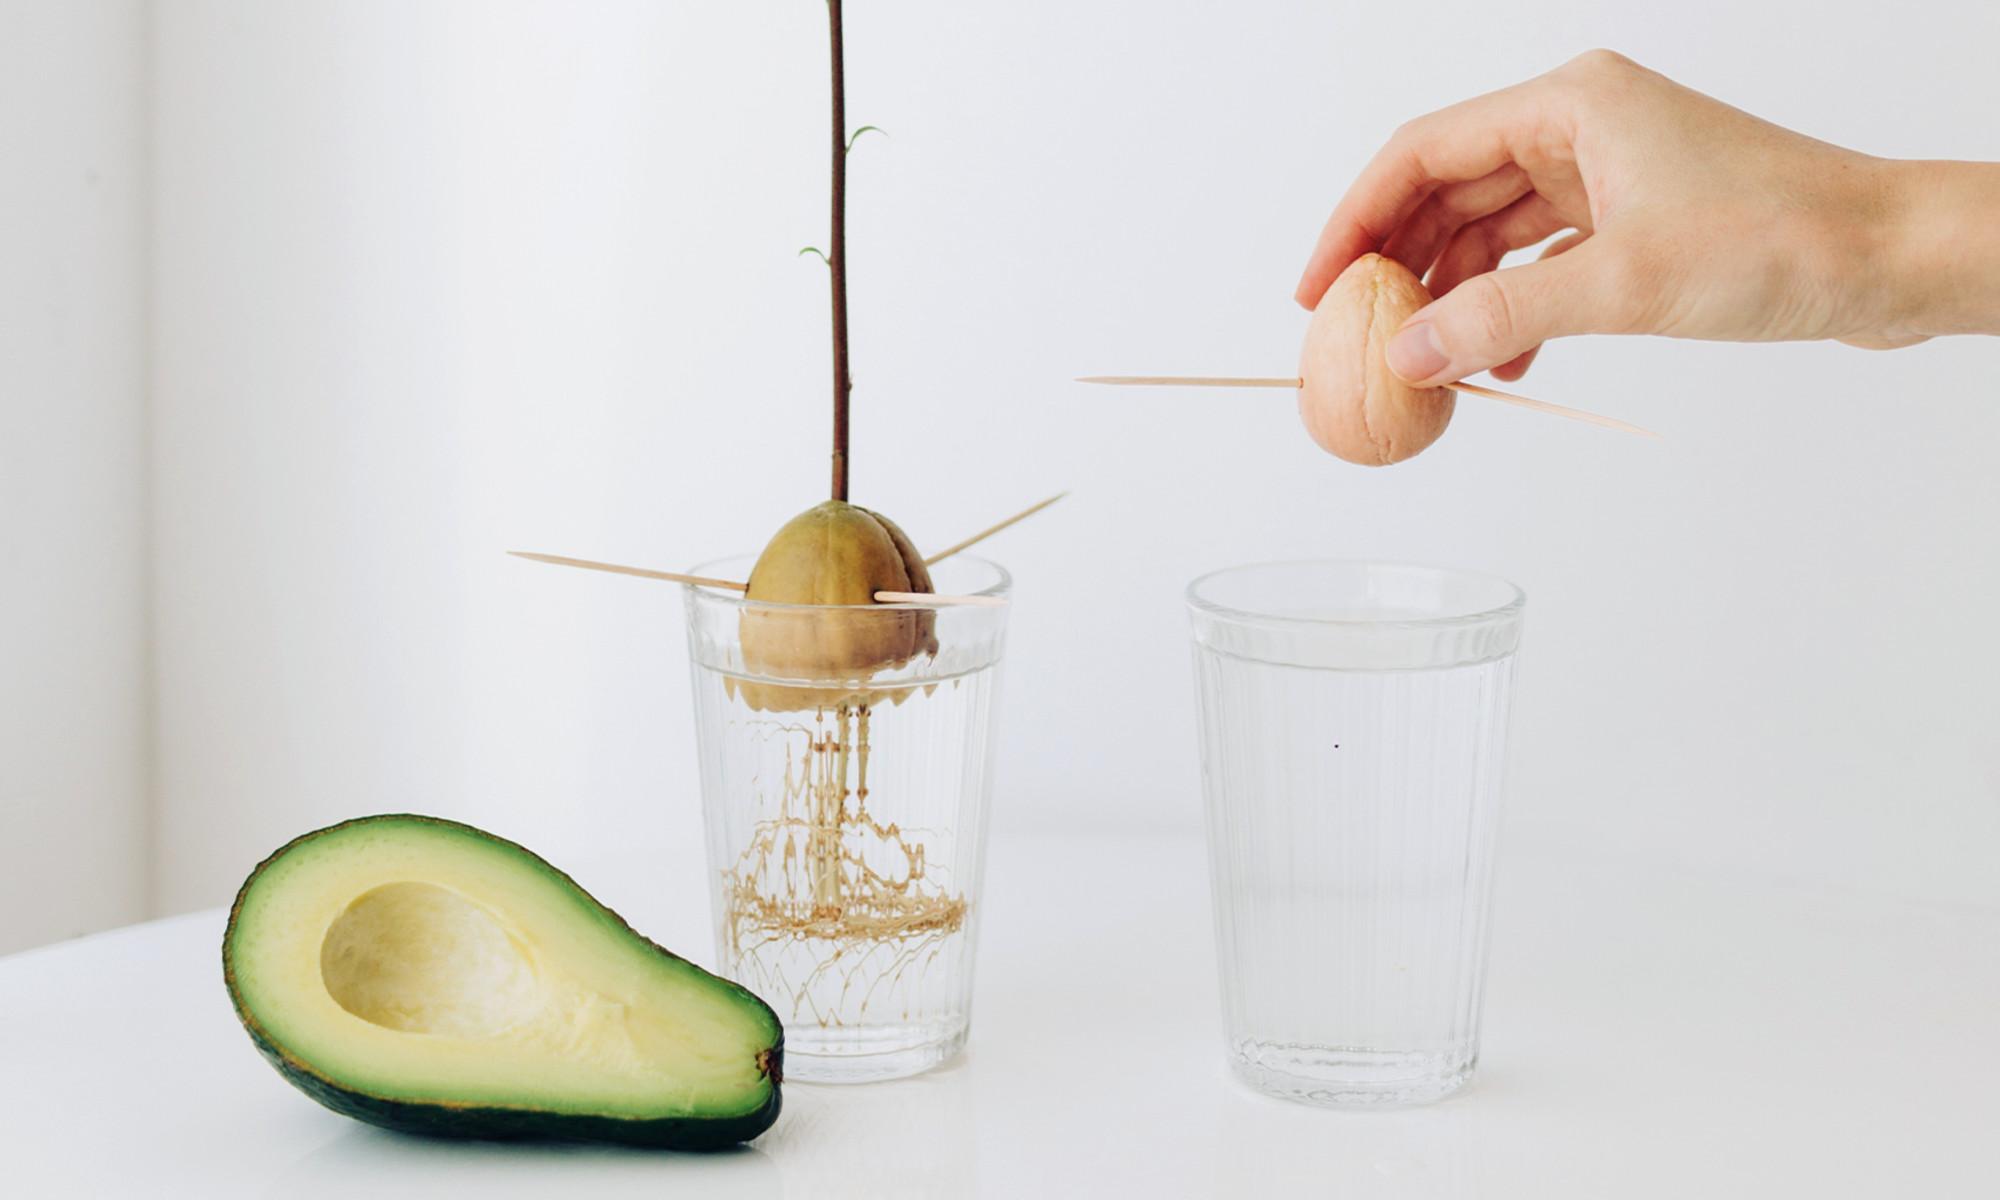
Gently place the crown in the container, ensuring that the base is immersed in the water. The leaves should remain above the waterline. You may need to use toothpicks or a small plastic lid to provide support and keep the crown from sinking too low.
Place the container in a location with indirect sunlight and maintain the water level, adding more if it evaporates over time. It’s essential to change the water every few days to prevent the growth of bacteria or mold, which can hinder the rooting process.
Be patient during this stage, as it can take several weeks for the roots to develop. You may notice small roots emerging from the base of the crown after a few weeks, while larger, more robust roots will take longer to form.
Monitor the progress of the rooting process by inspecting the roots regularly. Once the roots have grown to about an inch or two in length and appear healthy and strong, your pineapple crown is ready to be transferred to soil.
Now that your pineapple crown has successfully rooted in water, it’s time to move on to the next step – transferring it to soil and starting the journey towards a fully grown pineapple plant.
Step 6: Transferring to Soil
After successfully rooting your pineapple crown in water, it’s time to transfer it to soil, where it will continue its growth journey. Transferring the crown to soil provides the necessary nutrients and stability for the plant to thrive and eventually produce a pineapple fruit.
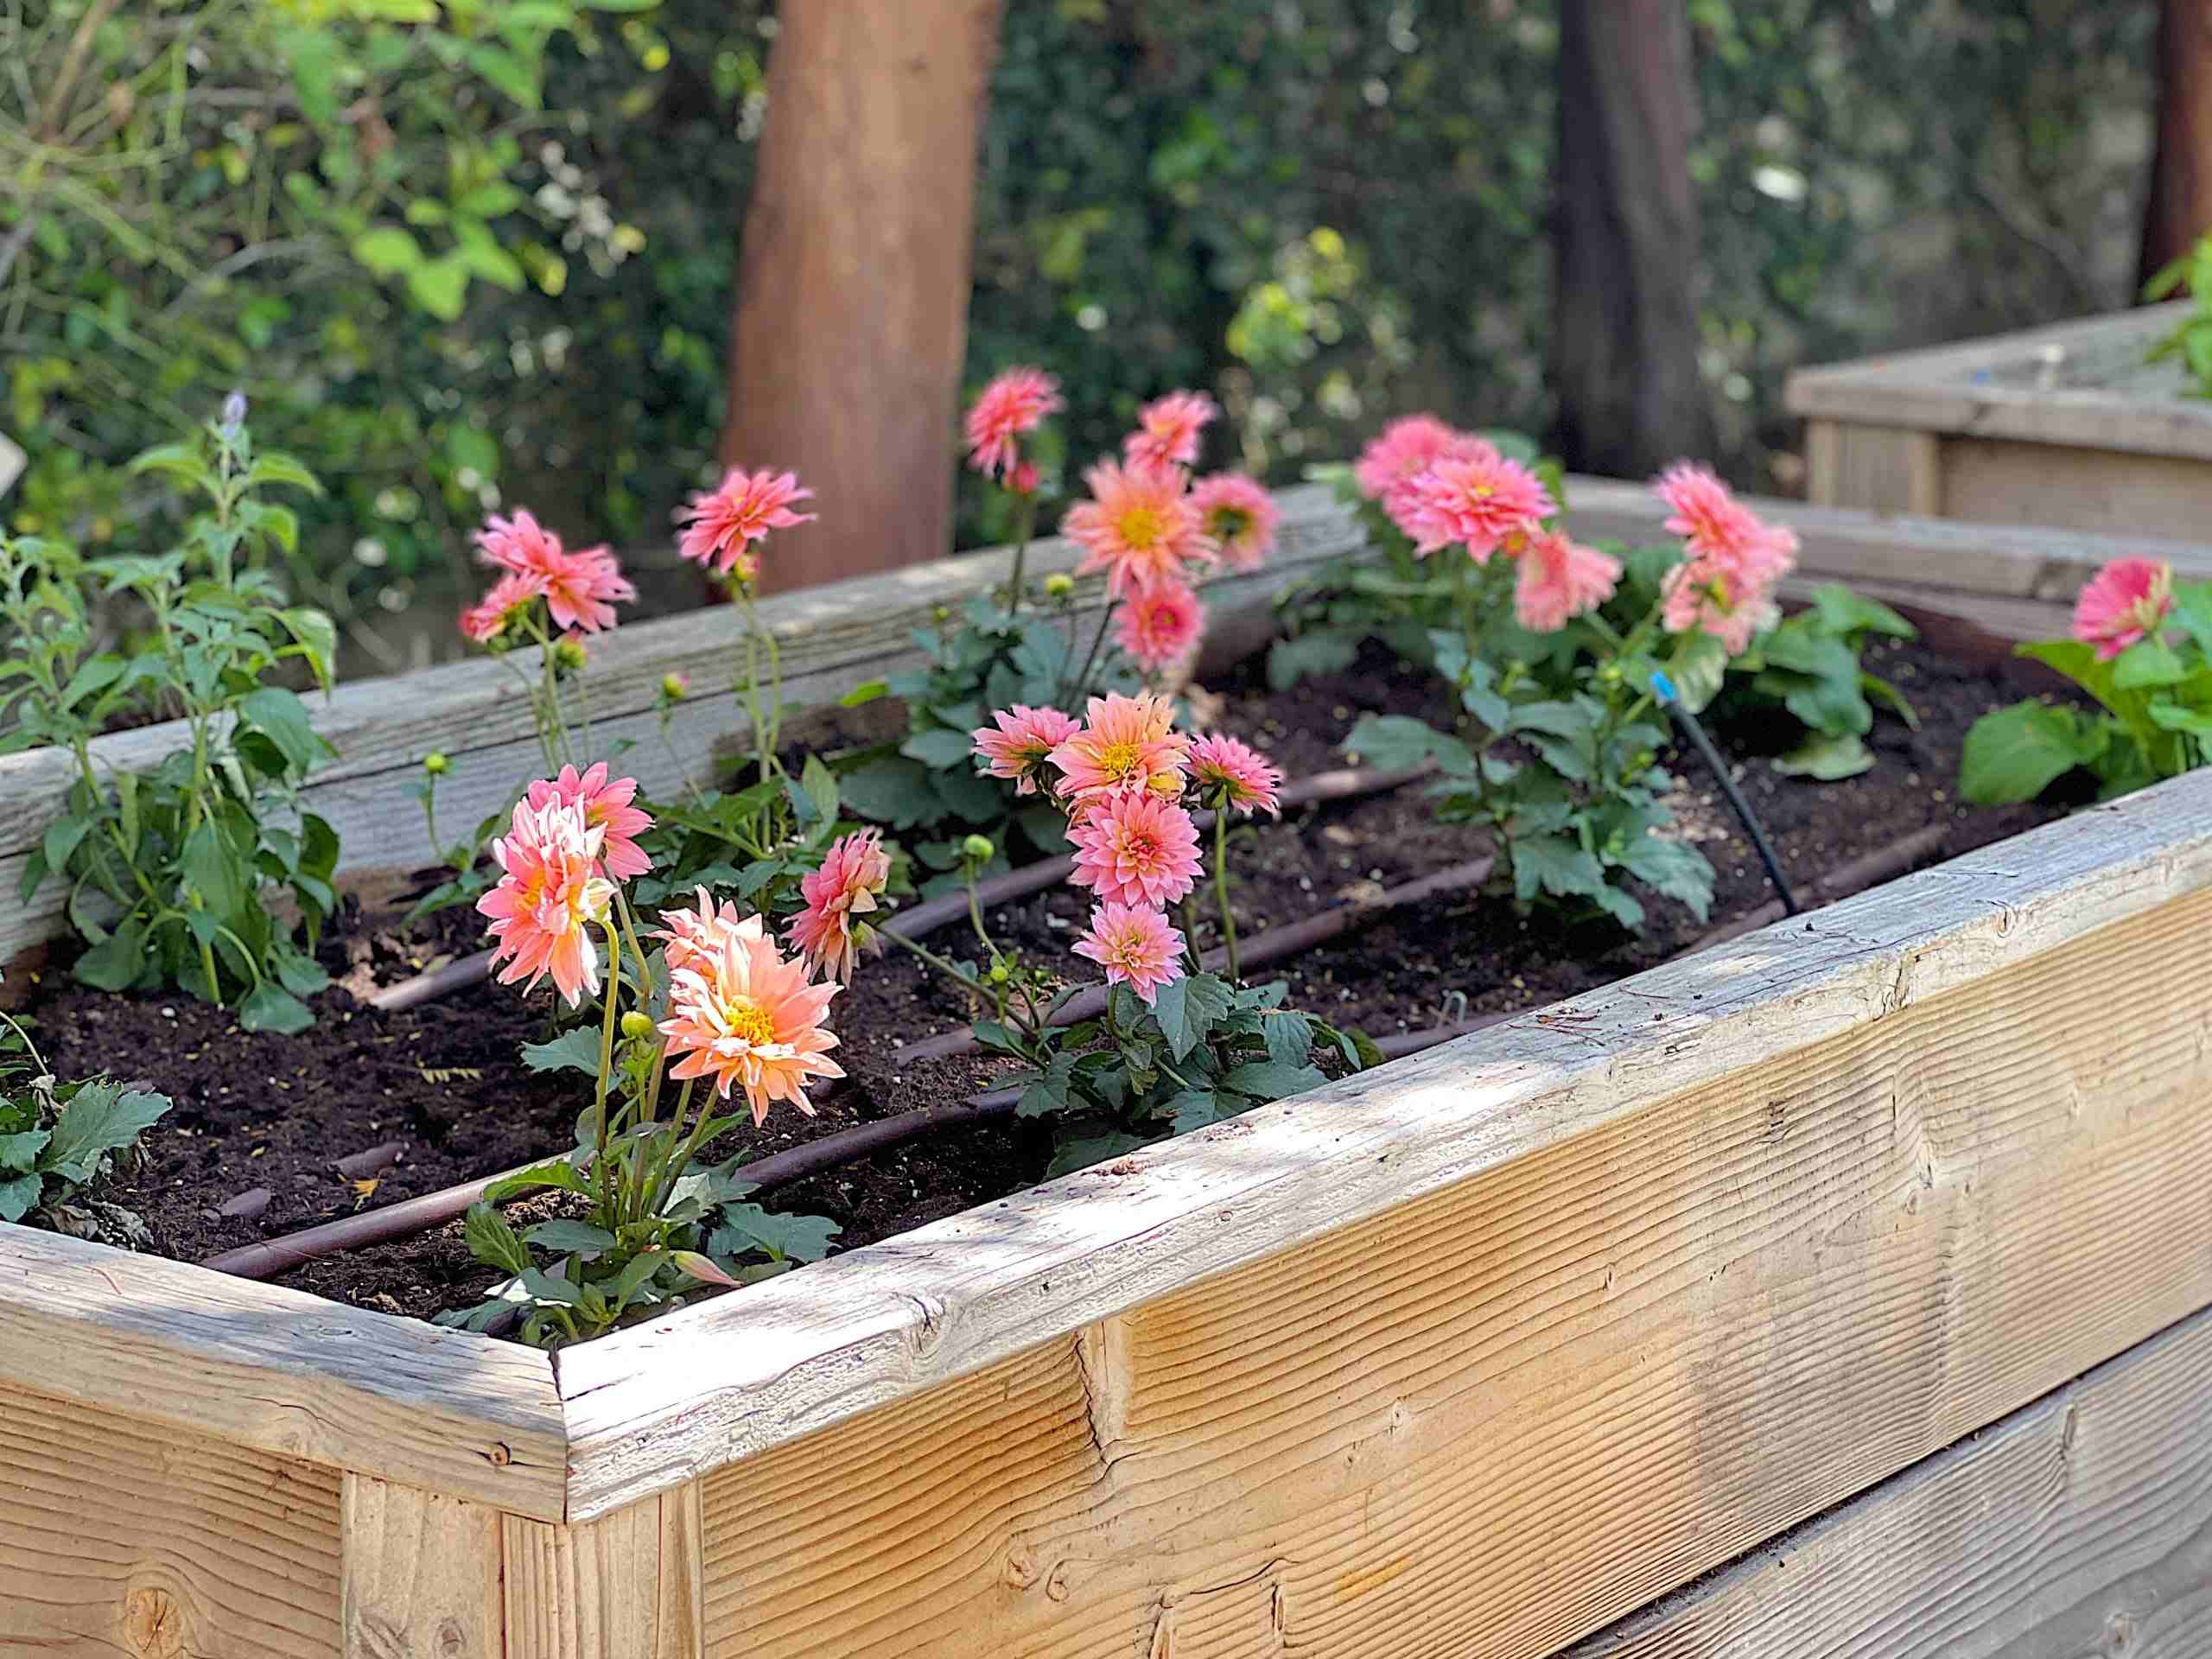
Choose a well-draining pot or planting area for your pineapple plant. A pot with drainage holes or a raised bed with loose soil is ideal to prevent waterlogging, which can lead to root rot. Select a pot that is at least 6-8 inches deep to accommodate the developing root system.
Fill the pot or planting area with well-draining potting mix or a blend of sandy soil and compost. Make a small hole in the center of the potting mix, large enough to fit the base of the rooted crown. Gently place the crown in the hole, ensuring that the roots are spread out and covered with soil.
Press the soil gently around the base of the crown to secure it in place. Avoid compacting the soil too tightly as this can hinder root growth and drainage. The crown should be planted at a depth where the base is just at the surface of the soil.
Water the newly planted crown thoroughly, ensuring that the soil is moist but not waterlogged. From this point forward, water the pineapple plant once a week or when the top inch of soil feels dry. Consistent watering is important, especially during the early stages of growth.
Place the pot or plant in a location that receives at least 6-8 hours of bright, indirect sunlight each day. Pineapple plants thrive in warm and tropical climates, so try to provide a warm and humid environment if possible.
As the pineapple plant begins to grow and mature, you may notice the emergence of new leaves from the center of the crown. This is a positive sign of growth and indicates that the plant is establishing itself in its new soil environment.
Continue to care for the pineapple plant by regularly watering, providing sufficient sunlight, and periodically applying a balanced fertilizer to promote healthy growth. With time and proper care, your pineapple plant will continue to flourish, and you’ll be one step closer to harvesting your very own homegrown pineapple!
Step 7: Caring for Your Pineapple Plant
Now that your pineapple plant is in the soil, it’s crucial to provide the proper care and attention it needs to thrive and produce a delicious pineapple fruit. Here are some essential care tips to keep in mind:
- Watering: Pineapple plants require regular watering to keep the soil moist but not overly saturated. Water your plant once a week or whenever the top inch of soil feels dry. Avoid overwatering, as it can lead to root rot.
- Sunlight: Ensure that your pineapple plant receives at least 6-8 hours of bright, indirect sunlight each day. Place it near a sunny window or in a spot with plenty of natural light. If you’re growing the plant outdoors, choose a sunny location with partial shade.
- Fertilizing: Apply a balanced fertilizer specifically formulated for fruiting plants every 4-6 weeks during the growing season. Follow the manufacturer’s instructions for dosage and frequency. Avoid over-fertilizing, as it can lead to burned roots or stunted growth.
- Temperature: Pineapple plants prefer warm temperatures between 65-95°F (18-35°C). Avoid exposing them to temperatures below 50°F (10°C) as it can cause damage to the plant.
- Pest and Disease Control: Regularly inspect your pineapple plant for any signs of pests or diseases, such as mealybugs or fungal infections. If detected, take appropriate measures to control the infestation, such as using organic pest control methods or seeking professional advice.
- Pruning: Trim off any yellow or brown leaves from the bottom of the stem to maintain a healthy appearance. Avoid excessive pruning, as it can inhibit fruit production.
- Support: As your pineapple plant grows, it may become top-heavy. Consider providing a stake or support to prevent the plant from toppling over and causing damage to the roots.
With proper care and maintenance, your pineapple plant will continue to grow and develop. Depending on the variety and growing conditions, it can take anywhere from 18 months to 2 years for the plant to produce a pineapple fruit. Be patient and enjoy the journey of nurturing your very own homegrown pineapple plant.
Conclusion
Congratulations! You have learned the step-by-step process of preparing a pineapple top for planting and successfully growing your own pineapple plant. From selecting a fresh pineapple to caring for the plant, each stage is essential in ensuring a healthy and thriving pineapple plant that will eventually produce delicious fruits.
By growing your own pineapple, you not only have the satisfaction of enjoying a homegrown tropical fruit, but also the opportunity to connect with nature and practice sustainable gardening. The process of nurturing a pineapple plant teaches patience, responsibility, and the joys of reaping the rewards of your efforts.
Remember, the key steps in preparing a pineapple top for planting include selecting a fresh pineapple, removing the crown, eliminating excess fruit, drying the crown, rooting it in water, transferring it to soil, and providing the necessary care to promote growth. Each step contributes to the overall success of your pineapple plant.
As you embark on your edible gardening journey, don’t be discouraged if it takes time for your pineapple plant to produce fruit. Growing pineapples is a labor of love that requires patience and proper care. In the meantime, enjoy the process of watching your plant grow and the anticipation of harvesting your first pineapple.
So get started today and enjoy the rewards of growing your own pineapple – a delicious, sweet, and juicy taste of the tropics, all from the comfort of your own home!