Home>Gardening Basics>Understanding Soil>How To Prepare The Soil For Planting Vegetables
Understanding Soil
How To Prepare The Soil For Planting Vegetables
Modified: February 8, 2024
Learn the importance of understanding soil and how to prepare it effectively for planting vegetables. Enhance your gardening skills and maximize your yield with our expert tips.
(Many of the links in this article redirect to a specific reviewed product. Your purchase of these products through affiliate links helps to generate commission for Chicagolandgardening.com, at no extra cost. Learn more)
Table of Contents
Introduction
Preparing the soil for planting vegetables is a crucial step that sets the foundation for a successful and bountiful harvest. Whether you’re a seasoned gardener or a beginner, understanding soil and its composition is key to providing the optimal conditions for your plants to thrive.
Soil is more than just dirt; it is a dynamic living ecosystem that contains minerals, organic matter, air, water, and countless microorganisms. By preparing your soil properly, you can ensure that your vegetables have access to the essential nutrients, moisture, and oxygen they need to grow strong and healthy.
In this article, we will guide you through the process of preparing your soil for planting vegetables. From clearing the area to amending the soil with nutrients, each step is essential in creating an ideal environment for your plants to flourish.
Whether you have a small backyard garden or a larger plot of land, the steps outlined in this article can be applied to any scale. By following these steps and putting in a little bit of extra effort, you can significantly increase the productivity of your vegetable garden and enjoy a bountiful harvest.
So, let’s dive in and learn the essential steps to properly prepare your soil for planting vegetables.
Step 1: Clear the Area
Before you begin preparing the soil for planting vegetables, it’s essential to clear the area of any debris, weeds, or unwanted vegetation. Clearing the area ensures that your vegetables have ample space to grow without competition for resources.
Start by removing any large rocks, sticks, or other debris from the soil surface. These can hinder the growth of your vegetables and make the soil uneven. Use a rake or garden fork to gently remove any obstacles and create a clean and level surface.
Next, it’s time to tackle the weeds. Weeds can quickly take over your vegetable garden if left unchecked, competing for nutrients and space. Remove any visible weeds by hand, making sure to pull out the entire plant, including the roots. This will help prevent regrowth.
If you have a large area overrun with weeds, consider covering the area with a weed barrier such as black plastic or landscape fabric. This will smother the existing weeds by blocking their access to sunlight. Leave the weed barrier in place for a few weeks to effectively kill the weeds before proceeding to the next step.
By clearing the area of debris and weeds, you are creating a blank canvas for your vegetable garden. This step not only improves the aesthetics but also eliminates potential sources of competition and interference for your vegetable plants.
Remember, proper soil preparation starts with a clean and clear area, giving your vegetables the best chance for success. Once you have cleared the area, you can move on to the next step: testing the soil to determine its nutrient content and pH level.
Step 2: Remove Weeds and Grass
In order to create an ideal environment for your vegetables to grow, it is necessary to remove any existing weeds and grass from the designated planting area. Weeds and grass compete for essential nutrients, water, and sunlight, which can hinder the growth and development of your vegetable plants.
Start by thoroughly inspecting the area and manually removing any visible weeds and grass. Make sure to pull them out from the roots to prevent regrowth. A garden fork or a trowel can be helpful tools for removing stubborn weeds with deep roots.
For larger areas with dense weed and grass growth, you may need to consider using herbicides. Choose an herbicide that specifically targets broadleaf weeds and grass, and carefully follow the instructions provided on the product label. Always use herbicides responsibly and avoid overspray on desirable plants.
If you prefer an organic approach, you can use natural weed-killing methods such as smothering or solarization. Smothering involves covering the area with a layer of organic material, such as cardboard or mulch, to block out sunlight and suffocate the weeds. Solarization, on the other hand, utilizes sunlight and clear plastic sheets to heat up the soil and kill weed seeds and grass roots.
Once you have removed or treated the existing weeds and grass, it is important to stay vigilant and regularly inspect the area for new weed growth. Address any new weed or grass growth promptly to prevent them from establishing and spreading throughout your vegetable garden.
By taking the time to remove weeds and grass before planting, you are eliminating potential competitors for important resources and creating a clean slate for your vegetable plants. This will give your vegetables the best chance to thrive and produce a successful harvest.
With the area cleared of weeds and grass, it is time to move on to the next step: testing the soil to determine its composition and health.
Step 3: Test the Soil
Testing the soil is a crucial step in preparing your vegetable garden. It allows you to assess the soil’s nutrient levels and pH balance, which are essential factors for the healthy growth of your plants.
There are various ways to test the soil, including at-home soil test kits, sending a sample to a laboratory, or consulting with local agricultural extension services. At-home test kits are convenient and provide basic information about the soil’s pH level and some nutrient levels. However, for a more thorough analysis, it is recommended to send a soil sample to a laboratory or seek professional advice.
When collecting a soil sample, ensure that it is a representative sample from the area you plan to plant your vegetables. Use a clean trowel or shovel to collect samples from several spots in your garden, about 6 to 8 inches deep. Mix the samples in a clean container and allow it to air dry completely before testing.
Soil test results will typically provide information on the soil’s pH level, as well as the availability of essential nutrients like nitrogen, phosphorus, and potassium. These results will guide you in determining the proper amendments and fertilizers needed to optimize the soil for your vegetables.
If the soil pH is too acidic or alkaline, you may need to make adjustments by adding lime to raise the pH or sulfur to lower it. Additionally, based on nutrient deficiencies identified in the soil test, you may need to amend the soil with organic matter or specific fertilizers to provide the necessary nutrients for plant growth.
By testing the soil, you are making informed decisions about the specific needs of your vegetable plants. This step ensures that you can address any potential imbalances in the soil composition, creating an optimal environment for your vegetables to thrive.
Once you have obtained the soil test results and made the necessary amendments, you can move on to the next step: adding organic matter to improve soil structure and fertility.
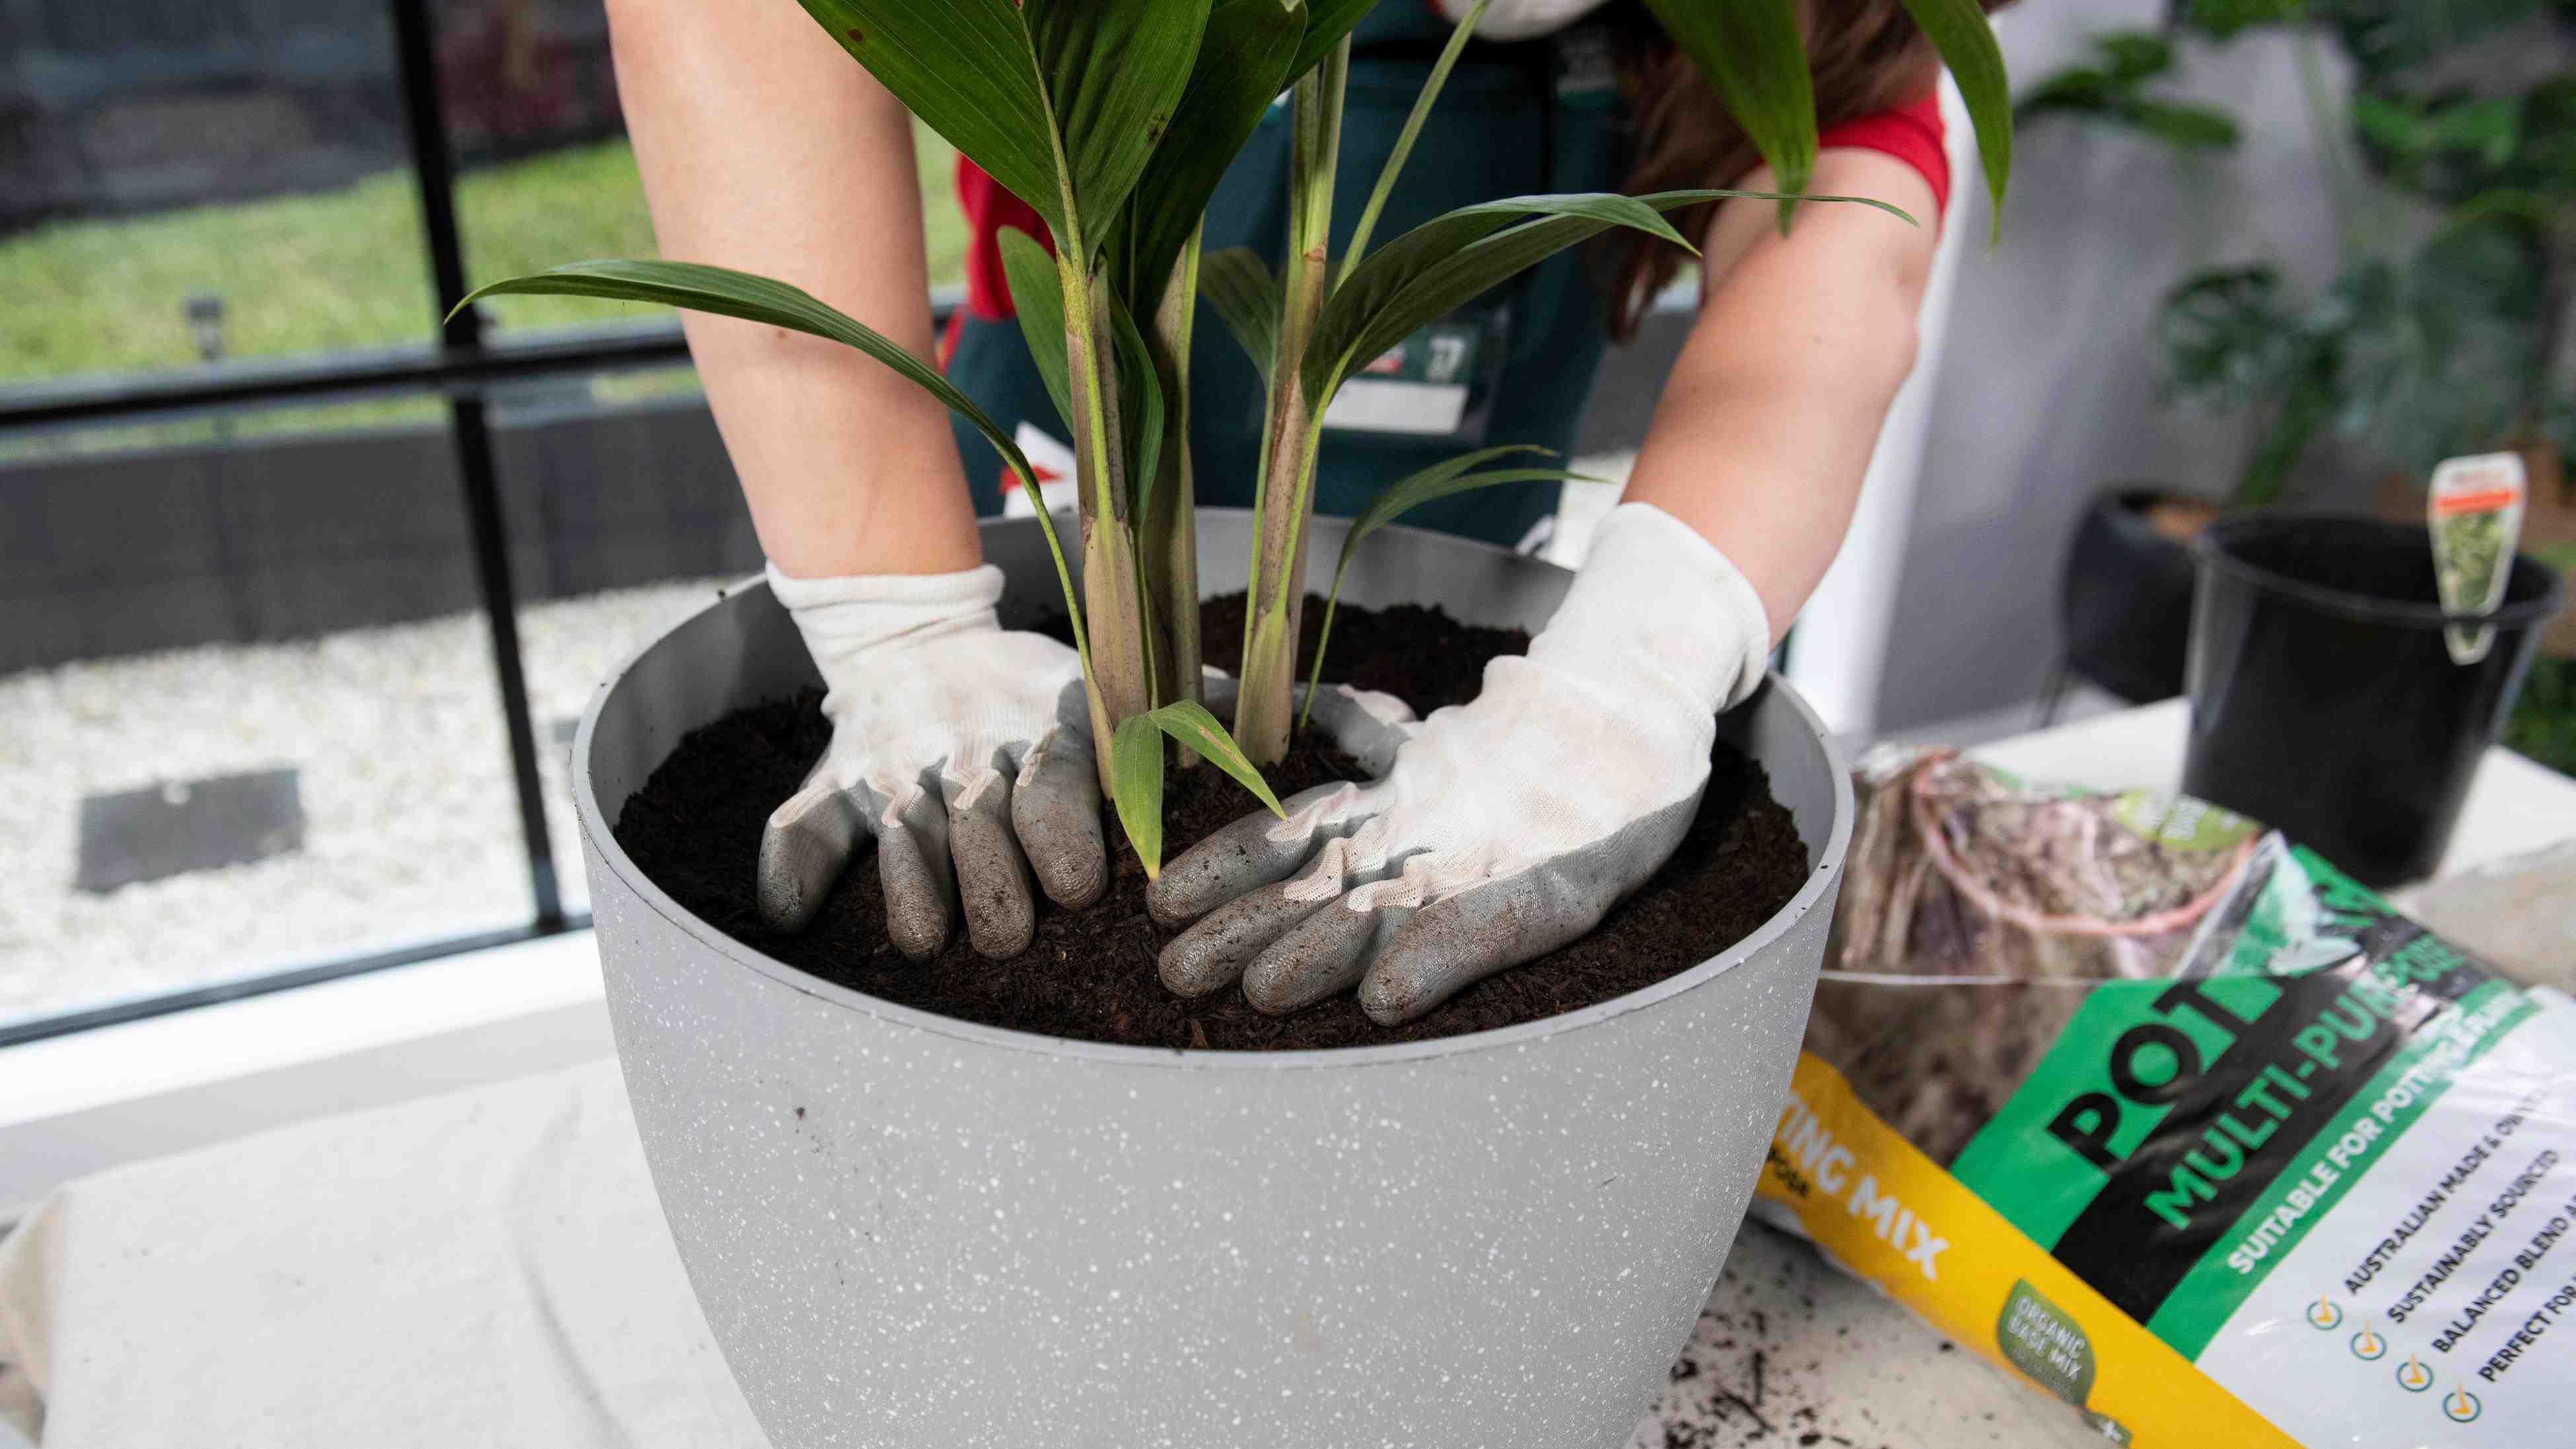
Step 4: Add Organic Matter
Adding organic matter to your soil is crucial to improve its structure, fertility, and overall health. Organic matter provides a host of benefits, including increased nutrient content, improved water-holding capacity, enhanced drainage, and the promotion of beneficial soil organisms.
There are several ways to incorporate organic matter into your soil. One common method is by adding compost, which is rich in decomposed organic materials. Spread a layer of compost over the soil surface and gently work it into the top few inches using a garden fork or a tiller. This will help mix the organic matter with the existing soil, promoting nutrient availability and enhancing soil structure.
In addition to compost, you can also use other organic materials such as well-rotted manure, leaf mold, straw, or grass clippings. These materials add valuable nutrients to the soil while improving its ability to retain moisture and provide a favorable environment for beneficial microorganisms.
An effective technique for incorporating organic matter is through the practice of cover cropping. Cover crops, such as legumes or grasses, are grown specifically to be turned back into the soil. As the cover crop grows, it increases organic matter content and prevents erosion. When the cover crop reaches maturity, it is cut down and worked into the soil, enriching it with organic matter and nutrients.
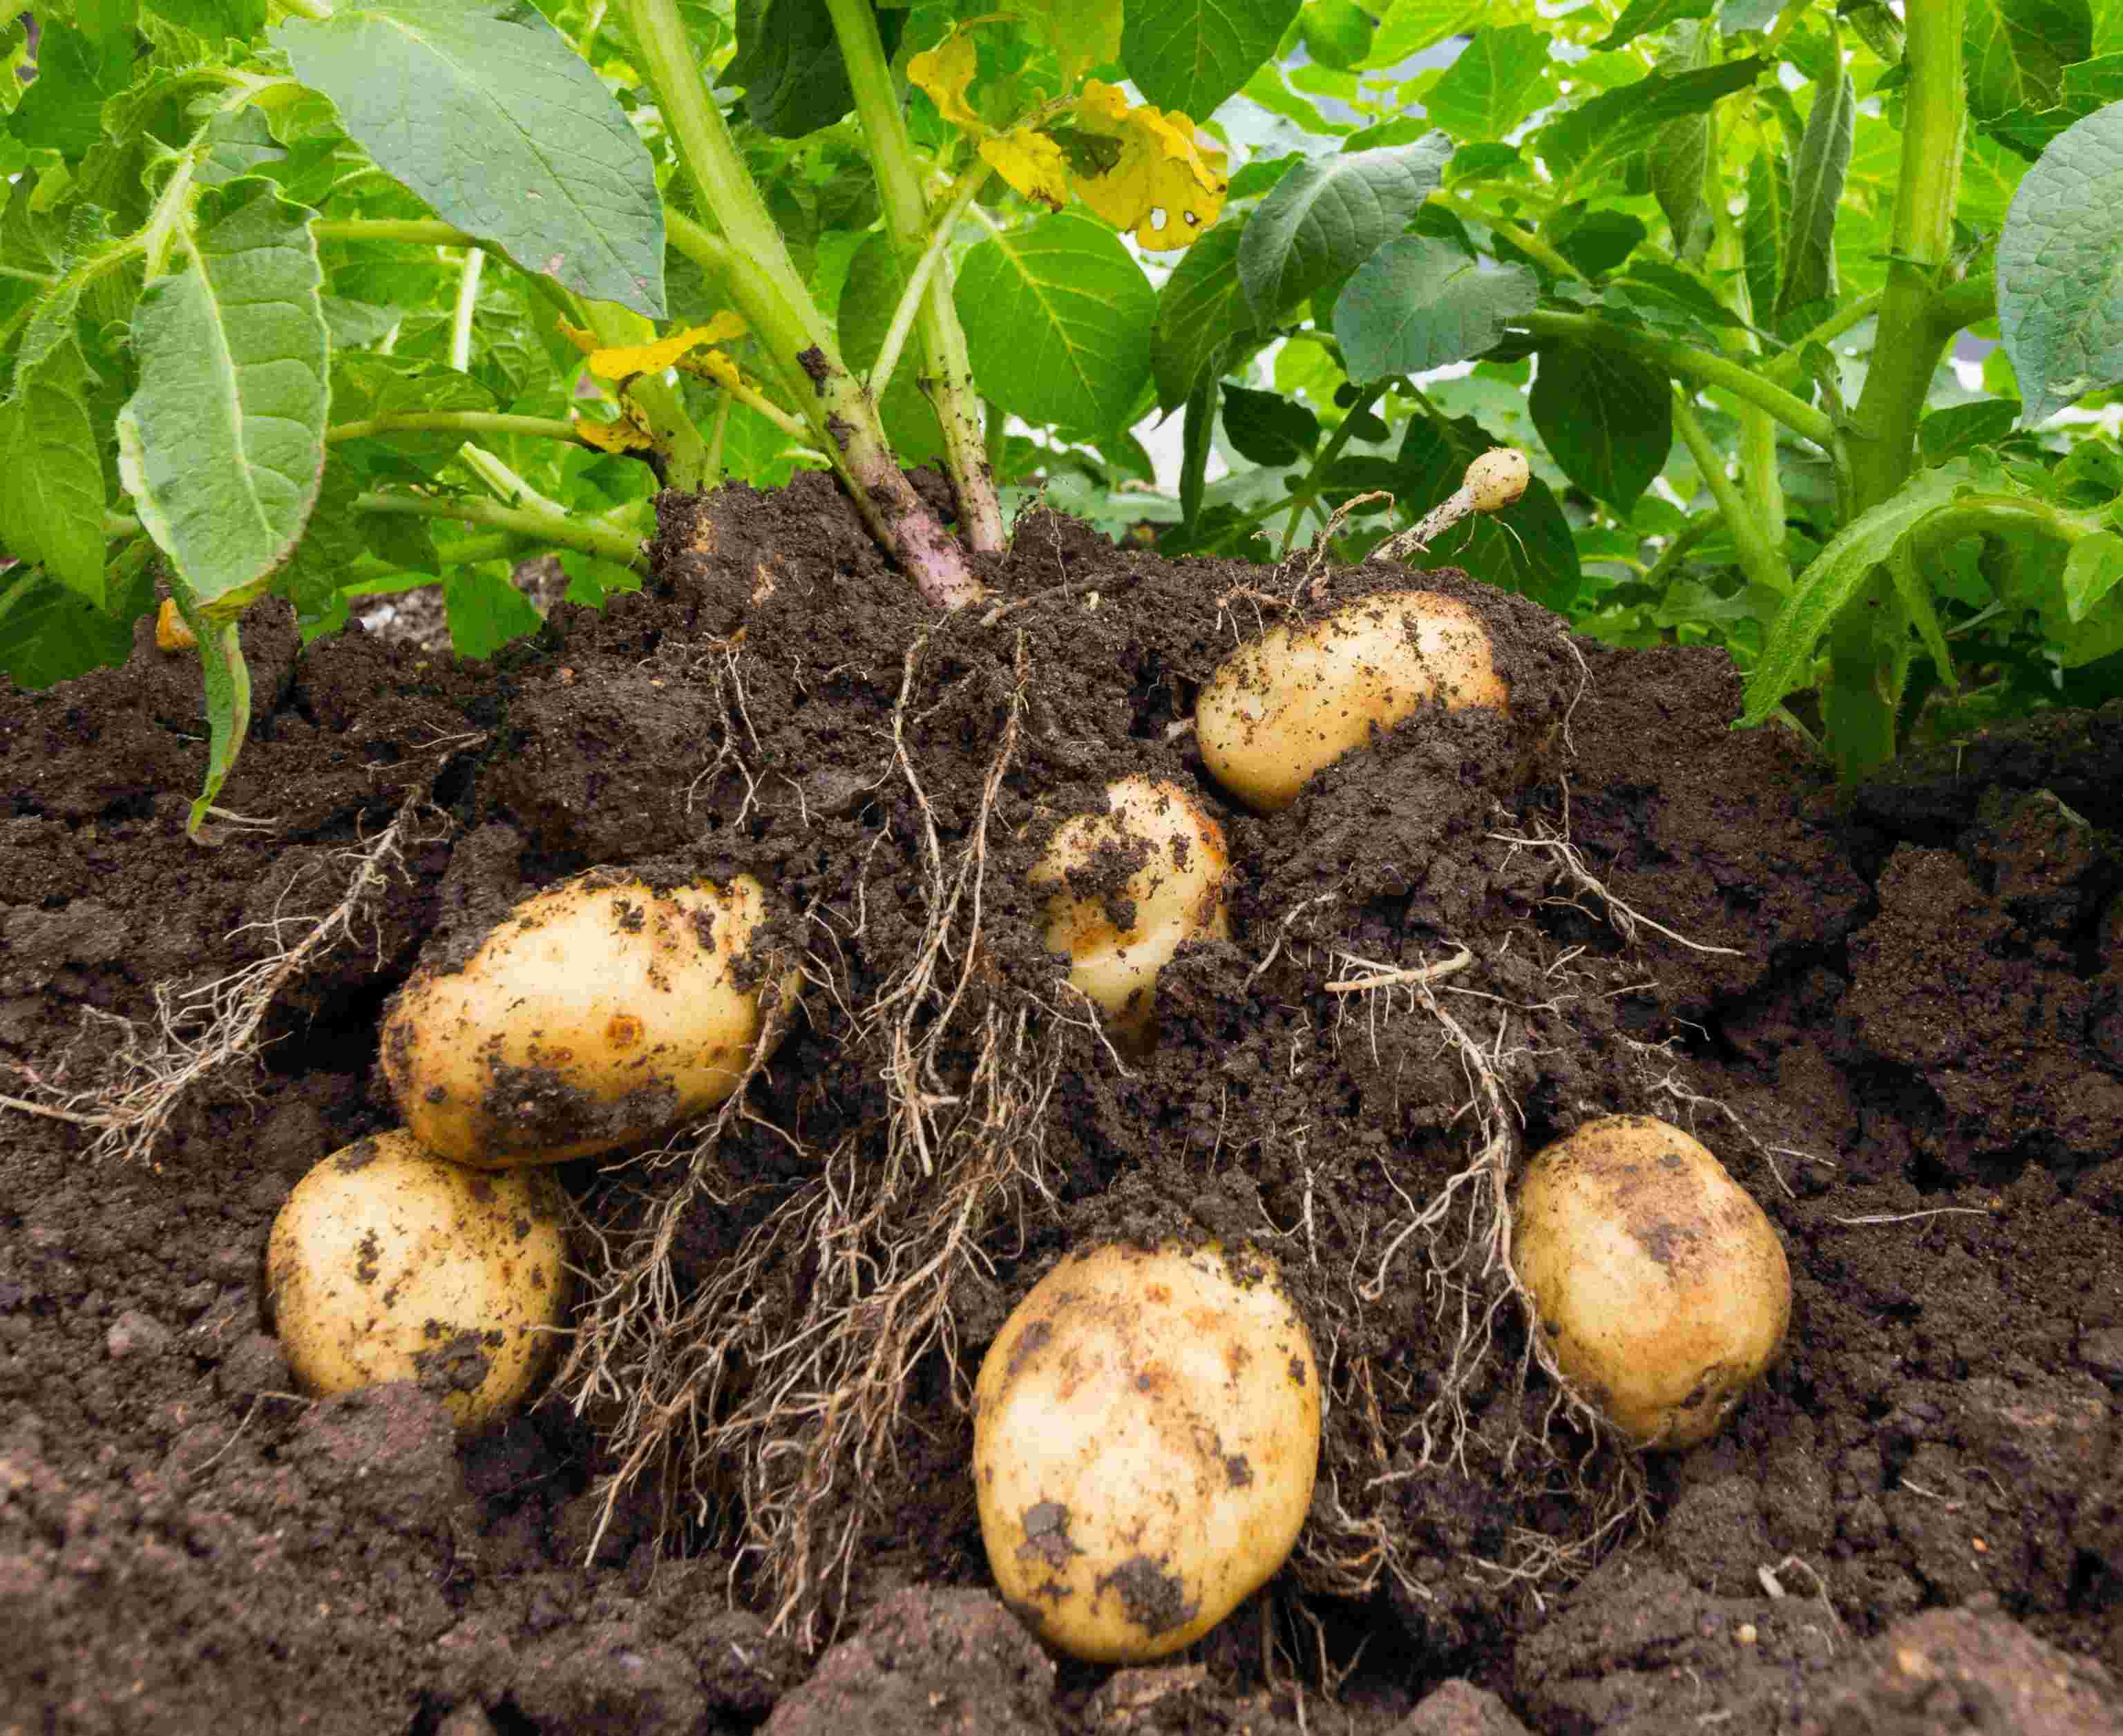
Remember, when adding organic matter, it is important to consider the specific needs of your plants. Some vegetables, like root crops, prefer well-drained soil with lower organic matter content, while others, such as leafy greens, thrive in soil with higher organic matter levels.
By incorporating organic matter into your soil, you are enriching its fertility and creating a nutrient-rich environment for your vegetable plants. This step is crucial in ensuring the long-term success and productivity of your garden.
With organic matter added to the soil, the next step is to loosen the soil to improve aeration and root penetration.
Step 5: Loosen the Soil
Loosening the soil is an important step in preparing the area for planting vegetables. Properly loosened soil promotes good aeration, root penetration, and drainage, all of which are essential for the healthy growth of your plants.
Start by using a garden fork, hoe, or a tiller to break up any compacted soil. This helps to improve the soil’s structure and allows plant roots to penetrate more easily. Work the tool into the soil, loosening it to a depth of at least 8 to 12 inches.
Be mindful not to overwork the soil, as excessive tilling can disrupt the soil’s natural structure and harm beneficial organisms. Aim for a loose, crumbly texture, similar to that of a chocolate cake.
In areas with heavy clay soils, adding organic matter can further improve soil structure and drainage. The organic matter helps to bind together clay particles, making the soil more friable and easier for roots to navigate.
Loosening the soil not only improves the physical structure but also helps to break up compacted layers, enabling water to infiltrate and prevent waterlogging. This is particularly important for vegetable plants, as excessive moisture can lead to root rot and other diseases.
Remember to consider the specific needs of your vegetable plants when loosening the soil. Some plants, such as carrots or other root crops, prefer well-drained soil with fine tilth, while others, like tomatoes or peppers, thrive in looser soil that retains more moisture.
By properly loosening the soil, you are creating an optimal environment for your vegetable plants to establish strong roots and access the nutrients they need for healthy growth. This step sets the stage for successful planting and promotes vigorous plant development throughout the growing season.
Once the soil has been loosened, the next step is to level the soil surface to create an even planting bed.
Step 6: Level the Soil
Leveling the soil is an important step in creating an even and uniform planting bed for your vegetables. A level surface helps to ensure consistent moisture distribution, proper drainage, and allows for easier seed sowing or transplanting.
To level the soil, start by using a rake or a garden hoe to remove any large clumps or debris from the surface. This will help create a smooth and even base for planting.
Next, carefully inspect the soil surface for any uneven areas or low spots. Use the backside of the rake or the flat edge of a hoe to gently redistribute the soil, filling in any depressions and leveling out high spots. Take your time and make small adjustments until the entire area is level.
Pay attention to the edges of the planting bed as well, ensuring that the soil is evenly distributed and transitions smoothly to the surrounding areas. This will help prevent water runoff and create a neat appearance.
Leveling the soil is particularly important for crops that require uniform moisture levels, such as salad greens or root vegetables. A level surface helps to promote consistent water absorption and prevent excess water from pooling in certain areas, which can lead to waterlogged soil and damage the plants.
In addition to promoting proper drainage and moisture distribution, a level soil surface also facilitates easier sowing or transplanting of vegetable seeds or seedlings. This allows for more precise placement and ensures optimal contact between the roots and the soil.
By taking the time to level the soil, you are creating an even playing field for your vegetable plants, ensuring they have an equal opportunity to thrive and grow. Plus, a level planting bed adds a visual appeal and sense of organization to your garden.
Once the soil has been leveled, you are ready to move on to the next step: creating planting beds to optimize space utilization and plant growth.
Step 7: Create Planting Beds
Creating planting beds is a strategic approach to maximize space utilization and optimize plant growth in your vegetable garden. Planting beds provide a defined area for planting, enhance soil conditions, facilitate efficient watering, and make garden maintenance more manageable.
To create planting beds, start by marking out the desired dimensions and shape of each bed. Consider the spacing requirements for the specific vegetables you intend to grow, as well as the accessibility needed for maintenance tasks such as weeding and harvesting.
Using a garden tool like a spade or tiller, loosen the soil within each marked-out bed, working it to a depth of around 6 to 8 inches. This helps break up compacted soil and improves drainage and aeration. Remove any rocks, weeds, or debris that may interfere with plant growth.
Consider adding a border or edging material around each bed to help define and separate them from the surrounding areas. This can be done using wood boards, stones, bricks, or other suitable materials. The borders not only add aesthetic appeal but also help prevent soil erosion and keep the bed structure intact.
Creating raised beds is another option to consider, especially if you have heavy clay or poorly draining soil. Raised beds provide excellent drainage, warm up faster in the spring, and make it easier to maintain soil fertility and moisture levels.
When designing the layout of your planting beds, consider companion planting. Certain plants grow well together and can benefit from being in close proximity, while others may be incompatible. Companion planting can help deter pests, improve pollination, and maximize space utilization.
By creating planting beds, you are providing a dedicated space for each vegetable, ensuring proper spacing and easier maintenance. This organized approach helps establish an efficient and productive garden while maximizing the available space.
Once the planting beds are established, the next step is to amend the soil with nutrients to promote optimal plant growth and productivity.
Step 8: Amend the Soil with Nutrients
Amending the soil with nutrients is a crucial step in preparing your vegetable garden for optimal plant growth and productivity. Soil amendments, such as fertilizers and organic matter, replenish essential nutrients that may be lacking in the soil and provide a nutrient-rich environment for your plants.
Start by referring to the soil test results obtained in Step 3. The soil test will indicate any nutrient deficiencies or imbalances that need to be addressed. Based on these results, choose the appropriate fertilizers or amendments to amend the soil.
If the soil test reveals low nitrogen levels, consider using a nitrogen-rich fertilizer to boost plant growth. Phosphorus deficiencies can be remedied with a phosphorus-rich fertilizer, which promotes root development and flowering. For soils lacking potassium, a potassium-rich fertilizer can help improve overall plant health and disease resistance.
In addition to commercial fertilizers, organic alternatives such as compost, well-rotted manure, or bone meal can also provide a natural source of nutrients. These organic amendments not only enrich the soil with essential nutrients but also improve soil structure and promote microbial activity.
When applying fertilizers or organic amendments, follow the recommended application rates specified on the product packaging. Avoid over-applying fertilizers, as excessive nutrients can lead to nutrient imbalances or environmental pollution. Remember to water the soil thoroughly after applying amendments to ensure even distribution.
Throughout the growing season, monitor the progress of your plants and supplement with additional fertilizers or amendments as needed. Mulching around the plants can also help conserve moisture, improve soil fertility, and suppress weed growth.
Amending the soil with nutrients is a crucial step in providing your vegetable plants with the necessary elements for healthy growth, robust fruit production, and overall plant vigor. By addressing nutrient deficiencies and ensuring a balanced soil fertility, you are setting the stage for a bountiful harvest.
Now that the soil has been amended with essential nutrients, the next step is to mulch the beds to further improve soil health and moisture retention.
Step 9: Mulch the Beds
Mulching the beds is a beneficial practice in vegetable gardening that offers numerous advantages, including moisture retention, weed suppression, temperature regulation, and improved soil health. Mulch acts as a protective covering on the soil surface, creating a favorable environment for your plants to thrive.
To mulch the beds, begin by clearing any weeds or debris. This ensures a clean surface for the mulch and prevents unwanted plants from competing with your vegetables. Apply a layer of organic mulching material, such as straw, wood chips, or shredded leaves, to a depth of around 2 to 3 inches.
The mulch layer helps to conserve moisture by reducing evaporation from the soil surface. This is especially important during hot summer months when water can quickly evaporate, leaving your plants susceptible to drought stress. By retaining moisture, mulch provides a consistent water supply to your vegetables, promoting healthy growth and reducing the need for frequent watering.
In addition to moisture retention, mulch also acts as a natural weed barrier. It blocks sunlight from reaching weed seeds, preventing them from germinating and competing with your vegetables for nutrients and water. This reduces the amount of time and effort spent on weed control, allowing you to focus on other important garden tasks.
Mulch also helps regulate soil temperature, keeping it cooler in the summer and warmer in the winter. This temperature moderation ensures that your vegetable plants are not stressed by extreme weather conditions. In colder climates, mulch provides insulation and protects the roots from frost damage.
Furthermore, as the mulch gradually breaks down, it adds organic matter to the soil, enriching it with essential nutrients and enhancing overall soil fertility. This natural decomposition process also supports beneficial soil organisms, such as earthworms and microorganisms, which contribute to a healthy and thriving soil ecosystem.
When applying mulch, be sure to leave a small gap around the base of each plant to prevent excessive moisture retention and potential rot. This also helps discourage pests, such as slugs or snails, from taking shelter near your vegetable plants.
By mulching the beds, you are providing a protective layer that conserves moisture, suppresses weeds, moderates soil temperature, and improves soil health. This step not only benefits your vegetable plants but also promotes sustainability and efficient garden management.
With the beds mulched, the final step is to ensure proper watering of the soil to support the growth and development of your vegetables.
Step 10: Water the Soil
Proper watering is essential for the health and vitality of your vegetable garden. Water provides the necessary hydration for your plants to grow, ensuring they can absorb nutrients and carry out vital biological processes effectively.
When it comes to watering the soil, there are a few important factors to consider. The frequency and amount of water needed depend on factors such as the specific vegetable crops, weather conditions, soil type, and stage of plant growth.
Start by determining the moisture needs of your plants. Some vegetables, such as lettuce or spinach, prefer consistently moist soil, while others, like tomatoes or peppers, thrive with slightly drier conditions between watering. Observe your plants and monitor the moisture level in the soil to gauge when watering is necessary.
Water deeply and thoroughly to ensure the water reaches the root zone of the plants. Shallow watering only wets the surface and encourages shallow root growth, making your plants more susceptible to drought stress. Use a watering can, soaker hose, or drip irrigation system to deliver water directly to the soil, minimizing water loss through evaporation.
One effective method is to water in the early morning, allowing the leaves and soil to dry before evening. This helps prevent the growth of fungal diseases that thrive in moist conditions. Avoid overhead watering during hot, sunny periods, as this can lead to water evaporation before it reaches the plant roots.
Consider implementing mulch around your vegetable plants, as discussed in Step 9. Mulch helps to conserve soil moisture by reducing evaporation, which means less frequent watering is needed. However, always check the soil moisture level before watering to avoid overwatering, which can lead to root rot and other water-related issues.
Remember that each vegetable has its own water requirements. Do some research to understand the specific watering needs of each plant variety in your garden and adjust your watering schedule accordingly. As you gain experience, you’ll become more familiar with the water needs of your particular crops.
By providing the right amount of water at the appropriate times, you are ensuring that your vegetable plants have the necessary moisture for growth, nutrient absorption, and overall vitality. Proper watering practices go hand in hand with soil preparation, creating an optimal environment for your vegetables to flourish.
With the soil properly watered, your vegetable garden is now set up for success. Continue to monitor the soil moisture levels and adjust your watering practices as needed throughout the growing season.
Conclusion
Preparing the soil for planting vegetables is an essential step in ensuring a successful and abundant harvest. By following the ten outlined steps, you can create an optimal environment for your vegetable plants to thrive.
From clearing the area and removing weeds to testing the soil, adding organic matter, and amending it with nutrients, each step plays a crucial role in creating healthy and productive soil. Leveling the soil, creating planting beds, mulching, and proper watering techniques further enhance the conditions for successful vegetable growth.
Remember to take into consideration the specific needs of your vegetable plants throughout the process. Different vegetables require different levels of nutrients, soil moisture, and spacing. By understanding the requirements of your plants, you can tailor the soil preparation process to meet their individual needs.
Additionally, it’s important to regularly monitor your garden, making adjustments as necessary. This includes testing the soil periodically to ensure nutrient levels remain balanced and addressing any weed or pest issues promptly.
By putting in the effort to prepare your soil properly, you are setting the stage for a thriving and productive vegetable garden. The time and care invested in soil preparation will be rewarded with healthy plants, abundant yields, and the satisfaction of enjoying homegrown vegetables.
So, roll up your sleeves, follow these steps, and get ready to witness the transformation of your soil into a rich, fertile haven for your cherished vegetable plants. Happy gardening!