Home>Gardening Basics>Understanding Soil>How To Prepare Hard Soil For Planting
Understanding Soil
How To Prepare Hard Soil For Planting
Modified: February 10, 2024
Learn how to prepare hard soil for planting by understanding the basics of soil composition, texture, and amendment techniques. Get your garden ready for thriving plants!
(Many of the links in this article redirect to a specific reviewed product. Your purchase of these products through affiliate links helps to generate commission for Chicagolandgardening.com, at no extra cost. Learn more)
Table of Contents
- Introduction
- Understanding Hard Soil
- Assessing Soil Composition
- Gathering Necessary Tools and Materials
- Preparing the Soil for Planting
- Techniques to Loosen Hard Soil
- Adding Organic Matter to Improve Soil Quality
- Testing Soil Drainage
- Adjusting Soil pH Levels
- Applying Fertilizers and Nutrients
- Mulching the Soil
- Conclusion
Introduction
When it comes to gardening, one of the most essential factors for successful plant growth is healthy soil. However, many gardeners encounter the challenge of dealing with hard soil, which can inhibit root development and nutrient absorption. Hard soil is compacted, devoid of nutrients, and has poor drainage, making it difficult for plants to thrive.
Understanding the nature of hard soil and learning how to prepare it properly for planting is crucial to create a favorable environment for your plants to flourish. In this article, we will explore different techniques and methods to prepare hard soil, improve its quality, and set the stage for successful plant growth.
Before diving into the practical tips, it’s important to assess the composition of your soil. Different types of soil have varying textures and properties, and understanding their characteristics will help you determine the best approach to prepare and improve it.
Gardening enthusiasts should also gather the necessary tools and materials required for soil preparation. Basic gardening tools such as a shovel, rake, garden fork, and a soil testing kit will prove indispensable in the process.
With the right knowledge and tools in hand, we can now proceed to the step-by-step process of preparing hard soil for planting. In the following sections, we will explore various techniques to loosen compacted soil, add organic matter to enhance soil quality, improve drainage, adjust pH levels, and provide essential nutrients to promote healthy plant growth. By following these guidelines, you can transform your hard soil into a fertile ground that fosters flourishing plants and bountiful harvests.
Understanding Hard Soil
Hard soil, also known as compacted soil, is a common challenge faced by gardeners. It occurs when soil particles become tightly packed together, leaving little room for air and water to penetrate. This compacted state inhibits root growth, moisture retention, and nutrient absorption, ultimately affecting the overall health and productivity of plants.
There are several factors that contribute to the formation of hard soil. Heavy foot traffic, improper cultivation techniques, and heavy machinery use can all lead to soil compaction. Additionally, the natural composition of the soil plays a role, with clay soils being more prone to compaction compared to sandy or loamy soils.
One of the main causes of hard soil is the loss of soil structure. Soil structure refers to the arrangement and grouping of soil particles, which can be affected by factors like organic matter content, soil organisms, and the presence of plant roots. When soil structure is disrupted, either through natural or human activities, the soil becomes more compacted.
Compacted soil poses several challenges to plants. Firstly, it restricts root penetration and inhibits root development. This can lead to stunted growth and reduced nutrient and water uptake. Secondly, compacted soil hinders water drainage, leading to waterlogged conditions, which can suffocate plant roots and promote the growth of diseases. Lastly, compacted soil limits the movement of beneficial soil organisms and microbes, disrupting the natural soil ecosystem and nutrient cycling processes.
By understanding the nature of hard soil and its impact on plant growth, gardeners can take appropriate steps to address the issue and improve the soil quality. The next sections will explore various techniques and methods to prepare hard soil, improve its structure, and create a favorable environment for healthy plant growth.
Assessing Soil Composition
Before embarking on the journey of preparing hard soil for planting, it is essential to assess the composition and characteristics of the soil. By understanding the soil’s texture, nutrient content, and pH levels, you can determine the specific needs of your plants and choose appropriate amendments to enhance the soil quality.
The first step in assessing soil composition is to determine its texture. Soil can be classified as sandy, loamy, or clayey based on the relative proportions of sand, silt, and clay particles. Sandy soil has larger particles and feels gritty, while clay soil has smaller particles and feels sticky when wet. Loamy soil, often considered the ideal soil for gardening, is a balanced mix of sand, silt, and clay particles that provides good drainage and retains moisture.
In addition to texture, it is crucial to evaluate the nutrient content of the soil. This can be done using a soil testing kit or by sending a soil sample to a laboratory for analysis. The test results will indicate the levels of essential nutrients such as nitrogen, phosphorus, and potassium, as well as secondary and micronutrients like calcium, magnesium, iron, and zinc. Based on the nutrient deficiencies or excesses found, appropriate fertilizers or organic amendments can be applied to balance the nutrient content.
The pH level of the soil is another critical factor to assess. The pH scale measures the acidity or alkalinity of the soil, with a neutral pH of 7.0 being ideal for most plants. Soil with a pH below 7.0 is considered acidic, while soil with a pH above 7.0 is alkaline. Different plants have varying pH preferences, so it is important to adjust the soil pH accordingly. Lime can be added to raise the pH in acidic soil, while sulfur or elemental sulfur can be used to lower the pH in alkaline soil.
By thoroughly assessing the soil composition, you can gain valuable insights into its texture, nutrient content, and pH levels. This knowledge will guide you in making informed decisions about the specific amendments and treatments needed to improve the quality of hard soil and create a conducive environment for thriving plants.
Gathering Necessary Tools and Materials
Preparing hard soil for planting requires the use of specific tools and materials to ensure effective soil improvement. By having the right equipment on hand, you can streamline the process and achieve optimal results.
The first and most essential tool for soil preparation is a shovel. A sturdy, sharp-edged shovel will aid in digging and turning over the soil to loosen compacted areas. Additionally, a garden fork can be used to break up larger clumps of soil and penetrate deeper into the ground.
A rake is another indispensable tool for leveling the soil and removing debris and rocks. It helps to create a smooth and even surface, making it easier for plants to establish their roots. A garden hose or watering can should also be available to moisten the soil prior to working it, as damp soil is easier to manipulate and less likely to create excessive dust.
In addition to the basic tools, it is highly recommended to use a soil testing kit to assess the pH level and nutrient content of the soil. These kits are simple to use and provide instant results, allowing you to make informed decisions regarding the necessary amendments for your soil.
Depending on the specific needs of your soil, you may also need to gather additional materials. For example, organic matter such as compost, well-rotted manure, or leaf mold can be added to improve soil structure, enhance nutrient levels, and promote beneficial microbial activity. Amendments like lime, sulfur, or elemental sulfur may also be required to adjust the soil’s pH level if it is too acidic or alkaline.
Furthermore, having a supply of organic fertilizers or slow-release granular fertilizers will ensure that your plants receive adequate nutrients throughout the growing season. Mulching materials, such as straw, wood chips, or shredded leaves, can also be beneficial in conserving moisture, suppressing weed growth, and insulating the soil.
By gathering the necessary tools and materials before starting the soil preparation process, you will be well-equipped to effectively improve the quality of hard soil and create an environment that promotes healthy plant growth.
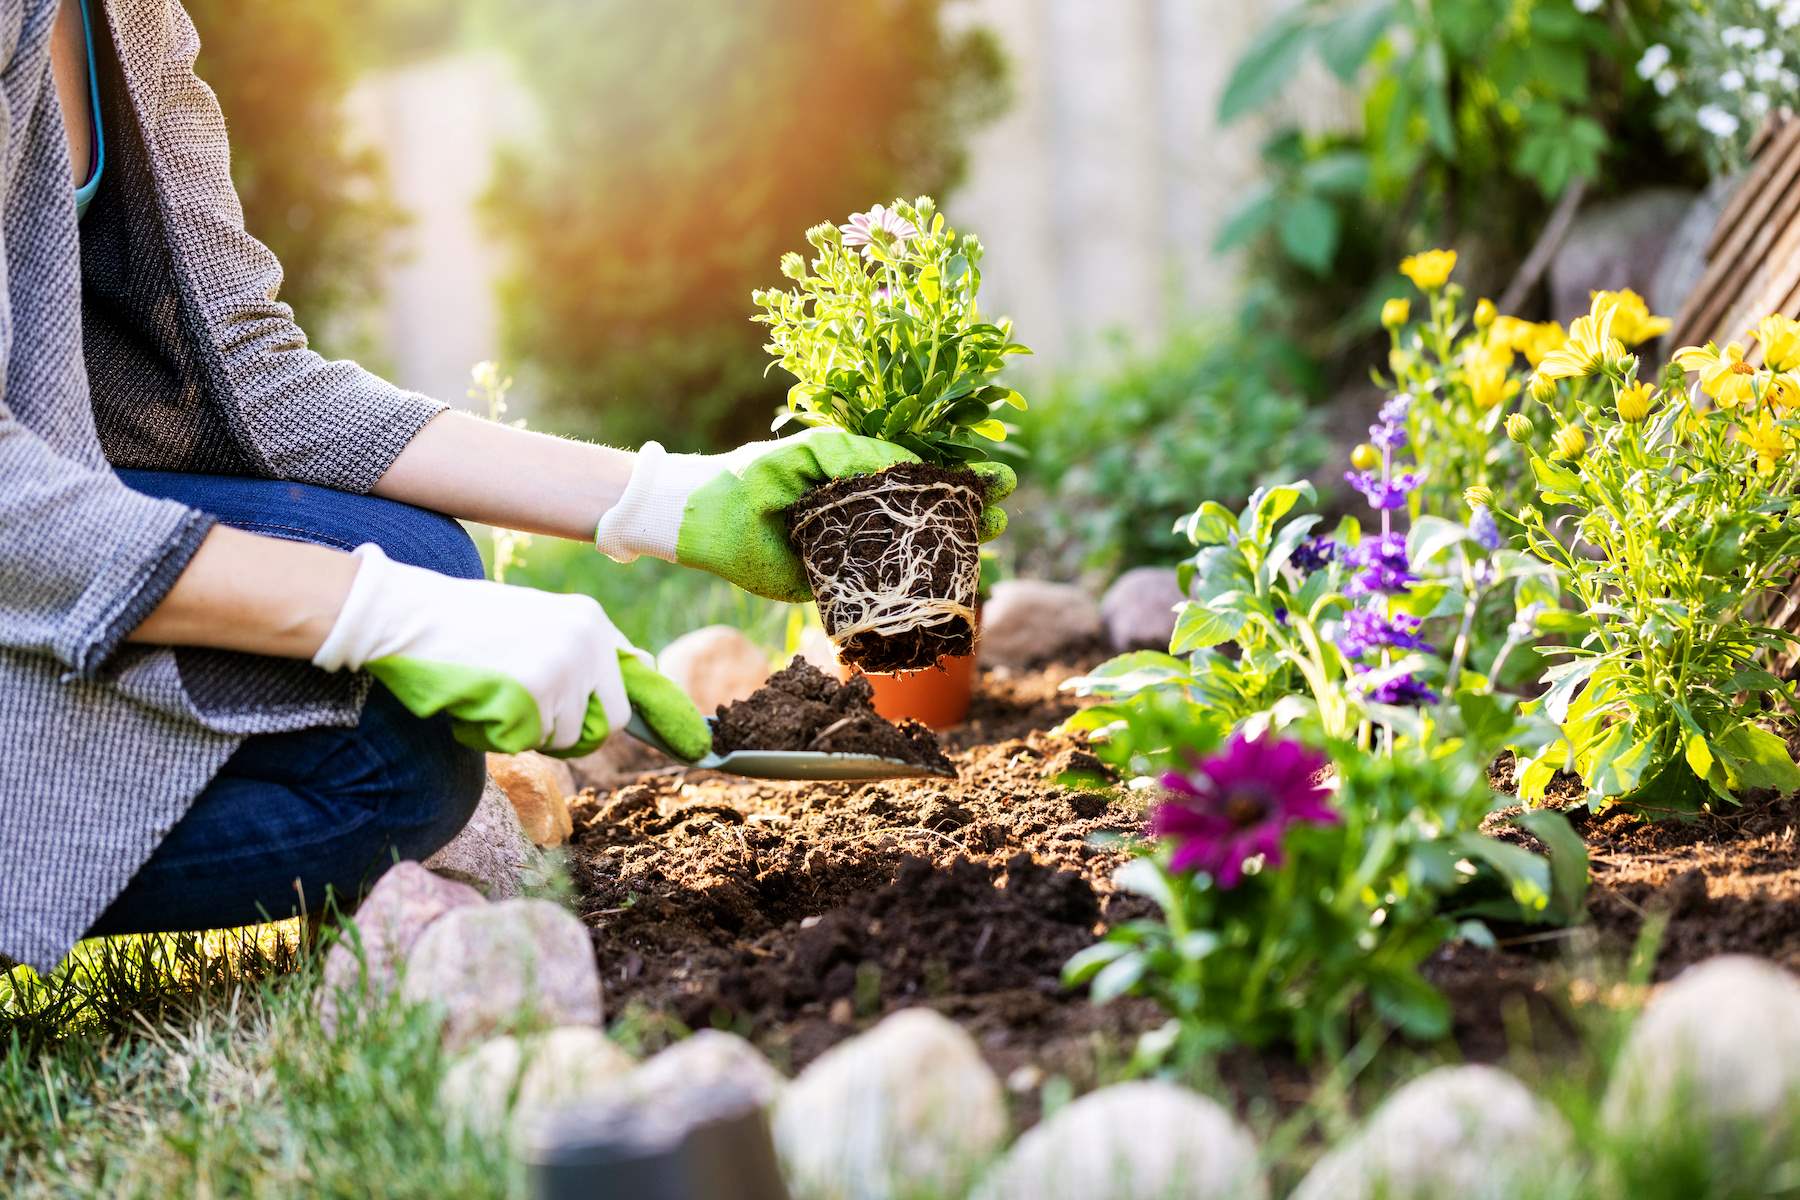
Preparing the Soil for Planting
Once you have assessed the composition of the soil and gathered the necessary tools and materials, it’s time to begin the process of preparing the soil for planting. This crucial step sets the foundation for successful plant growth and ensures optimal nutrient availability and root development.
The first step in preparing the soil is to clear the area of any debris, rocks, or weeds. Use a rake or your hands to remove any obstacles that may hinder plant growth or interfere with the cultivation process. It’s important to create a clean and clear space for your plants to thrive.
Next, moisten the soil if it is dry. Dry soil can be difficult to work with and may create excess dust. Use a garden hose or watering can to provide sufficient moisture to the soil without causing waterlogging. Moistening the soil will make it easier to dig and loosen the compacted areas.
Once the soil is moist, begin loosening the soil with a shovel or garden fork. Dig into the soil and turn it over, breaking up any clumps or compacted areas. Work the soil to a depth of at least 8 to 12 inches, ensuring thorough aeration and root penetration. This process helps to improve drainage, create pockets for air circulation, and promote root growth.
If the soil is particularly compacted, you may need to employ additional techniques to break up the hard soil. One technique is double-digging, which involves digging a trench and loosening the soil at the bottom before replacing it with the topsoil from the next section. This creates a deep, loosened soil profile that is favorable for plant growth.
Another effective technique is using a broadfork, which has multiple tines that can penetrate deep into the soil. Push the broadfork into the ground, then pull it back towards you to loosen the soil. Repeat this process throughout the planting area.
As you work the soil, be on the lookout for any large rocks or roots that may impede root growth. Remove these obstacles to ensure unrestricted development for your plants.
After preparing the soil, take a moment to level and smooth the surface using a rake. This will ensure an even planting area and provide a stable base for your plants to establish their roots.
By following these steps and properly preparing the soil, you are setting the stage for healthy and thriving plants. The next sections will dive deeper into specific techniques to improve the quality of hard soil, such as adding organic matter, adjusting pH levels, and applying fertilizers and nutrients.
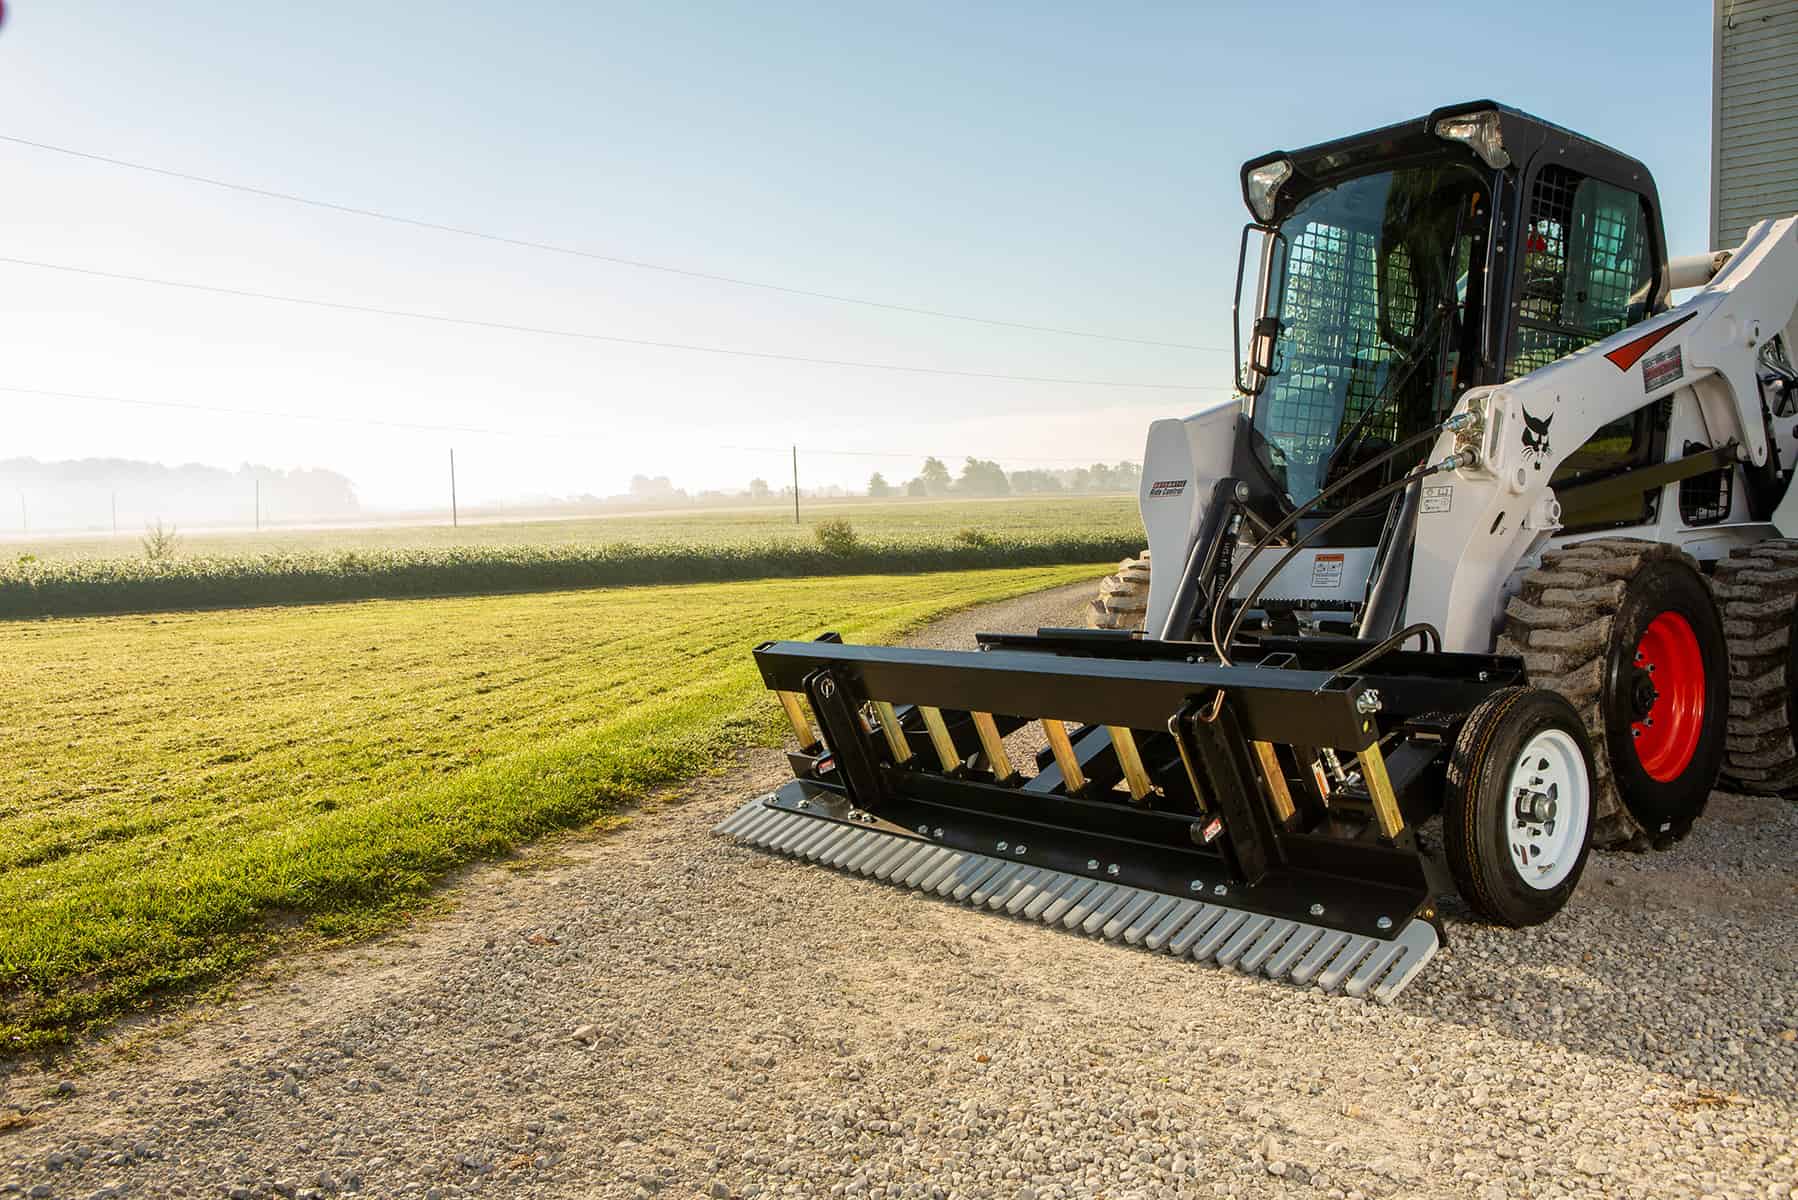
Techniques to Loosen Hard Soil
Loosening hard soil is a crucial step in preparing it for planting. By breaking up compacted soil, you create a favorable environment for root growth, improve drainage, and enhance nutrient absorption. Here are some effective techniques to help you loosen hard soil:
1. Double Digging: This technique involves digging a trench and loosening the soil at the bottom before replacing it with the topsoil from the next section. Repeat this process along the entire planting area. Double digging helps break up compacted layers and encourages deep root penetration.
2. Garden Fork: Using a garden fork, push the tines into the soil and rock it back and forth to break up compacted areas. Work the fork to a depth of at least 8 inches, focusing on areas that are particularly hard and compacted. This method is effective for loosening soil without disturbing the soil structure too much.
3. Broadfork: A broadfork is a tool with multiple tines that can penetrate deep into the soil. Push the broadfork into the ground and then pull it back towards you to loosen the soil. Repeat this process throughout the planting area, focusing on densely compacted areas. The broadfork helps to loosen the soil while preserving its structure.
4. Rototilling: If the soil is excessively compacted, a rototiller can be used to break up hard layers. A rototiller uses rotating tines to break the soil apart, creating a loose and workable condition. However, be cautious not to over-till, as excessive tilling can damage soil structure and disrupt beneficial soil organisms.
5. Raised Beds: Creating raised beds can be an effective solution for dealing with hard soil. By building above-ground planting areas, you can fill them with loose, amended soil that is free from compaction. Raised beds also improve drainage and allow for better aeration, promoting healthy plant growth.
Remember to avoid working wet soil, as it can lead to compaction. Wait until the soil is moist but not overly saturated before attempting to loosen it. Additionally, try not to walk on or heavily compact areas that have already been loosened.
By utilizing these techniques to loosen hard soil, you will create an optimal environment for plant growth. The next sections will focus on additional methods to improve soil quality, such as adding organic matter, testing soil drainage, adjusting pH levels, and applying fertilizers and nutrients.
Adding Organic Matter to Improve Soil Quality
One of the most effective ways to improve the quality of hard soil is by adding organic matter. Organic matter, such as compost, well-rotted manure, leaf mold, or cover crops, can greatly enhance soil structure, nutrient content, and overall fertility. Here are some key benefits of incorporating organic matter into your soil:
1. Enhances Soil Structure: Organic matter helps to improve soil structure by binding particles together, creating pore spaces for better air circulation and water retention. It loosens compacted soil, allowing for easier root penetration and growth.
2. Increases Nutrient Content: Organic matter is a rich source of essential nutrients that plants need for healthy growth. As it decomposes, it releases nutrients gradually, ensuring a steady supply throughout the growing season. Additionally, organic matter acts as a sponge, holding onto nutrients and preventing leaching.
3. Improves Water Retention: Organic matter has excellent water-holding capacity, helping the soil retain moisture for longer periods. This is especially beneficial in dry climates or during periods of drought, as it reduces the need for frequent irrigation and promotes more efficient water use.
4. Encourages Beneficial Microbial Activity: Organic matter provides a food source for beneficial soil microorganisms. These microbes break down organic matter, releasing nutrients and enzymes that support plant growth. They also help control disease-causing pathogens and improve soil health.
5. Reduces Soil Erosion: When added to the topsoil, organic matter forms a protective layer that prevents soil erosion caused by wind and water. It enhances soil stability, reducing the risk of nutrient loss and preserving valuable topsoil.
To incorporate organic matter into your soil, spread a layer of compost, well-rotted manure, or leaf mold over the planting area. Use a rake or a garden fork to mix the organic matter into the top 6 to 8 inches of soil. Aim for an even distribution to ensure all plants benefit from the amendments.
For larger areas or more intensive soil improvement, consider employing cover crops. Cover crops, such as clover, buckwheat, or vetch, are sown and grown specifically to enrich the soil. When the cover crops reach maturity, they can be cut down and tilled into the soil, providing a substantial organic matter boost.
Adding organic matter to your hard soil is a long-term investment in its health and fertility. Regular application over time will gradually transform your soil into a nutrient-rich, well-structured medium that supports thriving plant growth.
Testing Soil Drainage
Proper soil drainage is essential for healthy plant growth. If the soil doesn’t drain well, excess water can accumulate around roots, leading to root rot, nutrient leaching, and other issues. Testing the drainage capacity of your soil will help you determine if any improvements are needed. Here are some methods for testing soil drainage:
1. Observation: Observe how water behaves after rain or irrigation. If the water puddles or takes a long time to drain, the soil may have poor drainage. This can indicate high clay content or compacted soil, both of which need attention.
2. Percolation Test: Dig a hole that is about a foot deep and wide. Fill the hole with water and allow it to drain completely. Once drained, refill the hole with water and measure the time it takes to drain. If the water drains slowly (within 24 hours), it indicates poor drainage. If it drains rapidly (within a few hours), the drainage is adequate.
3. Soil Texture Test: Soil texture plays a significant role in drainage. Sandy soils tend to drain quickly, while clay soils drain slowly. To determine your soil type, take a handful of damp soil and squeeze it. Sandy soil will not hold its shape and will crumble easily. Clay soil, on the other hand, will form a tight ball that is difficult to break apart. Loamy soil will hold its shape, but still break apart easily.
4. Soil Drainage Kit: Soil drainage kits are available for purchase and can provide more accurate insights into the soil’s drainage capacity. These kits typically involve testing the soil’s water-holding capacity and measuring the rate at which water drains through it. Follow the instructions on the kit to perform the test and interpret the results.
Once you have assessed the drainage of your soil, you can take appropriate steps to improve it if necessary. For soils with poor drainage, incorporating organic matter like compost or well-rotted manure can help improve the structure, allowing for better water movement. Additionally, raised beds or raised planting areas can be implemented to ensure proper drainage and prevent waterlogging.
It’s important to note that some plants have specific drainage requirements. If your soil naturally has excellent drainage, plants that prefer moist soil may require additional irrigation. Conversely, plants that prefer drier conditions may need adjustments like the addition of organic mulch to retain more moisture.
Testing and addressing soil drainage issues will ensure that your plants have an optimal environment for growth, maximizing their chances of thriving and avoiding water-related complications.
Adjusting Soil pH Levels
Soil pH plays a crucial role in plant health and nutrient availability. The pH level determines whether the soil is acidic, neutral, or alkaline, and different plants thrive in different pH ranges. If your soil’s pH is not within the appropriate range for your desired plants, it’s important to adjust it. Here are some steps to help you adjust soil pH levels:
1. Test Soil pH: Begin by testing the pH of your soil using a soil testing kit or by sending a soil sample to a laboratory for analysis. This will provide you with an accurate reading of the pH level and guide you in determining the necessary adjustments.
2. Acidifying Soil: If your soil is too alkaline, you can lower the pH by adding acidic amendments. Elemental sulfur or sulfur-based fertilizers are commonly used to lower soil pH. Follow the manufacturer’s instructions for proper application rates based on your soil’s pH test results.
3. Alkalizing Soil: If your soil is too acidic, you can raise the pH by adding alkaline amendments. The most commonly used amendment for this purpose is agricultural lime. Again, follow the instructions for proper application rates based on your soil’s pH test results.
4. Organic Matter: Incorporating organic matter into the soil can help buffer pH and maintain a more balanced level. Compost, well-rotted manure, or other organic materials can help stabilize pH and improve overall soil health.
5. Monitor and Retest: After making adjustments, it’s important to continue monitoring the pH levels over time. Retest the soil periodically to ensure that the desired pH range is being maintained. If necessary, additional amendments can be added to adjust the pH further.
6. Consider Plant Preferences: Different plants have different pH preferences. Research the pH requirements of the plants you plan to grow and adjust your soil accordingly. Some plants, like blueberries, need acidic soil, while others, like clematis, prefer alkaline conditions.
It’s important to note that adjusting soil pH is a gradual process. Changes in pH do not happen instantly, so be patient and make adjustments incrementally over time. Additionally, be aware that factors such as rainfall, irrigation, and soil composition can affect pH levels over time, so ongoing monitoring is necessary.
By adjusting soil pH levels to meet the needs of your desired plants, you will create an environment where they can thrive and access the necessary nutrients for optimal growth.
Applying Fertilizers and Nutrients
Fertilizers and nutrients play a vital role in providing essential elements to plants, promoting healthy growth, and ensuring high yields. When preparing hard soil for planting, it is important to assess the nutrient content of the soil and provide any necessary amendments. Here are some key considerations and methods for applying fertilizers and nutrients:
1. Soil Testing: Before applying any fertilizers, it’s crucial to test the soil to determine which nutrients are deficient or in excess. Soil testing kits or laboratory analysis will provide accurate information about the soil’s nutrient levels, enabling you to make informed decisions about the appropriate amendments.
2. Organic Fertilizers: Organic fertilizers, such as compost, well-aged manure, or fish emulsion, are excellent options for providing a slow-release and balanced nutrient supply to the soil. They also improve soil structure and microbial activity. Apply organic fertilizers according to the recommended rates based on the specific needs of your plants.
3. Synthetic Fertilizers: Synthetic or inorganic fertilizers are readily available and can provide quick and targeted nutrient supplementation. Ensure that you select the appropriate fertilizer formulation based on the identified nutrient deficiencies in your soil. Follow the instructions on the package to determine the correct amount and application method.
4. Micronutrients: In addition to macronutrients like nitrogen, phosphorus, and potassium, plants require micronutrients in smaller quantities. Micronutrients include iron, zinc, manganese, copper, and others. If the soil is deficient in specific micronutrients, consider applying a balanced micronutrient fertilizer or using organic amendments, such as kelp meal or bone meal, which provide a natural source of these nutrients.
5. Timing and Application: It is essential to time your fertilizer application appropriately. Applying fertilizers before planting or during active growth stages allows plants to utilize nutrients efficiently. Follow label instructions to determine the best method of application, such as top-dressing, side-dressing, or incorporating fertilizers into the soil during planting.
6. Avoid Excesses: While fertilizers are essential for plant growth, it’s crucial not to over-fertilize. Excessive application of nutrients can lead to imbalances, nutrient runoff, and harm to the environment. Always follow guidelines for the appropriate application rates and adjust based on the soil test results and plant needs.
Remember that proper nutrition is an ongoing process. Regular monitoring of plant health, periodic soil testing, and adjustment of fertilization practices based on the plant’s requirements will help maintain a balanced and nutrient-rich soil environment.
By applying fertilizers and nutrients according to your soil’s needs, you provide the essential elements required for healthy plant growth, ensuring vigorous development, vibrant blooms, and bountiful harvests.
Mulching the Soil
Mulching is a beneficial practice that involves applying a layer of organic or inorganic material on the soil surface. This layer serves multiple purposes, including conserving moisture, suppressing weed growth, regulating soil temperature, and improving overall soil health. When preparing hard soil for planting, mulching can significantly enhance the growing conditions. Here’s why mulching is important and how to effectively mulch the soil:
1. Moisture Conservation: Mulch acts as a protective barrier, reducing moisture evaporation from the soil. It helps prevent water loss due to wind and direct sunlight exposure. By conserving soil moisture, plants have better access to water, especially during hot and dry periods.
2. Weed Suppression: Mulching inhibits weed growth by blocking sunlight and preventing weed seeds from germinating. This reduces competition for nutrients and resources, ensuring that plants have optimal conditions to grow without interference from weeds.
3. Temperature Regulation: Mulch acts as an insulator, regulating soil temperatures by helping to keep the soil cool during hot summer months and warm during colder periods. This stable temperature environment is essential for plant root development and overall plant health.
4. Soil Health Improvement: As organic mulch breaks down over time, it enriches the soil with nutrients and organic matter. This improves soil structure, enhances microbial activity, and promotes beneficial organisms that contribute to overall soil health. Mulch also helps prevent soil erosion and compaction, preserving the integrity of the soil ecosystem.
5. Applying Mulch: Before applying mulch, ensure that the soil is properly prepared and moistened. Begin by removing any weeds or debris from the area. Apply a layer of mulch around 2 to 4 inches thick, taking care to leave some space around the plant stems to prevent moisture-related issues. Organic mulch options include shredded leaves, straw, wood chips, or compost. Inorganic mulch alternatives like landscape fabric or gravel can also be used for specific purposes.
6. Mulching Considerations: Different plants may require different types of mulch or may benefit from specific mulching techniques. For example, acid-loving plants like blueberries prefer pine needles as mulch, as it adds acidity to the soil. Additionally, certain plants may require a different thickness of mulch. Research the specific needs of your plants or consult local gardening resources for guidance on the best mulching practices for your region and plant types.
Regularly monitor the mulch layer and replenish it as needed, especially if it decomposes or gets displaced. Mulch decomposes over time, so reapplication is necessary to maintain its benefits. With consistent mulching practices, you can create an optimal growing environment for your plants and reduce the need for excessive watering and weed management.
Conclusion
Preparing hard soil for planting may seem like a daunting task, but with the right knowledge and techniques, it can be transformed into a fertile ground that supports healthy plant growth. Throughout this article, we have explored various aspects of preparing hard soil, from understanding its nature to implementing practical steps to improve its quality.
Understanding the composition of your soil, assessing its texture, nutrient content, and pH levels are crucial initial steps. By gathering the necessary tools and materials and following specific techniques, such as loosening the soil and incorporating organic matter, you can lay the groundwork for successful plant growth.
Testing soil drainage, adjusting pH levels, and applying the right fertilizers and nutrients ensure that your plants have access to the essential elements they need to thrive. In addition, mulching the soil provides multiple benefits, including moisture conservation, weed suppression, temperature regulation, and soil health improvement.
Remember, gardening is an ongoing process that requires monitoring and adjustments. Regular soil testing, ongoing care, and observation of your plants will help guide your efforts in maintaining optimal soil conditions for healthy plant growth.
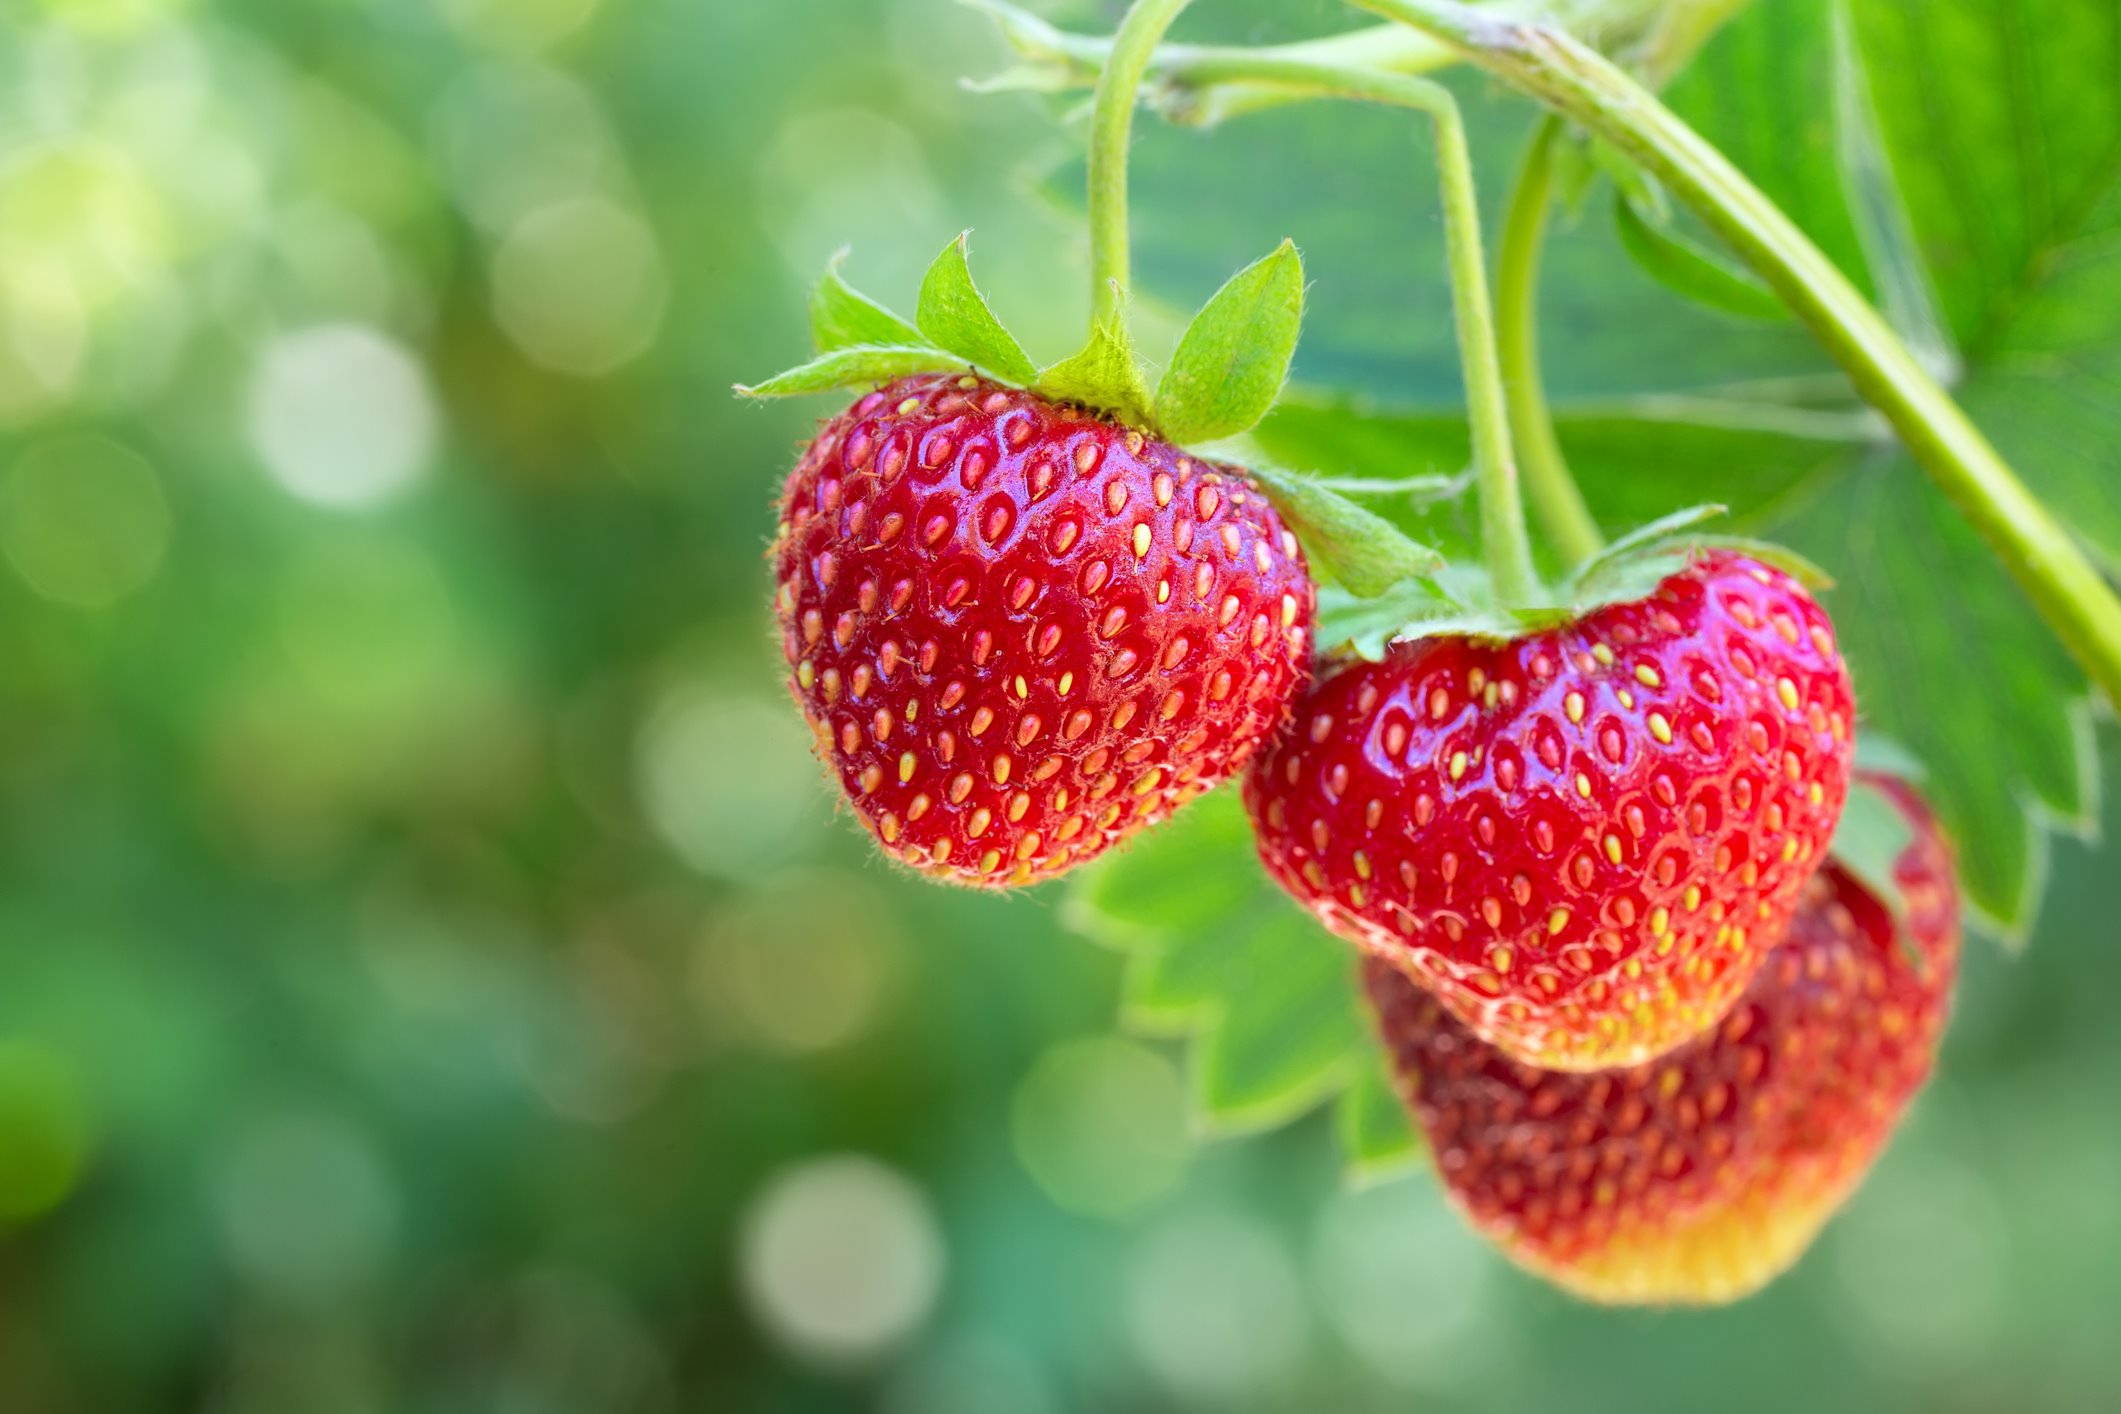
By taking the time to prepare and improve your hard soil, you create an environment where your plants can flourish. Whether you are growing vegetables, flowers, or trees, the efforts you invest in soil preparation will be rewarded with vibrant, resilient, and productive plants.
So put on your gardening gloves, grab your tools, and embark on the journey of transforming your hard soil into a thriving garden. Happy gardening!