Home>Gardening Basics>Understanding Soil>How Does A Farmer Prepare The Soil For Planting
Understanding Soil
How Does A Farmer Prepare The Soil For Planting
Modified: January 22, 2024
Understand how farmers prepare the soil for planting with our comprehensive guide. Learn about the importance of soil type, pH levels, and nutrient management.
(Many of the links in this article redirect to a specific reviewed product. Your purchase of these products through affiliate links helps to generate commission for Chicagolandgardening.com, at no extra cost. Learn more)
Table of Contents
Introduction
When it comes to successful farming, soil preparation plays a crucial role in ensuring healthy and productive crops. Before planting seeds or seedlings, farmers need to take the time to properly prepare the soil. This process involves several steps to create a suitable environment that allows plants to thrive.
Soil preparation is not a one-size-fits-all approach. It varies depending on factors such as soil type, previous crop rotation, and the specific needs of the crops to be planted. It requires careful planning and attention to detail to achieve optimal results.
In this article, we will explore the importance of soil preparation in farming and discuss the essential steps involved in preparing the soil for planting. Whether you are a seasoned farmer or a gardening enthusiast, understanding these techniques will help you get the most out of your soil and ensure a bountiful harvest.
So, let’s dig deep into the world of soil preparation and discover the key practices that farmers undertake to create a fertile and conducive growing environment for their crops.
Importance of Soil Preparation
Soil preparation is a crucial step in farming because it sets the foundation for successful plant growth. Here are several reasons why soil preparation is essential:
- Improved Nutrient Availability: Through proper soil preparation, nutrients can be evenly distributed throughout the soil. This helps to ensure that plants have access to the necessary nutrients for their growth and development. Additionally, the incorporation of organic matter and fertilizers during soil preparation can enhance the nutrient content, making it readily available to plants.
- Enhanced Water Retention: Soil that has been properly prepared can retain water more effectively. This is particularly important during dry periods, as it allows plants to maintain adequate hydration and reduces the reliance on irrigation. Proper soil preparation helps to improve the soil’s structure, creating a balance between water retention and drainage.
- Prevention of Soil Erosion: By preparing the soil, farmers can minimize the risk of soil erosion. The loosening and leveling of soil, combined with the creation of planting rows, help to prevent runoff and allow water to infiltrate the soil. This not only protects the topsoil but also ensures that valuable nutrients are not lost through erosion.
- Weed Suppression: Soil preparation plays a vital role in reducing weed competition. By clearing the field and removing weeds and debris, farmers can create a clean environment that gives crops a better chance to grow without competition for resources. Additionally, tilling the soil can bury weed seeds, preventing their germination and reducing the weed population.
- Optimized Root Development: Properly prepared soil is looser and more aerated, allowing plant roots to penetrate easily. This promotes strong root development, enabling plants to efficiently absorb nutrients and water from the soil. Well-developed roots contribute to overall plant health and resilience to pests and diseases.
By understanding the importance of soil preparation, farmers can make informed decisions and implement the necessary steps to create an ideal growing environment. The next section will delve into the specific practices involved in soil preparation.
Clearing the Field
Before starting the soil preparation process, it is important to clear the field of any vegetation, debris, or obstacles that may interfere with planting and cultivation. Here are the key steps involved in clearing the field:
- Removal of Existing Vegetation: Begin by removing any existing vegetation, including weeds, grass, and unwanted plants. This can be done using a variety of methods such as mowing, tilling, or hand-pulling. Ensure that all plant material is completely cleared from the field to prevent competition for nutrients and water.
- Clearing Debris: Remove any rocks, stones, tree stumps, and other debris from the field. These can obstruct planting machinery, affect soil health, and cause damage to crops during cultivation. Clearing debris will create a clean and obstacle-free space for soil preparation and subsequent farming activities.
- Addressing Drainage Issues: Evaluate the field for any drainage issues or areas prone to waterlogging. If necessary, make the necessary adjustments to ensure proper water movement and prevent standing water, which can impede plant growth and lead to root rot. This may involve contouring the land or implementing drainage systems.
By clearing the field of vegetation, debris, and addressing drainage issues, farmers can create a clean and suitable environment for soil preparation. This clears the path for the subsequent steps involved in soil preparation, ensuring optimal growing conditions for the crops to be planted.
Removing Weeds and Debris
One of the essential steps in soil preparation is the removal of weeds and debris. Weeds compete with crops for nutrients, light, and water, reducing yield and crop quality. Here are some effective methods for removing weeds and debris from the soil:
- Hand Pulling: This method involves manually pulling out weeds from the root. It is effective for removing small patches of weeds or for precision weeding around delicate crops. It is important to ensure that the entire weed, including the roots, is removed to prevent regrowth.
- Mechanical Cultivation: Mechanical cultivation, such as using a hoe, cultivator, or tractor-mounted tiller, is suitable for larger areas with moderate weed infestations. These tools disturb the soil and uproot the weeds, making it easier to remove them. Regular cultivation can help to keep weed populations in check throughout the growing season.
- Mulching: Applying an organic mulch, such as straw, wood chips, or leaves, can help suppress weed growth by blocking sunlight and preventing weed seeds from germinating. Mulching also helps to retain soil moisture, regulate soil temperature, and improve soil structure as it breaks down over time.
- Herbicides: In cases of severe weed infestations, selective herbicides can be used to target specific weed species without harming the crops. It is important to carefully follow the label instructions and use herbicides judiciously to minimize environmental impact.
In addition to removing weeds, it is crucial to clear the field of debris, such as rocks, branches, and fallen leaves. Debris can hinder planting and cultivation operations and interfere with crop growth.
By effectively removing weeds and debris, farmers create an environment that fosters healthy crop growth, reduces competition for resources, and minimizes the risk of pest and disease infestations.
Loosening the Soil
Loosening the soil is a crucial step in soil preparation as it improves aeration, water infiltration, and root development. Here are several methods for loosening the soil:
- Tilling: Tilling is a common method used to loosen compacted soil. It involves breaking up the soil using a tiller or plow, which helps to improve soil structure and create a loose seedbed. However, it is important to avoid over-tilling, as excessive soil disturbance can lead to nutrient loss and erosion.
- Double Digging: Double digging is a manual method where gardeners dig the soil to a greater depth, typically two spade lengths. This helps break up compacted layers, promotes deeper root growth, and improves drainage. It is especially beneficial in smaller garden beds or areas where machinery access is limited.
- Aerating: Soil compaction can be alleviated by using mechanical or manual aerators. Aeration tools penetrate the soil, creating small holes that allow air, water, and nutrients to reach the roots. This practice can be particularly useful in heavily trafficked areas or lawns with compacted soil.
- Cover Cropping: Planting cover crops or green manure can help improve soil structure by adding organic matter and enhancing microbial activity. The roots of cover crops help break up compacted soil, while their above-ground biomass contributes to organic matter content when incorporated into the soil.
The choice of loosening method depends on various factors, such as soil type, available resources, and the scale of farming. Consulting with local agricultural extension services or experienced farmers can help in selecting the most appropriate loosening technique.
Loosening the soil enables the roots to penetrate easily, access nutrients, and establish strong anchor points. It also enhances water infiltration and drainage, creating a favorable environment for plant growth.
Testing the Soil
Before planting, it is crucial to test the soil to determine its nutrient content, pH level, and overall health. Soil testing provides valuable insights that help farmers make informed decisions regarding fertilization and soil amendments. Here are the key steps involved in testing the soil:
- Collecting Soil Samples: Start by collecting representative soil samples from different areas of the field or garden bed. Use a clean shovel or soil probe to collect samples at a depth of 4-6 inches. Take samples from multiple locations within the area and mix them together in a clean container to create a composite sample.
- Sending Samples to a Lab: Once the soil samples are collected, send them to a reputable soil testing laboratory. They will analyze the samples and provide a detailed report of the soil’s nutrient levels, pH, and any necessary recommendations for amendments.
- Interpreting the Results: When the soil test results are received, carefully review the report and interpret the findings. Pay attention to the nutrient levels, pH, and any recommendations provided. This information will guide you in making fertilizer and soil amendment decisions.
- Applying Fertilizers and Soil Amendments: Based on the soil test recommendations, apply the necessary fertilizers and soil amendments to correct any nutrient deficiencies or imbalances. This helps ensure that the soil has the required nutrients for healthy plant growth.
Regular soil testing is crucial as it helps monitor the changes in nutrient levels and pH over time. By adjusting soil management practices based on soil test results, farmers can optimize nutrient availability, maximize crop productivity, and reduce the risk of nutrient runoff or leaching.
Remember, soil testing is not a one-time activity. It is a valuable tool for ongoing soil fertility management and should be conducted periodically or whenever there are significant changes in crop rotation or farming practices.
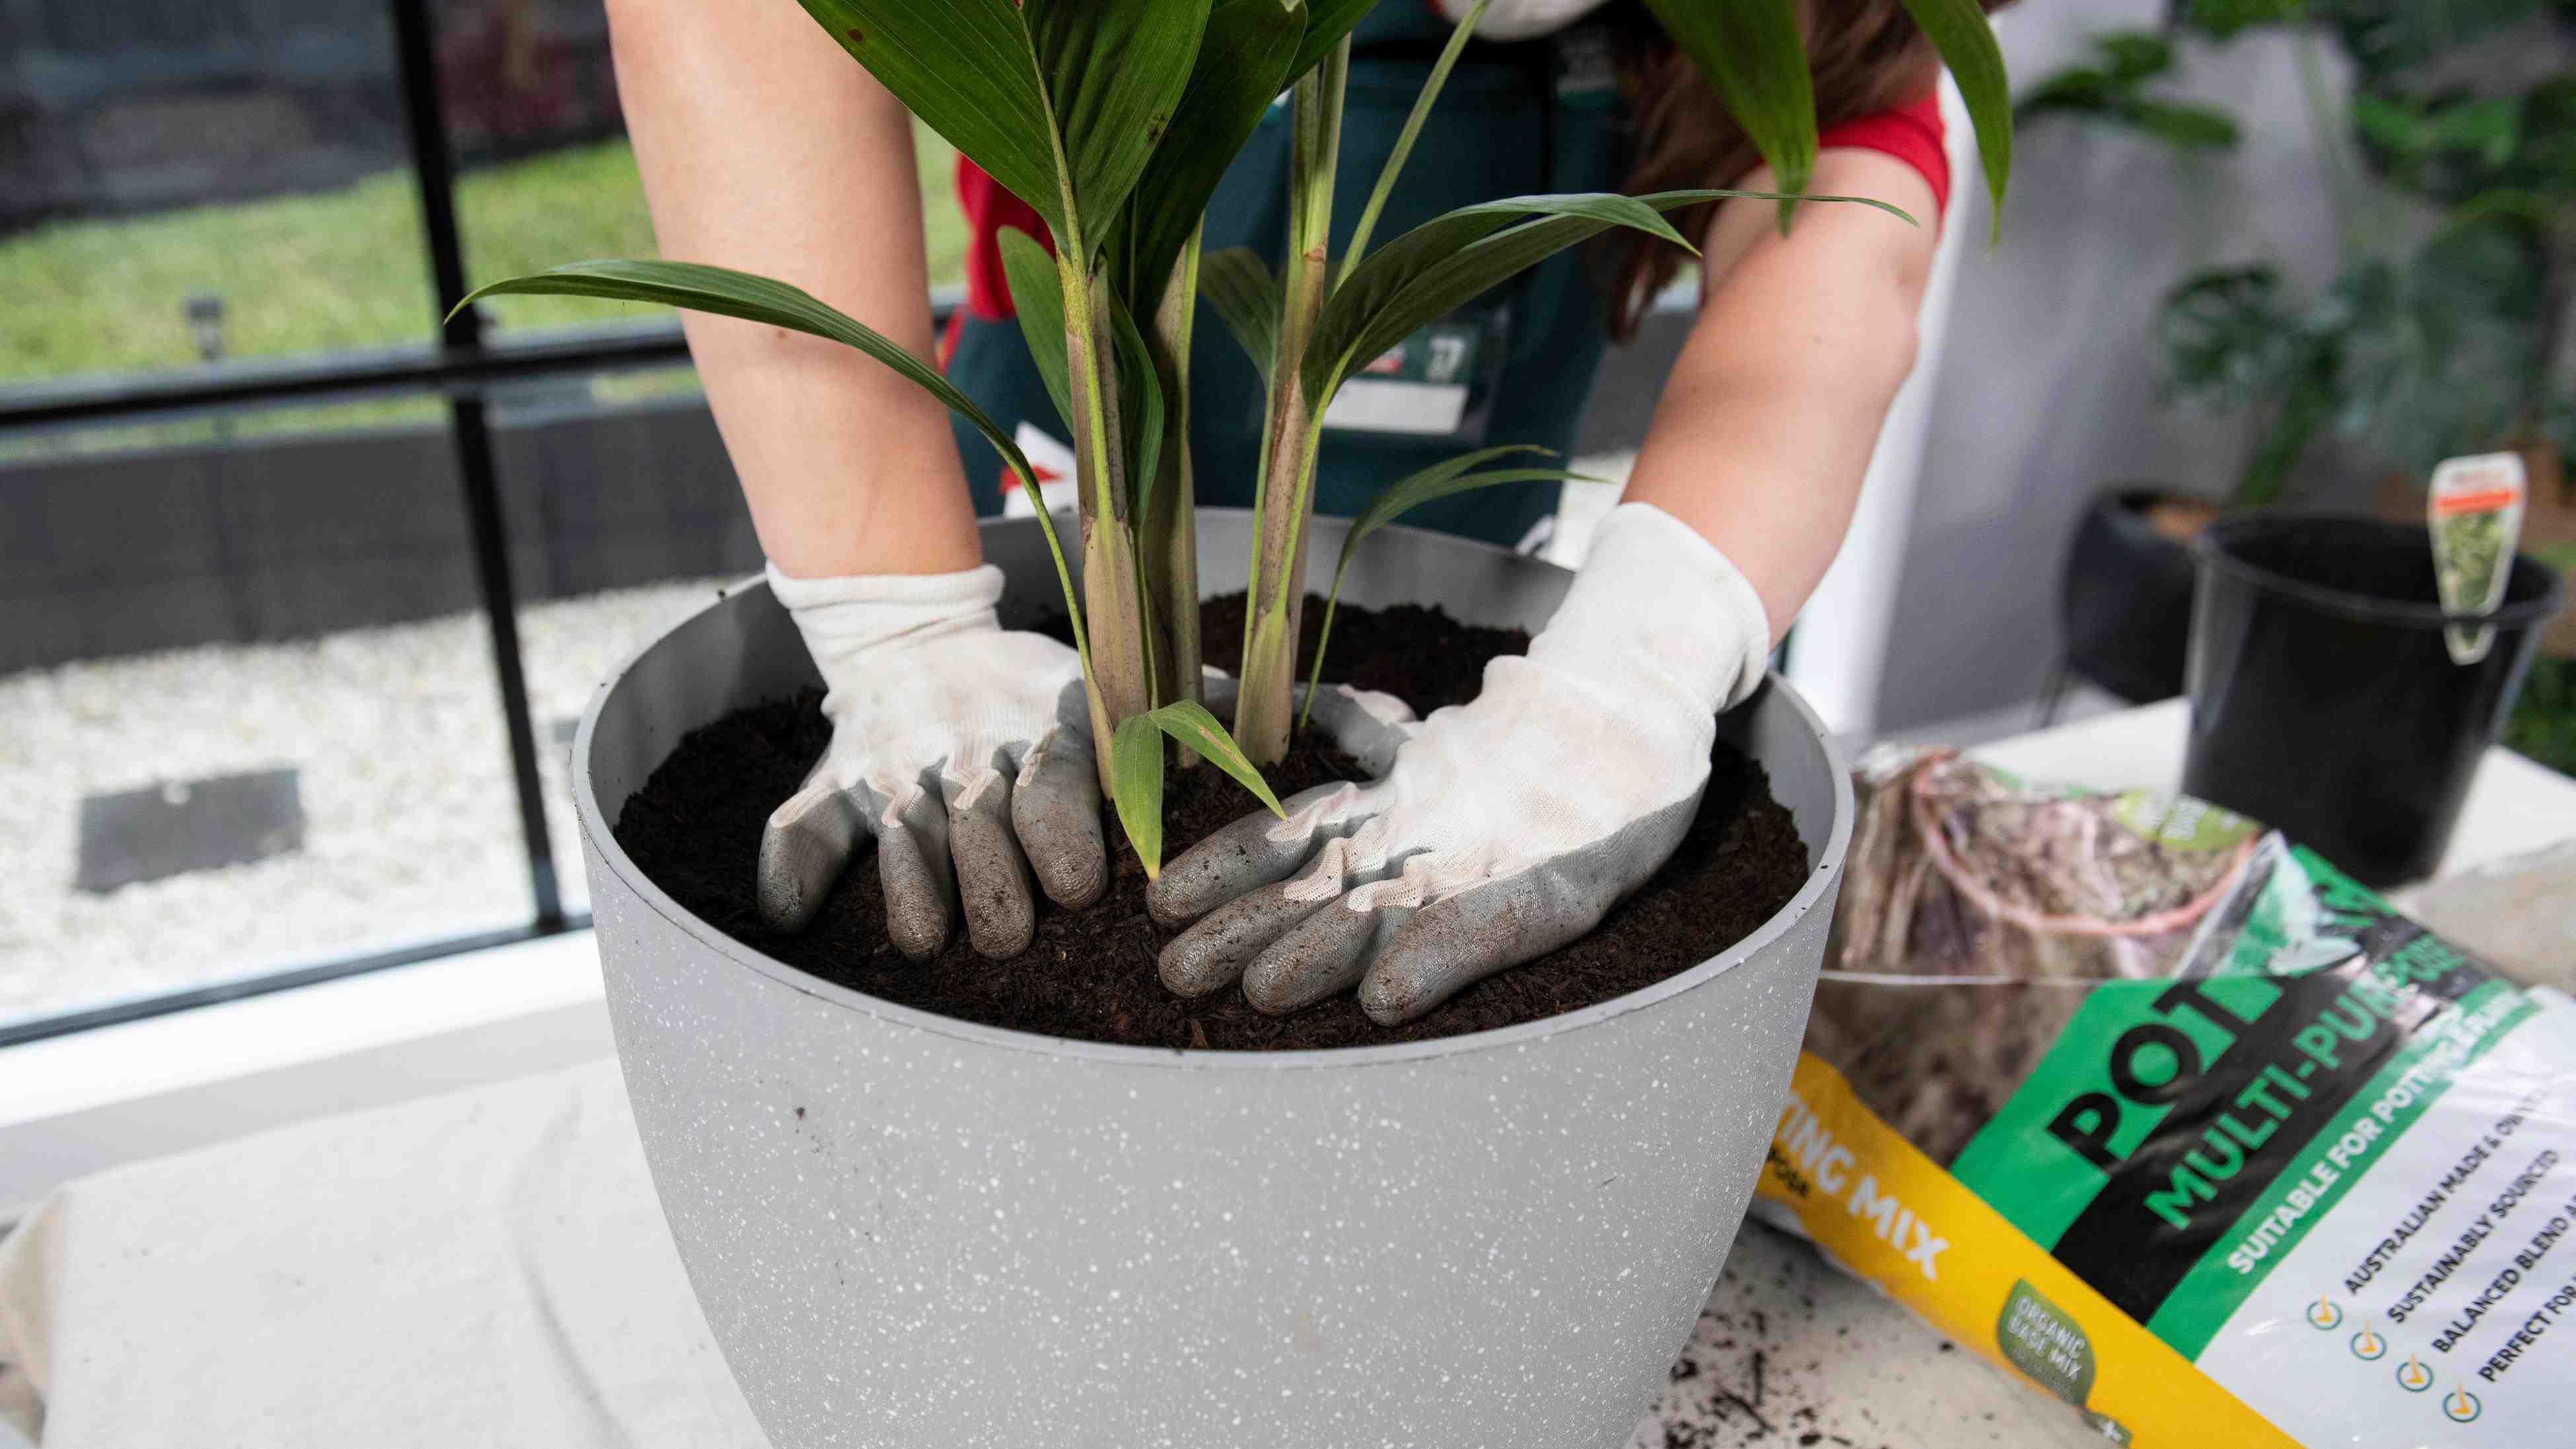
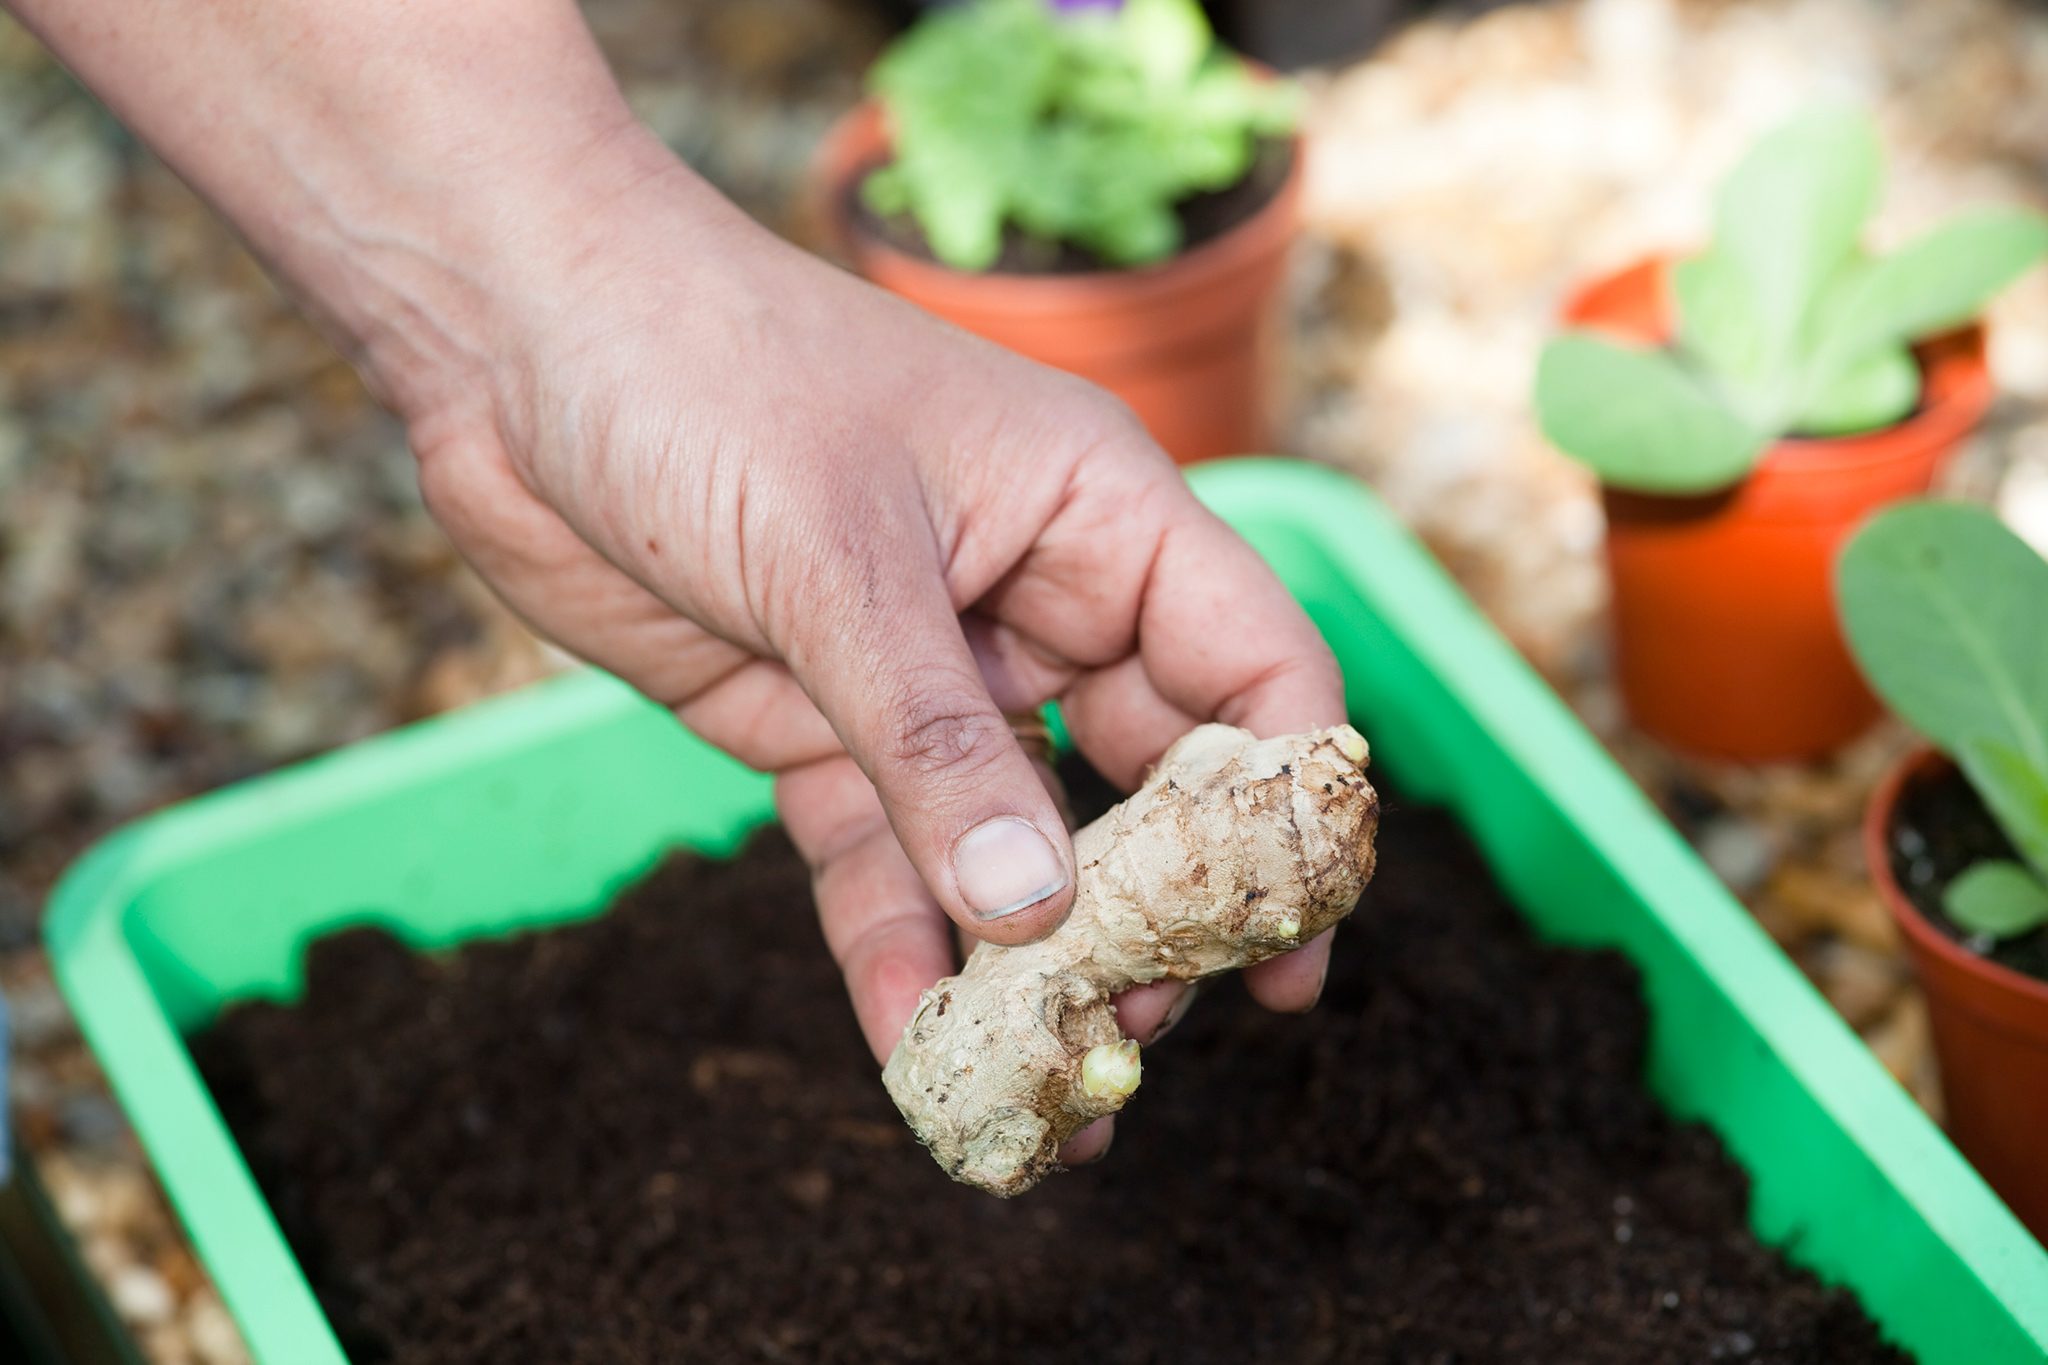
Adding Fertilizers and Soil Amendments
To ensure optimal plant growth and productivity, it is important to provide the soil with the necessary nutrients through the use of fertilizers and soil amendments. Here are the key considerations when adding fertilizers and soil amendments:
- Understanding Nutrient Needs: Different crops have varying nutrient requirements. It is essential to understand the specific nutrient needs of the crops you are planting. Soil testing can provide valuable insights into nutrient deficiencies or imbalances, helping you determine which fertilizers and amendments to use.
- Choosing the Right Fertilizers: Select fertilizers that contain the essential nutrients required by your crops. Nitrogen (N), phosphorus (P), and potassium (K) are the primary macronutrients, while secondary nutrients (calcium, magnesium, sulfur) and micronutrients (iron, manganese, zinc) are also important. Consider using organic fertilizers, such as compost or manure, which not only provide nutrients but also improve soil structure and microbial activity.
- Applying Fertilizers Properly: Follow the recommended application rates and techniques for the specific fertilizers you are using. Broadcast fertilizers evenly across the planting area and incorporate them into the soil to prevent nutrient runoff and ensure proper nutrient distribution. Avoid excessive fertilizer application, as it may harm plants and contribute to environmental pollution.
- Using Soil Amendments: Soil amendments, such as organic matter (compost, peat moss) or inorganic materials (lime, gypsum), can improve soil fertility, structure, and water-holding capacity. Organic matter enhances nutrient retention, provides a favorable environment for beneficial soil organisms, and improves soil aeration. Lime and gypsum can be used to adjust soil pH and address specific nutrient imbalances.
It is important to note that fertilizers and soil amendments should be applied based on soil test results and crop requirements. Overapplication of fertilizers can lead to nutrient imbalances, environmental pollution, and reduced soil health. Regular monitoring of soil nutrient levels and plant responses can help you make adjustments as needed.
By providing the soil with the right balance of nutrients and amendments, farmers can create a fertile and nutritionally rich environment for plants to thrive.
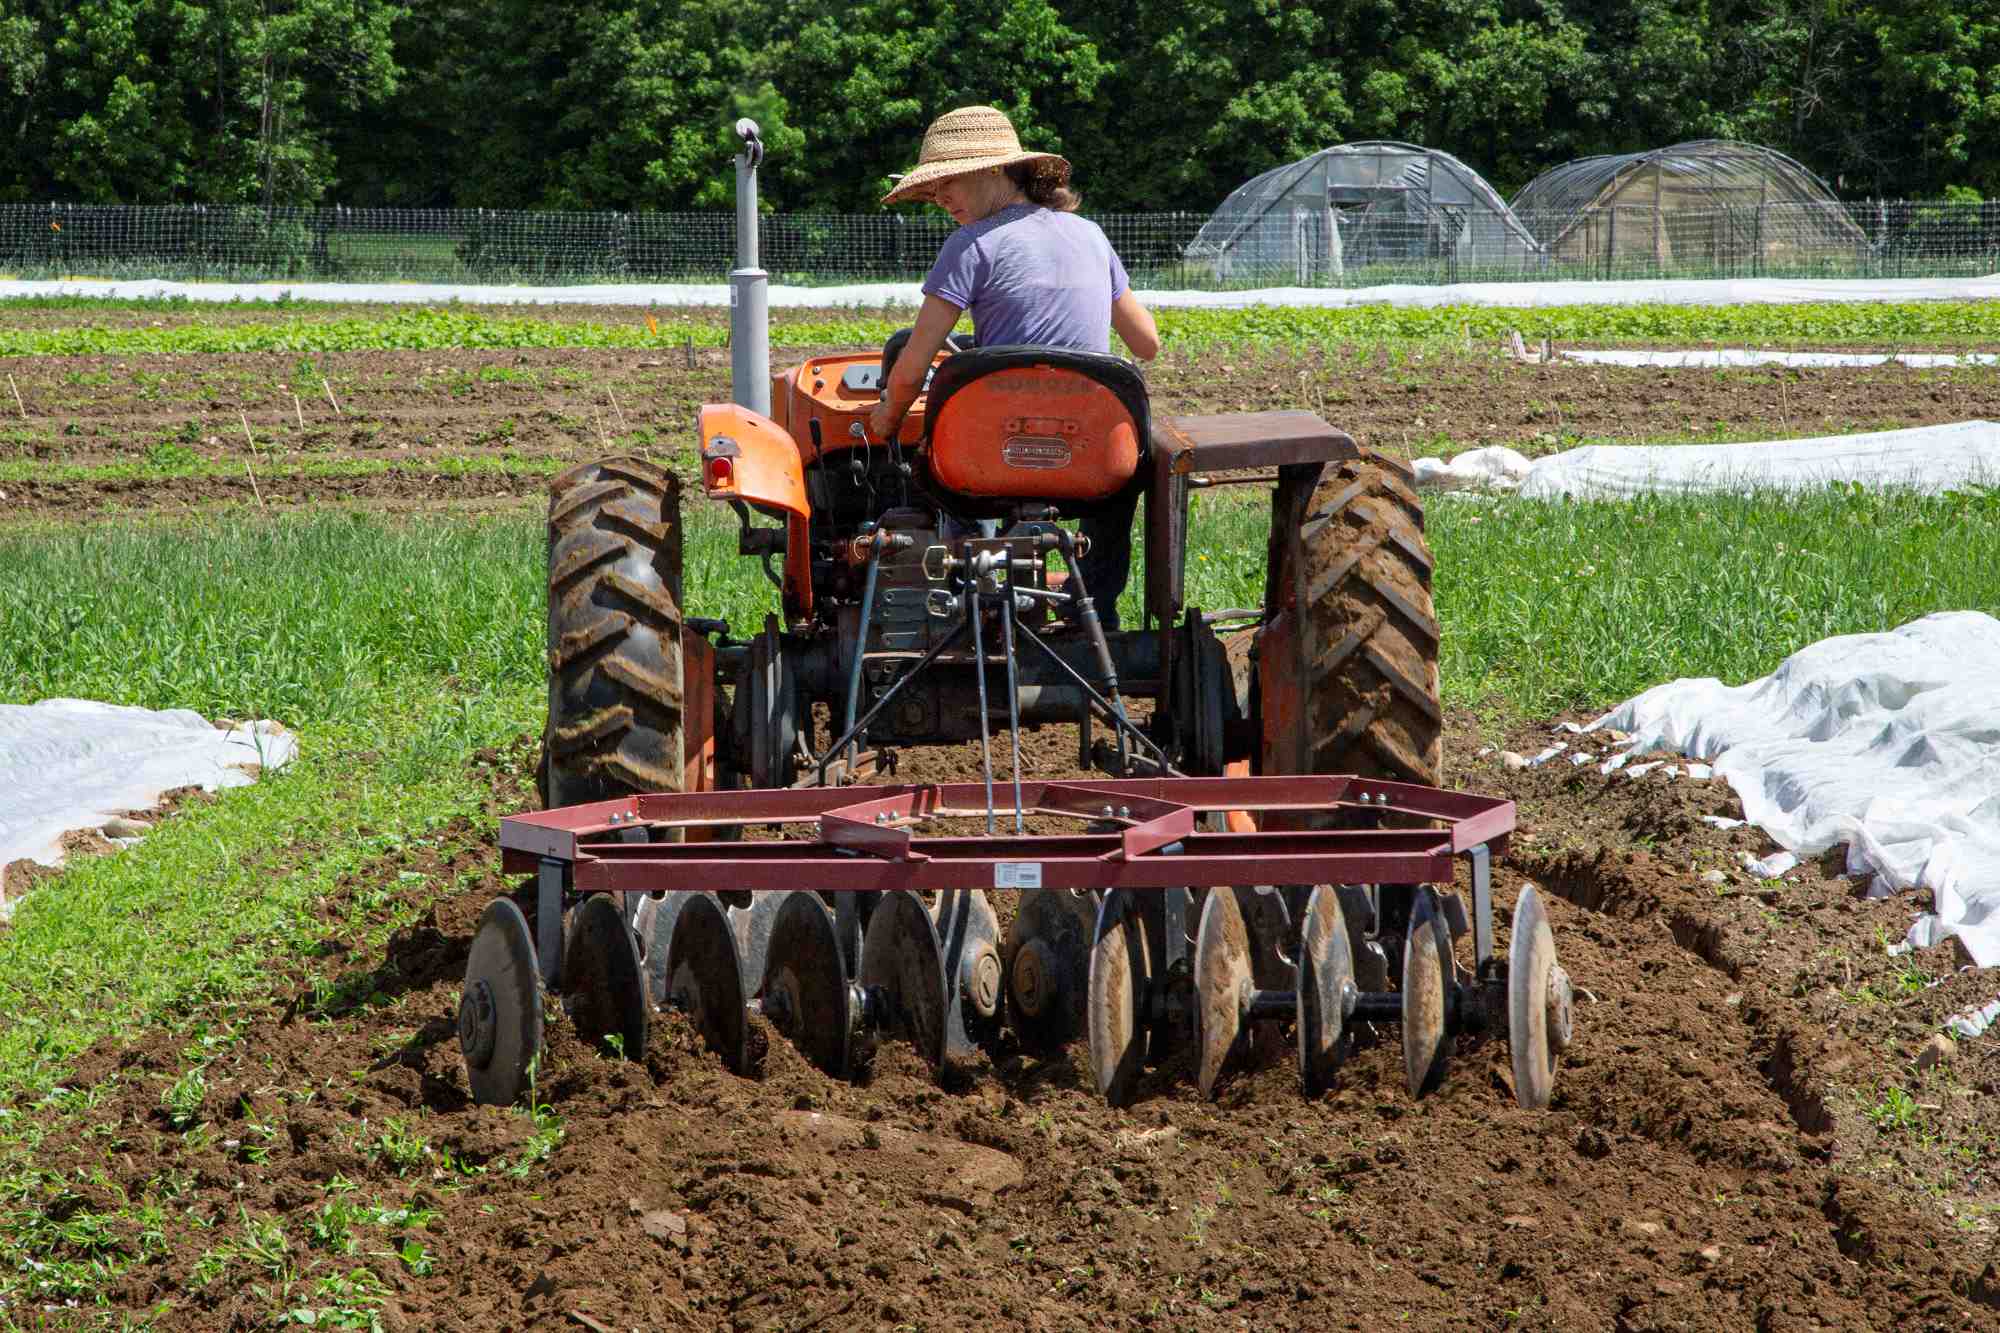
Tilling and Leveling the Soil
Tilling and leveling the soil are essential steps in soil preparation that help create a favorable environment for planting and ensure uniform crop growth. Here’s what you need to know about tilling and leveling the soil:
- Tilling the Soil: Tilling involves breaking up the soil to loosen it and prepare a seedbed for planting. There are different methods of tilling, including using a garden tiller, plow, or harrow. The goal is to break up large clumps, remove weeds, and incorporate organic matter or soil amendments to improve fertility and structure.
- Timing of Tilling: The timing of tilling depends on various factors, such as soil moisture content and the specific crop being planted. It is generally recommended to till when the soil is slightly moist, not overly wet or dry. This allows for easier soil manipulation and prevents compaction.
- Leveling the Soil: After tilling, it is important to level the soil surface to provide an even planting bed. Uneven surfaces can lead to uneven water distribution, which can affect crop growth and result in water pooling or runoff. Use a rake, leveling board, or land leveler to smooth out bumps and depressions, creating a uniform soil surface.
- Maintaining Soil Structure: While tilling and leveling are necessary for initial soil preparation, it is crucial to preserve the soil structure to prevent erosion and maintain a healthy ecosystem. Avoid excessive tilling, which can disrupt the soil’s natural structure and adversely impact soil fertility and microbial activity.
Proper tilling and leveling of the soil provide several benefits, including improved seed-to-soil contact, enhanced water absorption and drainage, and optimal root development. These practices create a favorable environment for seeds or seedlings to establish and grow, setting the stage for a successful crop production.
Remember, soil preparation is not a one-time activity. It is a continuous process that may need to be repeated before each planting season based on the specific needs of the crop and soil conditions. Regular assessment and adjustment of soil preparation practices contribute to long-term soil health and productivity.
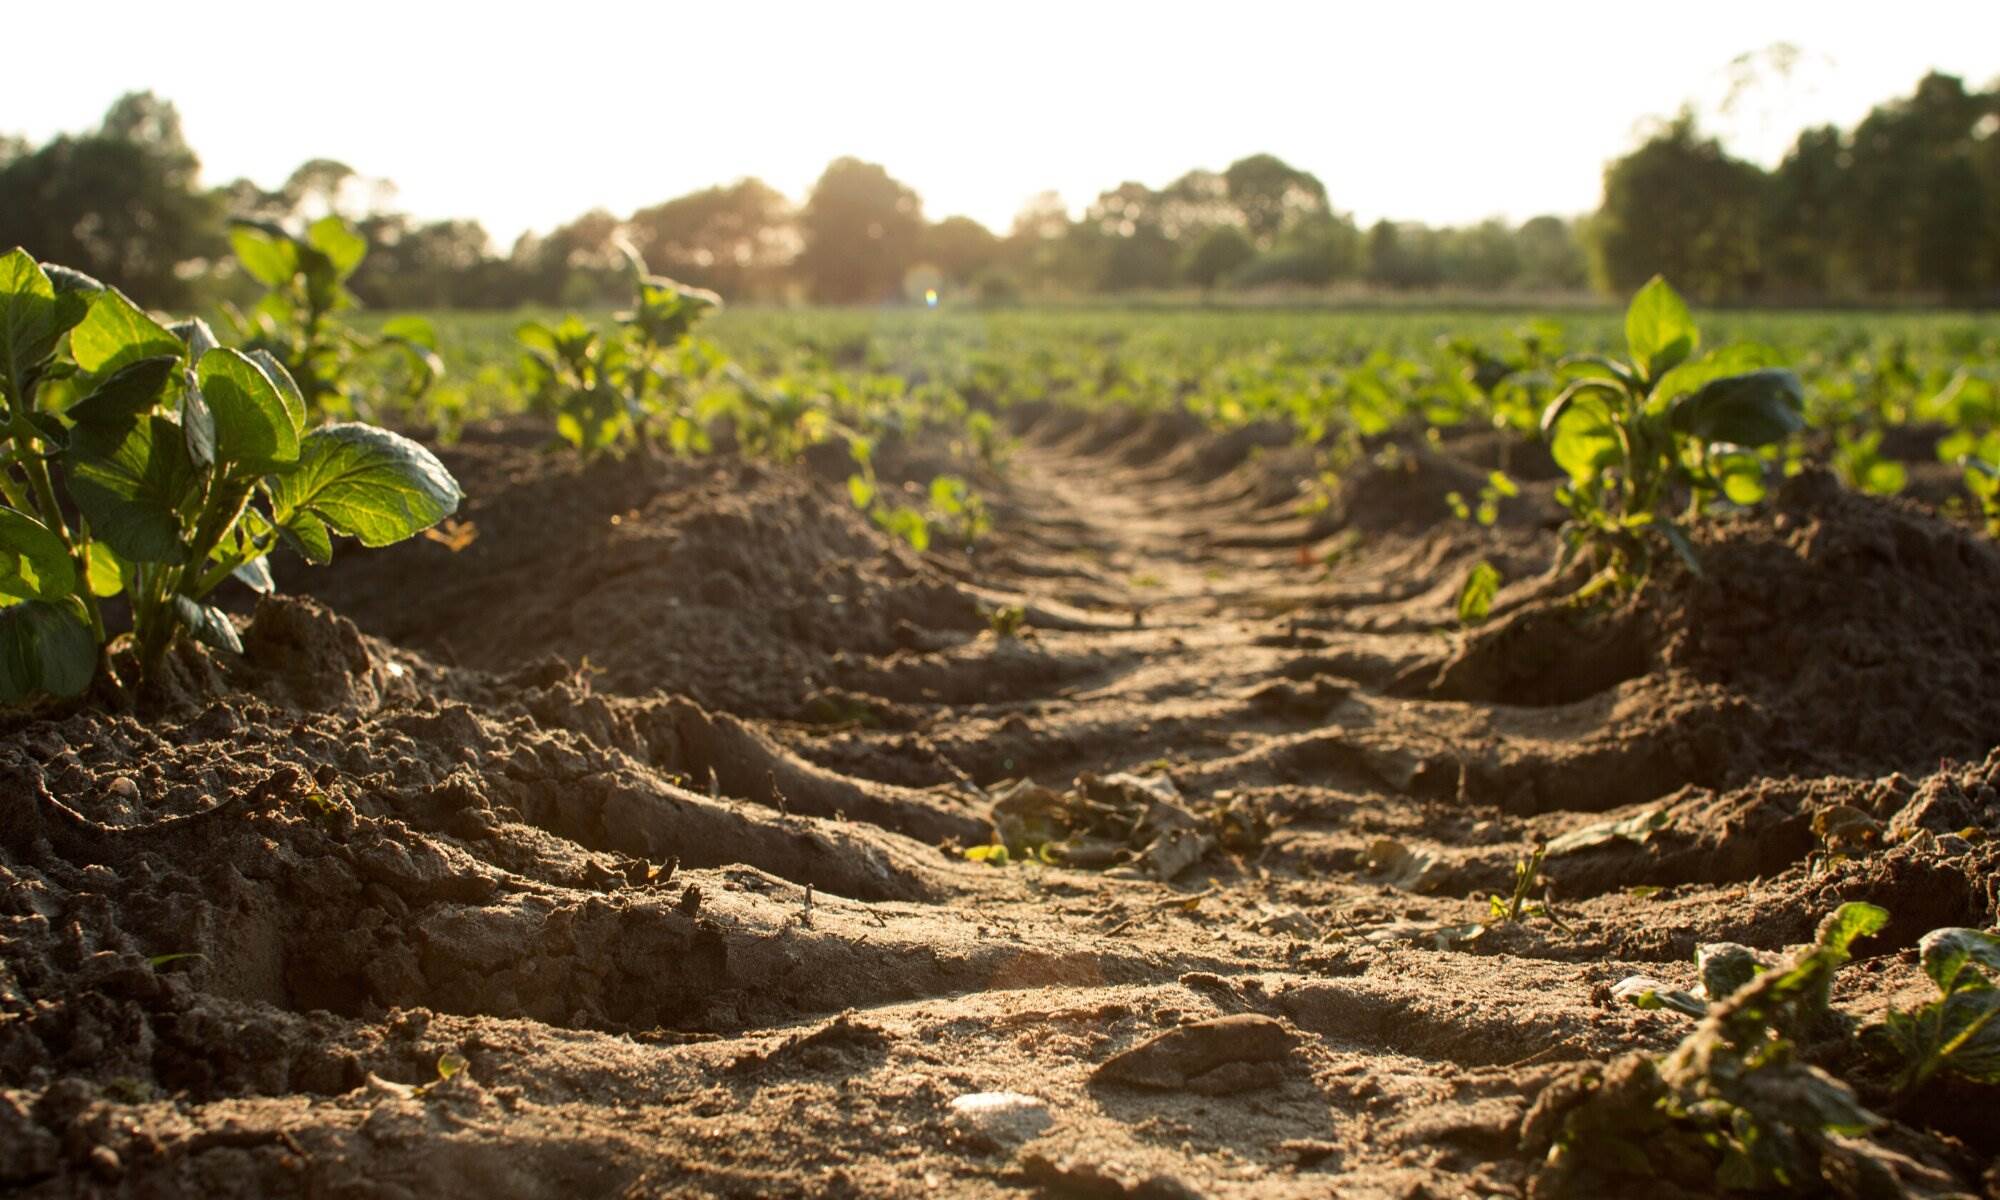
Creating Planting Rows
Creating planting rows is a fundamental step in soil preparation that helps optimize space, facilitate irrigation and cultivation, and promote efficient plant growth. Here’s what you need to know about creating planting rows:
- Spacing: Determine the appropriate spacing between rows based on the specific crop requirements. Factors to consider include plant size, spread, and the equipment needed for maintenance and harvesting. Optimal spacing ensures that each plant receives adequate sunlight, nutrients, and water, minimizing competition and maximizing yield.
- Orientation: Consider the orientation of the planting rows in relation to sunlight exposure and wind direction. Orienting rows from north to south optimizes sun exposure, ensuring even distribution of light on both sides of the plants. This allows for better photosynthesis and reduces the risk of shading and uneven growth.
- Marking and Measurement: Use stakes, strings, or a marker to indicate the placement of your planting rows. This ensures straight and uniform spacing. Take accurate measurements and use a measuring tape or string to maintain consistent row widths and distances.
- Water Management: Planting rows help in managing water effectively by creating channels for irrigation. They facilitate the proper flow of water across the field, reducing the risk of water pooling or runoff. This promotes efficient water uptake by plants and minimizes water wastage.
- Cultivation and Maintenance: Well-defined planting rows make it easier to cultivate the soil, apply fertilizers or amendments, and control weeds. They provide a clear pathway for gardeners or farmers to access plants, improving overall management and maintenance activities.
Creating planting rows is not only advantageous for farmers but also contributes to the aesthetic appeal of a garden or farm. Neatly organized rows make it easier to identify different crops and enhance the overall visual appeal of the growing area.
Keep in mind that the specific design and layout of planting rows may vary depending on the crop, farming system, and equipment available. Flexibility is important in adapting row configurations to optimize resources and meet the unique requirements of your farm or garden.
By creating well-spaced and properly oriented planting rows, farmers can improve crop productivity, streamline maintenance activities, and create a visually pleasing growing environment.
Conclusion
Soil preparation is a critical step in farming that lays the foundation for successful plant growth and bountiful harvests. By clearing the field, removing weeds and debris, loosening the soil, testing its nutrients, and adding fertilizers and amendments, farmers create an optimal environment for plants to thrive.
Clearing the field ensures that crops have ample space to grow without competition from unwanted vegetation and debris. Removing weeds and debris further reduces competition for resources and minimizes the risk of pests and diseases.
Loosening the soil improves aeration, water infiltration, and root development. It allows plant roots to penetrate easily, access nutrients, and establish strong anchoring, leading to healthier and more productive crops.
Testing the soil is essential to understand its nutrient content and pH level. By analyzing soil samples, farmers can make informed decisions about fertilizers and soil amendments, ensuring the soil is enriched with the necessary nutrients for optimal plant growth.
Adding fertilizers and soil amendments helps replenish nutrient deficiencies and optimize soil fertility. Organic matter and inorganic materials contribute to a healthy soil structure, nutrient retention, and overall plant health.
Tilling and leveling the soil provide a favorable seedbed for planting. They ensure even seed-to-soil contact, improved water absorption and drainage, and optimal root development.
Creating planting rows enhances organization, water management, and maintenance. Well-spaced and properly oriented rows optimize resources, improve cultivation, and facilitate efficient farming practices.
In conclusion, proper soil preparation is a vital step in farming that directly impacts the success of crops. By following these practices, farmers can create an ideal growing environment, optimize yield and quality, and contribute to sustainable and prosperous agriculture.