Home>Types of Gardening>Edible Gardening>How To Prepare Ginger For Planting
Edible Gardening
How To Prepare Ginger For Planting
Modified: January 22, 2024
Learn how to prepare ginger for planting in your edible garden. Discover the essential steps to ensure successful growth and harvest.
(Many of the links in this article redirect to a specific reviewed product. Your purchase of these products through affiliate links helps to generate commission for Chicagolandgardening.com, at no extra cost. Learn more)
Table of Contents
Introduction
Welcome to the world of edible gardening! If you’ve ever dreamed of cultivating your own food, then growing ginger is a fantastic place to start. Known for its fragrant aroma, unique flavor, and numerous health benefits, ginger is a versatile herb that can be used in various dishes, teas, and even for medicinal purposes. Not only is ginger a valuable addition to your culinary endeavors, but it also boasts an array of impressive nutritional properties. From soothing an upset stomach to reducing inflammation, ginger is truly a superstar in the world of plants.
While ginger is readily available in grocery stores, growing your own ginger at home brings a sense of satisfaction and ensures the freshest supply possible. In addition to the convenience of having the herb at your fingertips, cultivating ginger can also be a rewarding and enjoyable process. Whether you have a spacious backyard or a small patio, ginger can thrive in a variety of settings, making it accessible to gardeners of all skill levels. So, roll up your sleeves, put on your gardening hat, and let’s dive into the fascinating world of growing ginger!
In this comprehensive guide, we’ll walk you through the step-by-step process of preparing ginger for planting. From selecting the perfect ginger rhizomes to harvesting and storing the mature ginger roots, we’ll cover everything you need to know to cultivate healthy and vibrant ginger. Whether you’re a novice gardener or a seasoned pro, this article will equip you with the knowledge and skills to successfully grow ginger and enjoy the bountiful rewards.
Choosing Ginger Rhizomes
When it comes to selecting ginger rhizomes for planting, it’s crucial to choose high-quality specimens to ensure successful growth. Ginger rhizomes are essentially the underground stems of the ginger plant and serve as the starting point for its cultivation. Here are some essential factors to consider when choosing ginger rhizomes:
- Quality: Look for ginger rhizomes that are firm, plump, and free from any signs of damage or decay. Avoid rhizomes that are soft, shriveled, or show mold growth, as these are likely unhealthy or past their prime.
- Size: Opt for ginger rhizomes that are at least 2-3 inches long, as smaller rhizomes may take longer to develop and produce a harvestable crop. However, avoid excessively large rhizomes, as they may take longer to establish and may have a lower success rate.
- Appearance: Choose ginger rhizomes with well-developed “eyes” or growing buds. These are small, raised points on the surface of the rhizome that indicate the potential for new shoots to emerge.
- Source: Purchase ginger rhizomes from reputable suppliers or garden centers that specialize in edible plants. This ensures that you’re getting fresh and healthy rhizomes that are suitable for cultivation.
It’s worth noting that you can use ginger rhizomes from your local grocery store, but be aware that they may be treated with growth inhibitors to prevent sprouting. To increase your chances of success, it’s best to procure rhizomes from sources specifically intended for planting.
Additionally, consider the variety of ginger you want to grow. There are multiple types of ginger available, each with unique flavors, colors, and growth habits. Common varieties include the spicy and pungent “Common Ginger” (Zingiber officinale) and the milder “Yellow Ginger” (Curcuma longa). Choose a variety that suits your taste preferences and growing conditions.
By carefully selecting healthy ginger rhizomes, you lay the foundation for a successful and thriving ginger garden. So, take your time when choosing your rhizomes, and let’s move on to preparing the soil for planting!
Preparing the Soil
Proper soil preparation is essential for the successful growth of ginger plants. Ginger prefers loose, well-draining soil rich in organic matter. Follow these steps to ensure your soil is ready for planting:
- Choose the Right Location: Select a spot that receives partial shade or filtered sunlight. While ginger can tolerate some direct sunlight, it prefers a more shaded environment. Ensure the area has good air circulation to prevent moisture buildup.
- Clear the Area: Clear any weeds, debris, or rocks from the planting site. Ginger plants have shallow roots, and competition from weeds can hinder their growth.
- Improve Drainage: If your soil retains water or is heavy in clay, consider improving drainage by incorporating organic matter such as compost or well-rotted manure. This will help loosen the soil and prevent waterlogging. Aim for a well-draining soil to avoid the risk of root rot.
- Amend Soil with Organic Matter: Before planting, enrich the soil with organic matter to provide essential nutrients and improve soil fertility. Mix in compost, aged manure, or leaf mold to enhance nutrient availability and moisture retention.
- Test Soil pH: Ginger prefers a slightly acidic to neutral pH level, ranging from 6.0 to 7.0. Test the soil’s pH level using a soil testing kit or consult your local extension office for assistance. If necessary, adjust the pH using organic amendments such as agricultural lime or elemental sulfur.
- Loosen the Soil: Loosen the top 6-8 inches of soil using a garden fork or a tiller. This will create a loose and crumbly texture, allowing the ginger roots to easily penetrate the soil.
Remember, the quality of your soil directly affects the health and productivity of your ginger plants. By providing well-draining, nutrient-rich soil, you set a solid foundation for robust growth and a bountiful harvest. With the soil ready, it’s time to move on to the exciting part – planting your ginger rhizomes!
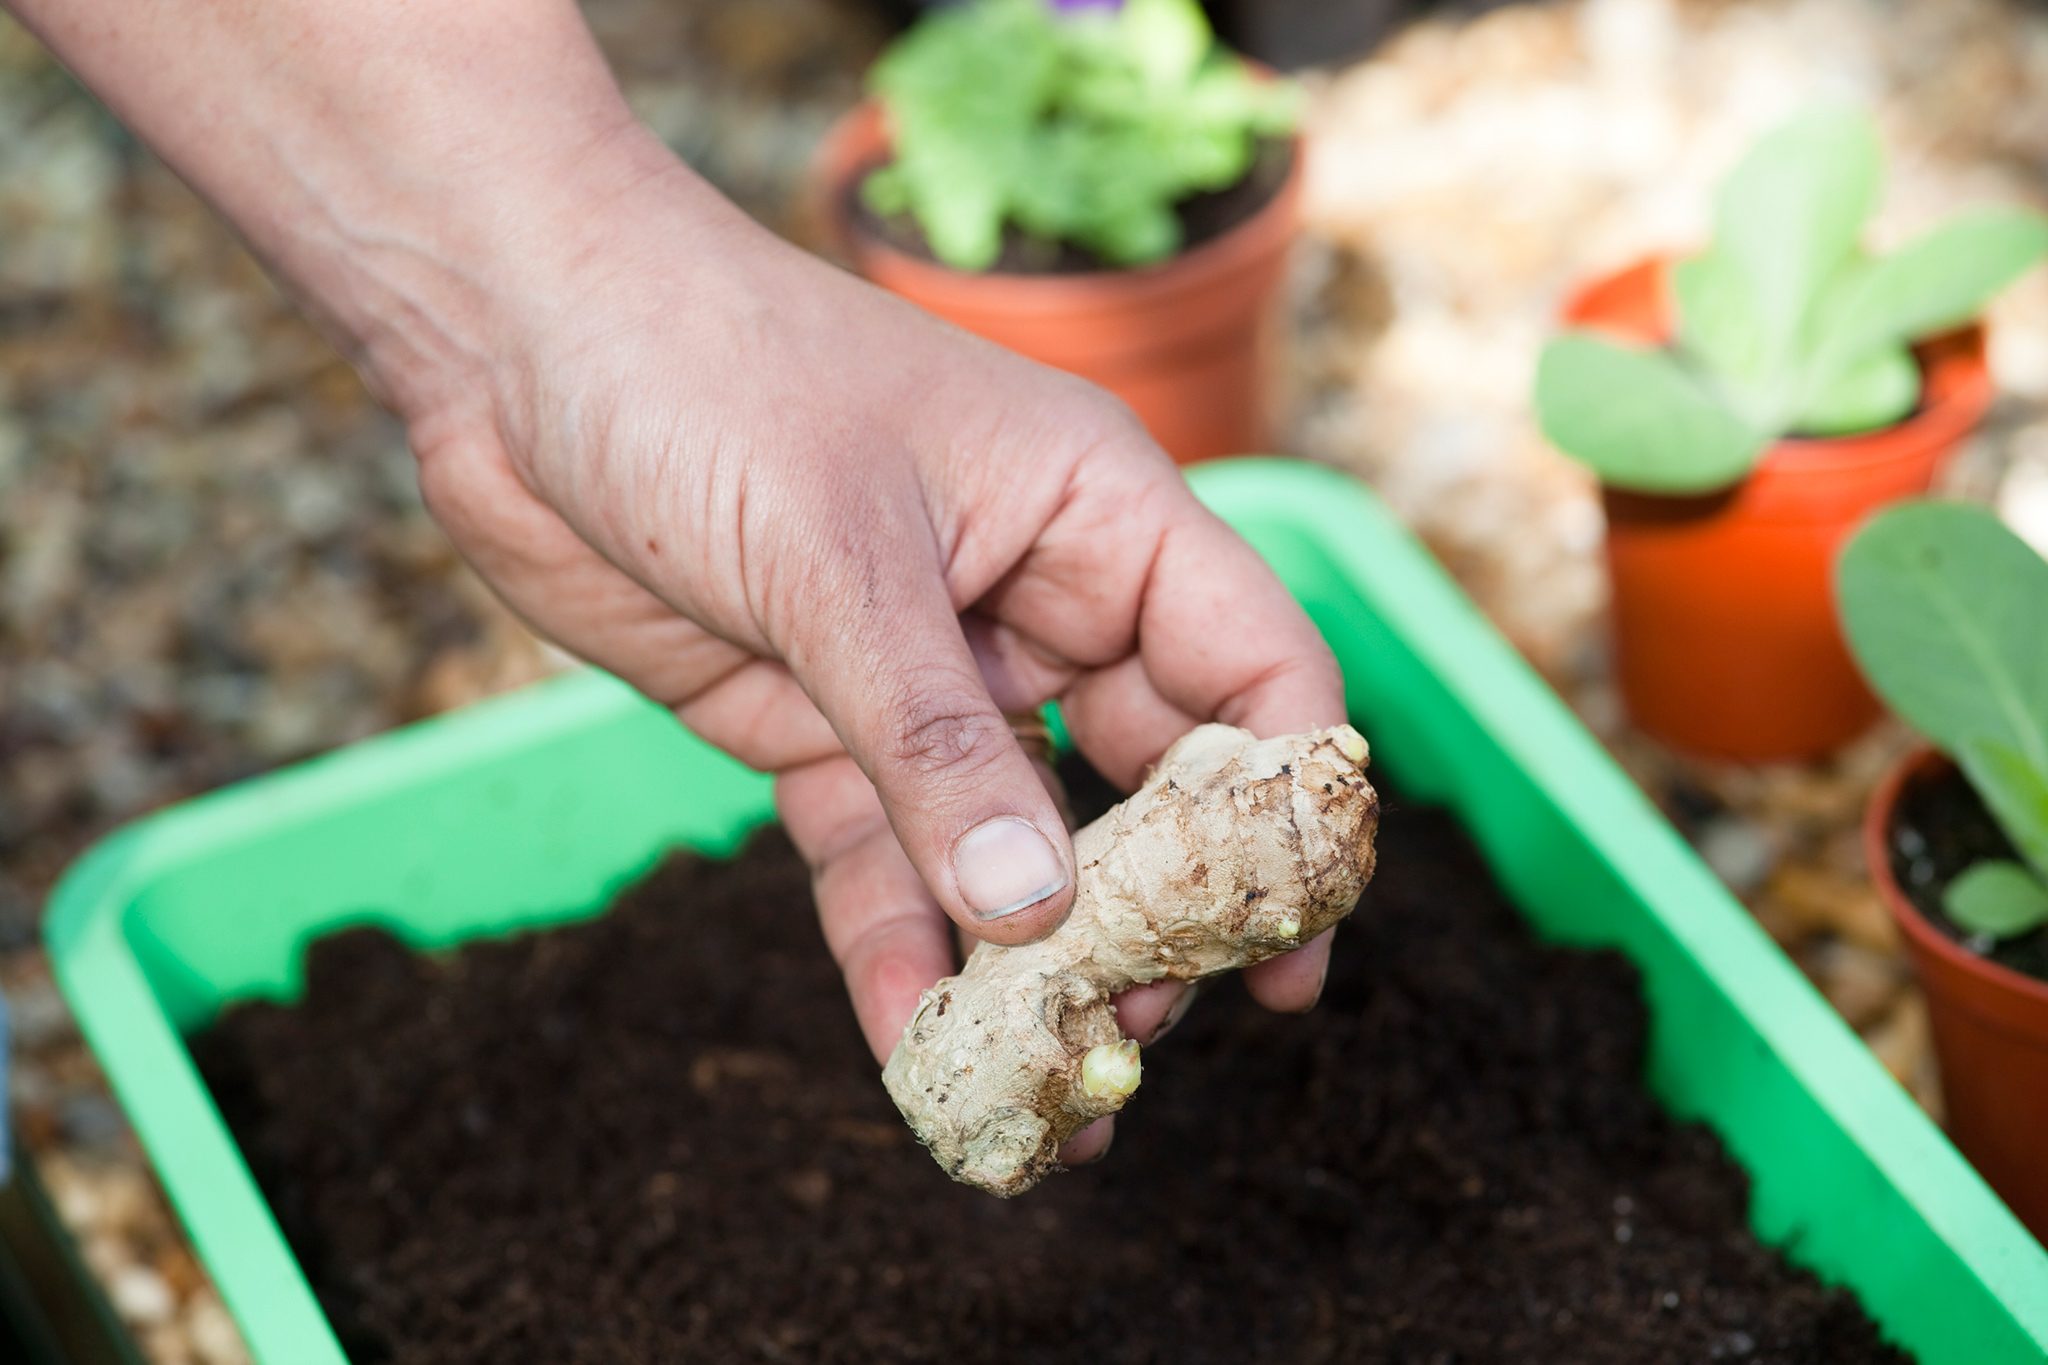
Planting Ginger Rhizomes
Now that you have selected your ginger rhizomes and prepared the soil, it’s time to begin the planting process. Follow these steps to ensure successful planting of your ginger rhizomes:
- Prepare the Rhizomes: Before planting, gently rinse the ginger rhizomes to remove any dirt or debris. Allow them to dry for a few hours to prevent rotting.
- Prepare the Planting Holes: Dig shallow holes in the prepared soil, approximately 2-3 inches deep and spaced about 8-10 inches apart. Ensure there is enough space between the holes to allow the ginger plants to spread.
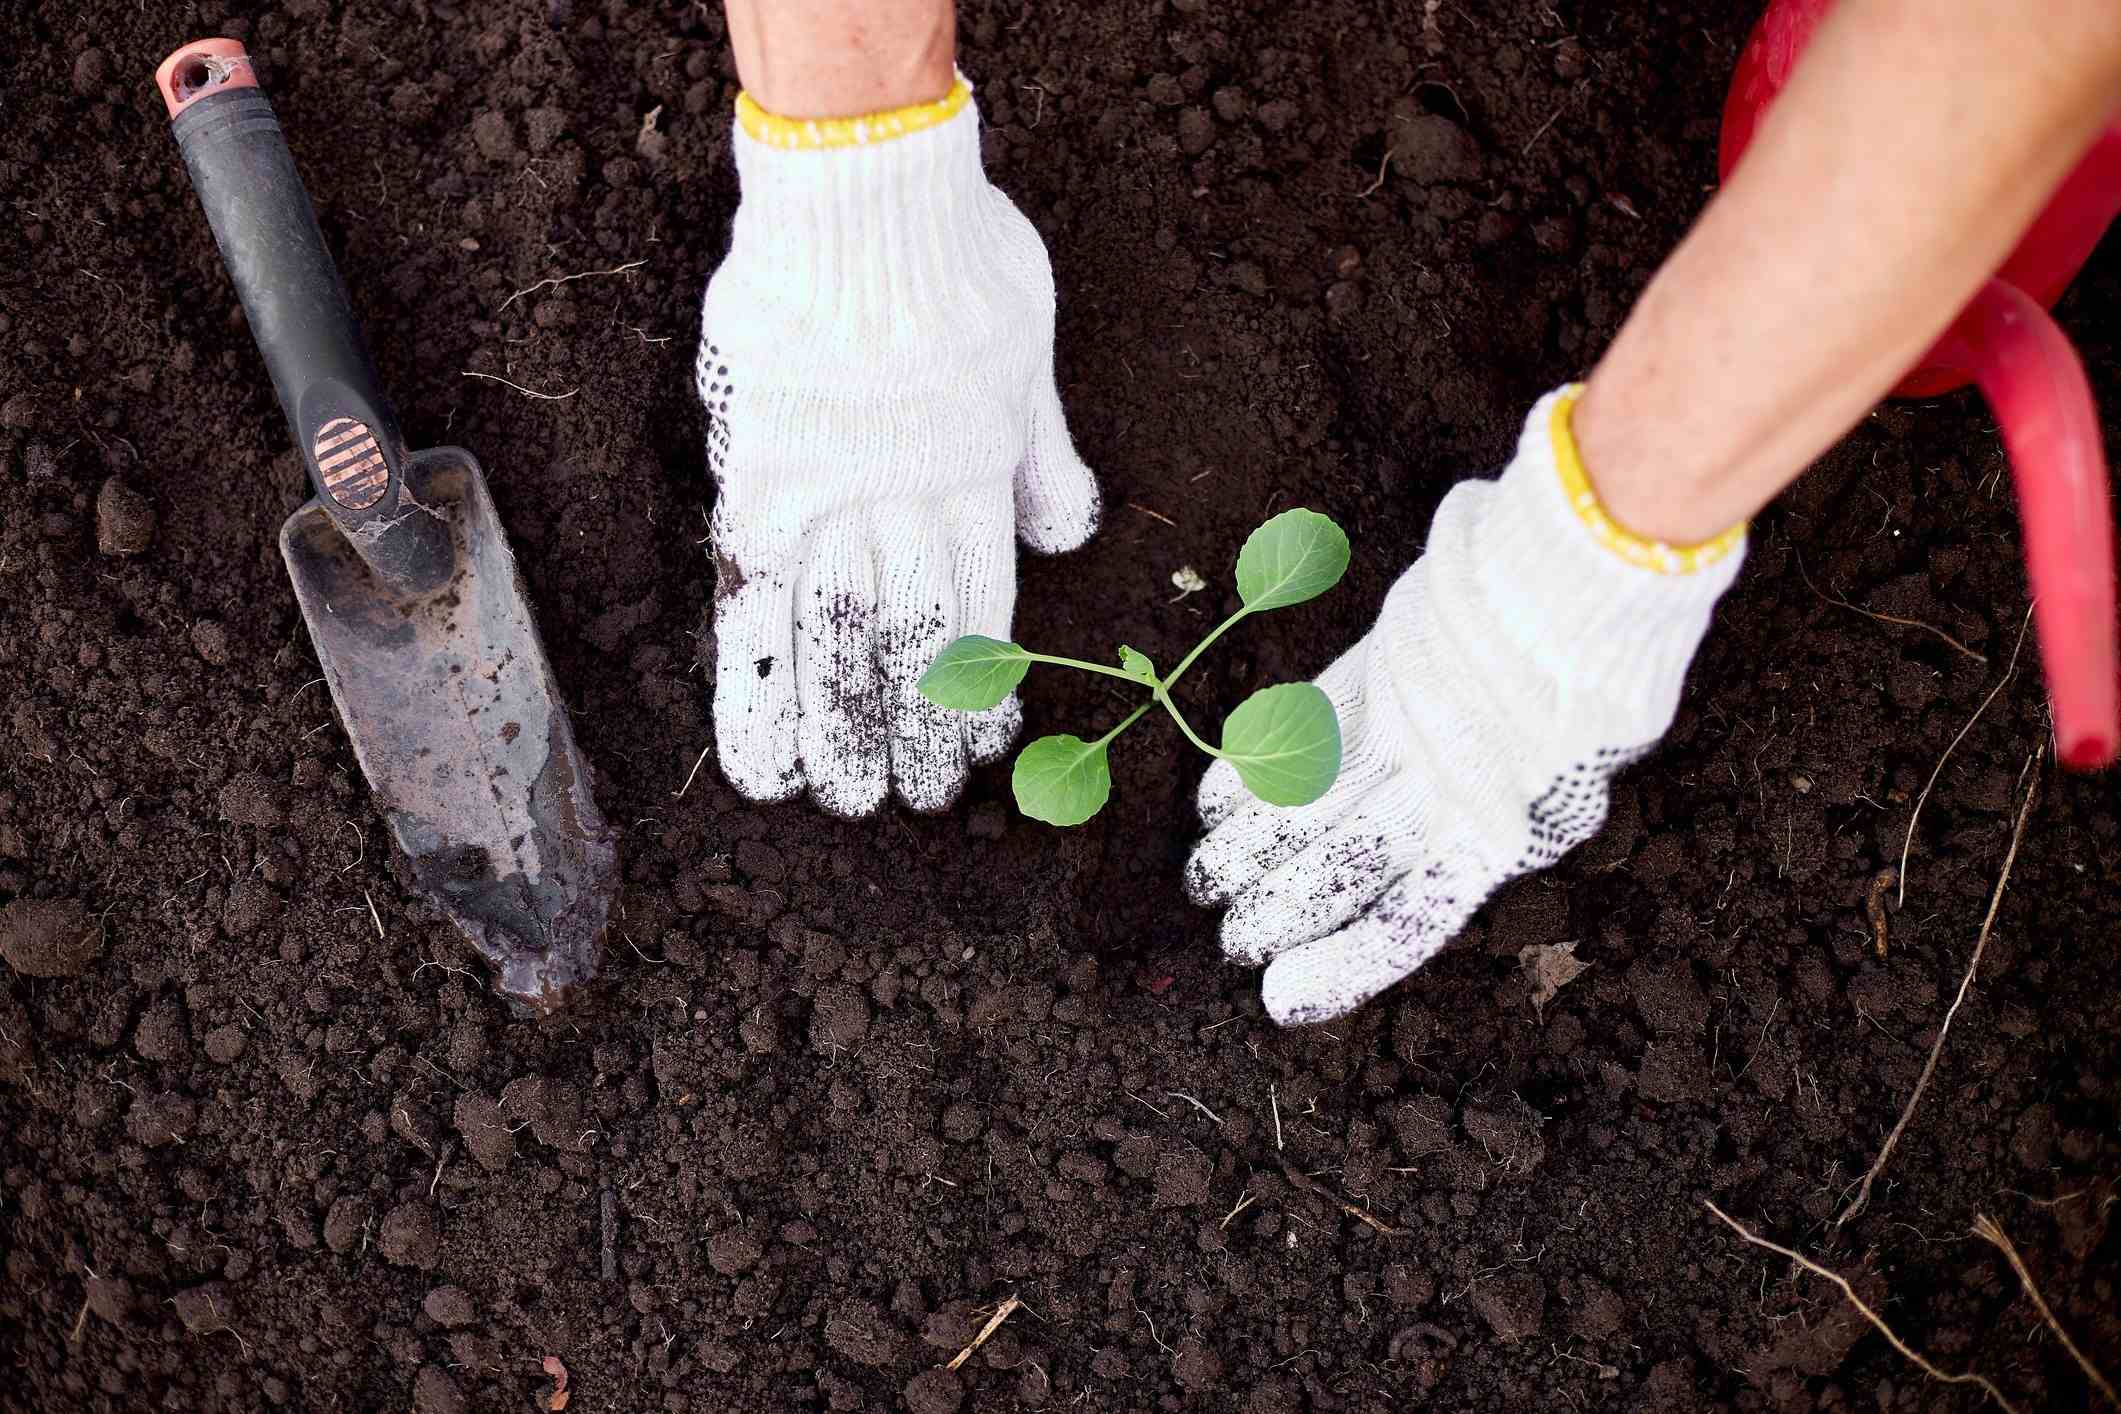
- Plant the Rhizomes: Place each ginger rhizome into a planting hole with the eyes facing upward. Cover the rhizomes with soil, gently pressing down to remove any air pockets. Be careful not to bury the rhizomes too deep, as they need to be close to the surface to sprout.
- Water the Planting Area: Thoroughly water the newly planted ginger rhizomes to ensure the soil is evenly moist. Avoid waterlogging, as excess moisture can lead to root rot.
- Mulch the Area: Apply a layer of organic mulch, such as straw or wood chips, around the ginger plants. Mulching helps retain moisture, suppresses weed growth, and regulates soil temperature.
It’s important to note that ginger is a tropical plant and thrives in warm temperatures. Therefore, if you live in a colder climate, consider growing ginger in containers that can be moved indoors during colder months. This way, you can continue to enjoy fresh ginger year-round.
Now that you have planted your ginger rhizomes, it’s time to provide them with the care and maintenance they need to ensure optimal growth. Let’s dive into the next section to learn more!
Watering and Mulching
Proper watering and mulching are crucial for maintaining the moisture levels and suppressing weeds around your ginger plants. Here are some essential tips to ensure your ginger plants receive adequate moisture and are protected from weed competition:
- Watering: Ginger plants require consistent moisture, but it’s important to avoid overwatering. Keep the soil evenly moist, but not waterlogged, as excessive moisture can lead to root rot. Water the plants deeply once or twice a week, depending on the weather and soil conditions. Aim for about 1-2 inches of water per week, ensuring the water reaches the root zone.
- Mulching: Apply a layer of organic mulch around the ginger plants, leaving a small space around the base of each plant. Mulch helps to retain moisture in the soil, regulate soil temperature, and suppress weed growth. Use materials such as straw, wood chips, or dried leaves for effective mulching.
- Weed Control: Regularly check the planting area for the emergence of weeds and promptly remove them. Weeds compete with ginger plants for nutrients, water, and sunlight and can hinder their growth. Mulching helps to minimize weed growth, but it’s important to monitor the area and remove any weeds that manage to grow through the mulch.
- Monitor Soil Moisture: Regularly check the moisture level of the soil to ensure it stays consistently moist. Avoid letting the soil dry out completely between waterings, as this can stress the ginger plants and affect their growth. Mulching helps to retain moisture in the soil, reducing the need for frequent watering.
- Adjust Watering During Cooler Months: In cooler months or dormant periods, ginger plants require less water. Adjust your watering schedule accordingly, allowing the soil to dry out slightly between waterings.
Proper watering and mulching practices help create a favorable environment for ginger plants to grow and thrive. By providing the right amount of moisture and minimizing weed competition, you’ll set your plants up for success. Now, let’s move on to the next section to explore the care and maintenance required for ginger plants!
Care and Maintenance
Caring for your ginger plants involves a combination of regular maintenance practices and providing the ideal growing conditions. Here are some essential care tips to ensure the health and vigor of your ginger plants:
- Sunlight and Temperature: Ginger plants thrive in warm, humid environments and prefer partial shade or filtered sunlight. Ensure your ginger plants receive at least 4-6 hours of indirect sunlight each day. Protect them from strong, direct sunlight, as it can scorch the leaves.
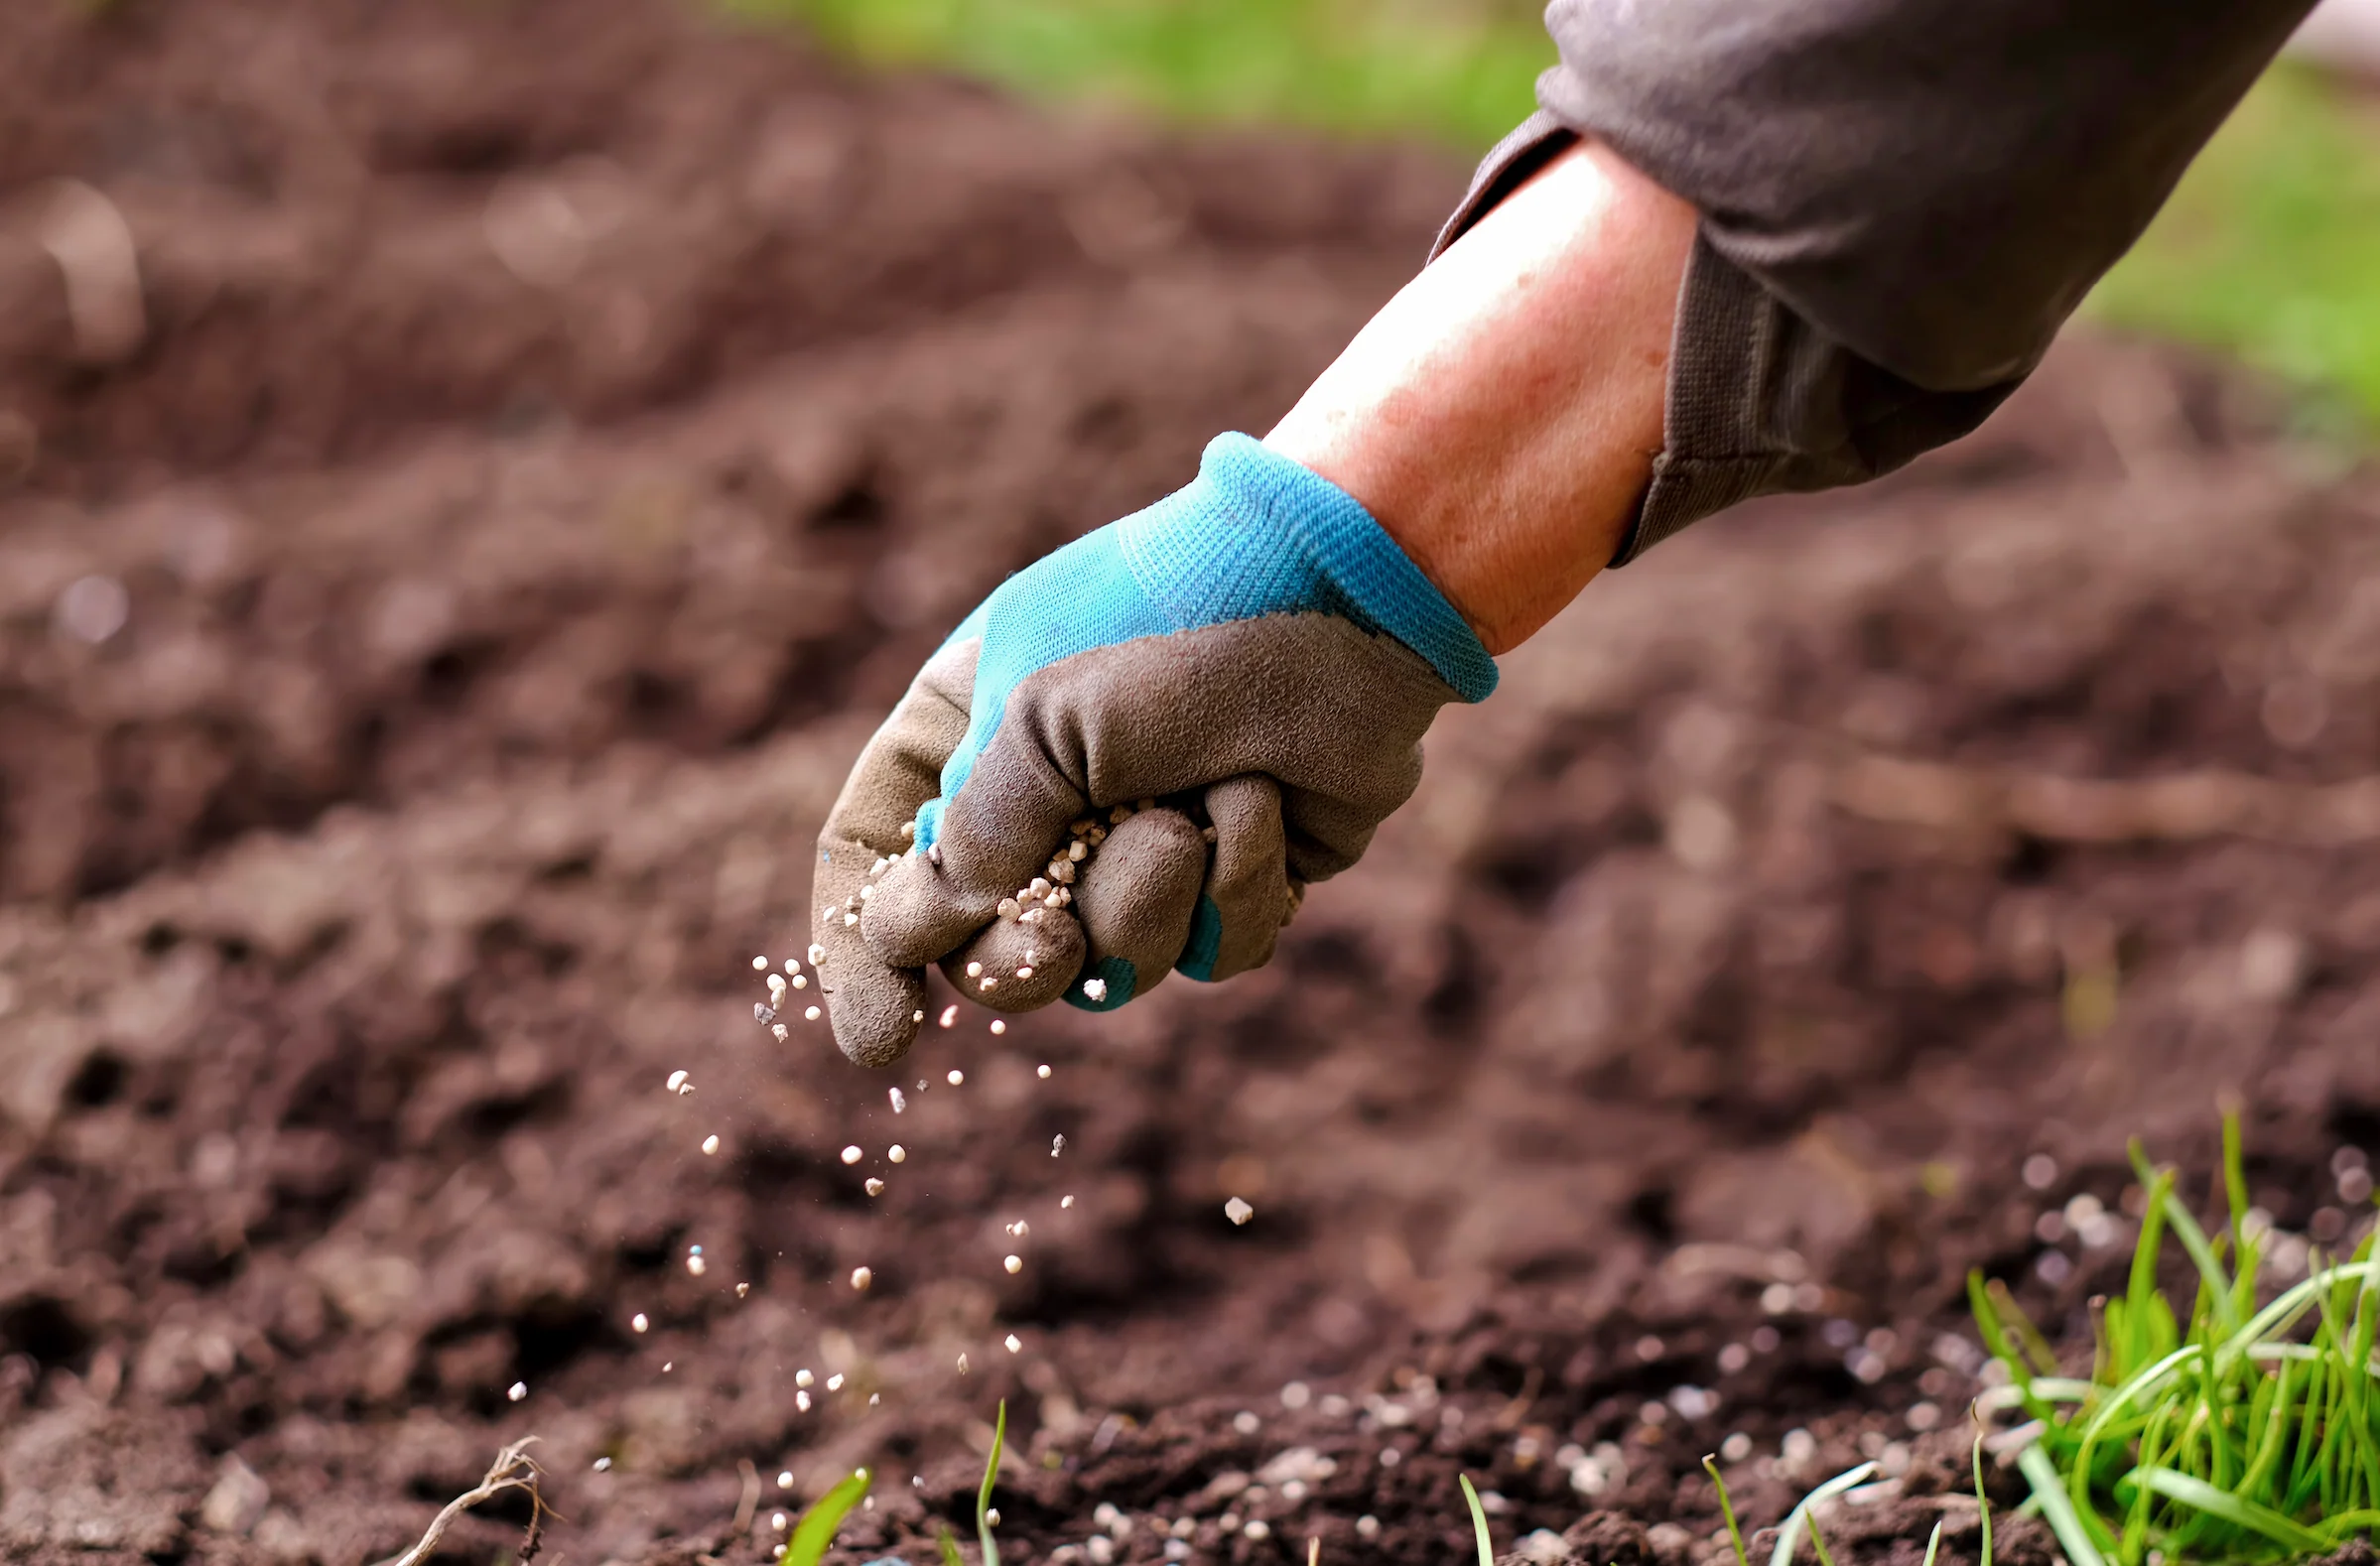
- Fertilizing: Apply organic fertilizer or compost to the soil once every 4-6 weeks during the growing season. This provides essential nutrients to support healthy foliage and promote root development. Avoid excessive fertilization, as it can lead to lush foliage but inhibit the growth of ginger rhizomes.
- Pest and Disease Control: Monitor your ginger plants for common pests like aphids, spider mites, and ginger root maggots. If infestations occur, use organic pest control methods such as neem oil or insecticidal soap to eliminate them. Additionally, keep an eye out for signs of disease, such as fungal infections or root rot, and take prompt action to address these issues.
- Support: As ginger plants grow, they may benefit from support due to their height and weight. Use stakes or trellises to provide stability and prevent the plants from falling over or bending under their own weight.
- Pruning: Ginger plants rarely require extensive pruning. However, you can trim off any dead or yellowing leaves to maintain a neat appearance and promote air circulation. Pruning can also help redirect the plant’s energy toward rhizome development.
- Regular Inspections: Regularly inspect your ginger plants for any signs of stress, pest infestations, or diseases. Early detection allows for timely intervention and minimizes the chances of problems spreading to other plants.
- Harvesting: Ginger rhizomes can be harvested once they have matured, usually around 8-10 months after planting. Look for signs such as yellowing foliage, dry stems, and a spicy aroma to indicate readiness for harvest.
Caring for your ginger plants involves providing them with the right growing conditions, addressing any pest or disease issues promptly, and properly maintaining the plants through pruning and support. With proper care and attention, you’ll be rewarded with a bountiful harvest of fresh ginger to enjoy in your culinary endeavors!
Harvesting Ginger Rhizomes
Harvesting ginger rhizomes is an exciting and rewarding moment in the gardening journey. The timing of the harvest is crucial to ensure that the ginger rhizomes have reached their full maturity and are packed with flavor. Here’s how to harvest your ginger rhizomes:
- Wait for the Right Time: Ginger rhizomes are typically ready for harvest around 8-10 months after planting. Look for signals such as yellowing foliage, desiccated stems, and a spicy aroma. These are indications that the ginger rhizomes have reached maturity.
- Prepare the Tools: Before harvesting, gather a digging fork or a garden spade, as well as a pair of pruning shears or a sharp knife. These tools will assist in carefully excavating the rhizomes from the soil without causing damage.
- Gently Dig around the Rhizomes: Start by loosening the soil around the ginger plants. Work your way around each plant, keeping a generous distance from the stems to avoid accidentally severing any rhizomes.
- Lift the Ginger Rhizomes: Insert the digging fork or spade into the soil, angling it away from the plants. Carefully lift the ginger rhizomes from the ground, taking care not to break or damage them.
- Trim the Foliage: Once the rhizomes are out of the ground, use pruning shears or a sharp knife to trim off the foliage, leaving about an inch or two of stems attached. This will make handling and cleaning the ginger rhizomes easier.
- Clean the Rhizomes: Rinse the ginger rhizomes under running water to remove any soil or debris. Gently scrub the surface to ensure they are clean. Allow the rhizomes to air dry for a short period.
- Store or Use: You can choose to store the ginger rhizomes or use them immediately in your culinary creations. To store them, place the cleaned and dried rhizomes in a paper bag or a mesh bag, and store them in a cool, dry, and well-ventilated area. Alternatively, you can freeze or preserve ginger for longer-term use.
By harvesting ginger rhizomes at the right time and with proper care, you can enjoy the freshness and flavor they bring to your dishes. Now that you have your harvested ginger rhizomes, it’s time to explore various storage options.
Storing Ginger Rhizomes
Proper storage of ginger rhizomes is essential to preserve their freshness and flavor for future use. Whether you have harvested an abundant crop or want to prolong the shelf life of store-bought ginger, here are some effective methods for storing ginger rhizomes:
- Dry Storage: After harvesting, ensure the ginger rhizomes are completely dry before storage. Place them in a single layer in a paper bag or a mesh bag. Store the bag in a cool, dry, and well-ventilated area, such as a pantry, cupboard, or basement. Check the rhizomes periodically to remove any soft or spoiling ones.
- Refrigeration: If you wish to store ginger for a longer period, refrigeration is a suitable option. Wrap individual ginger rhizomes in a paper towel or place them in a perforated plastic bag to allow for proper air circulation. Store them in the vegetable crisper drawer of your refrigerator. Ginger stored this way can last for up to three weeks.
- Freezing: If you want to preserve ginger for an extended period, freezing is a convenient method. Peel and grate the ginger or cut it into small pieces. Place the prepared ginger in an airtight container or a freezer bag, ensuring there are no air pockets. Label the container with the date and freeze. Frozen ginger can last for up to six months and can be used directly from the freezer.
- Pickling: Another way to store ginger is by pickling it. Peel the ginger and slice it thinly. In a saucepan, combine equal parts vinegar and water, along with sugar and spices of your choice. Bring the mixture to a boil and add the ginger slices. Simmer for a few minutes, then transfer the ginger and liquid to sterilized jars. Store the jars in the refrigerator, and the pickled ginger will stay good for several months.
When using stored ginger, take out the desired amount and return the remaining rhizomes or pickles to their proper storage conditions promptly. Remember to discard any ginger that shows signs of spoilage, such as mold or mushiness.
By properly storing ginger rhizomes, you can always have fresh ginger on hand for your culinary endeavors. Whether you choose to dry store, refrigerate, freeze, or pickle the ginger, each method provides a suitable option based on your preference and usage needs.
Conclusion
Congratulations! You have now become well-versed in the art of growing and caring for ginger plants. From selecting the perfect ginger rhizomes to preparing the soil, planting, watering, and harvesting, you have learned the step-by-step process to cultivate your own bounty of fresh ginger.
Ginger, with its delightful aroma and unique flavor, is not only a versatile culinary ingredient but also possesses impressive health benefits. By growing your own ginger, you have the opportunity to enjoy its freshness and incorporate it into a wide range of dishes, teas, and even homemade remedies.
Remember the key steps along the way: choose high-quality ginger rhizomes, prepare the soil with organic matter, provide adequate watering and mulching, and offer proper care and maintenance by monitoring for pests and diseases.
Whether you have a full-fledged garden or a humble patio, ginger can be cultivated in various settings. Consider the space and climate you have available and adjust your growing methods accordingly. If you live in a colder climate, growing ginger in containers that can be brought indoors during winter is a great option.
Furthermore, you have learned how to harvest your ginger rhizomes at the right time and store them for future use. You can dry store ginger, refrigerate it, freeze it, or even pickle it, depending on your preferences and storage needs.
Exploring the world of edible gardening can be an incredibly rewarding experience. As you continue your gardening journey, don’t be afraid to experiment and explore new ways to incorporate fresh ginger into your daily life.
So, roll up your sleeves, put on your gardening hat, and enjoy the process of growing and harvesting your very own ginger. With care and dedication, you will create a thriving ginger garden and savor the delights it brings to your culinary creations. Happy gardening!