Home>Gardening Basics>Understanding Soil>How To Fill A Large Pot For Planting
Understanding Soil
How To Fill A Large Pot For Planting
Modified: February 9, 2024
Discover the key steps to properly fill a large pot for planting. Gain a deeper understanding of soil composition and its impact on plant health.
(Many of the links in this article redirect to a specific reviewed product. Your purchase of these products through affiliate links helps to generate commission for Chicagolandgardening.com, at no extra cost. Learn more)
Table of Contents
- Introduction
- Materials Needed
- Step 1: Selecting a Suitable Pot
- Step 2: Preparing the Potting Mix
- Step 3: Adding Drainage Material
- Step 4: Preparing the Plants for Planting
- Step 5: Filling the Pot with Potting Mix
- Step 6: Arranging the Plants in the Pot
- Step 7: Watering the Newly Planted Pot
- Step 8: Placement and Care Instructions
- Conclusion
Introduction
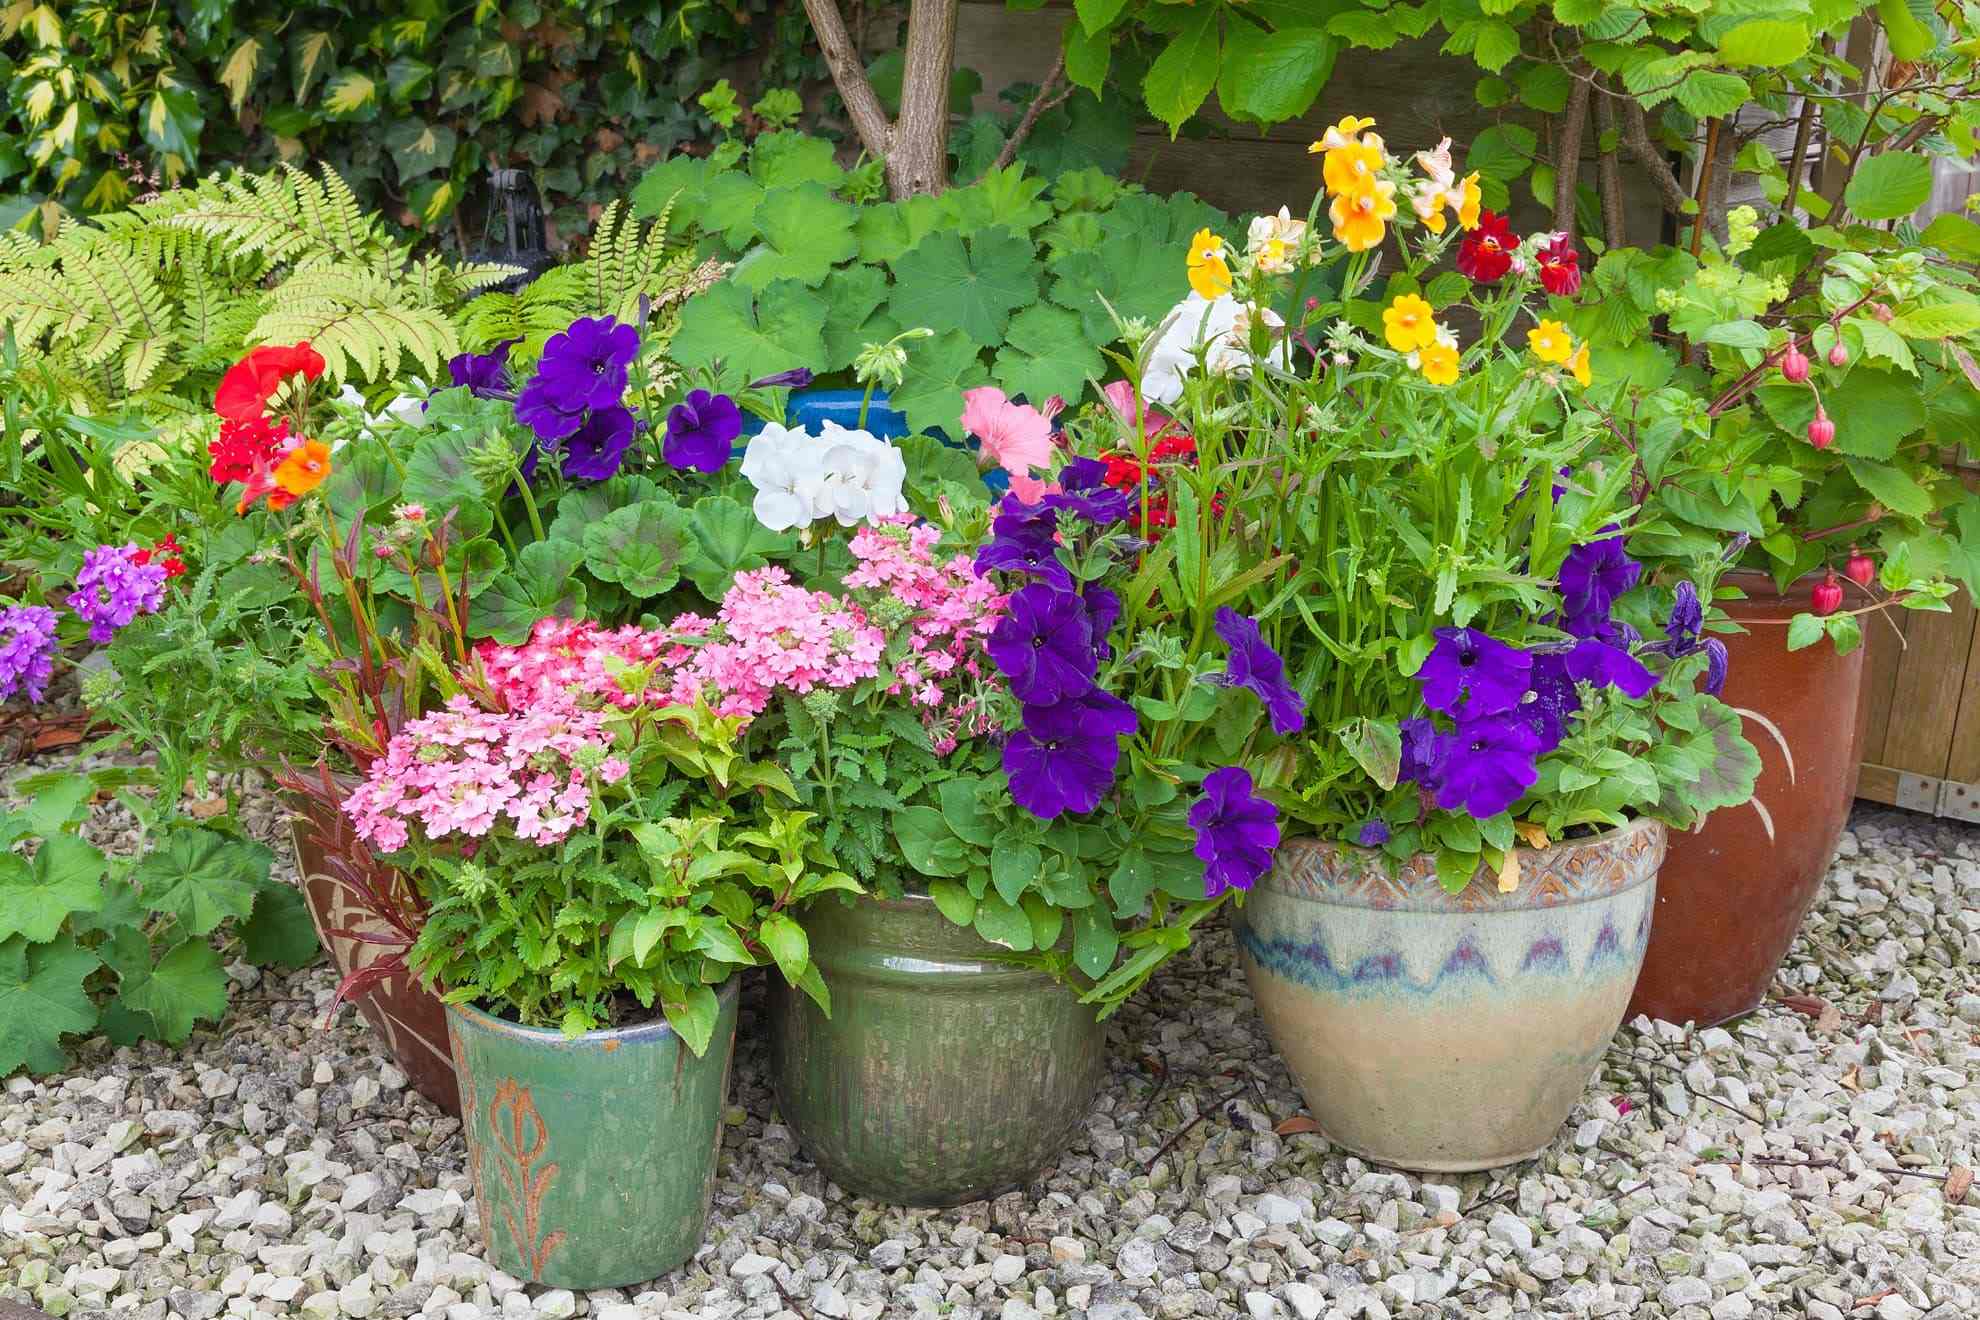
Welcome to this guide on how to fill a large pot for planting! If you are a gardening enthusiast or someone who wants to add some greenery to your outdoor space, filling a large pot for planting is a crucial step in creating a thriving and beautiful container garden. Whether you are planting flowers, herbs, or vegetables, the right potting mix and proper planting techniques are essential for the health and growth of your plants.
In this article, we will walk you through the step-by-step process of filling a large pot for planting. We will discuss the materials you will need, from selecting the right pot to preparing the potting mix. You will learn how to add drainage material, properly prepare the plants for planting, and arrange them in the pot for optimal growth. Additionally, we will provide instructions on watering the newly planted pot and offer placement and care tips for maintaining a healthy container garden.
So, whether you are a beginner or an experienced gardener, this guide will provide you with the knowledge and tools to create a stunning and thriving container garden. Let’s get started!
Materials Needed
Before you begin filling your large pot for planting, gather the following materials:
- Pot: Choose a pot that is large enough to accommodate the plants you want to grow. Consider the material, such as terracotta or plastic, and ensure that it has proper drainage holes.
- Potting Mix: Use a high-quality potting mix that is suitable for the type of plants you will be growing. Avoid using soil from your garden, as it may not provide the necessary nutrients and drainage.
- Drainage Material: To improve drainage in your pot, gather materials such as small pebbles, gravel, or broken pottery. This will prevent water from pooling at the bottom of the pot.
- Plants: Choose the plants you want to include in your container garden. Consider their compatibility, growth habits, and sunlight requirements.
- Trowel or Garden Scoop: These tools will help you scoop and transport the potting mix into the pot.
- Water: Have a water source nearby for watering the potting mix and newly planted pot.
- Fertilizer (optional): Depending on the plants you choose, you may need a suitable fertilizer to provide additional nutrients.
- Gloves: It’s a good idea to wear gardening gloves to protect your hands from any rough materials or thorns.
Having these materials ready before you start will ensure a smooth and efficient process when filling your large pot for planting. Now that you have everything you need, let’s move on to the next step: selecting a suitable pot for your plants.
Step 1: Selecting a Suitable Pot
Choosing the right pot is crucial for the success of your container garden. Follow these guidelines to select a suitable pot:
- Size: Opt for a pot that is large enough to accommodate the root system of your plants. Consider the mature size of the plants and ensure there is ample space for growth.
- Material: Decide on the material of the pot based on your preferences and the specific needs of your plants. Terracotta pots are porous, allowing for better airflow and drainage, while plastic pots retain moisture more effectively.
- Drainage: Look for pots with drainage holes at the bottom. Good drainage is essential to prevent waterlogging and root rot.
- Aesthetics: Consider the style and color of the pot to ensure it complements your outdoor space. You can choose from various designs, shapes, and colors to match your personal taste or the existing décor.
- Weight: Take into account the weight of the pot, especially if you plan to move it around. Some materials, like ceramic or stone, can be quite heavy and difficult to maneuver.
Once you have selected the perfect pot, place it in the desired location before filling it. This will save you from having to move the pot once it’s filled, as it can become heavy and may damage the plants or the potting mix.
Now that you have chosen the ideal pot for your container garden, let’s move on to the next step: preparing the potting mix.
Step 2: Preparing the Potting Mix
Having the right potting mix is essential for the healthy growth of your plants. Follow these steps to prepare the potting mix for your large pot:
- Choose a High-Quality Mix: Select a commercial potting mix that is suitable for the type of plants you will be growing. Avoid using garden soil, as it may contain pests, diseases, or poor drainage.
- Moisten the Potting Mix: Before filling the pot, moisten the potting mix by adding water. This helps improve its moisture-retention capacity and facilitates initial root hydration.
- Add Organic Matter: To enhance the nutrient content of the potting mix, consider adding organic matter such as compost, well-rotted manure, or peat moss. This improves soil structure and fertility.
- Mix in Perlite or Vermiculite: If you’re growing plants that require excellent drainage, you can mix in perlite or vermiculite to improve aeration and prevent waterlogging.
- Consider Adding Slow-Release Fertilizer: Depending on the plants you are growing and the nutrient requirements, you may opt to incorporate slow-release fertilizer into the potting mix. This provides a continuous supply of nutrients over time.
Remember to follow the specific instructions on the potting mix bag regarding the recommended amount of water and additional amendments to achieve the best results.
Now that you have prepared the potting mix, it’s time to move on to the next step: adding drainage material to the pot.
Step 3: Adding Drainage Material
To ensure proper drainage in your large pot, it’s important to add a layer of drainage material at the bottom. Follow these steps to incorporate drainage material:
- Choose the Right Material: Select a suitable drainage material such as small pebbles, gravel, or broken pottery shards. These materials create space for excess water to flow out of the pot, preventing waterlogging.
- Add a Layer at the Bottom: Place a layer of the chosen drainage material at the bottom of the pot. The thickness of the layer depends on the size of the pot, but generally, one to two inches is sufficient.
- Ensure Even Distribution: Spread the material evenly across the bottom of the pot. This helps maintain consistent drainage throughout the container.
- Avoid Clogging: Be careful not to block the drainage holes by placing a piece of mesh or a coffee filter over the layer of drainage material. This prevents the potting mix from seeping into the drainage layer while still allowing excess water to pass through.
By adding drainage material, you create a space for excess water to escape, preventing waterlogging and the potential for root rot. This step is particularly important if your potting mix holds moisture for an extended period.
Now that you have successfully added the drainage material, it’s time to move on to step 4: preparing the plants for planting.
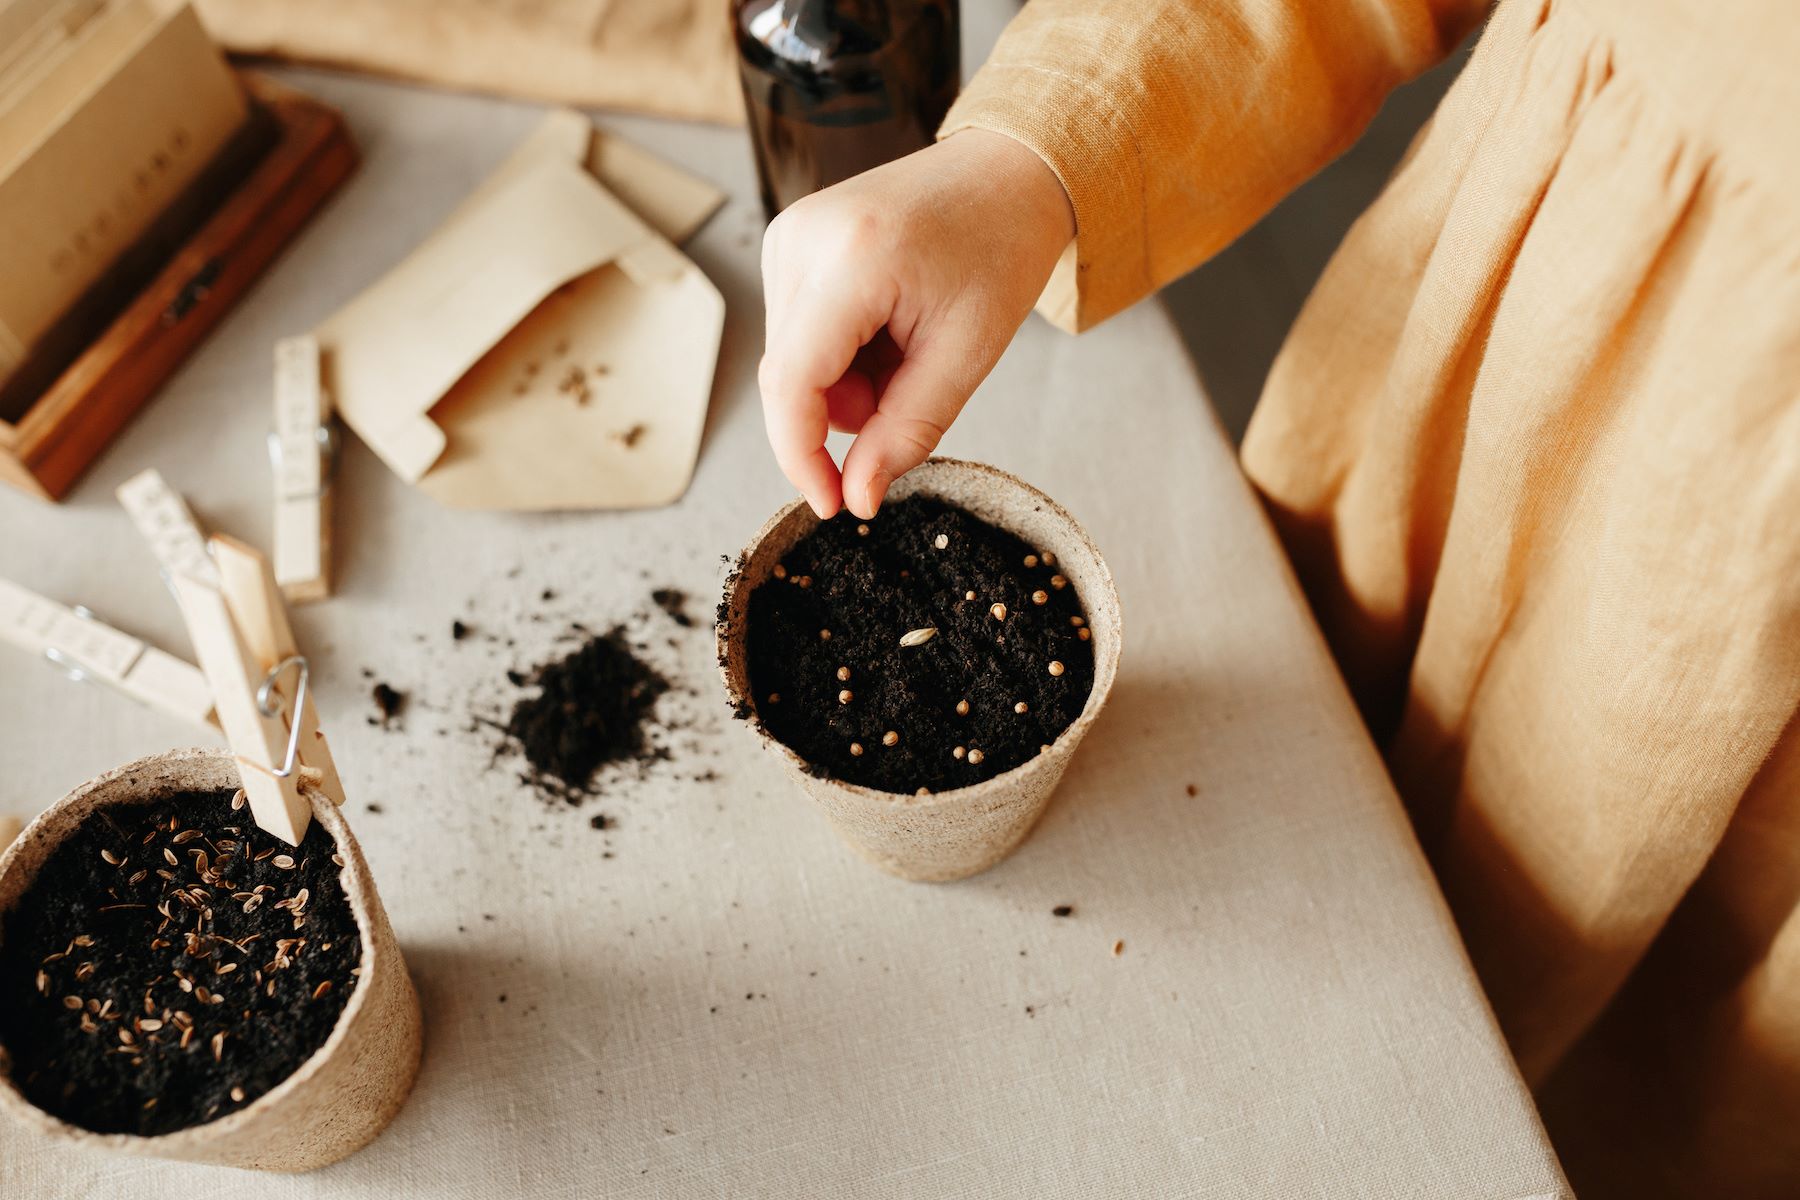
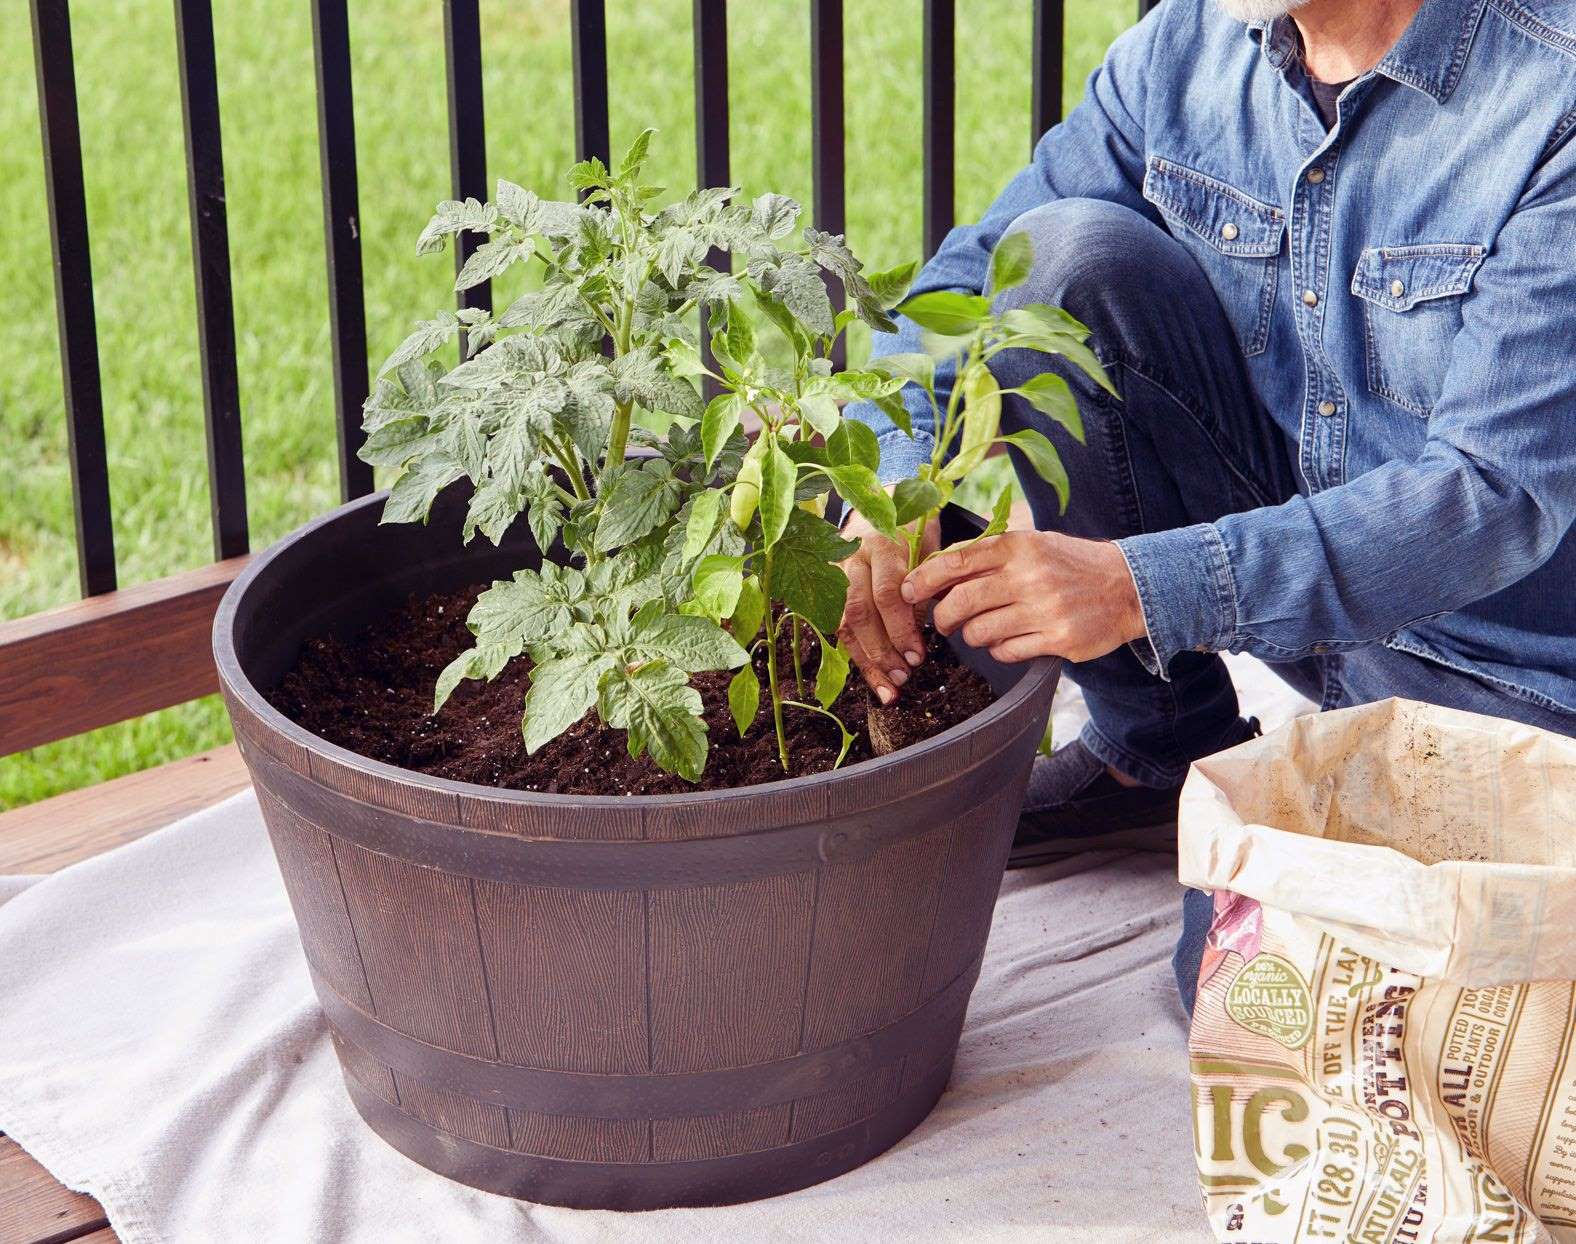
Step 4: Preparing the Plants for Planting
Before you start planting in your large pot, it’s essential to properly prepare your plants. Follow these steps to ensure they are ready for a healthy start:
- Choose Healthy Plants: Select healthy plants from a reputable nursery or garden center. Look for vibrant foliage, sturdy stems, and no signs of pests or diseases.
- Inspect and Trim: Before planting, carefully inspect the plants for any damaged or dead leaves, stems, or roots. Trim off any unhealthy parts using clean and sharp pruning shears.
- Soak the Roots (if necessary): If the plants have been wrapped in nursery paper or if they have been kept in containers for an extended period, consider soaking the root ball in water for a few minutes. This helps rehydrate the roots and make them more receptive to planting.
- Loosen the Roots: Gently loosen the roots of the plants before planting. This stimulates root growth and helps them establish themselves quickly in the potting mix.
- Create a Planting Hole: Make a hole in the potting mix using your fingers or a trowel, ensuring it is slightly larger than the root ball of the plant.
- Place the Plant in the Hole: Carefully place the plant in the hole, making sure it is positioned at the same depth it was originally planted. Avoid burying the stem or foliage too deeply.
- Fill the Hole: Gently fill the hole around the plant’s root ball with the potting mix. Press the mix lightly to ensure good contact with the plant roots.
- Repeat for Other Plants: If you are planting multiple plants in the same pot, repeat the above steps for each plant, providing adequate spacing between them for their mature size.
Properly preparing your plants before planting ensures that they have the best chances of thriving in their new home. Now that your plants are ready, it’s time to move on to the next step: filling the pot with potting mix.
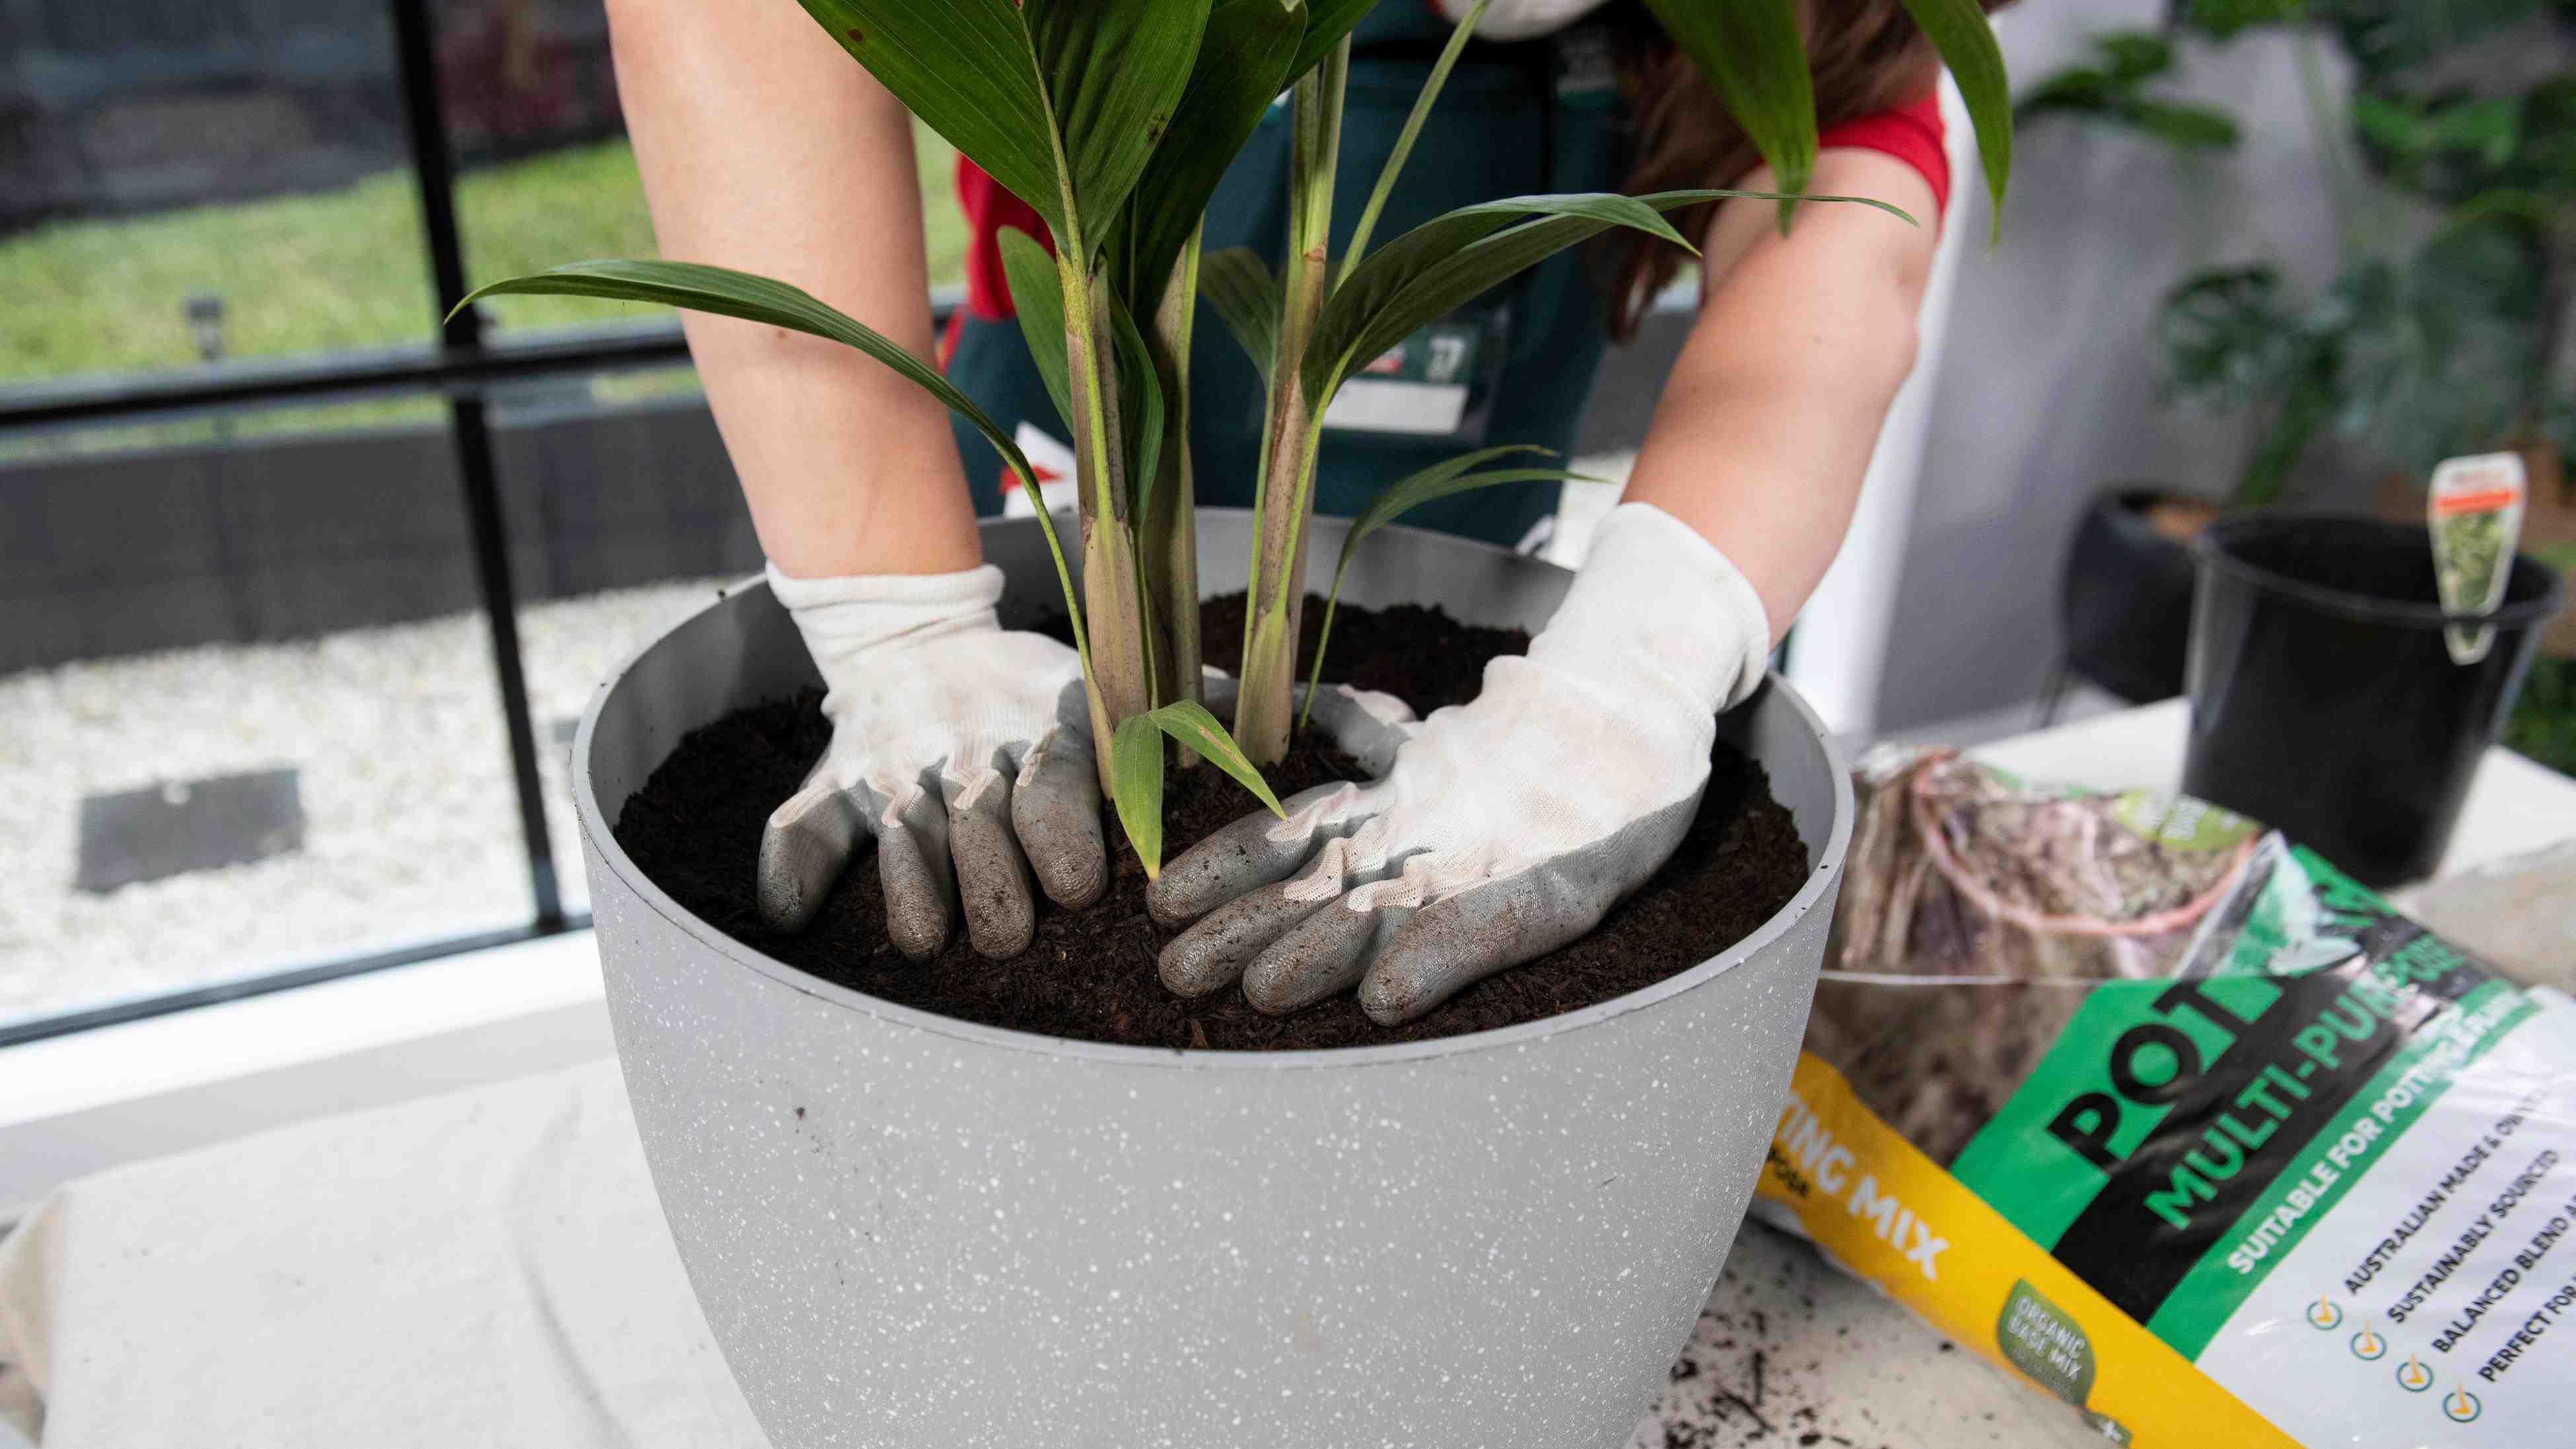
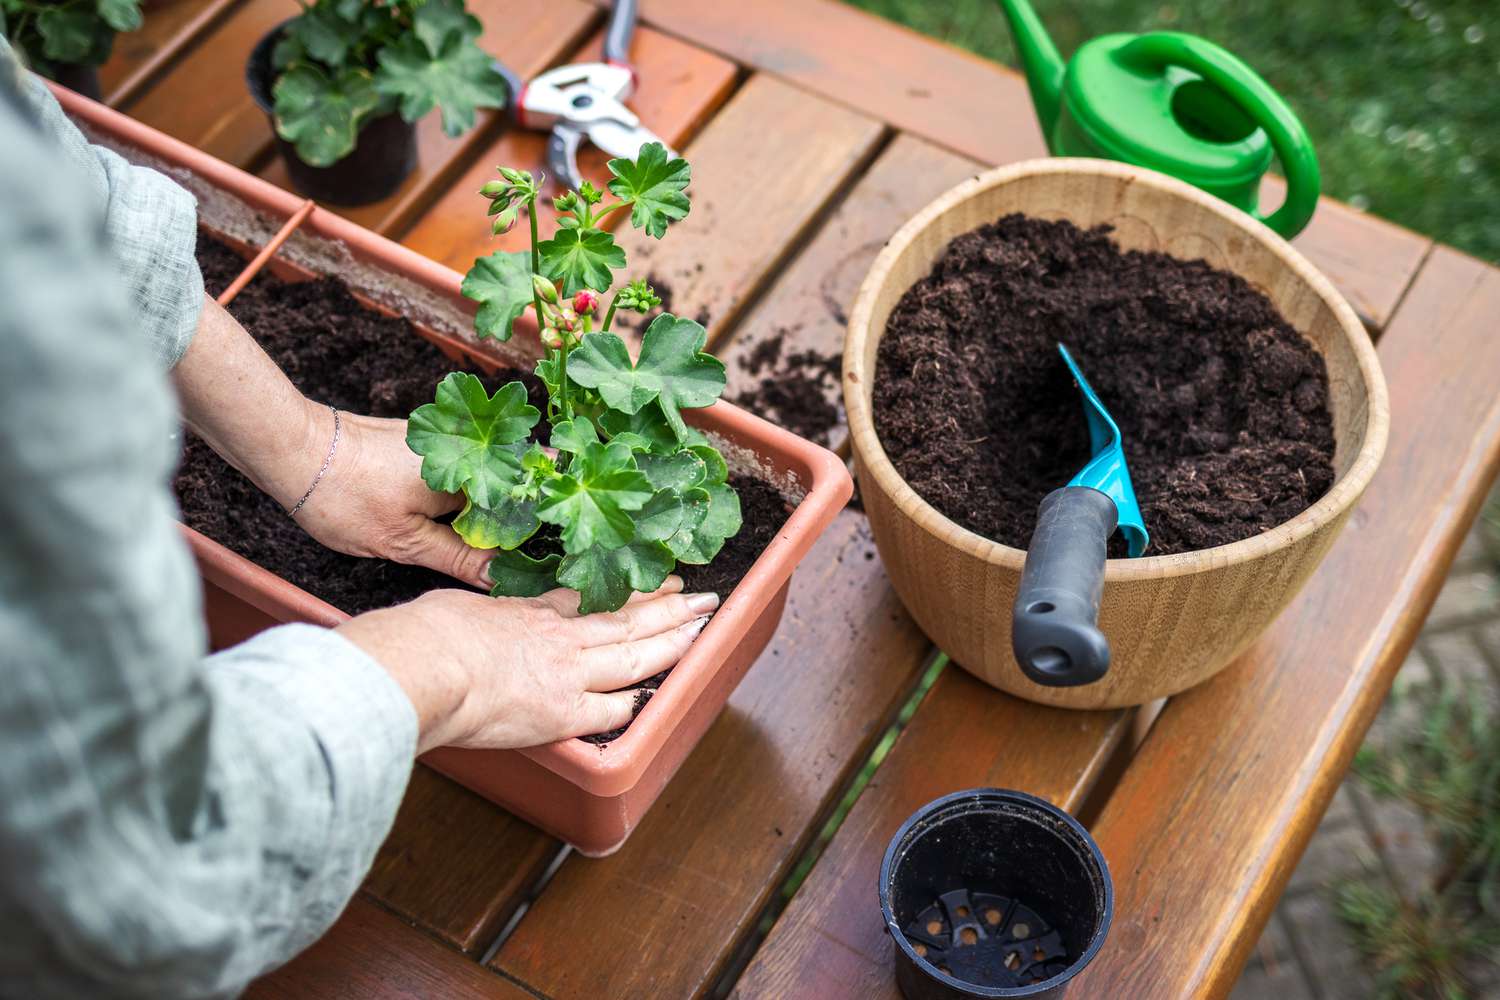
Step 5: Filling the Pot with Potting Mix
Filling the pot with the right amount of potting mix is crucial for providing proper support and nutrients to your plants. Follow these steps to ensure the pot is filled effectively:
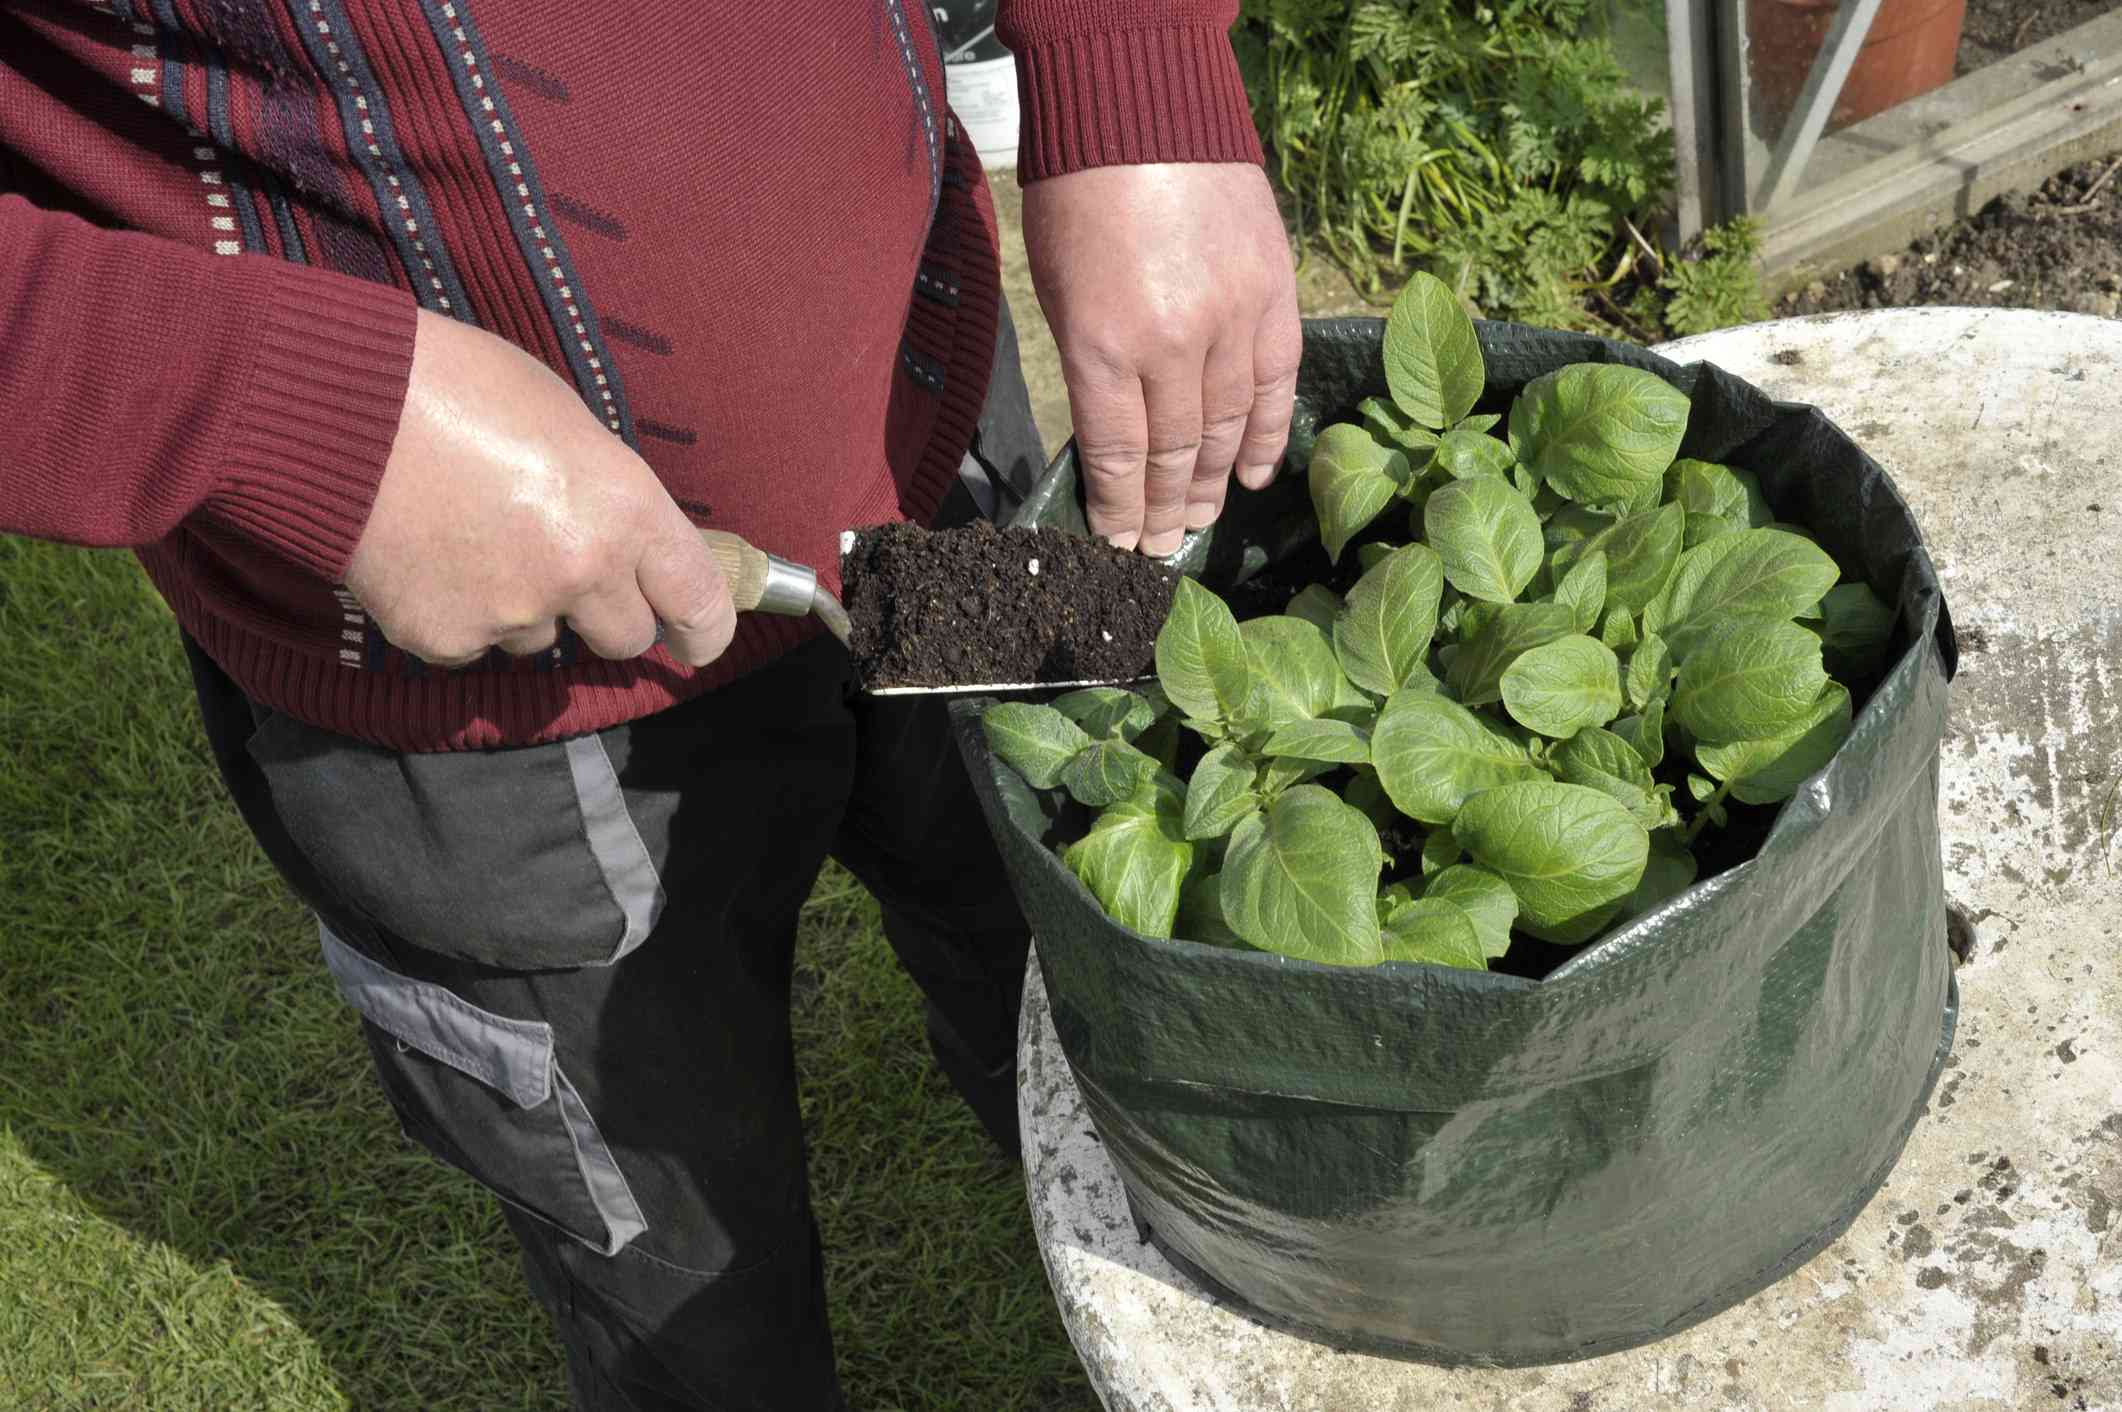
- Scoop Potting Mix: Using a trowel or garden scoop, scoop the potting mix into the pot. Start by adding an initial layer of potting mix to cover the drainage material at the bottom of the pot.
- Fill Gradually: Fill the pot gradually, layer by layer, ensuring the potting mix is evenly distributed around the roots of the plants. Pat lightly with your hands or use the trowel to lightly firm the potting mix in each layer.
- Leave Adequate Space: Leave a sufficient space at the top of the pot, about an inch or so, to allow for easy watering without overflow.
- Level the Surface: Once the pot is filled, use your hands or the back of the trowel to level the surface of the potting mix. This creates a neat and even appearance and prevents water from pooling in certain areas while leaving others dry.
It’s important not to overfill the pot with potting mix, as it can cause water runoff and may not provide enough airspace for proper oxygen flow to the roots. Additionally, avoid compacting the potting mix too tightly as it can impede root growth and drainage.
Now that the pot is properly filled with potting mix, it’s time to move on to step 6: arranging the plants in the pot.
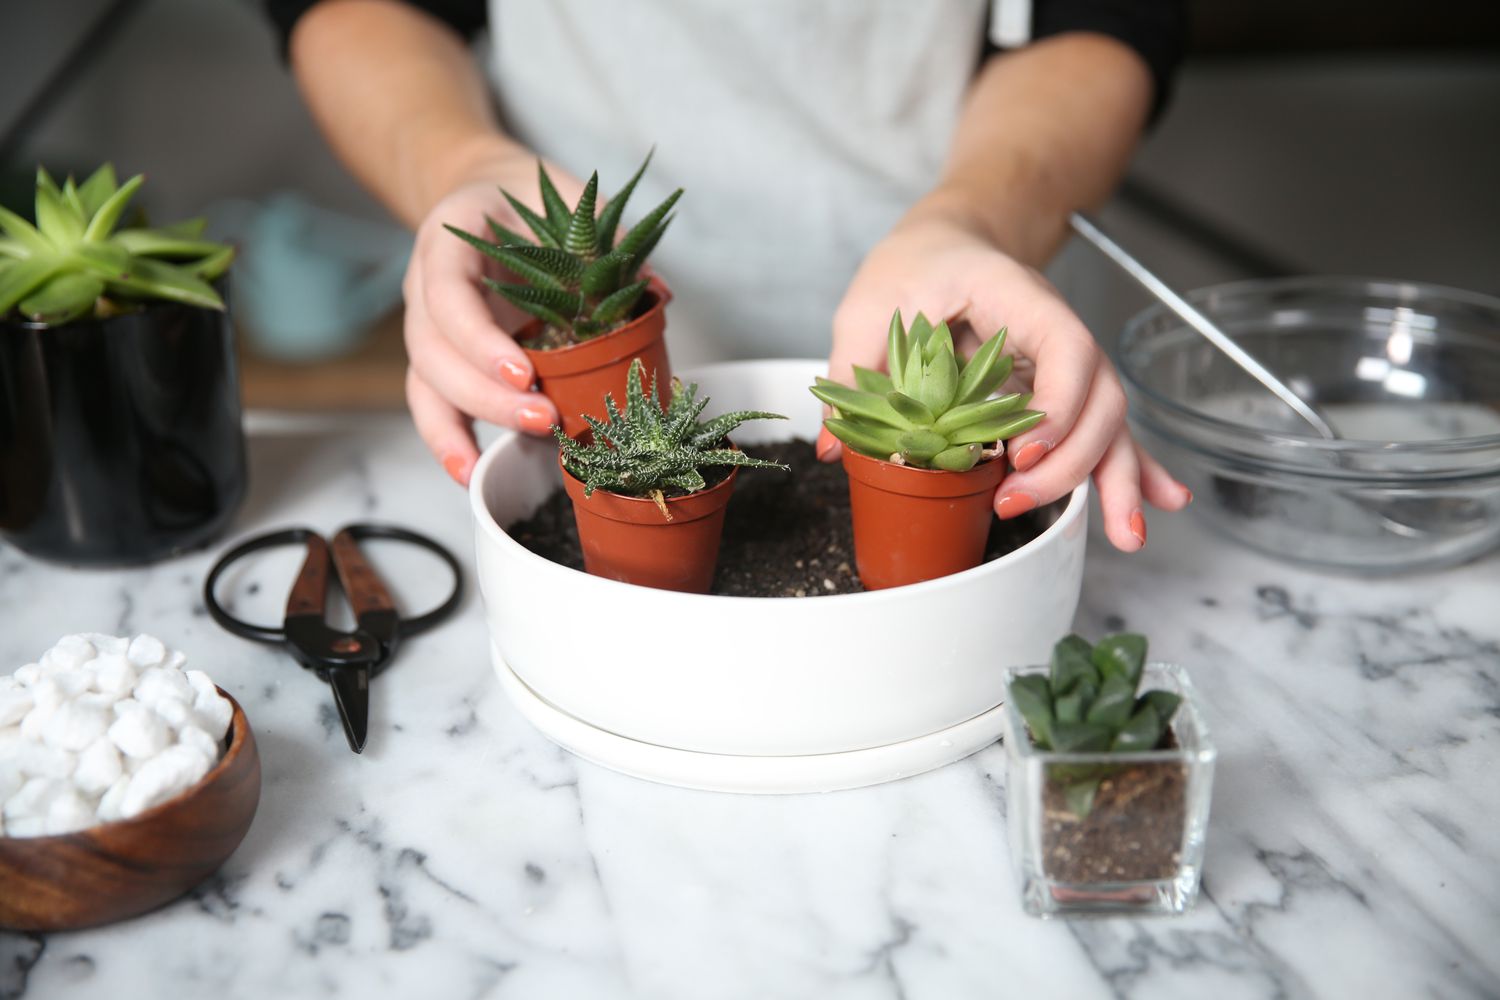
Step 6: Arranging the Plants in the Pot
Arranging the plants in your large pot is not just about aesthetics; it also plays a crucial role in ensuring proper growth and providing each plant with adequate space. Follow these steps to arrange your plants effectively:
- Consider Plant Compatibility: Take into account the growth habits, size, and sunlight requirements of each plant when deciding on their placement in the pot. Make sure that they are compatible and won’t compete for resources.
- Place Taller Plants in the Center or Back: If you have plants with varying heights, position the taller ones in the center or back of the pot. This creates a visually appealing arrangement and prevents them from shading smaller plants.
- Space Plants Appropriately: Leave enough space between each plant to allow for root growth and airflow. Avoid overcrowding them as it can lead to poor air circulation and increased risk of diseases.
- Consider Color and Texture: Arrange plants with different colors, foliage textures, and flowering patterns to create an attractive and dynamic composition. Mix plants with contrasting or complementary colors and different leaf shapes for visual interest.
- Adjust as Needed: Once you have positioned the plants, step back and assess the arrangement. Make any necessary adjustments to ensure a visually balanced and harmonious display.
Properly arranging the plants in the pot not only enhances the visual appeal but also allows each plant to thrive and reach its full potential. Take your time to arrange them thoughtfully before moving on to the next step.
Now that you have arranged the plants in the pot, let’s move on to step 7: watering the newly planted pot.
Step 7: Watering the Newly Planted Pot
Watering is a critical step in establishing your newly planted pot. Proper watering ensures that the plants receive the hydration they need to settle into the potting mix and promotes healthy root development. Follow these guidelines when watering your newly planted pot:
- Water Thoroughly: Give the potting mix a deep watering immediately after planting. This helps settle the potting mix and ensures that the roots make good contact with the soil.
- Water at the Base: Direct the water at the base of the plants, near the soil surface. Avoid wetting the foliage excessively, as it can lead to fungal diseases.
- Monitor Moisture Levels: Check the moisture level of the potting mix regularly. Insert your finger about an inch into the soil to determine if it’s adequately moist. If it feels dry at that depth, it’s time to water again.
- Water According to Plant Needs: Different plants have varying water requirements. Some prefer drier conditions, while others may need more frequent watering. Research the specific needs of the plants in your pot and adjust your watering schedule accordingly.
- Avoid Overwatering: While it’s important to keep the potting mix moist, be cautious not to overwater. Excessive moisture can lead to root rot and other issues. Allow the top inch of the potting mix to dry out slightly between waterings.
- Consider the Weather: Take into account the weather conditions as they can influence the frequency of watering. During hot and dry periods, your pot may require more frequent watering, while cooler and rainy weather may result in less watering.
Remember that the specific watering needs may vary depending on the plants and the environmental conditions. Observing your plants and responding to their individual requirements will help you maintain proper moisture levels and keep them healthy.
Now that you have watered your newly planted pot, it’s time to move on to step 8: placement and care instructions for your container garden.
Step 8: Placement and Care Instructions
Proper placement and care are essential for the long-term health and growth of your container garden. Here are some guidelines to ensure your plants thrive:
- Consider Sunlight Requirements: Place your pot in a location that provides the appropriate amount of sunlight for your plants. Some plants thrive in full sun, while others prefer partial shade. Consider the sunlight requirements of each plant and position the pot accordingly.
- Monitor Watering Needs: Regularly check the moisture level of the potting mix and water the plants accordingly. Avoid both overwatering and underwatering. Adjust your watering schedule based on the specific needs of the plants and the prevailing weather conditions.
- Fertilize as Needed: Depending on the type of plants and the potting mix used, you may need to provide additional nutrients through fertilization. Follow the recommended dosage and frequency for the specific plants you are growing.
- Prune and Deadhead: Regularly inspect your plants for withered or dead flowers, leaves, or stems. Prune or deadhead as necessary to encourage new growth and maintain the overall health and appearance of the plants.
- Watch for Pests and Diseases: Keep an eye out for common pests and diseases that may affect your plants. Early detection allows for timely intervention and prevents the spread of harmful organisms. Consider using organic pest control methods if necessary.
- Rotate and Reposition: Periodically rotate the pot to ensure all sides of the plants receive adequate sunlight. Reposition the pot if you notice any signs of uneven growth or if the plants are leaning towards the light source.
- Protect from Extreme Weather Conditions: During harsh weather conditions, such as heatwaves or frost, move the pot to a sheltered area to protect the plants from extreme temperatures or strong winds.
Remember that each plant has unique care requirements, so it’s important to research and understand the specific needs of the plants in your container garden. Regular observation, attention, and care will help your plants flourish and provide you with an enjoyable and thriving garden.
Now that you have learned how to fill a large pot for planting and the subsequent care needed, you are equipped to create a beautiful and vibrant container garden. Put your newfound knowledge into practice and enjoy the rewards of your efforts!
Conclusion
Congratulations! You have successfully learned how to fill a large pot for planting. By following the step-by-step instructions provided in this guide, you can create a thriving and beautiful container garden that will bring joy and beauty to your outdoor space.
Remember, the key to successful pot filling lies in selecting a suitable pot, preparing the right potting mix, adding drainage material, and properly arranging the plants. Additionally, understanding the importance of watering, providing proper care, and considering the specific needs of your plants will help ensure their long-term health and growth.
As you embark on your journey of container gardening, continue to observe and monitor your plants. Adjust your watering and care routine depending on the individual needs of each plant and the environmental conditions. Regular maintenance, such as pruning, fertilizing, and pest management, will keep your container garden in excellent shape and promote continuous growth and blooming.
So go ahead and apply your newfound knowledge and creativity to create stunning and personalized container gardens. Bring life and color to your patio, balcony, or any outdoor space you desire. Enjoy the beauty and satisfaction of nurturing your plants and watching them flourish.
Remember, gardening is a continuous learning process, and each success and failure provides an opportunity to improve. Embrace the joy and rewards of container gardening, and let your green thumb shine.