Home>Gardening Techniques>Plant Care>How To Fill Grow Bags For Vegetables
Plant Care
How To Fill Grow Bags For Vegetables
Modified: February 9, 2024
Learn the essential steps for filling grow bags for vegetables in this comprehensive guide. Get expert advice on plant care to ensure healthy and thriving crops.
(Many of the links in this article redirect to a specific reviewed product. Your purchase of these products through affiliate links helps to generate commission for Chicagolandgardening.com, at no extra cost. Learn more)
Table of Contents
Introduction
Welcome to the world of grow bags for vegetables! If you have limited space or want to grow your own vegetables without the hassle of traditional gardening, grow bags are an excellent option. This compact and versatile method of gardening is gaining popularity among plant enthusiasts. Whether you have a small balcony, patio, or backyard, you can create a thriving vegetable garden using grow bags.
Growing vegetables in grow bags offers several advantages. They are portable, making it easy to move them around to maximize sunlight exposure or protect plants from harsh weather conditions. Grow bags also provide excellent drainage, preventing over-watering and root rot. Moreover, they are a cost-effective alternative to large planters or raised beds.
In this article, we will walk you through the process of filling grow bags for vegetables. We will discuss important aspects such as choosing the right grow bags, selecting the ideal soil mix, preparing the grow bags for planting, filling them up, and planting your favorite vegetables. We will also provide tips on caring for your vegetables in grow bags, including watering, fertilizing, and managing pests.
Whether you are a beginner or an experienced gardener, this guide will equip you with the knowledge and tips you need to create a successful vegetable garden using grow bags. So, let’s get started on this exciting and rewarding gardening journey!
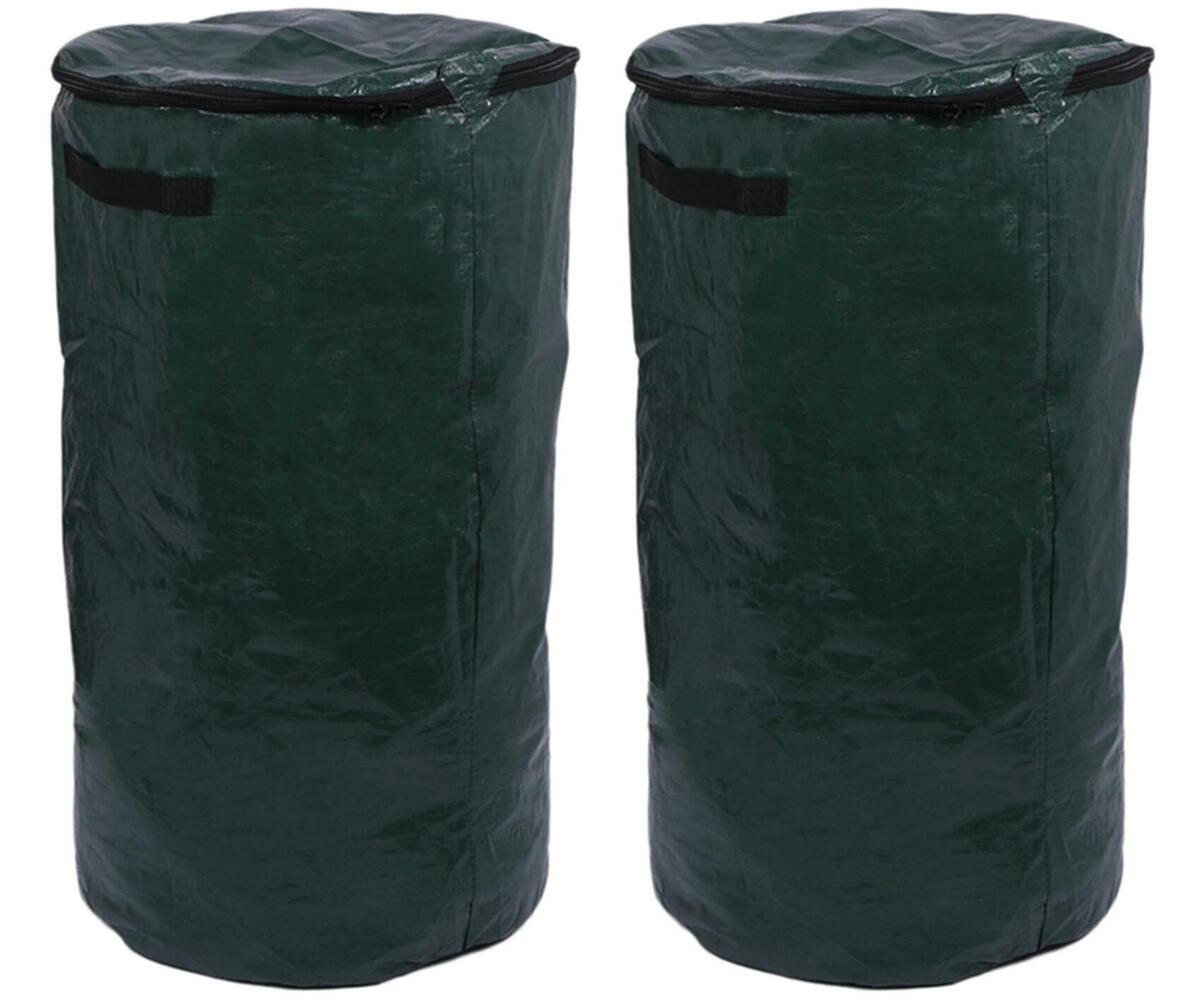
Choosing the Right Grow Bags
When it comes to choosing grow bags for your vegetable garden, there are a few key factors to consider. Here are some important points to keep in mind:
- Size: The size of the grow bag is crucial for the healthy growth of your vegetables. While smaller bags may be suitable for compact plants like herbs and lettuce, larger bags are needed for root vegetables or plants that require more space to grow. Consider the mature size of the vegetable plants you plan to grow and choose a bag that offers enough room for their root systems.
- Material: Grow bags come in various materials, including fabric, plastic, and even biodegradable options. Fabric bags are a popular choice among gardeners as they provide excellent drainage and air circulation, preventing over-watering and allowing roots to breathe. They are also reusable and eco-friendly. Plastic bags, on the other hand, are more affordable but may not have the same level of breathability. Choose a material that suits your gardening needs and preferences.
- Handles: Look for grow bags that have sturdy handles. These handles make it easier to move the bags around, especially if you need to adjust their position to maximize sunlight exposure or protect plants from extreme weather. Handles also come in handy when you need to lift the bags for maintenance tasks, such as pruning or harvesting.
- Durability: Consider the durability of the grow bags before making a purchase. You want bags that can withstand outdoor conditions and regular watering without tearing or disintegrating. Look for bags with reinforced stitching and high-quality materials that can last multiple growing seasons.
- Design: While the functionality of the grow bag is paramount, you can also consider the aesthetic aspect. Some grow bags come in attractive designs and colors, adding a touch of style to your garden. However, remember that the primary focus should be on the performance and functionality of the bag.
By considering these factors, you can choose the right grow bags that will provide your vegetable plants with the ideal environment to thrive. Next, we will discuss the importance of selecting the ideal soil mix for your grow bags.
Selecting the Ideal Soil Mix
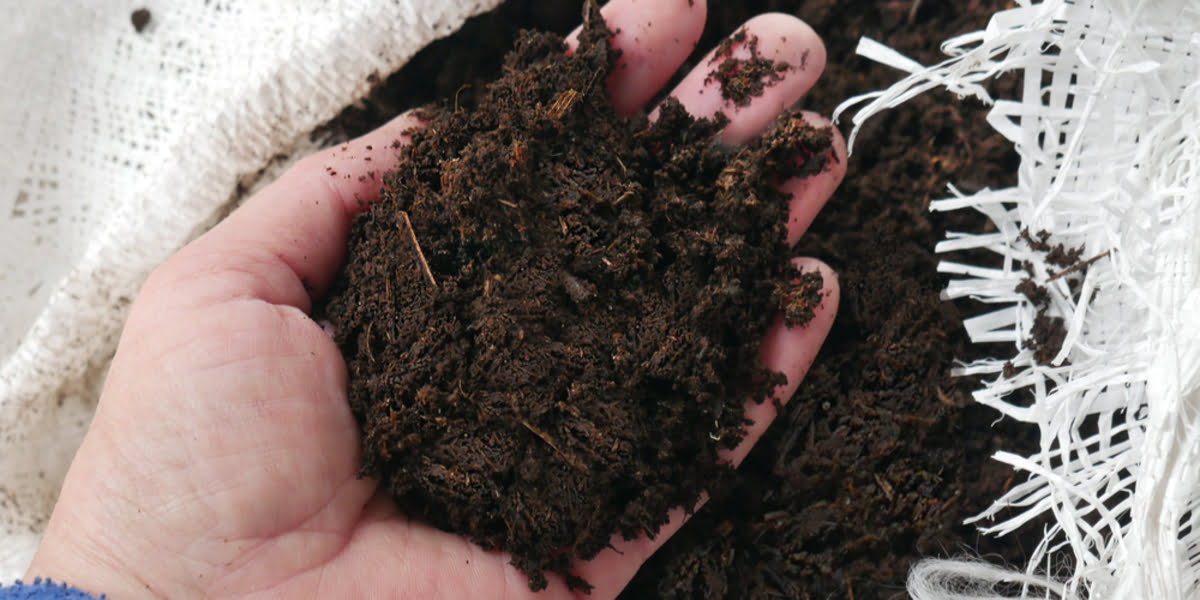
Choosing the right soil mix is essential for the success of your vegetable garden in grow bags. The soil mix should provide the necessary nutrients, offer good drainage, and promote healthy root growth. Here are some guidelines to help you select the ideal soil mix:
- Loose and Well-Draining: The soil mix should be loose and well-draining to prevent waterlogging and root rot. Avoid compacted soils, as they hinder root development and can lead to poor plant growth. Look for soil mixes that are light, fluffy, and crumbly.
- Rich in Organic Matter: Organic matter, such as compost, adds nutrients and improves the soil’s structure. It enhances water retention while allowing excess moisture to drain away. Look for soil mixes that contain a good amount of organic matter or consider adding your own compost to the mix.
- Adequate Nutrients: Vegetables require a balanced blend of nutrients to grow healthy and produce abundant yields. Look for soil mixes that are enriched with organic fertilizers or slow-release fertilizers. Alternatively, you can add organic fertilizers, such as composted manure or seaweed meal, to the soil mix to provide essential nutrients.
- pH Level: The pH level of the soil affects nutrient availability to plants. Most vegetables prefer slightly acidic to neutral soil (pH 6.0 to 7.0). Test the pH of your soil mix and adjust it if necessary using organic amendments like lime or sulfur.
- Sterile: It is important to choose a soil mix that is free from pests, diseases, and weed seeds. This will help prevent any potential issues that can affect the health of your vegetable plants.
While you can opt for pre-made soil mixes specifically formulated for container gardening or vegetables, you can also create your own mix. A popular recipe for a DIY soil mix is equal parts of garden soil, compost, and a material like perlite or vermiculite to enhance drainage.
Remember to moisten the soil mix before filling it into the grow bags, as dry soil can be challenging to wet evenly after filling. Once you have chosen the right soil mix, you are ready to prepare the grow bags for planting, which we will discuss in the next section.
Preparing Grow Bags for Planting
Before you start filling your grow bags with soil, it is essential to prepare them properly. Preparing the grow bags ensures optimal growing conditions for your vegetable plants and helps prevent any issues that may arise later. Here are some steps to follow when preparing grow bags for planting:
- Clean the Grow Bags: If you are reusing grow bags from previous seasons, make sure to clean them thoroughly. Remove any remaining soil or debris and wash the bags with mild soap and water. Rinse them well and allow them to air dry completely before use. This helps prevent the buildup of pathogens and diseases that can affect plant health.
- Inspect for Damage: Check the grow bags for any signs of wear and tear. Look for holes, tears, or weak spots in the material. If you find any damage, it is best to replace the grow bags to ensure they can hold the soil without leaks or instability.
- Create Drainage Holes: While most grow bags come with pre-made drainage holes, you may need to create additional holes if necessary. Adequate drainage is crucial to prevent waterlogging and root rot. Use a sharp tool, such as a knife or scissors, to create drainage holes at the bottom of the grow bags. Ensure the holes are evenly spaced and large enough to allow excess water to flow out.
- Elevate the Grow Bags: To improve drainage and prevent the grow bags from sitting in water, it is advisable to elevate them slightly off the ground. This can be done by placing them on a wooden pallet, bricks, or any other sturdy platform. Elevating the grow bags also makes it easier to access the plants and allows air circulation around the bags.
- Position the Grow Bags: Choose the ideal location for your grow bags based on the sunlight requirements of the vegetable plants you plan to grow. Most vegetables require at least 6 hours of direct sunlight per day. Ensure the grow bags are placed in a spot that receives adequate sunlight and is sheltered from strong winds, if possible.
By following these preparation steps, you are ready to start filling the grow bags with the ideal soil mix. The next section will discuss the process of filling the grow bags and getting them ready for planting.
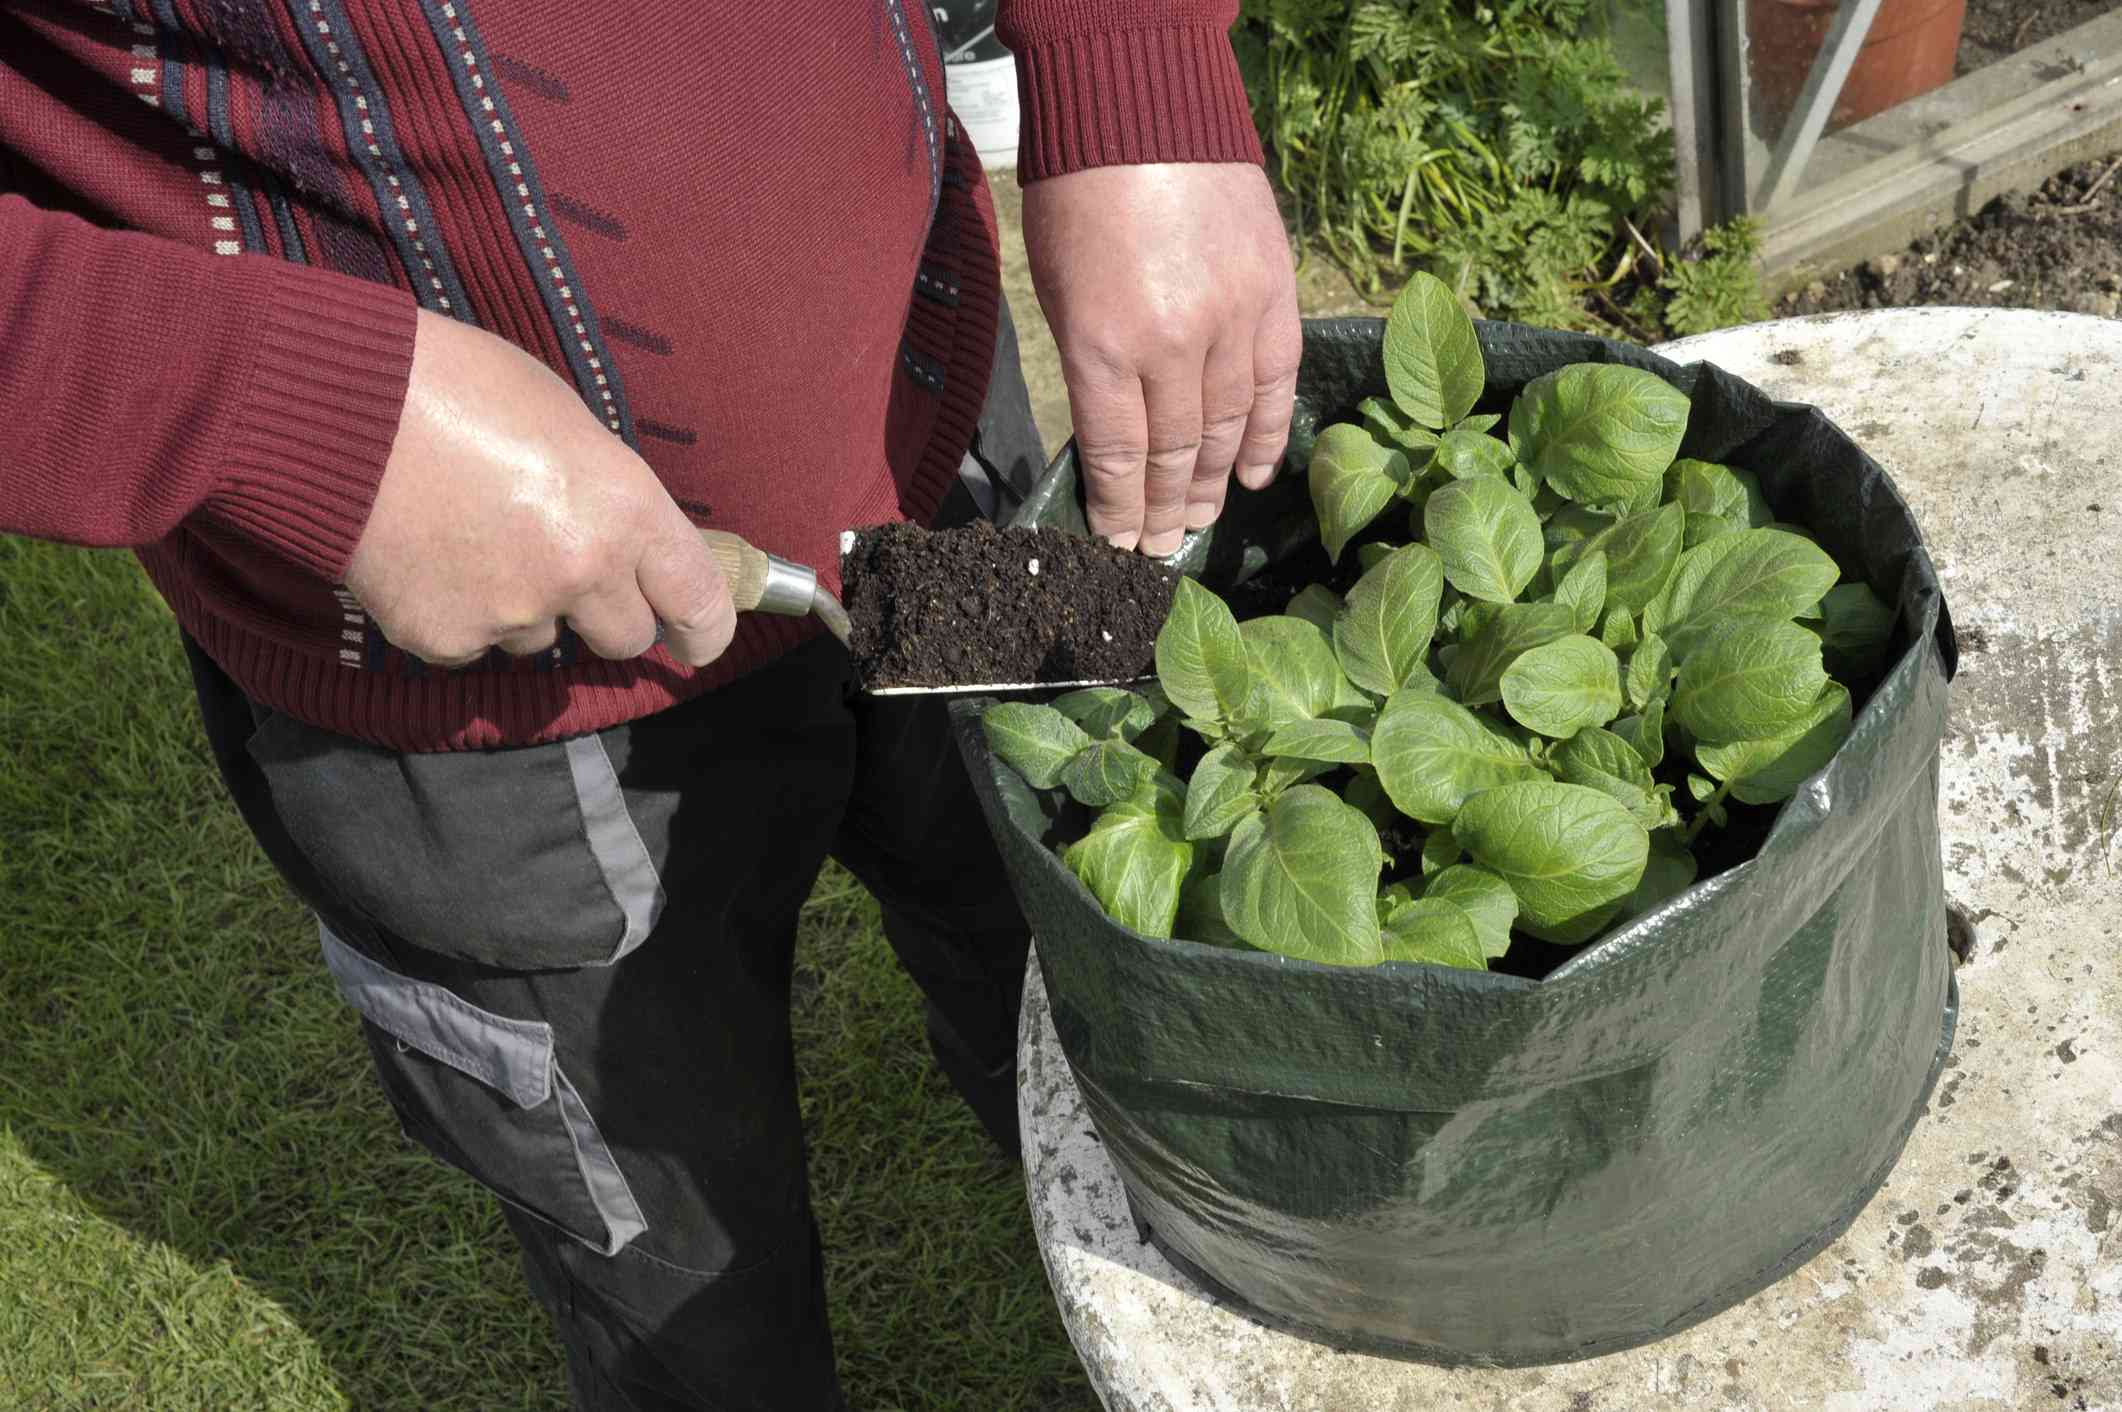
Filling the Grow Bags
Now that you have prepared your grow bags, it’s time to fill them with the appropriate growing medium. Properly filling the grow bags ensures that your vegetable plants have a healthy environment to grow and thrive. Follow these steps to fill your grow bags:
- Moisten the Soil Mix: Before filling the grow bags, it is important to moisten the soil mix. This helps ensure even distribution of moisture throughout the soil and prevents dry pockets. Use a watering can or sprayer to lightly moisten the soil mix until it reaches a moist, but not waterlogged, consistency.
- Start Filling at the Bottom: Begin by filling the grow bags with soil mix from the bottom. Add a layer of soil mix, about a few inches deep, and gently press it down to create a firm base. This provides stability for the plants and prevents the grow bag from toppling over.
- Fill the Rest of the Grow Bag: Continue filling the grow bag with the soil mix, gradually layering it up to the desired level. Leave about an inch of space from the top of the grow bag to allow for watering and prevent overflow. Gently tamp down the soil after each layer to ensure it is level and compacted, but not overly compacted.
- Level the Soil Surface: Once the grow bag is filled to the desired level, use a gardening trowel or your hands to level the soil surface. This provides an even planting area and prevents water from pooling in certain spots.
- Water the Soil: After filling the grow bags, thoroughly water the soil to ensure it is adequately moist. Water until you see water draining out of the drainage holes at the bottom of the grow bags. This ensures that the soil is evenly hydrated and ready for planting.
As you fill the grow bags, ensure that the soil is evenly distributed and there are no empty gaps. This helps promote uniform root growth and prevents uneven drying of the soil. Avoid compacting the soil too much, as it can hinder root development and plant growth.
Now that your grow bags are filled with the appropriate soil mix, it’s time to move on to the exciting part – planting your favorite vegetables! The next section will guide you through the process of planting vegetables in grow bags.
Planting Vegetables in Grow Bags
Planting vegetables in grow bags is an enjoyable and rewarding process. Follow these steps to ensure successful planting and healthy growth of your vegetable plants:
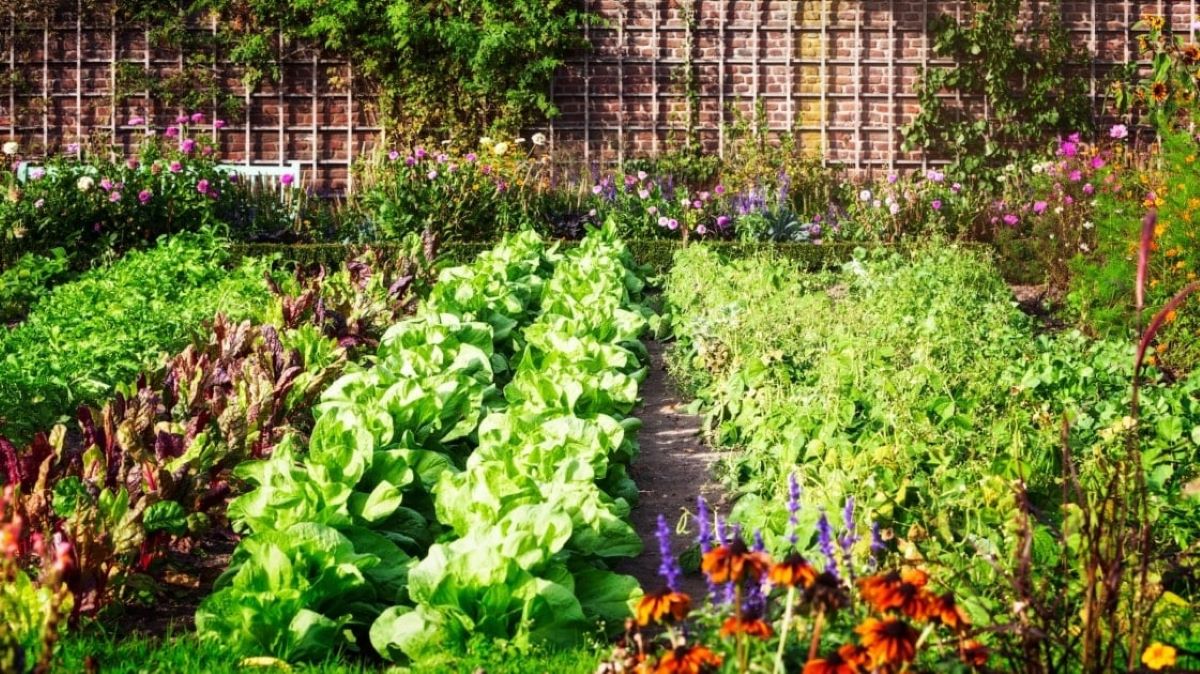
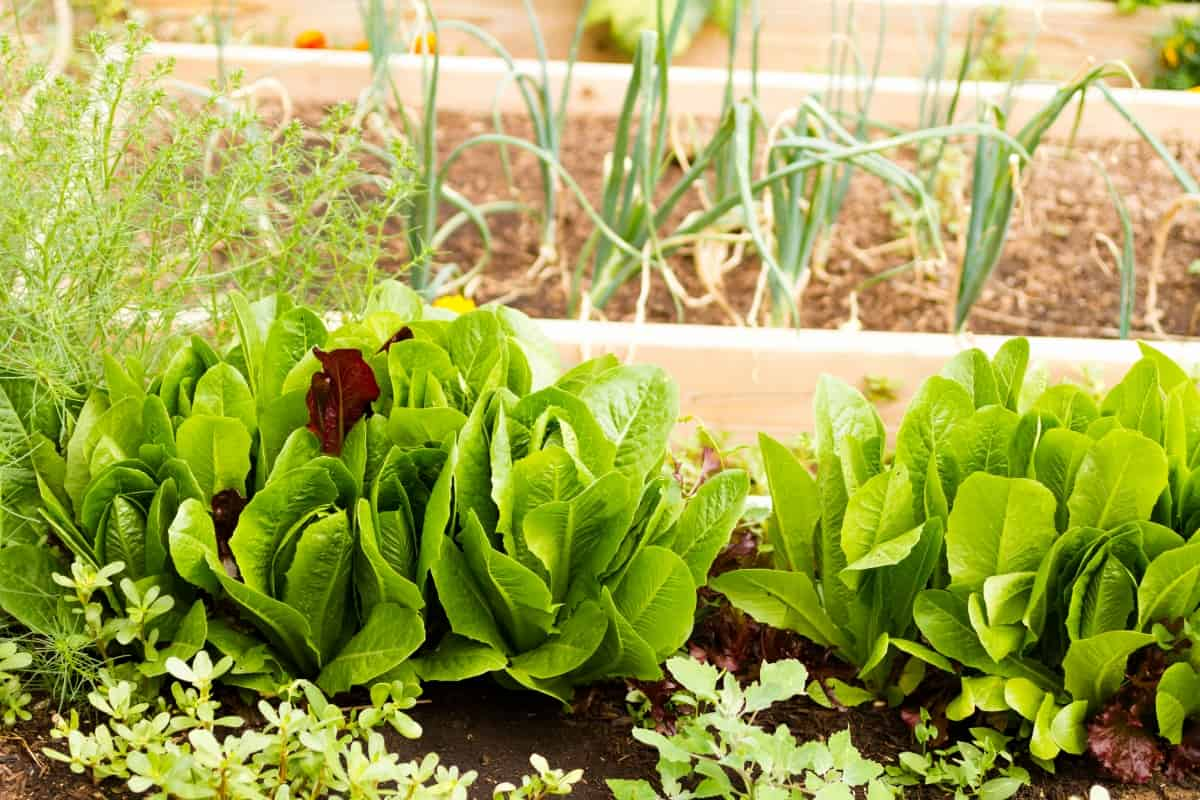
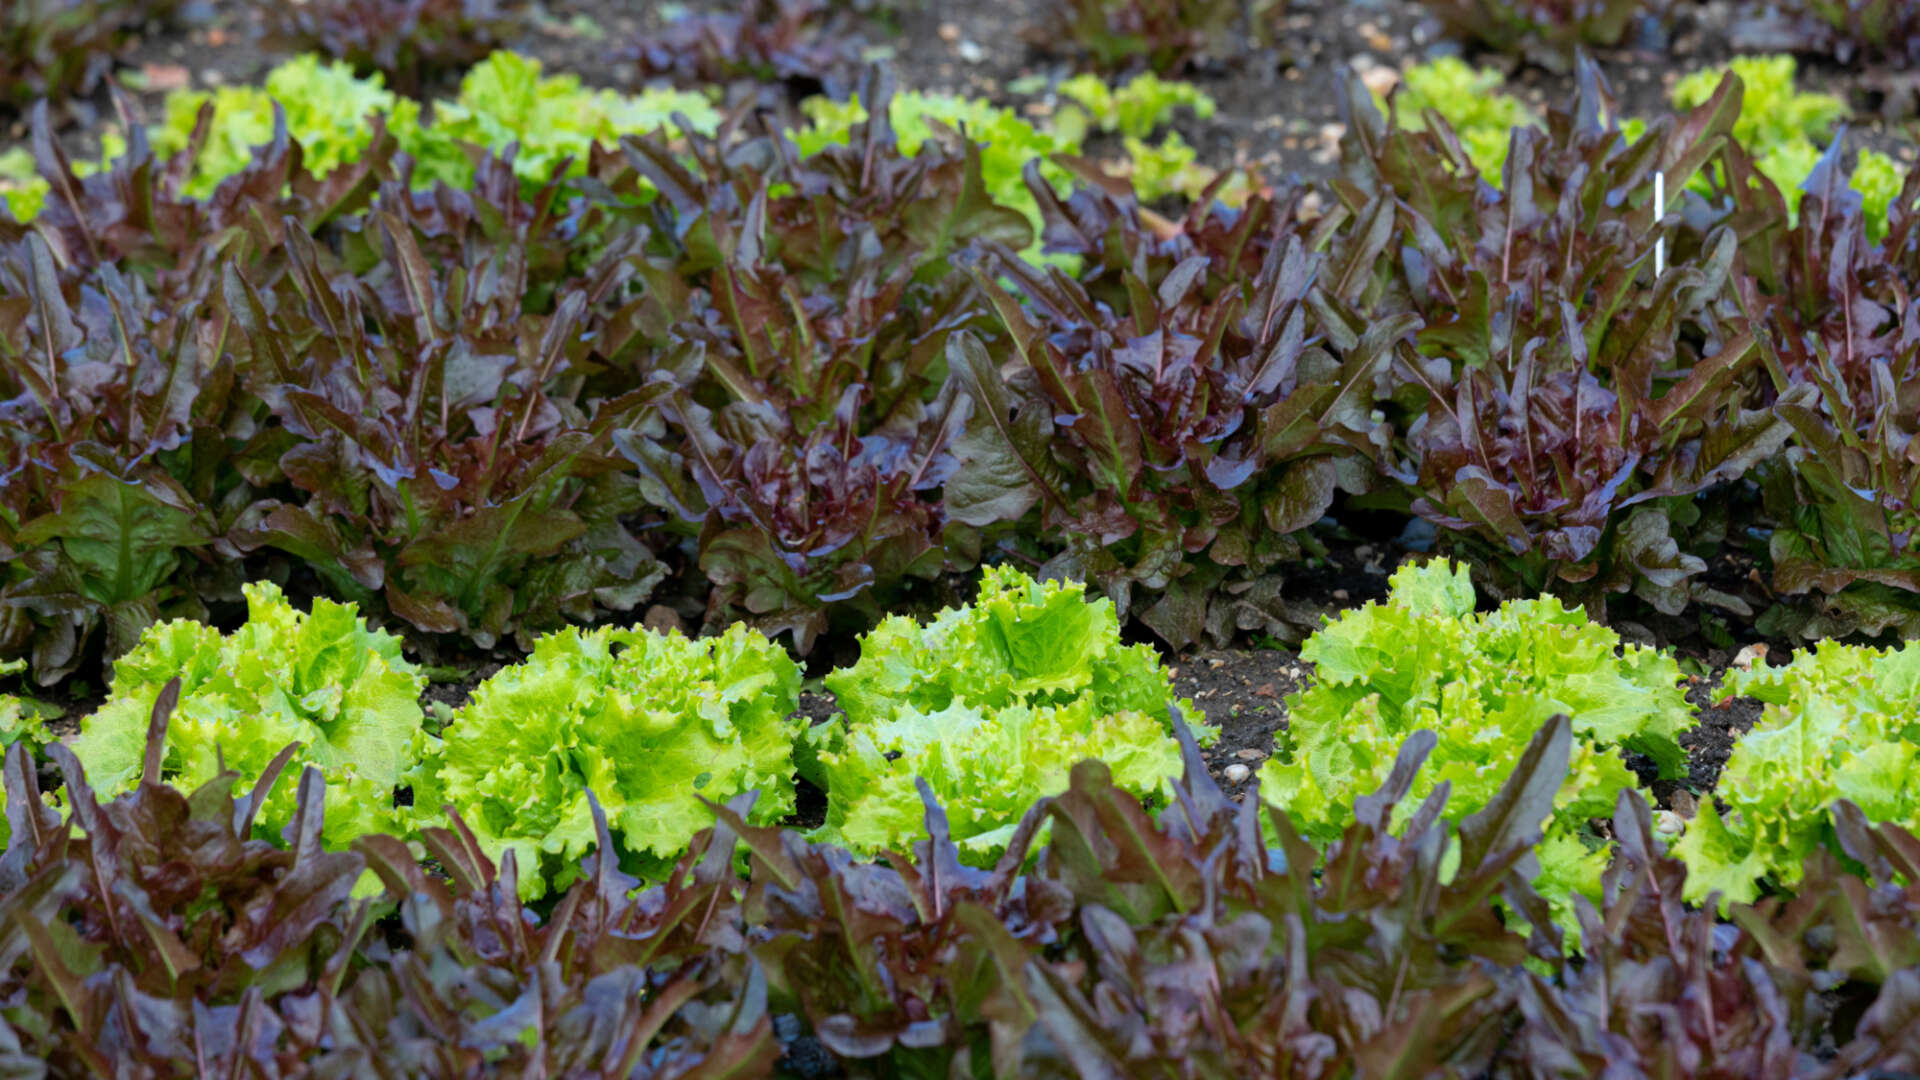
- Select Suitable Varieties: Choose vegetable varieties that are well suited for container gardening and grow bag cultivation. Look for compact or bushy varieties that do not require extensive root systems or large amounts of space. Consider the mature size of the plants and ensure they will have adequate room to grow in the grow bags.
- Plan the Layout: Before planting, plan the layout of your grow bags. Arrange the vegetables based on their size and growth habits, placing taller plants towards the back and shorter ones towards the front for better light exposure. Take into account the spacing requirements of each vegetable and leave enough room for plants to grow without overcrowding.
- Make Planting Holes: Create planting holes in the soil mix, using your fingers or a hand trowel. The size of the holes should be slightly larger than the rootballs of the vegetable plants. Space the holes evenly, maintaining the recommended spacing for each specific vegetable variety.
- Plant the Vegetables: Gently remove the vegetable plants from their nursery containers, being careful not to damage the roots. Place each plant into a planting hole and backfill with soil mix, ensuring that the plants are at the same level as they were in their original containers. Lightly firm the soil around the plants to provide stability.
- Water the Plants: After planting the vegetables, give them a thorough watering to settle the soil around the roots and remove any air pockets. Water until you see excess water draining out of the bottom of the grow bags. Ensure that the plants are well-hydrated but avoid overwatering, as it can lead to waterlogged soil.
- Label Your Plants: It is helpful to label your plants to keep track of what is growing in each grow bag. Use plant markers or small tags to label the vegetable varieties. This way, you can easily identify and care for each plant accordingly.
Once your vegetables are planted in the grow bags, it’s time to provide them with the care they need to thrive. The next section will cover essential tips for caring for your vegetables in grow bags, including watering, fertilizing, and managing pests.
Caring for Vegetables in Grow Bags
Caring for your vegetables in grow bags is vital to ensure their healthy growth and abundant harvest. Here are some essential tips for caring for your vegetable plants:
- Watering: Monitor the moisture levels in the soil and water your plants regularly. While frequency will depend on factors such as plant type, weather conditions, and soil drainage, aim to keep the soil moist but not waterlogged. Water deeply until you see water draining out of the bottom of the grow bags, ensuring the roots are adequately hydrated.
- Fertilizing: Since grow bags have limited soil volume, it is important to provide regular nourishment to your vegetable plants. Use a balanced organic fertilizer formulated for vegetables, following the package instructions for application rates and frequency. Alternatively, you can feed your plants with compost tea or organic liquid fertilizers to provide essential nutrients.
- Managing Pests: Keep an eye out for common pests that can affect vegetable plants, such as aphids, caterpillars, and snails. Regularly inspect your plants for signs of infestations, and take appropriate measures to control pests, such as using organic pest control methods or introducing beneficial insects like ladybugs.
- Support for Climbing Plants: If you are growing climbing vegetables like tomatoes or cucumbers, provide support for them to climb. Use stakes, trellises, or cages to support the plants and prevent them from sprawling. This helps save space in the grow bags and promotes better airflow around the plants.
- Pruning: Regularly prune your vegetable plants to remove yellowing leaves, suckers, or diseased parts. Pruning helps improve airflow, reduces the risk of fungal diseases, and directs the plant’s energy towards producing healthy foliage and bountiful harvests.
- Monitor and Adjust: Regularly observe your vegetable plants for any signs of nutrient deficiencies, diseases, or stress. Adjust your care routine as needed, such as providing additional fertilizer, addressing pest issues promptly, or adjusting watering frequency based on the plant’s needs.
Remember to also keep an eye on environmental factors such as sunlight exposure and temperature. Ensure your vegetables are getting the right amount of sunlight and protect them from extreme weather conditions when necessary.
By providing proper care and attention, your vegetable plants in grow bags will thrive and reward you with a bountiful harvest. The next section will cover harvesting your vegetables and maintaining the grow bags for future use.
Harvesting and Maintaining Grow Bags
Once your vegetable plants in grow bags have reached maturity, it’s time to enjoy the fruits of your labor. Here are some tips for harvesting your vegetables and maintaining the grow bags:
- Harvesting: Harvest your vegetables when they are at their peak ripeness. Refer to the specific vegetable varieties for guidance on when to harvest. Use clean garden shears or scissors to cut the vegetables from the plants, taking care not to damage the surrounding foliage.
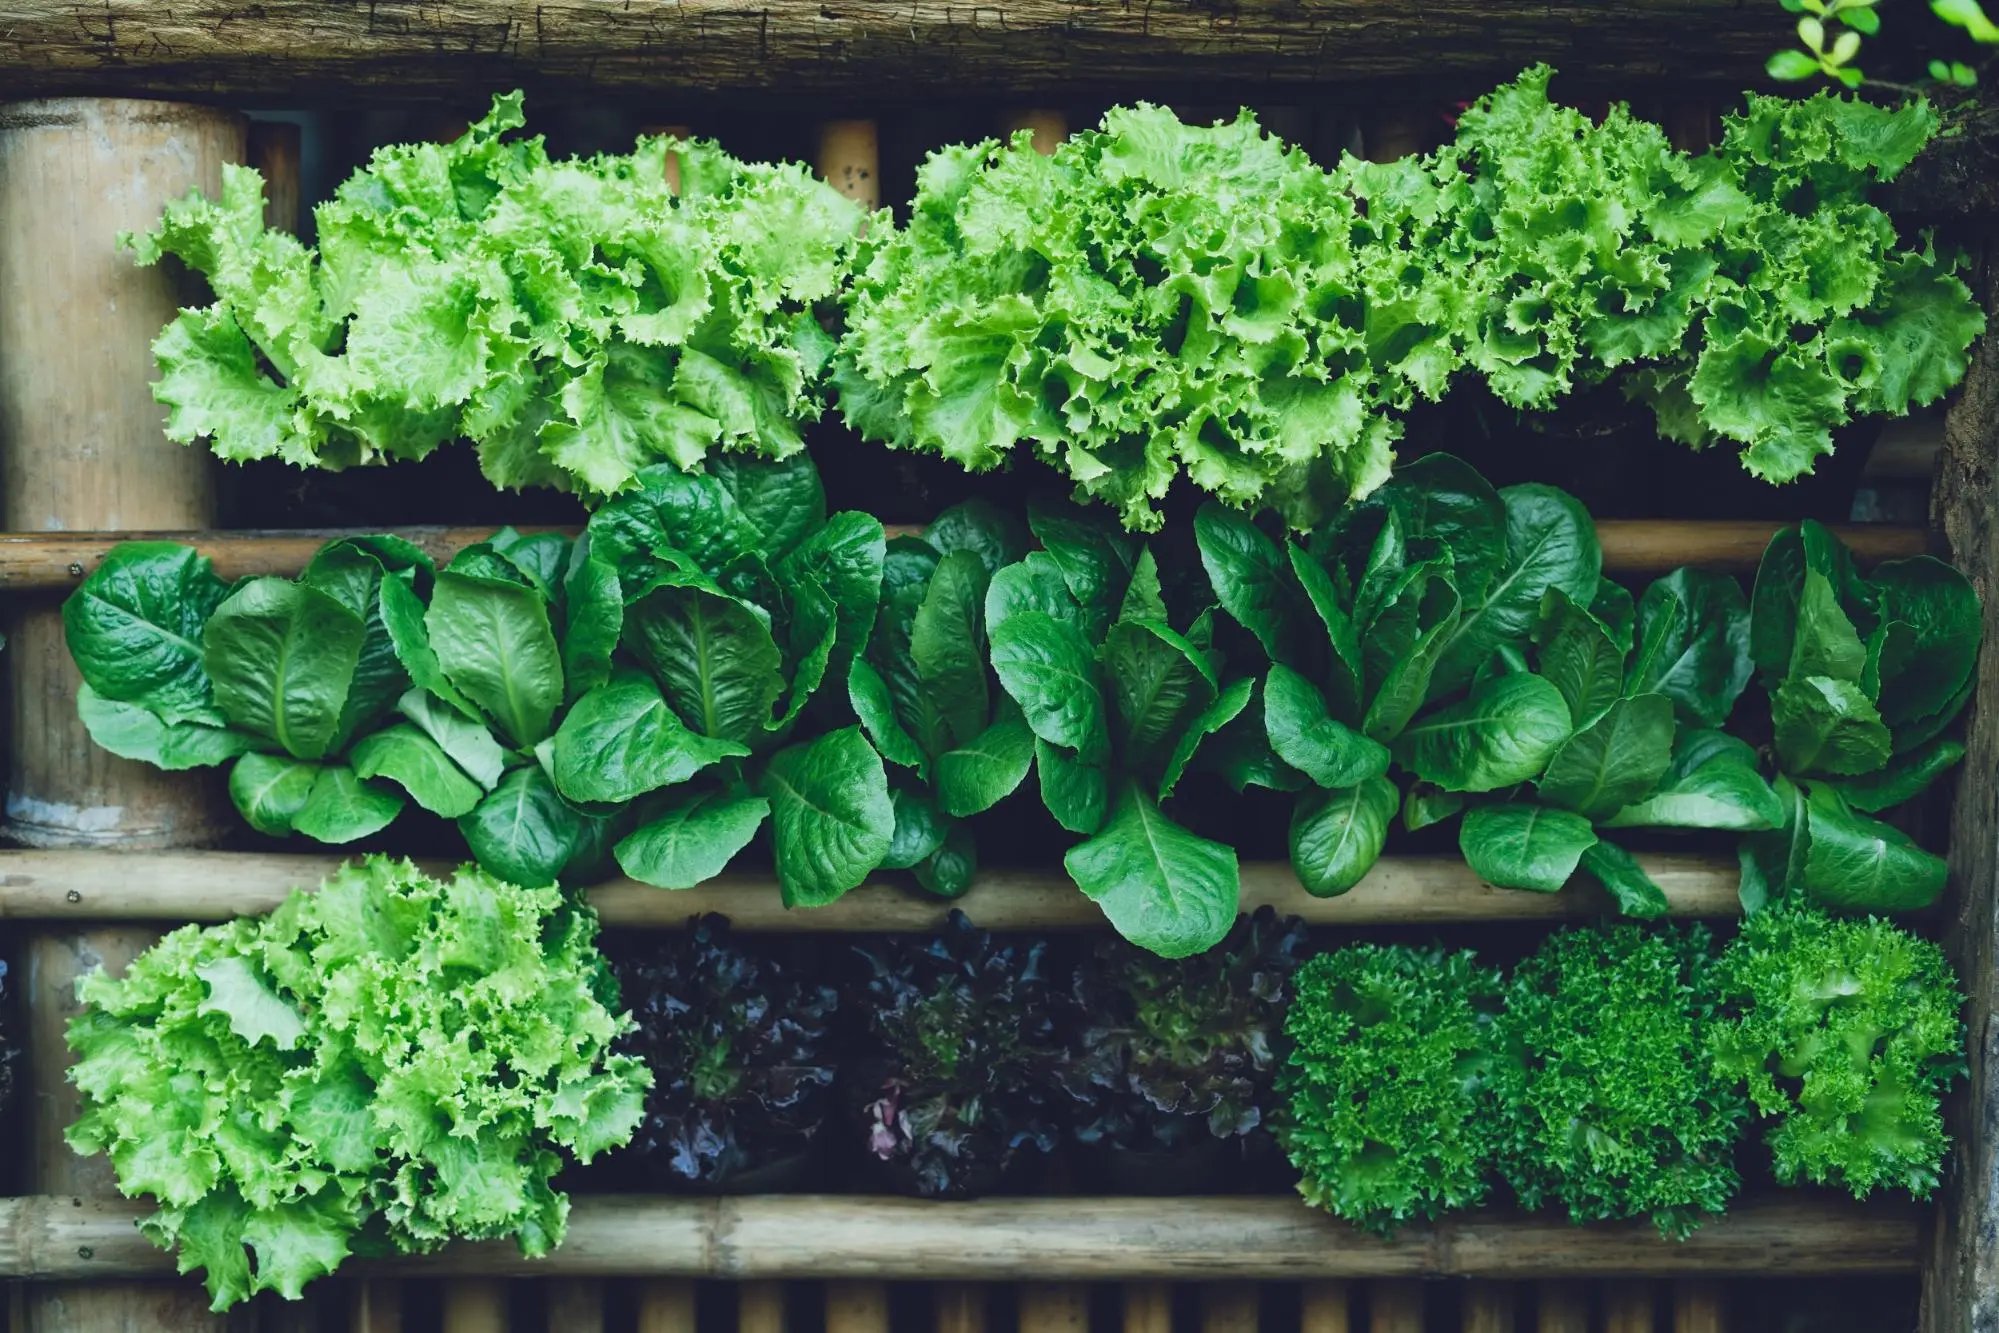
- Continuous Harvesting: Some vegetables, such as lettuce and herbs, allow for continuous harvesting. Harvest outer leaves or sprigs as needed, leaving the inner portion of the plant to grow. This promotes continual growth and ensures a constant supply of fresh produce throughout the growing season.
- Regular Maintenance: Keep the grow bags clean by removing any fallen leaves or debris. Regularly check for any signs of pests, diseases, or nutrient deficiencies. Address any issues promptly to maintain the health of your vegetable plants.
- Refilling Soil: Over time, the soil in the grow bags may settle or deplete in nutrients. Top-dress the bags with fresh compost or organic matter, and gently work it into the top few inches of soil. This replenishes the nutrients and improves the overall soil quality for future planting.
- Crop Rotation: To prevent soil depletion and reduce the risk of pests and diseases, practice crop rotation in your grow bags. Rotate the types of vegetables grown in each bag each season, ensuring that the same plant family is not grown in the same spot for at least two growing seasons.
- Storage: When not in use, store your grow bags in a cool, dry place to prevent mold or mildew growth. Ensure the bags are clean and completely dry before storing to avoid any damage or odor accumulation.
By following these tips, you can have a successful harvest and keep your grow bags in good condition for future use. Remember to continuously learn and experiment with different vegetables and techniques to improve your gardening skills and enjoy a variety of tasty homegrown produce.
Now that you have the knowledge and tips to fill, care for, and maintain grow bags for your vegetable garden, it’s time to get started! Enjoy the process of growing your own vegetables and the satisfaction of knowing that you played a role in providing fresh, healthy food for yourself and your loved ones.
Conclusion
Cultivating a vegetable garden in grow bags is a convenient and rewarding way to grow your own fresh produce, even in limited spaces. By choosing the right grow bags, selecting an ideal soil mix, preparing the grow bags properly, filling them with care, and planting your favorite vegetables, you have set the foundation for a successful garden. Caring for your vegetable plants in grow bags by providing proper watering, fertilizing, and pest management ensures their healthy growth and abundant harvest.
Harvesting your vegetables at their peak ripeness and maintaining the grow bags by regularly cleaning, replenishing the soil, and practicing crop rotation allows you to enjoy a continuous supply of homegrown goodness. The portability of grow bags also offers flexibility in optimizing sunlight exposure and protecting your plants from harsh weather conditions.
Whether you are a beginner or an experienced gardener, growing vegetables in grow bags opens up a world of possibilities. You can experiment with various vegetable varieties, explore different planting layouts, and continuously refine your gardening skills. The joy of watching your vegetable plants flourish and tasting the delicious rewards of your efforts is immensely satisfying.
So, embark on this exciting gardening journey, and let your green thumbs work their magic in grow bags. Get creative, learn from your experiences, and reap the bountiful harvests that result from your care and dedication. Nothing beats the satisfaction of harvesting and enjoying your own homegrown vegetables while nurturing a deeper connection with nature and the food you consume.
Happy gardening!