Home>Types of Gardening>Edible Gardening>How To Grow Vegetables From Seeds
Edible Gardening
How To Grow Vegetables From Seeds
Modified: January 22, 2024
Learn the art of growing vegetables from seeds with our comprehensive guide on edible gardening. Start your own delicious and sustainable garden today!
(Many of the links in this article redirect to a specific reviewed product. Your purchase of these products through affiliate links helps to generate commission for Chicagolandgardening.com, at no extra cost. Learn more)
Table of Contents
Introduction
Welcome to the wonderful world of edible gardening! Growing vegetables from seeds is not only a rewarding experience but also a great way to provide fresh and nutritious food for yourself and your family. Whether you have a spacious backyard or a small balcony, you can transform any space into a thriving vegetable garden.
When you grow vegetables from seeds, you have the advantage of choosing from a wide variety of crops and enjoying the satisfaction of nurturing them from the very beginning. It allows you to experiment with different plant varieties, flavors, and colors that you might not find at your local grocery store.
Not only does growing vegetables from seeds provide you with a sense of accomplishment, but it also allows you to have full control over the quality of the produce. You can ensure that no harmful chemicals or pesticides have been used, giving you peace of mind and the joy of consuming healthy, organic vegetables.
Whether you are a beginner or an experienced gardener, this guide will take you step by step through the process of growing vegetables from seeds. From selecting the right seeds to harvesting the delicious fruits of your labor, you’ll gain the knowledge and confidence to kickstart your own edible garden.
So, put on your gardening gloves, grab your seeds, and let’s get started on this exciting journey of growing vegetables from seeds!
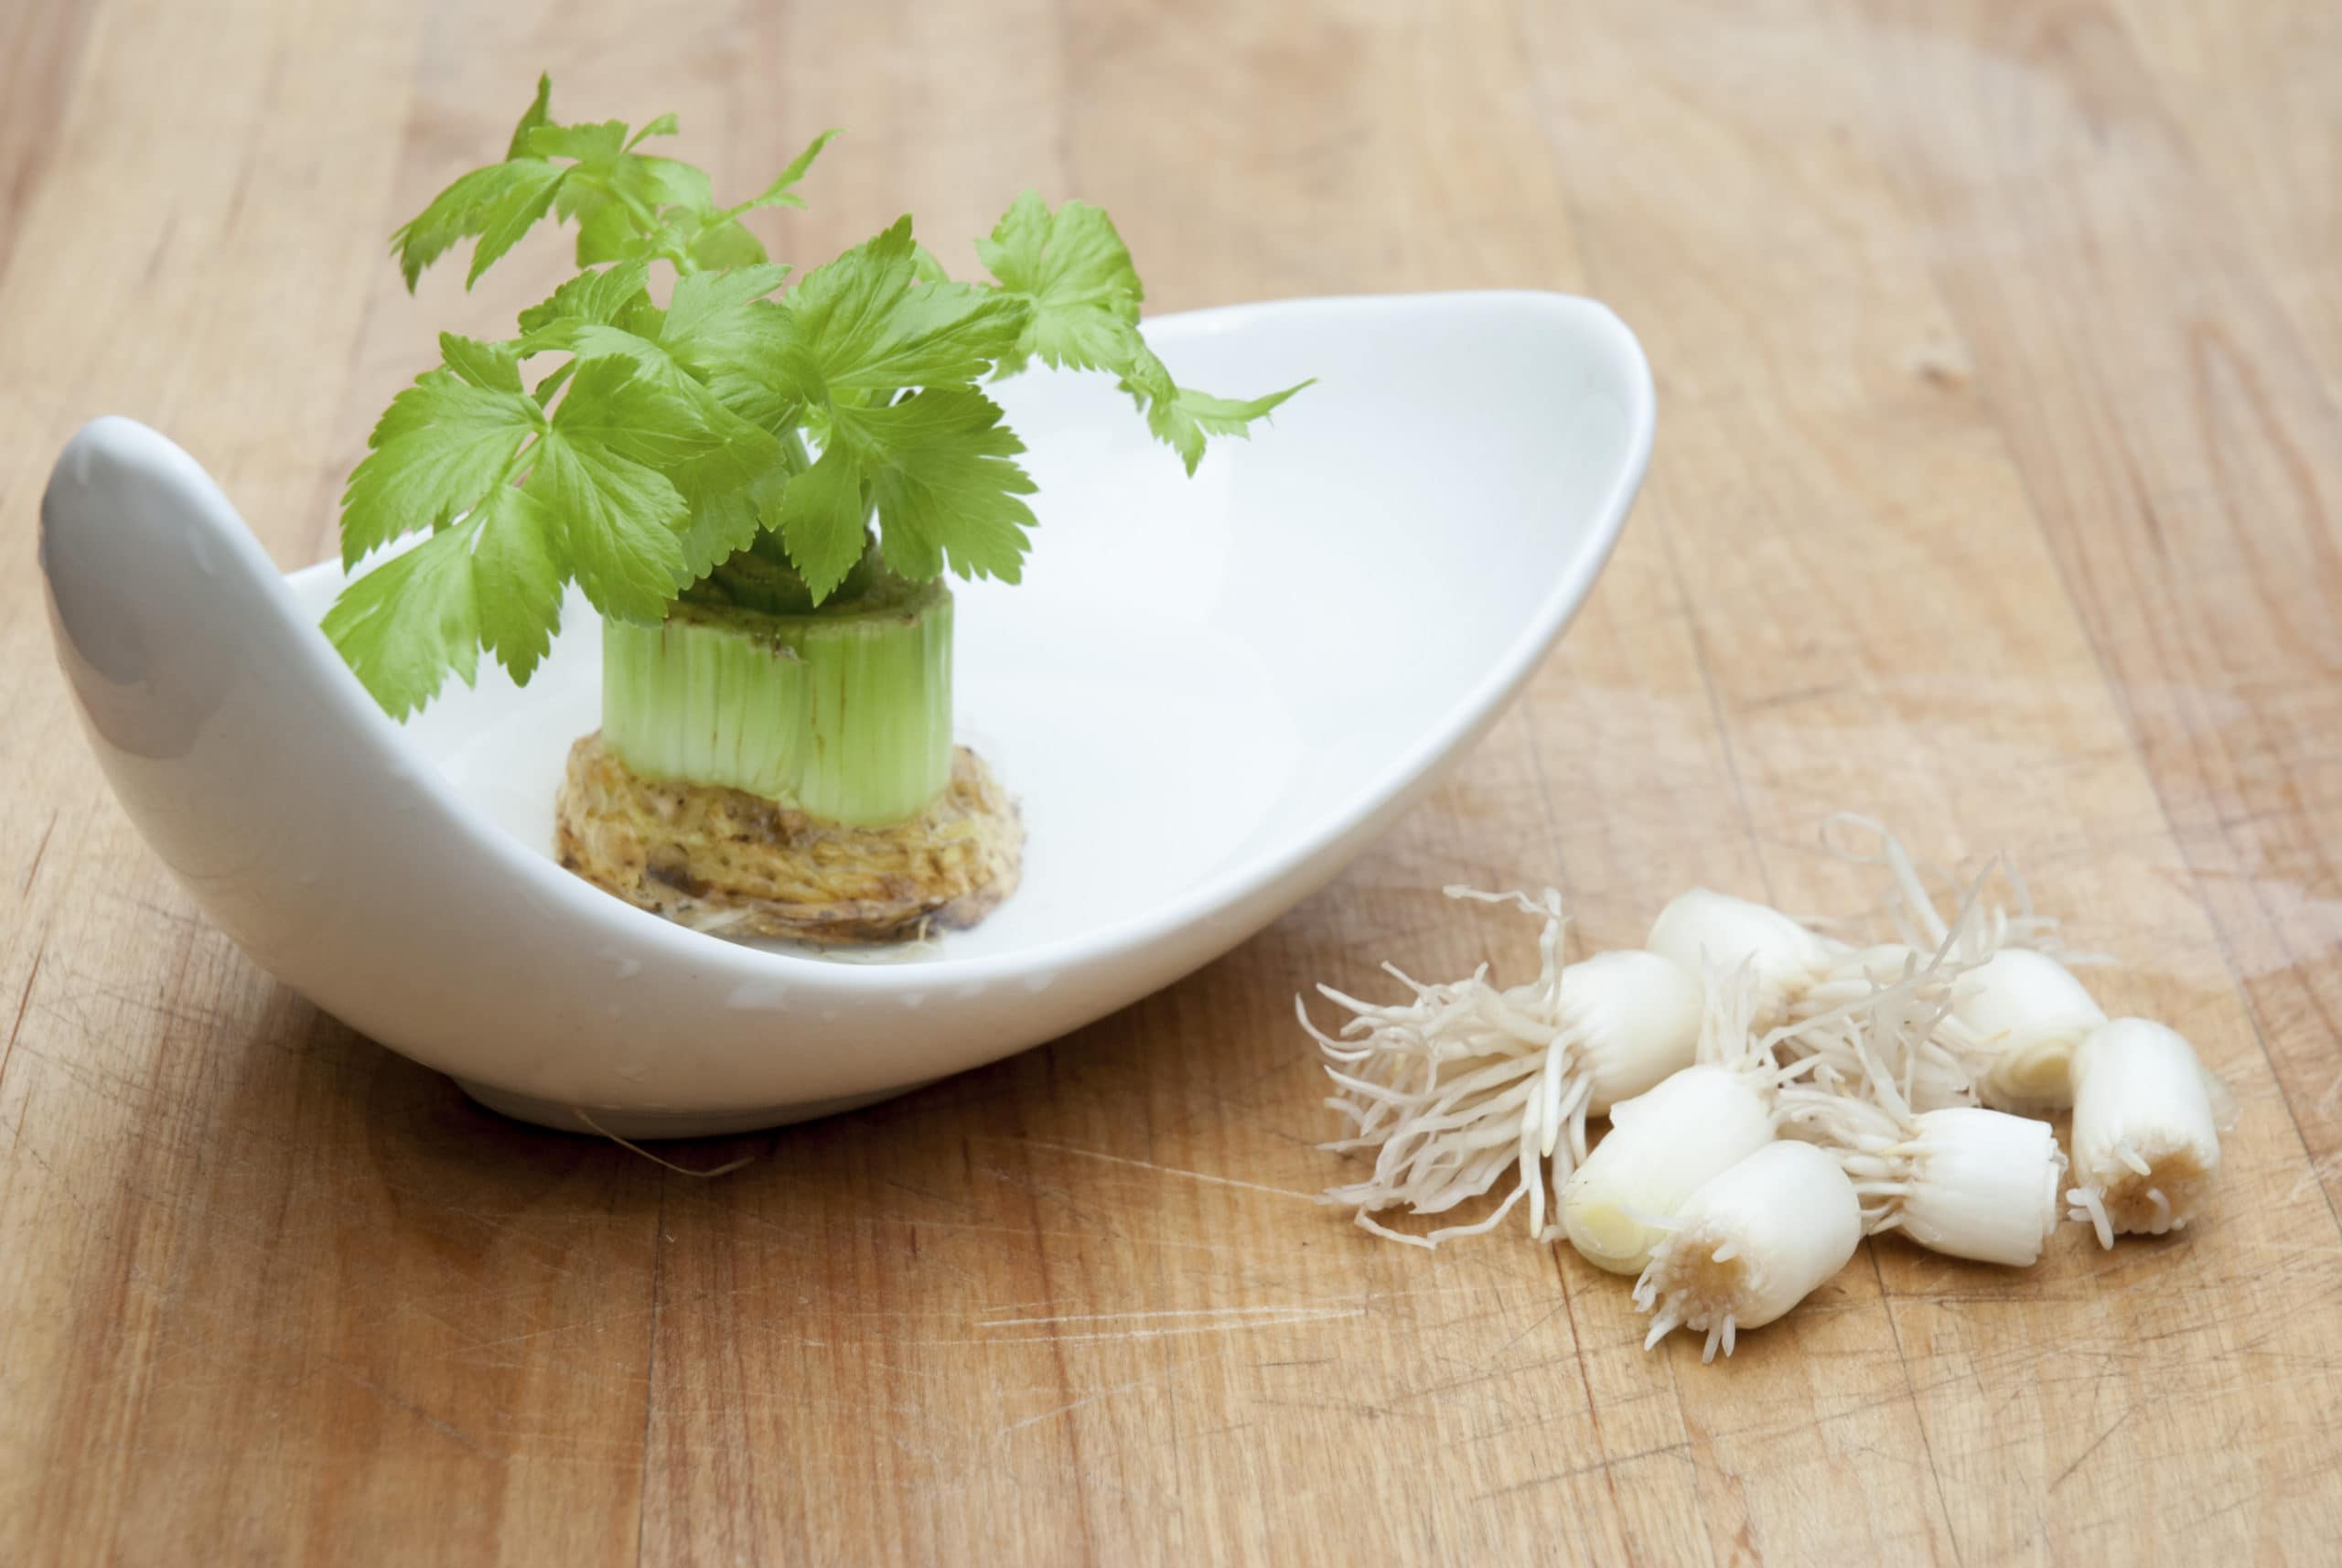
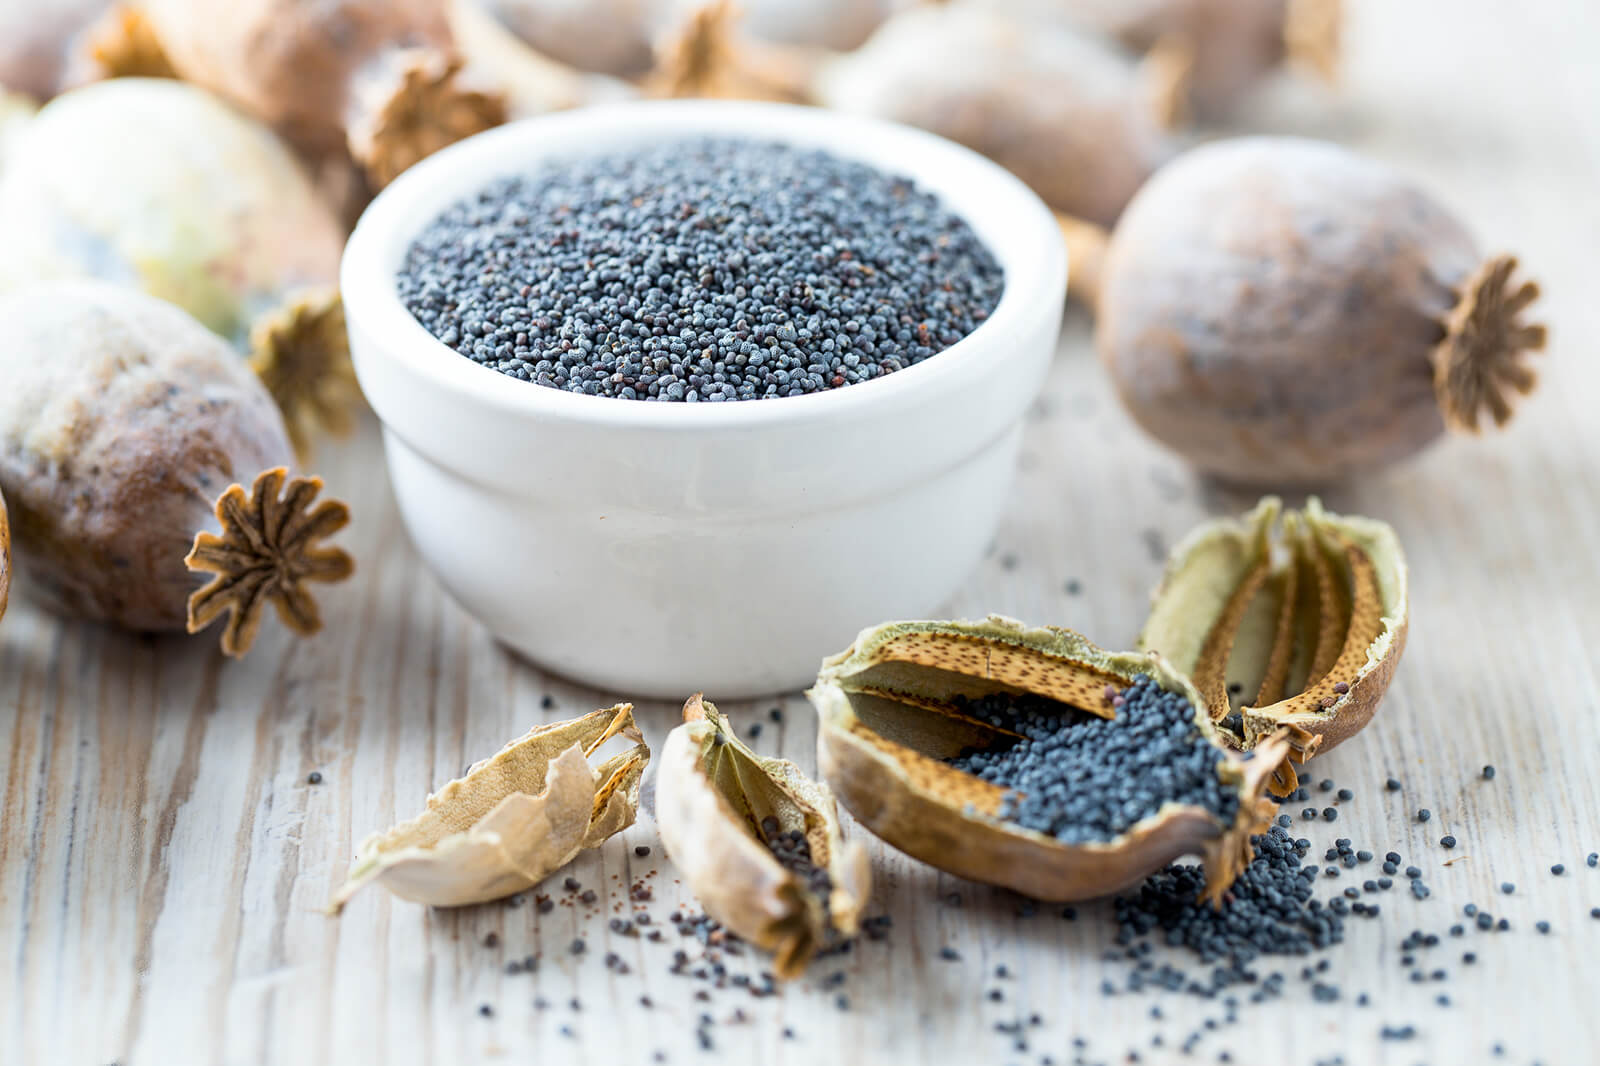
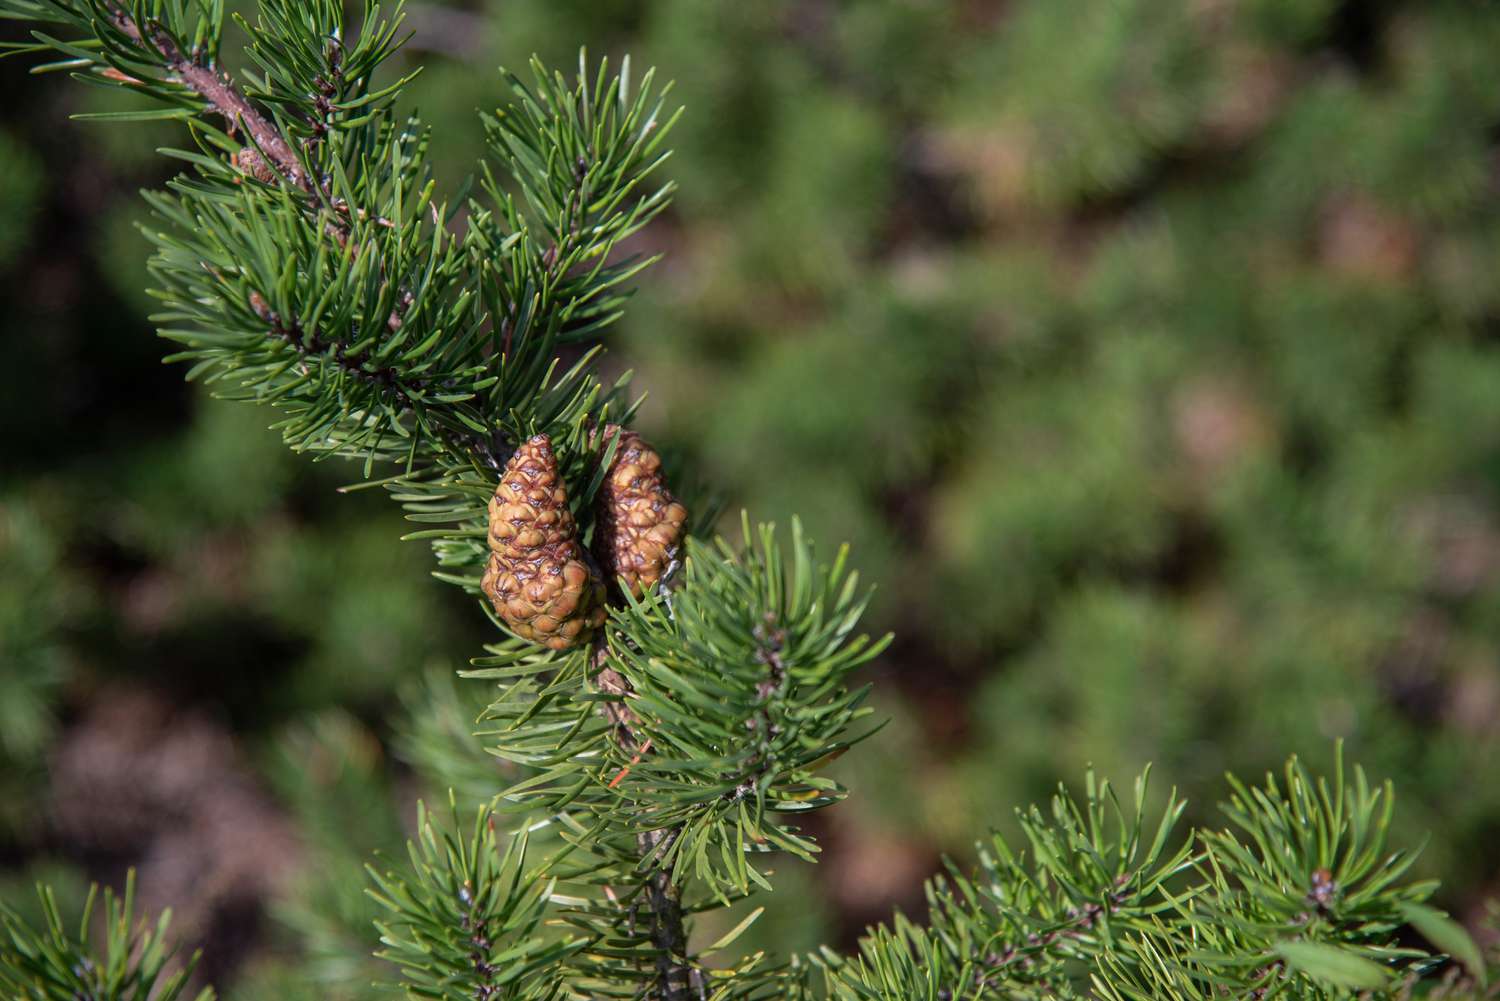
Selecting Seeds
Selecting the right seeds is crucial for a successful edible garden. When choosing seeds, there are a few factors to consider to ensure that your plants thrive and yield a bountiful harvest.
1. Suitability to your climate: Different plants have specific temperature and climate requirements. Before purchasing seeds, research which vegetables are best suited to your local climate and growing season. Some plants thrive in cool weather, while others prefer warmer climates.
2. Varieties: Consider the different varieties available for each vegetable. Look for disease-resistant varieties or ones that are known for their flavor and productivity. Different varieties may have specific characteristics and adaptability to different growing conditions.
3. Organic and Non-GMO: If you prefer to grow your vegetables organically, look for seeds that are certified as organic. Non-GMO seeds ensure that your plants will not be genetically modified.
4. Seed Quality: Choose seeds from reputable suppliers to ensure good germination rates. Check for the seed’s expiry date and any information about the source of the seeds.
5. Heirloom vs. Hybrid: Heirloom seeds are open-pollinated and have been passed down for generations. They are known for their unique flavors and characteristics. Hybrid seeds are a cross between two different varieties and often offer improved disease resistance or higher yields.
6. Consider your space: If you have limited space, look for compact or dwarf varieties that are suitable for container gardening or small gardens.
Remember, each vegetable has its own requirements, so take the time to research and choose seeds that align with your gardening goals and preferences. Once you’ve selected the perfect seeds, it’s time to prepare the soil and get ready for sowing!
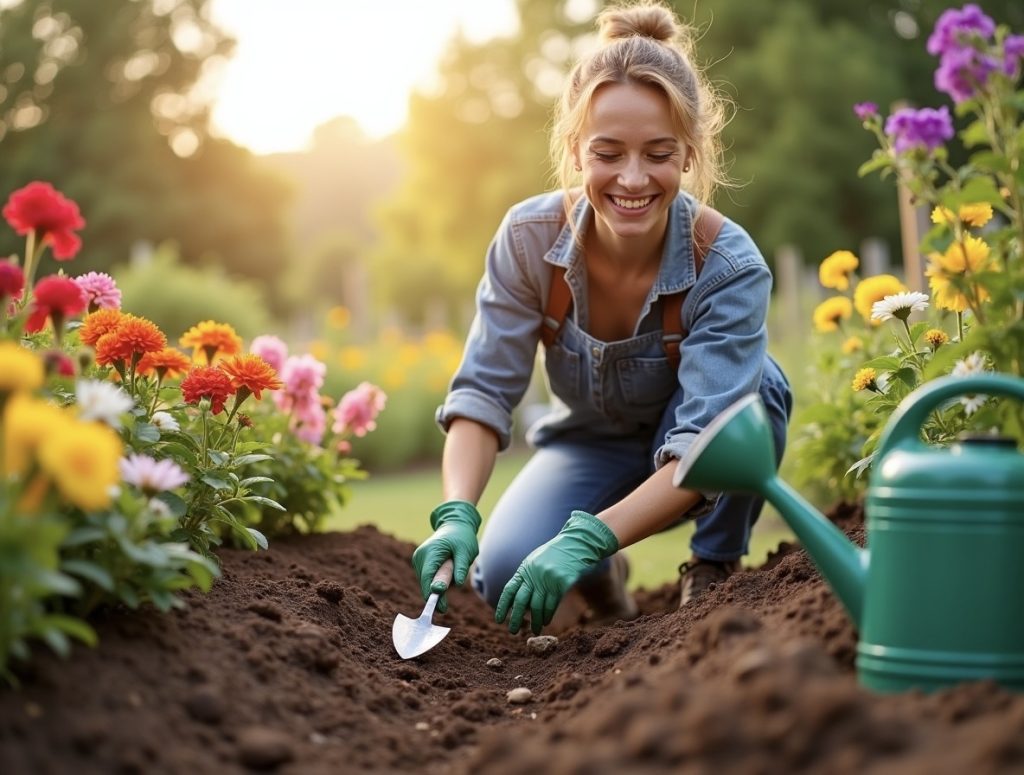
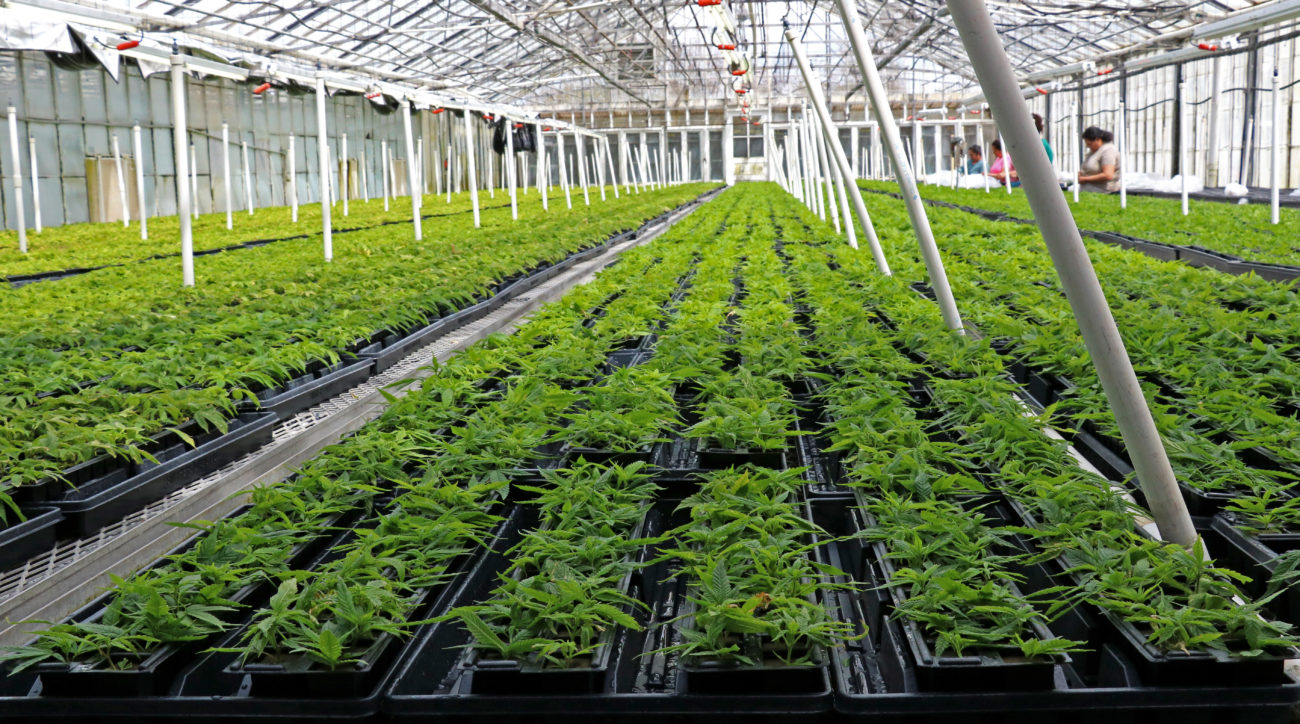
Preparing the Soil
Before sowing your seeds, it’s essential to prepare the soil to provide a nourishing environment for your plants to grow. Here are some steps to follow:
1. Clear the area: Start by removing any weeds, rocks, or debris from the planting area. Clearing the area will give your vegetable plants the best chance to establish themselves without competing for resources.
2. Loosen the soil: Use a garden fork or tiller to loosen the soil. This will help to improve drainage, allow the roots to penetrate easily, and promote healthy root development.
3. Amend the soil: Test the soil pH and nutrient levels with a soil testing kit. Based on the results, amend the soil accordingly. Adding organic matter such as compost or well-rotted manure can improve the soil’s fertility, structure, and moisture-holding capacity.
4. Remove any large clumps: Break up any large clumps of soil to create a smooth surface for planting. This will ensure that the seeds make good contact with the soil, enhancing germination.
5. Create raised beds or rows: Consider creating raised beds or rows for your vegetable garden. Raised beds provide excellent drainage and allow you to control the soil quality more easily. They are particularly useful in areas with poor or compacted soil.
6. Mulch the soil: Apply a layer of organic mulch such as straw or wood chips on top of the soil. Mulching helps to retain moisture, suppress weeds, and regulate soil temperature.
By preparing the soil properly, you are setting a strong foundation for your plants to grow and thrive. Take the time to invest in this step, and you will reap the rewards with healthy and productive vegetable plants.
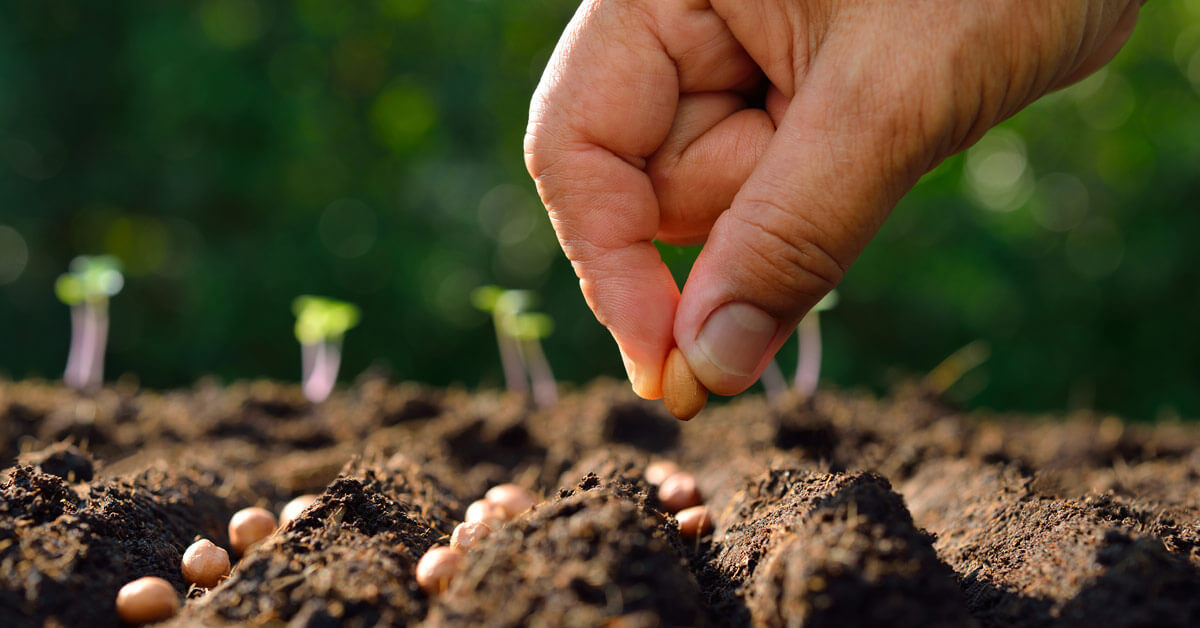
Sowing the Seeds
Now that you have selected your seeds and prepared the soil, it’s time to sow them and start the journey of watching your vegetables grow. Here are the steps to follow when sowing seeds:
1. Read the seed packet: Each seed packet contains valuable information about the planting depth, spacing, and timing. Read the instructions carefully to ensure you sow the seeds correctly.
2. Create planting furrows: Use a small garden trowel or your finger to create shallow furrows in the soil. The depth and spacing should correspond to the recommendations on the seed packet.
3. Plant the seeds: Place the seeds in the furrows, ensuring proper spacing between them. Gently press the soil over the seeds to secure them in place.
4. Water the seeds: After sowing, water the seeds gently to moisten the soil. Avoid overwatering, as it can lead to rotting or dislodging of the seeds.
5. Label the rows: To keep track of what you’ve planted, use plant markers or labels to identify the rows or sections of your garden. This will help you remember which vegetables are growing where.
6. Provide appropriate care: Monitor the soil moisture regularly and water when necessary. Some seeds may require specific temperature conditions to germinate, so place a protective cover or use a germination heating mat if needed.
Remember to maintain patience and be consistent with your care. Some seeds may take longer to germinate than others, so don’t be discouraged if you don’t see immediate results. Soon enough, you’ll witness the magical emergence of seedlings from the soil, marking the beginning of your edible garden.
Watering and Fertilizing
Proper watering and fertilizing are vital for the healthy growth and development of your vegetable plants. Here are some guidelines to ensure your plants receive adequate hydration and nutrients:
1. Watering:
- – Water deeply: When watering your vegetable garden, aim for deep watering rather than a light sprinkle. This encourages the roots to grow deeper and makes the plants more resilient during dry spells.
- – Water at the right time: Water your plants early in the morning or late in the evening to minimize evaporation. Avoid watering during the hottest part of the day to prevent water loss and potential damage to the plants.
- – Monitor soil moisture: Check the moisture level of the soil regularly by sticking your finger into the soil. If it feels dry about an inch below the surface, it’s time to water.
- – Use mulch: Apply a layer of organic mulch around the base of your plants to help retain moisture in the soil. This reduces the frequency of watering and prevents weed growth.
2. Fertilizing:
- – Choose the right fertilizer: Select a balanced, organic fertilizer specifically formulated for vegetables. Follow the recommended application rates on the fertilizer package.
- – Avoid over-fertilizing: Excessive fertilizer can lead to excessive foliage growth but minimal fruit production. Apply fertilizer sparingly and avoid direct contact with the plant’s stem or leaves to prevent burning.
- – Start with rich soil: Before planting, incorporate organic matter such as compost or well-rotted manure into the soil to provide a nutrient-rich environment for your plants.
- – Side-dress as needed: As your plants grow, you can side-dress with additional compost or organic fertilizers during the growing season to provide a nutrient boost.
Remember that the water and nutrient requirements of your vegetable garden may vary depending on the specific plants you are growing. It’s important to observe your plants carefully and adjust your watering and fertilizing practices accordingly.
Providing Proper Lighting
Light is an essential component for the growth and development of your vegetable plants. While most vegetables require full sun to thrive, some can tolerate partial shade. Here are some tips for providing proper lighting for your edible garden:
1. Know your plants: Research the light requirements of the specific vegetables you are growing. Some plants, like tomatoes and peppers, require full sun and should receive at least 6-8 hours of direct sunlight each day. Others, like leafy greens, can tolerate partial shade.
2. Assess your garden location: Observe how the sun moves across your garden throughout the day. Determine which areas receive the most sunlight and which areas are shaded. This will help you identify the best spots for planting different vegetables.
3. Utilize vertical space: If you have limited garden space, consider using trellises, stakes, or hanging baskets to grow vining or trailing vegetables. This allows you to maximize the available light and grow more plants in a smaller area.
4. Consider reflective surfaces: Utilize reflective surfaces, such as white walls or fences, to bounce sunlight back onto your plants. This can help increase the overall light intensity in your garden.
5. Supplement with artificial lighting: If you have a shaded garden or want to extend your growing season, consider using artificial lighting. Grow lights, such as fluorescent or LED bulbs, can provide the necessary light spectrum for plant growth and can be used indoors or in a greenhouse.
6. Monitor for signs of insufficient light: Keep an eye on your plants for any signs of inadequate light, such as stretching, pale leaves, or stunted growth. If you notice these signs, consider adjusting the location of your plants or introducing artificial lighting.
Proper lighting is crucial for healthy plant growth, flower formation, and ultimately, the production of delicious vegetables. By understanding and providing the right amount of light, you’ll help ensure that your plants receive the energy they need to thrive and produce a plentiful harvest.
Transplanting Seedlings
Transplanting seedlings is an important step in the journey of growing vegetables from seeds. This process involves moving young plants from their seed-starting containers to their final growing location. Here are some guidelines to successfully transplant your seedlings:
1. Timing is crucial: Wait until the seedlings have developed a strong root system and have at least two sets of true leaves before transplanting. Transplanting too early may shock the plants, while transplanting too late may result in stunted growth.
2. Prepare the planting holes: Dig planting holes in the garden bed or prepare individual pots that are large enough to accommodate the roots of your seedlings.
3. Handle the seedlings gently: Carefully lift the seedlings from their seed trays or containers while holding onto the leaves, not the fragile stems. Avoid disturbing the roots as much as possible.
4. Plant at the right depth: Place each seedling in the planting hole at the same depth it was growing in its original container. Firmly press the soil around the seedling to secure it in place.
5. Water after transplanting: Once the seedlings are in their new location, water them thoroughly to settle the soil and help reduce transplant shock. Keep the soil moist but not overly saturated in the following days.
6. Gradually acclimate the seedlings: If you are transplanting seedlings from indoor trays to an outdoor garden, gradually expose them to outdoor conditions over the course of a few days. This process, known as hardening off, allows the seedlings to adjust to the outdoor environment and reduces the risk of stress or sunburn.
7. Provide shade and protection: If the weather is particularly hot or windy, provide temporary shade or protection for the newly transplanted seedlings to prevent wilting or damage.
Transplanting seedlings can be a delicate process, but with proper care, it helps the seedlings establish themselves and continue to grow into strong, productive plants. Observing the necessary precautions and providing the right conditions will set your seedlings up for success in their new home.
Protecting Seedlings from Pests and Diseases
As your seedlings grow and develop, it’s important to safeguard them against pests and diseases that can hinder their growth and reduce your harvest. Here are some strategies to protect your seedlings:
1. Create physical barriers: Use row covers, netting, or mesh to physically protect your seedlings from pests like birds, rabbits, or larger insects. These barriers can prevent direct contact and minimize the chances of damage.
2. Implement companion planting: Take advantage of companion planting techniques, where certain plants are grown together to deter pests. For example, planting marigolds alongside your vegetables can repel many common garden pests.
3. Regularly inspect your plants: Perform regular inspections to catch any signs of pests or diseases early on. Look for chewed leaves, discolored spots, or wilting. Prompt action can prevent further spread and damage.
4. Practice proper sanitation: Remove any fallen leaves or plant debris from the garden bed. This helps eliminate hiding places for pests and reduces the chances of diseases overwintering and re-infecting your seedlings.
5. Use organic pest control methods: Opt for organic pest control methods like handpicking insects, using insecticidal soaps or neem oil, or introducing beneficial insects like ladybugs or lacewings. Avoid using harsh chemicals that can harm beneficial insects or contaminate your vegetables.
6. Monitor moisture levels: Over-watering or allowing the soil to remain too wet can create favorable conditions for fungal diseases. Ensure proper drainage and water your seedlings at their base, avoiding wetting the foliage excessively.
7. Rotate your crops: Practice crop rotation by changing the location of your vegetable beds each year. This helps disrupt pest and disease life cycles, reducing the risk of recurring problems.
8. Learn about common pests and diseases: Educate yourself about the common pests and diseases in your region. This knowledge will help you identify potential issues early and take appropriate action before it’s too late.
Remember, even with the best precautions, pests and diseases can still affect your seedlings. The key is to be vigilant, act promptly when necessary, and maintain a healthy growing environment to give your seedlings the best chance of thriving.
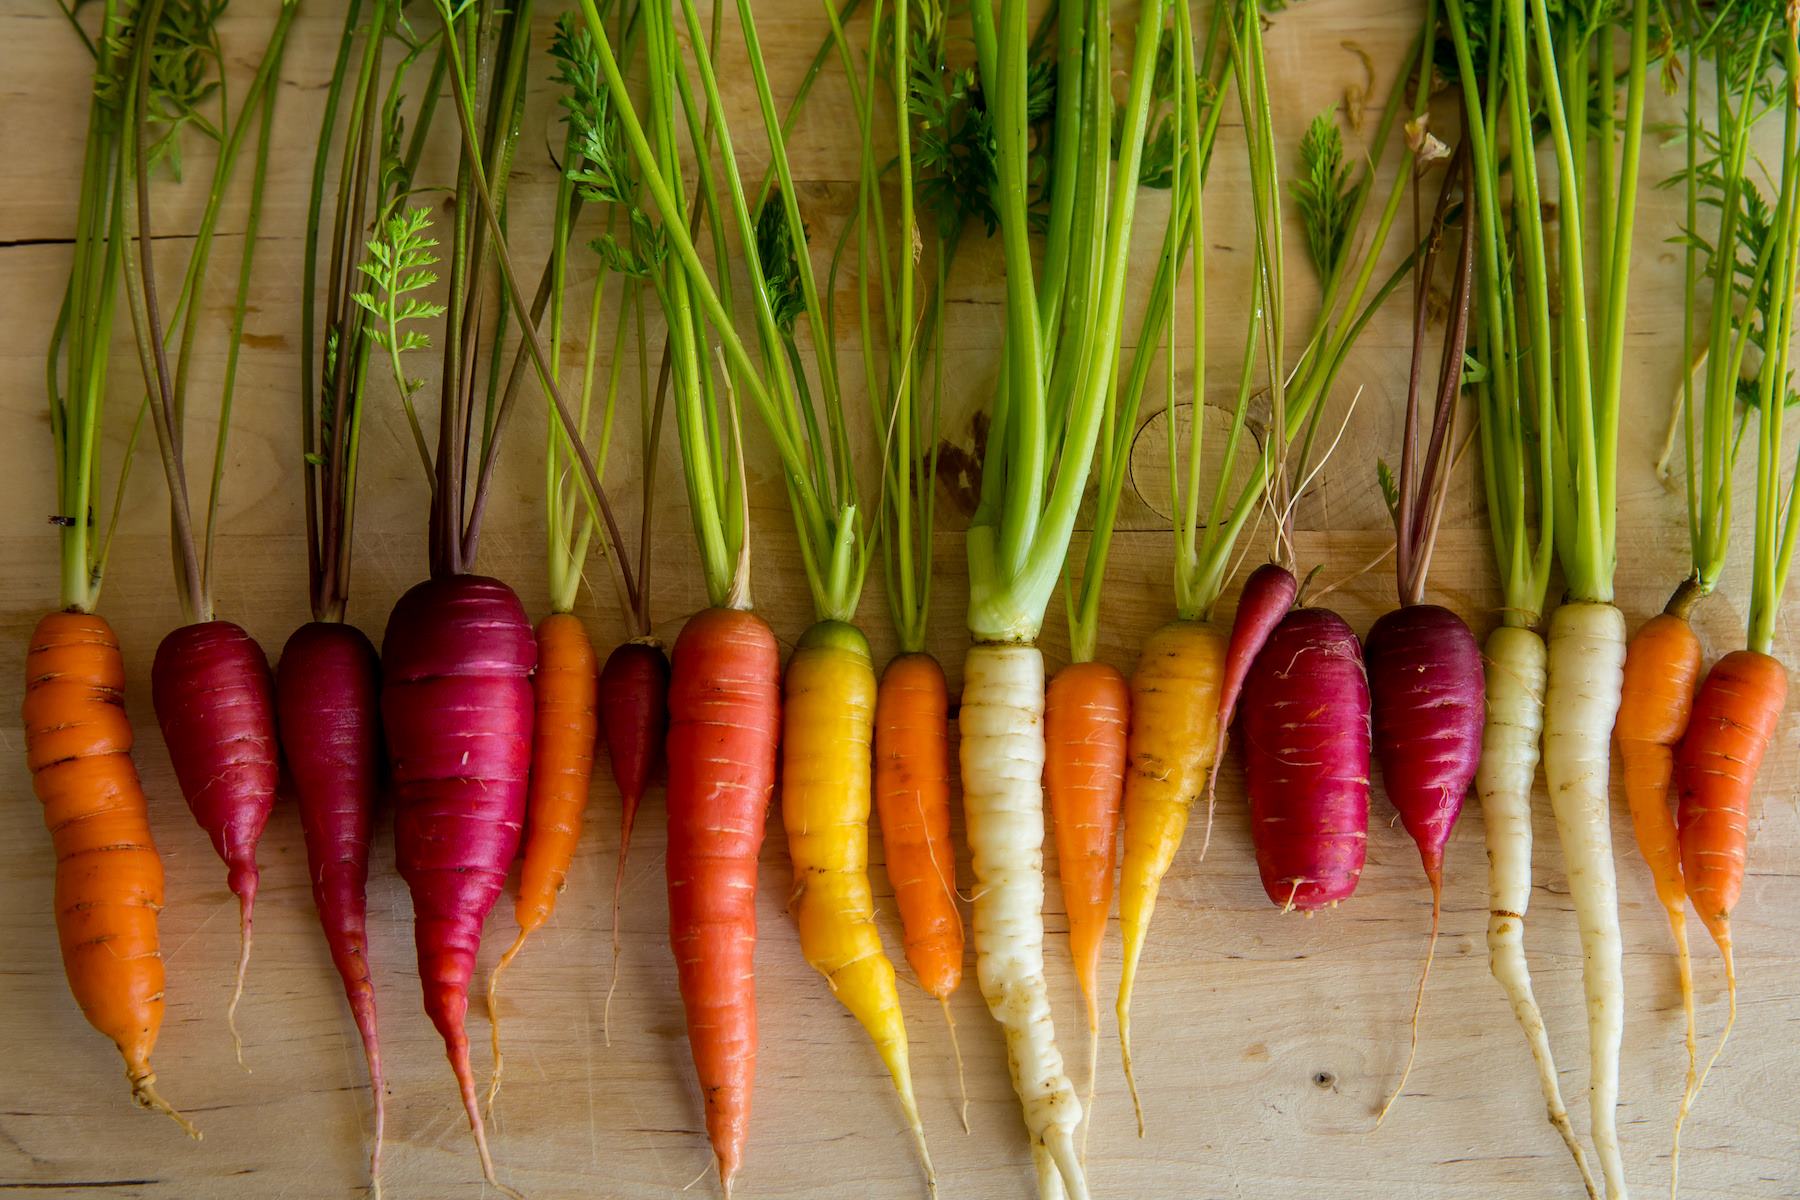
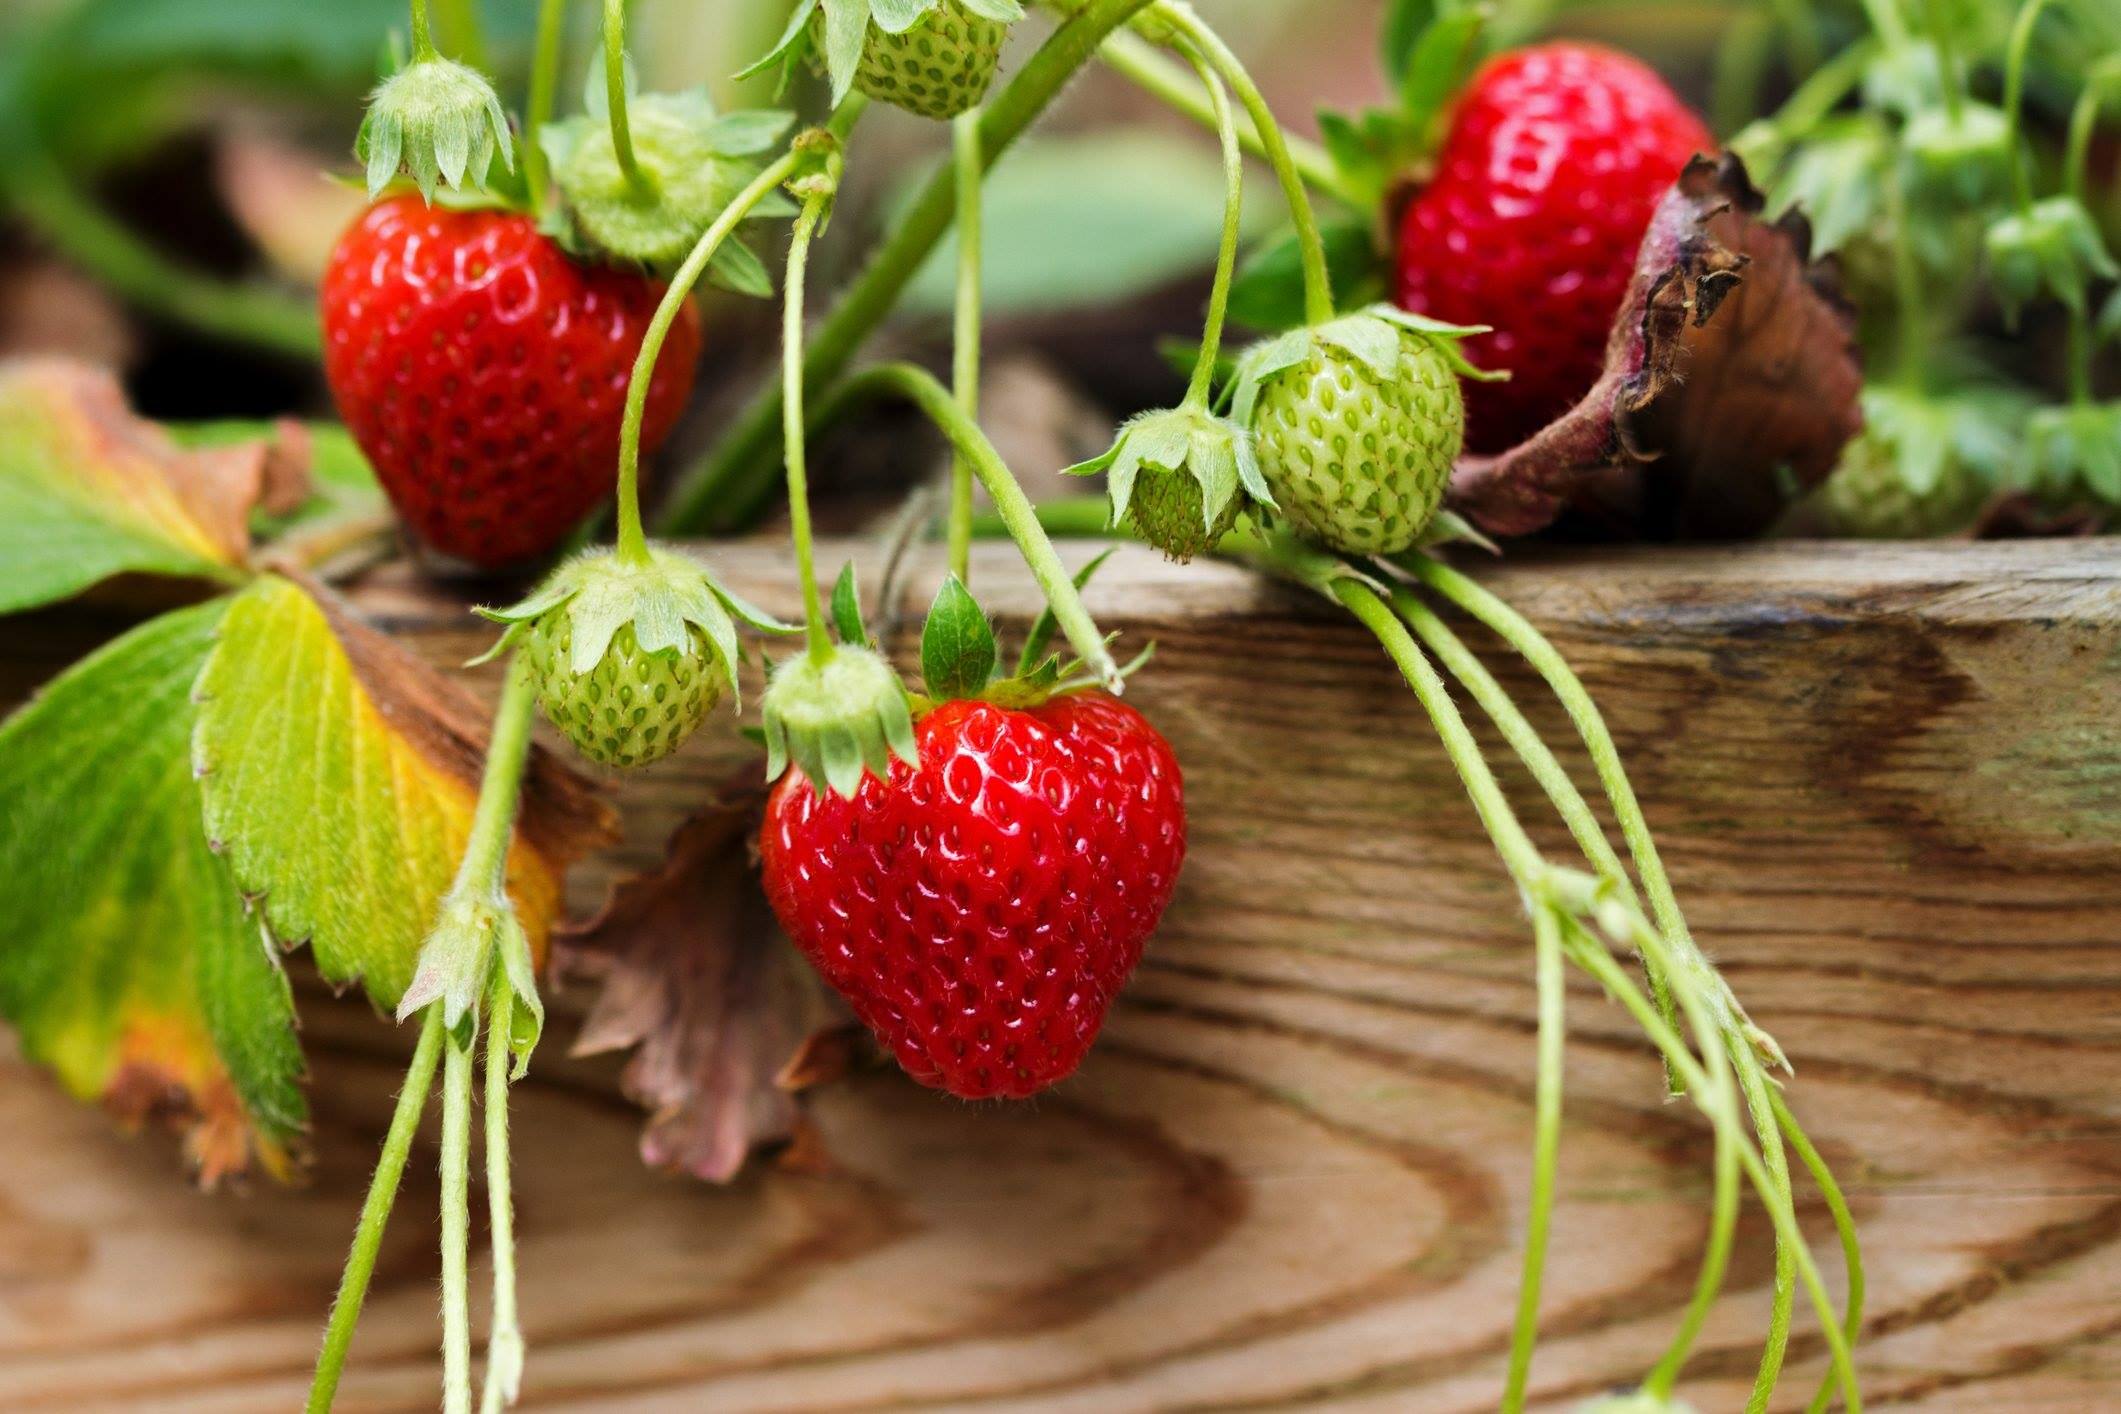
Harvesting Vegetables
One of the most rewarding moments in edible gardening is the harvest. After all the hard work and care you’ve invested, it’s time to reap the fruits of your labor. Here are some tips to ensure a successful and bountiful harvest:
1. Know the harvest time: Different vegetables have different harvest times. Familiarize yourself with the specific harvesting guidelines for each type of vegetable you have grown. This information can typically be found on the seed packet or in gardening references.
2. Observe signs of readiness: Look for visual cues that indicate your vegetables are ready to be harvested. These indicators may include a change in color, firmness, or size. For example, tomatoes should be fully colored, slightly soft, and come off the vine easily when gently twisted.
3. Harvest in the morning: For optimal flavor and freshness, harvest your vegetables in the morning when they are crisp and hydrated from the overnight rest. This is especially important for leafy greens and herbs.
4. Use the right tools: Use sharp pruning shears, scissors, or a knife to make clean cuts when harvesting. Avoid pulling or yanking on the plants, as this can cause damage to both the plant and the remaining fruits.
5. Harvest leaf by leaf: When harvesting leafy greens like lettuce or kale, they can be harvested leaf by leaf instead of uprooting the entire plant. This allows the plant to continue producing new leaves for an extended harvest.
6. Store properly: After harvesting, handle your vegetables with care and store them appropriately. Some vegetables, like root crops, can be stored in a cool and dark place, while others, like tomatoes and cucumbers, should be stored at room temperature.
7. Enjoy the flavors of your harvest: Once you’ve harvested your vegetables, savor the flavors of your hard work. Whether you cook them, enjoy them in salads, or share them with friends and family, take pride in the homegrown goodness you’ve cultivated.
Remember that harvesting your vegetables regularly promotes continuous plant growth and encourages the development of new fruits. Take pleasure in the process of harvesting and let it inspire you to continue nurturing your edible garden.
Conclusion
Congratulations on completing this guide to growing vegetables from seeds! By following the steps outlined in this article, you now have the knowledge and confidence to start your own thriving edible garden. From selecting the right seeds to preparing the soil, sowing the seeds, and providing proper care, each step plays a crucial role in the success of your vegetable plants.
Remember that gardening is a continuous learning process. As you tend to your plants, you will gain valuable experience and insights that will further enhance your gardening skills. Don’t be afraid to experiment with different plant varieties, techniques, and even seasonal crops. Gardening is not just about growing food—it’s also about connecting with nature and finding joy in the process of nurturing life.
As you embark on this journey, be patient and adaptable. Every garden has its own unique conditions and challenges. Embrace the ups and downs, celebrate the successes, and learn from any setbacks. With time and dedication, you’ll witness the transformation of tiny seeds into vibrant, fruitful plants that provide you with fresh and nutritious vegetables.
Remember, the beauty of edible gardening lies not only in the delicious harvest but also in the connection it creates between you and the natural world. So, get your hands dirty, embrace the joy of growing, and enjoy the abundance of your very own edible garden!