Home>Types of Gardening>Edible Gardening>How To Grow Broccoli From Seeds
Edible Gardening
How To Grow Broccoli From Seeds
Modified: February 9, 2024
Learn the step-by-step process of growing broccoli from seeds in your edible garden. Discover effective techniques for successful edible gardening.
(Many of the links in this article redirect to a specific reviewed product. Your purchase of these products through affiliate links helps to generate commission for Chicagolandgardening.com, at no extra cost. Learn more)
Table of Contents
Introduction
Welcome to the world of edible gardening! Growing your own food not only provides a sense of fulfillment and satisfaction but also allows you to enjoy fresh and nutritious produce right from your backyard. One popular vegetable that many aspiring gardeners choose to grow is broccoli. With its vibrant green florets and rich nutritional profile, broccoli is a versatile and delicious addition to any garden. Whether you have a spacious backyard or limited space on a balcony, you can successfully grow broccoli from seeds and enjoy a bountiful harvest.
Broccoli, part of the brassica family, is packed with essential vitamins and minerals including vitamin C, vitamin K, folate, and potassium. It is also a superb source of dietary fiber and contains powerful antioxidants that support overall health and wellbeing. By growing your own broccoli, you have control over the growing conditions, ensuring that you can enjoy organic and pesticide-free produce.
In this article, we will guide you through the process of growing broccoli from seeds. We will cover everything from choosing the right seeds to caring for the seedlings, transplanting them, and ultimately harvesting the broccoli. Whether you are a seasoned gardener or just starting out, this comprehensive guide will equip you with the knowledge and techniques to successfully grow and harvest your own broccoli.
So, roll up your sleeves, grab your gardening tools, and let’s get started on the rewarding journey of growing broccoli in your own edible garden!
Choosing the Right Seeds
When it comes to growing broccoli from seeds, selecting the right seeds is essential for a successful harvest. Here are some factors to consider when choosing the seeds:
- Variety: Broccoli comes in various varieties, each with its own unique characteristics. Consider factors such as size, taste, and heat tolerance when choosing a variety that suits your preferences and growing conditions. Some popular broccoli varieties include ‘Calabrese,’ ‘DeCicco,’ and ‘Waltham 29.’
- Quality: Opt for high-quality seeds that are certified organic or heirloom. These seeds are more likely to have better germination rates and produce healthy and flavorful plants. Look for reputable seed suppliers or purchase seeds from well-established gardening centers.
- Seedling Age: Determine whether you want to start with seeds or purchase seedlings from a nursery. Starting from seeds allows you to have more control over the growing process, but it takes longer to reach the harvest stage. On the other hand, buying seedlings can save you time but limits your variety options.
- Climate Adaptability: Consider the climate in your area and choose broccoli seeds that are suitable for your region. Some varieties are more tolerant of heat or cold, so selecting seeds that are adapted to your climate will increase your chances of success.
- Planting Season: Broccoli can be grown in both spring and fall, but the planting time varies depending on your location. Check the recommended planting season for the specific variety you have chosen to ensure you plant at the right time for optimal growth.
Before purchasing the seeds, read the seed packet or consult with gardening experts to gather specific information about the variety you are interested in. Pay attention to the days to maturity, which indicates how long it takes for the broccoli heads to fully develop.
By carefully selecting the right seeds, you are setting the foundation for a successful broccoli growing experience. Remember, choosing high-quality seeds that are ideal for your climate and growing conditions will give you the best chance of enjoying a bountiful and flavorful harvest.
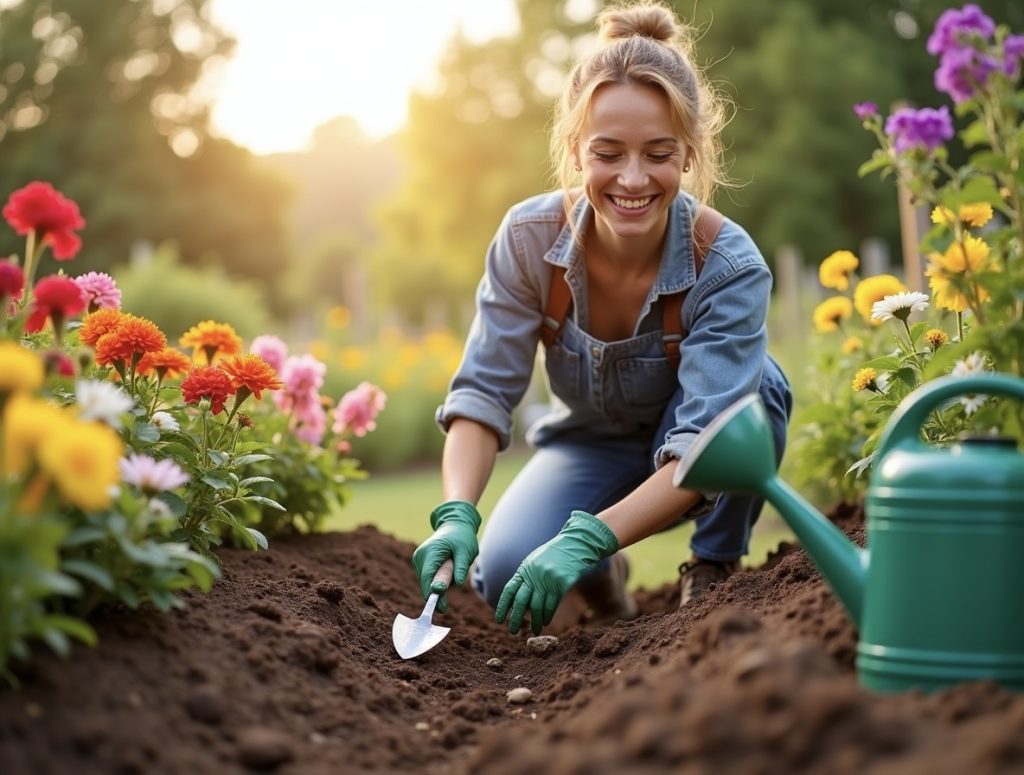
Preparing the Soil
Before sowing your precious broccoli seeds, it is crucial to prepare the soil to create a nutrient-rich and well-drained environment for optimal growth. Here’s how you can get your soil ready:
- Choose the Right Location: Broccoli thrives in full sun, so select a spot in your garden that receives at least 6-8 hours of sunlight per day. Ensure that the area has good air circulation to prevent the buildup of moisture and reduce the risk of diseases.
- Clear the Area: Remove any weeds, rocks, or debris from the soil surface. These can hinder the growth of your broccoli and compete for nutrients, water, and sunlight.
- Test and Amend the Soil: Conduct a soil test to determine its pH level and nutrient composition. Broccoli prefers a slightly acidic soil with a pH range between 6.0 and 7.0. If needed, adjust the pH by adding amendments such as lime for acidic soil or sulfur for alkaline soil. Additionally, enrich the soil by adding well-rotted compost or aged manure to improve its moisture retention and nutrient content.
- Loosen the Soil: Use a garden fork or tiller to loosen the soil to a depth of about 12 inches. This will improve drainage, aeration, and root penetration. Avoid over-tilling, as it can disturb the soil structure and lead to compaction.
- Level and Smooth the Surface: Rake the soil to create a smooth and level surface. This will make it easier to sow the seeds evenly and promote uniform germination.
Remember, healthy and fertile soil is the key to thriving broccoli plants. Regularly amending the soil with organic matter, such as compost or well-rotted manure, will replenish nutrients and improve the overall quality of the soil for future crops.
Sowing the Seeds
With the soil prepared, it’s time to sow your broccoli seeds and kickstart their journey towards becoming mature plants. Follow these steps to ensure a successful sowing process:
- Spacing: Before sowing the seeds, determine the spacing requirements based on the variety you are growing. Generally, broccoli plants need about 18-24 inches of space between each plant. This allows enough room for the plants to grow and ensures adequate airflow.
- Sowing Depth: Sow the seeds at a depth of 1/4 to 1/2 inch. Gently press the seeds into the soil, ensuring they are covered with a thin layer of soil. Avoid burying them too deep, as it can hinder germination.
- Seed Spacing: Space the seeds about 2-3 inches apart in rows. If you plan to plant multiple rows, make sure to leave enough space between the rows as well.
- Watering: After sowing the seeds, water the soil gently to ensure proper moisture. Avoid overwatering, as it can cause the seeds to rot. Maintain the soil moisture throughout the germination process.
- Labeling: Use plant markers or labels to indicate the location and variety of the seeds. This will help you keep track of the different varieties and their growth progress.
Keep in mind that broccoli seeds typically germinate within 7-10 days, but the germination time may vary based on temperature and growing conditions. Regularly monitor the soil moisture and provide adequate water as needed to support seedling growth.
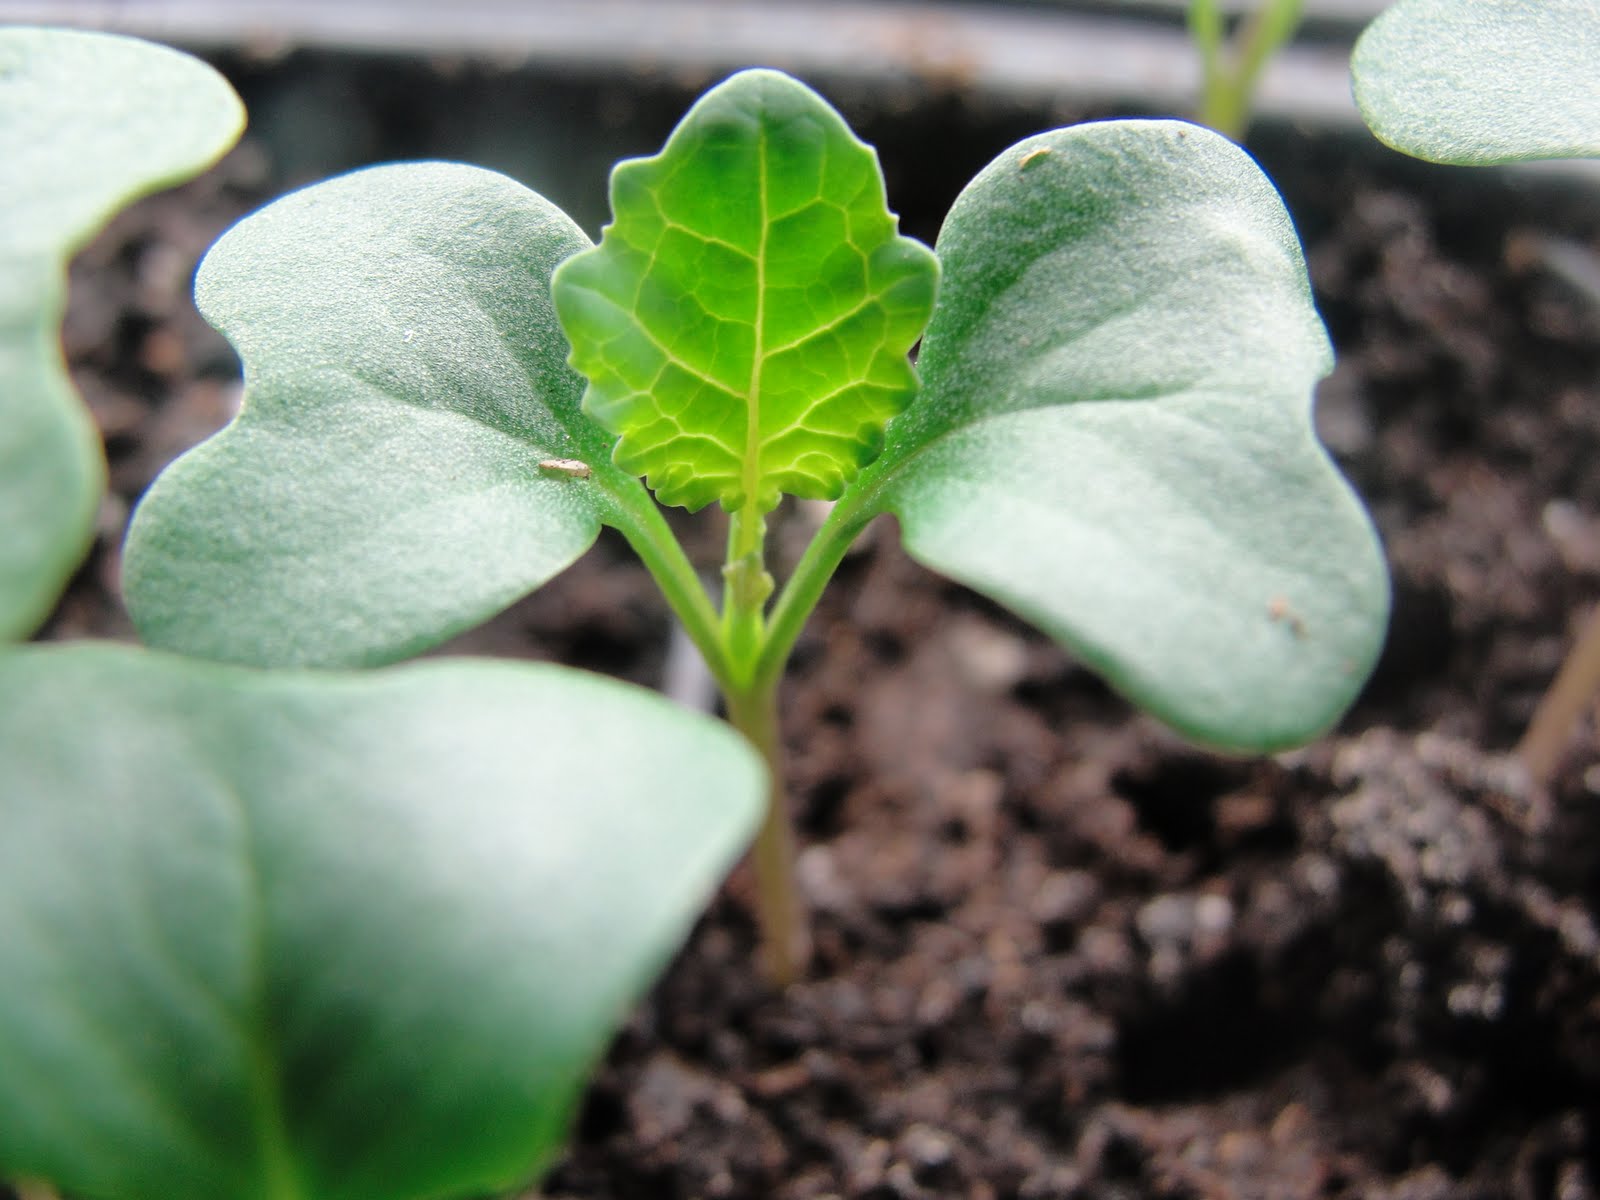
As the seeds germinate and the seedlings emerge, you will witness the first signs of your broccoli plants taking shape. It’s an exciting stage that marks the beginning of their growth journey.
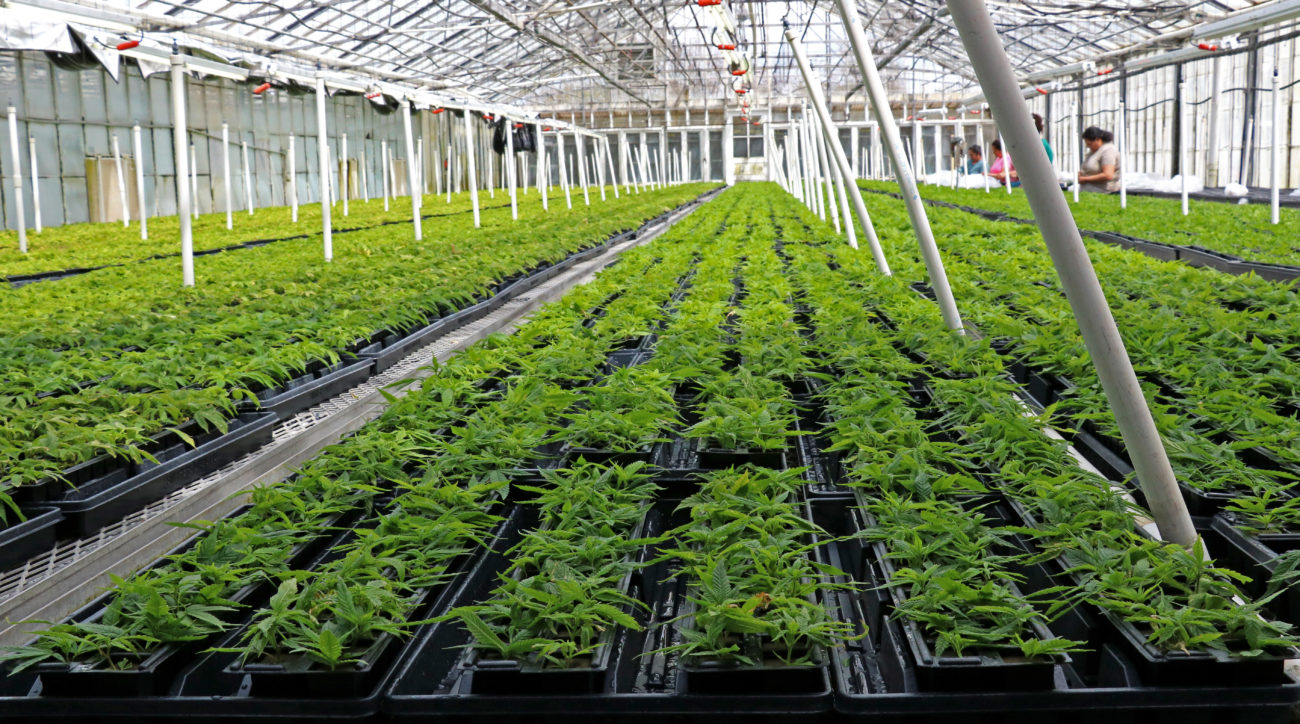
Caring for Broccoli Seedlings
Once your broccoli seedlings emerge, they require proper care to ensure healthy growth and development. Follow these essential care tips to nurture your young broccoli plants:
- Thinning: If you have planted multiple seeds in one spot, thin the seedlings by removing the weaker ones, leaving only the strongest plants. This allows the remaining plants to have enough space, light, and nutrients to grow vigorously.
- Watering: Water the seedlings regularly, keeping the soil consistently moist. Avoid waterlogging, as it can lead to root rot. Drip irrigation or watering at the base of the plant is ideal to avoid wetting the leaves, reducing the risk of fungal diseases.
- Fertilization: Once the seedlings have established a few true leaves, apply a balanced organic fertilizer to provide essential nutrients. Follow the instructions on the fertilizer package, and be cautious not to over-fertilize, as it can lead to excessive foliage growth and reduced yield.
- Weeding: Regularly remove any weeds that compete with the young broccoli plants for nutrients and space. Weeds can also harbor pests and diseases, so keeping the area around the seedlings weed-free is essential.
- Protection from Extreme Temperatures: Broccoli prefers cool temperatures but can be sensitive to extreme heat or cold. Protect the seedlings from frost by covering them with a frost cloth or using other protective measures. During hot summers, provide shade or use row covers to shield the plants from excessive heat.
- Pest and Disease Management: Monitor your broccoli seedlings for any signs of pests, such as aphids or cabbage loopers. Employ organic pest control methods, like handpicking or using insecticidal soap, to manage infestations. Keep an eye out for common broccoli diseases like clubroot or downy mildew, and take necessary preventive measures to minimize the risk of infection.
- Supportive Structures: As the broccoli plants grow, they may require support to prevent bending or breaking of the stems. Install stakes or a trellis system to provide stability and support the weight of mature heads.
By providing proper care to your broccoli seedlings, you are setting the stage for strong and productive plants. Healthy seedlings will develop into robust plants, ready to produce the delicious florets you’ve been eagerly anticipating.
Transplanting Broccoli Seedlings
Transplanting broccoli seedlings from their initial seed trays or containers to their final growing location is a critical step in their growth journey. Follow these steps to ensure a successful transplanting process:
- Timing: Wait until your broccoli seedlings have grown about 4-6 weeks and have developed a few sets of true leaves before transplanting them. At this stage, they are sturdy enough to handle the transplant shock and will establish well in their new location.
- Choose the Right Time of Day: Opt for transplanting on a slightly overcast day or in the evening to reduce stress on the seedlings. Avoid transplanting during the peak heat of the day to minimize the risk of wilting or heat stress.
- Prepare the Planting Hole: Dig holes in the garden bed that are slightly larger than the root ball of the seedlings. Space the holes according to the recommended spacing for the specific broccoli variety you are growing.
- Water the Seedlings: Before removing the seedlings from their containers, water them gently to ensure their roots are moist and ready for transplanting.
- Gently Remove the Seedlings: Carefully loosen the soil around the seedlings and gently lift them from their containers, holding them by the leaves or soil clump. Avoid pulling them directly by the delicate stems, as this can damage the plants.
- Planting Depth: Place each seedling into a planting hole, ensuring that the soil level matches the level of the seedling’s stem or where the leaves meet the soil. Be careful not to bury the stem too deep, as it can cause rotting.
- Backfill and Firm the Soil: Fill the hole with soil, gently firming it around the base of the seedling. Avoid compacting the soil too tightly, as it can hinder root growth.
- Water the Transplanted Seedlings: After transplanting, water the seedlings thoroughly to settle the soil and provide moisture. This will help them recover from the transplant shock and establish their roots in the new location.
- Mulch: Apply a layer of organic mulch around the transplanted seedlings to conserve moisture, suppress weed growth, and regulate soil temperature.
After transplantation, monitor the seedlings closely and provide appropriate care, including regular watering and protection from extreme weather conditions. Within a few weeks, you should see your seedlings successfully adapt to their new growing location and continue their growth towards producing vibrant broccoli heads.
Growing Broccoli in Containers
If you have limited space or want the flexibility to move your broccoli plants, growing them in containers is an excellent option. Follow these tips to successfully cultivate broccoli in containers:
- Container Size: Choose a container that is at least 12-16 inches deep and wide enough to accommodate the mature size of the broccoli plant. Select a container made of sturdy materials such as plastic or ceramic, ensuring it has adequate drainage holes.
- Soil Preparation: Use a well-draining potting mix specifically formulated for containers. Avoid using garden soil, as it can lead to poor drainage and compaction. Amend the potting mix with organic matter like compost or aged manure to enrich the soil’s nutrient content.
- Spacing: Plant one broccoli seedling per container, providing ample space for its roots to grow and spread. If you want to grow multiple plants, choose a larger container or space them according to the recommended spacing for the specific variety.
- Sunlight: Position the container in a location that receives at least 6-8 hours of direct sunlight per day. If needed, move the container throughout the day to ensure the plants get adequate sunlight.
- Watering: Containers tend to dry out more quickly than garden beds, so monitor the soil moisture regularly. Water the container deeply whenever the top inch of soil feels dry. Avoid overwatering, as excessive moisture can lead to root rot.
- Fertilization: Container-grown broccoli plants require regular feeding to ensure adequate nutrient supply. Apply a slow-release organic fertilizer according to the package instructions or use a liquid fertilizer every 2-3 weeks during the growing season.
- Support: As the broccoli plant grows, provide support to prevent toppling. Insert a stake or place a tomato cage near the seedling and gently tie the plant to the support structure as it grows taller.
- Pest and Disease Control: Monitor your container-grown broccoli plants for pests and diseases regularly. Keep an eye out for common pests like aphids, cabbage loopers, or flea beetles. Use organic pest control methods, such as handpicking or using insecticidal soap, to manage infestations.
- Harvesting: Container-grown broccoli may have slightly smaller heads compared to those grown in the ground. Harvest the broccoli heads when they are tightly formed, dark green, and still compact. Cut the main head with a sharp knife, leaving a few inches of the stem attached to encourage side-shoots to develop.
Growing broccoli in containers allows you to enjoy the benefits of homegrown produce even in limited spaces. With proper care and attention, you can successfully cultivate healthy and delicious broccoli plants right on your patio or balcony.
Protecting Broccoli from Pests and Diseases
Like any other plant, broccoli is susceptible to various pests and diseases that can hinder its growth and reduce the yield. Implementing preventive measures and early detection are key to protecting your broccoli plants from these common threats. Here are some effective methods to safeguard your broccoli crop:
- Companion Planting: Intercropping your broccoli with pest-repellent plants like marigolds, nasturtiums, or garlic can help deter pests. These companion plants emit strong scents that can confuse or repel pests, reducing the risk of infestations.
- Physical Barriers: Use physical barriers like floating row covers or netting to prevent pests such as cabbage worms, moths, or aphids from reaching your broccoli plants. Ensure the barrier is secure and properly sealed to keep pests out while still allowing air circulation and sunlight to reach the plants.
- Handpicking: Regularly inspect your plants and handpick any visible pests, such as caterpillars or beetles. Dip them in soapy water or dispose of them away from your garden to prevent them from returning.
- Insecticidal Soap or Oil: If the pest population becomes overwhelming, use organic insecticidal soap or oil spray as a targeted treatment. Follow the instructions on the product label and apply it directly to the pests, ensuring thorough coverage of both sides of the leaves.
- Crop Rotation: Practice crop rotation by planting broccoli or other brassica crops in different locations each year. This reduces the risk of soil-borne diseases, such as clubroot, from persisting in the same area.
- Sanitation: Keep your garden clean by regularly removing plant debris, fallen leaves, or harvested plants. These can serve as hiding places for pests and harbor disease-causing organisms.
- Organic Sprays: Utilize organic sprays, such as neem oil or Bacillus thuringiensis (BT), to combat common broccoli pests. These sprays are safe for beneficial insects and can help control caterpillars and other damaging pests.
- Disease Resistant Varieties: Consider planting disease-resistant varieties of broccoli when available. These varieties have been specifically bred to have increased resistance to common broccoli diseases, offering an added layer of protection.
- Regular Inspection: Regularly inspect your broccoli plants for any signs of pest or disease infestation, such as yellowing leaves, leaf spots, or stunted growth. Early detection allows for prompt intervention and minimizes the potential damage to your plants.
By implementing these preventive and control measures, you can significantly reduce the risk of pests and diseases damaging your broccoli crop. Vigilance and proactive management will contribute to the overall health and productivity of your plants.
Harvesting Broccoli
After weeks of patiently nurturing your broccoli plants, the time has finally arrived to harvest your delicious and nutritious bounty. Knowing when and how to harvest broccoli is a crucial step in ensuring the best flavor and quality of your crop. Here are some guidelines to help you with the harvesting process:
- Head Size: The main indicator that broccoli is ready for harvest is the size of the central head or crown. Wait until the head is tight, compact, and reaches a desirable size, typically around 4-7 inches in diameter, depending on the variety. Avoid waiting too long, as over-mature heads can become woody and less flavorful.
- Color: Check the color of the broccoli head. It should be a deep, vibrant green. Avoid harvesting when the head starts turning yellow or going to flower, as this indicates that it is past its prime.
- Don’t Delay: Harvest broccoli heads when they are ready, as leaving them on the plant for too long can result in a reduced overall yield. Promptly harvest the central head, even if the side shoots (also known as “broccolini” or “broccoli raab”) have not yet developed.
- Harvesting Technique: To harvest the main head, use a sharp knife or pruners and make a clean cut about 5-6 inches below the head. Cut the stem at a slant, allowing any water to drain off easily and preventing pooling or rot. Take care not to damage the surrounding leaves or other emerging side shoots.
- Side Shoots: After harvesting the main head, the plant will continue to produce smaller side shoots around the stem. Leave the plant in the ground to allow these side shoots to develop further. Harvest them when they reach a suitable size, typically around 3-5 inches in length, by cutting them just above the leaf node.
- Harvest Frequency: Regularly monitor your plants and harvest the side shoots every few days, as new ones will continue to form. This will prolong the harvesting period and provide you with a continuous supply of fresh broccoli.
- Post-Harvest Care: After harvesting, immediately refrigerate the harvested broccoli heads or use them as soon as possible. Properly stored, fresh broccoli can remain crisp and flavorful for up to a week.
- Leave Some Plants to Flower: If desired, leave a few plants unharvested to allow them to fully mature and produce yellow flowers. These flowers attract beneficial insects and add a beautiful touch to your garden.
Harvesting broccoli at the right time ensures that you enjoy the best flavor and texture. By following these guidelines and harvesting your broccoli heads and side shoots regularly, you can savor the fruits of your labor and enjoy the delectable taste of homegrown broccoli.
Storing and Using Broccoli
After harvesting fresh broccoli from your garden, proper storage and utilization techniques are essential to maximize its shelf life and retain its nutritional value. Here’s how you can store and use your harvested broccoli:
- Immediate Preparation: For optimal flavor and nutritional benefits, it’s best to use freshly harvested broccoli as soon as possible. Trim any excess leaves and wash the heads thoroughly under cool running water to remove any dirt or debris.
- Refrigeration: If you don’t plan to use the broccoli immediately, wrap the heads with a damp paper towel and place them in a perforated plastic bag or loosely wrap them in plastic wrap. Store the broccoli in the crisper drawer of your refrigerator at a temperature between 32°F and 40°F (0°C and 4°C).
- Shelf Life: Properly stored, fresh broccoli can remain crisp and flavorful for up to a week in the refrigerator. However, try to consume it within the first few days to enjoy its peak flavor and texture.
- Freezing: If you have an abundance of broccoli, consider blanching it before freezing. Blanching involves boiling the broccoli briefly, then immersing it in ice water to halt the cooking process. Once blanched, pat the broccoli dry and freeze it in airtight containers or freezer bags. Properly frozen, broccoli can be stored for up to a year. Blanching helps preserve the color, texture, and nutritional content of the broccoli.
- Cooking Methods: Broccoli is incredibly versatile in the kitchen and can be enjoyed in numerous ways. Steam or lightly sauté the florets for a crisp-tender texture, or roast them in the oven for a caramelized and slightly crispy finish. Broccoli is also fantastic in stir-fries, pasta dishes, soups, and salads.
- Nutritional Benefits: Broccoli is a nutritional powerhouse, rich in vitamins A, C, and K, as well as fiber, folate, and various antioxidants. To reap the maximum nutritional benefits, avoid overcooking the broccoli, as prolonged heat exposure can diminish its nutrient content.
- Waste Reduction: Don’t discard the broccoli stalks! They are edible and can be used in various dishes. Peel off the tough outer layer of the stalk and slice or dice the tender core to add to stir-fries, soups, or salads.
- Composting: If you have any leftover broccoli scraps, consider composting them to enrich your garden soil. Broccoli trimmings make valuable additions to a compost pile, contributing nutrients and organic matter.
By following these storage and utilization tips, you can enjoy the freshness and nutritional benefits of your homegrown broccoli for an extended period. Experiment with different cooking methods and recipes to make the most of this versatile vegetable and appreciate its delicious flavor.