Home>Types of Gardening>Ornamental Gardening>How To Grow A Japanese Maple Bonsai From Seed

Ornamental Gardening
How To Grow A Japanese Maple Bonsai From Seed
Modified: February 9, 2024
Learn the art of growing a stunning Japanese Maple Bonsai from seed with our complete guide on ornamental gardening.
(Many of the links in this article redirect to a specific reviewed product. Your purchase of these products through affiliate links helps to generate commission for Chicagolandgardening.com, at no extra cost. Learn more)
Table of Contents
Introduction
Welcome to the world of ornamental gardening, where beauty and tranquility intertwine to create stunning landscapes. One popular branch of ornamental gardening is the art of growing bonsai trees. Among the many species coveted by enthusiasts, the Japanese Maple stands out for its delicate foliage, vibrant colors, and graceful form. If you have ever admired the beauty of a Japanese Maple bonsai and wondered if you could grow one yourself, you’re in for a treat.
In this article, we will dive into the fascinating journey of growing a Japanese Maple bonsai from seed. While it may seem like a daunting task, with patience, care, and the right techniques, you can nurture a tiny seed into a magnificent miniature tree.
Creating a Japanese Maple bonsai from seed is not only a rewarding experience, but it also allows you to have a deeper connection with the tree as you witness its growth and transformation. Whether you are a seasoned gardener or a beginner, this guide will provide you with the knowledge and step-by-step instructions needed to embark on this journey.
Before we get started, it’s important to note that growing a bonsai tree requires commitment and dedication. It is a lifelong process that requires regular maintenance, pruning, and shaping to maintain the desired form and size. However, the end result is an enchanting piece of living art that will bring joy and tranquility to your home or garden.
So, without further ado, let’s embark on the magical journey of growing a Japanese Maple bonsai from seed!
Choosing the Right Japanese Maple Variety
When it comes to growing a Japanese Maple bonsai from seed, the first step is to select the right variety. Japanese Maples (Acer palmatum) come in a wide array of cultivars, each with its own unique characteristics, including leaf shape, color, and growth habit. Choosing the right variety will ensure that your bonsai tree exhibits the desired traits and fits well with your personal preferences.
Here are a few popular Japanese Maple varieties to consider:
- Acer palmatum ‘Bloodgood’: This variety is known for its deep red leaves that turn a vibrant crimson color in the fall. It has an upright growth habit and can reach a height of 15-20 feet.
- Acer palmatum ‘Dissectum Atropurpureum’: Also known as the Laceleaf Japanese Maple, this variety has finely divided, deep purple-red leaves. It has a cascading growth habit and reaches a height of 6-8 feet.
- Acer palmatum ‘Sango-kaku’: Commonly referred to as the Coral Bark Maple, this variety features bright green leaves that turn yellow in the fall. Its most striking feature is its coral-colored bark, which provides year-round visual interest. It can grow up to 20-25 feet in height.
- Acer palmatum ‘Green Lace’: This variety has delicate green leaves that develop a golden-yellow hue in the fall. It has a weeping growth habit and reaches a height of 6-8 feet.
These are just a few examples, and there are many other Japanese Maple varieties to choose from. Consider factors such as the size of your bonsai space, your climate, and the aesthetic qualities you are drawn to. Whether you prefer red, green, or variegated foliage, there is a Japanese Maple variety to suit every taste.
When selecting a variety, it is important to take into account its hardiness to your local climate. Some Japanese Maple varieties are more cold-tolerant, while others thrive in warmer regions. Research the specific requirements of each variety and choose one that is well-suited to your growing conditions.
Once you have chosen the perfect Japanese Maple variety for your bonsai project, it’s time to move on to the next step: collecting the seeds.
Collecting Seeds
Collecting seeds is an essential step in the process of growing a Japanese Maple bonsai from scratch. While it is possible to purchase seeds from reputable nurseries or online suppliers, collecting seeds directly from a mature Japanese Maple tree can be a rewarding experience.
The ideal time to collect seeds from a Japanese Maple tree is in the late summer or early fall, when the seeds are fully matured and ready for harvesting. Here’s how to gather the seeds:
- Locate a healthy and mature Japanese Maple tree in your area. Look for a tree that exhibits desirable characteristics, such as vibrant foliage.
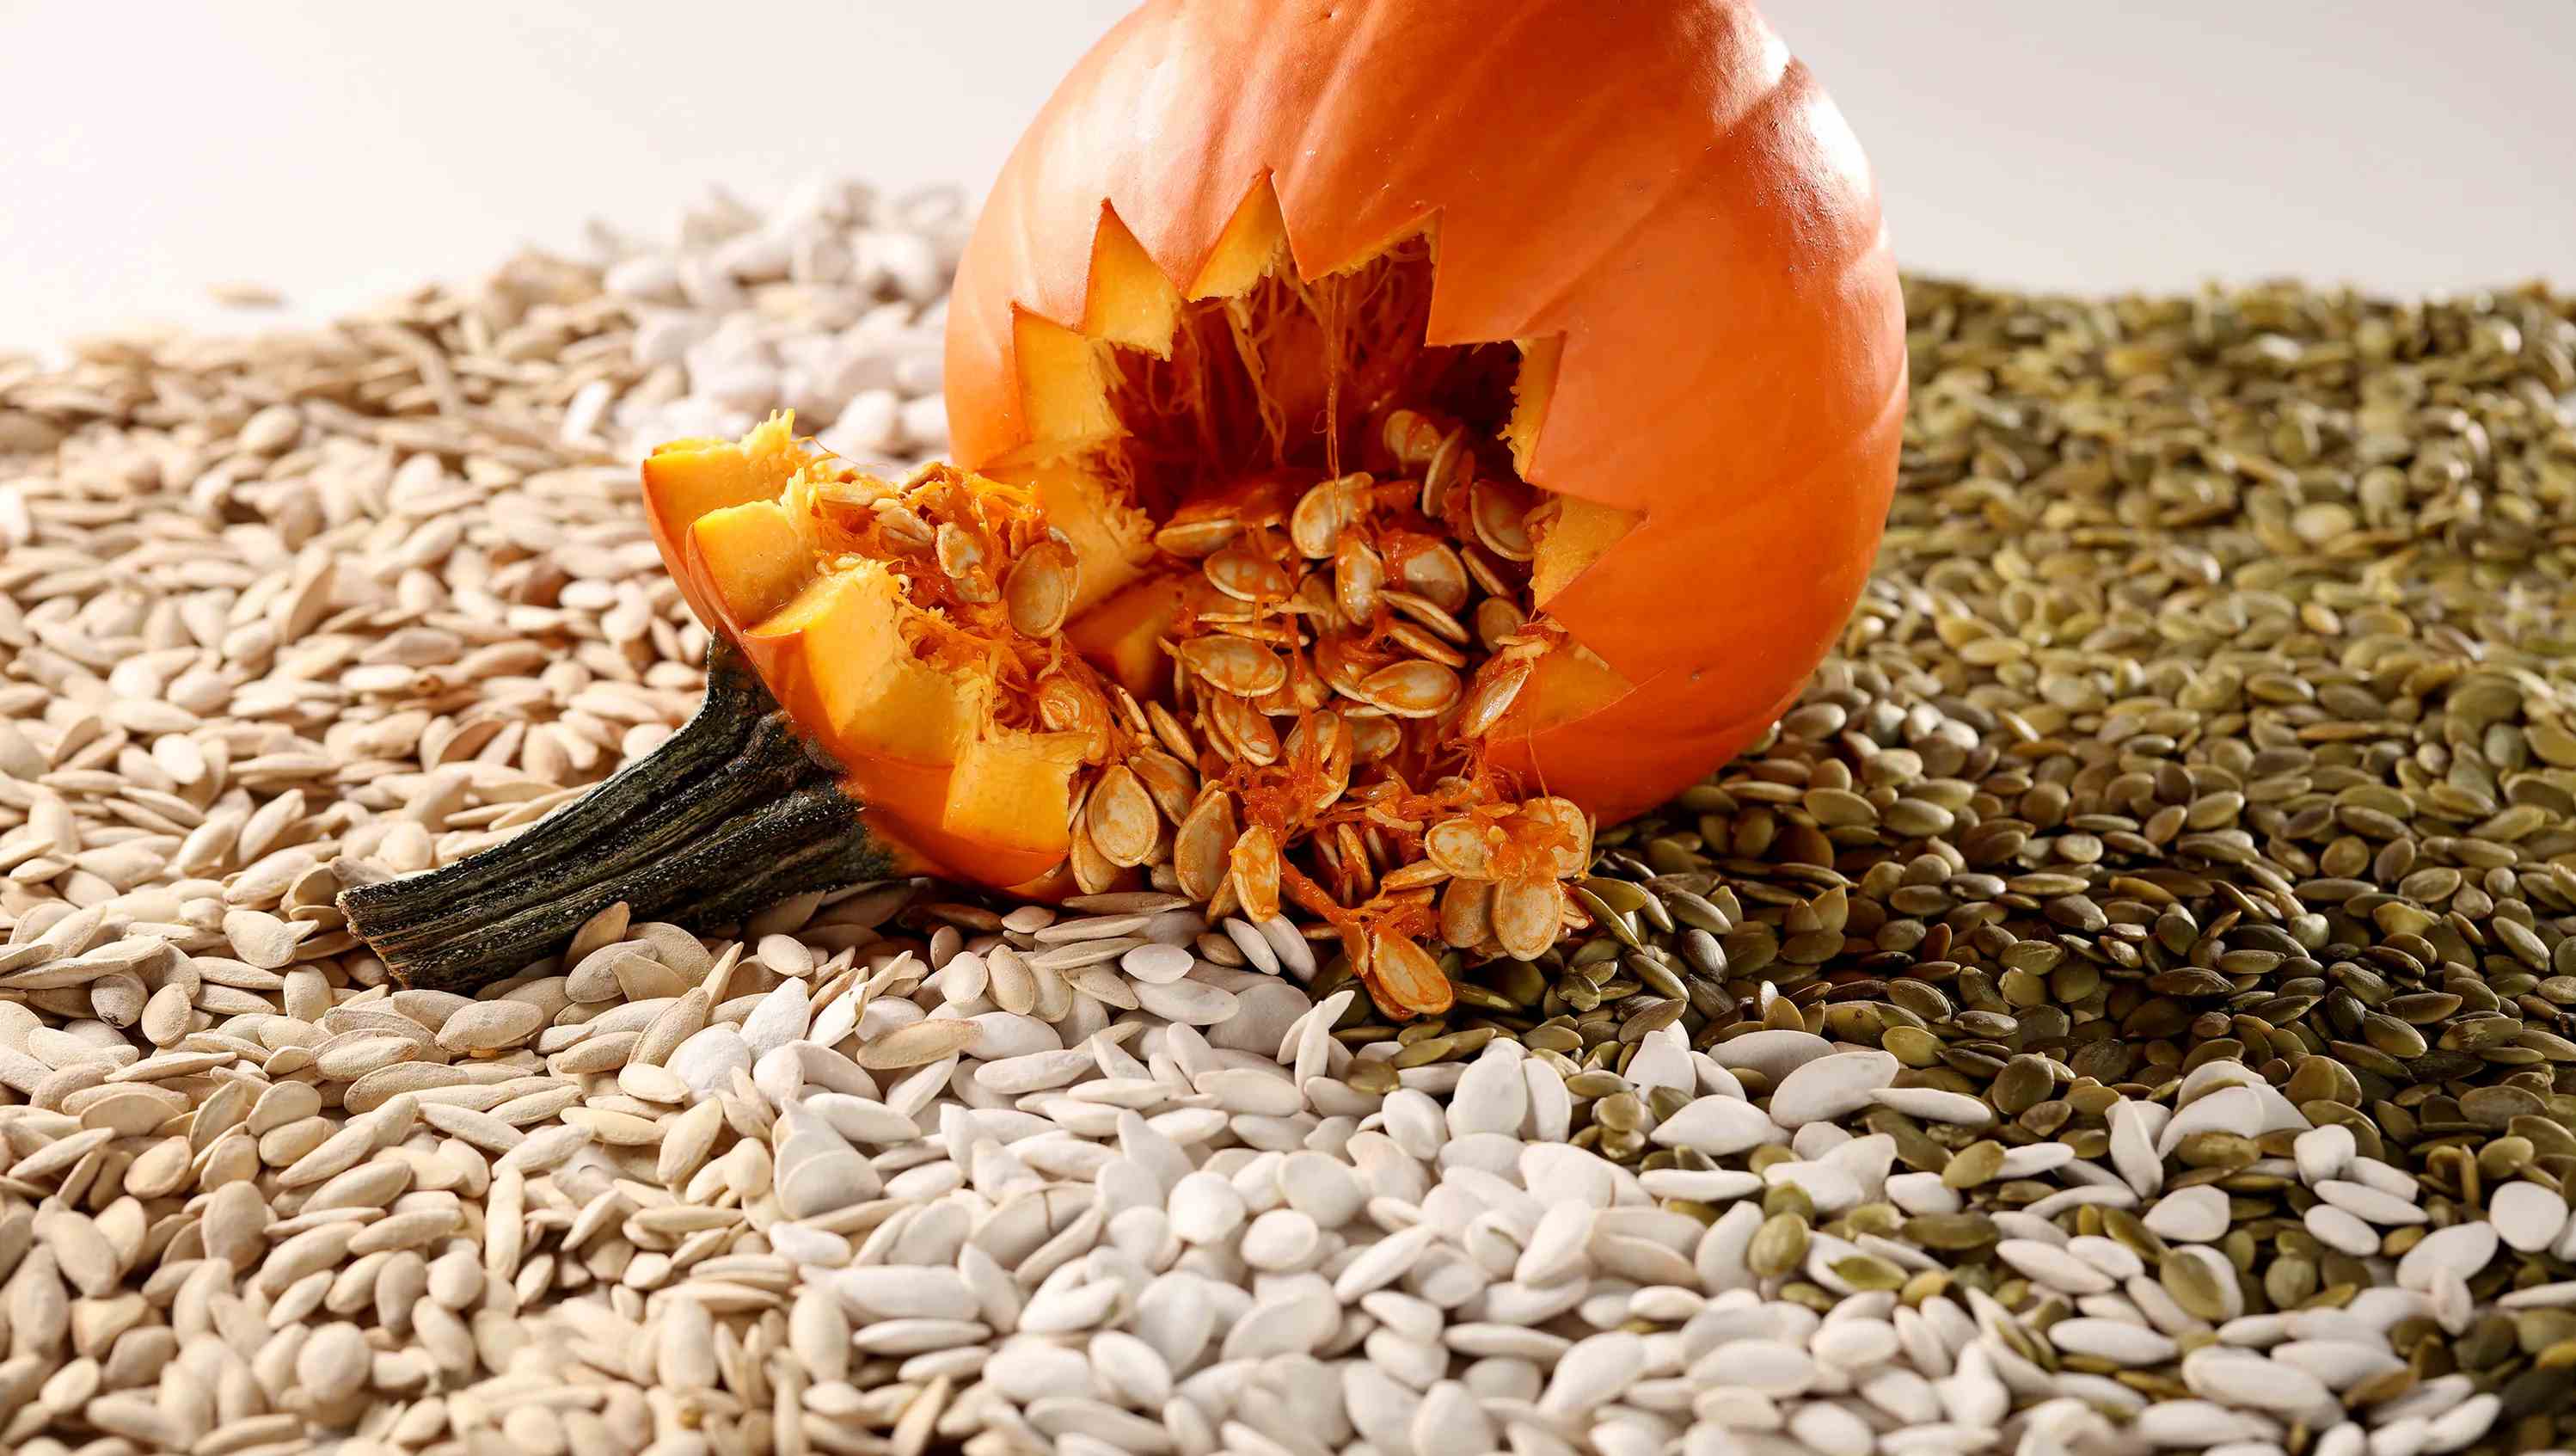
- Observe the tree closely and identify the clusters of small, winged seeds, known as samaras. These samaras usually appear after the tree has produced flowers in the spring.
- Wait until the samaras turn from green to a brownish color, indicating that they are fully matured and ready to be collected.
- Using a pair of sharp scissors or pruning shears, carefully cut the samaras from the tree. Place them in a container or bag to prevent them from scattering.
- Label the container or bag with the date and variety of the Japanese Maple tree from which you collected the seeds. This will help you keep track of the different varieties if you collected seeds from multiple trees.
It’s important to note that collecting seeds from a Japanese Maple tree does not guarantee that the resulting bonsai will resemble its parent. Japanese Maples can cross-pollinate with other nearby trees, resulting in variations in leaf shape, color, and growth habit. This element of surprise adds to the excitement and uniqueness of growing a Japanese Maple bonsai from seed.
Once you have collected the seeds, it’s time to prepare them for planting. We will explore the seed preparation process in the next section.
Preparing the Seed for Planting
Before you can plant the collected Japanese Maple seeds, it’s important to prepare them properly to increase their chances of germination. This process involves scarification and stratification, both of which mimic the natural conditions that encourage seed dormancy to be broken.
The first step in preparing the seed is scarification. This process helps break down the hard seed coat and allows water and oxygen to penetrate, promoting germination. Here’s how to scarify the seeds:
- Place the collected seeds between two sheets of sandpaper or rub them gently with sandpaper to create small scratches on the seed coat. This process should be done carefully to avoid damaging the seed.
- Soak the scarified seeds in a bowl of room temperature water for 24 to 48 hours. This will help to further soften the seed coat and prepare them for germination. Change the water once or twice during this soaking period.
After scarification, the next step is stratification. This process exposes the seed to a period of cold temperatures, which simulates winter dormancy. Stratification is crucial for breaking the seed’s dormancy and triggering germination. Follow these steps to stratify the seeds:
- Moisten a handful of peat moss or vermiculite until it is damp but not soaking wet.
- Place the scarified seeds inside a zip-lock bag or airtight container and cover them with the damp peat moss or vermiculite.
- Seal the bag or container and place it in the refrigerator for a period of 60 to 90 days. This temperature range mimics the winter conditions that the seeds would naturally experience.
Throughout the stratification period, check on the seeds periodically to ensure they remain damp but not waterlogged. This will help to prevent fungus and mold from forming. After the recommended stratification period, the seeds are ready for planting.
Preparing the Japanese Maple seeds through scarification and stratification processes helps to break their dormancy, increasing the chances of successful germination. In the next section, we will discuss the process of planting the prepared seeds and caring for the newly sprouted seedlings.
Stratification Process
The stratification process is a vital step in preparing Japanese Maple seeds for germination. By subjecting the seeds to a period of cold temperatures, you are mimicking the natural dormancy period the seeds would experience in their native environment. This cold treatment is essential for breaking seed dormancy and promoting successful germination.
Here’s a step-by-step guide on how to stratify Japanese Maple seeds:
- Gather the scarified seeds after the soaking period and place them in a moistened medium. You can use damp peat moss, vermiculite, or a mixture of peat moss and perlite.
- Label the container with the date and variety of the seeds to keep track of the stratification period. This information will be helpful when planning for the next steps.
- Seal the container to prevent moisture loss and ensure a consistent level of humidity. Alternatively, you can place the seeds inside a sealable plastic bag or wrap them in moist paper towels.
- Place the container or bag in the refrigerator and maintain a temperature range between 33-41°F (0.5-5°C). This temperature range is ideal for stratification purposes.
- Leave the seeds in the refrigerator for a period of 60 to 90 days. This duration may vary depending on the specific Japanese Maple variety you are working with, so it’s important to refer to the needs of each variety for optimal results.
- Regularly check the seeds for any signs of mold or decay. If necessary, adjust the moisture level or remove any affected seeds to prevent contamination.
During the stratification period, it’s crucial to maintain a stable moisture level. Keep the medium damp but avoid overwatering, as excessive moisture can lead to fungal growth and mold. Additionally, ensure proper ventilation within the refrigerator to prevent excessive humidity.
After the recommended stratification period, you can proceed to the next steps of planting the stratified seeds and nurturing them into healthy Japanese Maple bonsai seedlings. The stratification process breaks the seed dormancy and prepares the seeds for germination, enabling them to sprout and grow into young saplings.
In the next section, we will explore the planting process in detail to ensure the best conditions for your Japanese Maple bonsai seedlings.
Planting the Seed
Now that you have prepared the Japanese Maple seeds through scarification and stratification, it’s time to move on to the exciting process of planting them. Proper planting techniques and care will set the foundation for healthy growth and development of your Japanese Maple bonsai seedlings.
Follow these steps to plant your stratified Japanese Maple seeds:
- Fill a seed tray or small pots with a well-draining bonsai soil mix. You can also create your own blend by combining equal parts of akadama, pumice, and lava rock.
- Make a small indentation about ½ inch deep in the center of each pot or tray cell using your finger or a pencil.
- Place one stratified Japanese Maple seed in each indentation, making sure the scarified side is facing up. Gently press the soil around the seed to secure it in place.
- Lightly mist the soil surface with water to provide initial moisture without saturating the soil.
- Cover the seed tray or pots with a humidity dome or plastic wrap to create a greenhouse-like environment. This helps retain moisture and creates a favorable microclimate for germination.
- Place the tray or pots in a warm location with indirect sunlight. Avoid direct sunlight as it can overheat and dry out the soil.
- Maintain a consistent level of moisture in the soil by regularly misting it with water. Be careful not to oversaturate the soil, as this can lead to fungal issues.
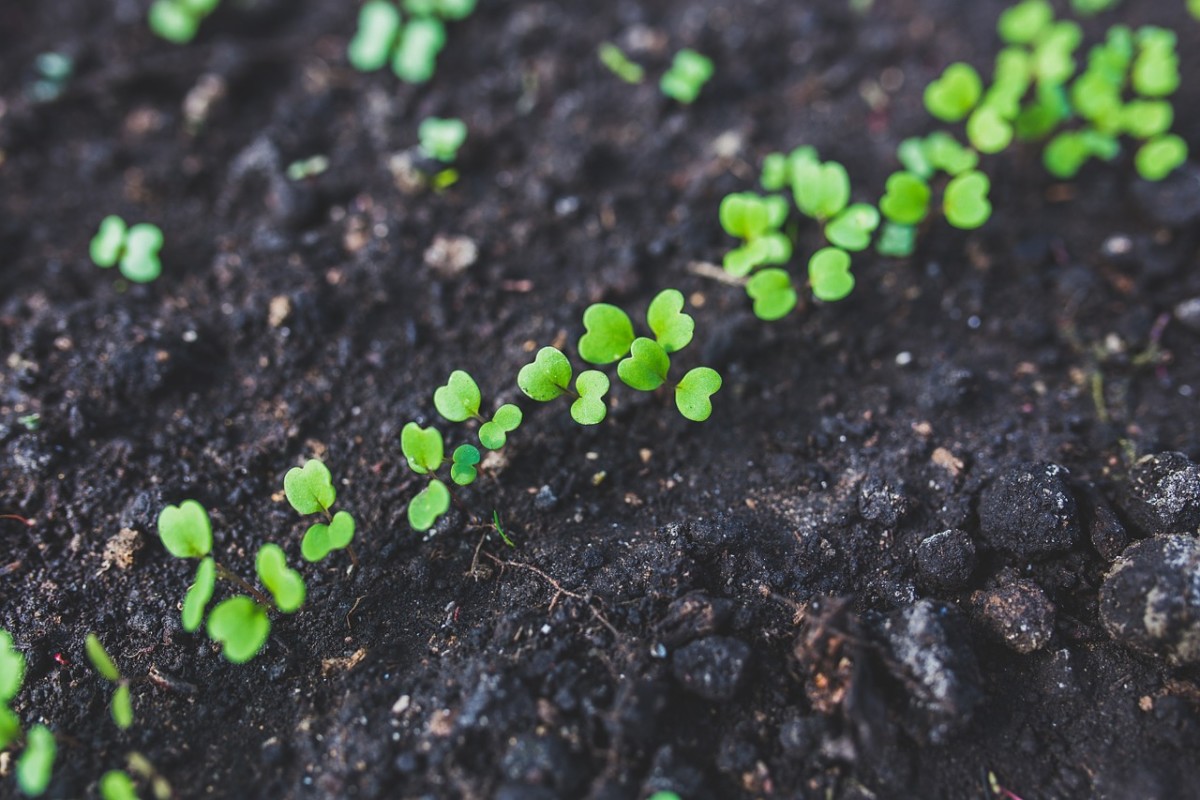
- Germination typically occurs within 2-3 weeks, but it can take longer for some varieties. Be patient and continue to provide the necessary care.
As the seedlings emerge, remove the humidity dome or plastic wrap to gradually acclimate them to the ambient humidity. Place the trays or pots in a bright location with filtered sunlight to encourage healthy growth. Monitor the moisture level of the soil and water the seedlings gently whenever the soil feels dry to the touch.
It’s important to note that not all seeds may germinate, and not all seedlings may survive. Be prepared for some degree of variability in the success rate, as this is a natural part of the process.
Once the seedlings have developed a few sets of true leaves and are strong enough to handle, they can be transplanted into individual bonsai pots or containers. This marks the beginning of an exciting journey of nurturing your Japanese Maple bonsai from a tiny seedling into a magnificent miniature tree.
In the next section, we will explore the care and maintenance required for the healthy growth of your Japanese Maple bonsai.
Care and Maintenance of Japanese Maple Bonsai
Proper care and maintenance are essential for the health and beauty of your Japanese Maple bonsai. By providing the right conditions and attention, you can help your bonsai thrive and develop its unique characteristics. Here are some key aspects to consider when caring for your Japanese Maple bonsai:
Light:
Japanese Maples thrive in dappled or partial shade. Place your bonsai in a location that receives filtered sunlight or morning sun with protection from intense afternoon heat. Avoid placing it in direct sunlight, as this can scorch the delicate leaves.
Water:
Maintaining proper moisture levels is crucial for the health of your Japanese Maple bonsai. Water the tree thoroughly when the top inch of the soil feels dry to the touch. Aim to keep the soil evenly moist, but not waterlogged. Avoid overwatering, as excessive moisture can lead to root rot and other issues.
Fertilization:
Japanese Maples benefit from regular fertilization during the growing season. Use a balanced bonsai fertilizer or a slow-release granular fertilizer specifically designed for bonsai. Apply the fertilizer according to the package instructions, adjusting the frequency based on the growth and needs of your bonsai.
Pruning:
Pruning is an important aspect of maintaining the desired shape and size of your Japanese Maple bonsai. Regularly prune away any dead, damaged, or overgrown branches to promote healthy growth. Use sharp bonsai pruning shears to make clean cuts and avoid leaving stubs. Pruning is best done during the dormant season or early spring before new growth begins.
Leaf Maintenance:
Japanese Maples are known for their exquisite foliage. Monitor the leaves for any signs of pests or diseases, such as aphids, scale, or fungal infections. Treat any issues promptly using appropriate organic or chemical treatments. Additionally, remove any yellow or withered leaves to maintain the bonsai’s aesthetic appeal.
Winter Protection:
Japanese Maples are generally hardy, but they may need protection in colder climates. Provide winter protection by placing the bonsai in an unheated but sheltered area, such as a cold frame or a garage. Ensure proper ventilation to prevent excessive humidity. Mulching the soil surface and protecting the roots with insulating material can also help protect the tree from freezing temperatures.
By paying close attention to these care and maintenance practices, you can help your Japanese Maple bonsai flourish and showcase its captivating beauty year after year.
In the next section, we will explore pruning and shaping techniques that will add further character to your Japanese Maple bonsai.
Pruning and Shaping Techniques
Pruning and shaping are integral parts of maintaining the desired form and structure of your Japanese Maple bonsai. By utilizing proper techniques, you can enhance the tree’s natural beauty and create a miniature representation of its full-sized counterpart. Here are some techniques to consider when pruning and shaping your Japanese Maple bonsai:
Structural Pruning:
During the early stages of your bonsai’s development, it’s important to establish the tree’s basic framework. Remove any competing or unwanted branches that may disrupt the desired structure. Identify one main trunk line and select a few main branches that radiate outward to create an aesthetically pleasing canopy. Prune branches that grow inward or cross each other to encourage an open and balanced silhouette.
Branch Development:
As your Japanese Maple bonsai matures, focus on refining and improving the branch structure. Encourage ramification (the division of branches into finer twigs) by selectively pruning the tips of branches. This stimulates the growth of lateral buds and promotes the development of finer branching. Aim for a visually appealing arrangement of branches that maintains a sense of harmony and proportion.
Leaf Pruning:
To maintain the small leaf size characteristic of Japanese Maples, periodic leaf pruning is essential. As new growth emerges, pinch off the tips of the leaves or remove larger leaves altogether, leaving only a few pairs of smaller leaves. This technique helps reduce leaf size and encourages the growth of smaller, more compact foliage. Leaf pruning is typically done during the growing season and can be repeated throughout the year as needed.
Wiring:
Wiring is a technique used to guide the growth and shape of branches. Choose aluminum or copper wire that is slightly thicker than the branch you wish to bend. Wrap the wire around the branch in a spiral motion, taking care not to overtighten or damage the bark. Gently bend the branch into the desired position, using the wire to hold it in place. Leave the wire on for the necessary amount of time to set the desired shape, but avoid leaving it on for too long to prevent wire marks or constricting the growth.
Apical Dominance:
Apical dominance refers to the natural tendency of a tree to focus its growth on the apical or topmost bud. To maintain a balanced silhouette, it’s important to control apical dominance by pruning the top of the tree. This encourages lateral bud development and prevents excessive elongation of the main trunk or branches. Regularly prune the top of the tree, focusing on maintaining a compact and tapered apex.
Remember that pruning should be done with care and precision. Avoid excessive pruning, as it can stress the tree and affect its overall health. Additionally, observe the tree’s growth patterns and adjust your pruning techniques accordingly to create a harmonious and aesthetically pleasing Japanese Maple bonsai.
In the next section, we will explore the process of repotting your Japanese Maple bonsai, which is crucial for its long-term health and vitality.
Repotting
Repotting is an essential aspect of maintaining the health and vitality of your Japanese Maple bonsai. Over time, the roots of the tree can become compacted, potentially leading to restricted growth and nutrient deficiencies. Repotting allows you to refresh the soil, prune the roots, and provide the bonsai with a new growing environment. Here’s a step-by-step guide on how to repot your Japanese Maple bonsai:
Timing:
The ideal time to repot a Japanese Maple bonsai is during its dormancy period in early spring, just before new growth begins. However, avoid repotting during extremely cold or hot weather, as the tree may be more sensitive to transplant shock.
Preparation:
Select a well-draining bonsai soil mix suitable for Japanese Maples. A mix consisting of akadama, pumice, and lava rock in equal parts is commonly used. Additionally, prepare the necessary tools, including bonsai shears, root hook, and a suitable container for repotting.
Pruning the Roots:
Carefully remove the tree from its current pot, gently loosening the root ball with a root hook or chopstick. Inspect the roots and prune away any large or circling roots using bonsai shears. Trim back the finer roots to encourage new growth. Aim to retain about one-third of the root mass to minimize stress.
Preparing the New Pot:
Clean the new pot thoroughly and ensure it has drainage holes. Place a layer of fine mesh or a bonsai mesh over the drainage holes to prevent soil from escaping. Add a layer of fresh bonsai soil to the bottom of the pot to create a foundation for the tree.
Positioning the Tree:
Position the Japanese Maple bonsai in the center of the pot, ensuring that the tree is at the desired height and angle. Gently spread out the roots, being mindful not to damage them further. Add more soil around the roots, gradually working your way up and filling the pot, ensuring all spaces are filled without excessive compaction.
Watering and Aftercare:
Thoroughly water the bonsai after repotting to settle the soil and remove any air pockets. Place the freshly repotted tree in a shaded area for a few weeks to allow it to recover and minimize water loss through transpiration. Avoid fertilizing immediately after repotting to prevent stressing the tree further.
It is important to note that repotting your Japanese Maple bonsai should be done on a regular basis, typically every 2-3 years. The frequency may vary depending on the age and growth of your bonsai. Regular repotting ensures the overall health, vitality, and optimal growth of your Japanese Maple bonsai.
In the next section, we will address some common issues that bonsai enthusiasts may encounter and provide troubleshooting tips to help you overcome such challenges.
Troubleshooting Common Issues
Caring for a Japanese Maple bonsai requires attentiveness and knowledge, as certain problems may arise from time to time. By being aware of common issues and knowing how to address them, you can ensure the health and vitality of your bonsai. Here are some common issues that bonsai enthusiasts may encounter when growing a Japanese Maple bonsai and troubleshooting tips to overcome them:
Leaf Discoloration:
If you notice discoloration or browning of the leaves, it may indicate a watering issue. Evaluate the moisture level of the soil and adjust your watering practices accordingly. Make sure the tree is receiving adequate water without overwatering. Additionally, check for possible pests or diseases, such as aphids or fungal infections, and treat them promptly to prevent further leaf damage.
Leaf Curling:
Curling leaves can be a sign of underwatering or inadequate humidity. Ensure that your Japanese Maple bonsai receives sufficient water, especially in hot and dry weather conditions. Consider placing a humidity tray filled with water near the bonsai to increase the moisture levels in the immediate environment. Mist the foliage occasionally to provide additional moisture and create a more humid microclimate.
Pest Infestation:
Japanese Maple bonsai can be susceptible to common pests such as aphids, scale insects, or spider mites. Regularly inspect the tree for signs of infestation, including sticky residue, webbing, or small crawling insects. For minor infestations, a gentle spray of insecticidal soap or a neem oil solution can help control the pests. In the case of a severe infestation, consider using appropriate insecticides, ensuring that they are specifically labeled for bonsai use.
Root Issues:
Root-related issues, such as root rot or rootbound conditions, can affect the overall health of your Japanese Maple bonsai. To prevent root rot, ensure proper drainage in the soil and avoid overwatering. If your bonsai is rootbound, it may need to be repotted to allow for root growth and expansion. Carefully inspect the roots during repotting and prune away any damaged or excessively tangled root masses.
Branch Dieback:
If you notice branches or twigs dying back, it may indicate a problem with the tree’s overall health or external stressors. Evaluate the tree’s growing conditions, including light exposure, watering routine, and fertilization. Ensure that your Japanese Maple bonsai is receiving the appropriate amount of light, water, and nutrients. Protect the tree from extreme weather conditions, such as frost or scorching temperatures, as these can cause stress and lead to branch dieback.
Being proactive and attentive to these common issues will help you maintain the health and vitality of your Japanese Maple bonsai. Regular observation, appropriate care, and prompt action when needed are essential for successful troubleshooting and the long-term well-being of your bonsai.
In the final section, we will wrap up our guide on growing a Japanese Maple bonsai and highlight the beauty and rewards of this horticultural art form.
Conclusion
Congratulations! You have now embarked on a journey to grow your own Japanese Maple bonsai from seed. By following the steps outlined in this guide, you have gained valuable knowledge on selecting the right variety, collecting and preparing seeds, as well as caring for and shaping your bonsai tree.
Growing a Japanese Maple bonsai from seed is a rewarding and fulfilling experience. As you watch your miniature tree grow and thrive, you will develop a deep appreciation for the artistry and patience required in cultivating this living masterpiece.
Remember to provide your Japanese Maple bonsai with the appropriate lighting, watering, and fertilization to ensure its health and longevity. Regular pruning and shaping techniques will help you maintain the desired form and size, creating a bonsai that truly reflects your vision.
In addition to the step-by-step instructions provided in this guide, it is important to continue learning and exploring the world of bonsai. Attend workshops, join bonsai clubs, and engage with fellow enthusiasts to deepen your knowledge and refine your techniques. The bonsai community is a rich source of inspiration, guidance, and support.
As you embark on this horticultural art form, remember to enjoy the process. Creating and nurturing a Japanese Maple bonsai is a journey that requires patience, passion, and dedication. Embrace the beauty and tranquility that your bonsai brings to your life and surroundings.
Now that you have the necessary tools and knowledge, it’s time to roll up your sleeves and begin your journey of growing a magnificent Japanese Maple bonsai from seed. May your bonsai bring you joy, serenity, and a deep appreciation for the beauty of nature.