Home>Gardening Techniques>Plant Care>How To Grow Trees From Seeds
Plant Care
How To Grow Trees From Seeds
Modified: February 7, 2024
Learn essential plant care tips to successfully grow trees from seeds with our step-by-step guide. Start your journey to a thriving garden now!
(Many of the links in this article redirect to a specific reviewed product. Your purchase of these products through affiliate links helps to generate commission for Chicagolandgardening.com, at no extra cost. Learn more)
Table of Contents
Introduction
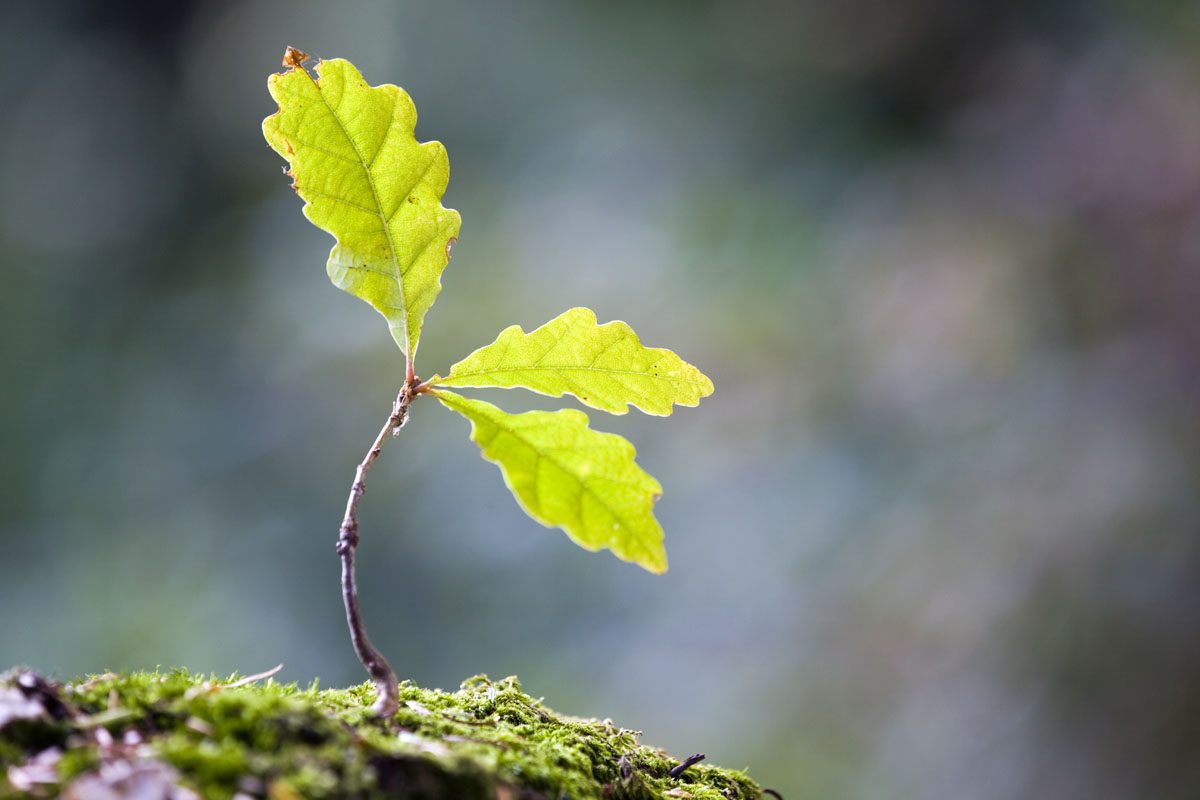
Welcome to the wonderful world of growing trees from seeds! There is something truly magical about watching a tiny seed transform into a majestic tree. Whether you have a passion for gardening or simply want to add more greenery to your surroundings, growing trees from seeds is a rewarding and fulfilling experience.
When you choose to grow trees from seeds, you have the opportunity to witness the entire life cycle of a plant, from its early stages of germination to its flourishing growth. It not only allows you to connect with nature but also gives you a sense of accomplishment as you nurture the seedlings into strong and thriving trees.
But growing trees from seeds requires patience, care, and knowledge. In this article, we will guide you through the process, providing you with step-by-step instructions and valuable tips to ensure successful seed germination and healthy tree growth.
Whether you’re interested in growing fruit trees, ornamental trees, or native trees, the techniques and principles discussed here will apply to most tree species. So, let’s dive into the fascinating world of growing trees from seeds and embark on a journey of green-thumb triumph!
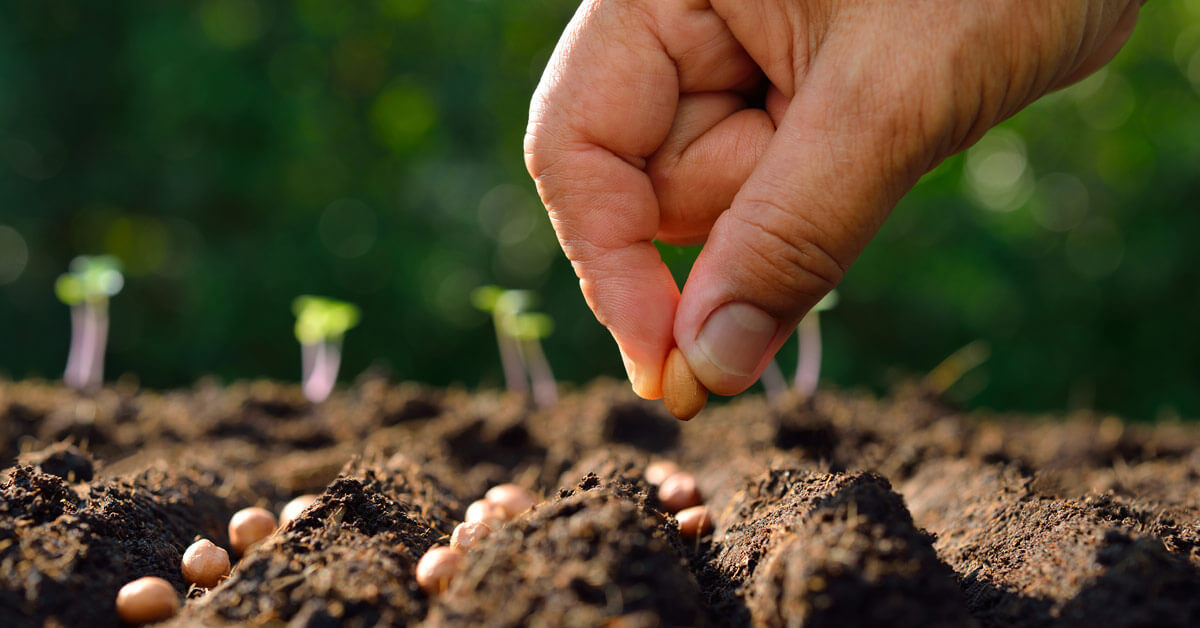
Step 1: Choosing the Seeds
The first step in growing trees from seeds is choosing the right seeds to cultivate. The seed selection process is crucial as it determines the success and quality of your future tree. Here are some factors to consider when choosing your seeds:
- Species Suitability: Select seeds from tree species that are well-suited to your climate and region. Certain trees thrive in specific environmental conditions, such as temperature, soil pH, and sunlight exposure. Research the native trees in your area or consult with local nurseries or horticulturists for guidance.
- Freshness and Viability: Opt for fresh seeds as they have a higher chance of germination. Look for seeds that are plump, firm, and undamaged. Avoid seeds that are discolored, shriveled, or show signs of mold. Additionally, ensure that the seeds are viable by conducting a germination test beforehand. Place a few seeds on a damp paper towel and seal them in a plastic bag. Check after a week to see how many seeds have sprouted.
- Seed Collection: If you have access to a mature tree, you can collect seeds directly from the parent plant. Ensure to gather seeds that are fully mature but not overly ripe. Alternatively, you can purchase seeds from reputable nurseries or online retailers.
- Desired Tree Characteristics: Consider the specific qualities you want in your future tree. This could be features like flower color, fruit production, or growth habit. Keep in mind that certain characteristics may be more prevalent in some tree varieties than others.
By giving careful thought to these factors, you can ensure that you select high-quality seeds that have a greater chance of thriving and developing into healthy, resilient trees. Once you have chosen your seeds, you are ready to move on to the next step: preparing the soil.
Step 2: Preparing the Soil
The quality of the soil plays a vital role in the successful growth of trees from seeds. Creating the ideal growing environment for your seedlings is essential. Follow these steps to prepare the soil:
- Soil Type: Familiarize yourself with the soil requirements of the tree species you’re cultivating. Some trees prefer well-draining soil, while others thrive in moist or loamy soil. Understanding the soil preferences of your chosen tree will help you select the appropriate soil type.
- Soil Testing: Test the soil to determine its pH level and nutrient composition. Most trees prefer a slightly acidic to neutral pH, ranging from 6.0 to 7.0. Soil testing kits are available at garden centers or can be conducted by a local agricultural extension service. Based on the results, you may need to amend the soil with organic matter or minerals to create an optimal growing medium for your tree seeds.
- Clearing and Tilling: Remove any weeds, rocks, or debris from the planting site. Use a garden hoe or tiller to break up the soil and create a loose, friable texture. This will facilitate root penetration and allow for optimal water drainage.
- Amending the Soil: Based on the results of your soil test, add organic matter or fertilizers to improve the nutrient content. Organic matter, such as compost or well-rotted manure, enriches the soil, improves its structure, and enhances its water-holding capacity. Mix the amendments thoroughly with the existing soil to ensure an even distribution.
- Leveling and Raking: Smooth out the soil surface using a rake, ensuring it’s level and free of large clumps or depressions. This will provide an even and stable base for planting your tree seeds.
By taking the time to prepare the soil properly, you create an environment where your tree seeds can establish strong root systems and thrive. Adequate soil preparation sets the foundation for healthy growth and development in the subsequent stages of your tree-growing journey.
Step 3: Germinating the Seeds
Germination is the process in which a seed sprouts and begins to develop into a seedling. Proper germination is crucial for the successful growth of trees from seeds. Follow these steps to germinate your tree seeds:
- Stratification: Many tree seeds require a period of cold stratification to break their dormancy and initiate germination. This mimics the natural conditions they would experience in the wild. Before stratifying the seeds, moisten a paper towel and place the seeds on it. Fold the towel and seal it in a plastic bag. Store the bag in the refrigerator for the recommended stratification period specified for your tree species.
- Scarification: Some tree seeds have hard seed coats that may inhibit germination. To enhance germination, you can scarify the seeds by lightly sanding or nicking the outer seed casing with a file or knife. This creates small openings for water absorption and encourages quicker germination.
- Seed Soaking: Soaking the seeds in water can help soften the seed coat and promote moisture absorption. Place the scarified or unscarified seeds in a bowl of room temperature water and let them soak for 24 to 48 hours. Discard any seeds that float, as they are likely not viable.
- Seed Planting: Once the stratification and soaking processes are complete, it’s time to plant the seeds. Fill containers or seed trays with a well-draining soil mix, leaving some space at the top. Plant the seeds according to the specified planting depth for your tree species. Lightly tamp down the soil to ensure good seed-to-soil contact.
- Moisture and Warmth: After planting, ensure that the soil is consistently moist but not waterlogged. Use a misting spray bottle or a gentle watering technique to avoid displacing the seeds. Place the containers in a warm location out of direct sunlight. Maintain a temperature range that is optimal for germination, as specified for your tree species.
By following these steps, you will provide the ideal conditions for your tree seeds to break their dormancy and embark on the journey of becoming seedlings. Germination is a crucial stage in the tree-growing process, laying the foundation for healthy and robust growth in the next stages.
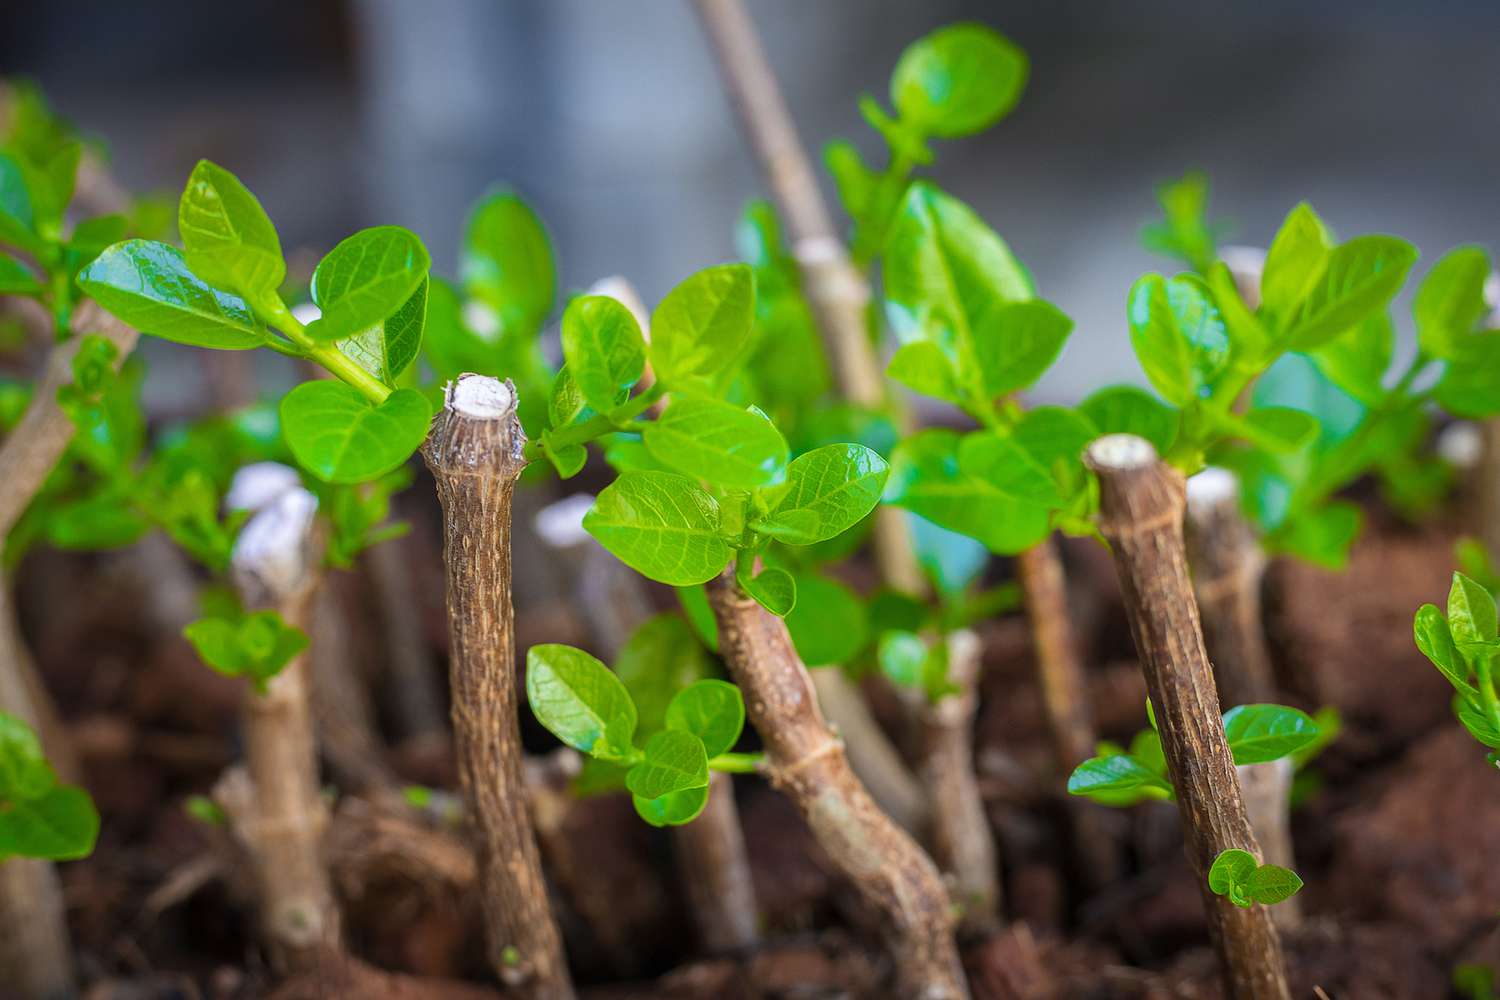
Step 4: Planting the Seeds
After the seeds have successfully germinated and developed into seedlings, it’s time to move on to the next step: planting them into their permanent location. Follow these guidelines to ensure a successful planting process:
- Site Selection: Choose an appropriate location for planting your seedlings. Consider factors such as sunlight exposure, soil quality, and drainage. Ensure the chosen spot provides sufficient space for the tree’s future growth.
- Preparing the Planting Hole: Dig a hole that is wide and deep enough to accommodate the root ball of the seedling. Make sure the hole is slightly larger than the root system to allow for proper root expansion.
- Handling the Seedlings: Gently remove the seedlings from their containers, being careful not to damage the roots. If the roots are tightly bound, gently tease them apart to encourage outward growth.
- Placing the Seedling: Position the seedling in the center of the planting hole, making sure it’s upright. Avoid planting the seedling too deep, as it can hinder root development. The top of the root ball should be level with or slightly above the soil surface.
- Backfilling and Firming: Fill the hole with the excavated soil, gently firming it around the roots. Ensure that the soil is in contact with the roots to avoid air pockets. Avoid compacting the soil too tightly, as it can hinder water and air penetration.
- Watering: After planting, thoroughly water the seedling to settle the soil and promote root establishment. Provide enough water to ensure the entire root ball is moistened. Continued watering is essential during the establishment phase to keep the seedling adequately hydrated.
- Mulching: Apply a layer of mulch around the base of the seedling, leaving a small space around the trunk to prevent moisture buildup. Mulch helps conserve soil moisture, suppresses weed growth, and regulates soil temperature.
- Staking (if necessary): If the seedling is tall or in an area prone to strong winds, you may need to stake it for support. Use soft ties to loosely secure the trunk to the stake, allowing some natural movement for the seedling.
By carefully planting your seedlings, you provide them with a strong foundation for growth and ensure their proper integration into their new environment. Now that your seedlings are in the ground, it’s time to move on to the next step: providing proper care.
Step 5: Providing Proper Care
Proper care is crucial to the health and growth of your newly planted tree seedlings. By providing the right conditions and maintenance, you can ensure their successful establishment and long-term vitality. Follow these guidelines for providing proper care:
- Watering: Adequate and consistent watering is vital during the establishment phase. Water your tree seedlings deeply, ensuring the root ball receives sufficient moisture. Monitor the soil moisture level and adjust watering frequency accordingly, keeping in mind the tree’s water requirements and the weather conditions.
- Mulching: Maintain a layer of mulch around the base of the tree to conserve soil moisture, suppress weed growth, and regulate soil temperature. Ensure the mulch is not directly touching the trunk to prevent moisture-related issues.
- Pruning: Proper pruning helps shape the tree, remove any damaged or diseased branches, and promote healthy growth. However, avoid excessive pruning during the early stages, as it can stress the seedlings. Consult resources or seek professional advice on proper pruning techniques for your tree species.
- Fertilizing: Depending on the soil quality and the specific tree species, you may need to provide additional nutrients through fertilization. Soil tests can help identify any deficiencies and guide you in choosing the appropriate fertilizer. Apply fertilizers as recommended, following the instructions carefully to avoid over-application.
- Weed Control: Regularly inspect the area around your tree seedlings for weed growth. Weeds compete with the young trees for nutrients and water. Remove weeds promptly, either by hand pulling or using appropriate weed control methods that are safe for your tree species.
- Protection from Pests: Monitor your tree seedlings for signs of pest infestations such as insects or diseases. Identify the specific pests affecting your tree species and choose appropriate pest control measures. Opt for environmentally friendly and safe methods whenever possible.
- Seasonal Maintenance: Adjust your care routine based on the seasonal needs of your tree species. During extremely hot or dry periods, provide extra water to prevent stress and dehydration. In colder climates, protect young trees from frost or freezing temperatures using blankets or tree covers.
- Regular Inspections: Regularly inspect your tree seedlings for any signs of stress, disease, or any other issues. Promptly address any concerns to ensure the health and vitality of your trees.
By providing proper care and maintenance, you give your tree seedlings the best chance of thriving and growing into strong, mature trees. Remember that each tree species may have specific care requirements, so always refer to species-specific guidelines and consult with local horticulturists if needed.
Step 6: Transplanting the Seedlings
As your tree seedlings continue to grow and mature, there may come a time when they need to be transplanted into their permanent location. Transplanting is a critical step in ensuring the long-term success of your trees. Here are the guidelines for transplanting seedlings:
- Timing: Choose the right time to transplant your seedlings, taking into account the weather conditions and the growth stage of the trees. Generally, transplanting is best done during the dormant season, either in early spring or late fall, when the trees are not actively growing.
- Preparing the New Site: Prepare the new planting site by loosening the soil and removing any weeds or competing vegetation. Ensure the soil is suitable for the specific tree species, with proper drainage and nutrient availability.
- Transplantation Process: Gently excavate the seedling, trying to minimize disturbance to the roots as much as possible. Dig a hole at the new site that is deep and wide enough to accommodate the entire root ball. Place the seedling into the hole, ensuring it’s positioned upright and at the same depth as before.
- Backfilling and Watering: Fill the hole with soil, gently firming it around the roots to eliminate air pockets. Water thoroughly after transplanting to help settle the soil and provide hydration to the seedling.
- Post-Transplant Care: Monitor the newly transplanted seedlings closely for any signs of stress or transplant shock. Provide them with regular watering and appropriate care to aid in their establishment. Mulching around the base of the seedlings will help conserve moisture and protect against weeds.
- Stake (if necessary): To provide support and stability, stake the transplanted seedlings if they are tall or in an area prone to strong winds. Use soft ties to loosely secure the trunk and allow for some natural movement.
- Observation and Maintenance: Watch for any signs of stress or issues, such as wilting, yellowing leaves, or pest infestations. Address any problems promptly to ensure the health and survival of the transplanted seedlings.
Transplanting can be a delicate process, but with proper care and attention, your tree seedlings can transition successfully to their new location. Ensure you provide them with the necessary aftercare to promote healthy growth and establishment.
Conclusion
Growing trees from seeds is a rewarding and fulfilling endeavor that allows you to witness the miracle of life and contribute to the beauty and greenery of your surroundings. By following the step-by-step process outlined in this article, you can successfully cultivate tree seedlings and watch them thrive into mature, majestic trees.
From selecting high-quality seeds to preparing the soil, germinating the seeds, planting them, and providing proper care, each step is crucial in ensuring the success of your tree-growing journey. Paying attention to the specific needs of your chosen tree species, whether it’s watering, fertilizing, or protecting from pests, will enhance the growth and vibrancy of your trees.
Remember, it’s important to be patient and attentive throughout the process. Growing trees from seeds takes time and dedication, but the rewards are well worth it. As you observe your seedlings grow and transform into strong, resilient trees, you’ll experience the satisfaction of knowing that you played a significant role in their development.
So, immerse yourself in the wonder of growing trees from seeds, and enjoy the journey of nurturing new life. With each step you take, you contribute to a greener and more vibrant world, leaving a lasting legacy for future generations to enjoy.