Home>Gardening News and Trends>Latest News>How To Harvest Seeds From Vegetables
Latest News
How To Harvest Seeds From Vegetables
Modified: February 9, 2024
Learn how to harvest seeds from vegetables in this latest news article. Find out the best techniques and tips for saving and storing seeds for future planting.
(Many of the links in this article redirect to a specific reviewed product. Your purchase of these products through affiliate links helps to generate commission for Chicagolandgardening.com, at no extra cost. Learn more)
Table of Contents
Introduction
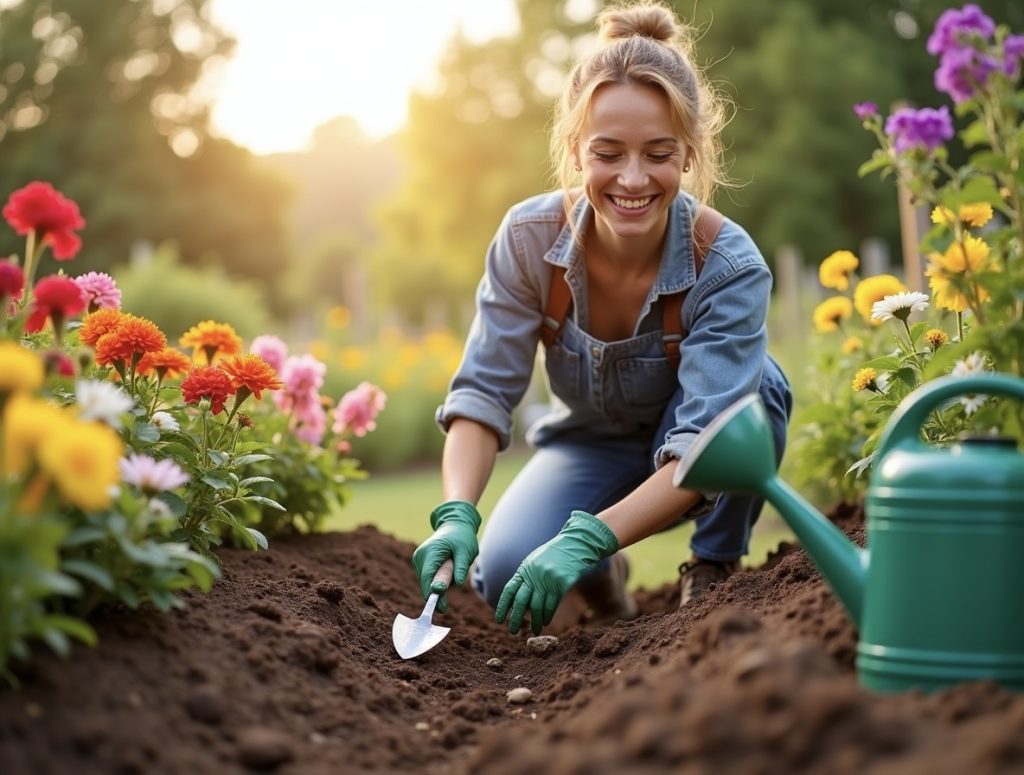
Seed harvesting from vegetables is not only a rewarding activity for avid gardeners but also an eco-friendly and sustainable practice. By saving seeds from your own vegetables, you can ensure a continuous supply of next year’s crops, save money on buying seeds, and contribute to preserving heirloom and rare plant varieties. In this article, we will guide you through the process of harvesting seeds from vegetables, step by step.
As you dive into the world of seed harvesting, you will discover the joy of being self-reliant and the satisfaction of preserving the genetic diversity of plants. Whether you’re an experienced gardener or a beginner, understanding the principles of seed harvesting is fundamental to success.
Throughout this article, we will discuss the benefits of seed harvesting, provide you with tips on selecting the right vegetables, guide you through the process of gathering and cleaning the seeds, and advise you on proper storage methods. So, let’s get started and unlock the secrets of seed harvesting from vegetables!
Benefits of Harvesting Seeds from Vegetables
Harvesting seeds from vegetables offers a range of benefits that go beyond the immediate satisfaction of a successful harvest. Here are some compelling reasons why you should consider seed harvesting:
- Promotes Self-Sufficiency: By saving seeds from your own vegetables, you reduce your reliance on commercial seed suppliers and have the ability to grow your own food year after year.
- Cost Savings: Buying seeds can add up quickly, especially if you have a large garden. Harvesting seeds allows you to save money, as you won’t have to purchase new seeds for every planting season.
- Preserves Genetic Diversity: Seed harvesting contributes to preserving heirloom and rare plant varieties. With the decline of certain seed varieties on the market, your efforts can help maintain biodiversity and protect plant genetic resources.
- Adapted to Local Conditions: Over time, by selecting and saving seeds from the healthiest and most productive plants in your own garden, you can develop plants that are better adapted to your specific growing conditions, resulting in higher yields.
- Continuity of Desirable Traits: When you save seeds, you have control over selecting and propagating the plants that exhibit the traits you desire, such as flavor, disease resistance, or early maturity.
- Creating a Seed Bank: By having your own collection of saved seeds, you are creating a personal seed bank that can sustain you in times of seed shortages, environmental disasters, or unforeseen circumstances.
- An Understanding of the Plant Life Cycle: Harvesting seeds gives you a deeper understanding of the life cycle of plants, from flowering to seed production. This knowledge can be fascinating and enhance your gardening skills.
These benefits make seed harvesting an essential practice for any gardener who values sustainability, biodiversity, and self-sufficiency. So, let’s delve into the steps involved in harvesting seeds from your vegetables and start reaping the rewards!
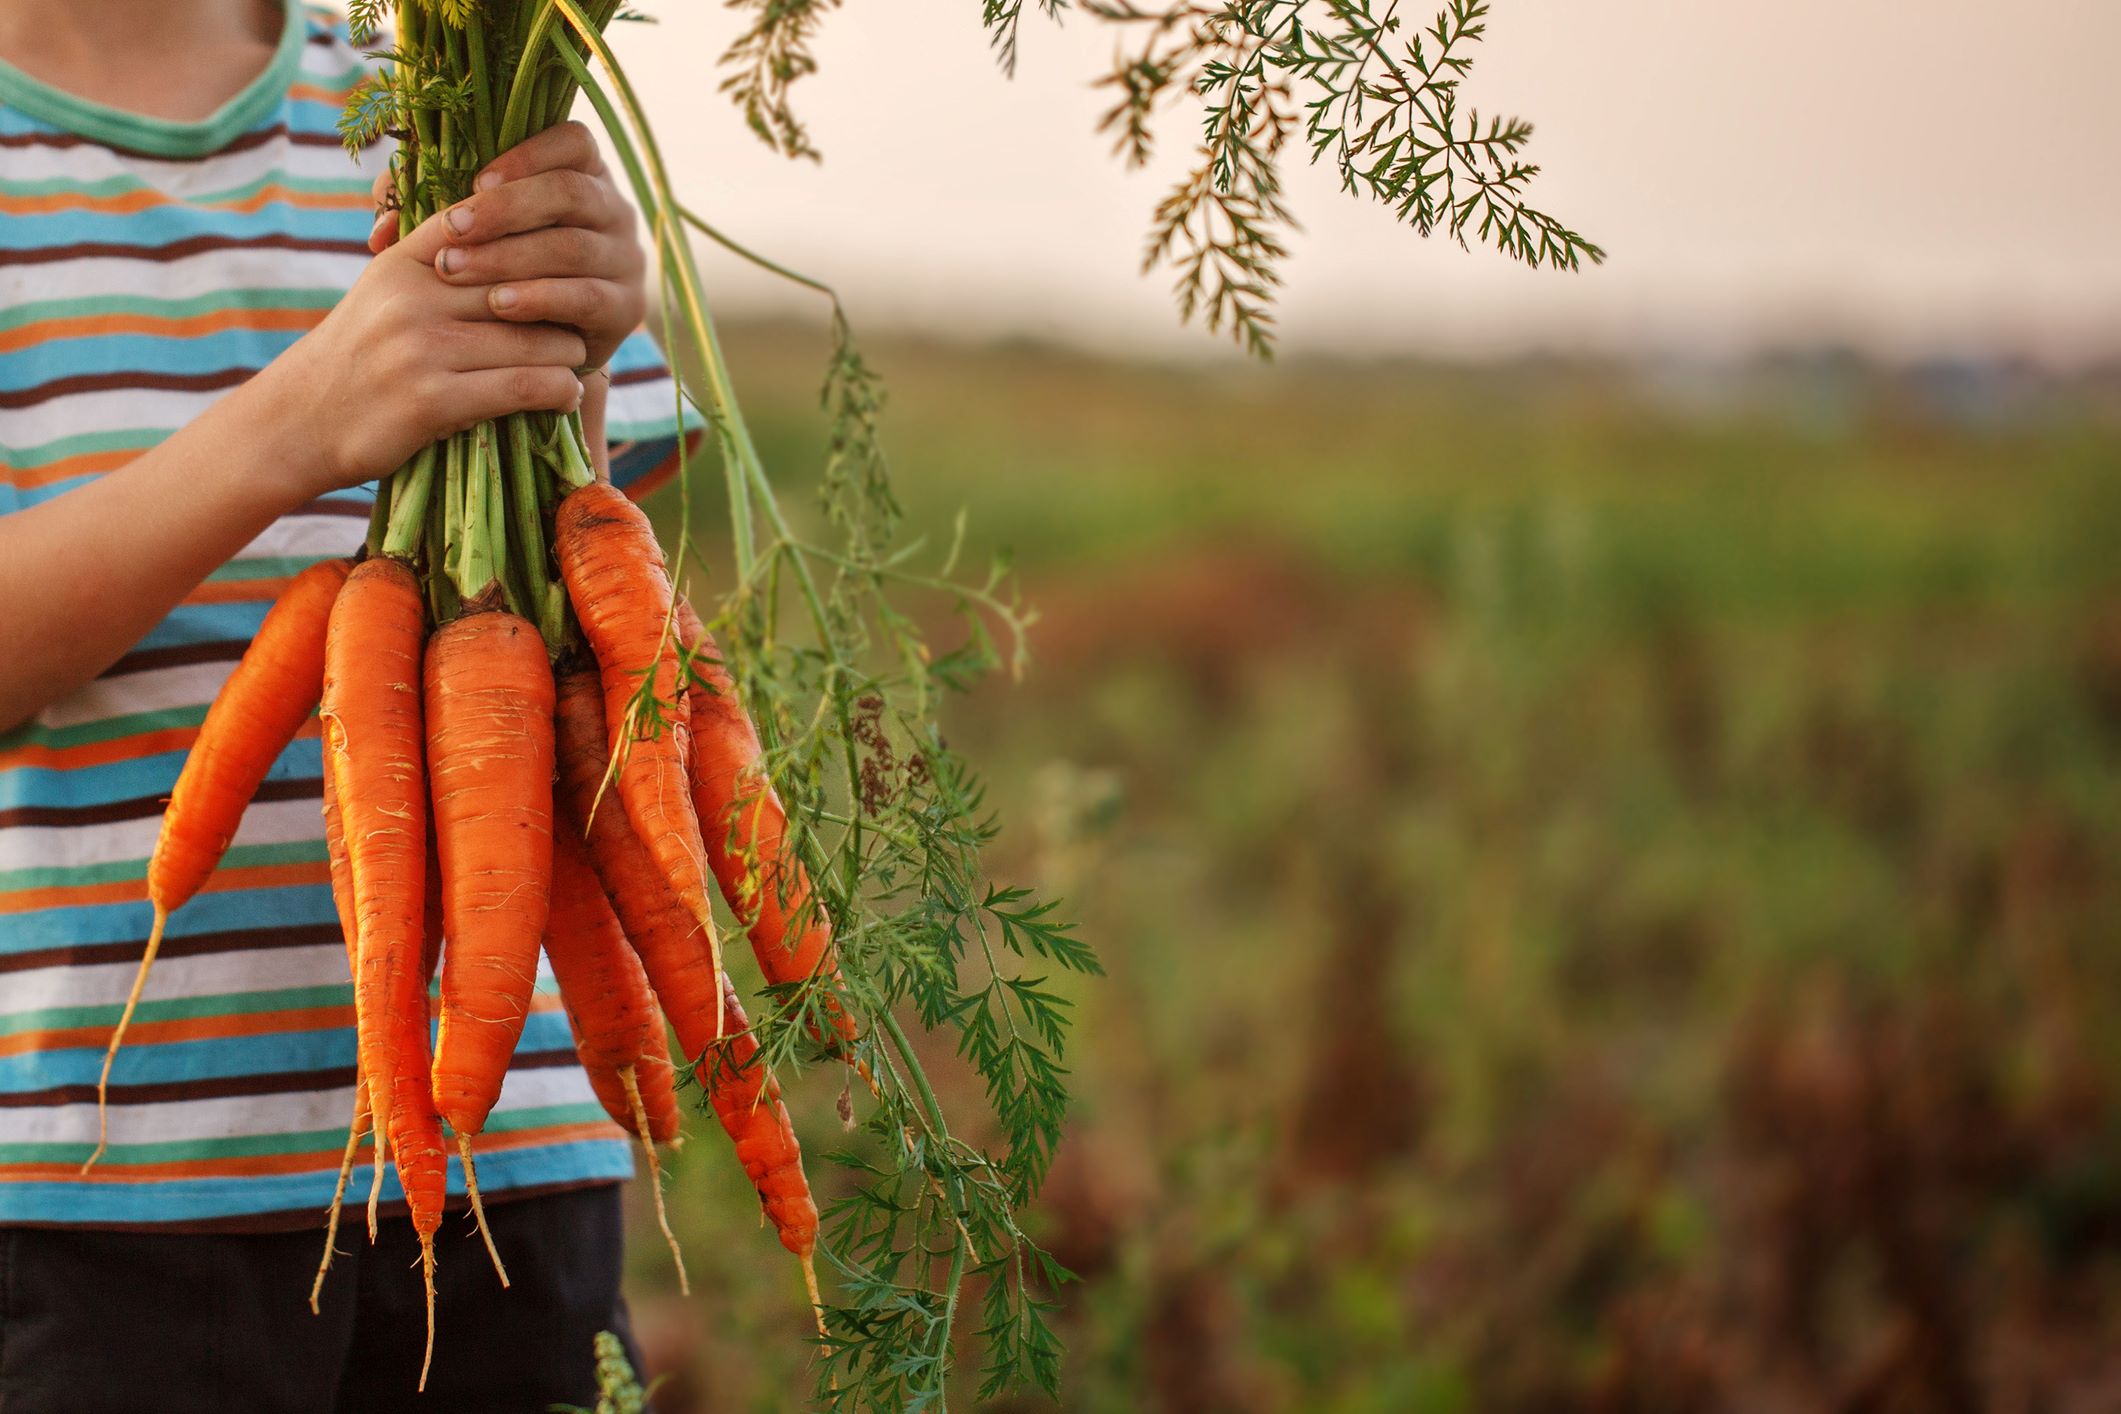
Step 1: Selecting the Right Vegetables for Seed Harvesting
The first step in seed harvesting is to choose the right vegetables for the process. Not all vegetables are suitable for seed saving, as some varieties are hybrids or require special techniques for successful seed production. Here are some factors to consider when selecting vegetables for seed harvesting:
- Open-Pollinated Varieties: Look for open-pollinated or heirloom varieties of vegetables. These plants will produce seeds that grow true to the parent plant, ensuring the preservation of desirable traits.
- Non-Hybridized Plants: Avoid hybridized vegetables, as the seeds they produce may not be viable or may not produce plants with the same characteristics as the parent plant.
- Healthy and Vigorous Plants: Choose plants that are healthy, disease-free, and show good growth. Avoid selecting plants that are weak, stunted, or displaying signs of pests or diseases.
- Maturity Period: Consider the maturity period of the vegetable. Ensure that the vegetable has enough time to fully mature and produce viable seeds before the end of the growing season.
- Cross-Pollination: Check whether the vegetable plant is self-pollinating or requires cross-pollination. Some plants, like tomatoes or peppers, are self-pollinating, while others, like corn or squash, require cross-pollination. If you plan on saving seeds from cross-pollinating plants, you need to take appropriate precautions to prevent unwanted cross-pollination.
By selecting the right vegetables for seed harvesting, you increase the likelihood of successful seed production and preservation of desirable traits. It’s important to do your research and choose vegetables that are well-suited for saving seeds. Now that you know what to look for in a vegetable plant, let’s move on to the next step: allowing the vegetables to mature and ripen.
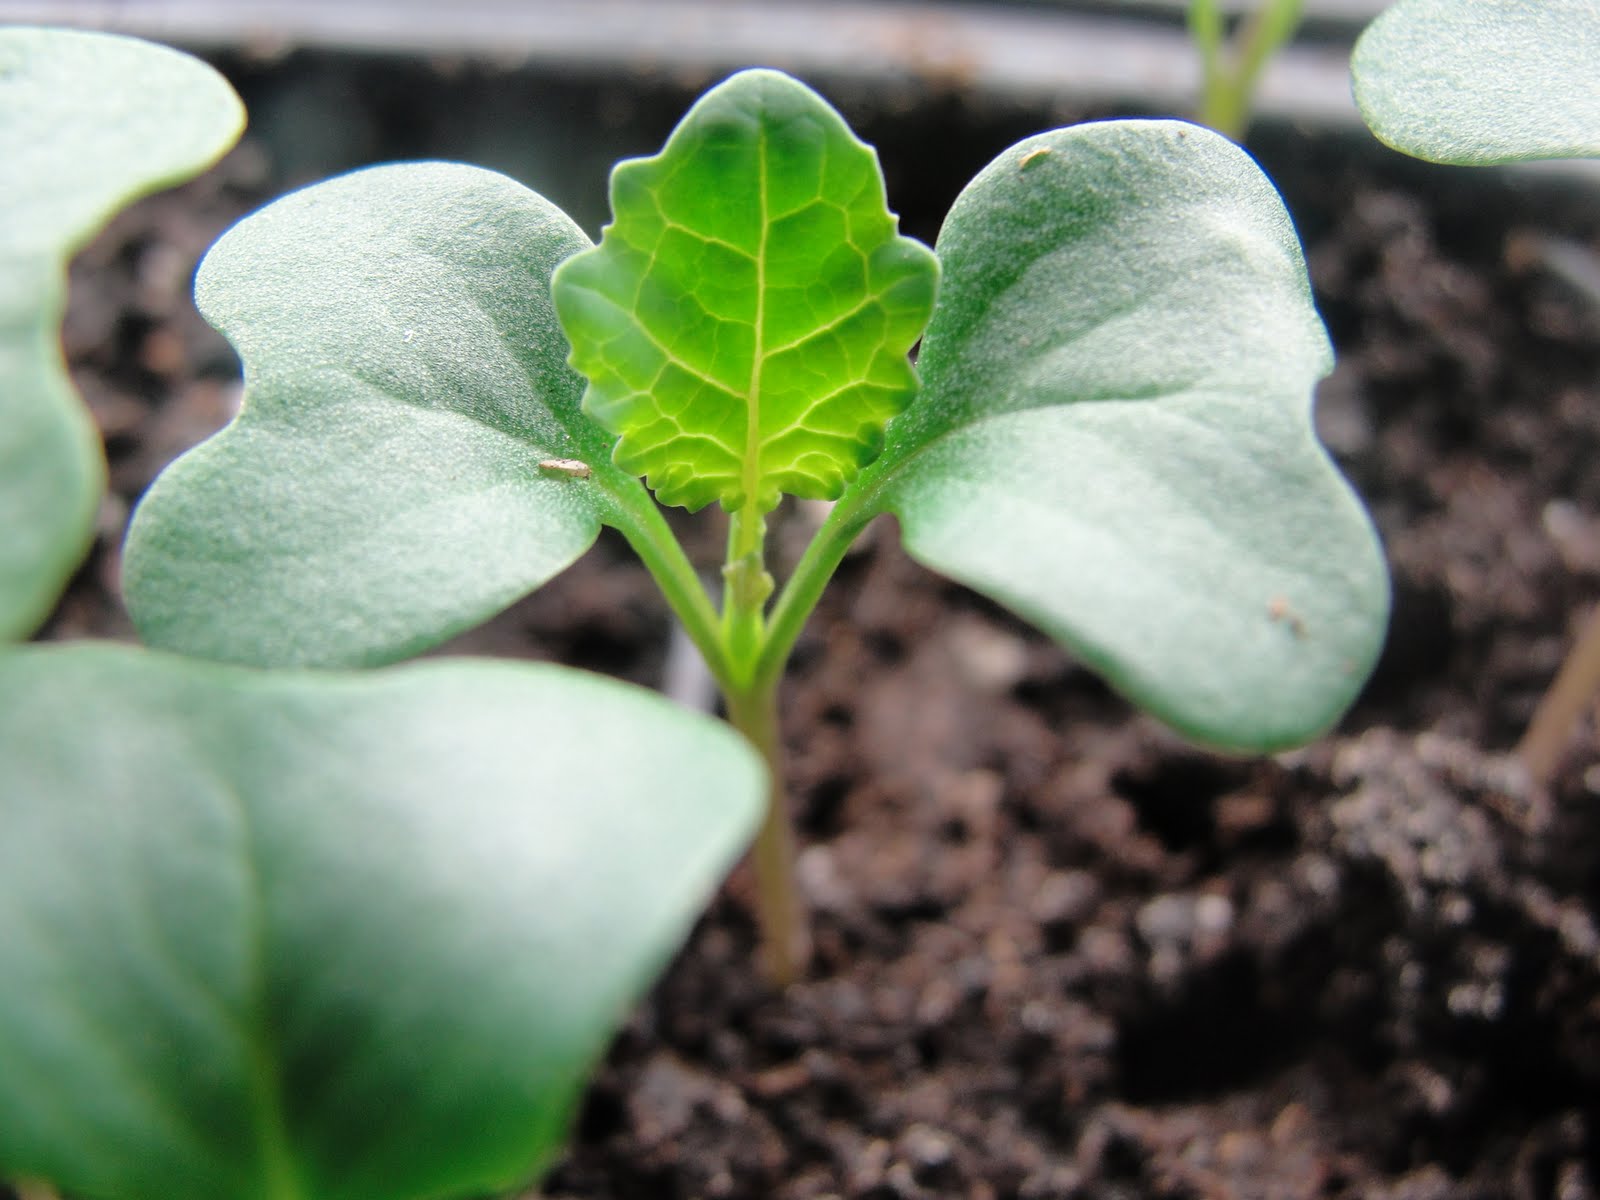
Step 2: Allowing Vegetables to Mature and Ripen
Once you have selected the right vegetables for seed harvesting, the next step is to allow them to mature and ripen fully. This is crucial for successful seed production, as immature seeds may not germinate or produce healthy plants. Follow these guidelines to ensure proper maturation and ripening:
- Leave Vegetables on the Plant: Let the vegetables remain on the plant until they reach full maturity. Avoid harvesting them early, as the seeds inside may not be fully developed.
- Observe Changes in Color and Texture: Pay attention to changes in color and texture. Most vegetables will change color or become softer as they ripen. This indicates that the seeds inside are maturing.
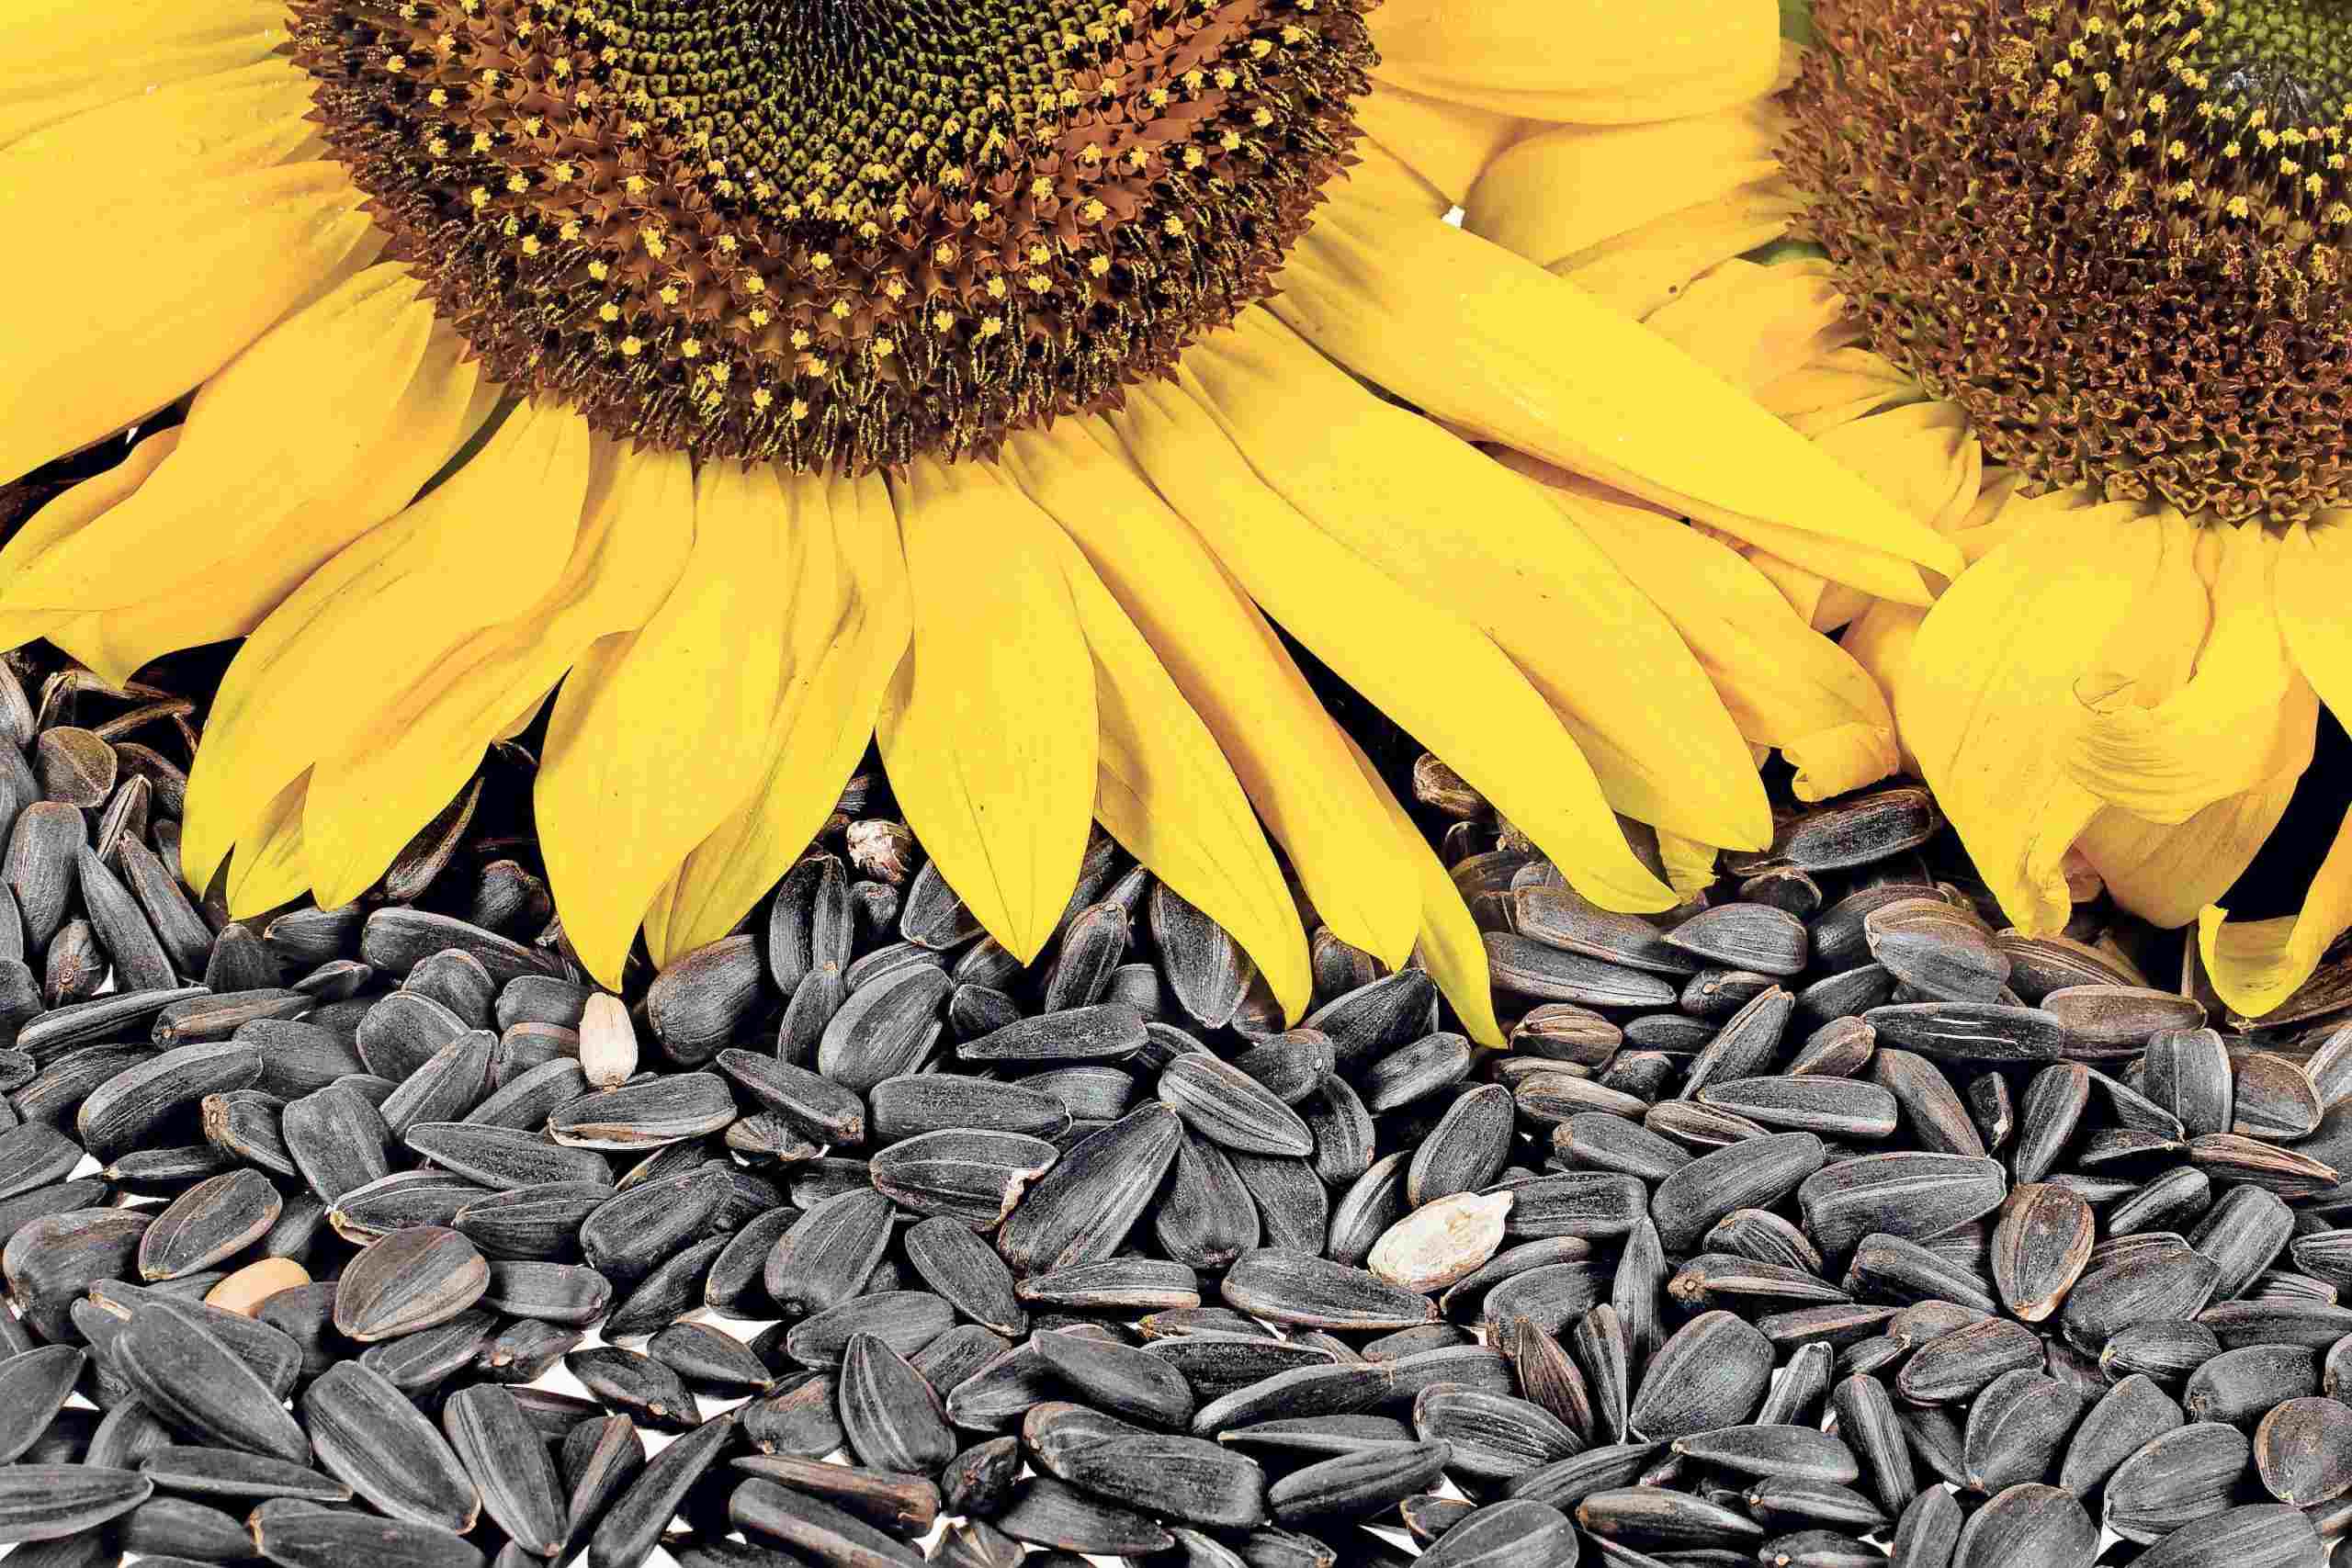
- Monitor Seed Pods: For vegetables that produce seeds in pods or husks, such as beans or peas, wait until the pods dry out and turn brown. This signals that the seeds are ready for harvest.
- Harvest at the Right Time: Harvest the vegetables for seed harvesting when they are fully ripe but before they begin to rot or spoil. This ensures optimal seed quality.
It’s important to note that the timing for seed harvesting can vary depending on the vegetable variety and local growing conditions. As you gain experience, you will become better at identifying the optimal time for each type of vegetable. Once the vegetables have matured, it’s time to move on to the next step: gathering the seeds.
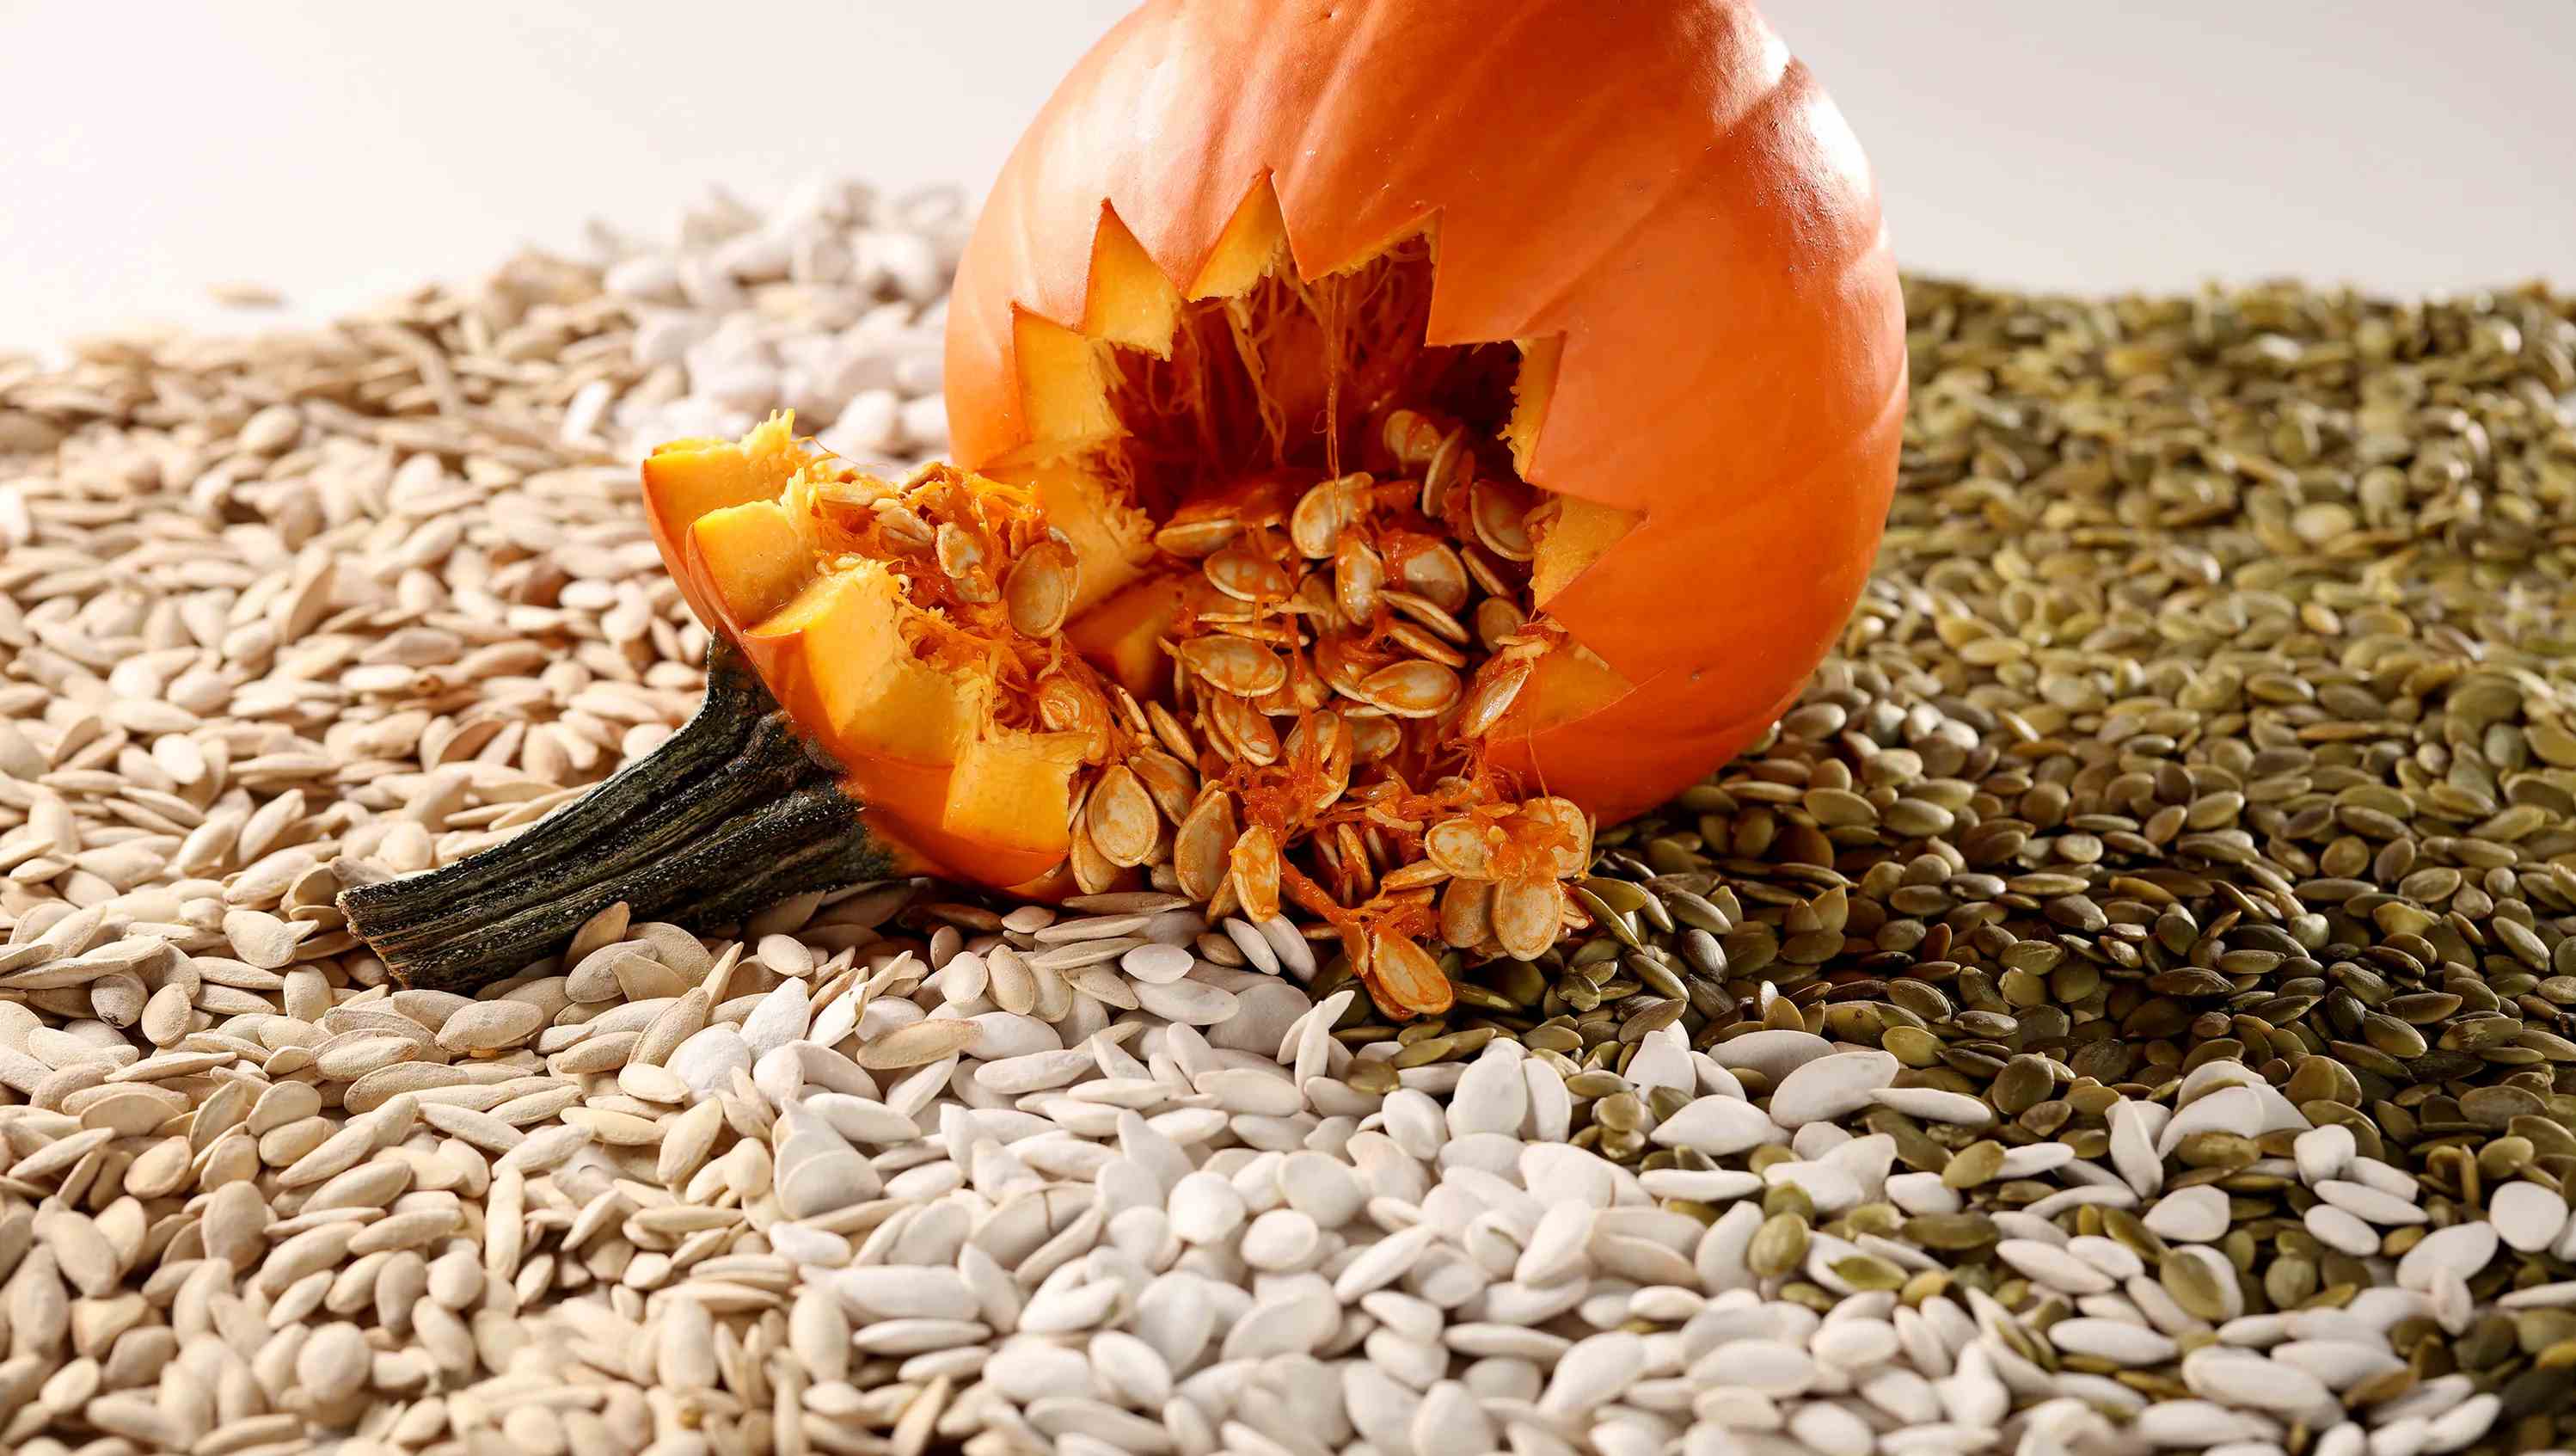
Step 3: Gathering the Seeds
After allowing the vegetables to mature and ripen, it’s time to gather the seeds for harvesting. Follow these steps to collect the seeds effectively:
- Prepare Your Tools: Before you start gathering the seeds, gather the necessary tools such as clean containers, labels, and a marker. Labeling is crucial to keep track of the different types of seeds.
- Harvest the Vegetables: Carefully harvest the mature vegetables from the plants. Be gentle to avoid damaging the seeds or the plants.
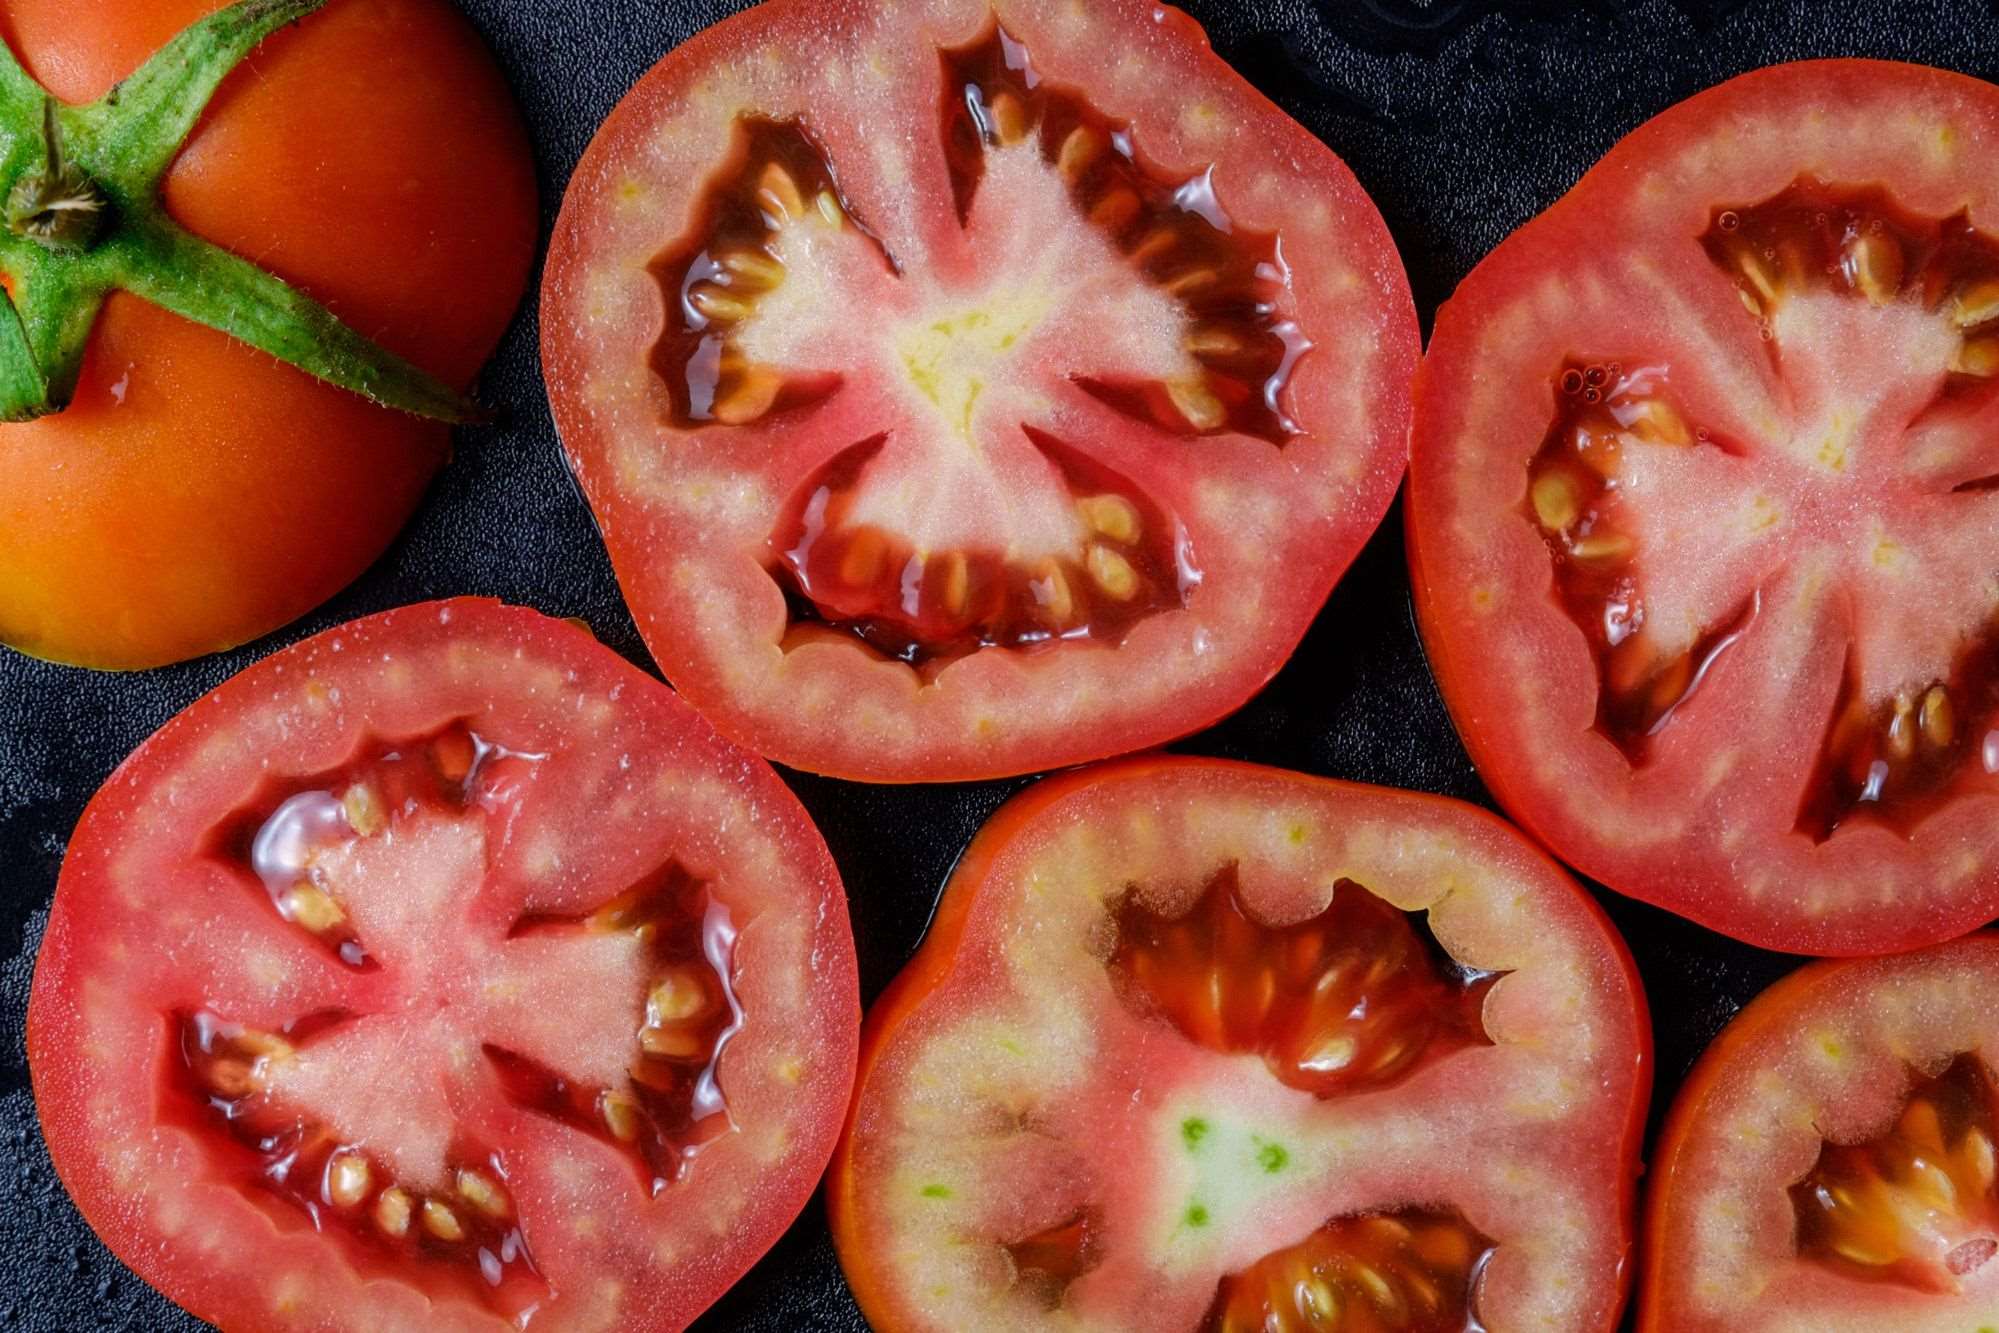
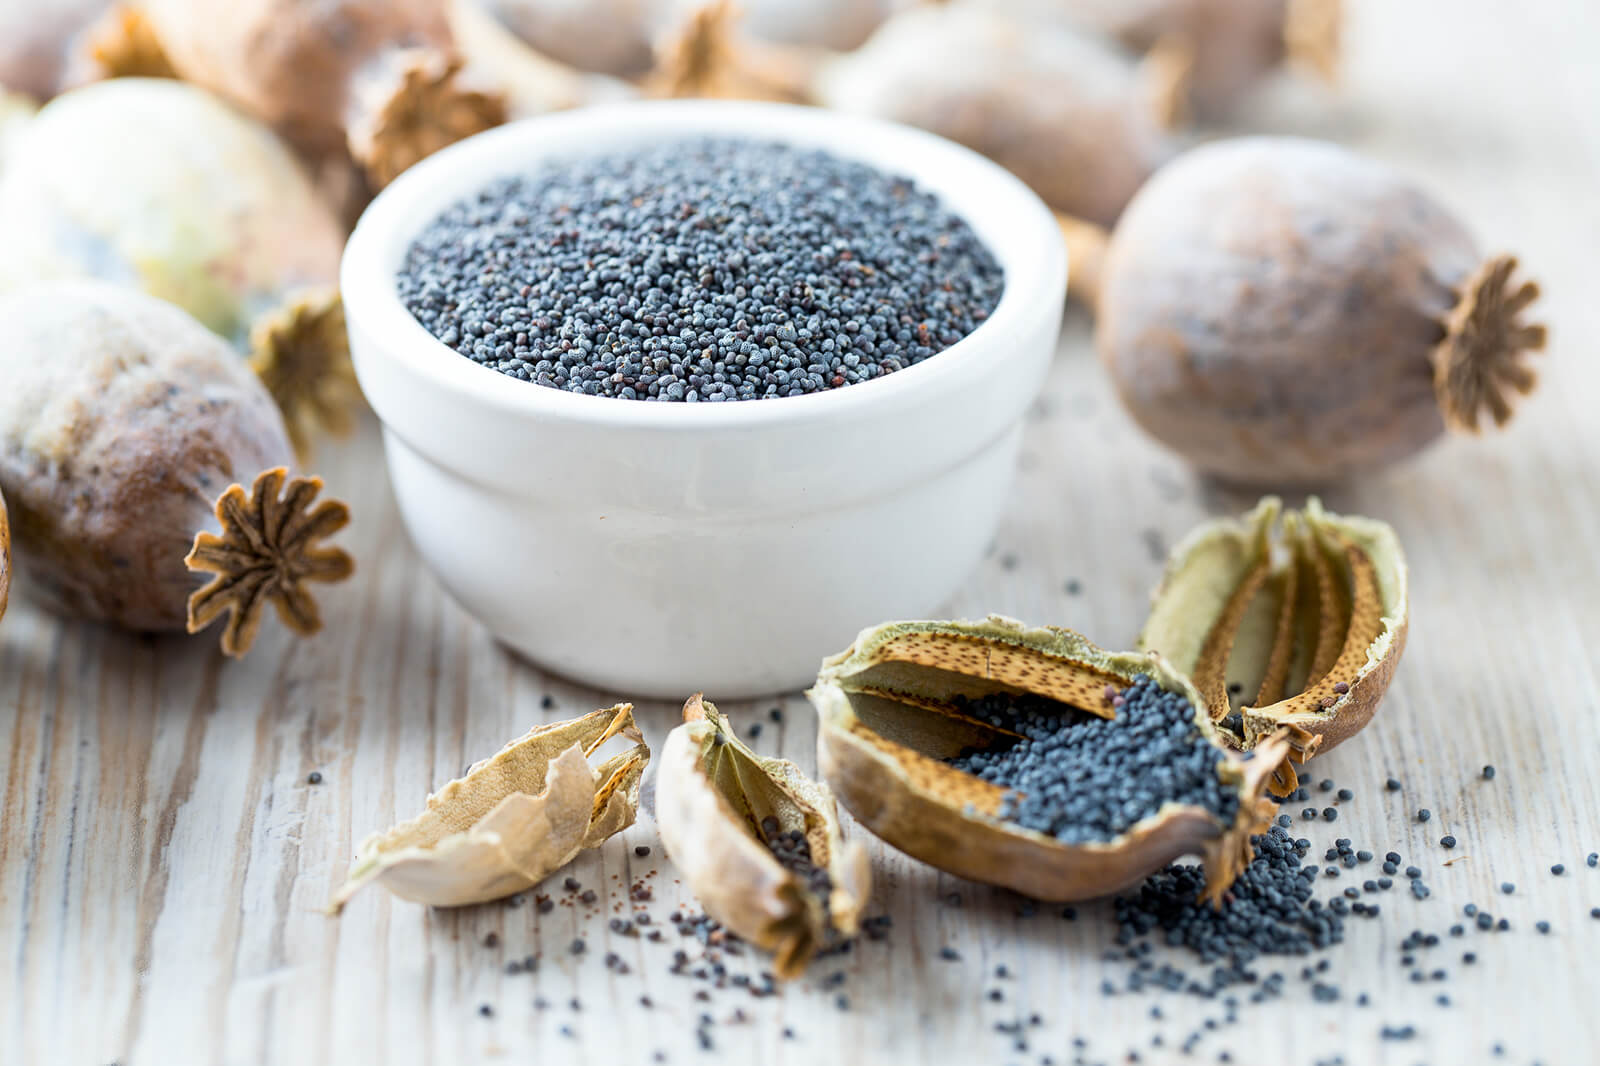
- Extract the Seeds: Next, carefully extract the seeds from the vegetables. For seeds that are easily visible, such as those from peppers or tomatoes, simply cut the vegetable in half and scoop out the seeds. For smaller seeds, like lettuce or herbs, gently rub or shake the seed heads to release the seeds.
- Clean the Seeds: Once the seeds are extracted, remove any plant debris or pulp by rinsing them with water. Be cautious not to use hot water, as it can damage the seeds.
- Dry the Seeds: After cleaning, spread the seeds out on a clean, dry surface to dry. Ensure that the seeds are spread out in a single layer and are not touching each other. Allow them to air dry for a week or two until they are completely dry.
- Dispose of Non-Viable Seeds: As you gather the seeds, keep an eye out for any visibly damaged or unhealthy seeds. Discard these seeds, as they are unlikely to germinate and produce healthy plants.
Gathering the seeds from your vegetables can be a rewarding and meditative process. Remember to work with care and take your time to ensure the best results. Once the seeds are gathered and dried, it’s time to move on to the next step: properly cleaning and drying the seeds.
Step 4: Properly Cleaning and Drying the Seeds
After gathering the seeds, it’s essential to properly clean and dry them before storing. Follow these steps to ensure your seeds are prepared for successful storage and future planting:
- Remove Debris: Start by removing any remaining debris from the seeds. This can include small pieces of plant material or leftover pulp. You can use a fine-mesh sieve or screen to separate the seeds from the debris.
- Wash the Seeds (if necessary): Some seeds, especially those from fleshy fruits like tomatoes or melons, may benefit from a light washing. Gently rinse the seeds under cool running water, being careful not to damage them.
- Dry the Seeds: Once the seeds are clean, spread them out in a single layer on a porous surface such as a paper towel or a fine-mesh screen. Place them in a well-ventilated area away from direct sunlight. It’s important to allow the seeds to thoroughly dry to prevent mold or mildew growth.
- Monitor the Drying Process: Check on the seeds regularly to ensure they are drying properly. If you notice any signs of moisture or clumping, gently separate the seeds and continue the drying process. This will help prevent seed spoilage.
- Test for Dryness: To determine if the seeds are fully dry, perform a “snap test”. Try bending a seed in half – if it snaps rather than bends, it is dry enough for storage.
Properly cleaning and drying the seeds is crucial for their long-term viability. By ensuring they are free of debris and fully dry, you increase their chances of successful germination when it’s time to plant them. Now that your seeds are clean and dry, let’s move on to the final step: storing the harvested seeds.
Step 5: Storing the Harvested Seeds
Proper storage is key to maintaining the viability of the seeds you have harvested. Follow these guidelines to ensure that your seeds remain viable and ready for future planting:
- Choose the Right Containers: Select containers that are airtight and moisture-resistant. Glass jars with tight-fitting lids, envelopes, or seed storage packets are all good options for seed storage.
- Label and Organize: Label each container with the name of the vegetable, the variety, and the date of harvest. This will help you keep track of the seeds and their viability over time. Additionally, consider organizing the seeds in a cool, dry, and dark location.
- Remove Excess Air: If using glass jars, remove any excess air by inserting a desiccant packet or a small amount of dry rice or powdered milk at the bottom of the jar. This helps absorb any moisture that may be present and can extend the shelf life of the seeds.
- Control Temperature and Humidity: Store the seeds in a cool, dry place, away from any heat sources or extreme temperature fluctuations. A temperature of around 40-50°F (4-10°C) with a humidity of 40-50% is ideal for seed storage.
- Check for Viability: Periodically check the stored seeds for viability. Conduct a germination test by placing a few seeds onto a moist paper towel or in a small container with potting soil. If a high percentage of the seeds successfully germinate, the rest of the stored seeds are likely to be viable too.
By following these storage practices, you can ensure that your harvested seeds remain viable for several years. Remember to take note of any specific storage requirements for certain vegetable varieties, as some seeds may have unique needs. With proper storage in place, you’re now ready to enjoy the fruits of your labor and confidently plan for future planting seasons!
Conclusion
Harvesting seeds from vegetables is a rewarding and sustainable practice that allows you to take control of your food production and preserve the genetic diversity of plants. By following the steps outlined in this article, you can successfully harvest, clean, dry, and store seeds from your own vegetable garden.
Seed harvesting offers a range of benefits, including cost savings, self-sufficiency, and preserving heirloom varieties. By selecting the right vegetables, allowing them to mature and ripen, gathering the seeds, and properly cleaning and drying them, you can ensure the long-term viability of your harvested seeds.
Remember to choose open-pollinated varieties, observe proper timing for maturity, and store the seeds in suitable containers in a cool and dry environment. Regularly testing the viability of stored seeds can help you plan for future plantings with confidence.
Embarking on the journey of seed harvesting not only empowers you as a gardener but also contributes to sustainability and biodiversity. So, roll up your sleeves, get your hands dirty, and start reaping the rewards of saving seeds from your own vegetables!