Home>Types of Gardening>Edible Gardening>How To Get Seeds From Banana
Edible Gardening
How To Get Seeds From Banana
Modified: February 9, 2024
Learn how to get seeds from banana plants and start your own edible gardening journey. Discover the secrets to growing fresh bananas in your own backyard.
(Many of the links in this article redirect to a specific reviewed product. Your purchase of these products through affiliate links helps to generate commission for Chicagolandgardening.com, at no extra cost. Learn more)
Table of Contents
Introduction
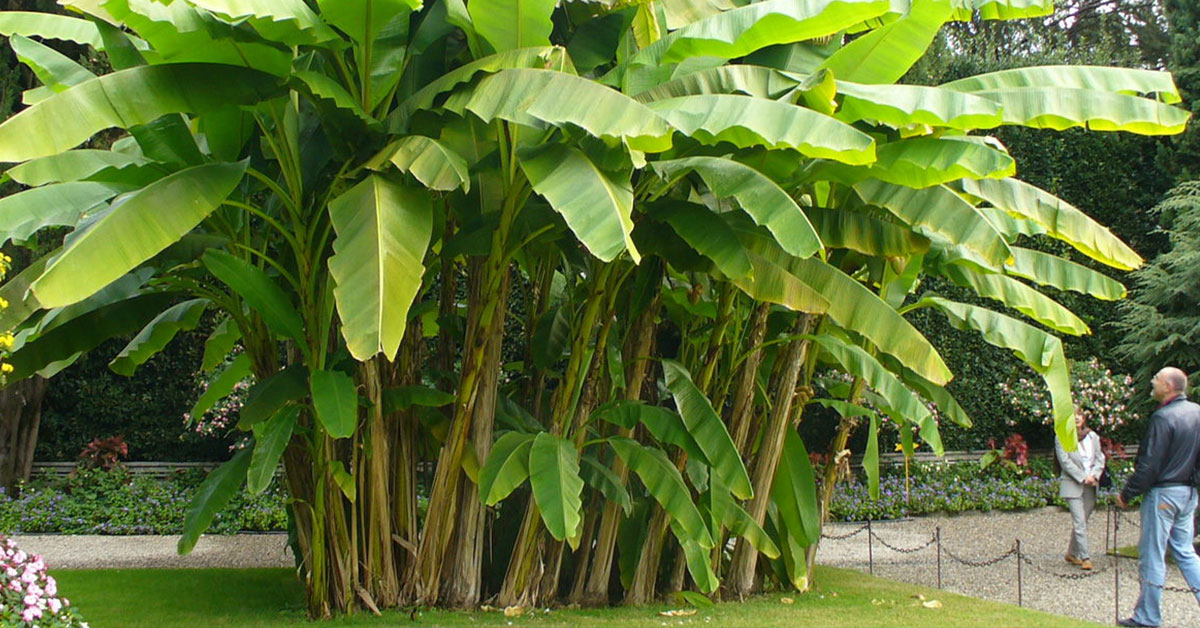
Edible gardening is a rewarding and fulfilling activity, allowing you to grow your own fresh and healthy food right in your backyard. One plant that is often overlooked when it comes to edible gardening is the banana plant. While we are used to enjoying the delicious fruits of the banana tree, many people are not aware that it is also possible to grow bananas from seeds.
In this article, we will explore the fascinating process of obtaining seeds from bananas and provide you with a step-by-step guide on how to grow your own banana plants. Whether you are an experienced gardener looking to add a new challenge to your repertoire or a beginner eager to dip your toes into edible gardening, this article will provide you with all the information you need.
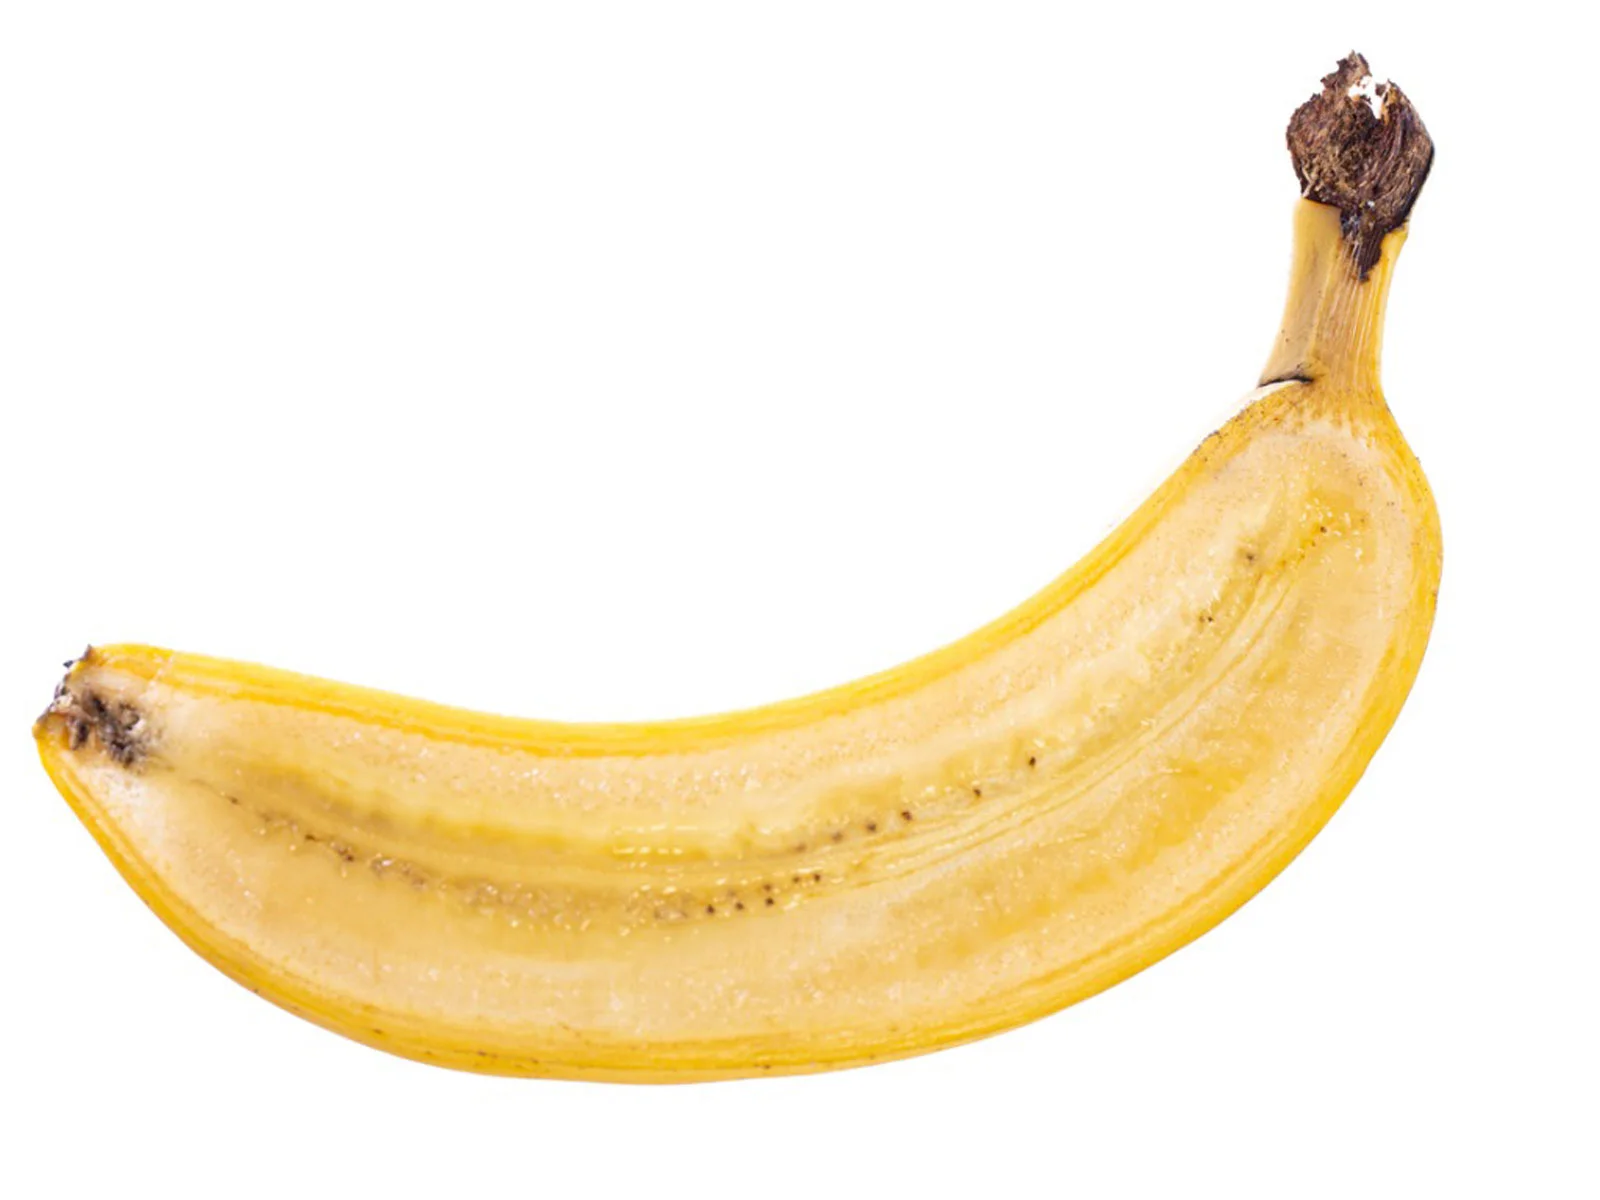
Before we dive into the process of getting seeds from bananas, it is essential to understand the unique nature of banana seeds. Unlike most other fruit seeds, banana seeds are very small and often difficult to propagate. Furthermore, many commercial bananas available at grocery stores are seedless varieties, making it even more challenging to obtain viable seeds. However, with a bit of patience and the right techniques, it is still possible to grow banana plants from seeds.
Throughout this article, we will guide you through the process of selecting the right banana plant, extracting the seeds, preparing them for germination, and caring for the seedlings until they are ready to be transplanted. By following these steps, you will have the opportunity to witness the magical transformation of tiny banana seeds into thriving banana plants.
Understanding Banana Seeds
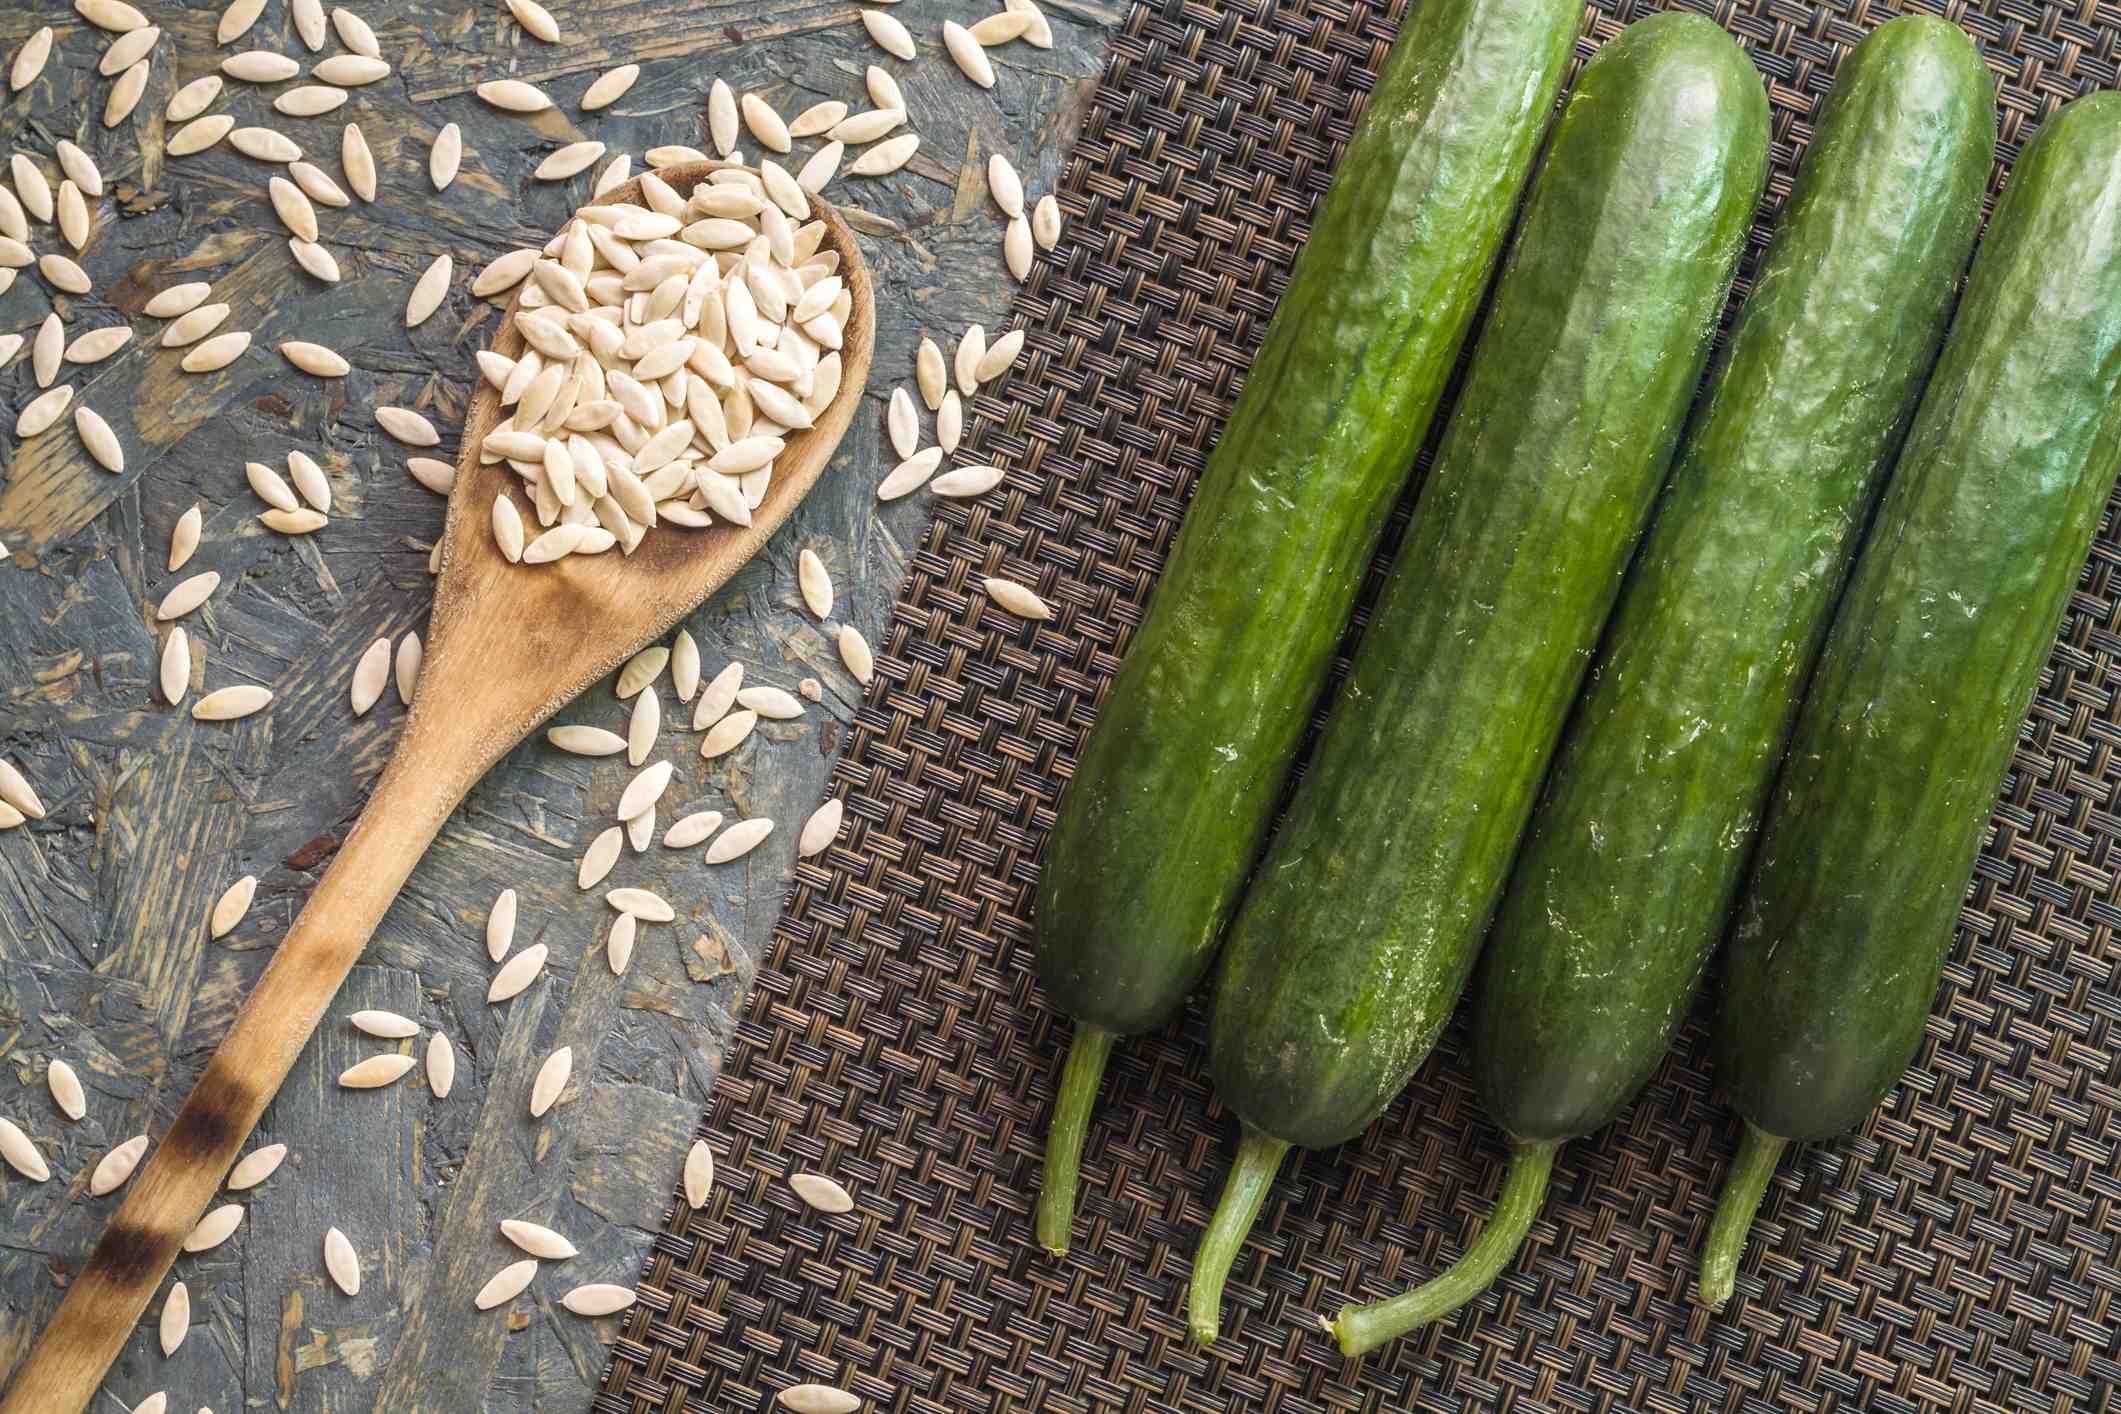
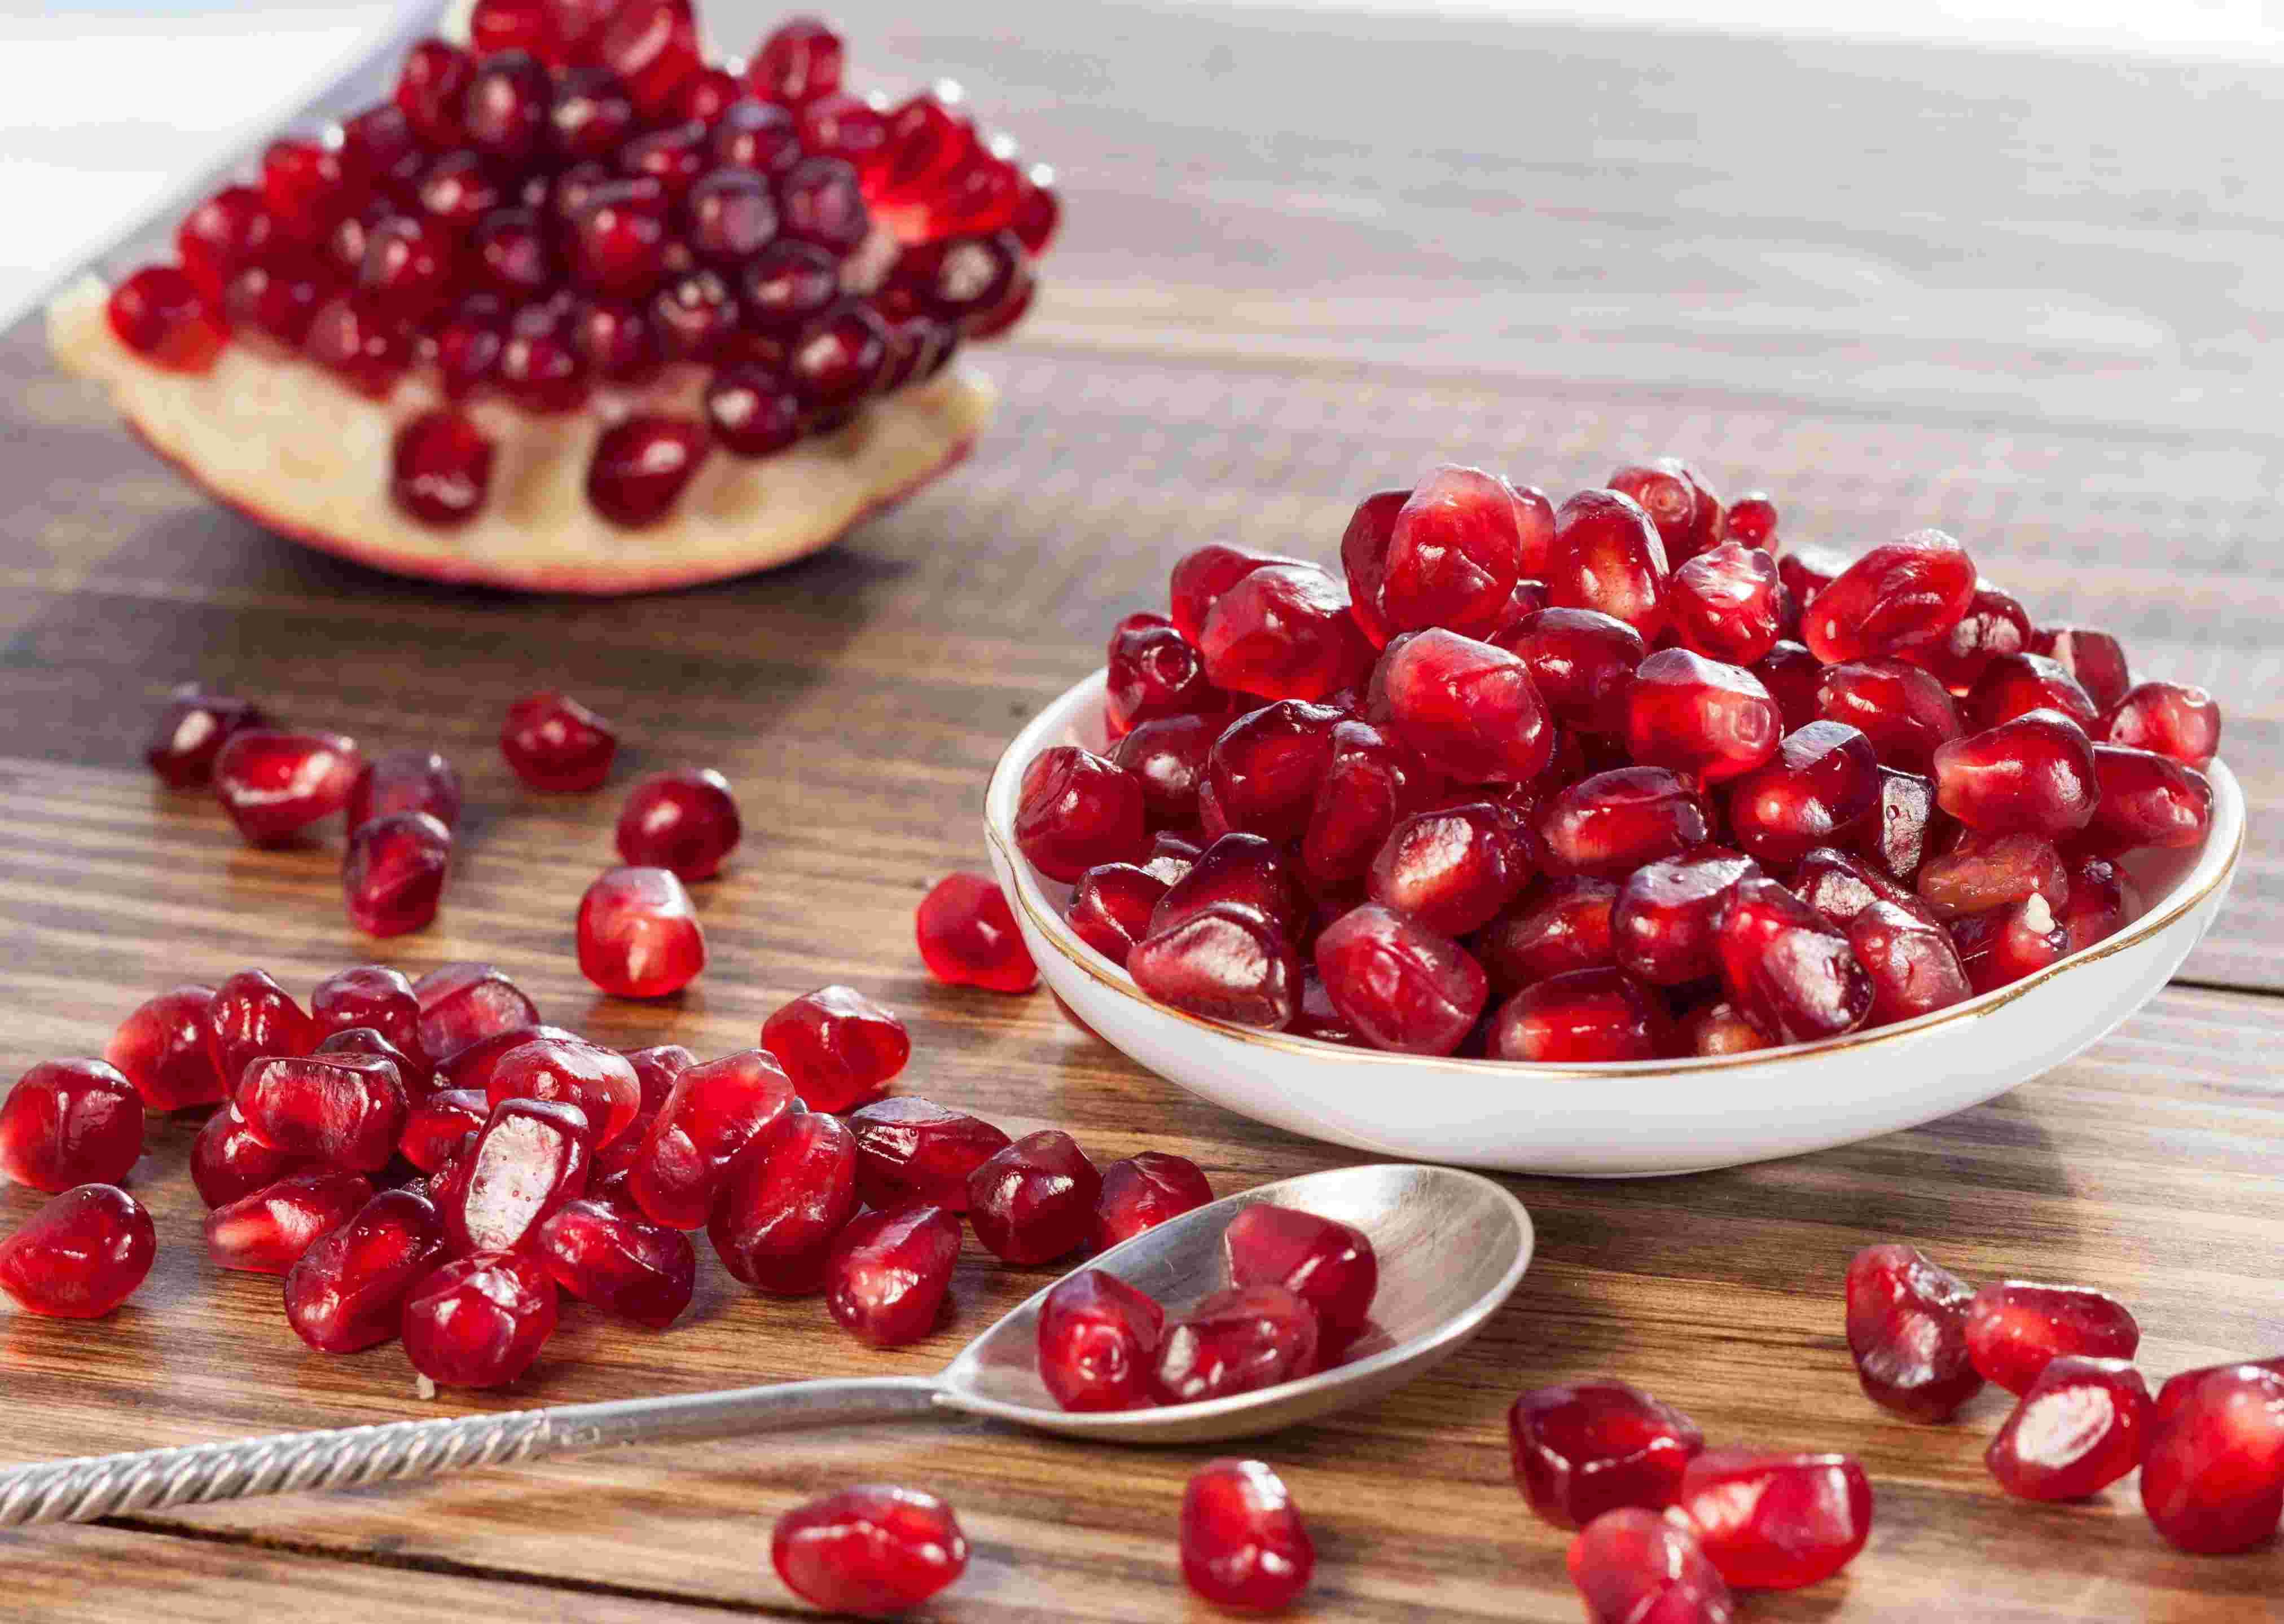
Before we embark on the journey of obtaining seeds from bananas, it is important to understand the unique characteristics of banana seeds. While bananas are a common sight in households, the seeds themselves may be unfamiliar to many. Unlike the bulky seeds you find in other fruits, banana seeds are tiny and often overlooked.
One interesting fact about banana seeds is that most commercially available bananas you find at grocery stores are seedless varieties. These bananas have been selectively bred over time to be seedless, making them more appealing to consumers. This means that the chances of finding viable seeds in store-bought bananas are slim. Therefore, it is best to source your banana seeds from mature, wild or heirloom bananas.
Another important aspect to consider is that banana seeds are not true seeds in the conventional sense. They are actually classified as ‘pips’ or embryos. This means that they do not contain a mature plant inside, but rather the potential for a new plant to develop.
Furthermore, banana seeds have a thick and tough seed coat that can inhibit germination. The seed coat acts as a protective layer, making it difficult for water and air to penetrate and initiate the germination process. Therefore, special techniques are required to help break through the seed coat and encourage successful germination.
It is also worth noting that banana plants are typically not grown from seeds in commercial agriculture. Instead, they are usually propagated through offshoots or pups that grow from the parent plant. This method ensures that the new plants are genetically identical to the parent plant. However, if you are looking for a unique and rewarding gardening experience, growing banana plants from seeds can be an exciting endeavor.
Now that we have a better understanding of banana seeds and their characteristics, let’s move on to the step-by-step process of obtaining seeds from bananas and growing your very own banana plants.
Step 1: Selecting the Right Banana
The first step in obtaining seeds from bananas is selecting the right banana fruit. As mentioned earlier, most commercially available bananas are seedless varieties, so it is essential to find mature, wild, or heirloom bananas that have viable seeds.
When choosing a banana, look for those that are fully ripe or slightly overripe. This is when the seeds inside the fruit are more likely to be mature and viable for germination. Avoid selecting underripe or green bananas, as the seeds may not have fully developed yet.
It is also important to choose bananas that have not been treated with chemicals or pesticides. Organic bananas are a good choice if available. It ensures that the seeds you extract are free from any harmful substances that could affect germination or plant growth.
If you have access to a local farmer’s market or specialty stores, they may carry a wider variety of bananas, including heirloom or wild varieties. These types of bananas are more likely to have seeds and provide a greater chance of success in obtaining viable seeds for germination.
When selecting the bananas, inspect them closely. Look for any signs of damage, mold, or decay. It is important to choose bananas that are free from any visible defects or diseases that might inhibit seed development or germination.
Once you have chosen the bananas, handle them with care to avoid bruising or damaging the fruit. Place them in a basket or bag, ensuring they have enough space and are not crushed by other items. Plan to use the bananas as soon as possible to ensure the seeds are fresh and viable for planting.
With the right selection of bananas, you are ready to move on to the next step: extracting the seeds. Let’s explore that process in the following section.
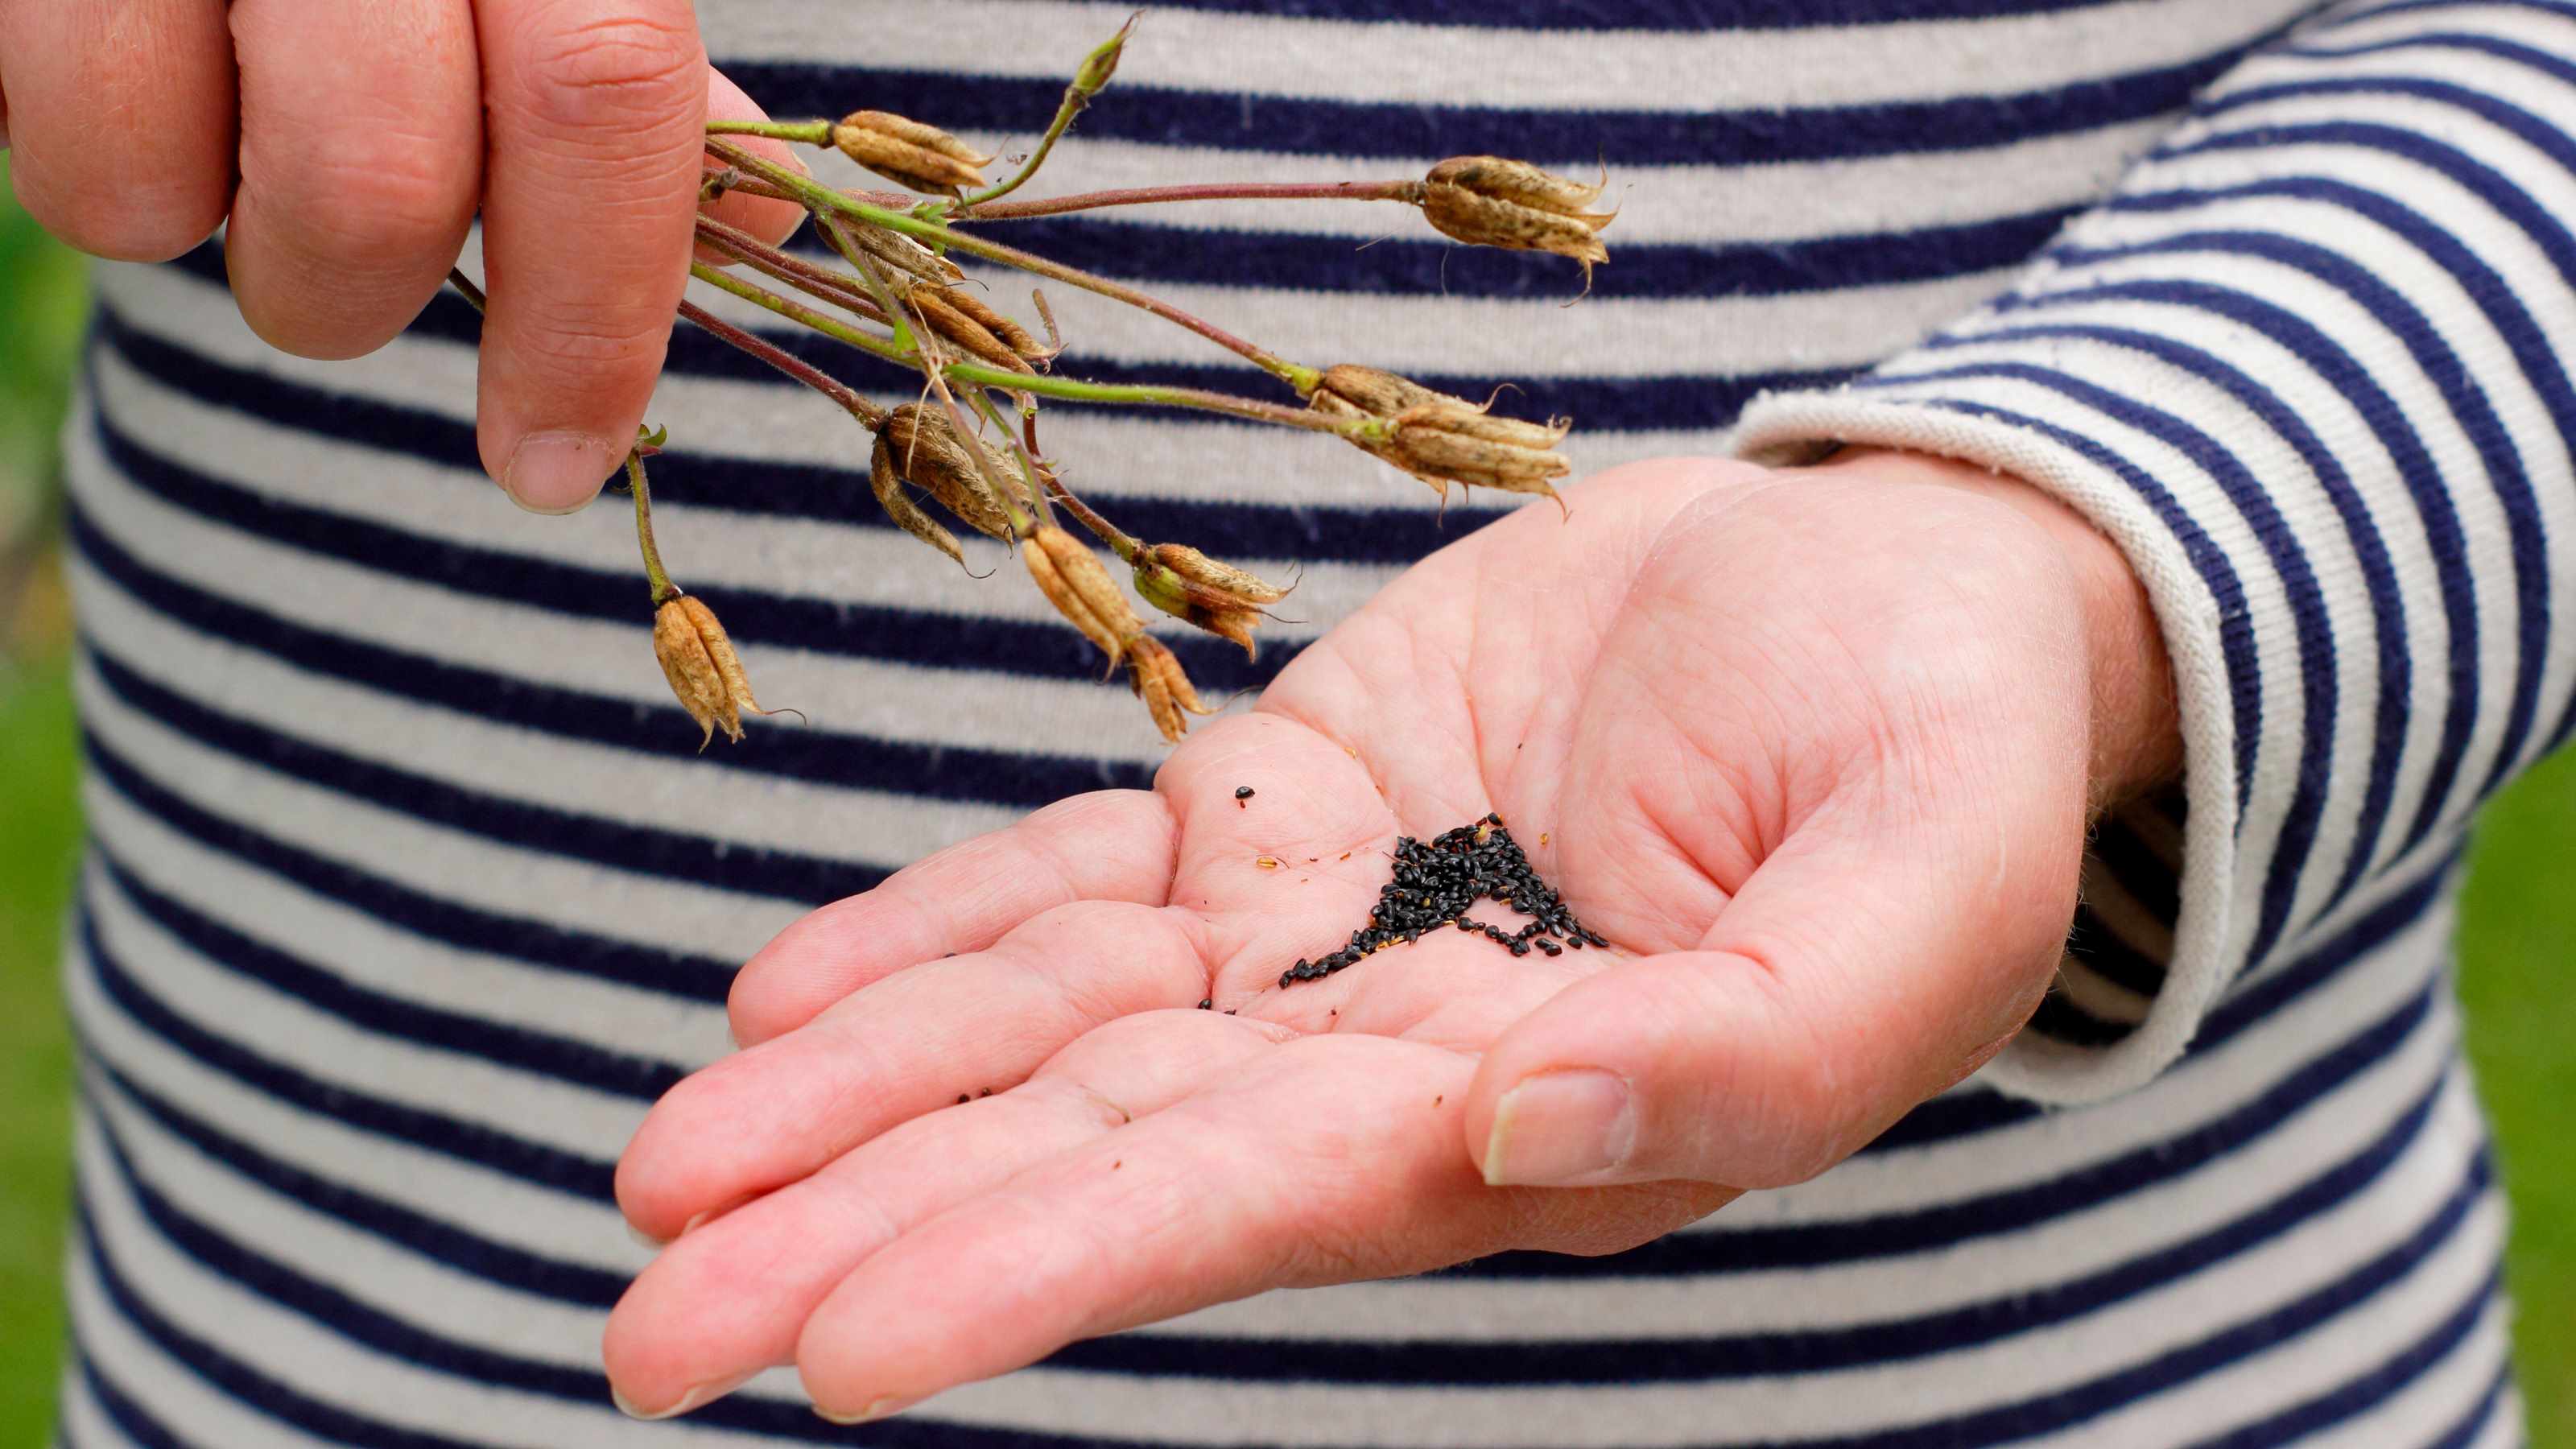
Step 2: Extracting the Seeds
Once you have selected the right bananas, the next step is to extract the seeds from the fruit. While this may sound like a straightforward task, banana seeds are small and can be a bit tricky to remove. Follow these steps to extract the seeds without damaging them:
- Begin by peeling the bananas, just as you would if you were going to eat them. Remove the skin carefully, taking care not to crush the fruit.
- Once the bananas are peeled, cut them into smaller sections. This will make it easier to access the seeds inside.
- With a spoon or your fingers, gently separate the fruit segments and remove any excess strings or membranes surrounding the seeds.
- As you uncover the seeds, you may notice a gelatinous substance covering them. This substance can inhibit germination, so it is important to wash the seeds thoroughly to remove it.
- Place the seeds in a bowl of clean water and gently swirl them around. As you do this, the gelatinous substance will dissolve and separate from the seeds.
- After washing the seeds, transfer them to a paper towel or a clean, dry surface to dry. Allow them to air dry completely before proceeding to the next step.
It is important to handle the seeds with care to avoid damaging them during the extraction process. The delicate nature of the seeds means that any rough handling or crushing could reduce their viability for germination.
Once you have successfully extracted the seeds, you are ready to move on to the next step: preparing the seeds for germination. We will explore this process in detail in the following section.
Step 3: Preparing the Seeds for Germination
After extracting the banana seeds, it is important to prepare them for germination. The thick seed coat surrounding the seeds can prevent water and air from reaching the embryo inside. By using the following techniques, you can enhance the chances of successful germination:
- Scarification: The first step in preparing the seeds is to scarify them. Scarification involves creating small scratches or abrasions on the seed coat to allow water to penetrate and initiate germination. You can gently rub the seeds with sandpaper or use a sharp knife to make small cuts on the seed coat. Be careful not to damage the embryo inside.
- Soaking: Once scarified, the seeds need to be soaked in warm water. Fill a container with lukewarm water and place the seeds in it for 24 to 48 hours. This will help to further soften the seed coat and promote germination.
- Stratification: Some banana varieties require cold stratification to break the seed dormancy. If you are unsure whether your banana seeds need stratification, it is recommended to go through this process to increase the chances of successful germination. To stratify the seeds, place them in a damp paper towel or peat moss in a sealed plastic bag. Keep the bag in a refrigerator for 4 to 8 weeks, ensuring the temperature stays around 40 to 50 degrees Fahrenheit (4 to 10 degrees Celsius).
Throughout the preparation process, it is important to monitor the seeds and ensure they are not subjected to extreme temperatures or excessively moist or dry conditions. Maintaining optimal conditions will improve the chances of successful germination.
Once the seeds have been scarified, soaked, and stratified (if necessary), they are ready for the next step: germination. We will explore this exciting stage in the following section.
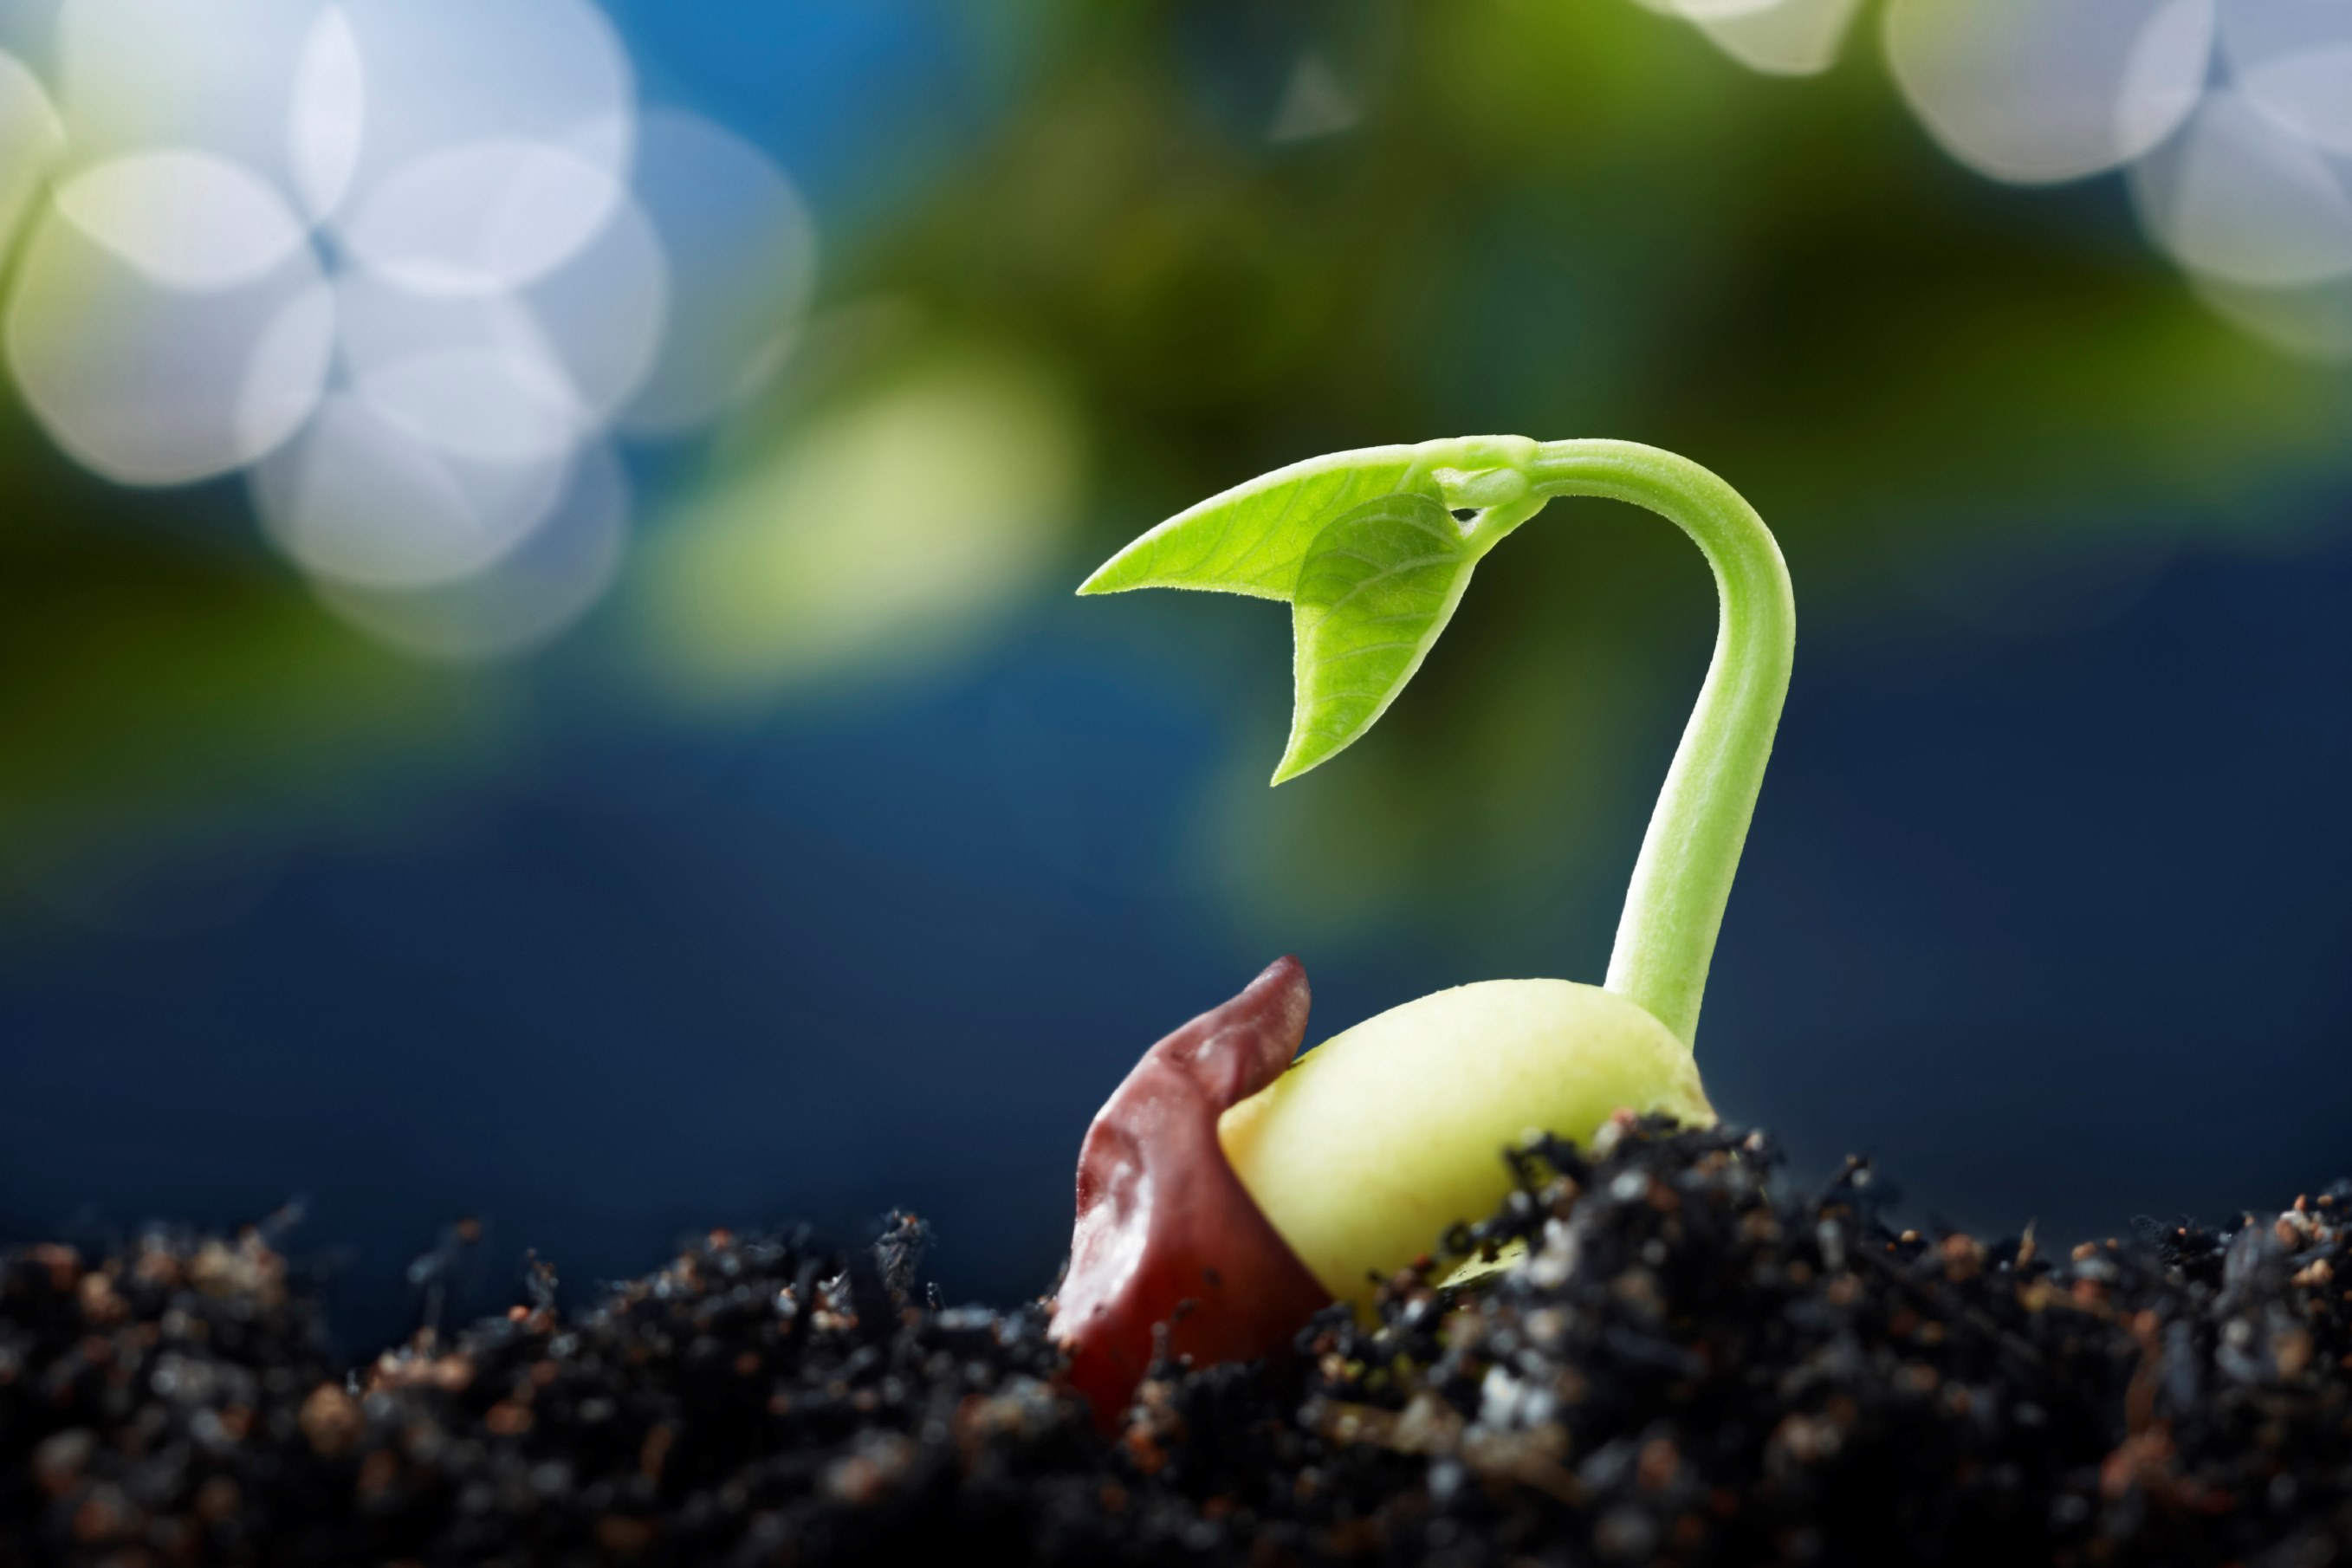
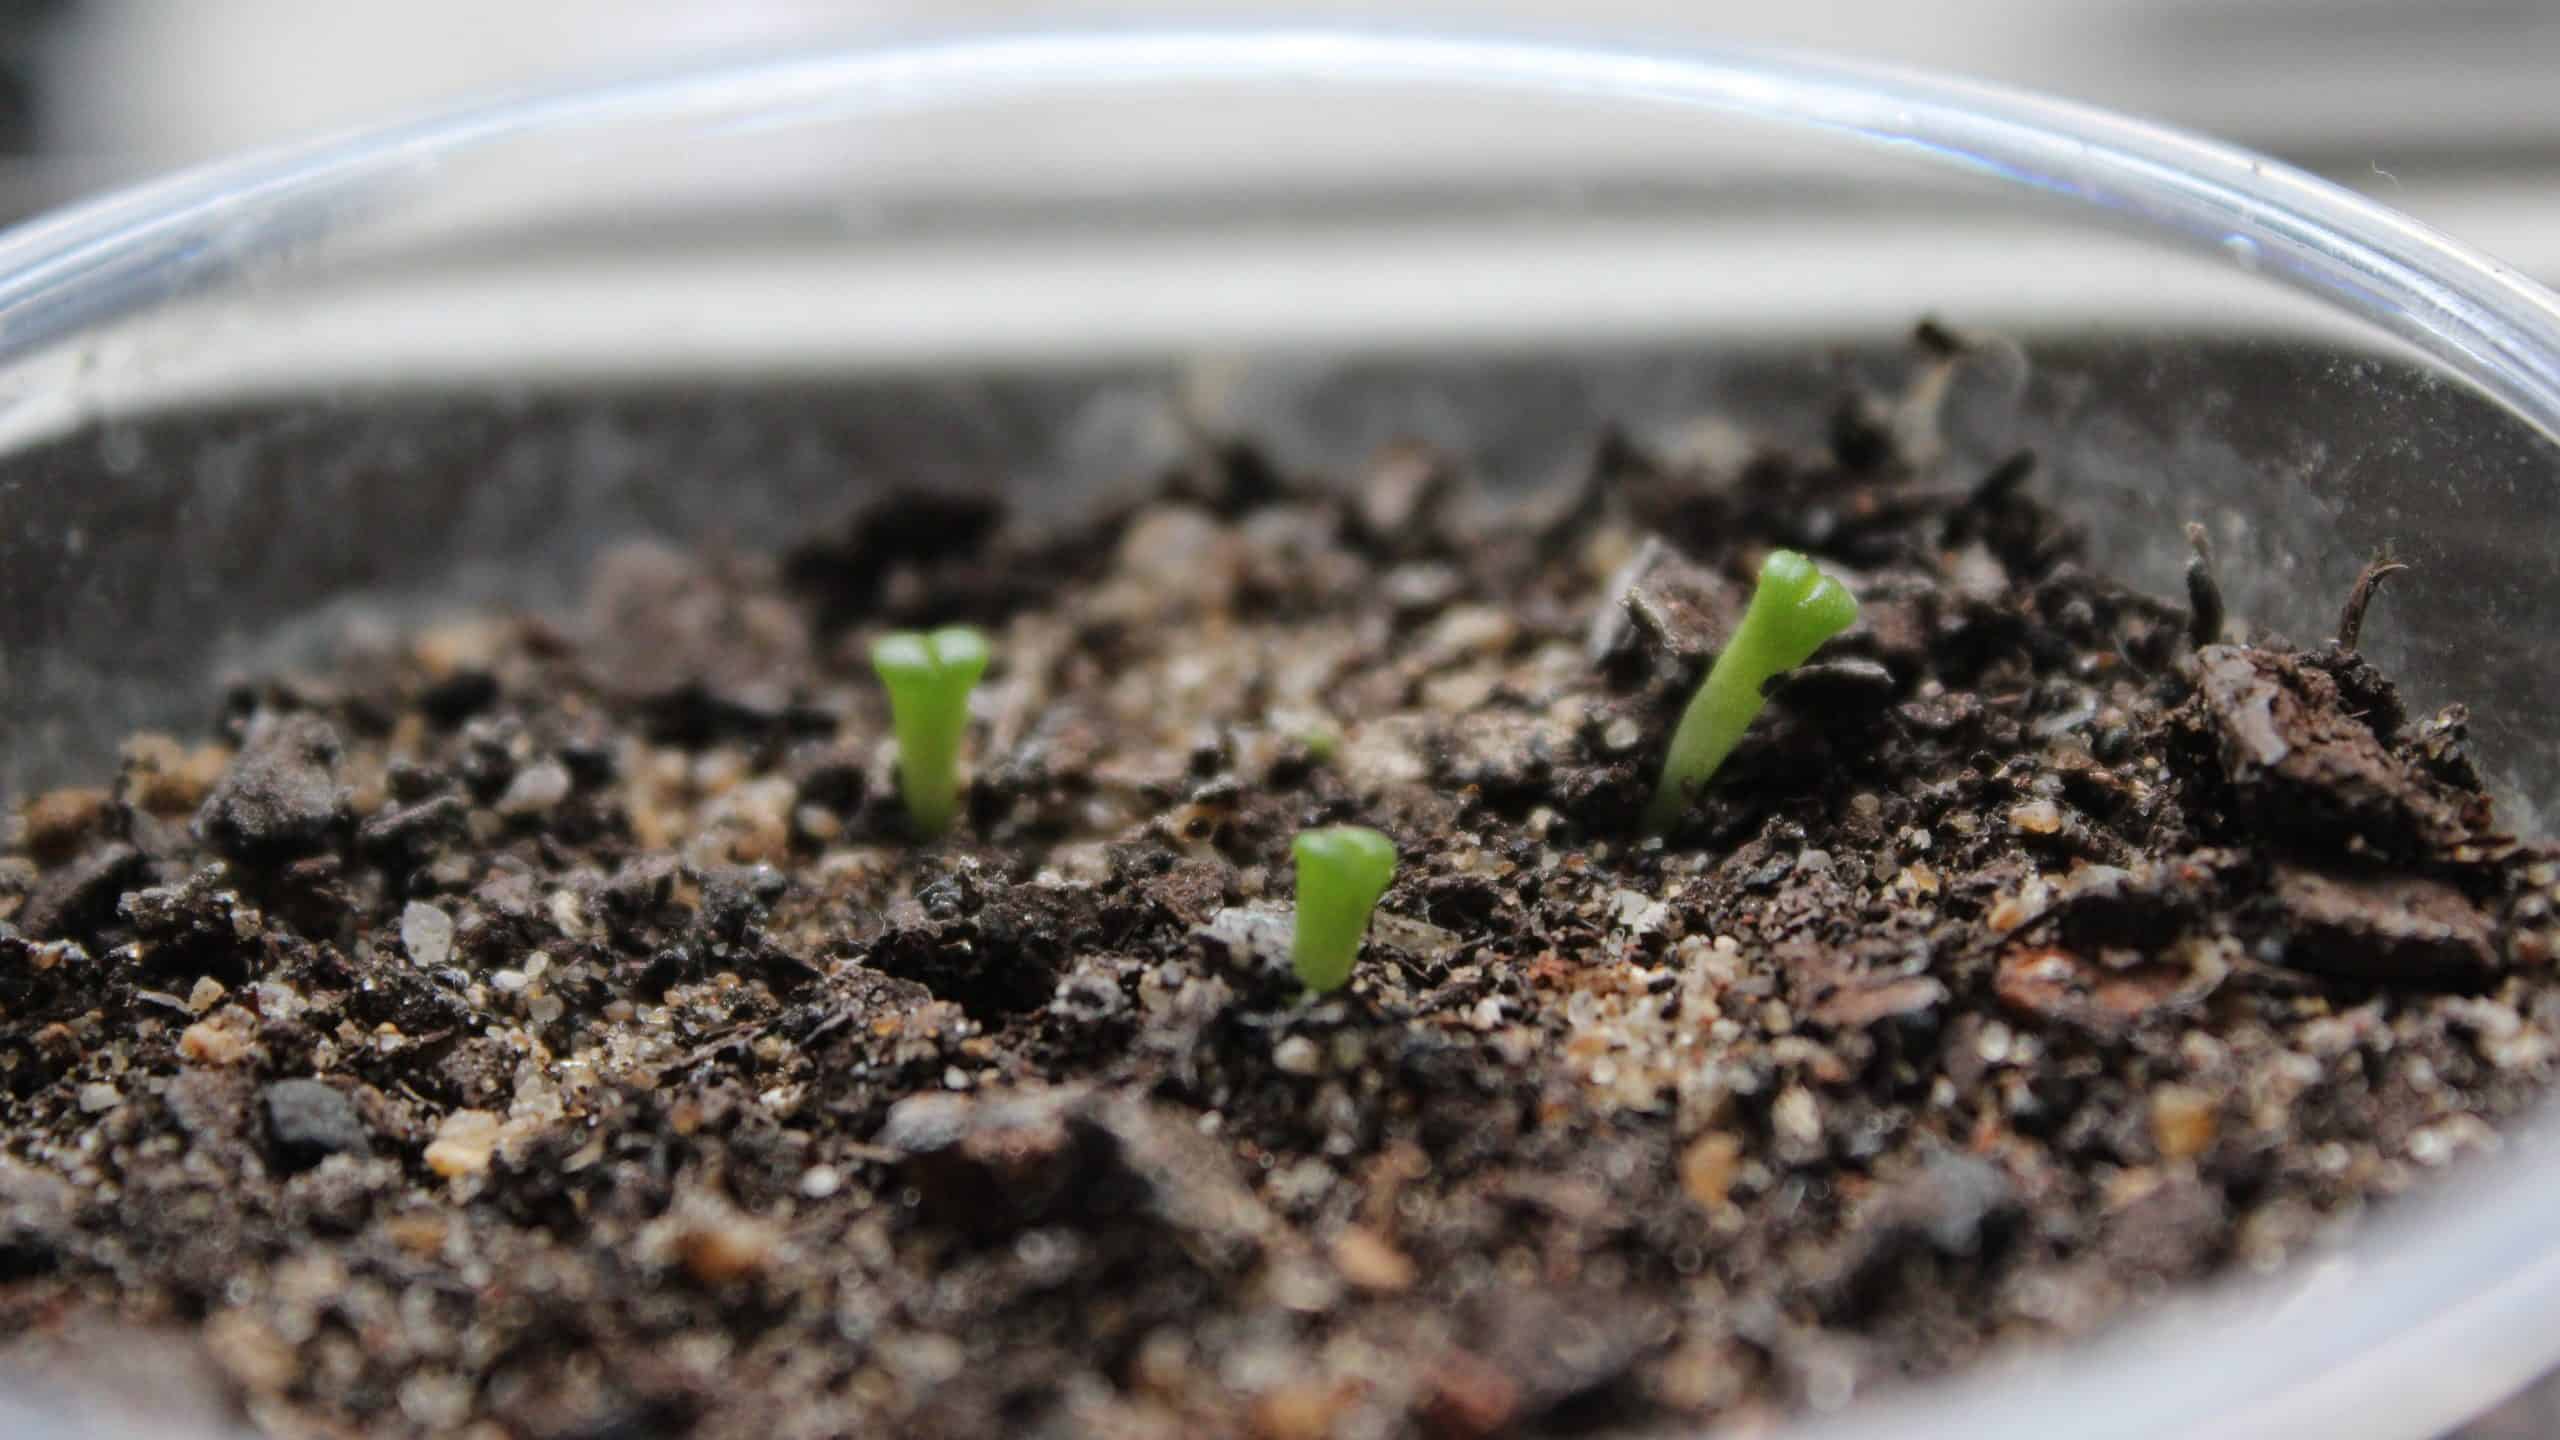
Step 4: Germinating Banana Seeds
Now that you have prepared the banana seeds, it’s time to move on to the exciting step of germination. Germination is the process by which the seed sprouts and begins to grow into a new plant. Follow these steps to encourage successful germination of your banana seeds:
- Prepare a germination medium: Start by filling a small pot or seed tray with a well-draining soil mix. Banana plants prefer loose and fertile soil, so you can mix potting soil with compost or well-rotted organic matter to create a nutrient-rich medium.
- Plant the seeds: Make a small indentation in the soil, about 1/4 inch deep, and place the banana seeds inside. Cover them lightly with soil, ensuring they are not buried too deep.
- Provide optimal conditions: Banana seeds require warmth and moisture to germinate. Place the pot or seed tray in a warm location, ideally with a temperature around 75 to 85 degrees Fahrenheit (24 to 29 degrees Celsius). Use a spray bottle to mist the soil regularly, keeping it moist but not waterlogged.
- Be patient: Germination can take several weeks to occur, so be patient and continue to provide the right conditions. Keep an eye on the soil moisture levels and maintain the temperature within the optimal range.
- Monitor for sprouting: After a few weeks, you should start to see tiny seedlings emerging from the soil. At this stage, it is important to provide adequate light for the seedlings. Place them in a location that receives bright, indirect sunlight or use a fluorescent grow light to ensure they get enough light for healthy growth.
During the germination process, it is crucial to monitor the seedlings and maintain a healthy environment for their growth. Ensure they receive sufficient light, water, and nutrients to promote strong and vigorous growth.
With successful germination, you are on your way to growing your own banana plants from seeds. In the next step, we will discuss how to care for the seedlings until they are ready to be transplanted into the garden.
Step 5: Caring for the Seedlings
Once the banana seedlings have emerged, it is crucial to provide proper care to ensure their healthy growth and development. Follow these tips to care for your banana seedlings:
- Temperature and Light: Banana plants thrive in warm temperatures and bright, indirect sunlight. Place the seedlings in a location that receives at least 6-8 hours of sunlight each day. Maintain temperatures around 70 to 85 degrees Fahrenheit (21 to 29 degrees Celsius) during the day and above 60 degrees Fahrenheit (15 degrees Celsius) at night.
- Watering: Keep the soil evenly moist but not overly saturated. Avoid letting the soil dry out completely as this can stress the seedlings. Water the plants thoroughly whenever the top inch of soil feels dry to the touch. Be careful not to overwater as this can lead to root rot.
- Fertilization: Feed your banana seedlings with a balanced liquid fertilizer every 2-4 weeks during the growing season. Look for a fertilizer specifically formulated for fruit-bearing plants. Follow the package instructions for application rates to avoid over-fertilizing.
- Pruning: As the banana seedlings grow, remove any damaged or yellowing leaves. This will help maintain the overall health and appearance of the plants. Be careful not to prune too aggressively as this can hinder growth.
- Pest and Disease Control: Keep an eye out for common pests like aphids, spider mites, and mealybugs. Monitor the plants regularly and take appropriate action if infestations occur. Additionally, watch for signs of diseases such as fungal infections or bacterial wilt. Promptly address any issues to prevent the spread to other plants.
By providing the right care, your banana seedlings will grow strong and healthy, preparing them for the final step in the journey: transplanting into the garden. In the next step, we will discuss how to properly transplant your banana seedlings.
Step 6: Transplanting Banana Seedlings
Transplanting your banana seedlings into the garden is an exciting step that marks the transition from pot to the ground. Follow these guidelines to ensure a successful transplanting process:
- Timing: Wait until the seedlings have grown to a height of at least 12 inches (30 cm) before transplanting them into the garden. This ensures that they have developed a strong root system and are better equipped to handle the challenges of outdoor conditions.
- Choosing the Location: Select a planting site that receives full sun for most of the day. Bananas require at least 6-8 hours of direct sunlight to thrive. The soil should be well-draining and rich in organic matter. Avoid planting in low-lying areas that are prone to waterlogging.
- Preparing the Hole: Dig a hole in the garden that is slightly larger and deeper than the root ball of the seedling. Incorporate compost or well-rotted organic matter into the soil to improve fertility and drainage.
- Transplanting Process: Gently remove the seedling from its pot, taking care to avoid damaging the roots. Place the seedling in the prepared hole, ensuring that the top of the root ball is level with or slightly above the soil surface. Backfill the hole with soil, firming it gently around the seedling.
- Watering: Immediately after transplanting, thoroughly water the newly planted seedling. This will help settle the soil around the roots and promote establishment. Water regularly, keeping the soil consistently moist but not waterlogged, during the initial weeks of transplanting.
- Mulching: Apply a layer of organic mulch, such as straw or wood chips, around the base of the seedling. This helps conserve moisture, suppress weeds, and regulate soil temperature.
- Staking: If your banana plant has a large, top-heavy structure, you may need to provide support by staking. Secure the stem to the stake using soft plant ties, allowing room for growth and movement.
After transplanting, continue to care for your banana plants by regularly watering, fertilizing, and monitoring for pests and diseases. With time and proper care, your banana seedlings will grow into mature plants and reward you with a bountiful harvest of delicious bananas.
Conclusion
Growing bananas from seeds is a fascinating and rewarding experience for any gardener. While it may require some extra effort and patience, the process of obtaining seeds, preparing them for germination, caring for the seedlings, and finally transplanting them into the garden is well worth the investment.
By following the step-by-step guide outlined in this article, you can successfully grow your own banana plants and enjoy the satisfaction of harvesting your own homegrown bananas. Remember to select the right bananas to obtain viable seeds, carefully extract the seeds, and prepare them for germination by scarification and soaking. Provide optimal conditions for germination, and once the seedlings emerge, offer them proper care including temperature, light, watering, and fertilization.
Transplanting the seedlings into a suitable location in the garden and ensuring they receive adequate water, nutrients, and protection from pests and diseases are important for the successful growth of the banana plants. With time, you will witness the transformation of tiny seeds into flourishing banana plants that will bear fruit for you to enjoy.
Edible gardening is not only a source of fresh and healthy food but also a therapeutic and fulfilling activity. Growing your own bananas from seeds allows you to connect with nature, gain a deeper understanding of plant life, and enjoy the pride of nurturing a plant from its earliest stages.
So, why not embark on the journey of growing bananas from seeds? With the knowledge and guidance provided in this article, you have the tools to begin your own remarkable adventure into the world of edible gardening, and who knows, you may even inspire others to join you in this rewarding endeavor.