Home>Gardening Techniques>Plant Care>How To Get Seeds To Sprout
Plant Care
How To Get Seeds To Sprout
Modified: February 10, 2024
Learn plant care techniques to help your seeds sprout and thrive. Discover how to provide the ideal conditions for successful germination and growth.
(Many of the links in this article redirect to a specific reviewed product. Your purchase of these products through affiliate links helps to generate commission for Chicagolandgardening.com, at no extra cost. Learn more)
Table of Contents
Introduction
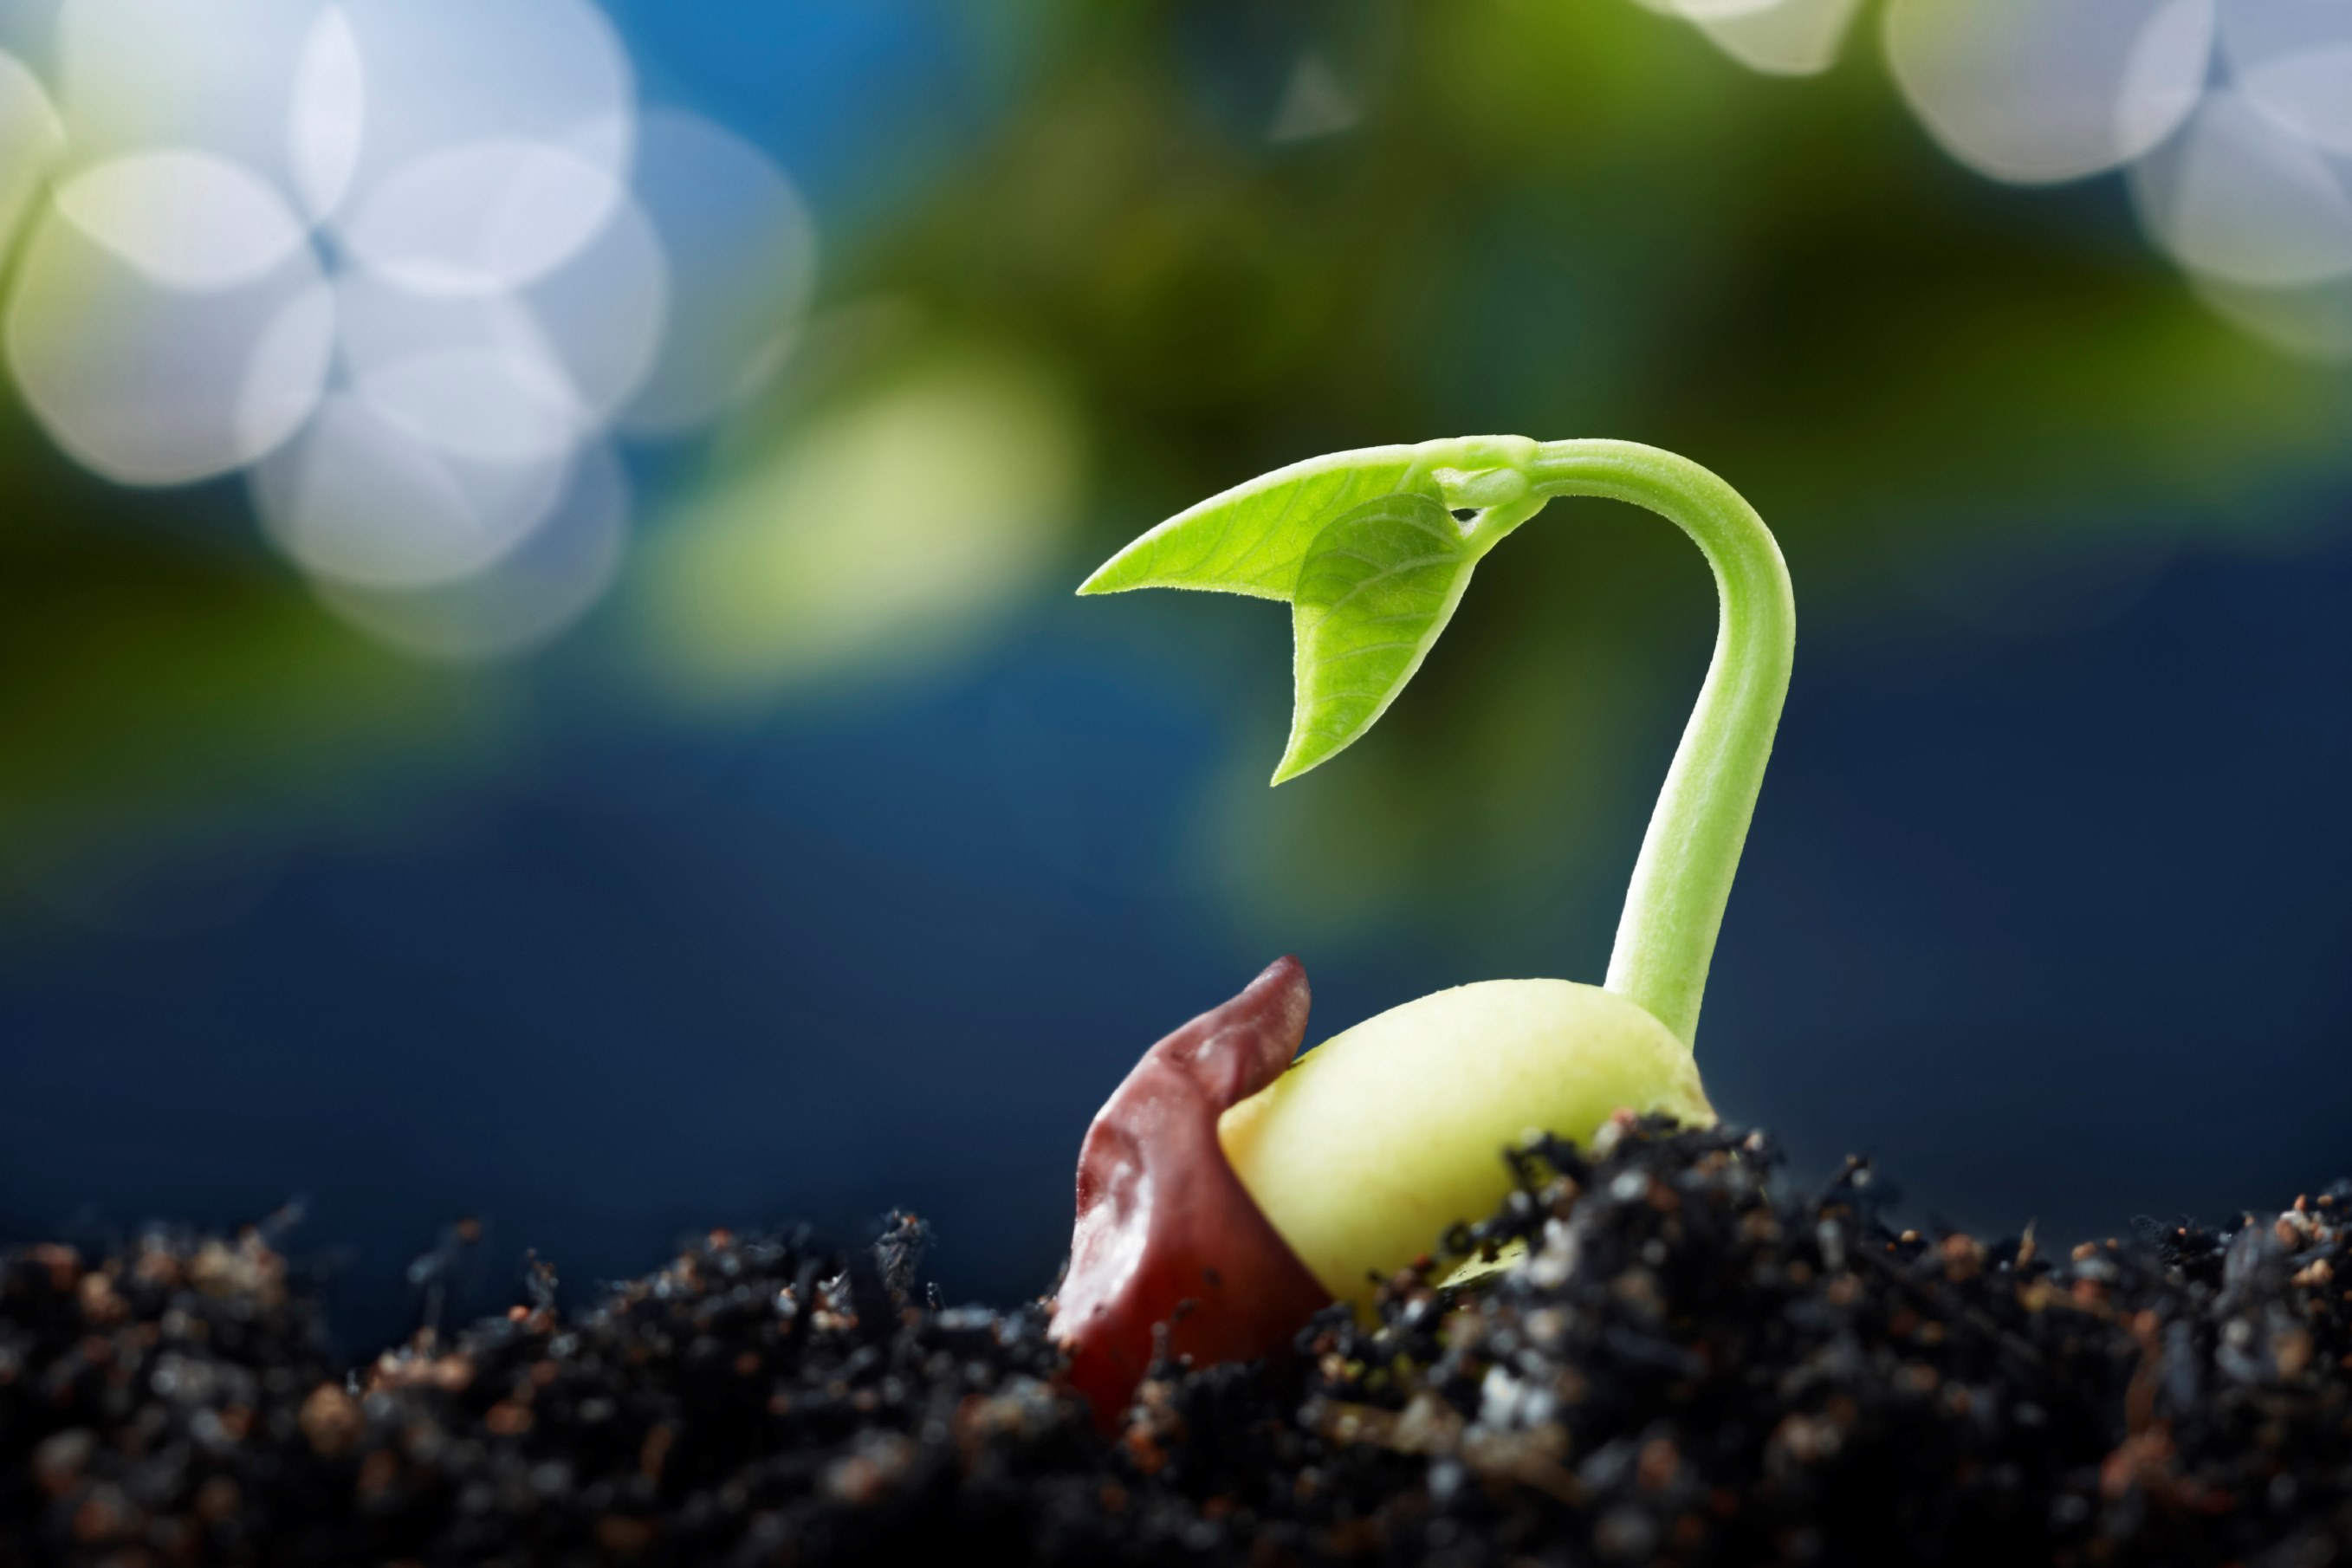
Welcome to the world of plant care! Whether you are a seasoned gardener or just starting out, understanding how to get seeds to sprout is an essential skill. Planting seeds and watching them germinate and grow into healthy plants can be a rewarding and fulfilling experience.
Getting seeds to sprout successfully requires a combination of proper care, attention to detail, and understanding the specific needs of each plant species. In this article, we will guide you through the process of seed germination and provide helpful tips to ensure a high success rate.
So why is seed germination so important? Well, germination is the process where a seed transforms into a new plant. It is the crucial first step towards establishing a healthy and thriving garden. By mastering the art of seed germination, you can start your plants off on the right foot and set them up for success.
Whether you plan to grow flowers, vegetables, or herbs, the principles of seed germination remain largely the same. However, each type of plant may have specific requirements that need to be considered. By understanding and meeting these requirements, you can increase the chances of successful seed germination.
Throughout this article, we will explore the key factors that contribute to successful seed germination. From selecting the right seeds to providing optimal conditions for growth, we’ve got you covered. So, let’s dive in and learn how to get those seeds sprouting!
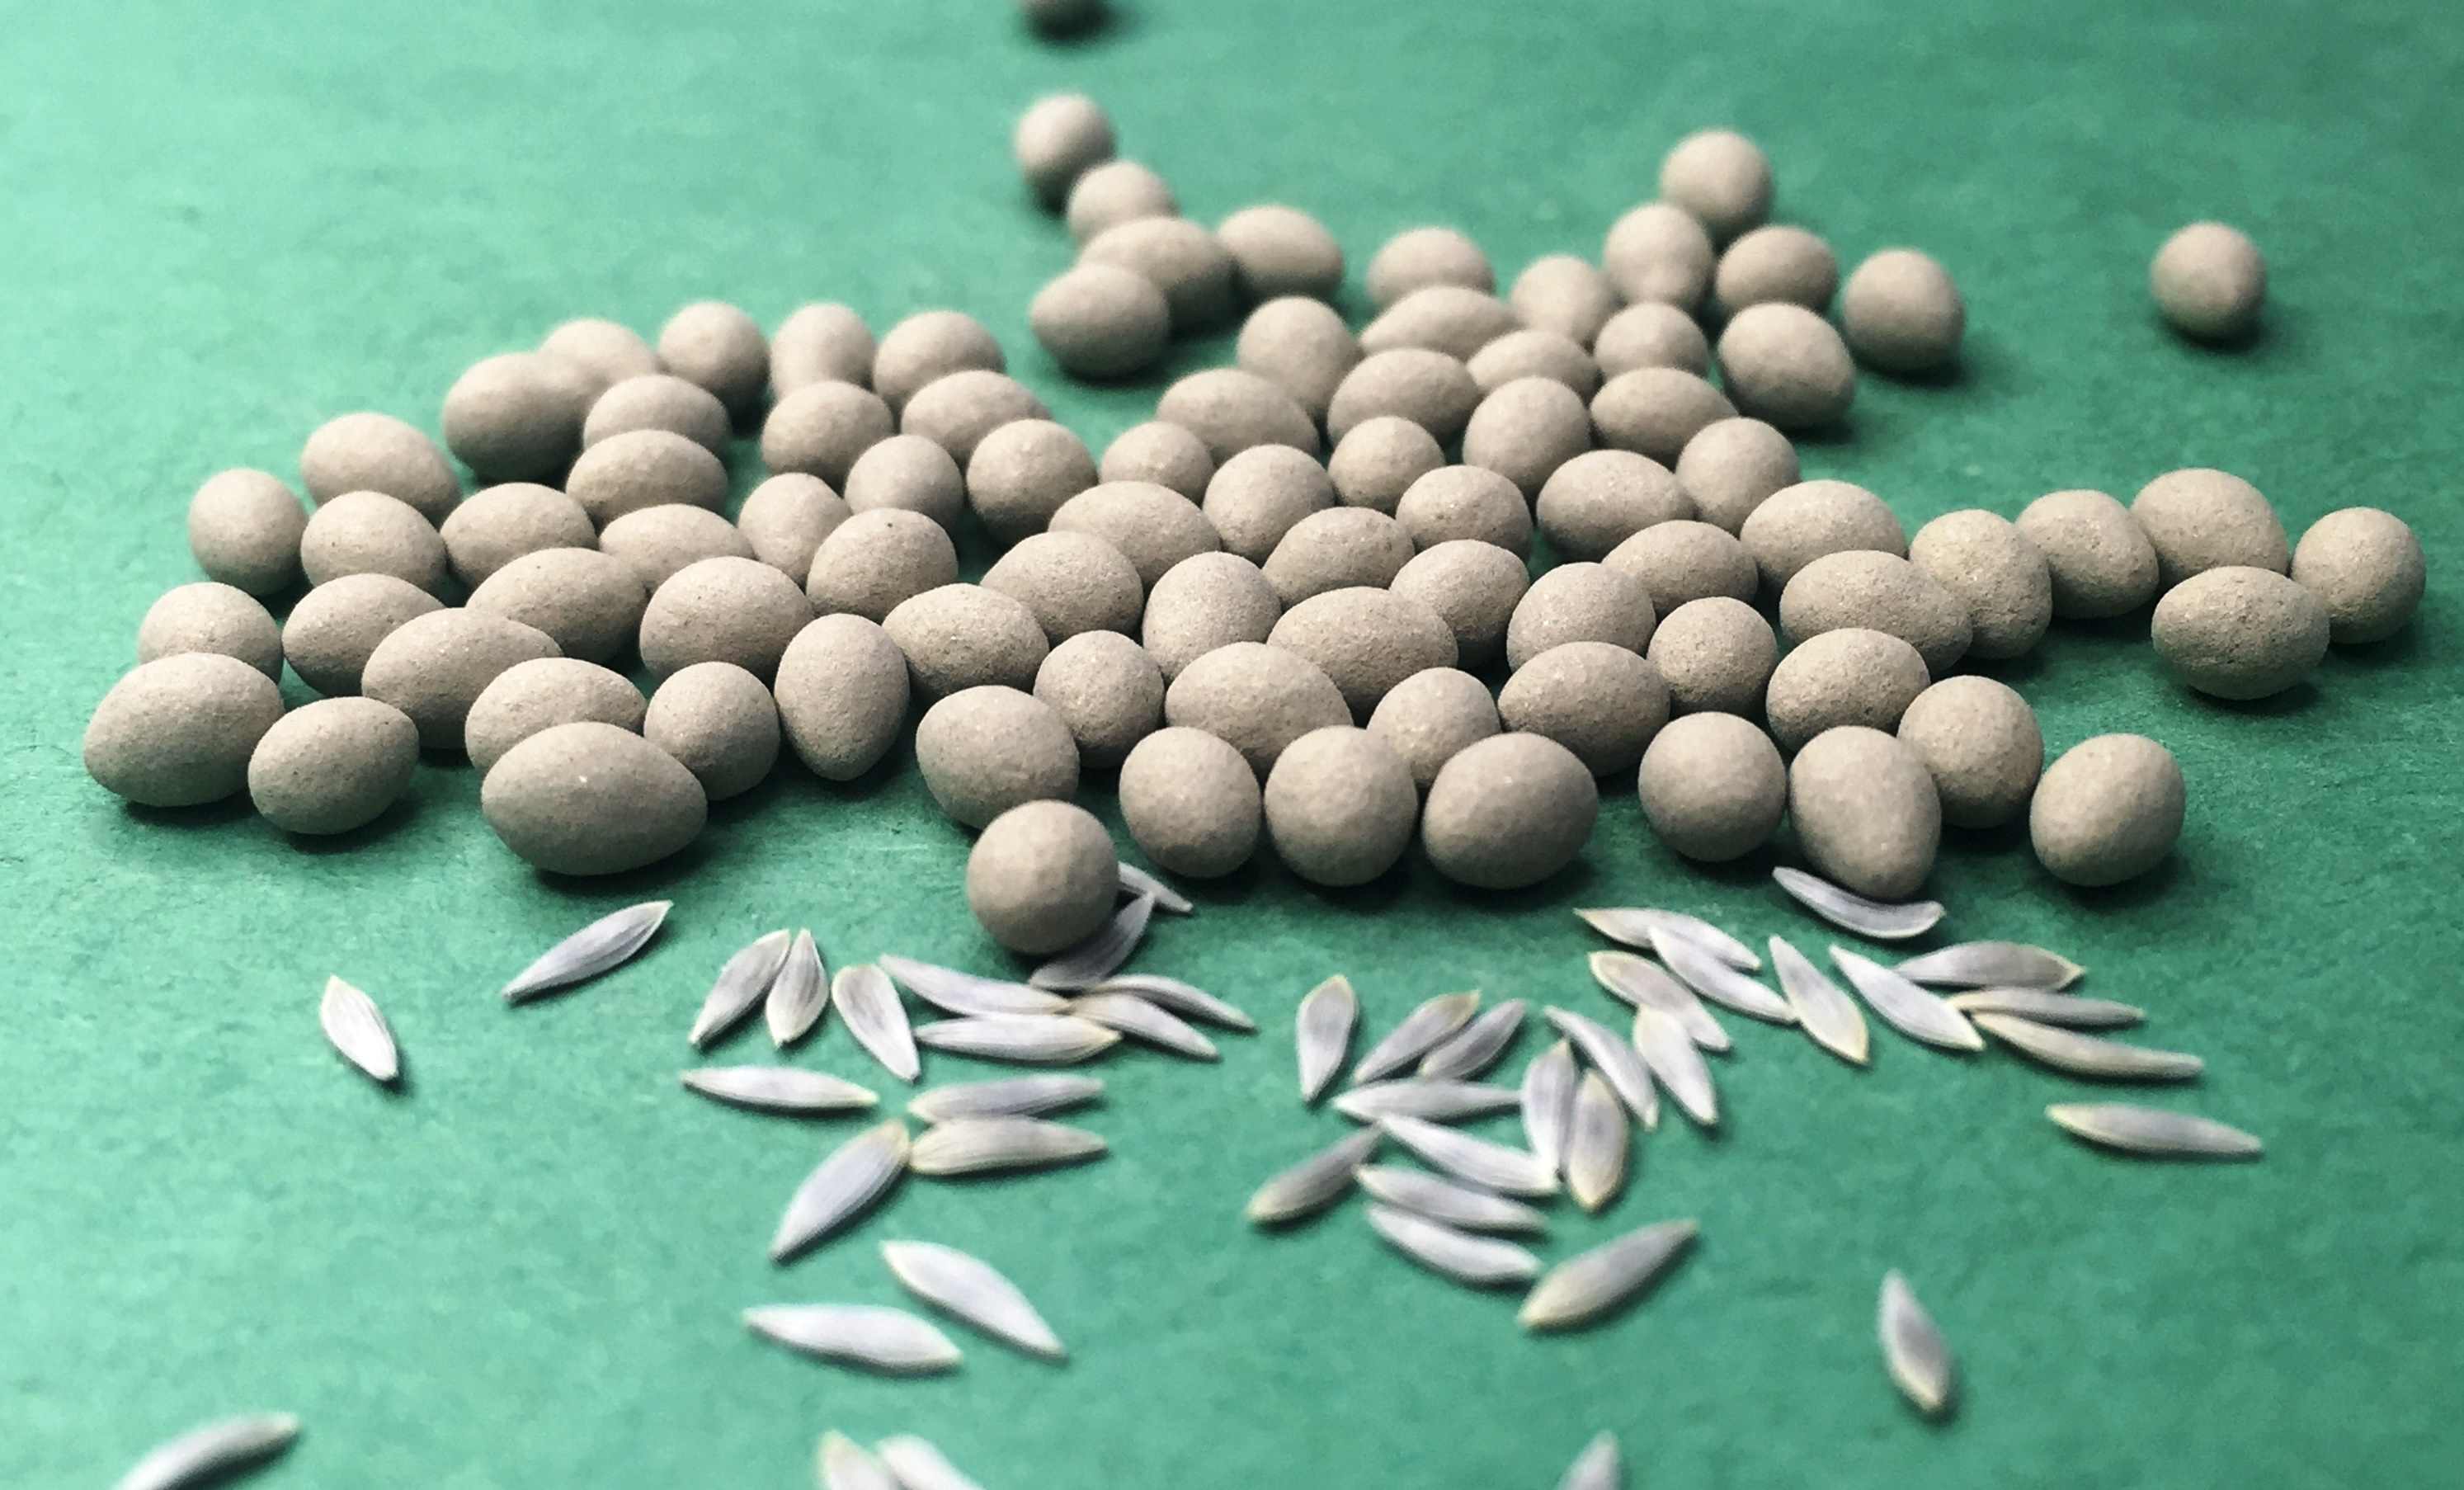
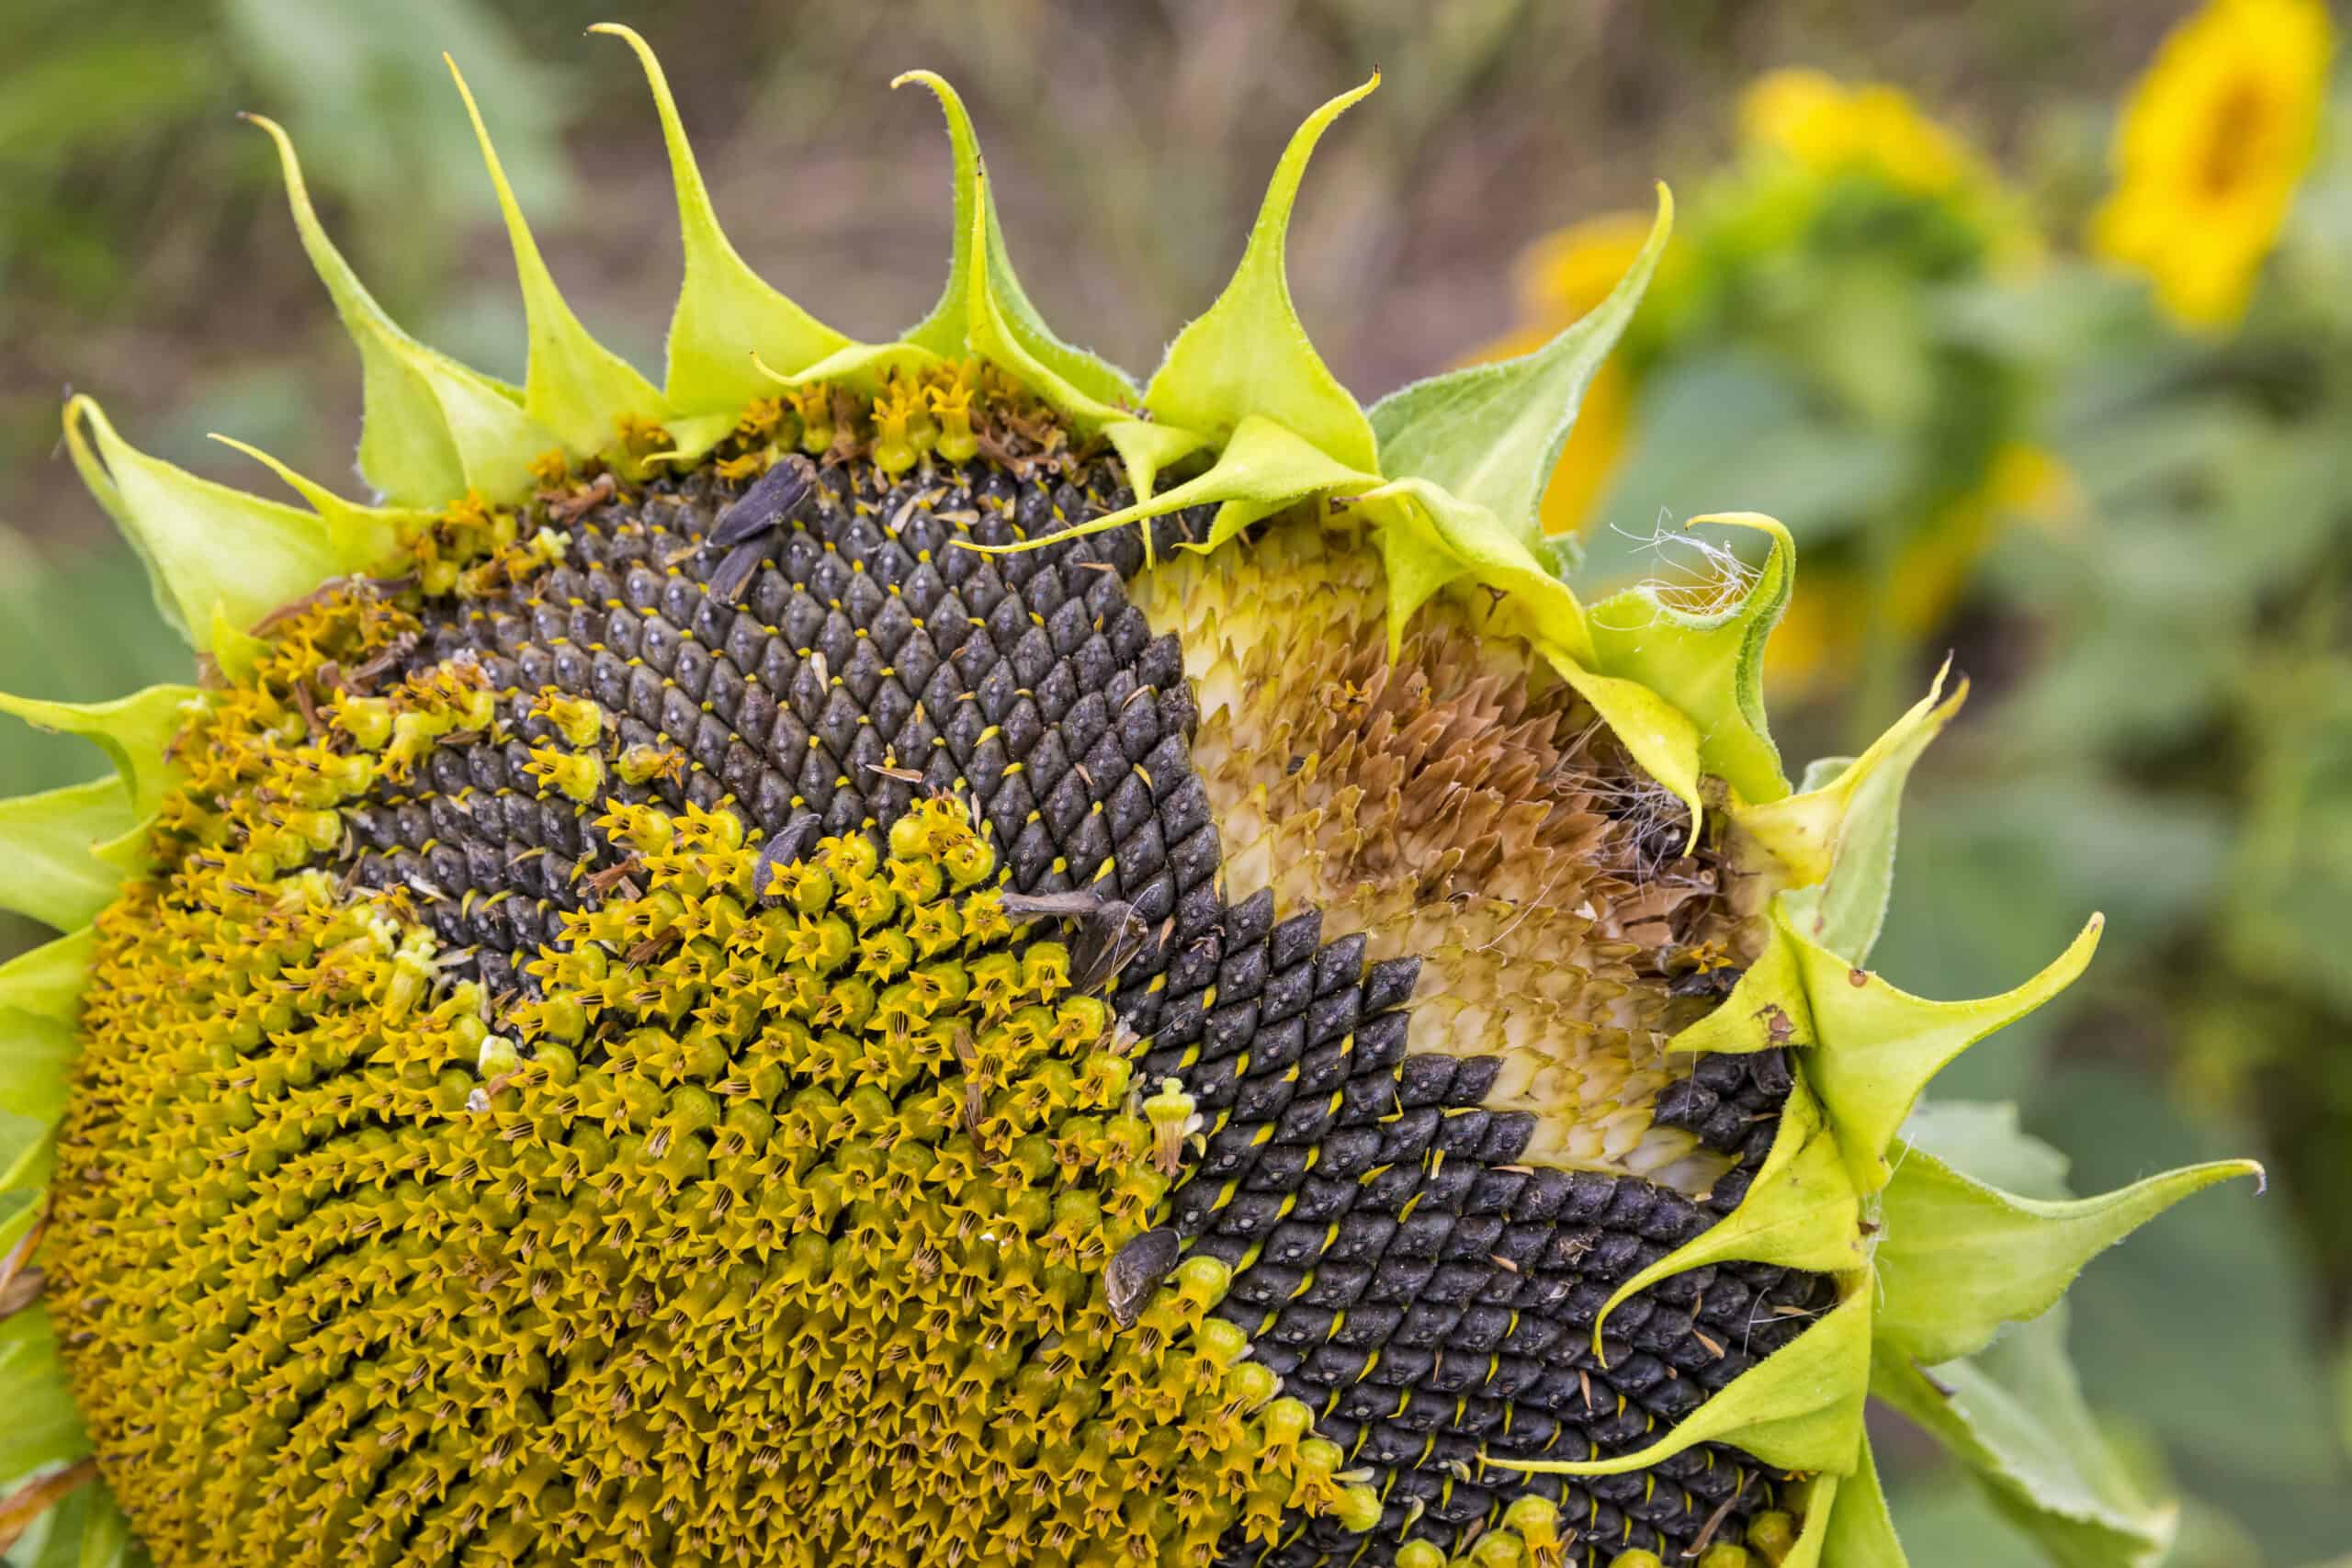
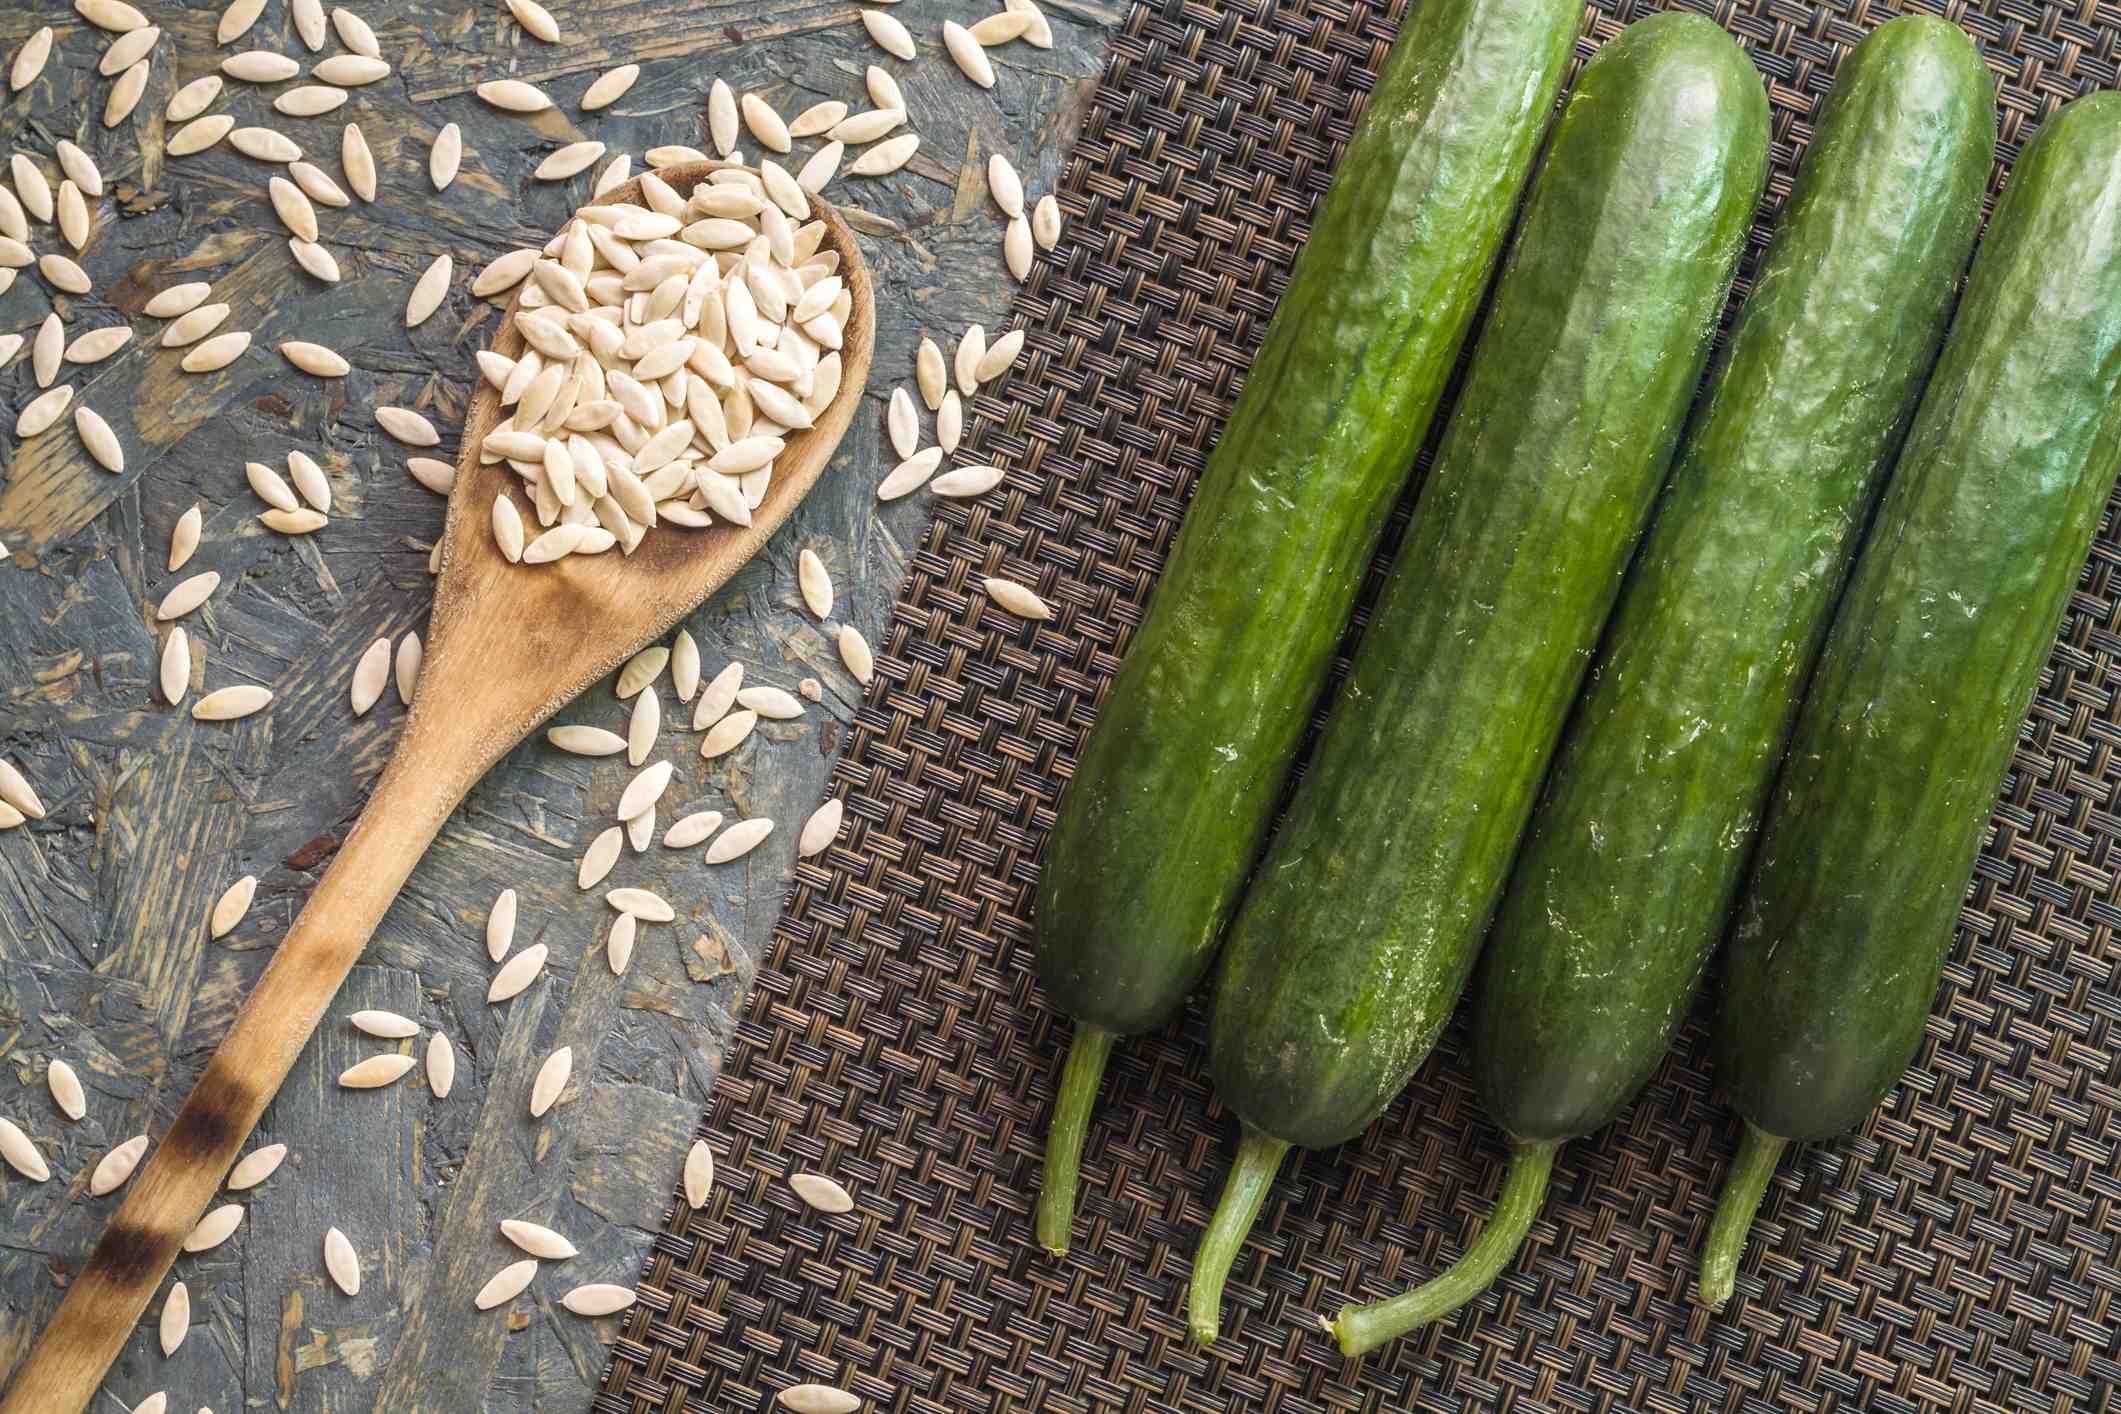
Selecting the Right Seeds
The first step in getting seeds to sprout successfully is selecting the right seeds for your intended gardening project. When choosing seeds, there are a few factors to consider:
- Plant Type: Determine whether you want to grow flowers, vegetables, herbs, or other types of plants. Consider your climate and growing conditions to ensure you select seeds that are suitable for your region.
- Seed Quality: Look for seeds that are fresh and of high quality. Avoid seeds that are discolored, damaged, or past their expiration date. Good quality seeds have a higher chance of successful germination.
- Variety: Consider the variety or cultivar of the plant you want to grow. Different varieties may have different growth requirements and produce different characteristics, such as color, size, or flavor. Choose a variety that suits your preferences and growing conditions.
- Source: Purchase seeds from reputable suppliers or nurseries to ensure their authenticity and quality. Avoid purchasing seeds from unknown or uncertified sources, as they may not be true to the labeled variety.
Additionally, consider whether you want to grow plants from open-pollinated, heirloom, or hybrid seeds. Open-pollinated and heirloom seeds are from plants that have been pollinated naturally, while hybrid seeds are created through controlled crossbreeding. Each type has its own advantages and characteristics, so choose based on your preferences and gardening goals.
Once you have selected the right seeds, it’s important to store them properly. Keep seeds in a cool, dry place, away from direct sunlight and moisture. Proper storage helps maintain seed viability and improves their chances of germination.
Remember, selecting the right seeds is the first step towards successful seed germination. Take your time to research and choose plants that are well-suited to your growing conditions and preferences. By doing so, you’ll set yourself up for success in the next stages of the germination process.
Providing Adequate Moisture
Moisture is a critical factor in seed germination. Seeds require a consistent level of moisture to activate the germination process and facilitate the growth of the embryonic plant. Here are some key points to consider when providing adequate moisture for your seeds:
- Pre-Planting: Before planting your seeds, it’s important to prepare the growing medium. Ensure that the soil or growing medium is moist but not soaking wet. Excessively wet conditions can lead to seed rot or the drowning of seeds.
- Watering: After planting the seeds, water the soil gently to keep it moist. Use a misting nozzle or a fine spray to avoid washing away the seeds or creating waterlogged conditions. Ensure that the soil remains consistently moist throughout the germination period.
- Avoid Overwatering: While moisture is crucial, overwatering can be detrimental to seed germination. It can lead to fungal diseases, root rot, and seedling damping-off. Check the moisture level of the soil regularly by gently pressing your finger into the soil. If it feels damp, hold off on watering until the top layer starts to dry out.
- Covering Seeds: Some seeds require darkness for germination, while others need exposure to light. Check the specific requirements of the seeds you are planting. If darkness is needed, cover the seeds lightly with a thin layer of soil or vermiculite. For light-dependent seeds, leave them uncovered or press them gently into the surface of the soil.
- Misting: To maintain moisture levels without overwatering, misting the soil surface is a helpful technique. Use a spray bottle to mist the soil whenever it starts to dry out slightly. This helps to provide moisture without the risk of over-saturating the soil.
It’s essential to maintain a balance when providing moisture for seed germination. The goal is to keep the growing medium consistently moist without creating waterlogged conditions. Remember that different plant species may have varied moisture requirements, so it’s important to research and understand the specific needs of the seeds you are planting.
By providing adequate moisture, you create the ideal environment for seeds to sprout and establish healthy seedlings. Keep a close eye on the moisture levels and make adjustments as needed. With careful attention to moisture, you’ll increase the chances of successful seed germination and nurture your plants from the very beginning.
Providing Optimal Temperature
Temperature plays a crucial role in seed germination. Different plants have different temperature requirements for successful sprouting. Ensuring that your seeds are exposed to the optimal temperature range will greatly increase their chances of germination. Here are some important points to consider when providing the right temperature for your seeds:
- Research Ideal Temperature: Each plant species has its own preferred temperature range for germination. Before planting your seeds, research the specific temperature requirements for the seeds you are working with. This information can usually be found on the seed packet or through reputable gardening resources.
- Warm-season Seeds: Many common vegetables, such as tomatoes, peppers, and cucumbers, are warm-season crops that require higher temperatures for optimal germination. These seeds typically need temperatures between 70°F (21°C) and 85°F (29°C) to sprout successfully.
- Cool-season Seeds: On the other hand, cool-season crops like lettuce, spinach, and radishes prefer cooler temperatures for germination. These seeds generally require temperatures between 55°F (13°C) and 70°F (21°C) to start the sprouting process.
- Germination Heat Mats: If you live in an area with cooler temperatures or want to optimize germination success, consider using a germination heat mat. These mats provide a controlled and consistent source of bottom heat, creating ideal conditions for seeds to sprout. Follow the manufacturer’s instructions to determine the appropriate temperature setting for your specific seeds.
- Avoid Extreme Temperature Fluctuations: While some plants may tolerate a wide range of temperatures, sudden or extreme fluctuations can negatively impact seed germination. Avoid placing seeds in areas exposed to drastic temperature changes, such as near heating vents or in drafty locations.
By providing seeds with the optimal temperature conditions, you are creating an environment that encourages germination and the subsequent growth of healthy plants. Understanding the temperature requirements for the seeds you are planting is crucial in setting them up for success.
Remember to monitor and maintain the temperature consistently throughout the germination period. By doing so, you’ll maximize the chances of your seeds sprouting and establishing strong seedlings. With the right temperature conditions, your plants will be well on their way to flourishing in your garden.
Ensuring Sufficient Light
Light is one of the key factors in successful seed germination. Most plants require an adequate amount of light to trigger the process of sprouting and promote healthy growth. Here are some important considerations to ensure sufficient light for your seeds:
- Know the Light Requirements: Different plant species have varying light requirements. Some plants, such as sunflowers and tomatoes, need full sun, while others, like ferns and certain herbs, thrive in shade or dappled light. Research the light preferences of the seeds you are planting and provide the appropriate lighting conditions.
- Indoor Growing: If you are starting your seeds indoors, place them near a south-facing window where they can receive direct sunlight for the majority of the day. If natural light is insufficient or inconsistent, consider using supplemental grow lights, such as fluorescent or LED lights, to provide the necessary light intensity.
- Outdoor Growing: When planting seeds directly in the garden, choose a location that receives the recommended amount of sunlight for the specific plant variety. Ensure that the area is not shaded by trees or buildings that may obstruct sunlight. Adjust plant spacing if needed to prevent shading between mature plants.
- Monitor Light Exposure: Even if you provide the right lighting conditions initially, it’s important to monitor the amount and duration of light exposure. Too much or too little light can negatively affect germination. Some seeds require darkness for proper sprouting, while others need light for the process. Follow the specific instructions for your seeds.
- Rotate Seedlings: If you are growing seedlings indoors under artificial lights, periodically rotate them to ensure even light exposure on all sides. This helps prevent etiolation (stretching) and promotes sturdy growth.
By ensuring sufficient light for your seeds, you are promoting healthy photosynthesis and optimizing the germination process. Light provides the energy plants need to produce nutrients and establish strong root systems.
Remember to regularly assess and adjust the light conditions as needed to accommodate the growth and development of your seedlings. Providing the right amount and quality of light will set the stage for successful seed germination and pave the way for thriving plants in your garden.
Planting the Seeds
The process of planting seeds is a critical step towards successful germination. By following proper planting techniques, you can provide the optimal conditions for your seeds to sprout and develop into healthy seedlings. Here are some guidelines to help you plant your seeds effectively:
- Prepare the Soil: Start by preparing the soil in the selected planting area. Remove any weeds, rocks, or debris and loosen the soil to ensure good soil aeration and drainage. Add amendments or organic matter to improve the soil structure and fertility if needed.
- Read the Seed Packet: Before planting, carefully read the instructions on the seed packet. It will provide valuable information on the recommended planting depth, spacing, and other specific requirements for the particular seeds you are working with.
- Plant at the Correct Depth: Different seeds have different planting depth requirements. As a general rule, smaller seeds are planted shallower, while larger seeds are planted deeper. Use your thumb or a popsicle stick to create the appropriate indentation or hole in the soil.
- Sow Seeds Evenly: To ensure proper spacing and growth, sow the seeds evenly in the prepared planting area. Avoid overcrowding, as it can lead to competition for resources and hinder germination. Thinning may be required later on if germination rates are high.
- Water Gently: After planting, water the seeds gently to settle them in the soil and provide initial moisture. Use a watering can or a gentle spray nozzle to avoid displacing or burying the seeds. Keep the soil consistently moist during the germination period.
- Protect from Extreme Weather: If planting outdoors, monitor the weather conditions. Strong winds, heavy rain, or extreme temperatures can damage or wash away newly planted seeds. Consider using row covers or temporary shelter to protect the seeds until they establish themselves.
- Label and Document: To keep track of the variety and planting date, label your planting area or use plant markers. It’s also helpful to keep a journal or record of your planting activities, including observations and any adjustments made throughout the germination period.
By following proper planting techniques, you are providing your seeds with the best chance of germination and subsequent growth. Remember to check the planting depth, spacing, and specific requirements for each type of seed you are planting.
With patience and care, your seeds will soon sprout and reward you with the joy of new life in your garden.
Providing Proper Drainage
Proper drainage is essential for the successful growth of seeds and seedlings. It ensures that excess water can flow away from the roots, preventing waterlogged conditions that can lead to root rot and other issues. Here are some important considerations for providing proper drainage:
- Good Soil Structure: Start by preparing the soil with good structure. Loose, well-draining soil allows excess water to move away from the roots effectively. Add organic matter, such as compost or well-rotted manure, to improve the soil’s drainage capacity.
- Elevated Planting Areas: If you’re planting in raised beds or containers, ensure they have adequate drainage holes. Elevating the planting area allows excess water to escape, preventing water from pooling around the roots of your seeds and causing rot.
- Avoid Compacted Soil: Compacted soil can hinder drainage. Avoid walking or compacting the soil excessively around the planted seeds. Use a garden fork or tiller to loosen compacted soil before planting.
- Timing and Watering: Time your watering appropriately to avoid overwatering, which can lead to waterlogged conditions. Water thoroughly but avoid saturating the soil. Allow the soil to dry out slightly between watering intervals.
- Use Raised Beds: If your garden tends to have poor natural drainage, consider using raised beds. Raised beds provide excellent drainage as they are elevated from the ground and filled with well-draining soil.
- Amend Heavy Soils: In areas with heavy clay soils that tend to retain water, amend the soil with sand, perlite, or vermiculite to improve drainage. These amendments help break up the clay particles and improve overall drainage capacity.
- Install Drainage Systems: In areas with chronic drainage problems, it may be necessary to install drainage systems such as French drains or perforated pipes. These systems can divert excess water away from the planting area.
By providing proper drainage, you ensure that your seeds have access to the oxygen they need for healthy root development. Excess water can suffocate the roots and lead to poor seed germination and plant health.
Remember to observe the soil moisture levels and adjust watering practices as needed. With well-drained soil, your seeds will have a better chance of sprouting and thriving, setting the stage for a successful garden.
Avoiding Overwatering
Overwatering is a common mistake that can negatively impact seed germination and plant health. It’s important to provide the right amount of water to your seeds without drowning them. Here are some key tips to avoid overwatering:
- Proper Moisture Level: Before planting, ensure that the soil or growing medium is moist but not waterlogged. Excess moisture can lead to seed rot and prevent the seeds from germinating. Use your fingertips to check the moisture level of the soil.
- Use the Soak-and-Dry Method: Instead of watering on a fixed schedule, adopt a “soak-and-dry” method. Water the soil thoroughly until it is evenly moist, let it dry out slightly, and then water again. This method encourages the seeds to develop deep roots and promotes overall plant health.
- Monitor Soil Moisture: Regularly check the moisture level of the soil to avoid overwatering. Stick your finger about an inch into the soil – if it feels damp, hold off on watering. Only water when the top inch of soil feels dry.
- Avoid Standing Water: Ensure that containers or planting areas have proper drainage to prevent water from accumulating around the seeds. Standing water can suffocate the seeds and encourage the growth of harmful fungi and bacteria.
- Water at the Base: Water the plants at the base rather than spraying water directly onto the leaves. This minimizes moisture on the foliage and reduces the risk of fungal diseases.
- Consider the Climate: Take into account your specific climate and weather conditions. If it has recently rained or there is high humidity, adjust your watering frequency accordingly. In some cases, you may need to reduce watering to account for the extra moisture in the environment.
- Utilize Mulching: Apply a layer of organic mulch, such as straw or wood chips, around the seeds. Mulch helps retain moisture in the soil, reducing the need for frequent watering. It also helps regulate soil temperature and suppresses weed growth.
Remember that every plant has different water requirements, so it’s essential to research and understand the specific needs of the seeds you are planting. Providing adequate moisture without overwatering promotes healthy seed germination and robust plant growth.
By adopting mindful watering practices and paying attention to soil moisture levels, you can avoid the pitfalls of overwatering and give your seeds the best chance of thriving.
Protecting Seedlings from Pests
As your seedlings emerge and start to grow, they become vulnerable to pests that can hinder their development. Protecting your seedlings from pests is crucial in ensuring their healthy growth and survival. Here are some effective strategies to keep pests at bay:
- Monitor Regularly: Keep a close eye on your seedlings and regularly inspect them for any signs of pest infestation. Look out for chewed leaves, discolored foliage, webbing, or any unusual activity around your plants.
- Natural Barriers: Use physical barriers to deter pests. For example, covering your seedlings with row covers or netting can prevent insects and birds from reaching them. Make sure the covers are secured tightly to prevent pests from sneaking underneath.
- Companion Planting: Planting certain flowers and herbs alongside your vulnerable seedlings can help repel pests. For instance, marigolds, nasturtiums, and basil have natural insect-repellent properties and can discourage pests from approaching.
- Beneficial Insects: Encourage beneficial insects, such as ladybugs, lacewings, and predatory wasps, that feed on common garden pests. You can attract these helpful insects by providing diverse plantings, avoiding the use of pesticides, and providing shelter through insect-friendly habitats.
- Biological Controls: Beneficial nematodes and microbial-based insecticides can help control pests without harming beneficial insects or the environment. These natural products can selectively target specific pests without causing harm to your seedlings.
- Handpicking: If you spot pests on your seedlings, consider handpicking them off. Wearing gloves, carefully remove any caterpillars, slugs, or other visible pests and dispose of them away from your garden.
- Organic Pest Control Sprays: If pest populations become problematic, you can use organic pest control sprays that are approved for use on edible plants. Neem oil, insecticidal soap, and garlic-based sprays are effective against a wide range of garden pests.
- Cultural Practices: Healthy seedlings are more resistant to pest attacks. Practice good gardening techniques, such as proper spacing, adequate watering, and appropriate fertilization, to ensure strong and robust seedling growth.
Avoid using chemical pesticides, as they can harm beneficial insects and pose risks to human and environmental health. Instead, opt for natural and organic methods that target pests while maintaining the balance of the garden ecosystem.
By implementing these strategies, you can protect your seedlings from pests and set them up for a successful and pest-free growing season.
Monitoring and Adjusting Care
Monitoring your seedlings’ progress and regularly adjusting your care routine is essential for their healthy growth and development. By paying attention to their needs and making necessary adjustments, you can address any issues promptly and provide the best conditions for their success. Here are some important aspects to consider when monitoring and adjusting care for your seedlings:
- Observation: Take the time to observe your seedlings regularly. Look for signs of healthy growth, such as vibrant leaves, strong stems, and steady development. Conversely, be on the lookout for any signs of stress, such as wilting, yellowing leaves, or stunted growth.
- Watering: Continuously assess the moisture level of the soil. As the seedlings grow, their water requirements may change. Adjust your watering frequency and amount accordingly to ensure that the soil remains consistently moist but not waterlogged.
- Fertilization: Seedlings have specific nutrient requirements to support their growth. Monitor their overall health and consider adding a mild, balanced fertilizer when they show signs of nutrient deficiency, such as pale or yellowing leaves. Follow the recommended dosage and application instructions.
- Pruning: Remove any dead or damaged leaves, stems, or seedlings to maintain plant health and reduce the risk of disease. Pruning also helps promote airflow and prevents overcrowding, allowing more light to reach the seedlings.
- Light Exposure: Monitor the amount and quality of light that your seedlings receive. Adjust their placement if they appear to be stretching or leaning towards a light source. Consider rotating the containers or adjusting the position of grow lights to promote even growth.
- Temperature: Keep an eye on the temperature conditions in your growing area. Sudden temperature fluctuations or extremes can stress seedlings. Provide adequate ventilation or shading if necessary to create a stable and suitable environment.
- Pest and Disease Management: Regularly check for signs of pests or diseases. Identify and treat any issues promptly using organic and effective methods. Adjust your pest management strategies as needed to prevent infestations and safeguard the health of your seedlings.
- Support and Staking: As your seedlings grow taller or produce heavy fruit, provide appropriate support or staking to prevent them from bending, breaking, or falling over. This helps maintain the overall structure and strength of the plants.
Regular monitoring and adjustment of care are vital to nurture your seedlings through their growth stages. By closely observing their progress and making the necessary changes, you can address any issues before they become detrimental to the plants.
Remember that each seedling is unique, and its requirements may vary. With attentive care and proactive adjustments, you’ll provide an optimal environment for your seedlings to flourish and become healthy, mature plants.
Conclusion
Congratulations! You’ve now equipped yourself with valuable knowledge on how to get your seeds to sprout successfully. By understanding the key factors that contribute to seed germination and implementing proper care techniques, you can create an environment that supports healthy growth and flourishing plants.
From selecting the right seeds to providing adequate moisture, optimal temperature, and sufficient light, every step in the process of seed germination plays a crucial role. Avoiding overwatering, ensuring proper drainage, protecting seedlings from pests, and monitoring and adjusting care are all vital for the well-being of your seedlings.
Remember that each plant species may have specific requirements, so it’s important to research and understand the needs of the seeds you are planting. Observe your seedlings closely, making any necessary adjustments to watering, fertilization, pruning, and environmental conditions to ensure their continued health and development.
Enjoy the journey of watching your seeds sprout and transform into healthy, thriving plants. Embrace the learning experience, be patient, and always stay in tune with the needs of your seedlings. Gardening is a wonderful endeavor that rewards us with beauty, fresh produce, and a deep connection with nature.
So go ahead, put your newfound knowledge into practice, and start sowing those seeds with confidence. Happy gardening!