Home>Types of Gardening>Edible Gardening>When To Start Brussel Sprout Seeds
Edible Gardening
When To Start Brussel Sprout Seeds
Modified: February 9, 2024
Learn when to start Brussel sprout seeds for your edible gardening project. Maximize your harvest with the right timing and techniques.
(Many of the links in this article redirect to a specific reviewed product. Your purchase of these products through affiliate links helps to generate commission for Chicagolandgardening.com, at no extra cost. Learn more)
Table of Contents
- Introduction
- Understanding Brussels Sprout Seeds
- Optimal Growing Conditions for Brussels Sprout Seeds
- Determining the Right Time to Start Brussels Sprout Seeds
- Starting Brussels Sprout Seeds Indoors
- Transplanting Brussels Sprout Seedlings
- Direct Sowing Brussels Sprout Seeds
- Caring for Brussels Sprout Seedlings
- Harvesting Brussels Sprouts
- Conclusion
Introduction
Welcome to the world of edible gardening! If you’re a fan of fresh, homegrown vegetables, there’s nothing quite like the taste and satisfaction of growing your own. One vegetable that deserves a spot in every garden is the Brussels sprout. These mini cabbages pack a punch with their unique, nutty flavor and are packed full of vitamins and minerals.
Brussels sprouts are a cool-season crop, meaning they thrive in cooler temperatures and are typically planted in early spring or late summer, depending on your location. Whether you’re a beginner gardener or have years of experience, starting Brussels sprout seeds can be a rewarding and exciting endeavor.
In this article, we will delve into the world of Brussels sprout seeds and guide you through the process of starting them in your garden. We will discuss the optimal growing conditions, various methods of starting the seeds, and how to care for the seedlings. By the end, you’ll be equipped with the knowledge and confidence to successfully grow your own delicious Brussels sprouts.
Before we dive into the specifics, it’s important to note that Brussels sprouts require patience and attention. They are known for their long growing season, taking around 90-100 days to mature. However, the end result is worth the effort. With proper care and cultivation, you’ll be rewarded with a bountiful harvest of tasty Brussels sprouts that you can enjoy in a variety of dishes.
So, let’s get started on our Brussels sprout seed-starting journey and discover the joys of growing this versatile and nutritious vegetable in your own backyard!
Understanding Brussels Sprout Seeds
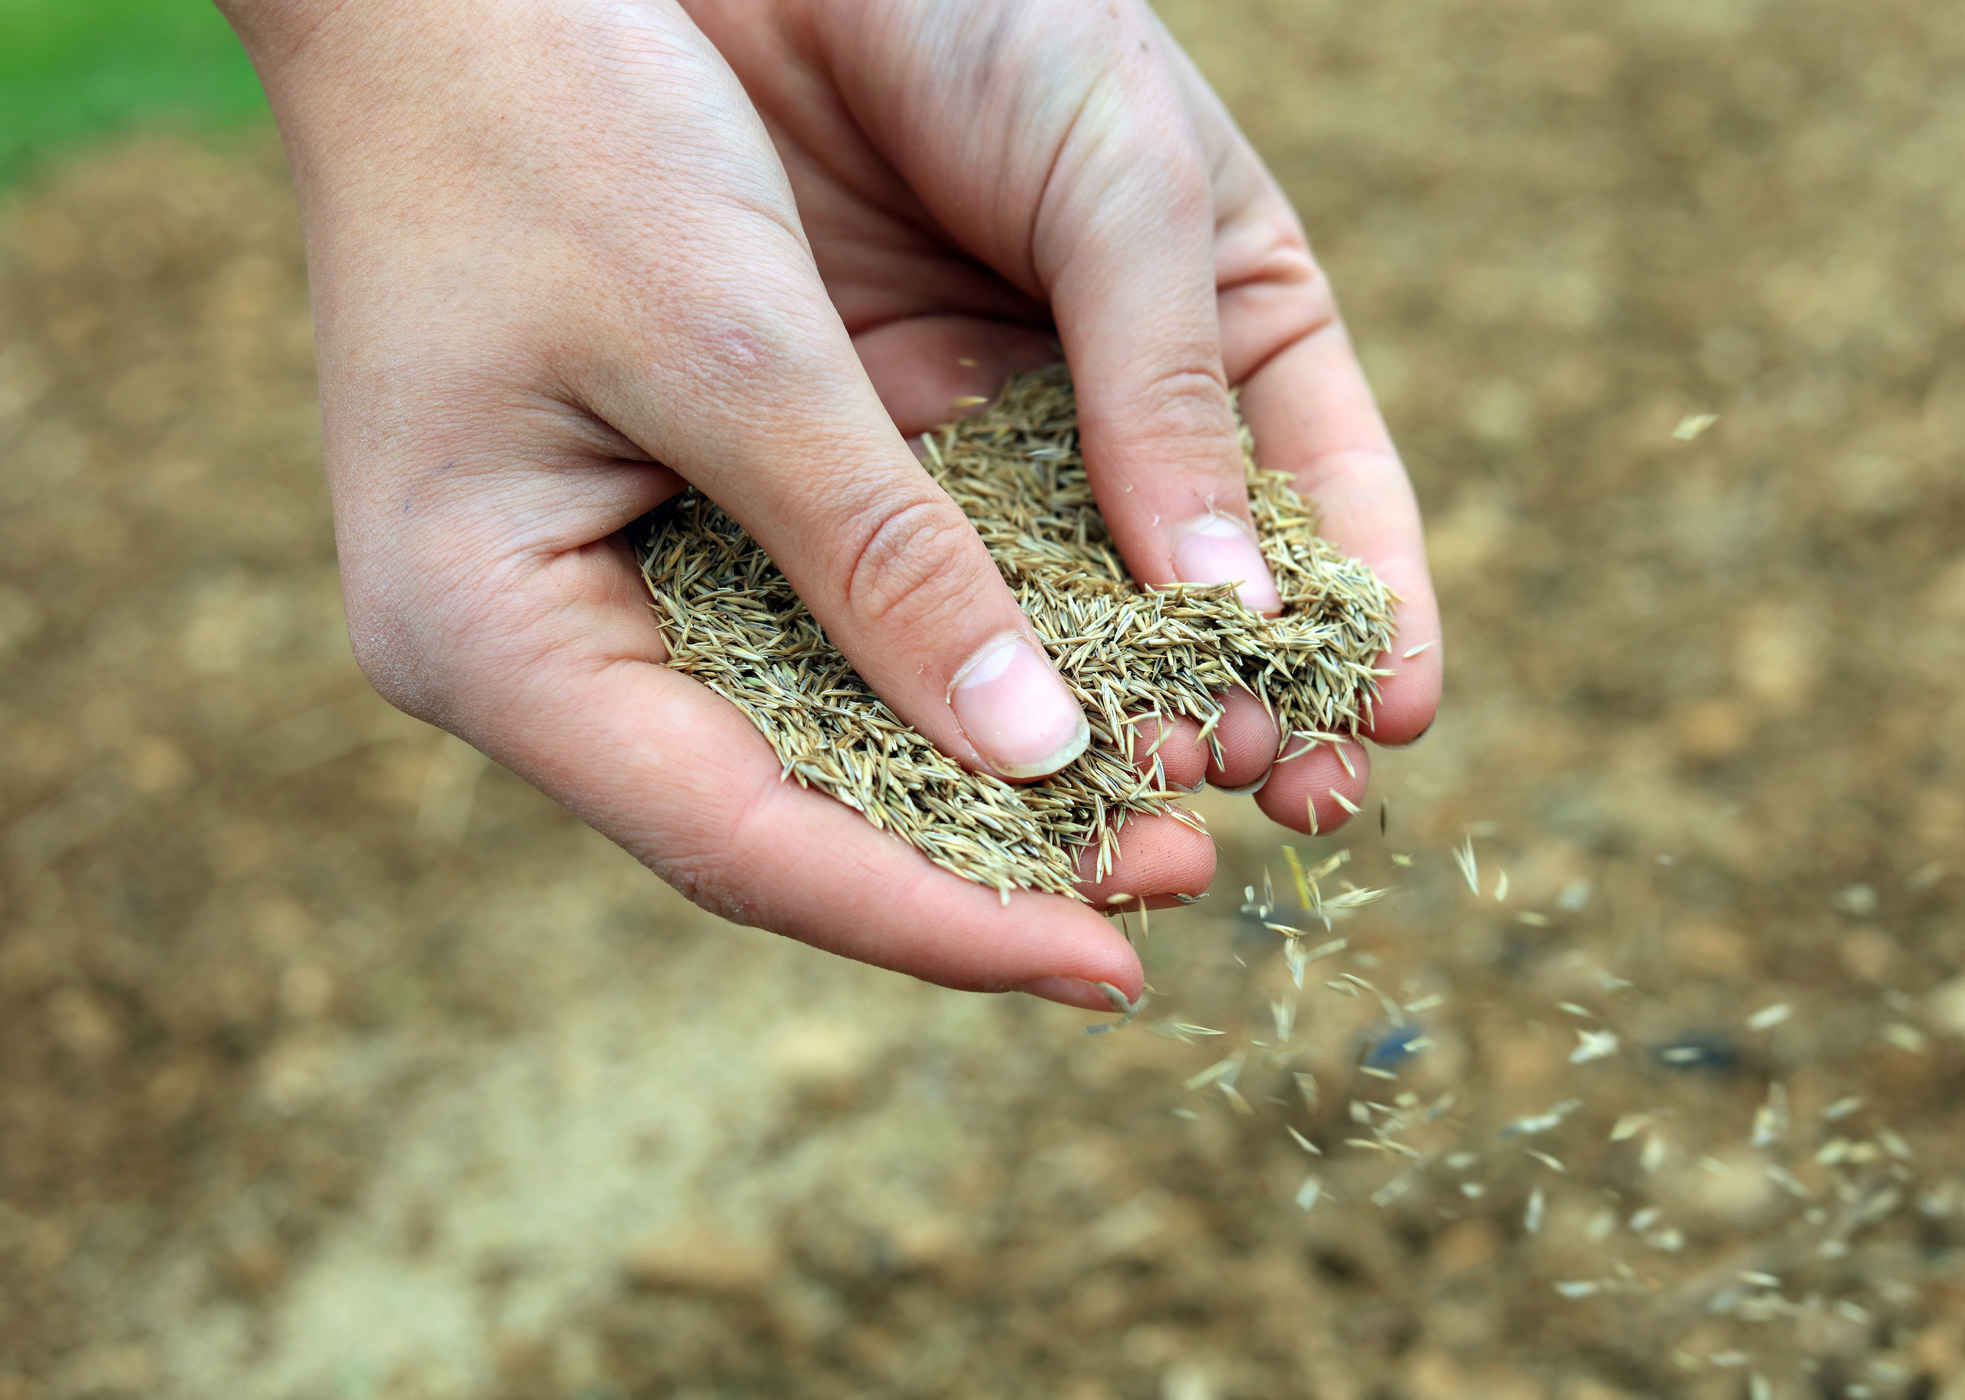
Before we start growing Brussels sprouts from seeds, it’s important to have a good understanding of the seeds themselves. Brussels sprout seeds are small, round, and light brown in color. Each seed has the potential to germinate into a robust plant that produces the sought-after miniature cabbages.
Brussels sprout seeds are typically available to purchase from garden centers, nurseries, or online seed suppliers. They can also be collected from mature Brussels sprout plants if you have them in your garden. When selecting seeds, look for ones that are fresh, as older seeds may have lower germination rates.
A crucial factor to consider when it comes to Brussels sprout seeds is their viability. Seeds that are old or have been stored in unfavorable conditions may have reduced viability, leading to poor germination rates. To ensure the best chance of success, it’s recommended to use seeds that are no more than three years old.
It’s important to note that Brussels sprouts are a cross-pollinated vegetable, meaning they can easily cross with other members of the Brassica family, such as cabbage or kale. To maintain the purity of your Brussels sprout variety, it is recommended to separate different varieties by distance or time when planting.
Brussels sprout seeds have a higher germination rate in cool temperatures, ranging from 45°F to 85°F (7°C to 29°C), with the ideal germination range being 55°F to 75°F (13°C to 24°C). Cooler temperatures mimic the conditions of early spring or late summer, which are when Brussels sprouts naturally grow.
Now that we understand the basics of Brussels sprout seeds, let’s move on to understanding the optimal growing conditions for successfully starting these seeds and growing them into healthy seedlings.
Optimal Growing Conditions for Brussels Sprout Seeds
Creating the right growing conditions is essential for the successful germination and growth of Brussels sprout seeds. Providing these optimal conditions will give your seeds the best chance to develop into healthy and robust seedlings. Here are the key factors to consider:
- Temperature: Brussels sprouts are cool-season crops that thrive in temperatures ranging from 60°F to 70°F (15°C to 21°C). During the germination phase, maintaining a consistent temperature within this range is crucial. Once the seedlings have emerged, they can tolerate slightly lower temperatures.
- Sunlight: Brussels sprouts require full sun to grow and develop properly. Choose a location in your garden that receives at least six hours of direct sunlight each day. If you live in a particularly hot climate, some afternoon shade can help protect the plants from excessive heat.
- Soil: Brussels sprouts prefer well-draining soil that is rich in organic matter. Prepare your soil by adding compost or well-rotted manure to improve its fertility and drainage. Aim for a soil pH level between 6.0 and 7.5 for optimal growth.
- Moisture: Consistent moisture is important to ensure the healthy growth of Brussels sprout seeds. Keep the soil evenly moist, but not waterlogged, throughout the germination and seedling stages. Avoid overhead watering, as it can lead to diseases. Instead, use soaker hoses or drip irrigation to water at the base of the plants.
- Spacing: Brussels sprouts require adequate spacing to develop into healthy plants. Plant the seeds or seedlings at least 24 to 36 inches (60 to 90 cm) apart to provide enough room for the plants to grow and spread their leaves. Proper spacing also ensures good air circulation, reducing the risk of diseases.
- Fertilization: Brussels sprouts benefit from regular fertilization throughout their growth. Before planting, incorporate a balanced organic fertilizer into the soil. Additionally, side-dress the plants with compost or a slow-release fertilizer during the growing season to provide ongoing nutrients.
By providing these optimal growing conditions, you can set the stage for healthy seed germination and strong growth of Brussels sprout seedlings. Now that we know what conditions are ideal for growing Brussels sprout seeds, let’s explore how to determine the right time to start these seeds in your garden.
Determining the Right Time to Start Brussels Sprout Seeds
Timing is crucial when it comes to starting Brussels sprout seeds, as they have specific requirements for temperature and daylight hours. By understanding your local climate and the growing season of Brussels sprouts, you can determine the optimal time to sow your seeds. Here are the key factors to consider:
- First Frost Date: Brussels sprouts are a cool-season crop that thrives in cooler temperatures. Before planting your seeds, find out the average date of the first frost in your area. Brussels sprouts take approximately 90-100 days to mature, so you need to allow enough time for them to grow and develop before the first frost arrives.
- Growing Season: Brussels sprouts prefer growing during the cooler months. They can be grown as a spring crop or a fall crop, depending on your climate. For spring crops, start your seeds indoors in late winter, around 10-12 weeks before the last expected spring frost. For fall crops, start your seeds indoors in early summer, around 12-14 weeks before the first expected fall frost.
- Daylight Hours: Brussels sprouts are known as “long-day” plants, meaning they require longer daylight hours to initiate flowering and sprout development. This is why they are typically grown during the longer day lengths of spring and fall. If you live in a region with short daylight hours, you may need to start your seeds earlier or choose varieties that are better suited for your climate.
- Temperature: Brussels sprouts prefer cooler temperatures for optimal growth. The soil temperature should be around 45°F to 85°F (7°C to 29°C) for successful germination. As the seedlings emerge and grow, the ideal temperature range is between 60°F to 70°F (15°C to 21°C).
Remember that these are general guidelines, and they may vary depending on your specific location and microclimate. Observation and understanding the unique characteristics of your local climate, such as frost patterns and day length, will help you determine the precise timing to start your Brussels sprout seeds.
To assist you further, many gardening resources provide planting calendars specific to your region, which outline the optimal planting dates for various crops. These calendars take into account local climate data, allowing you to plan your Brussels sprout planting with confidence.
Now that you have a good understanding of the timing for starting Brussels sprout seeds, let’s explore the different methods of starting these seeds in your garden.
Starting Brussels Sprout Seeds Indoors
Starting Brussels sprout seeds indoors gives you a head start and allows you to control the growing conditions from the beginning. It’s an ideal method, especially if you have a shorter growing season or live in an area with unpredictable weather. Here’s a step-by-step guide on how to start Brussels sprout seeds indoors:
- Seed Starting Containers: Begin by selecting seed starting containers or trays with drainage holes. You can use biodegradable peat pots, plastic trays, or even recycled containers. Ensure they are clean and sterilized to prevent any potential diseases.
- Seed Starting Mix: Fill the containers with a quality seed starting mix. This mix should be lightweight, well-draining, and sterile. Avoid using regular garden soil, as it may contain pests or diseases that could harm the seedlings.
- Sowing the Seeds: Moisten the seed starting mix before sowing the Brussels sprout seeds. Following the packet instructions, sow the seeds at a depth of around ¼ to ½ inch (0.6 to 1.3 cm). Space the seeds according to the recommended spacing for Brussels sprouts, typically 2 to 3 inches (5 to 7.5 cm) apart.
- Labeling and Covering: Label each container with the seed variety and date of sowing. Cover the containers with a clear plastic dome or plastic wrap to create a mini greenhouse effect that helps retain moisture and warmth.
- Germination and Growth: Place the containers in a warm area with temperatures around 60°F to 70°F (15°C to 21°C). Keep the soil moist, but not waterlogged, by misting it or watering from the bottom. Once the seeds germinate and sprout, remove the plastic cover and place the seedlings under grow lights or in a bright, south-facing window.
- Thinning Out: As the seedlings grow, thin them out by removing the weaker ones. This allows the remaining seedlings more space to develop and reduces competition for nutrients and light.
- Hardening Off: About 2-3 weeks before the last spring frost date or when the seedlings have reached 4-6 inches (10-15 cm) tall, start hardening off the seedlings. Gradually expose them to outdoor conditions by placing them outside for a few hours each day, gradually increasing the time over a week.
- Transplanting: Once the seedlings are hardened off and all danger of frost has passed, transplant them into the garden. Space them according to the recommended spacing for Brussels sprouts, typically 24 to 36 inches (60 to 90 cm) apart.
Starting Brussels sprout seeds indoors allows you to get a head start and increases the chances of a successful crop. It also gives you a longer growing season and ensures that you have robust and healthy seedlings ready for transplantation. However, if you prefer, Brussels sprout seeds can also be directly sown in the garden. Let’s explore that method next.
Transplanting Brussels Sprout Seedlings
Transplanting Brussels sprout seedlings from indoors to the garden is a critical step in their growth journey. It’s important to provide them with a suitable environment and proper care to ensure their successful establishment. Here’s a step-by-step guide on how to transplant Brussels sprout seedlings:
- Prepare the Garden: Choose a location in your garden that receives full sun and has well-draining soil. Clear the area of any weeds or debris and amend the soil with organic matter, such as compost or well-rotted manure, to enhance its fertility and drainage.
- Timing: Wait until all danger of frost has passed before transplanting Brussels sprout seedlings. Depending on your climate, this is typically in late spring or early summer for a fall harvest or late summer for a winter harvest.
- Spacing: Brussels sprouts require sufficient spacing to grow and develop properly. Space the seedlings approximately 24 to 36 inches (60 to 90 cm) apart to allow for healthy growth and proper airflow. Ensure that each plant has enough space to spread its leaves without overcrowding.
- Transplanting Process: Before transplanting, gently water the seedlings to ensure they are well-hydrated. Dig a hole in the garden that is slightly larger than the root ball of each seedling. Carefully remove the seedlings from their containers, taking care not to damage the delicate roots. Place each seedling in a hole and backfill with soil, gently firming it around the base of the plant. Water the transplanted seedlings thoroughly.
- Mulching: Apply a layer of organic mulch, such as straw or wood chips, around the base of each plant. Mulching helps retain moisture, regulate soil temperature, and suppress weed growth. It also adds organic matter to the soil as it breaks down.
- Watering and Care: Keep the transplanted seedlings well-watered, especially during the first few weeks as they establish their roots in the new soil. Ensure the soil is consistently moist but not saturated. Avoid overhead watering, as this can promote the spread of diseases. Instead, water at the base of the plants to minimize splashing on leaves.
- Supporting the Plants: Brussels sprouts are top-heavy plants that may require support as they grow taller. Consider using stakes or a trellis system to provide support and prevent the plants from bending or breaking during strong winds or heavy rainfall.
- Continued Care: As the seedlings grow, continue to monitor their progress and provide proper care. Regularly check for pests, such as aphids or cabbage worms, and address any issues promptly. Fertilize the plants periodically with a balanced organic fertilizer to replenish nutrient levels in the soil.
Transplanting Brussels sprout seedlings into the garden sets them on the path to maturity, where they will continue to grow and develop into robust plants. With proper care and attention, you’ll soon be rewarded with a bountiful harvest of delicious Brussels sprouts. Now, let’s explore the alternative method of directly sowing Brussels sprout seeds in the garden.
Direct Sowing Brussels Sprout Seeds
Directly sowing Brussels sprout seeds in the garden is another viable method for growing this delicious vegetable. It eliminates the need for transplanting seedlings and allows the seeds to germinate and grow in their final growing location. Here’s a step-by-step guide on how to directly sow Brussels sprout seeds:
- Prepare the Garden: Choose a location in your garden that receives full sun and has well-draining soil. Remove weeds, rocks, and debris from the area and improve the soil by incorporating organic matter, such as compost or well-rotted manure.
- Timing: Direct sowing Brussels sprout seeds should be done when the soil temperature reaches around 45°F to 85°F (7°C to 29°C) and there is no longer a risk of frost. This timing usually falls in the early spring or late summer, depending on your climate.
- Seed Planting Depth: Sow the Brussels sprout seeds at a depth of about ¼ to ½ inch (0.6 to 1.3 cm) in the prepared soil. Space the seeds according to the recommended spacing for Brussels sprouts, typically 2 to 3 inches (5 to 7.5 cm) apart.
- Soil Moisture: After planting the seeds, water the area thoroughly to ensure that the soil is evenly moist. Maintain consistent moisture in the soil throughout the germination and seedling stages to support healthy seed development.
- Thinning Out: As the seedlings emerge and reach a few inches in height, thin them out by removing the weaker or overcrowded seedlings. This allows the remaining seedlings enough space to grow and develop into healthy plants.
- Protecting the Seedlings: To protect the young seedlings from pests, such as birds or slugs, consider using row covers, netting, or other protective barriers. This will help prevent damage to the tender plants and give them a better chance to grow undisturbed.
- Caring for the Seedlings: As the seedlings continue to grow, provide them with ongoing care. Water the plants regularly to keep the soil consistently moist, but avoid overwatering. Mulch around the plants to help retain moisture, regulate soil temperature, and suppress weed growth.
- Thinning Again: Once the seedlings have developed further, thin them out again to ensure proper spacing between plants. This will allow each Brussels sprout plant to have enough room to fully develop and form its characteristic sprouts.
- Continued Care: Monitor the plants for any signs of pests or diseases and take appropriate action if necessary. Fertilize the plants periodically with a balanced organic fertilizer to provide them with essential nutrients throughout their growth.
Directly sowing Brussels sprout seeds in the garden is a convenient method that allows the seeds to germinate and grow in their final location. With proper care and attention, your direct-sown Brussels sprouts can thrive and produce a plentiful harvest of delectable miniature cabbages. Now, let’s move on to learning how to care for Brussels sprout seedlings as they mature.
Caring for Brussels Sprout Seedlings
After successfully starting and transplanting Brussels sprout seedlings, it’s crucial to provide them with proper care to ensure their healthy growth and development. Here are some essential tips for caring for your Brussels sprout seedlings:
- Watering: Brussels sprout seedlings require regular watering to maintain adequate moisture in the soil. Aim to keep the soil consistently moist, but not waterlogged. Monitor the moisture levels and adjust your watering schedule accordingly, especially during dry periods.
- Weeding: Keep the area around the seedlings free from weeds, as they compete for nutrients and moisture. Regularly remove weeds by hand or use mulch to suppress weed growth. Avoid using herbicides near the Brussels sprout plants, as they can harm or stunt their growth.
- Supporting the Plants: As Brussels sprouts grow taller and produce sprouts, they may need support to prevent them from toppling over. Install stakes or use a trellis system to provide support for the plants. Secure the stems to the support structure gently using soft ties to avoid damaging the plants.
- Fertilization: Boost the growth of your Brussels sprout seedlings by providing them with regular fertilization. Use a balanced organic fertilizer or compost tea every few weeks or follow the manufacturer’s instructions. This will ensure that the plants have access to essential nutrients for their growth and production.
- Pest Control: Keep a close eye on your Brussels sprout seedlings for any signs of pests, such as aphids, cabbage worms, or flea beetles. Promptly address any pest issues using organic pest control methods, such as handpicking, insecticidal soap, or introducing beneficial insects like ladybugs.
- Disease Prevention: Brussels sprouts are susceptible to various fungal diseases, such as powdery mildew or clubroot. To prevent these diseases, provide adequate air circulation by spacing out the plants properly. Avoid overhead watering and water the plants at the base to minimize leaf moisture. If necessary, apply organic fungicides as directed.
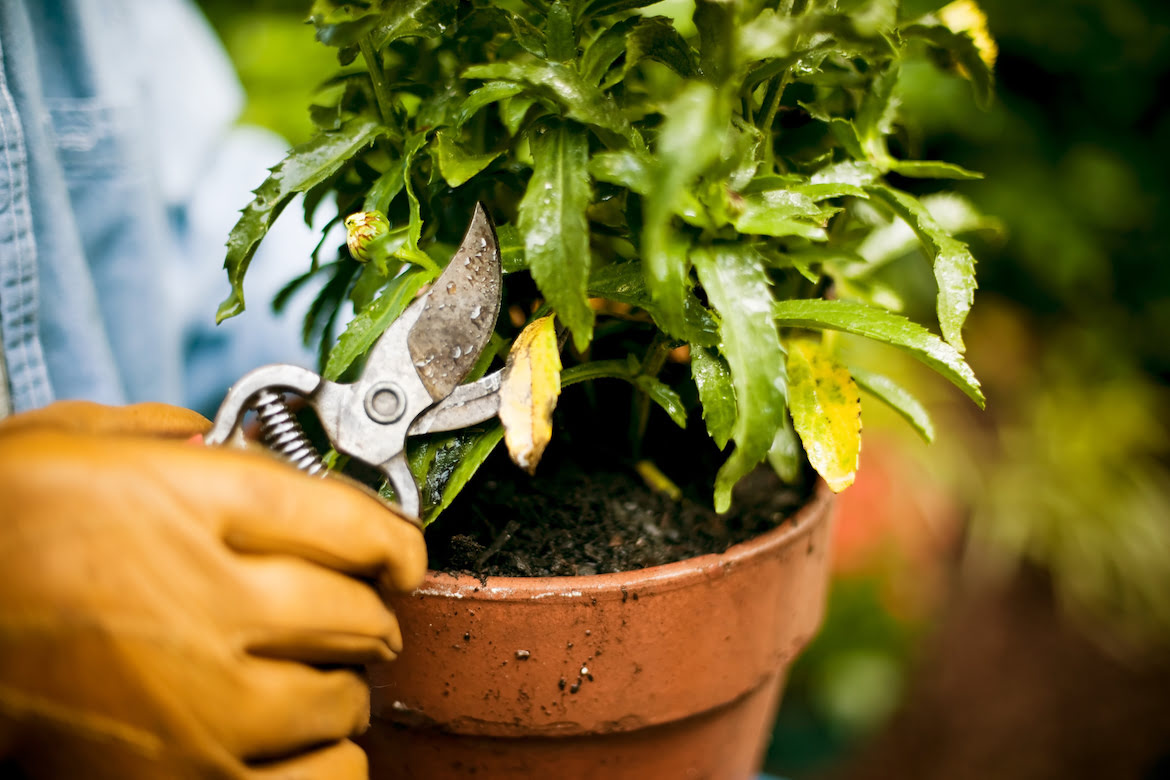
- Pruning: Regularly monitor the plants for dead or damaged leaves and remove them promptly. Prune crowded or overlapping leaves to improve air circulation and reduce the risk of diseases. However, avoid excessive pruning, as it may affect the plant’s overall growth and productivity.
- Monitoring Growth: Observe the growth and development of your Brussels sprout seedlings. Keep track of their height, leaf color, and overall health. If you notice any abnormalities, such as stunted growth or yellowing leaves, investigate the possible causes and take appropriate action to resolve the issue.
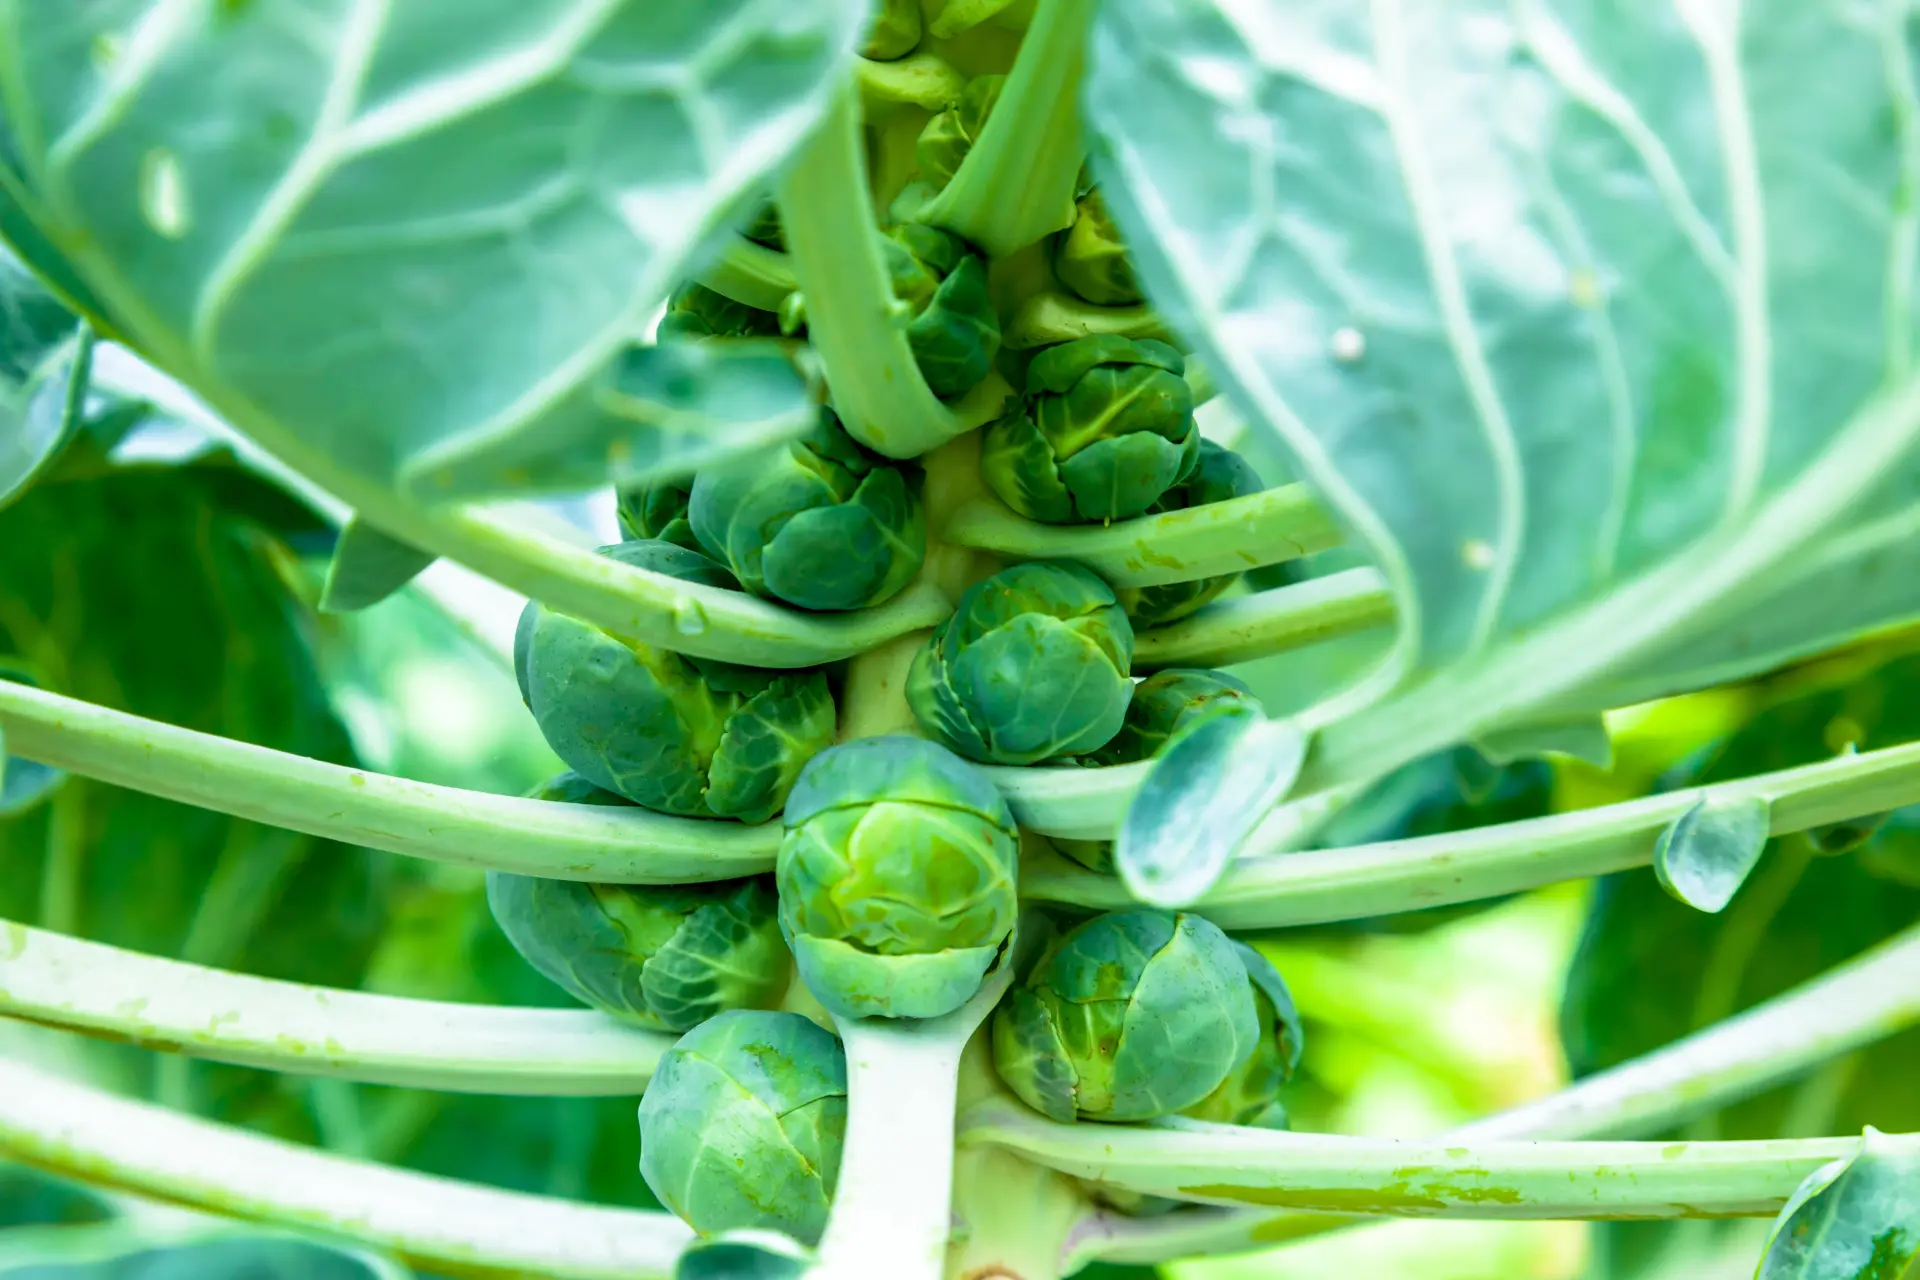
- Harvesting: Monitor the sprouts closely to determine the best time for harvesting. They should be firm and about 1-2 inches in diameter. Start harvesting from the bottom of the stalk, picking the larger sprouts first. Continue harvesting as the sprouts mature, ensuring you don’t leave them on the stalk for too long, as they might become woody.
Caring for Brussels sprout seedlings is essential to ensure their healthy growth and a bountiful harvest. With proper watering, fertilization, pest control, and disease prevention, you can enjoy a successful crop of delicious and nutritious Brussels sprouts. Now that we’ve covered caring for the seedlings, let’s move on to the exciting part — harvesting Brussels sprouts!
Harvesting Brussels Sprouts
When it comes to harvesting Brussels sprouts, timing is crucial to ensure that you harvest them at their peak flavor and texture. Here’s what you need to know about harvesting Brussels sprouts:
- Patience is Key: Brussels sprouts are not a crop for those seeking instant gratification. It takes time for the sprouts to mature. Most varieties take around 90-100 days from the time of transplanting to reach harvest stage. Be patient and allow the sprouts to develop fully.
- Harvesting the Lower Sprouts First: Start harvesting Brussels sprouts from the bottom of the stalk. The lowest sprouts will be the largest and most mature. Hold the stalk gently and twist the sprouts off with a slight upwards motion. Take care not to damage the plant or nearby leaves as you harvest.
- Continual Harvest: Harvesting Brussels sprouts is not a one-time event. The plant will continue to produce new sprouts as it grows. As you harvest the lower sprouts, the upper sprouts will have more time to mature. You can harvest Brussels sprouts over an extended period, picking them as needed for meals.
- Monitor Sprout Size: Brussels sprouts are at their best when they reach a diameter of about 1-2 inches. These small, compact sprouts are tender and have a sweeter flavor. Avoid letting the sprouts grow too large, as they may become tough and bitter. Regularly check the size of the sprouts and harvest them when they reach the desired size.
- Harvest Before Frost: In regions with colder climates, it’s essential to harvest Brussels sprouts before the first hard frost. Frost can damage the sprouts and affect their quality. Keep an eye on weather conditions and plan your harvest accordingly.
- Storage: Harvested Brussels sprouts can be stored in the refrigerator for up to a week. Remove any yellowed or damaged outer leaves before storing to promote freshness. If you have a large harvest, consider blanching and freezing the sprouts for long-term storage.
Enjoy the fruits of your labor by incorporating freshly harvested Brussels sprouts into a variety of delicious recipes. From roasted Brussels sprouts to sautéed sprouts with bacon, there are endless possibilities to explore with this versatile vegetable.
Remember, harvesting Brussels sprouts is an ongoing process as the plant continues to produce new sprouts over time. Be patient, monitor the sprout size, and savor the satisfaction of enjoying your homegrown Brussels sprouts.
Now that you have harvested your Brussels sprouts, you can relish the flavors and take pride in the fact that you’ve successfully grown this delightful, nutritious vegetable. Happy harvesting!
Conclusion
Growing Brussels sprouts from seeds can be a rewarding and fulfilling experience for any edible gardener. By understanding the nuances of Brussels sprout seeds, providing optimal growing conditions, and taking proper care of the seedlings, you can enjoy a bountiful harvest of these miniature cabbages.
Starting Brussels sprout seeds indoors gives you a head start and allows for careful control of their early growth. Directly sowing the seeds in the garden is an alternative method for those who prefer to skip the transplanting process. Whichever method you choose, ensuring the right timing, spacing, and environmental conditions will set the stage for success.
Throughout the growing season, caring for Brussels sprout seedlings involves watering, fertilizing, keeping pests and diseases at bay, and providing support as needed. Monitoring their growth and observing their health is crucial for addressing any issues promptly.
When the time is right, harvesting Brussels sprouts requires patience, as the sprouts develop over time. Beginning with the lower sprouts, you can continuously harvest the mature ones, enjoying their tender flavor and versatility in various culinary preparations.
Remember, gardening is not just about the end result, but also about the journey itself. Embrace the joy of nurturing and watching your Brussels sprouts grow, and take pride in the fresh, homegrown vegetables that adorn your table.
So, now armed with the knowledge of starting, caring for, and harvesting Brussels sprouts, it’s time to get your hands dirty and embark on your edible gardening adventure. Whether you’re a seasoned gardener or a novice, may your Brussels sprout journey be filled with delicious rewards and the satisfaction of growing your own nutritious food.