Home>Types of Gardening>Edible Gardening>When To Start Planting Watermelon Seeds
Edible Gardening
When To Start Planting Watermelon Seeds
Modified: January 22, 2024
Learn the perfect time to start planting watermelon seeds in your edible gardening journey. Explore tips and techniques for a successful watermelon harvest.
(Many of the links in this article redirect to a specific reviewed product. Your purchase of these products through affiliate links helps to generate commission for Chicagolandgardening.com, at no extra cost. Learn more)
Table of Contents
- Introduction
- Factors to Consider Before Planting Watermelon Seeds
- Soil Preparation
- Choosing the Right Varieties
- Weather and Temperature Requirements
- Planting Watermelon Seeds Directly in the Ground
- Starting Watermelon Seeds Indoors
- Transplanting Watermelon Seedlings
- Watering and Fertilizing Watermelon Plants
- Controlling Weeds and Pests
- Harvesting Watermelons
- Conclusion
Introduction
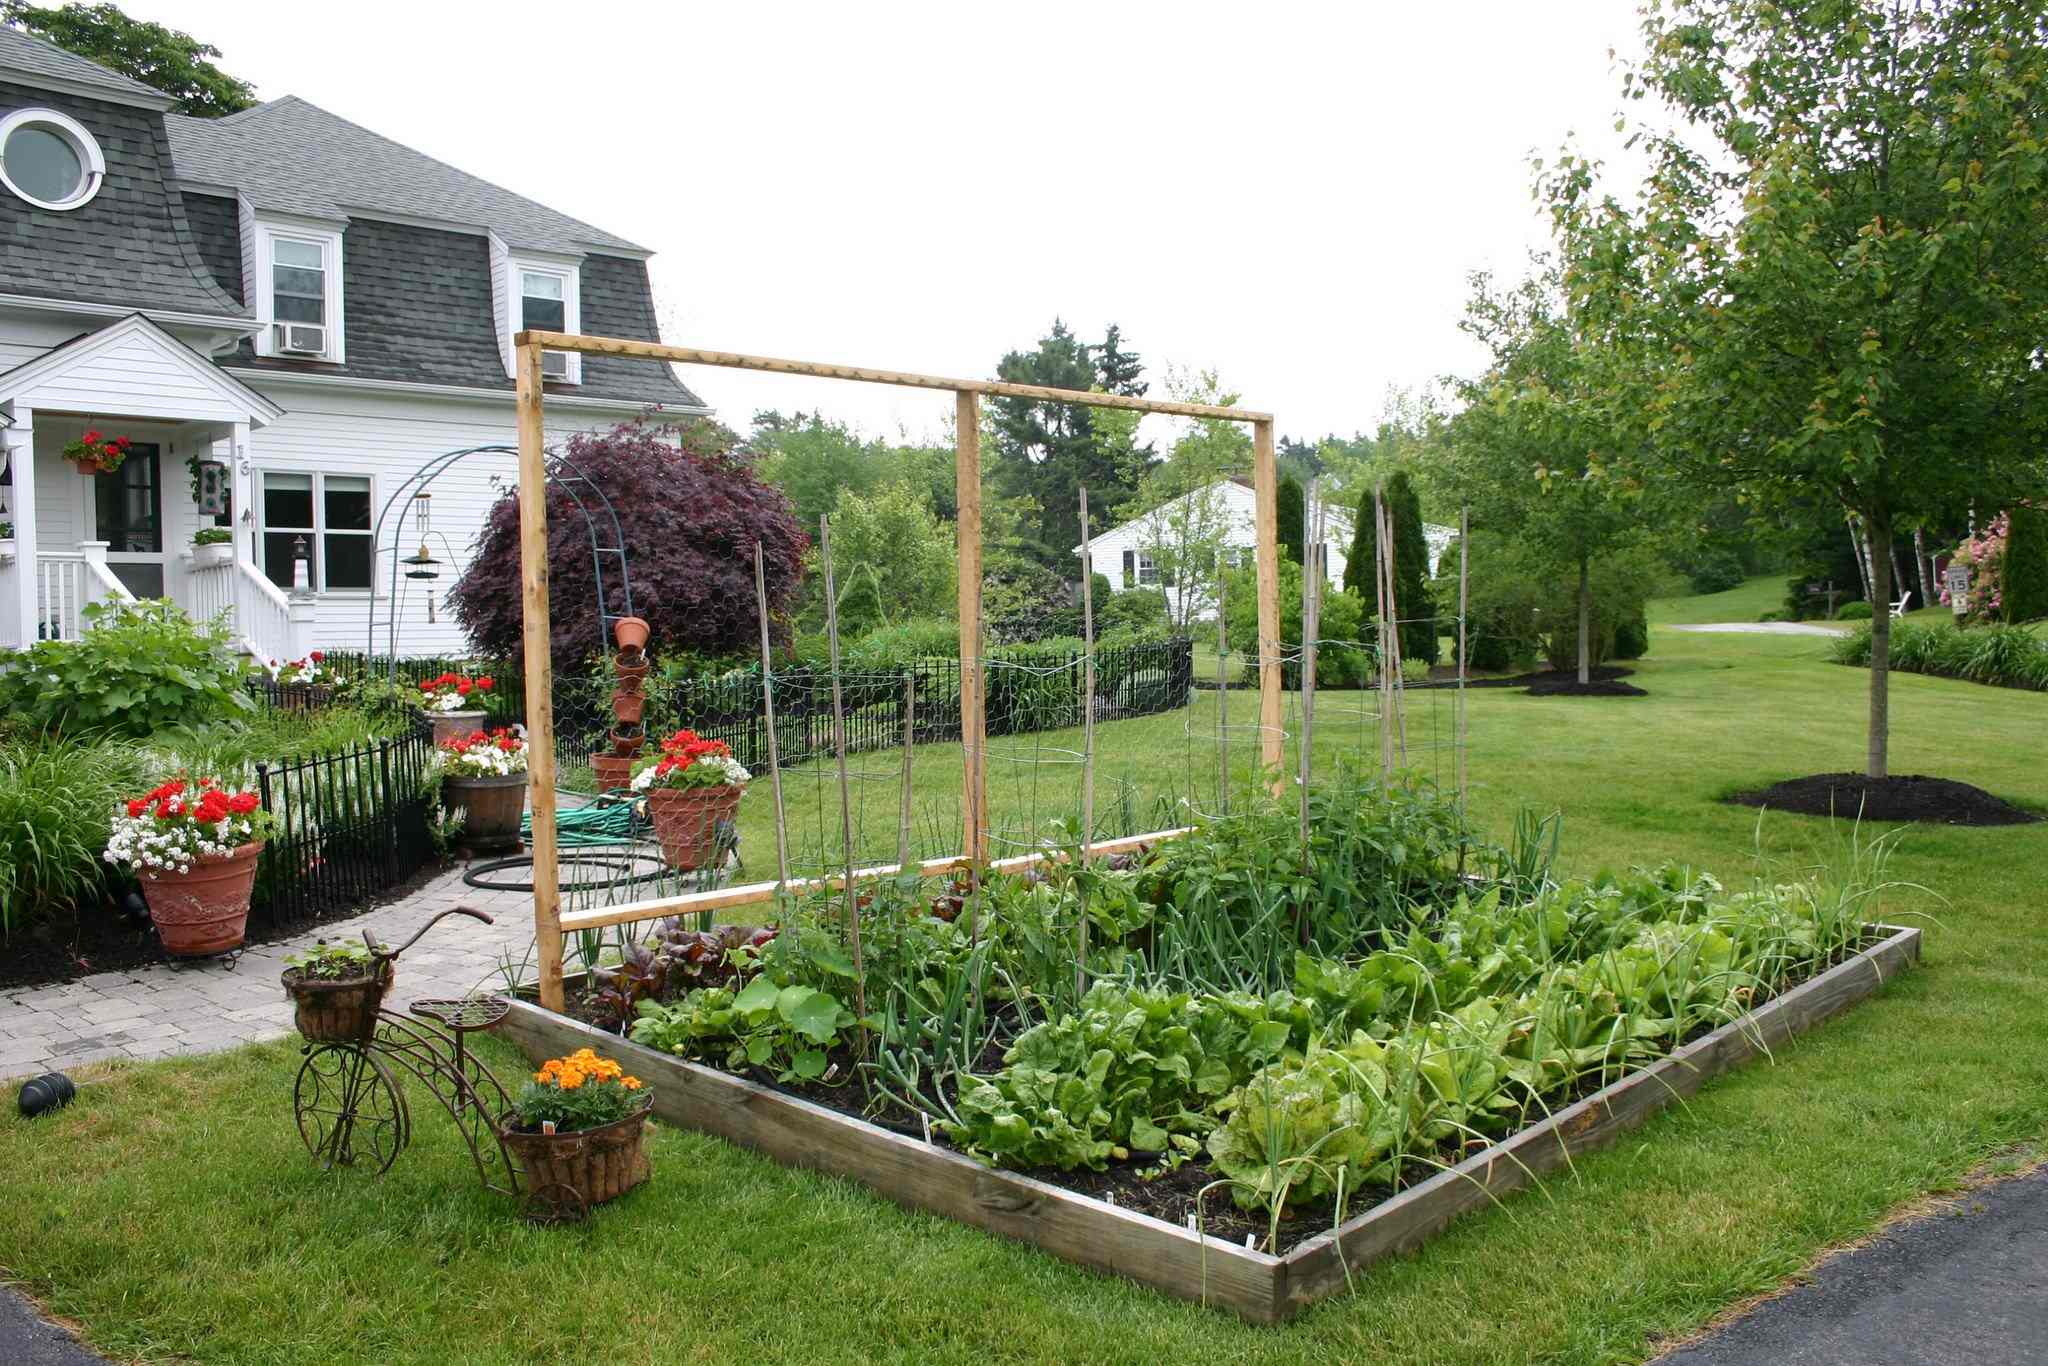
Welcome to the exciting world of edible gardening and the joy of growing your own watermelons! There’s something incredibly satisfying about tending to your own garden and reaping the delicious rewards of your efforts. If you’re a beginner or even a seasoned gardener looking to try something new, planting watermelon seeds is a great choice. Whether you have a large backyard or just a small patio space, watermelons can be successfully grown with a little bit of planning and care.
Watermelons are not only a tasty and refreshing summer treat but also a versatile and nutrient-rich fruit. They are packed with vitamins A and C, as well as being a great source of hydration due to their high water content. Plus, who can resist the sweet, juicy flesh of a ripe watermelon on a hot summer day?
In this article, we will guide you through the process of when and how to start planting watermelon seeds. We’ll cover crucial factors such as soil preparation, choosing the right varieties, weather and temperature considerations, planting methods, watering and fertilizing tips, pest control, and harvesting techniques. By the end, you’ll have all the knowledge and confidence to successfully grow your own delicious watermelons.
Factors to Consider Before Planting Watermelon Seeds
Before you dive into the exciting process of planting watermelon seeds, there are a few important factors to consider. Taking the time to assess these variables will contribute to the success of your watermelon crop and ensure a fruitful harvest.
- Space: Watermelon plants require ample space to spread and grow. Make sure you have enough room in your garden to accommodate the sprawling vines. Alternatively, you can consider growing smaller varieties that are more suitable for containers or limited space gardens.
- Sunlight: Watermelons love bright sunlight. Choose a location in your garden that receives at least 6-8 hours of direct sunlight daily. Without adequate sunlight, the plants may not produce as many fruits or may not ripen fully.
- Soil Quality: Watermelons thrive in well-draining soil that is rich in organic matter. Conduct a soil test to check the pH level and nutrient content of your soil. Ideally, the pH should be between 6.0 and 6.8. If needed, amend your soil with compost or other organic matter to improve its texture and fertility.
- Watering: Watermelons require consistent and deep watering throughout the growing season. Consider the availability of a regular water source and make sure your garden has proper irrigation systems in place. Additionally, provide adequate drainage to prevent waterlogging, as excessive moisture can lead to root rot and other diseases.
- Frost-Free Period: Watermelons are warm-season crops that cannot tolerate frost. Ensure that the threat of frost has passed in your region before planting watermelon seeds. The soil temperature should also be consistently above 60°F (15°C) for successful germination and growth.
By keeping these factors in mind, you’ll create an optimal environment for your watermelon plants to thrive. Now, let’s move on to preparing the soil for planting and selecting the right varieties.
Soil Preparation
Proper soil preparation is crucial for the success of your watermelon plants. With the right soil conditions, you can ensure healthy growth and abundant fruit production. Follow these steps to prepare your soil before planting watermelon seeds:
- Clear the area: Start by clearing the area of any weeds, rocks, or debris. Use a garden rake or hoe to remove any obstacles that may impede the growth of your watermelon plants.
- Loosen the soil: Watermelon plants prefer loose, well-draining soil. Use a garden fork or tiller to loosen the soil to a depth of 12-18 inches. This will allow the roots to penetrate easily and access nutrients and water.
- Amend the soil: If your soil is heavy in clay or sandy in texture, it may benefit from amendments. Adding organic matter, such as compost or well-rotted manure, will improve the soil’s fertility, structure, and water-holding capacity. Spread a layer of compost or organic matter over the planting area and mix it into the soil thoroughly.
- Test the soil pH: Conduct a soil test to determine the pH level of your soil. Watermelons prefer a slightly acidic to neutral pH range of 6.0 to 6.8. If the pH is too alkaline, you can lower it by adding sulfur or aluminum sulfate. Follow the package instructions for the appropriate application rate.
- Level the soil: Smooth out the soil surface using a rake to create a level planting bed. This will ensure that water is evenly distributed and prevent pooling or runoff.
By preparing the soil properly, you create an optimal growing environment for your watermelon plants. The next step is to choose the right watermelon varieties that are well-suited for your climate and garden space.+
Choosing the Right Varieties
When it comes to choosing watermelon varieties, there is a wide range of options available, each with its own unique characteristics and growing requirements. Consider the following factors when selecting the right watermelon varieties for your garden:
- Growing Space: Determine the available growing space in your garden or containers. Watermelon varieties can range from compact and bushy to vining and sprawling. Choose a variety that suits the available space in your garden.
- Days to Maturity: Watermelon varieties have different maturity times, typically ranging from 70 to 100 days. Consider your climate and growing season length to choose a variety that can mature within the available time frame.
- Seedless or Seeded: Decide whether you prefer seedless or seeded watermelon varieties. Seedless watermelons are typically favored for their convenience, while seeded varieties may offer unique flavors and heirloom qualities.
- Size and Shape: Consider the desired size and shape of your watermelons. Some varieties produce small personal-sized melons, while others produce large or elongated fruits.
- Resistance to Diseases: Select varieties that have good resistance to common watermelon diseases prevalent in your area. This will help reduce the risk of disease issues and ensure healthier plants.
Popular watermelon varieties include ‘Sugar Baby,’ a compact variety perfect for smaller gardens, ‘Crimson Sweet,’ a widely grown variety known for its juicy and sweet flesh, and ‘Charleston Gray,’ a heirloom variety with oversized fruits. Consult local nurseries, seed catalogs, or online resources to find varieties that are well-suited for your region’s climate and growing conditions.
Once you’ve chosen the right varieties, it’s important to consider the weather and temperature requirements for successful watermelon cultivation. Let’s explore this in the next section.
Weather and Temperature Requirements
Watermelons are warm-season plants that require specific weather and temperature conditions to thrive. Understanding these requirements will help you plan and time your planting for optimal growth and fruit production. Consider the following factors:
- Temperature Range: Watermelons prefer temperatures between 70°F (21°C) and 90°F (32°C) during the day. They are sensitive to both cold and excessively hot temperatures. Avoid planting watermelon seeds too early in spring when the soil and air temperatures are still cool.
- Frost-Free Period: Watermelons are highly susceptible to frost damage. Ensure that the threat of frost has passed in your region before planting watermelon seeds. Soil temperatures should also be consistently above 60°F (15°C) for successful germination.
- Season Length: Consider the length of your growing season. Most watermelon varieties need around 70 to 100 days to mature from seed to harvest. Choose varieties that can complete their growth cycle within your available growing season.
- Heat Retention: Watermelons thrive in environments with good heat retention, such as raised beds or black plastic mulching. These practices help warm up the soil faster and maintain stable soil temperatures, which promotes faster growth and ripening of the fruits.
- Microclimates: Larger gardens may have microclimates, where certain areas experience slightly different temperature conditions. Take advantage of these microclimates by planting watermelons in warmer areas, such as against south-facing walls or near heat-absorbing surfaces.
By understanding the weather and temperature requirements of watermelons, you can ensure favorable growing conditions for your plants. The next step is to decide whether you want to directly sow the watermelon seeds in the ground or start them indoors. We will explore both options in the upcoming sections.
Planting Watermelon Seeds Directly in the Ground
Planting watermelon seeds directly in the ground is a common method for growing watermelons and can be a straightforward and rewarding process. Follow these steps to successfully plant watermelon seeds directly in your garden:
- Choose the Right Time: Wait until all risk of frost has passed and the soil has warmed up to at least 60°F (15°C). This is usually around spring or early summer, depending on your location.
- Prepare the Soil: Make sure the soil has been properly prepared, as discussed earlier in the article. Loosen the soil, remove any debris, and amend it with compost or organic matter if necessary.
- Spacing: Create mounds or hills in your garden bed, spacing them 6-8 feet apart. This will allow the watermelon vines to spread without crowding each other.
- Sow the Seeds: Plant the watermelon seeds in the hills, placing 2-3 seeds per hill. Plant the seeds about 1 inch deep, covering them with soil. Space each hill at least 2-3 feet apart to provide enough room for the plants to grow.
- Provide Support: If you are growing larger watermelon varieties, consider providing support such as trellises or stakes for the vines to climb. This will keep the fruits off the ground, reduce the risk of rot, and save space in your garden.
- Water Regularly: After planting the seeds, water the soil thoroughly to ensure good seed germination. Watermelons require consistent moisture throughout their growing season, so be sure to water regularly, especially during dry spells or hot weather.
- Thin Out Seedlings: Once the seedlings emerge and grow, thin them out to the strongest plant per hill. This will give the remaining plant enough space and nutrients to grow and produce healthy fruits.
By planting watermelon seeds directly in the ground, you can take advantage of the natural soil and provide ample space for the plants to grow and produce fruits. However, if you have a short growing season, starting watermelon seeds indoors can give you a head start, which we will discuss in the next section.
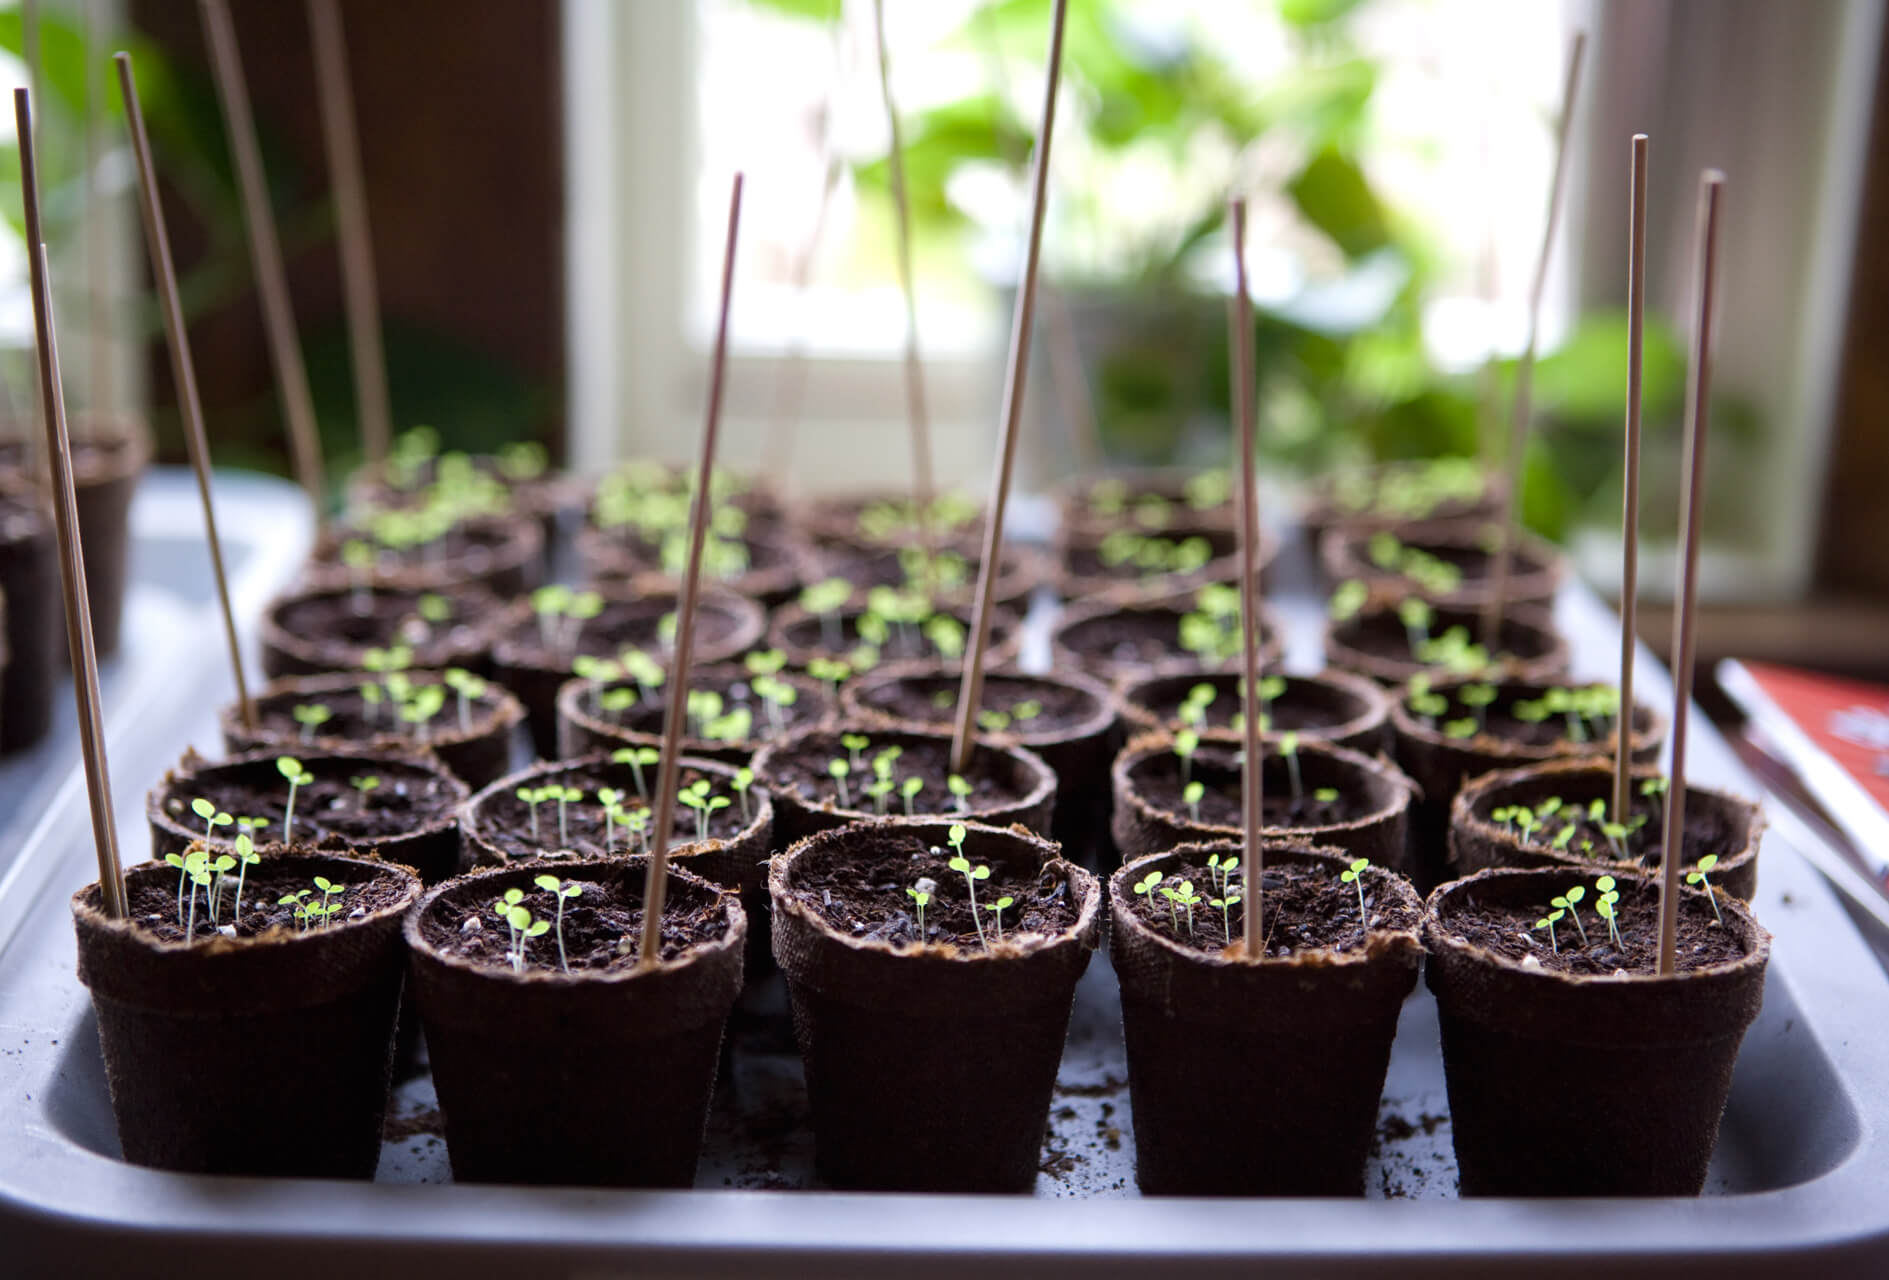
Starting Watermelon Seeds Indoors
If you have a short growing season or want to get a head start on growing watermelons, starting the seeds indoors can be a beneficial option. Follow these steps to successfully start watermelon seeds indoors:
- Determine the Timing: Calculate the average last frost date in your area and count back 4-6 weeks. This will give you the ideal time to start your watermelon seeds indoors.
- Choose Containers: Select seed trays or small pots with drainage holes to sow your watermelon seeds. Make sure the containers are clean and have been filled with a well-draining seed starting mix.
- Sow the Seeds: Plant 2-3 watermelon seeds in each container, placing them about 1 inch deep. Lightly cover the seeds with the seed starting mix, gently patting it down.
- Provide Optimal Conditions: Place the seed trays or pots in a warm location, ideally around 75-85°F (24-29°C). You can use a seed starting heat mat or place them near a heat source to maintain the desired temperature.
- Ensure Adequate Light: Watermelon seedlings require bright light to grow strong and healthy. Place them in a location with full sun exposure or provide supplemental fluorescent grow lights to promote optimal growth.
- Water Carefully: Keep the soil evenly moist but avoid overwatering, as watermelon seeds are prone to rot in waterlogged conditions. Water from the bottom of the tray or pot to prevent damping off and fungal diseases.
- Harden Off Seedlings: Approximately 1-2 weeks before the last frost date, gradually expose the seedlings to outdoor conditions. Start by placing them outside for a few hours each day, gradually increasing the duration over time.
- Transplant Seedlings: When all danger of frost has passed and the soil has warmed up, transplant the seedlings into prepared garden beds or containers, ensuring they have proper spacing for their growth.
Starting watermelon seeds indoors allows you to control the early growth stages and increases the chances of a successful crop. However, it’s crucial to take care not to stress the seedlings during the hardening off process and transplant carefully for a smooth transition to the outdoor environment.
Transplanting Watermelon Seedlings
Once your watermelon seedlings have grown strong and the risk of frost has passed, it’s time to transplant them into your garden beds or containers. Follow these steps for successful transplantation:
- Preparing the Soil: Ensure that the soil in your garden bed or containers has been properly prepared as discussed earlier in the article. It should be well-draining, rich in organic matter, and free from weeds or debris.
- Choose the Right Time: Transplant your watermelon seedlings when they have developed true leaves and are approximately 4-6 inches tall. This is usually around 2-3 weeks after starting them indoors or when the outdoor temperature and soil have warmed up sufficiently.
- Spacing: Space your watermelon seedlings, allowing each plant ample room to spread and grow. Depending on the variety, leave at least 3-4 feet of space between each plant, both horizontally and vertically.
- Make Planting Holes: Dig holes in the prepared soil that are slightly larger than the size of the root ball of each seedling. Space the holes in accordance with the recommended spacing for the variety you are growing.
- Transplant Carefully: Gently remove the watermelon seedlings from their containers, being careful not to damage the delicate roots. Place each seedling in a planting hole, ensuring the top of the root ball is level with or slightly above the soil surface.
- Backfill and Firm the Soil: Fill the holes with soil, gently firming it around the roots of the seedlings. Avoid compacting the soil too tightly, as it can hinder root growth and aeration.
- Water Thoroughly: After transplanting, give the watermelon seedlings a thorough watering to settle the soil and help eliminate any air pockets around the roots. Ensure the soil is evenly moist but not waterlogged.
- Provide Support: If you are growing larger watermelon varieties, consider providing support such as trellises or stakes at the time of transplanting. This will help support the growing vines and prevent the fruits from touching the ground.
Transplanting watermelon seedlings can be an exciting step in the gardening process. By following these guidelines and providing a favorable environment for the seedlings to thrive, you’ll be well on your way to a bountiful watermelon harvest.
Watering and Fertilizing Watermelon Plants
Proper watering and fertilization are essential for the healthy growth and development of watermelon plants. Consistent watering and appropriate nutrients will help ensure vigorous vines, abundant blooms, and juicy, sweet fruits. Follow these tips to effectively water and fertilize your watermelon plants:
Watering:
- Consistent Moisture: Watermelons require consistent moisture throughout their growing season. Keep the soil evenly moist, especially during dry spells or hot weather. Regularly check the moisture level by feeling the soil with your finger and adjust your watering schedule accordingly.
- Avoid Overwatering: While it’s important to provide adequate moisture, be cautious not to overwater the plants. Waterlogged soil can lead to root rot and other issues. Ensure proper drainage and consider using drip irrigation or soaker hoses to deliver water directly to the base of the plants, minimizing water waste.
- Water Deeply and Infrequently: When watering, aim for deep watering sessions rather than frequent shallow watering. This encourages deeper root growth and helps the plants withstand periods of drought better.
- Mulching: Apply a layer of organic mulch around the base of the watermelon plants. Mulching helps conserve soil moisture, regulate soil temperature, and suppress weed growth. Use materials like straw, wood chips, or compost, and maintain a layer of 2-3 inches.
Fertilizing:
- Soil Testing: Conduct a soil test before planting to determine the nutrient levels in your soil. This will help you identify any deficiencies and adjust your fertilizer application accordingly.
- Organic Matter: Incorporate organic matter, such as compost or well-rotted manure, into the soil before planting. This improves soil fertility, structure, and nutrient retention.
- Slow-Release Fertilizer: Apply a balanced slow-release fertilizer when planting watermelon seedlings or about 4-6 weeks after transplanting. Follow the package instructions for the appropriate amount to use based on the size of your garden or container.
- Side Dressing: As the watermelon plants grow, consider side dressing them with additional fertilizer to provide a nutrient boost. Apply a high-nitrogen fertilizer around the base of the plants, following the recommended dosage on the product label.
- Compost Tea: Supplementing watermelon plants with compost tea can provide a natural and gentle source of nutrients. Dilute compost in water and apply to the soil around the plants every few weeks.
By consistently monitoring soil moisture levels, watering appropriately, and providing the necessary nutrients, you will promote healthy growth and maximize the yield of your watermelon plants. Next, let’s explore how to effectively control weeds and pests in your garden.
Controlling Weeds and Pests
Weeds and pests can pose challenges to the successful cultivation of watermelon plants. Implementing effective weed control measures and employing pest management strategies will help protect your watermelon crop. Consider the following techniques to control weeds and manage common pests:
Weed Control:
- Mulching: Apply a layer of organic mulch, such as straw or wood chips, around the base of your watermelon plants. Mulching helps suppress weed growth by blocking out sunlight and preventing weed seeds from germinating.
- Hand Pulling: Regularly inspect your garden bed or container for any emerging weeds. Carefully hand pull them, making sure to remove the roots to prevent regrowth. Be cautious not to disturb the watermelon plants’ shallow roots.
- Using Landscape Fabric: Consider using landscape fabric or weed control fabric around your watermelon plants. Cut holes in the fabric to accommodate the plants and secure it with landscape pins. This method inhibits weed growth while allowing water and nutrients to reach the plants.
- Pre-Emergent Herbicides: If necessary, you can apply pre-emergent herbicides before planting watermelon seeds or transplanting seedlings. These herbicides create a barrier in the soil, preventing weed seeds from germinating. Follow the instructions on the product label and use caution to avoid damaging the watermelon plants.
Pest Management:
- Row Covers: Use row covers to physically protect your watermelon plants from common pests such as aphids, cucumber beetles, and squash bugs. Ensure the covers are properly secured and allow for pollination once the plants start flowering.
- Companion Planting: Plant companion plants such as marigolds, nasturtiums, and herbs like basil and dill around your watermelon plants. These plants can repel pests and attract beneficial insects that help control pest populations.
- Handpicking: Regularly inspect your watermelon plants for any visible pests and larvae, such as cucumber beetles or aphids. Gently remove them by hand and dispose of them away from the garden to prevent further infestation.
- Organic Pest Control: Utilize organic pest control methods when necessary, such as neem oil, insecticidal soap, or homemade sprays made from garlic or chili peppers. Follow the instructions carefully to avoid harming the watermelon plants.
- Vigilance and Monitoring: Regularly monitor your watermelon plants for signs of pest damage or disease. Early detection allows for prompt action and effective control measures to prevent further damage.
By implementing effective weed control methods and employing integrated pest management strategies, you can protect your watermelon plants from unwanted competition and pest damage. Now, let’s move on to the exciting part of harvesting your watermelons!
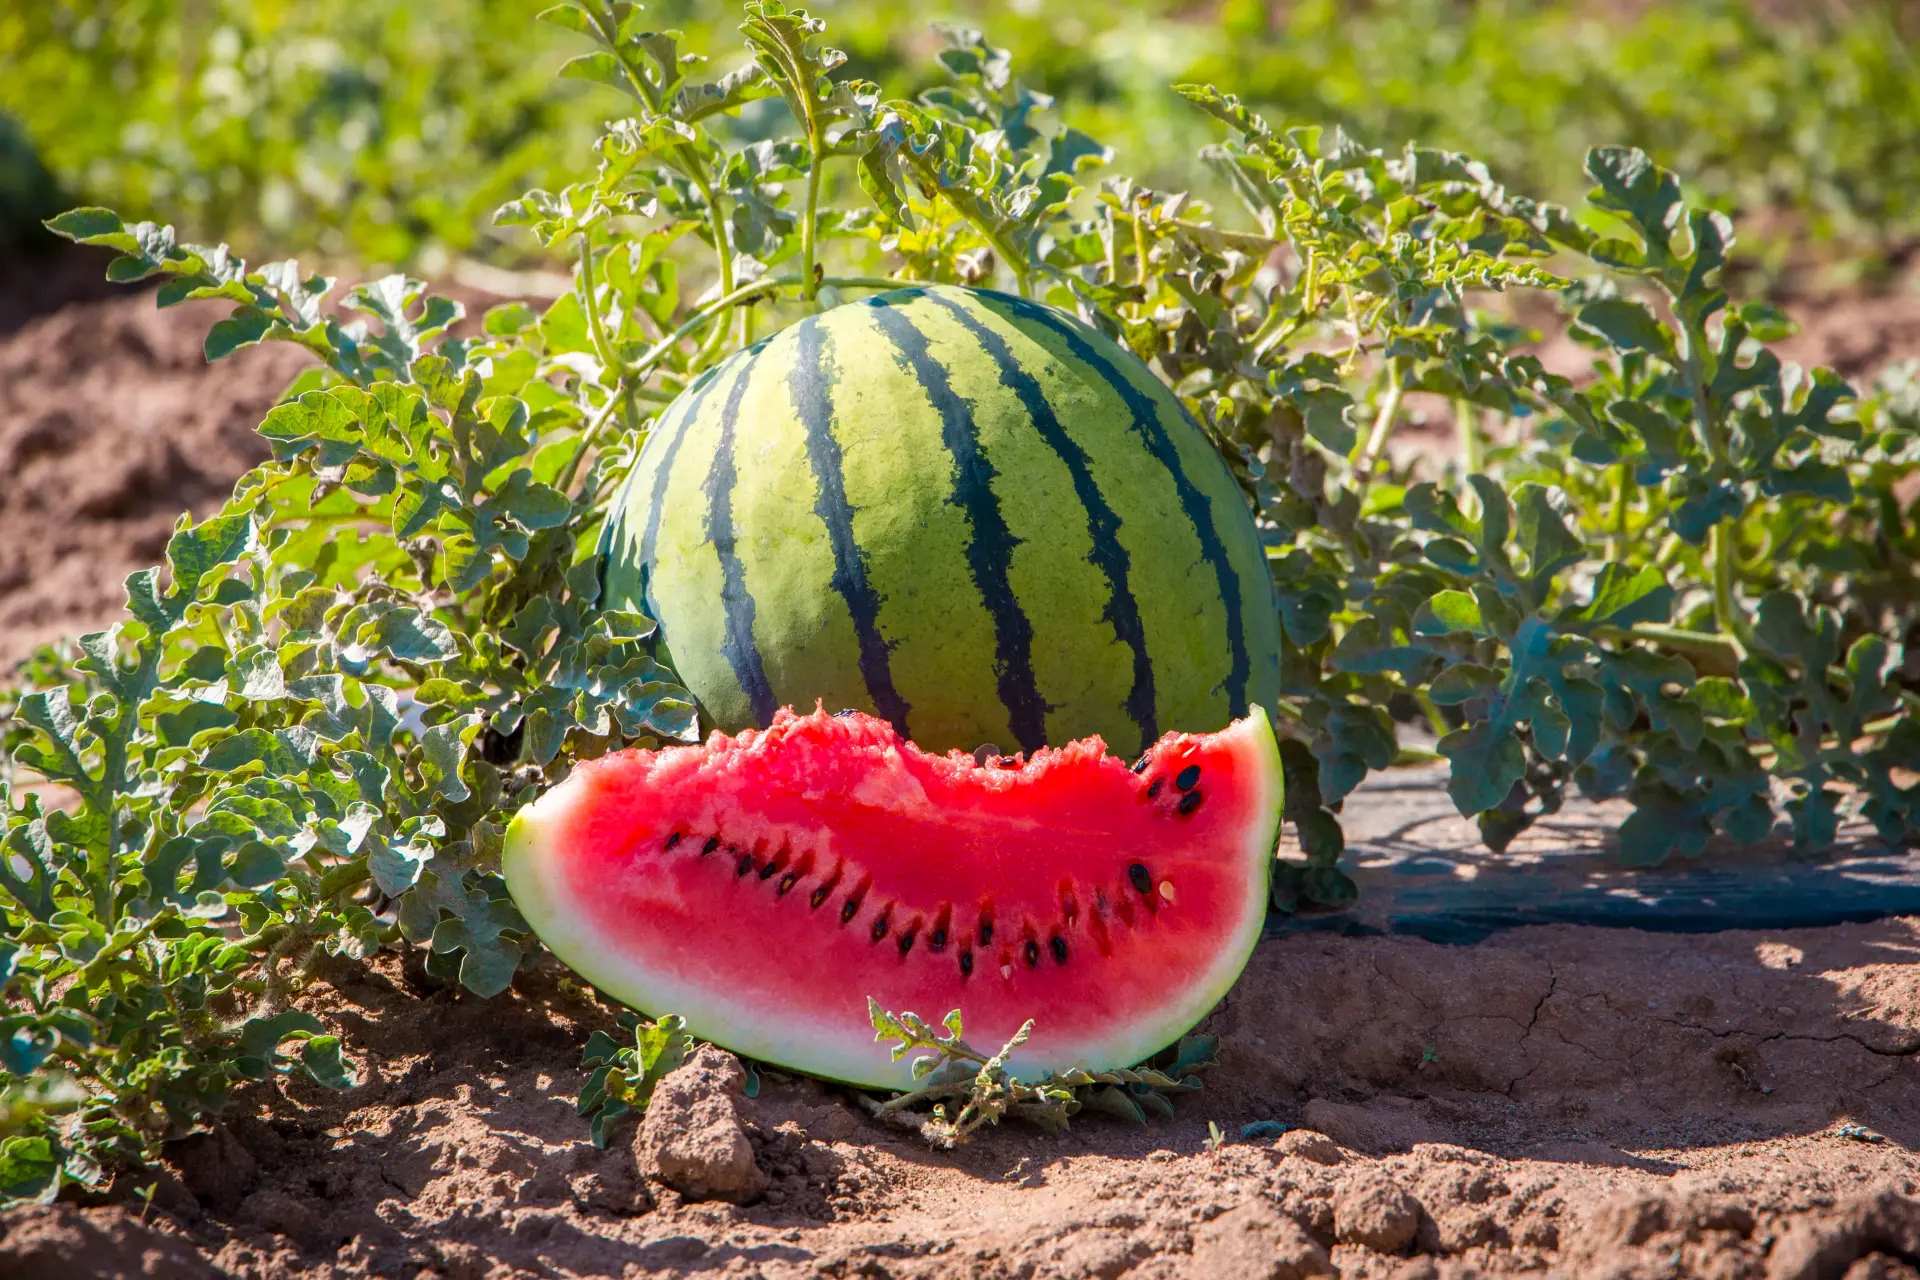
Harvesting Watermelons
After patiently nurturing your watermelon plants, the time for harvesting the delicious fruits has finally arrived. Harvesting watermelons at the right stage of ripeness ensures the best flavor, texture, and sweetness. Follow these guidelines for a successful watermelon harvest:
- Check for Maturity: Look for signs of maturity in your watermelons. The surface color should be vibrant and dull, the bottom should have a creamy yellow or pale yellow color, and the tendrils near the fruit should be brown and dry.
- Tap Test: Gently tap the watermelon with your knuckles. A ripe watermelon will produce a dull and hollow sound, while an immature one will sound solid.
- Size and Weight: Depending on the variety, watermelons are ready for harvest when they reach a specific size and weight. Refer to the seed packet or variety-specific guidelines to determine the ideal size and weight for that particular watermelon variety.
- Stems and Tendrils: Examine the stem and tendrils near the fruit. Ripe watermelons often have dried-up and brownish stems or tendrils that easily detach from the fruit with gentle twisting.
- Support the Fruit: When harvesting, use your hand or a gardening tool to support the fruit as you cut it from the vine. This prevents damage to the fruit and helps preserve its quality.
- Store Properly: After harvesting, watermelons can be stored at room temperature for a few days. However, for longer preservation, store them in a cool and dry place, such as a basement or refrigerator, where they can last for up to a couple of weeks.
It’s important to note that watermelons should be harvested at their peak ripeness for the best taste. Harvesting too early may result in underripe and less flavorful fruits, while harvesting too late can lead to overripe fruits that may lose their sweetness and texture. Enjoy the refreshing and juicy rewards of your hard work!
Conclusion
Growing watermelons can be a rewarding and enjoyable experience in edible gardening. By considering factors such as soil preparation, choosing the right varieties, understanding weather and temperature requirements, and employing proper planting and care techniques, you can successfully cultivate your own delicious watermelons.
Before planting, assess your space, ensure proper sunlight, and prepare the soil with organic matter. Choose watermelon varieties that suit your growing conditions and preferences. Monitor weather and temperature requirements to time your planting correctly.
You can either directly sow watermelon seeds in the ground or start them indoors for an early start. Transplant seedlings carefully and provide them with the necessary water and nutrients for optimal growth. Implement weed control methods and employ pest management strategies to protect your plants.
Once your watermelon plants have matured, it’s time for a bountiful harvest. Harvest ripe watermelons by checking for color, sound, size, weight, and stem and tendril conditions. Store them properly to enjoy their refreshing taste for longer.
Whether you choose to grow watermelons in your backyard garden, a raised bed, or even in containers, the satisfaction of watching the plants grow and tasting the fruits of your labor is truly rewarding. Enjoy the process and savor the sweet, juicy delights of your homegrown watermelons all summer long!