Home>Gardening Techniques>Seasonal Gardening>When To Start Seeds For Spring Planting
Seasonal Gardening
When To Start Seeds For Spring Planting
Modified: January 22, 2024
Discover the perfect timing for starting seeds to ensure a vibrant spring garden with our seasonal gardening guide. Learn when to start seeds for optimal growth and abundant blooms.
(Many of the links in this article redirect to a specific reviewed product. Your purchase of these products through affiliate links helps to generate commission for Chicagolandgardening.com, at no extra cost. Learn more)
Table of Contents
Introduction
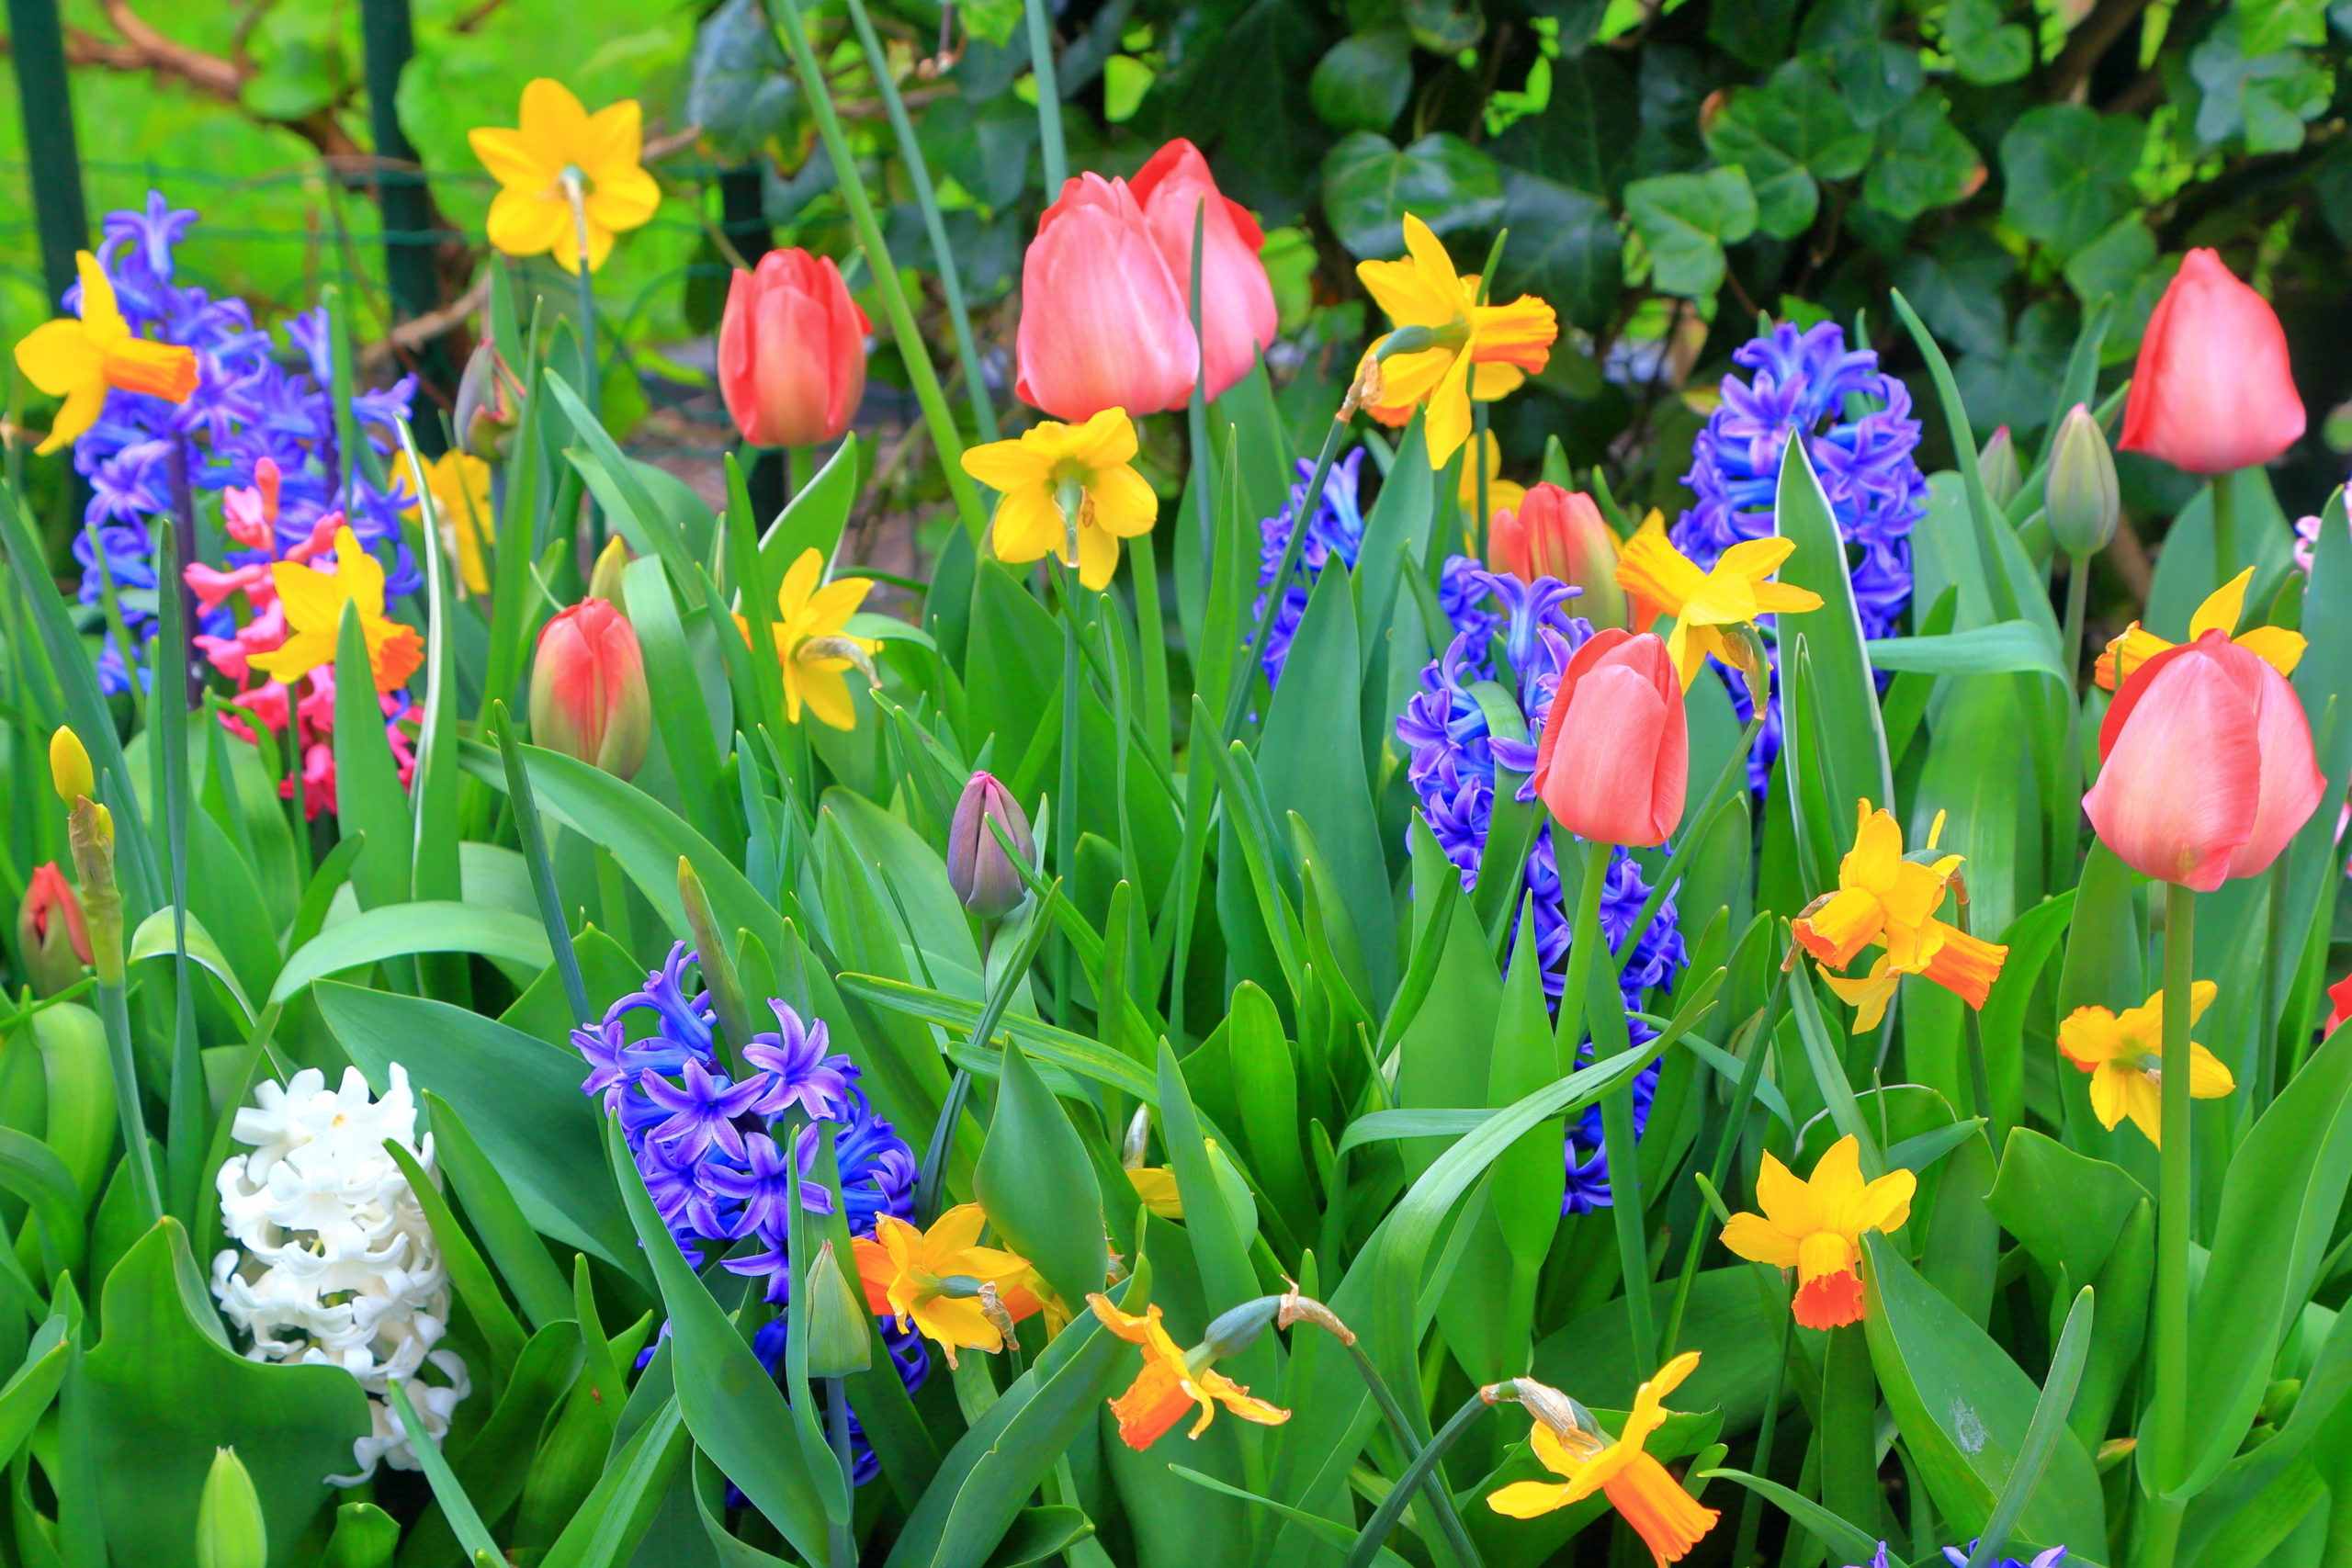
When the winter chill begins to subside and signs of spring start to emerge, gardeners eagerly anticipate the start of the planting season. Spring is an ideal time to plant a variety of beautiful flowers, delicious vegetables, and herbs that can bring vibrant colors and fresh flavors to your garden. But, to ensure a successful and bountiful season, it’s important to understand the timing and methods for starting seeds for your spring planting.
Starting seeds indoors allows you to get a head start on the growing season, giving your plants ample time to mature before transplanting them into the garden. It also allows you to have more control over the growing conditions and choose from a wider variety of plants, including those that may not be readily available as seedlings at local nurseries.
However, successful seed starting requires careful planning and adherence to specific timeframes. Different plants have different requirements in terms of when to start their seeds. Factors such as the plant’s growth rate, frost tolerance, and optimal planting conditions all need to be considered. Additionally, the length of your growing season and the estimated date of the last frost in your area play a crucial role in determining the appropriate time to start your seeds.
In this article, we’ll guide you through the process of determining the best time to start seeds for your spring planting. We’ll discuss key factors to consider, provide recommended start dates for popular plants, and share helpful tips for starting seeds indoors. Whether you’re an experienced gardener or a beginner, this comprehensive guide will help you maximize your yields and make the most of your gardening efforts.
Understanding the Planting Schedule
Timing is crucial when it comes to starting seeds for your spring planting. To avoid disappointment and ensure optimal growth, it’s important to have a clear understanding of the planting schedule. The planting schedule is determined by several factors, including the type of plant, your geographic location, and the estimated date of the last frost.
The last frost date is a key consideration in determining when to start your seeds. Frost can be detrimental to young seedlings and may cause them to die or suffer from stunted growth. To protect your plants, it’s important to start them indoors and transplant them outside only after the risk of frost has passed.
Different plants require specific lengths of time to grow and reach their optimum transplanting size. This information can be found on the seed packet or in gardening resources. For example, tomatoes typically take around 6-8 weeks to mature from seed to transplant size, while lettuce may only take 4-6 weeks. By understanding the growth rate of different plants, you can plan accordingly and start your seeds at the appropriate time.
It’s also essential to consider the length of your growing season. Some regions have shorter growing seasons than others, which means you’ll need to start your seeds earlier to allow for adequate growth before the first frost in fall. On the other hand, areas with longer growing seasons provide more flexibility in timing. Take note of your region’s average first and last frost dates to determine the ideal window for starting seeds.
Another factor to consider is the specific requirements of each plant. Some plants, such as peppers and tomatoes, benefit from an extended indoor growth period, while others, like beans and squash, are best started directly in the garden. Understanding the needs of each plant will help you determine whether to start seeds indoors or opt for direct sowing.
By taking into account the last frost date, the growth rate of different plants, the length of your growing season, and the specific requirements of each plant, you can create a planting schedule that maximizes your chances of success. With careful planning and attention to these factors, you’ll be well-equipped to start your seeds at the right time and enjoy a thriving spring garden.
Factors to Consider When Starting Seeds
When starting seeds for your spring planting, there are several important factors to consider. Understanding and addressing these factors will greatly increase your chances of success and yield healthier, more robust plants. Let’s take a look at some key factors:
- Temperature: Seeds require specific temperature ranges to germinate successfully. Refer to the seed packet or gardening resources to determine the optimum temperature for each plant. Using a seed starting heat mat can help maintain the ideal temperature for germination.
- Light: Light is essential for seedling growth. While some seeds require darkness to germinate, most need ample light once sprouted. Place your seedlings in a well-lit area or use fluorescent grow lights if you don’t have access to natural sunlight.
- Moisture: Moisture is crucial for seed germination. Ensure that your soil or seed-starting mix is consistently moist but not waterlogged. Use a spray bottle or misting system to avoid washing away the seeds or seedlings.
- Disease and pests: Starting seeds indoors provides a controlled environment, but it’s still important to be vigilant about disease and pests. Use sterile soil and clean containers to minimize the risk of disease. Monitor your seedlings regularly for signs of pests, such as aphids or fungus gnats, and take appropriate measures to control them if necessary.
- Container size: The size of the container is crucial for healthy seedling development. Too large of a container can lead to excessive moisture retention, while a container that’s too small can restrict root growth. Choose a container that allows for adequate root space while also promoting good drainage.
- Fertilizer: While seedlings initially rely on the nutrients in the seed, they will eventually require additional nourishment. Start fertilizing your seedlings with a diluted liquid fertilizer once they develop their first true leaves. Be cautious not to over-fertilize, as it can damage the delicate roots.
By considering these factors and making the necessary adjustments, you’ll set your seedlings up for healthy growth and increase their chances of thriving when transplanted into the garden. Taking care of these aspects will help you overcome potential challenges and ensure the successful development of your spring plants.
Recommended Start Dates for Popular Spring Plants
Knowing the recommended start dates for popular spring plants is essential for successful seed starting. By starting your seeds at the right time, you’ll give your plants enough time to grow and develop into healthy seedlings before transplanting them outdoors. Here are the recommended start dates for some popular spring plants:
- Tomatoes: Tomatoes are a staple in many gardens. Start tomato seeds indoors about 6-8 weeks before the last frost date in your area. This allows them to reach a transplantable size and ensures a longer growing season to maximize fruit production.
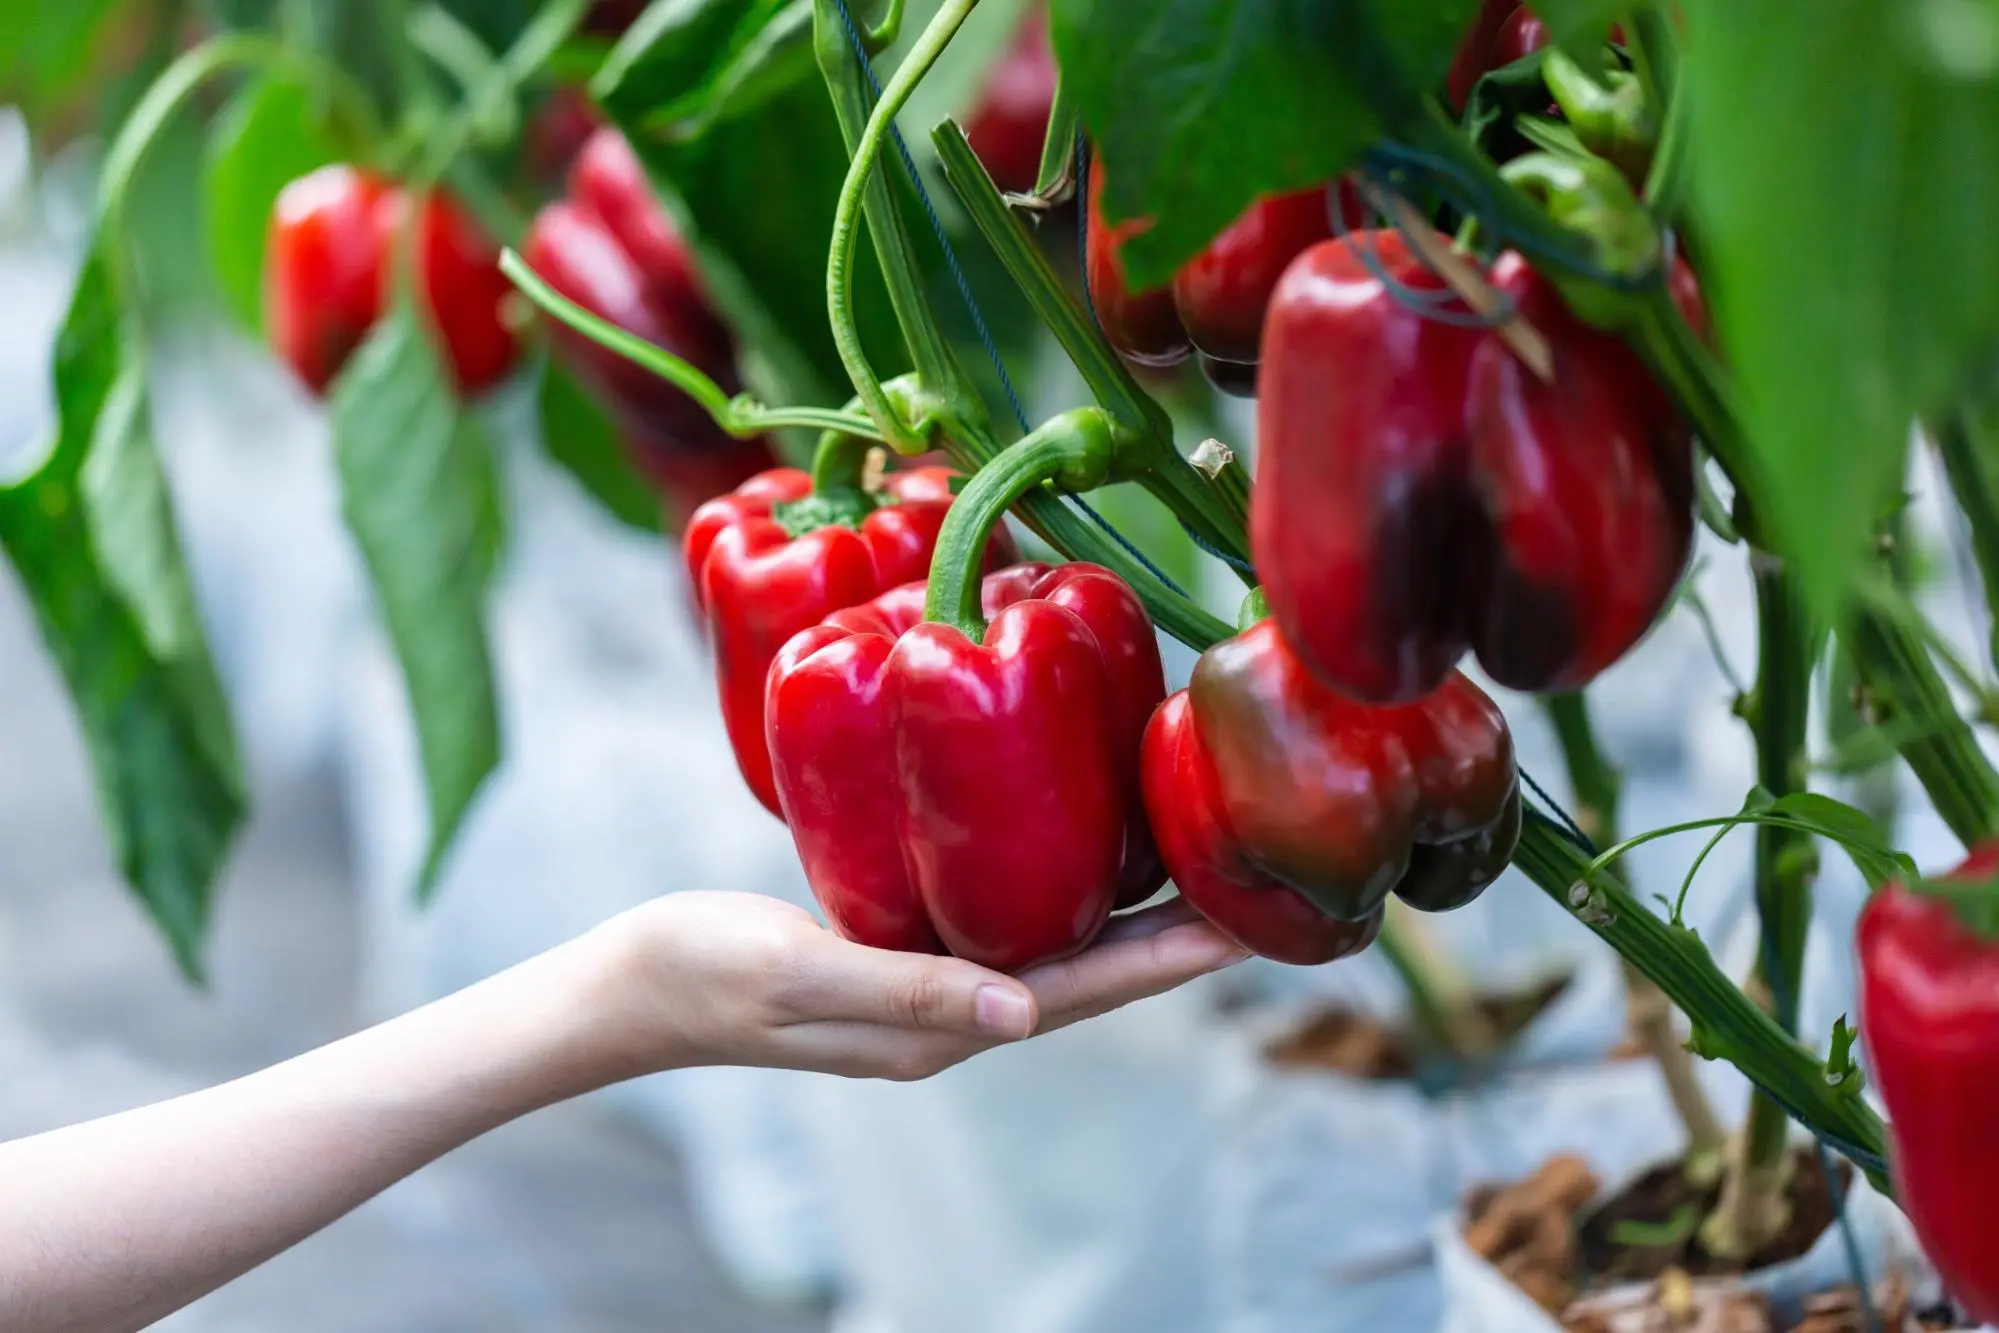
- Peppers: Peppers take a bit longer to mature than tomatoes. Start pepper seeds indoors about 8-10 weeks before the last frost date. They prefer warm soil, so using a heat mat can aid in germination.
- Lettuce: Lettuce is a cool-season crop that can tolerate light frosts. Start lettuce seeds indoors 4-6 weeks before the last frost date or directly sow the seeds in the garden a few weeks before the expected last frost.
- Cucumbers: Cucumbers thrive in warm soil and require a longer growing season. Start cucumber seeds indoors 3-4 weeks before the last frost date or directly sow them in the garden after the risk of frost has passed.
- Zinnias: Zinnias are popular annual flowers known for their vibrant blooms. Start zinnia seeds indoors 4-6 weeks before the last frost date or sow them directly in the garden once the soil has warmed up in spring.
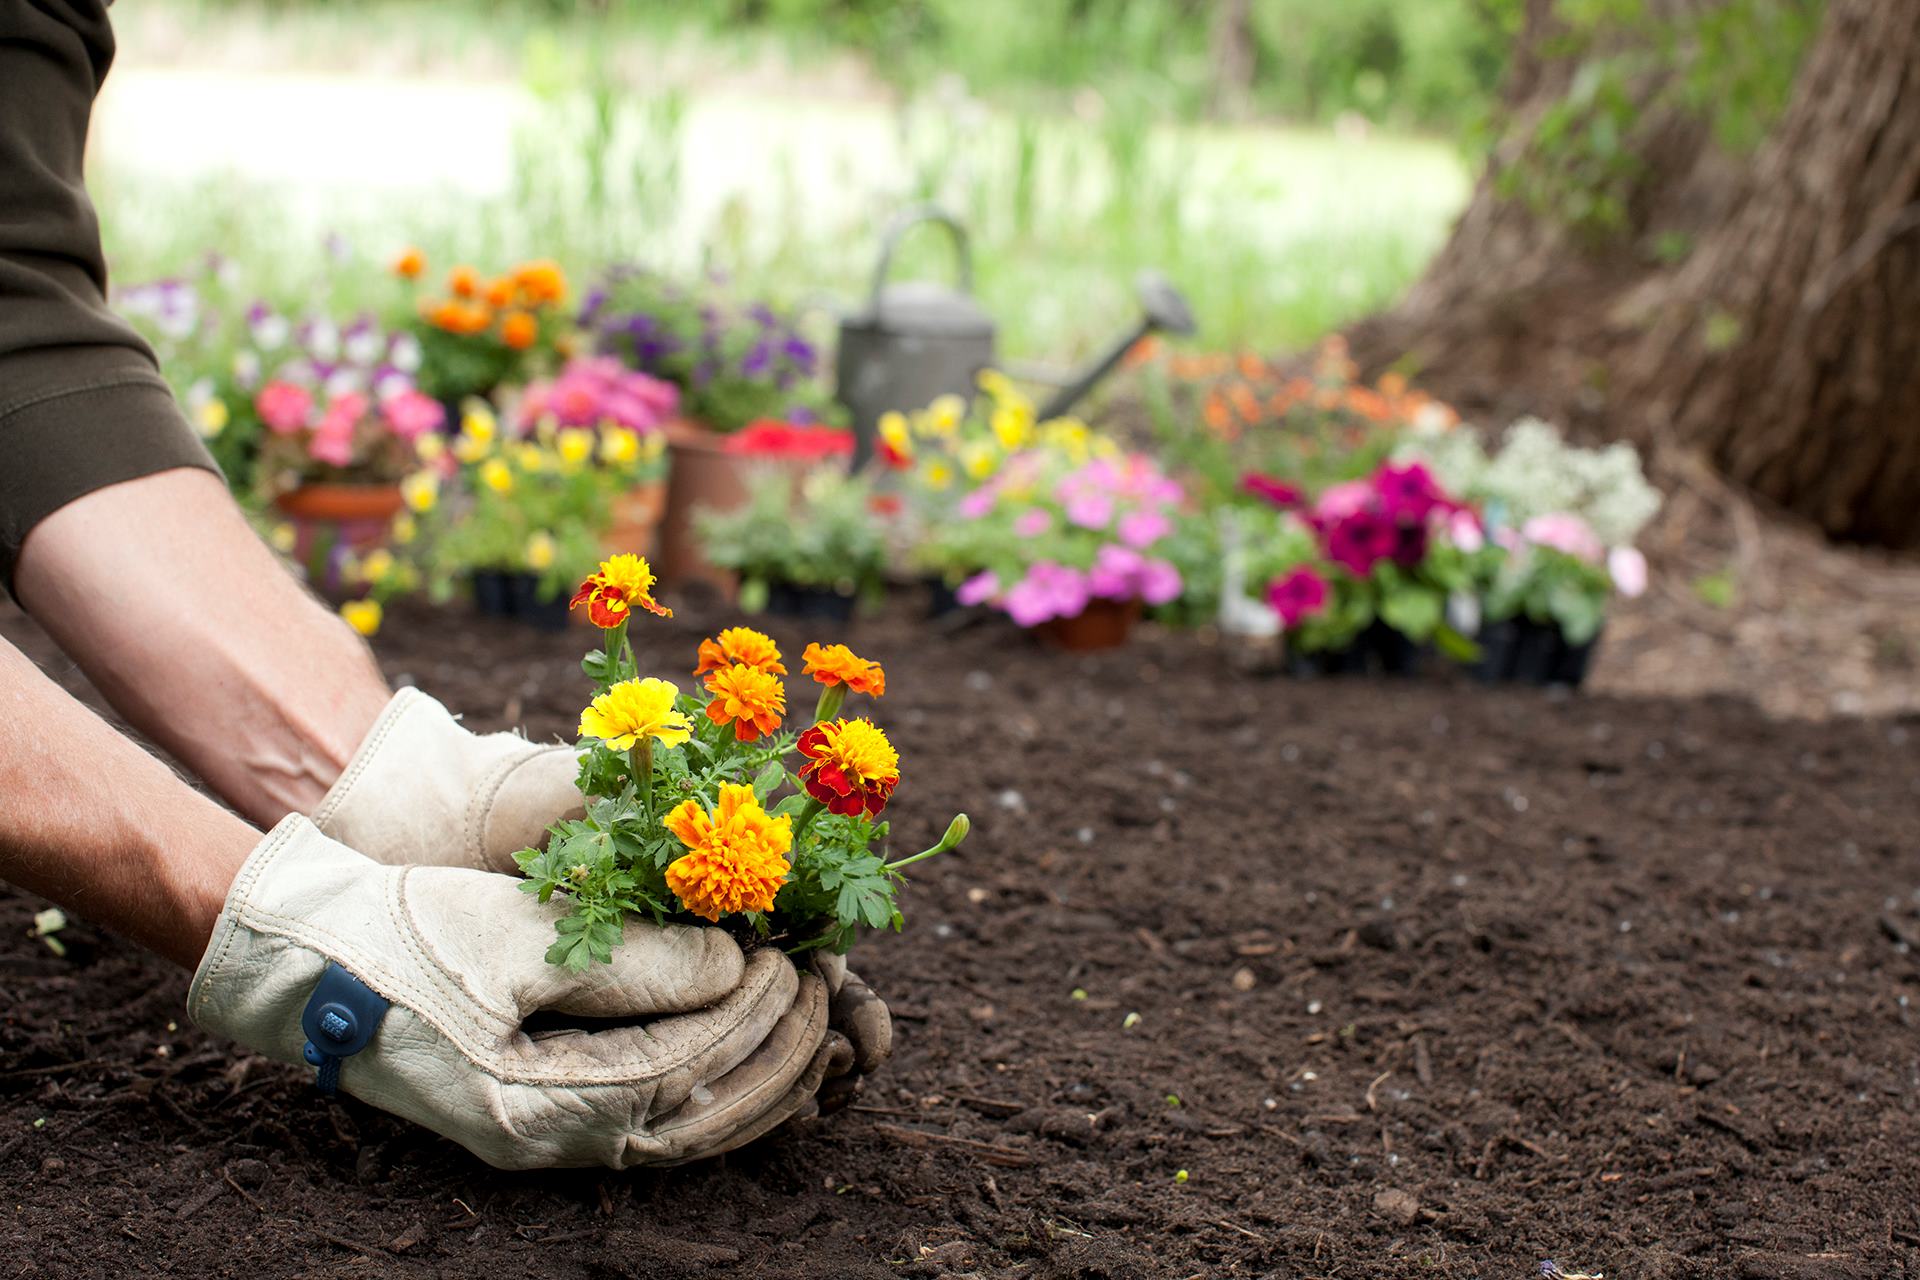
- Marigolds: Marigolds are easy-to-grow annual flowers that add a splash of color to any garden. Start marigold seeds indoors 6-8 weeks before the last frost date or sow them directly in the garden after the danger of frost has passed.
These are just a few examples of popular spring plants, and their recommended start dates can vary depending on your location and specific growing conditions. Always refer to the seed packet or consult reliable gardening resources for precise information on each plant.
Remember, the recommended start dates serve as guidelines, and factors such as your microclimate, weather conditions, and personal preferences may influence your planting decisions. Adjust the start dates accordingly to suit your unique circumstances and gardening goals.
By starting your seeds at the appropriate times, you’ll give your plants a strong head start, resulting in healthier and more productive gardens.
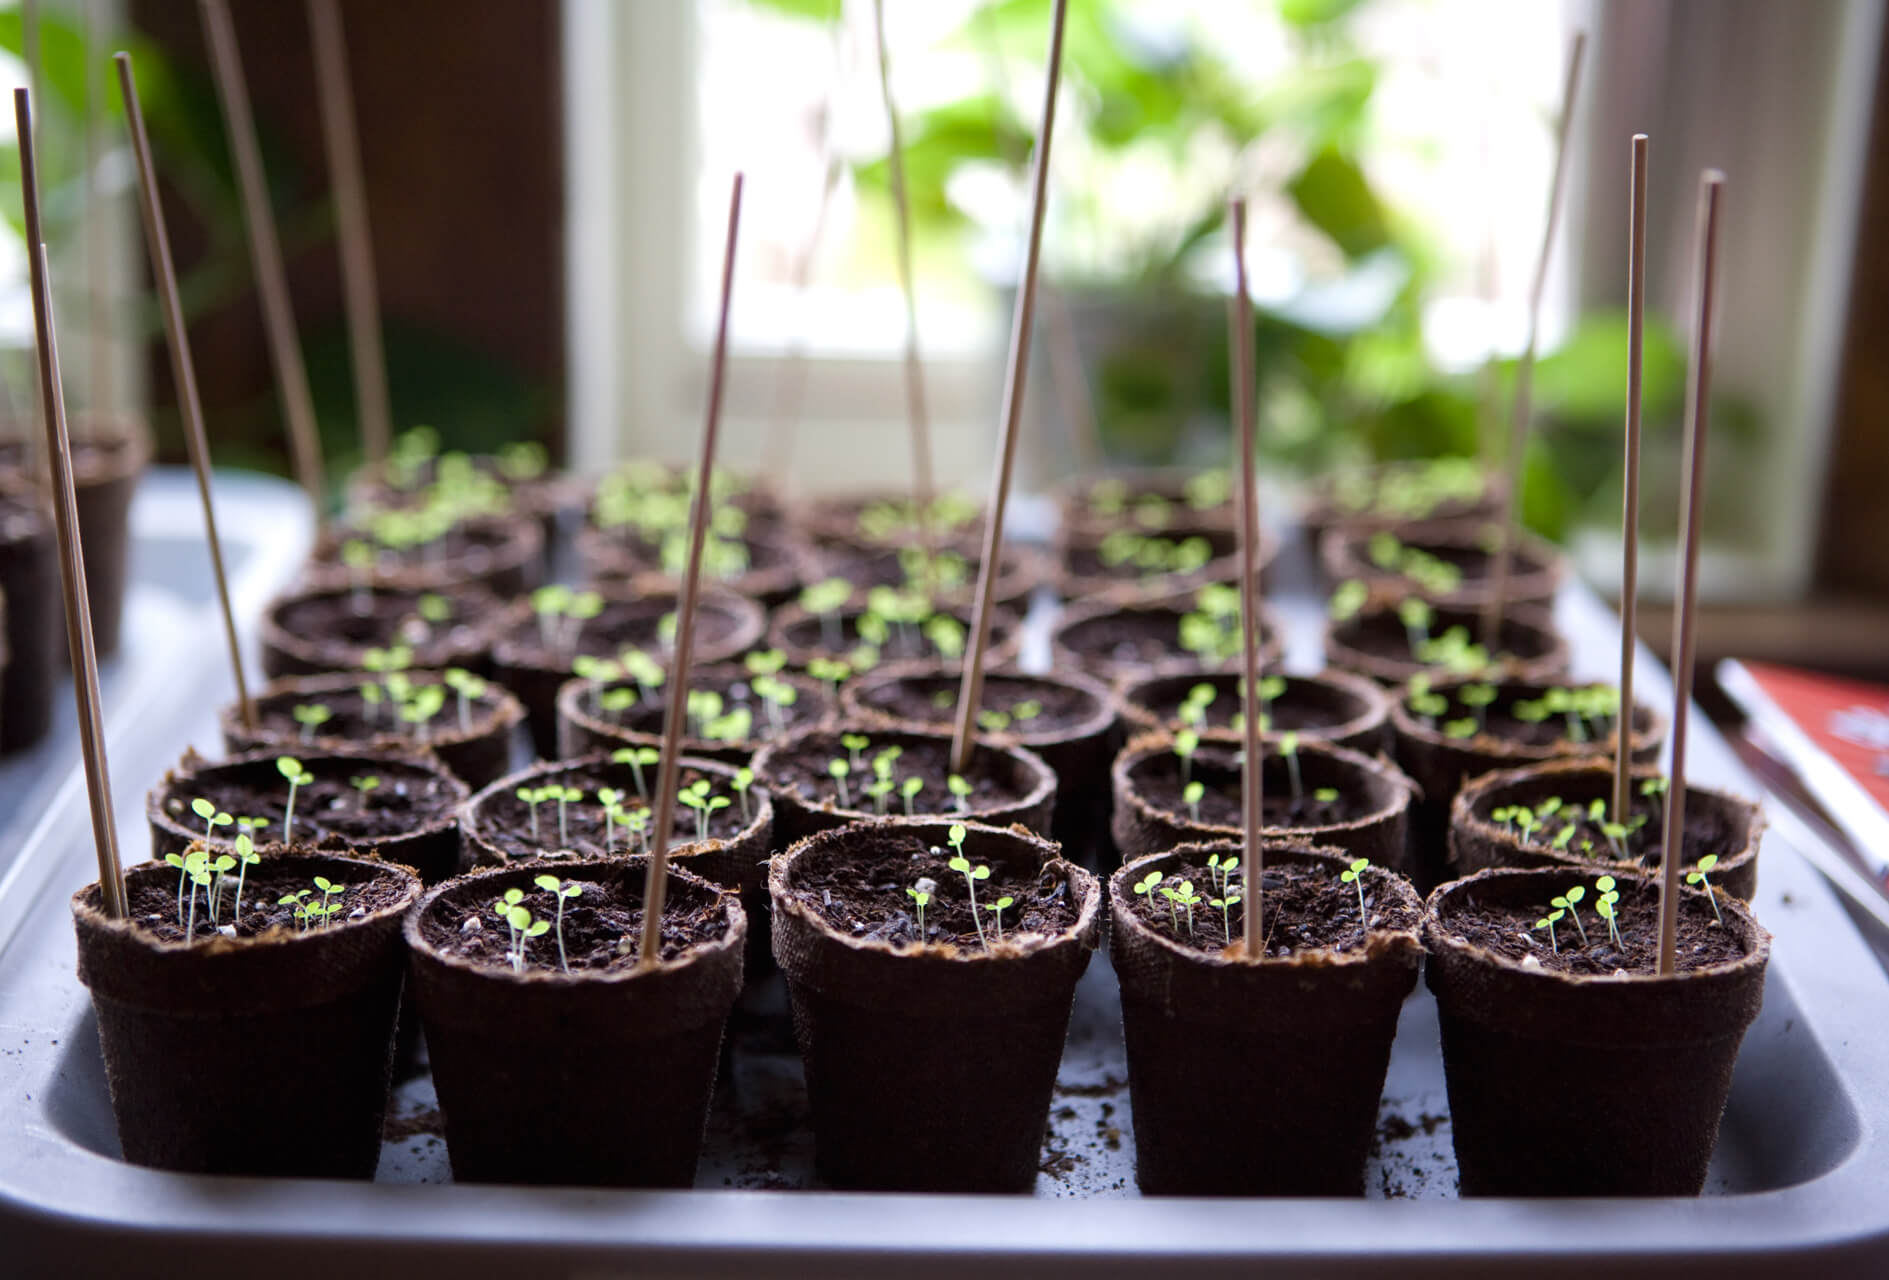
Tips for Starting Seeds Indoors
Starting seeds indoors is an effective way to give your plants a head start and ensure a successful spring planting. However, it can be a delicate process that requires attention to detail. To help you achieve optimal results, here are some essential tips for starting seeds indoors:
- Choose quality seeds: Start with high-quality seeds from reputable sources. Look for varieties that are known for their germination rates and disease resistance.
- Use suitable containers and soil: Opt for seed trays, peat pots, or recycled containers with drainage holes. Use a well-draining seed-starting mix or a combination of vermiculite, perlite, and peat moss.
- Moisten the soil: Before sowing the seeds, ensure the soil or seed starting mix is moist but not waterlogged. This will provide the necessary moisture for germination.
- Sow seeds at the correct depth: Follow the instructions on the seed packet to determine the appropriate depth for sowing each type of seed. In general, small seeds require shallow planting, while larger seeds can be planted deeper.
- Provide adequate light: Place your seed containers in a bright location that receives at least 6-8 hours of sunlight per day. If natural light is limited, use fluorescent grow lights positioned 2-4 inches above the seedlings.
- Monitor temperature and humidity: Maintain an optimum temperature of around 65-75°F (18-24°C) for optimal germination. Use a seed-starting heat mat to provide consistent warmth. Additionally, cover the containers with a plastic dome or loosely draped plastic wrap to create a humid environment.
- Water carefully: Water your seeds from the bottom by placing the containers in a tray filled with water. This allows the soil to soak up the moisture without disturbing the delicate seeds or seedlings.
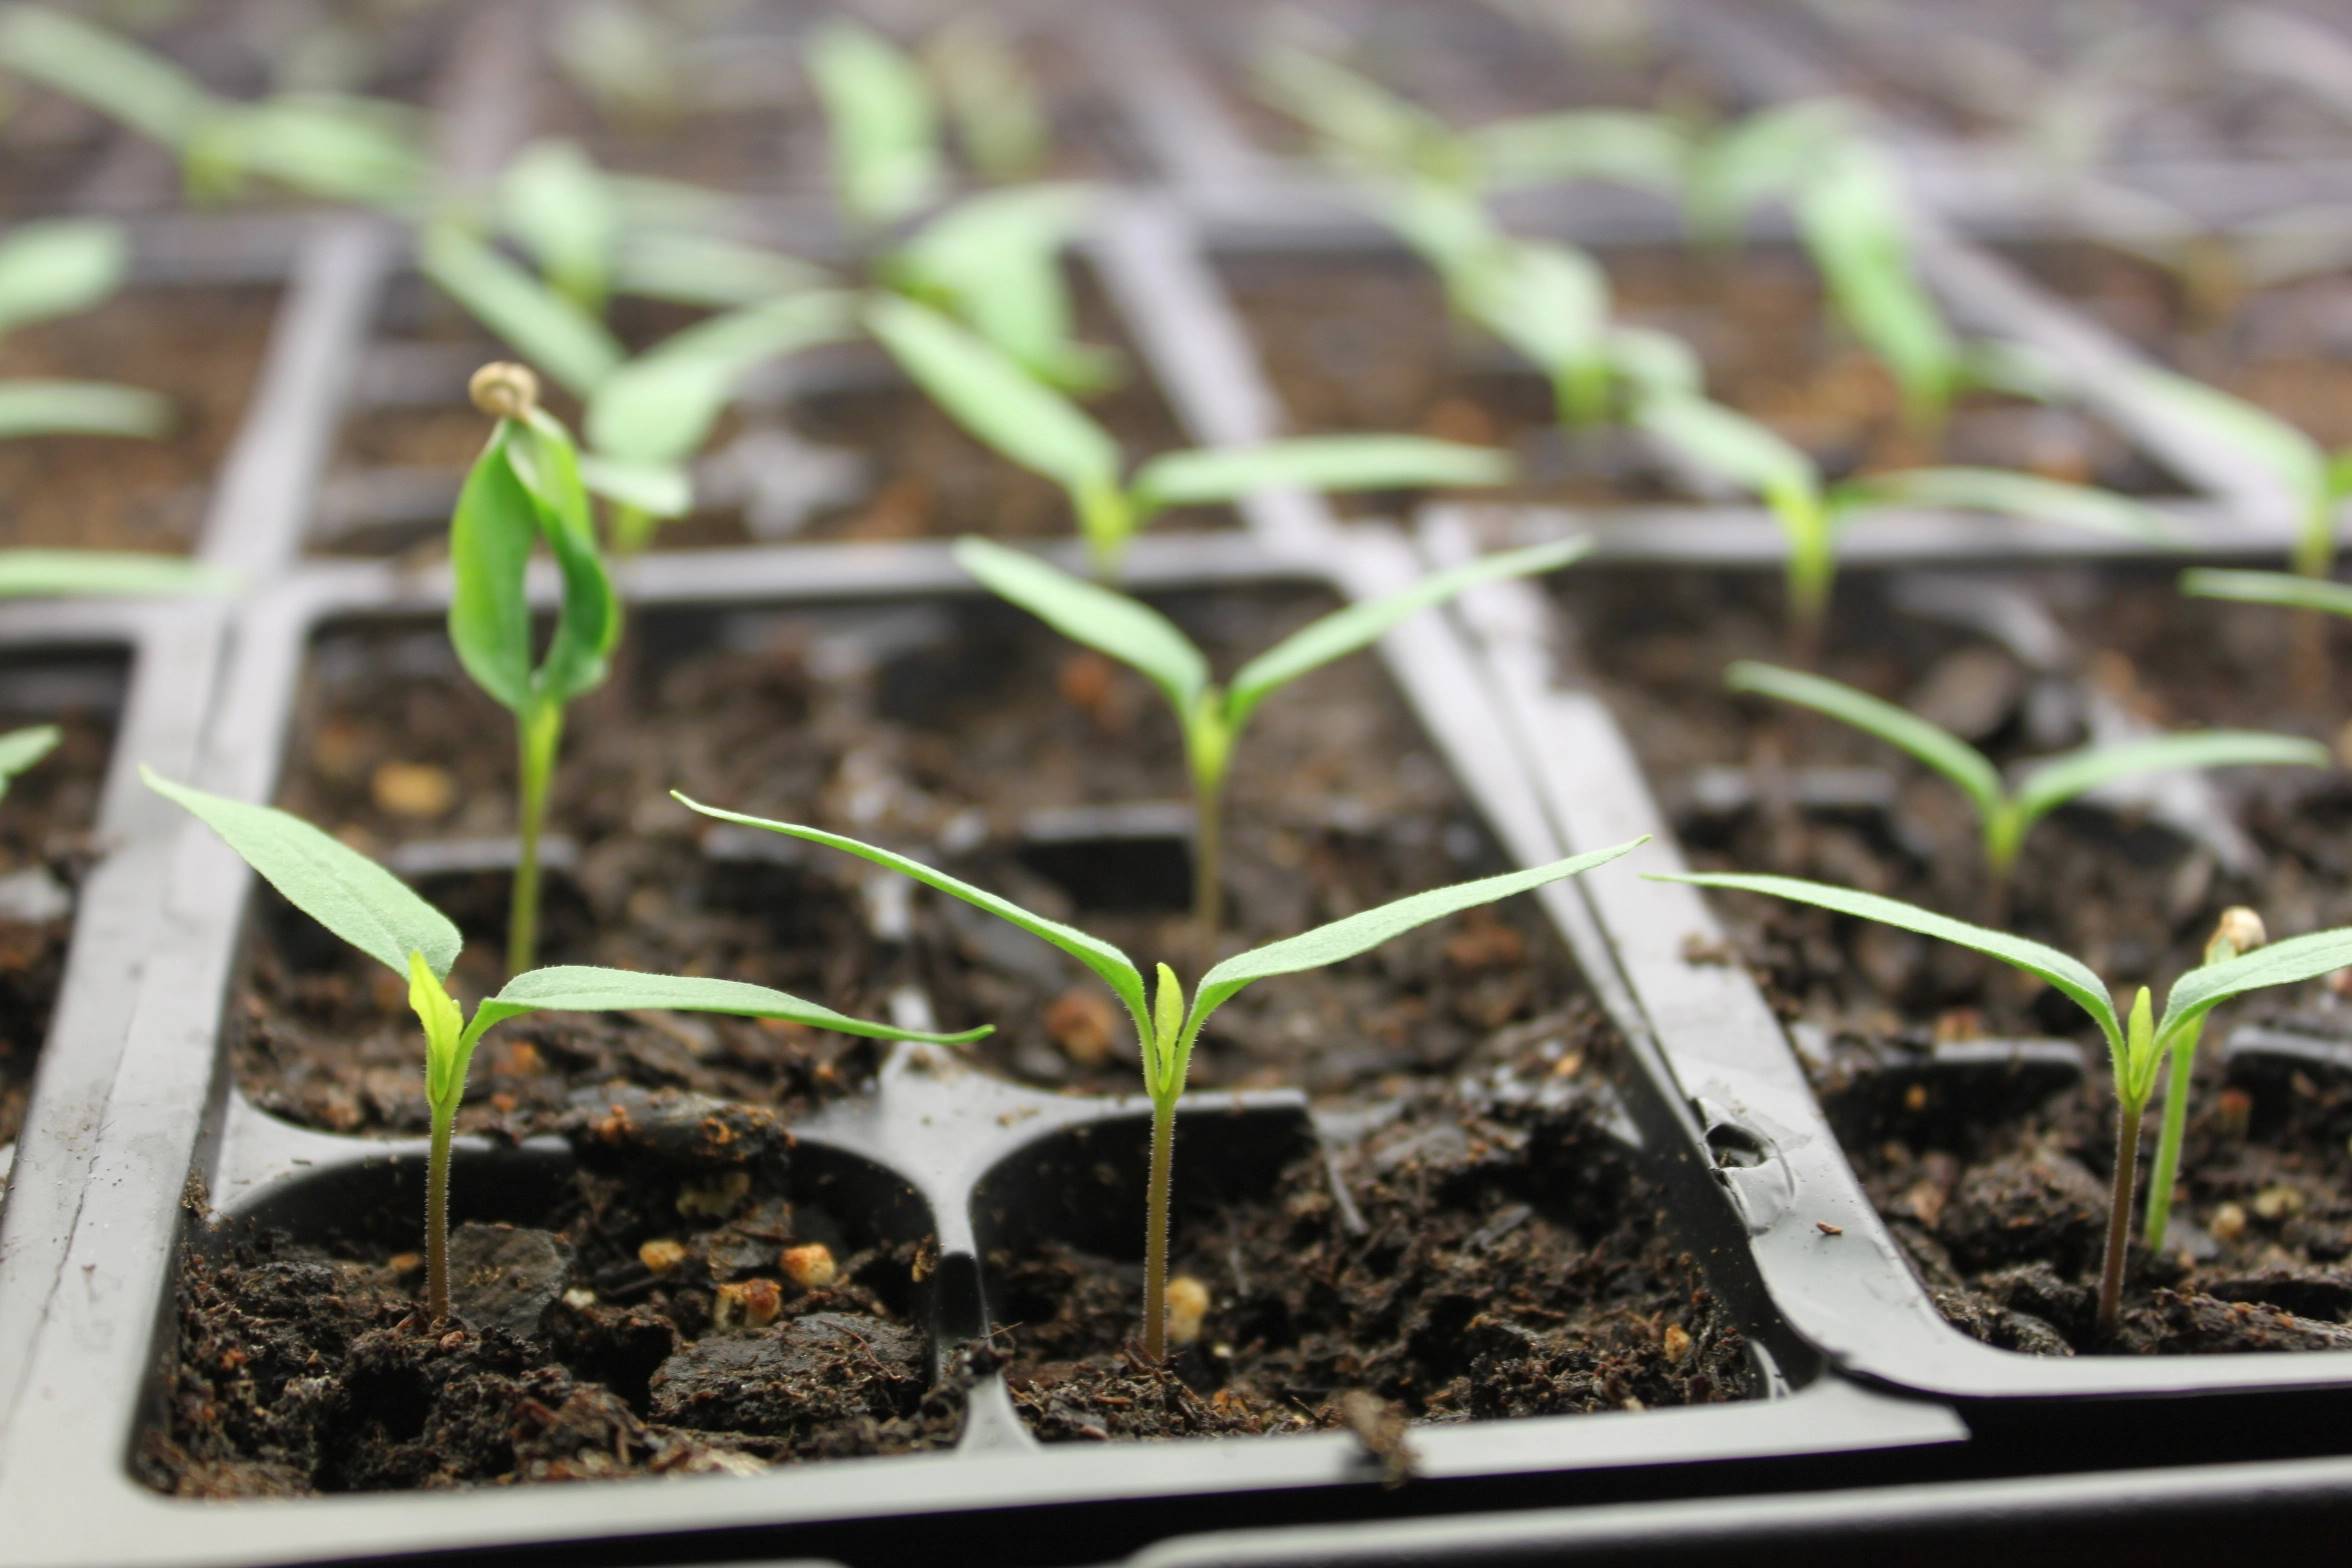
- Transplant at the right time: Once the seedlings have developed their first true leaves, it’s time to transplant them into individual pots or larger containers. Handle them gently by holding the leaves rather than the fragile stems.
- Harden off seedlings: About a week before transplanting your seedlings into the garden, gradually expose them to outdoor conditions. Start by placing them in a shaded, protected area for a few hours a day and gradually increase their exposure to sunlight and outdoor conditions.
- Maintain good airflow: Proper air circulation helps prevent diseases and encourages strong seedling growth. Use a small fan on a low setting to provide gentle air movement around the seedlings.
By following these tips, you’ll create a favorable environment for seed germination and provide your seedlings with the best possible start. Remember to monitor your seeds regularly, provide the care they need, and adjust your routine as the seedlings grow.
Starting seeds indoors can be a rewarding experience that allows you to take control of your gardening journey and witness the magic of growth from the very beginning.
Hardening Off Seedlings
Hardening off seedlings is a crucial step in the transition from indoor to outdoor gardening. It involves gradually exposing the tender young plants to the outdoor environment, helping them acclimate to the fluctuating temperature, increased sunlight, and stronger winds. Properly hardening off seedlings is essential to ensure their successful survival and growth in the garden. Here are some important tips to follow:
- Timing is key: Start the hardening off process approximately one to two weeks before the planned transplanting date. This allows the seedlings to gradually adjust to their new surroundings.
- Choose the right conditions: Begin by placing the seedlings outdoors in a sheltered, shady spot for a few hours a day. Gradually increase their exposure to sunlight and extend the duration of time spent outdoors over the course of the hardening off period.
- Monitor the weather: Be mindful of the weather conditions during the hardening off period. Avoid exposing the seedlings to extremely chilly nights or strong winds. If necessary, bring the seedlings indoors or provide temporary protection, such as floating row covers or cold frames.
- Adjust watering: Increase the frequency of watering during the hardening off process, as the seedlings will dry out more quickly in the outdoor environment. Keep the soil consistently moist but not waterlogged.
- Gradually expose to direct sunlight: Initially, place the seedlings in a location with indirect or filtered sunlight. Eventually, expose them to longer periods of direct sunlight to help them adjust to the intensity of outdoor light.
- Protect from pests: Keep a close eye on the seedlings for any signs of pest damage. Slugs, snails, and insects can pose a threat to the tender young plants. Take appropriate measures to protect them, such as using organic pest control methods or physical barriers.
- Observe and adapt: Pay attention to how the seedlings are responding to the outdoor conditions. Look for signs of stress or wilting and make adjustments as needed. If the seedlings show signs of distress, provide temporary shade or reduce their exposure to outdoor elements.
Remember, the hardening off process is vital to prepare your seedlings for the challenges of the garden. By gradually introducing them to the outdoor conditions, you give them the opportunity to develop stronger stems, thicker foliage, and heightened resilience.
Once the seedlings have successfully undergone the hardening off process, they will be ready for transplanting into your garden beds or containers. The careful preparation and attention given during this important step will greatly increase their chances of thriving and achieving their full potential in the garden.
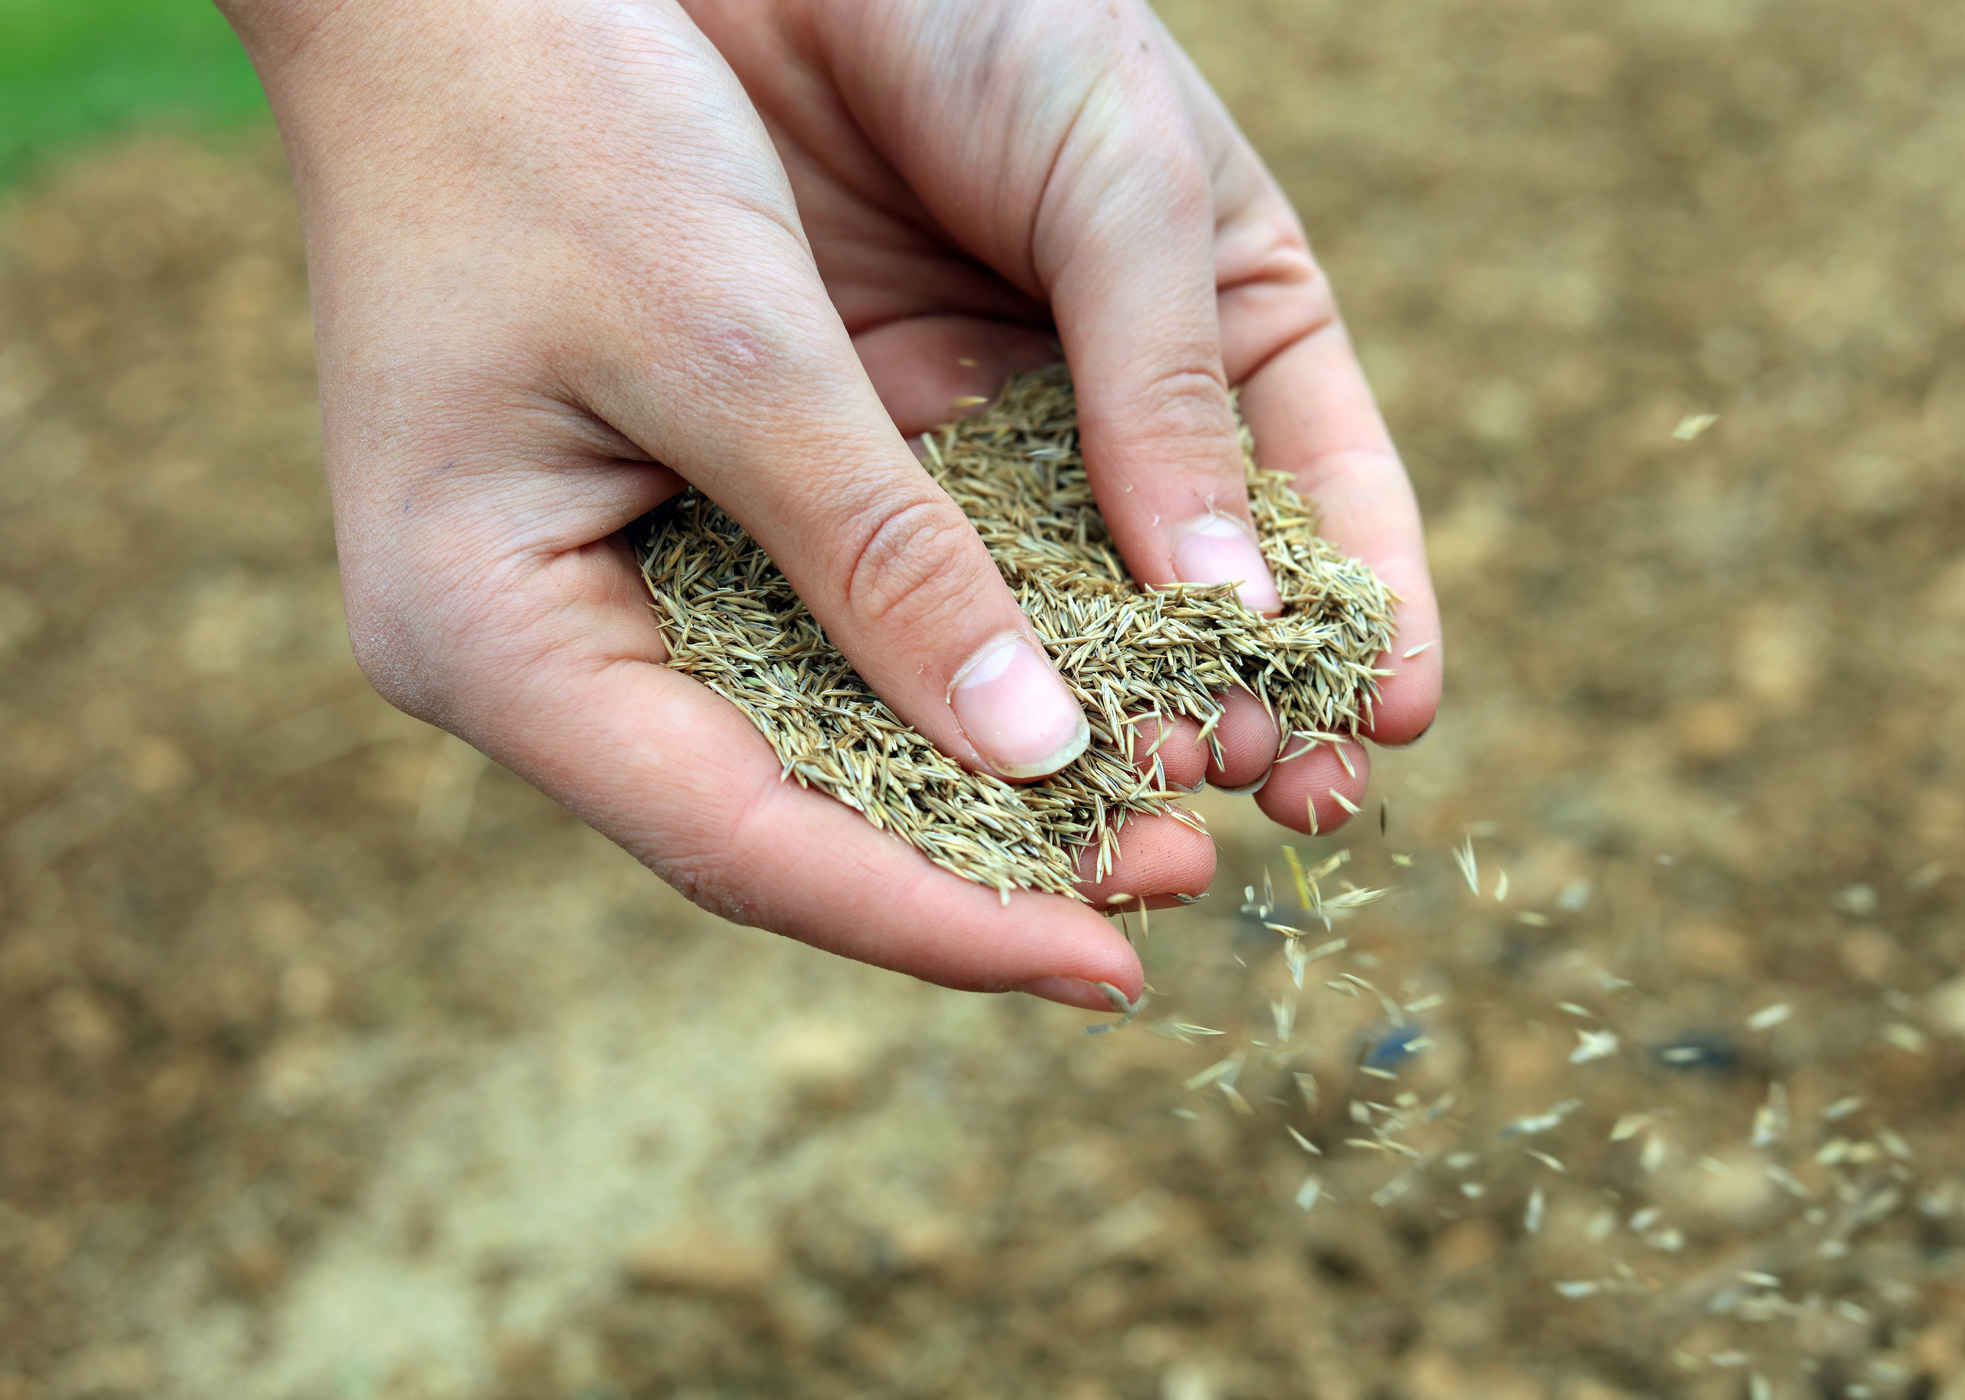
Direct Sowing in the Garden
While starting seeds indoors is a popular method, direct sowing in the garden can also be a convenient and effective way to grow spring plants. Direct sowing refers to planting seeds directly into the soil of your garden beds or containers, without the need for transplanting seedlings. This method is well-suited for certain plants and offers its own set of benefits. Here’s what you need to know about direct sowing:
Choose the right plants: Not all plants are suitable for direct sowing. Some plants, like beans, radishes, carrots, and zucchini, tend to perform better when sown directly into the garden. These plants have sturdy seedlings that can handle the outdoor environment right from the start.
Prepare the soil: Before direct sowing, it’s essential to prepare the soil properly. Clear any weeds or debris, loosen the soil, and amend it with organic matter, such as compost or well-rotted manure. This will provide a fertile and well-draining environment for the seeds to germinate and grow.
Follow seed packet instructions: Each type of seed comes with specific instructions for direct sowing. Pay attention to the recommended planting depth, spacing, and timing. Some seeds may require soaking or scarification before planting, while others need a period of cold stratification.
Monitor watering: Direct-sown seeds require consistent moisture to germinate. Water the area gently and keep the soil moist but not waterlogged until the seeds sprout. Once the seedlings emerge, continue watering regularly, allowing the soil to dry slightly between waterings to encourage deep root growth.
Thin out seedlings: When the seedlings are a few inches tall, thin them out to provide enough space for each plant to grow. Follow the spacing recommendations on the seed packet. Removing excess seedlings reduces competition for nutrients and ensures better air circulation around each plant, minimizing the risk of diseases.
Protect against pests: Directly sown seeds can be vulnerable to pests such as birds, squirrels, slugs, or snails. Use physical barriers like netting or row covers to deter animals and prevent damage. Alternatively, employ organic pest control methods to manage unwanted visitors.
Successive sowings: To prolong your harvest and achieve a continuous supply of fresh produce, consider making successive sowings every few weeks for crops like lettuce, radishes, and spinach. This staggered planting ensures a steady harvest throughout the growing season.
Monitor growth and provide support: As the plants grow, keep an eye on their progress. Provide support for taller plants, such as stakes or trellises, to prevent them from toppling over in strong winds or heavy rain. Regularly check for signs of pests, diseases, or nutrient deficiencies, and take appropriate action when necessary.
Direct sowing offers simplicity and convenience, allowing you to skip the step of starting seeds indoors. It also saves time and minimizes the risk of transplant shock. By selecting the right plants, preparing the soil well, and providing proper care, you can enjoy a successful and fruitful garden through direct sowing.
Conclusion
Starting seeds for your spring planting is an exciting and rewarding endeavor. It allows you to take control of your garden, choose from a wide range of plant varieties, and enjoy the satisfaction of watching your plants grow from tiny seeds to flourishing specimens. By understanding the planting schedule, considering important factors, and following recommended start dates, you can ensure the success of your seedlings.
Whether you choose to start seeds indoors or opt for direct sowing in the garden, both methods have their advantages. Starting seeds indoors gives you a head start and allows you to control the growing conditions, while direct sowing provides convenience and eliminates the need for transplanting.
Whichever method you choose, remember to provide the optimal conditions for germination and growth, including proper lighting, temperature, moisture, and fertility. Monitor your seedlings closely, adjust your care routine as needed, and protect them from potential threats. Hardening off your seedlings will prepare them for the outdoor environment, and direct sowing in the garden offers a simple and effective alternative for specific plants.
Remember to consult reliable gardening resources, seed packets, and your local agricultural extension office for detailed information specific to your region and the plants you wish to grow. Each plant has its own unique requirements, so it’s important to tailor your approach accordingly.
By incorporating these tips and techniques into your seed starting process, you’ll be well on your way to a successful spring garden filled with vibrant flowers, flavorful vegetables, and aromatic herbs. Happy planting!