Home>Types of Gardening>Edible Gardening>How To Start Lettuce Seeds Indoors
Edible Gardening
How To Start Lettuce Seeds Indoors
Modified: February 9, 2024
Learn the best techniques for starting lettuce seeds indoors and kickstart your edible gardening journey. From selecting seeds to proper care, we have you covered!
(Many of the links in this article redirect to a specific reviewed product. Your purchase of these products through affiliate links helps to generate commission for Chicagolandgardening.com, at no extra cost. Learn more)
Table of Contents
- Introduction
- Step 1: Gathering Supplies
- Step 2: Preparing the Germination Container
- Step 3: Planting the Lettuce Seeds
- Step 4: Providing Optimal Growing Conditions
- Step 5: Regular Maintenance and Care
- Step 6: Transplanting the Seedlings
- Step 7: Hardening Off the Lettuce Seedlings
- Step 8: Planting the Lettuce Seedlings Outdoors
- Conclusion
Introduction
Welcome to the exciting world of edible gardening! If you’ve always wanted to grow your own fresh, delicious produce, starting with lettuce seeds is a fantastic choice. Lettuce is a versatile and nutritious leafy green that can be easily grown indoors, allowing you to have a bountiful harvest regardless of your outdoor space limitations.
By starting lettuce seeds indoors, you gain control over the growing environment, ensure a higher success rate, and extend your growing season. This method is particularly beneficial for those of us who live in cooler climates or have shorter growing seasons.
In this comprehensive guide, we’ll take you through the step-by-step process of starting lettuce seeds indoors. From gathering the necessary supplies to transplanting the seedlings outdoors, we’ll provide you with all the information you need to get started on your edible gardening journey. So roll up your sleeves, grab your gardening gloves, and let’s dive in!
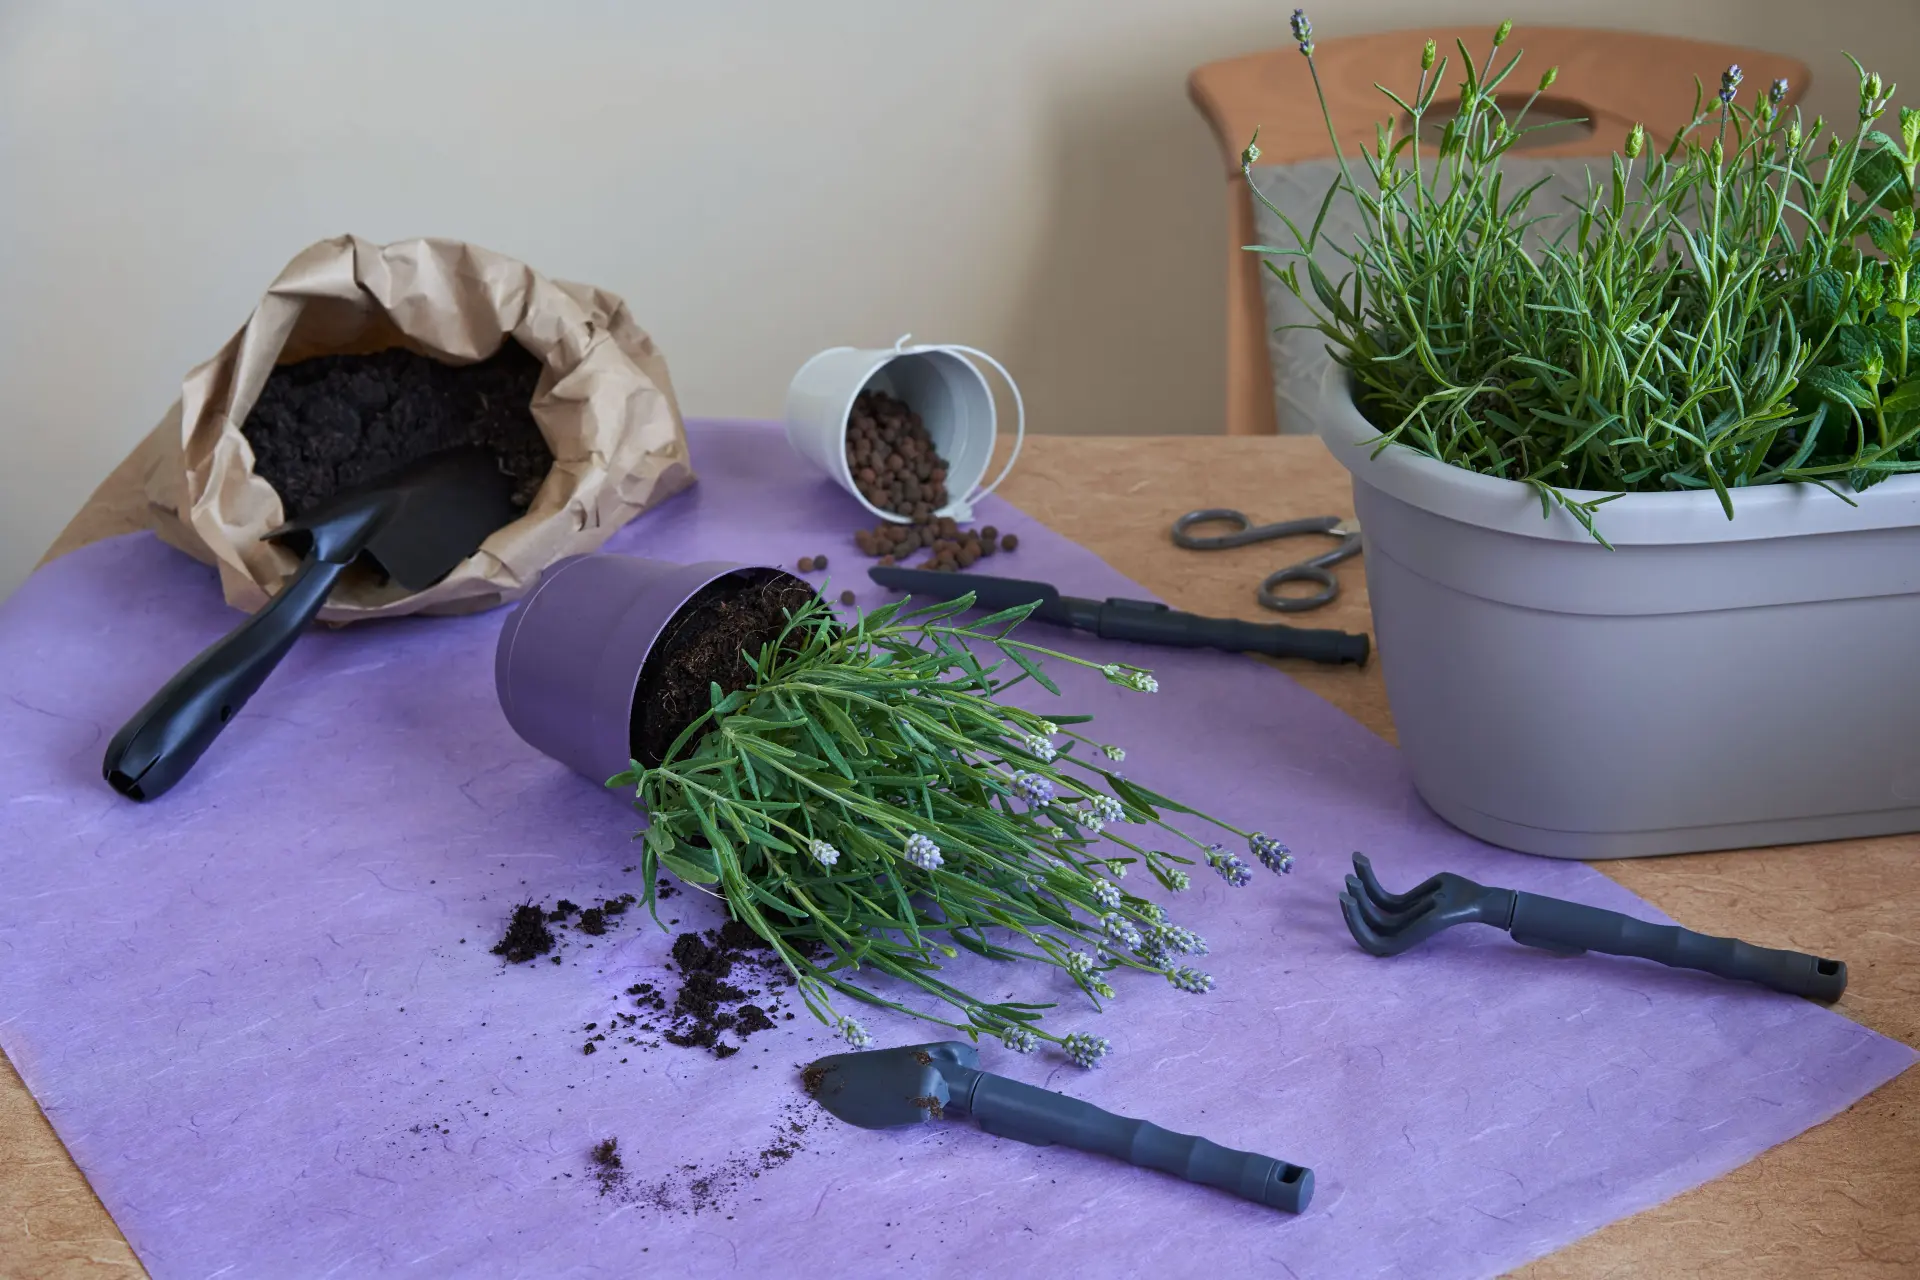
Step 1: Gathering Supplies
Before you begin the exciting process of starting your lettuce seeds indoors, it’s important to gather all the necessary supplies. Here’s a list of what you’ll need:
- Seeds: Choose your favorite variety of lettuce seeds. Consider factors such as taste, growth habits, and resistance to pests or diseases.
- Seed Starting Trays or Containers: Use seed starting trays or containers with drainage holes to provide a suitable environment for the seeds to germinate and grow.
- Seed Starting Mix: Use a high-quality seed starting mix that is lightweight, sterile, and provides good drainage. Avoid using regular garden soil, as it can be too heavy and may contain pathogens.
- Grow Lights or Natural Light: If you have access to a sunny south-facing window, natural light can be sufficient. However, if natural light is limited, consider using fluorescent or LED grow lights to provide the necessary light intensity and duration.
- Heat Mat (Optional): A heat mat can help promote germination by providing a consistent temperature range between 65°F and 75°F (18°C and 24°C).
- Misting Bottle: Use a misting bottle or spray bottle to provide a gentle mist of water for the seeds and seedlings.
- Plant Labels: To keep track of different lettuce varieties or planting dates, use plant labels or popsicle sticks.
- Watering Can or Spray Nozzle: Have a watering can or spray nozzle ready for gently watering the seed starting mix without disturbing the seeds.
- Garden Shears or Scissors: You’ll need a pair of garden shears or scissors for pruning and thinning lettuce seedlings as they grow.
- Organic Fertilizer (Optional): Organic fertilizers, such as compost or worm castings, can provide an additional boost of nutrients for healthy seedling growth.
Once you have gathered all the necessary supplies, you’ll be well-prepared to start the exciting process of growing lettuce from seeds indoors. Now, let’s move on to preparing the germination container!
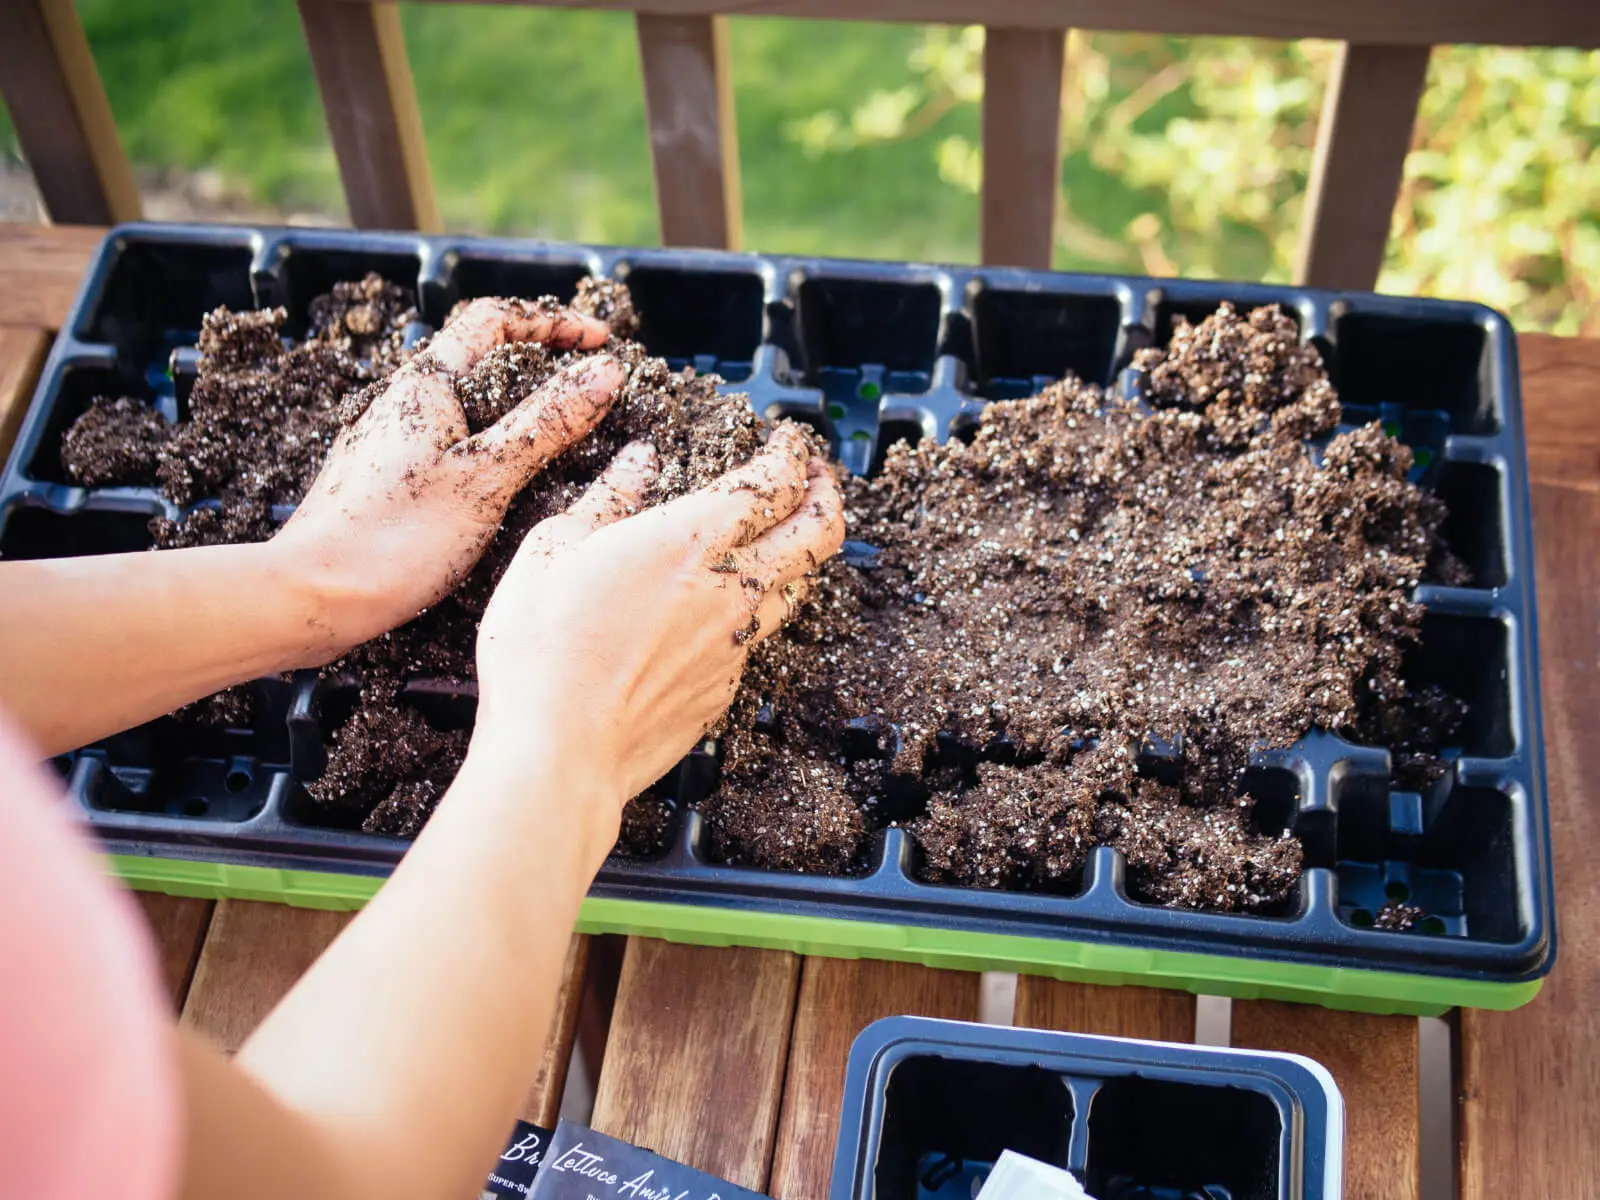
Step 2: Preparing the Germination Container
Now that you have gathered all the necessary supplies, it’s time to prepare the germination container for your lettuce seeds. Follow these steps to ensure a suitable environment for germination:
- Clean the Container: Start by thoroughly cleaning the seed starting trays or containers with soap and water. Rinse them well to remove any residue or debris. This helps prevent the growth of harmful bacteria and fungi.
- Add Drainage Material: Place a layer of coarse sand or small stones at the bottom of the containers to facilitate proper drainage. This prevents water from pooling and helps prevent root rot.
- Fill with Seed Starting Mix: Fill the containers with the seed starting mix, leaving about half an inch (1.25 cm) of space at the top. Gently tap the containers to settle the mix and eliminate any air pockets.
- Moisten the Seed Starting Mix: Before sowing the lettuce seeds, moisten the seed starting mix with water. It should be damp but not overly saturated. Use a misting bottle or spray nozzle to provide a gentle mist of water.
By ensuring proper drainage and moisture levels, you create an ideal environment for your lettuce seeds to germinate and grow. Now that the germination container is ready, it’s time to move on to planting the lettuce seeds!
Step 3: Planting the Lettuce Seeds
With the germination container prepared, it’s time to plant your lettuce seeds. Follow these steps to ensure proper planting:
- Sow the Seeds: Create small depressions in the seed starting mix using your finger or a pencil. Space the depressions according to the recommended seed spacing for the lettuce variety you’re planting. Generally, lettuce seeds should be spaced about 1 inch (2.5 cm) apart.
- Plant the Seeds: Place one to two seeds in each depression. Gently cover the seeds with a thin layer of seed starting mix. The rule of thumb is to cover the seeds with soil that is about two to three times their diameter.
- Label the Planting: Use plant labels or popsicle sticks to mark each row or container with the lettuce variety and planting date. This will help you keep track of different varieties and their growth progress.
- Water Lightly: After planting the seeds, lightly water the containers again using a misting bottle or a spray nozzle. Be careful not to overwater, as excessive moisture can lead to damping-off disease or rot.
- Cover the Container: To create a mini greenhouse effect, cover the germination container with a clear plastic lid or a plastic wrap. This helps retain humidity and warmth, promoting faster germination.
Remember to keep the seed starting mix consistently moist, but not waterlogged. Check the moisture level regularly and mist the container when needed. Place the container in a warm spot with temperatures between 65°F and 75°F (18°C and 24°C).
Now that the lettuce seeds are safely planted, it’s time to move on to the next step: providing optimal growing conditions for the seedlings. Stay tuned!
Step 4: Providing Optimal Growing Conditions
Now that you have planted the lettuce seeds, it’s important to provide them with the optimal growing conditions to ensure healthy and robust seedling development. Follow these guidelines to create the ideal environment for your lettuce seedlings:
- Light: Place the germination container in a location that receives ample sunlight or under grow lights. Lettuce seedlings require 10-12 hours of light per day for healthy growth. If using grow lights, position them about 6-12 inches (15-30 cm) above the seedlings.
- Temperature: Maintain a consistent temperature range between 60°F and 70°F (15°C and 21°C) during the day and 55°F and 65°F (13°C and 18°C) at night. Avoid exposing the seedlings to extreme temperature fluctuations.
- Humidity: Lettuce seedlings thrive in moderate humidity levels. You can increase humidity by placing a plastic dome or a clear plastic bag over the germination container. Keep an eye on the humidity level and remove the cover once the seedlings emerge to prevent excess moisture, which can lead to fungal diseases.
- Watering: Keep the seed starting mix evenly moist, but not soggy. Water the seedlings gently using a misting bottle or a spray nozzle to avoid dislodging the seeds. Aim to keep the surface of the soil slightly damp, but not waterlogged.
- Air Circulation: Good air circulation is essential for preventing fungal diseases and ensuring sturdy seedling growth. If using a plastic cover, ventilate it periodically to allow fresh air to circulate.
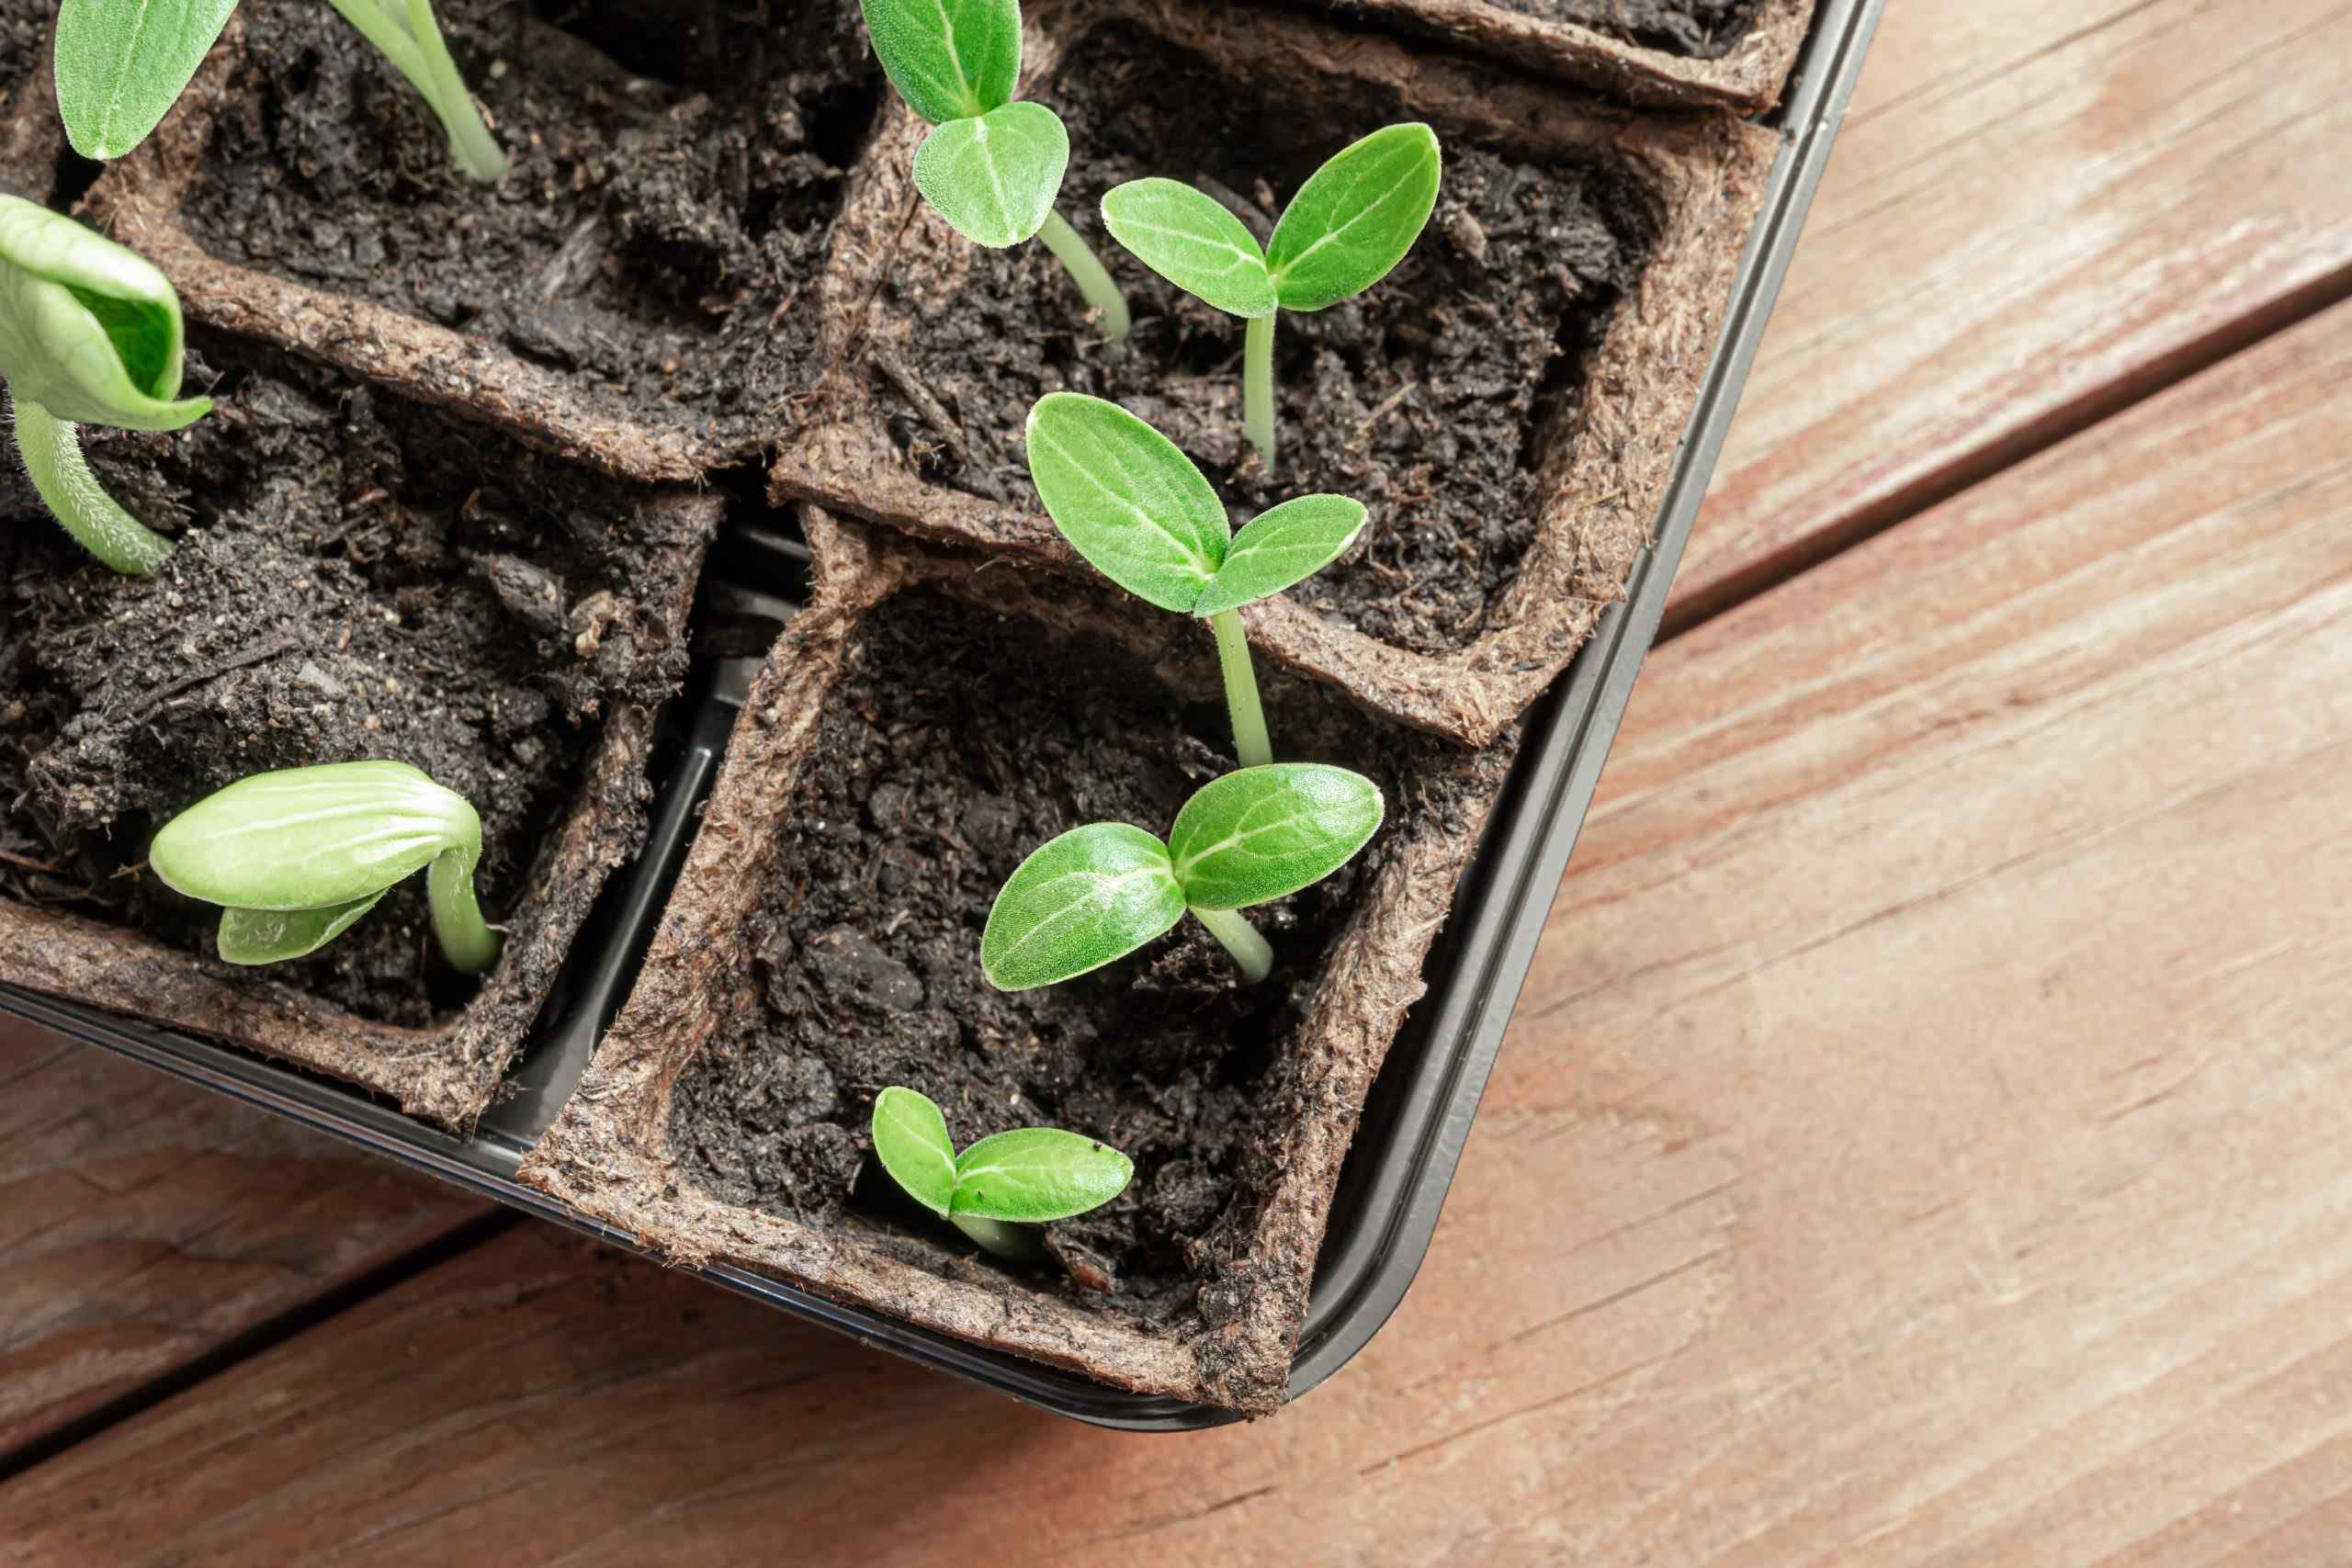
- Thinning Seedlings: Once the seedlings have grown their first true leaves and reached a height of a few inches, thin them out. Remove the weaker or overcrowded seedlings, leaving only the strongest ones. This allows the remaining seedlings to have enough space and resources to grow vigorously.
- Fertilization: At this stage, lettuce seedlings don’t require additional fertilization if you used a nutrient-rich seed starting mix. However, if the seedlings appear pale or show slowed growth, you can apply a diluted organic fertilizer according to the product instructions.
By providing optimal growing conditions, you’re setting the stage for healthy and vigorous lettuce seedling growth. Keep a close eye on the progress of your seedlings and make adjustments as necessary. In the next step, we’ll discuss the regular maintenance and care needed for your lettuce seedlings. Stay tuned!
Step 5: Regular Maintenance and Care
Maintaining and caring for your lettuce seedlings is crucial for their continued growth and development. Follow these essential maintenance steps to ensure your lettuce seedlings thrive:
- Watering: Continue to water the seedlings regularly, keeping the soil consistently moist. Use a misting bottle or a spray nozzle to gently water the seedlings, ensuring you don’t disturb the delicate roots.
- Light and Air Circulation: As the seedlings grow, adjust the position of the grow lights or move the containers closer to a sunny window to provide ample light. Additionally, ensure good air circulation by periodically removing any covers or plastic domes.
- Pruning and Thinning: Monitor the growth of your lettuce seedlings and prune any yellow or damaged leaves. This promotes healthier growth and prevents the spread of diseases. Continue thinning out weaker seedlings as necessary, giving enough space for the remaining ones to thrive.
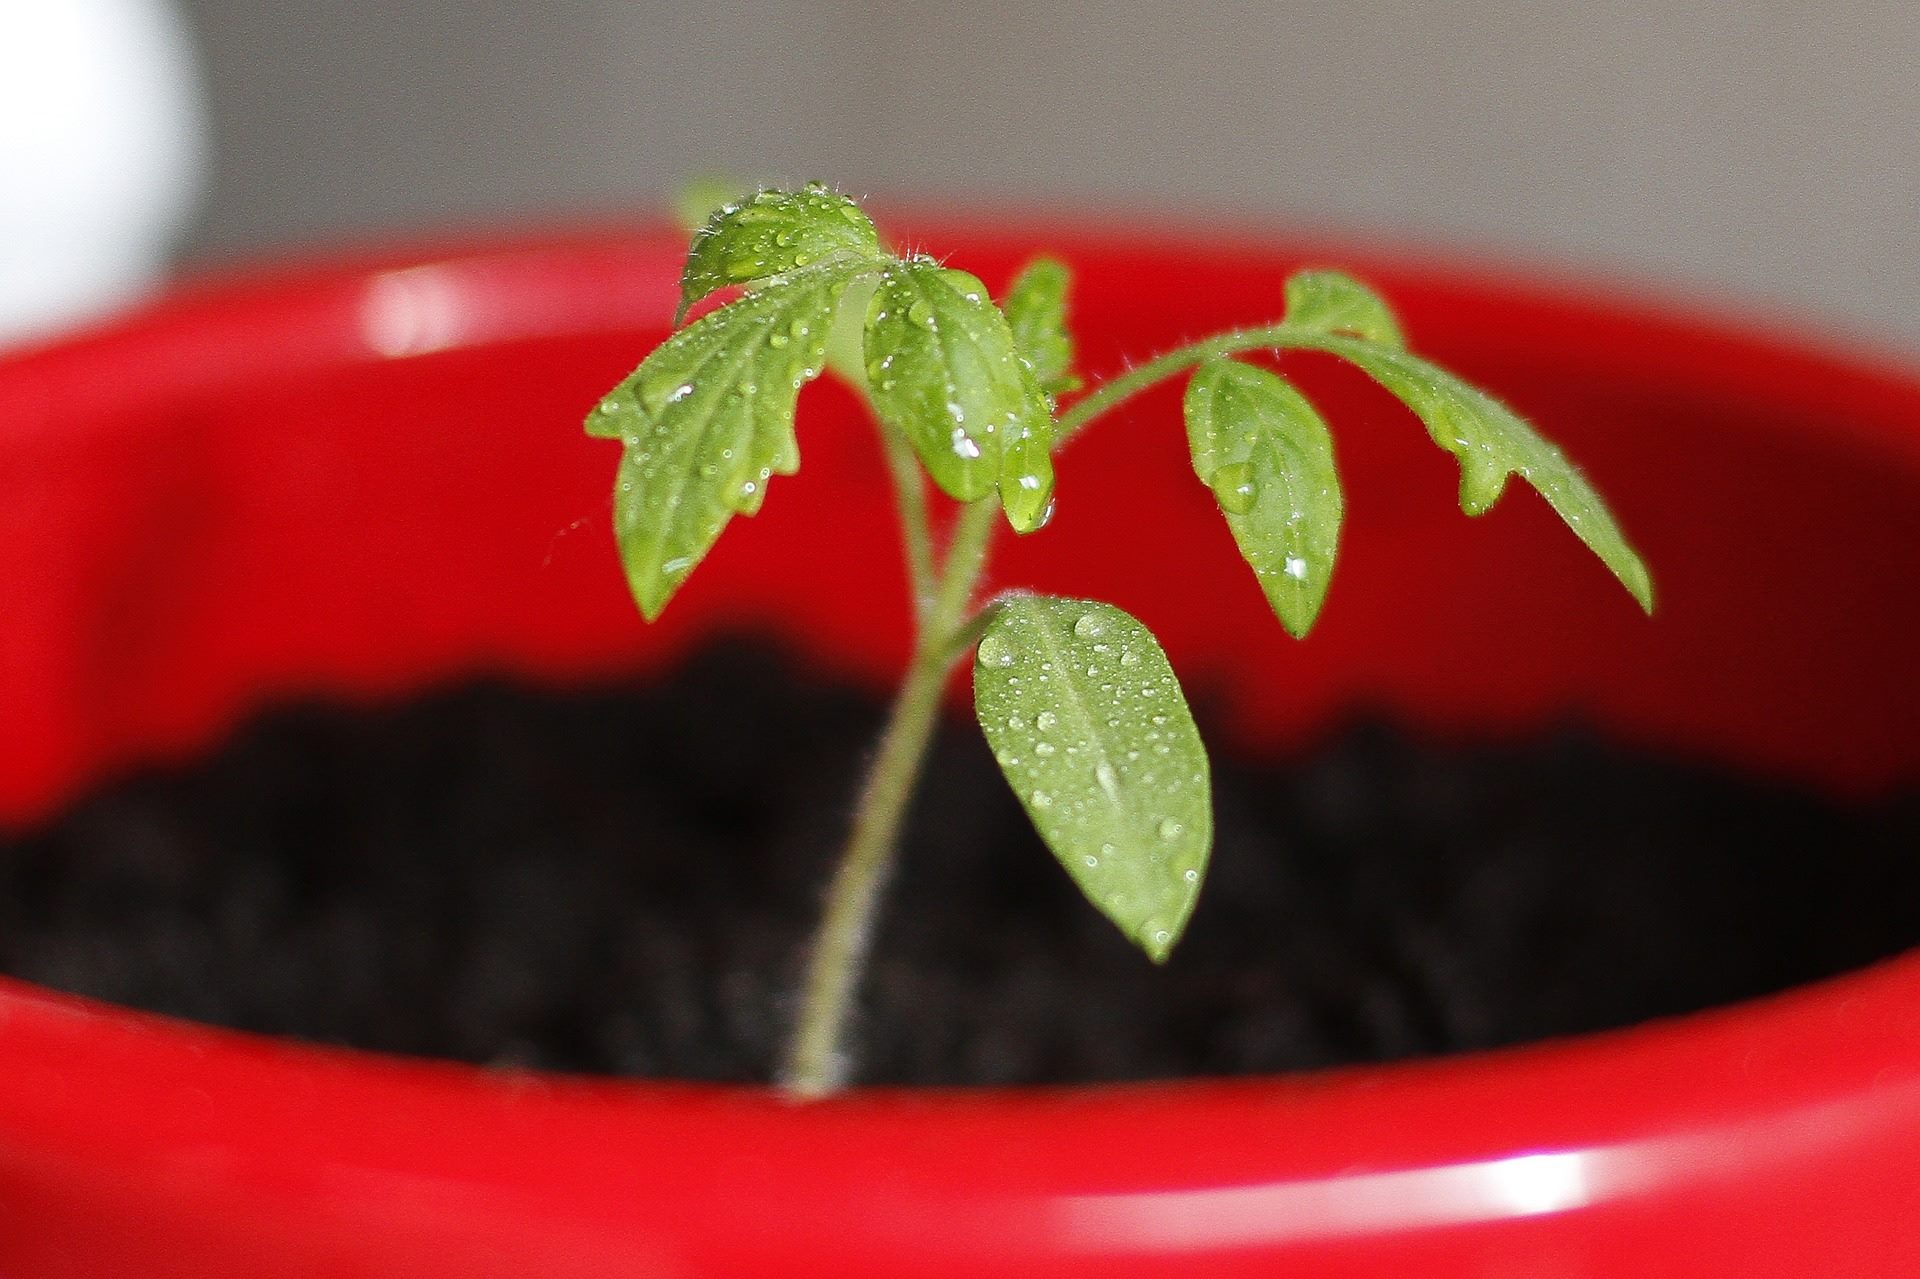
- Transplants: Once the seedlings have developed a few sets of true leaves and strong root systems, they can be transplanted into larger containers or other garden beds. Ensure the new location provides adequate space, sunlight, and a well-draining soil.
- Pest and Disease Control: Regularly inspect your lettuce seedlings for any signs of pests, such as aphids or slugs, and take appropriate measures to control them. Implement preventative measures, such as limiting moisture on the leaves and using organic pest control methods if necessary.
- Feeding: As the seedlings mature, consider using a diluted organic fertilizer to provide additional nutrients. Follow the product instructions and avoid overfertilizing, as this can result in undesirable leafy growth at the expense of quality lettuce heads.
Regular maintenance and care are essential for the health and productivity of your lettuce seedlings. By ensuring proper watering, light, pruning, and pest control, you’ll be well on your way to growing vibrant and abundant lettuce plants. In the next step, we’ll discuss the process of transplanting your seedlings to their final outdoor growing location. Stay tuned!
Step 6: Transplanting the Seedlings
Once your lettuce seedlings have grown a few sets of true leaves and are sturdy enough, it’s time to transplant them into their final outdoor growing location. Follow these steps to ensure a successful transplant:
- Timing: Choose the right time to transplant your lettuce seedlings. Transplant them outdoors when the soil has warmed up and there is no longer a risk of frost. The ideal temperature range for lettuce is between 45°F and 80°F (7°C and 27°C).
- Prepare the Site: Select a well-drained location that receives at least 6 hours of sunlight per day. Amend the soil with compost or well-rotted organic matter to improve its fertility and drainage, as lettuce prefers loose and fertile soil.
- Transplanting Technique: Dig holes in the prepared bed or container that are slightly larger than the root ball of the seedling. Gently remove the seedlings from their containers, being mindful not to damage the delicate roots. Place the seedlings in the holes, ensuring they are at the same depth as they were in the containers.
- Spacing: Space the lettuce seedlings according to the recommended spacing for the specific variety you are growing. Typically, lettuce should be spaced between 6 and 12 inches (15 and 30 cm) apart, depending on the size of the lettuce heads desired.
- Watering: After transplanting, water the seedlings thoroughly to help settle the soil and establish good root-to-soil contact. Provide sufficient water to keep the soil consistently moist in the first few weeks, helping the seedlings adapt to their new environment.
- Mulching: Apply a layer of organic mulch, such as straw or shredded leaves, around the transplanted seedlings. This helps conserve moisture, suppress weed growth, and regulate soil temperature.
Transplanting seedlings can be a delicate process, so ensure you handle them gently and water them adequately. Keep an eye on the seedlings in the first few days after transplantation, watching for signs of wilting or stress.
Remember to water regularly and provide adequate care as the lettuce plants continue to grow. With proper attention, your transplanted seedlings will thrive and reward you with a bountiful harvest of fresh, homegrown lettuce!
Step 7: Hardening Off the Lettuce Seedlings
Before permanently placing your lettuce seedlings in their outdoor growing location, it’s essential to harden them off. Hardening off is the process of gradually acclimating the seedlings to outdoor conditions, ensuring they can withstand the changes in temperature, wind, and sun exposure. Follow these steps to successfully harden off your lettuce seedlings:
- Start Gradually: Begin by exposing the seedlings to outdoor conditions for a few hours each day, preferably during the mildest part of the day. Choose a sheltered spot that is protected from strong winds and direct sunlight.
- Increase Exposure: Gradually increase the exposure time by an additional hour or two each day over the course of one to two weeks. This gradual increase will help toughen up the seedlings and prepare them for the outdoor environment.
- Monitor Temperature: Watch for extreme temperature fluctuations during the hardening-off process. If frost or cold weather is forecasted, bring the seedlings indoors or provide temporary protection, such as covering them with a sheet or frost cloth.
- Watering: Adjust the watering schedule as the seedlings are being hardened off. Depending on weather conditions, you may need to water more frequently to prevent the soil from drying out. However, be cautious not to overwater, which could lead to rot or disease.
- Wind Exposure: Gradually expose the seedlings to increasing levels of airflow to help strengthen their stems and prepare them for windy conditions. Place a fan on a low setting nearby or gently brush your hands over the seedlings to simulate a breeze.
- Protect from Pests: Keep an eye out for pests during the hardening-off process. If necessary, use organic pest control methods to protect your lettuce seedlings from insects that may damage them.
Hardening off is a critical step in transitioning your lettuce seedlings from the controlled indoor environment to the unpredictable outdoor environment. By gradually exposing them to outdoor conditions, you reduce the risk of transplant shock and ensure their long-term survival.
Once your lettuce seedlings have successfully adjusted to outdoor conditions, they are ready to be planted in their final growing location outdoors. In the next step, we’ll discuss the process of planting the lettuce seedlings outdoors. Stay tuned!
Step 8: Planting the Lettuce Seedlings Outdoors
After hardening off your lettuce seedlings, it’s time to plant them in their final outdoor growing location. Follow these steps to ensure a successful transition:
- Choose the Right Location: Select a sunny spot with well-drained soil for planting your lettuce seedlings. Ensure the location receives at least 6 hours of direct sunlight per day and has fertile, loamy soil.
- Prepare the Soil: Prepare the soil by removing weeds and loosening it with a garden fork or tiller. Incorporate compost or well-rotted organic matter to improve soil fertility and drainage.
- Planting Technique: Dig holes in the soil that are slightly larger than the root ball of the seedlings. Gently remove each seedling from its pot, being careful not to damage the roots. Plant the seedlings in the holes, ensuring they are at the same depth as they were in their containers.
- Spacing: Follow the recommended spacing for the specific variety of lettuce you are planting. Space the seedlings 6 to 12 inches (15 to 30 cm) apart to allow room for their growth and to prevent competition for nutrients and sunlight.
- Watering: After planting, thoroughly water the seedlings to help settle the soil and provide moisture to the roots. Water the seedlings regularly, keeping the soil evenly moist but not waterlogged.
- Mulching: Apply a layer of organic mulch, such as straw or shredded leaves, around the base of the seedlings. This helps conserve moisture, suppress weed growth, and regulate soil temperature.
- Provide Support (if needed): Depending on the lettuce variety you are growing, you may need to provide support to prevent the plants from flopping over as they mature. Install stakes or use a trellis netting to support the plants.
- Regular Care: Continually monitor the soil moisture and water as needed. Remove any weeds that compete with the lettuce for resources. Monitor for pests and apply organic pest control methods if necessary.
By planting your lettuce seedlings outdoors in the right location with proper spacing and care, you’ll provide them with the best conditions for healthy growth and abundant harvests.
Now that you have successfully planted your lettuce seedlings, it’s time to maintain them throughout the growing season. Regularly water, weed, and monitor for pests or diseases to ensure a successful harvest of delicious, homegrown lettuce!
Conclusion
Congratulations on completing the journey of starting lettuce seeds indoors and successfully transplanting them into your outdoor garden! By following the steps outlined in this guide, you have taken the necessary steps to ensure healthy seedlings and a bountiful harvest of fresh, homegrown lettuce.
Remember to provide your lettuce seedlings with optimal growing conditions, including adequate light, proper watering, and regular maintenance. Hardening off the seedlings before transplanting them outdoors is crucial to help them adjust to the outdoor environment and reduce the risk of transplant shock.
As your lettuce plants continue to grow, be vigilant in monitoring for pests, diseases, and watering needs. Regular care, including pruning, thinning, and appropriate fertilization, will contribute to their overall health and productivity.
Enjoy the process of watching your lettuce seedlings thrive and providing you with a delicious and nutritious harvest. Experiment with different lettuce varieties and explore various culinary uses for this versatile leafy green.
Remember, edible gardening is a continuous learning experience, and each season presents new opportunities and challenges. Take notes, observe, and adapt your gardening practices to suit your specific growing environment.
Now, armed with the knowledge gained from this guide, you are ready to embark on your edible gardening journey and enjoy the satisfaction of growing your own fresh, vibrant lettuce. Happy gardening!