Home>Types of Gardening>Ornamental Gardening>How To Start Cactus Seeds

Ornamental Gardening
How To Start Cactus Seeds
Modified: February 9, 2024
Learn the secrets of starting cactus seeds for your ornamental gardening projects. Discover step-by-step instructions and expert tips to cultivate beautiful cacti from seed.
(Many of the links in this article redirect to a specific reviewed product. Your purchase of these products through affiliate links helps to generate commission for Chicagolandgardening.com, at no extra cost. Learn more)
Table of Contents
- Introduction
- Step 1: Gathering Materials
- Step 2: Choosing the Right Cactus Seeds
- Step 3: Preparing the Planting Medium
- Step 4: Planting the Cactus Seeds
- Step 5: Providing Proper Care and Conditions
- Step 6: Monitoring and Watering the Seeds
- Step 7: Transplanting the Seedlings
- Step 8: Maintaining the Cactus Plants
- Conclusion
Introduction
Ornamental gardening is a delightful and fulfilling hobby that allows you to transform your outdoor space into a vibrant and visually appealing oasis. Among the myriad of plants and flowers you can choose to cultivate, cacti stand out as a unique and intriguing option. With their striking shapes and ability to thrive in harsh environments, cacti add a touch of exotic beauty to any garden.
One way to start growing cacti is by planting cactus seeds. While it may seem like a daunting task, growing cacti from seeds is a rewarding and fascinating process. By following the right steps and providing the proper care, you can watch these tiny seeds develop into beautiful and resilient cactus plants.
In this article, we will guide you through the process of starting cactus seeds, from gathering the necessary materials to transplanting the seedlings and maintaining the cactus plants. By sharing our knowledge and experience in ornamental gardening, we hope to inspire you to embark on this delightful gardening journey.
It’s important to note that cactus seeds come in a variety of species, each with its own requirements and growth patterns. Therefore, it’s crucial to research the specific type of cactus you’re interested in growing before starting the process. Now, let’s delve into the steps needed to successfully start cactus seeds and watch them blossom into stunning plants.
Step 1: Gathering Materials
Before you begin the process of starting cactus seeds, it’s important to gather all the necessary materials. Having everything prepared and within reach will make the process smoother and more efficient. Here’s what you’ll need:
- Cactus Seeds: Acquire high-quality cactus seeds from a reputable source. You can choose from a wide variety of cactus species, each offering unique shapes and colors.
- Pot or Container: Select a pot or container that has drainage holes to prevent waterlogging. The size of the container will depend on the number of seeds you plan to plant.
- Potting Mix: Choose a well-draining potting mix specifically designed for cacti and succulents. Alternatively, you can create your own by mixing regular potting soil with sand or perlite.
- Pebbles or Gravel: The use of a layer of pebbles or gravel at the bottom of the pot enhances drainage and prevents the roots from sitting in excess water.
- Watering Can or Spray Bottle: A watering can with a narrow spout or a spray bottle will allow you to water the seeds gently without disturbing the soil too much.
- Plastic Wrap or Clear Dome: To create a miniature greenhouse environment, use plastic wrap or a clear dome to cover the pot and retain moisture.
- Labels: Keeping track of the different cactus species is essential. Use labels or markers to identify the pots and record important information such as the date of planting.
- Light Source: Cactus seeds require adequate light to germinate and grow. If natural light is limited, consider using a grow light or placing the pots near a sunny window.
- Thermometer: Monitoring the temperature is crucial as different cactus species have specific temperature requirements. A thermometer will help you ensure the ideal conditions for seed germination.
Once you have gathered all these materials, you are ready to move on to the next step of choosing the right cactus seeds for your garden.
Step 2: Choosing the Right Cactus Seeds
Choosing the right cactus seeds is a crucial step in the process of starting your own cactus garden. There are countless cactus species available, each with its own unique features and requirements. Here are some factors to consider when selecting your cactus seeds:
- Climate Compatibility: Consider the climate in your area and choose cactus seeds that are suitable for your region. Some cacti thrive in arid and desert-like conditions, while others prefer milder climates.
- Growth Size: Take into account the size of the mature cactus. Some species stay compact and are ideal for small spaces or indoor gardens, while others can grow quite tall and require more room to flourish.
- Appearance: Cacti come in various shapes, colors, and textures. Think about the aesthetic you want to achieve in your garden and select cactus seeds that match your vision.
- Care Requirements: Different cacti have varying care needs, including watering frequency, light requirements, and temperature preferences. Ensure that you can provide the necessary care for the cactus species you choose.
- Availability: Some cactus species may not be readily available in your local area. Research reputable online nurseries or specialized cactus sellers to find a wide selection of seeds.
Additionally, it’s worth considering whether you want to grow cactus species that are native to your region or explore more exotic varieties from different parts of the world. Native cacti are generally more adapted to the local climate and may require less maintenance.
Once you have a clear idea of the cactus species you want to grow, source your seeds from reputable sellers who provide detailed information about the seeds’ origin, storage conditions, and germination requirements. This will increase your chances of successful germination and healthy growth.
By carefully selecting the right cactus seeds, you will ensure that your garden flourishes with a stunning array of diverse and captivating cacti.
Step 3: Preparing the Planting Medium
The planting medium is a crucial element for the successful germination and growth of your cactus seeds. It provides the necessary nutrients, moisture retention, and drainage that cacti require to thrive. Here’s how to prepare the planting medium:
- Select the Right Potting Mix: Choose a well-draining potting mix specifically formulated for cacti and succulents. These mixes are typically composed of a combination of nutrient-rich soil, sand, and perlite or pumice to promote drainage and prevent overwatering.
- Prepare the Pot: Fill the pot or container with the prepared potting mix, leaving a gap at the top to allow for watering and seed placement.
- Moisten the Medium: Before planting the seeds, moisten the potting mix without saturating it. This will ensure that the seeds have access to the necessary moisture for germination.
It’s important to note that cacti prefer well-draining soil and can suffer from root rot if exposed to excessive moisture. Therefore, ensuring proper drainage is crucial for their health and growth.
You can improve the drainage of the planting medium by adding a layer of pebbles or gravel at the bottom of the pot. This helps prevent water from accumulating at the roots and promotes airflow throughout the soil.
Once you have prepared the planting medium, you are ready to move on to the exciting step of planting the cactus seeds and kickstarting the germination process.
Step 4: Planting the Cactus Seeds
Now that you have gathered your materials and prepared the planting medium, it’s time to plant the cactus seeds. Follow these steps to ensure successful seed germination:
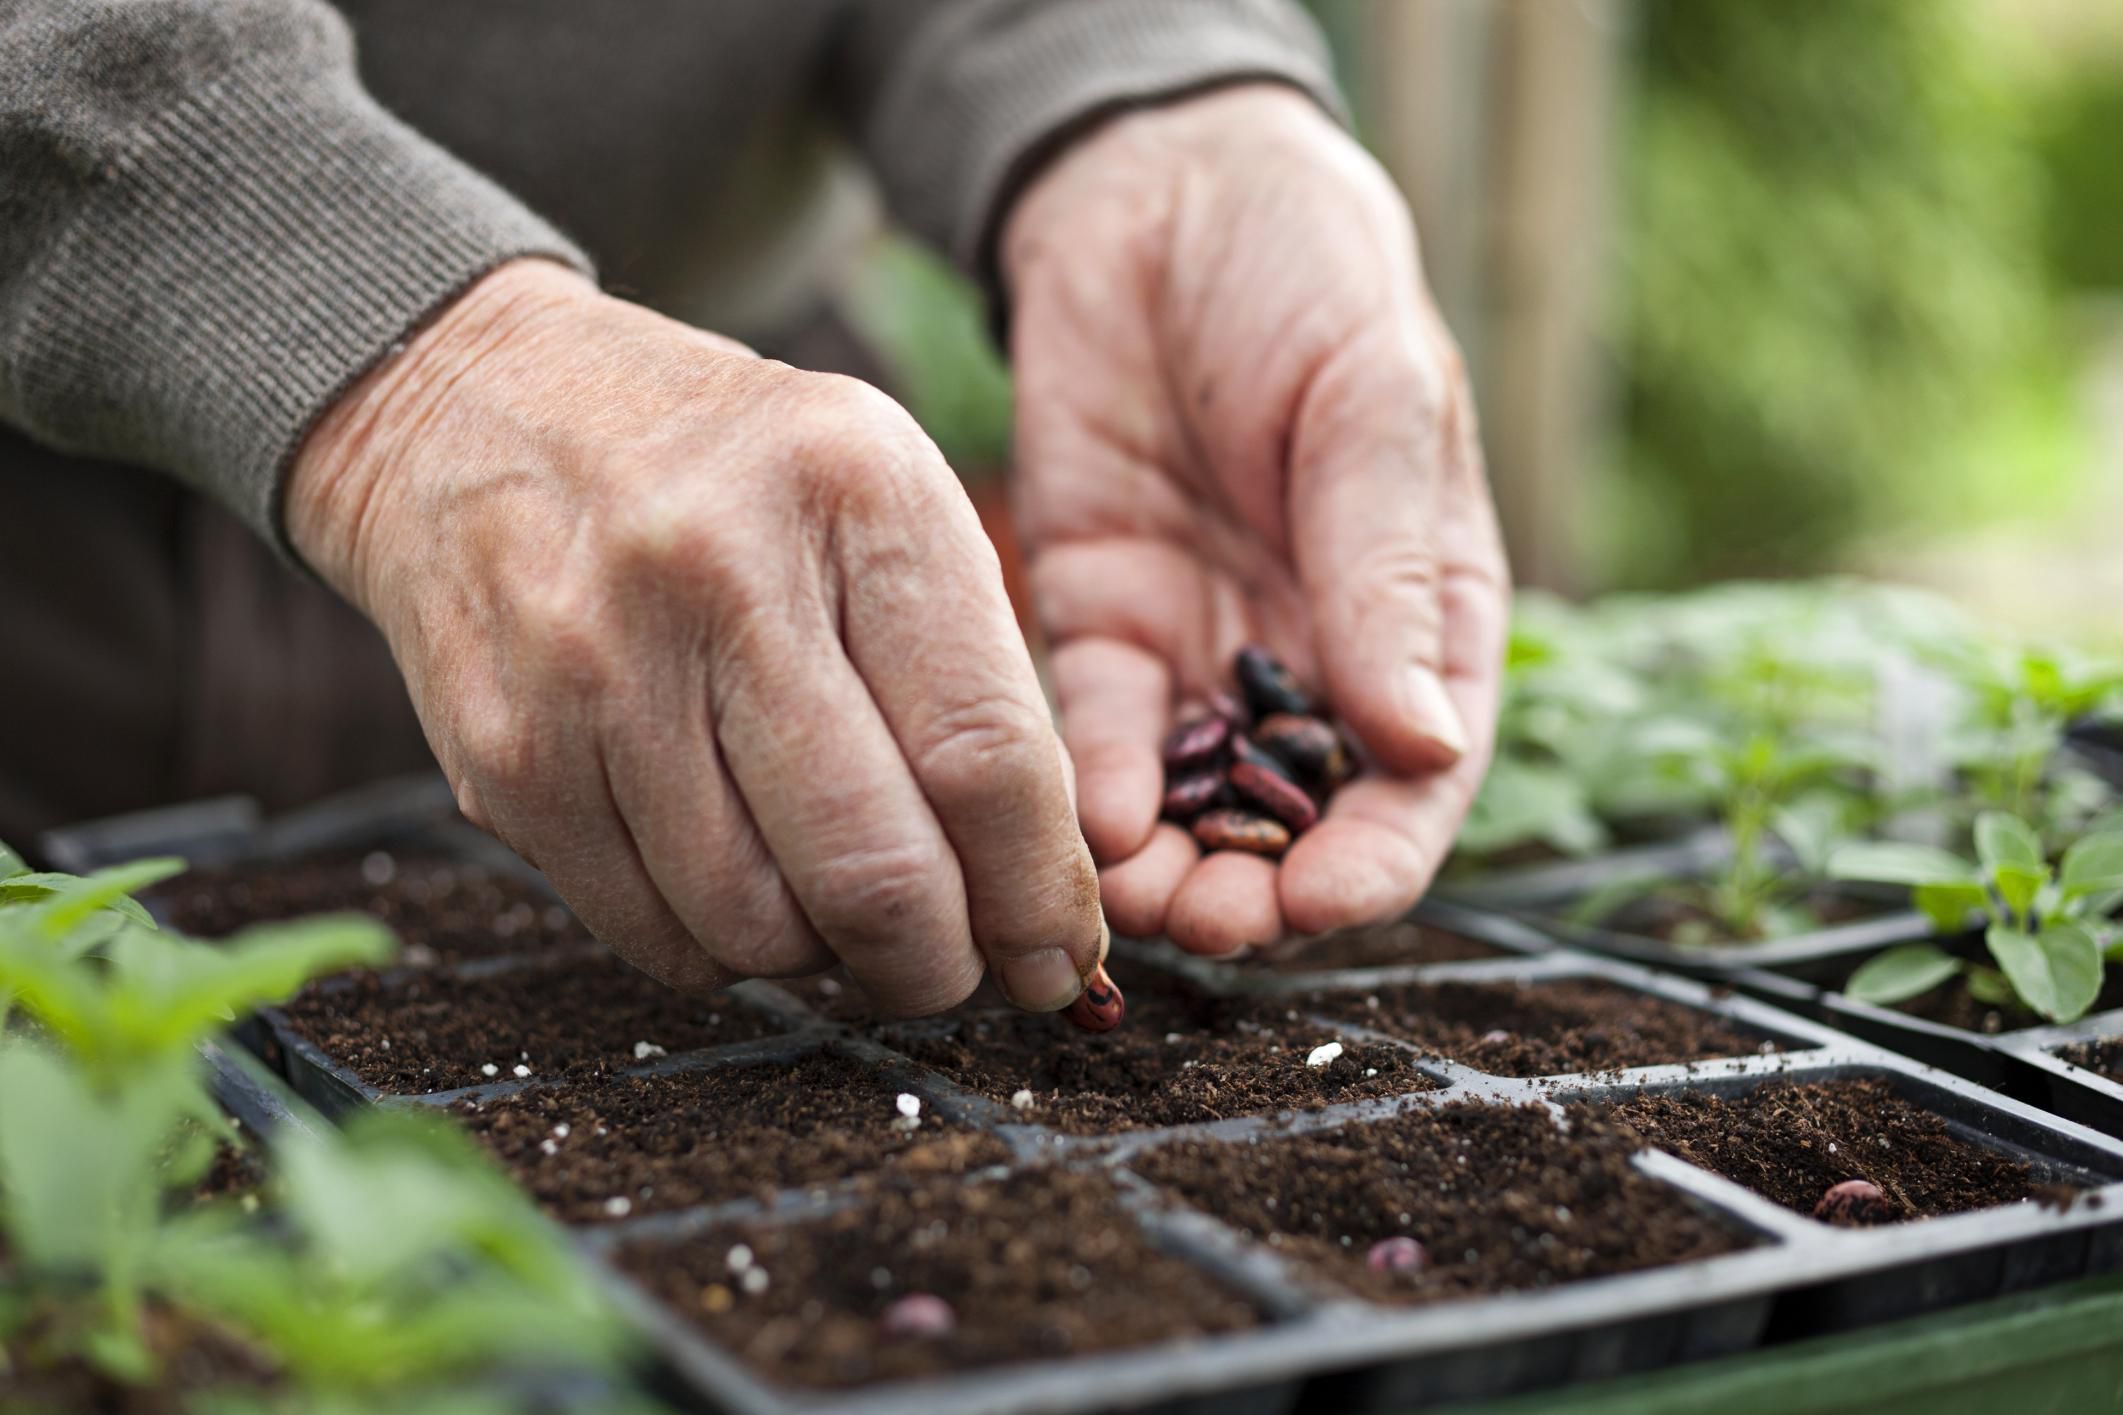
- Strategically Place the Seeds: Using your finger or a small tool, make small holes or grooves in the planting medium. Gently place the cactus seeds in the holes, ensuring they are evenly spaced and not overcrowded. Cover the seeds lightly with a thin layer of the potting mix.
- Label the Pots: To keep track of the different cactus seeds you’ve planted, use labels or markers to identify each pot. This way, you will know which species you’re nurturing and be able to record important information for future reference.
- Moisten the Soil: Using a gentle spray bottle or a watering can with a narrow spout, moisten the soil surface. Take care not to overwater, as excessive moisture can lead to seed rot or fungal growth. The goal is to provide enough moisture for the seeds to germinate without saturating the soil.
- Create a Mini Greenhouse: To create an optimal germination environment, cover the pots with plastic wrap or a clear dome. This helps retain moisture and create a greenhouse-like atmosphere that encourages seed germination.
- Find the Right Location: Place the pots in a warm and brightly lit area with indirect sunlight. Cacti generally require ample sunlight for germination, but direct sunlight can be too intense and may cause the soil to dry out quickly.
- Maintain the Ideal Temperature: Most cactus seeds germinate best in temperatures ranging from 70°F to 90°F (21°C to 32°C). Monitor the temperature using a thermometer and ensure it remains within this range for optimal germination.
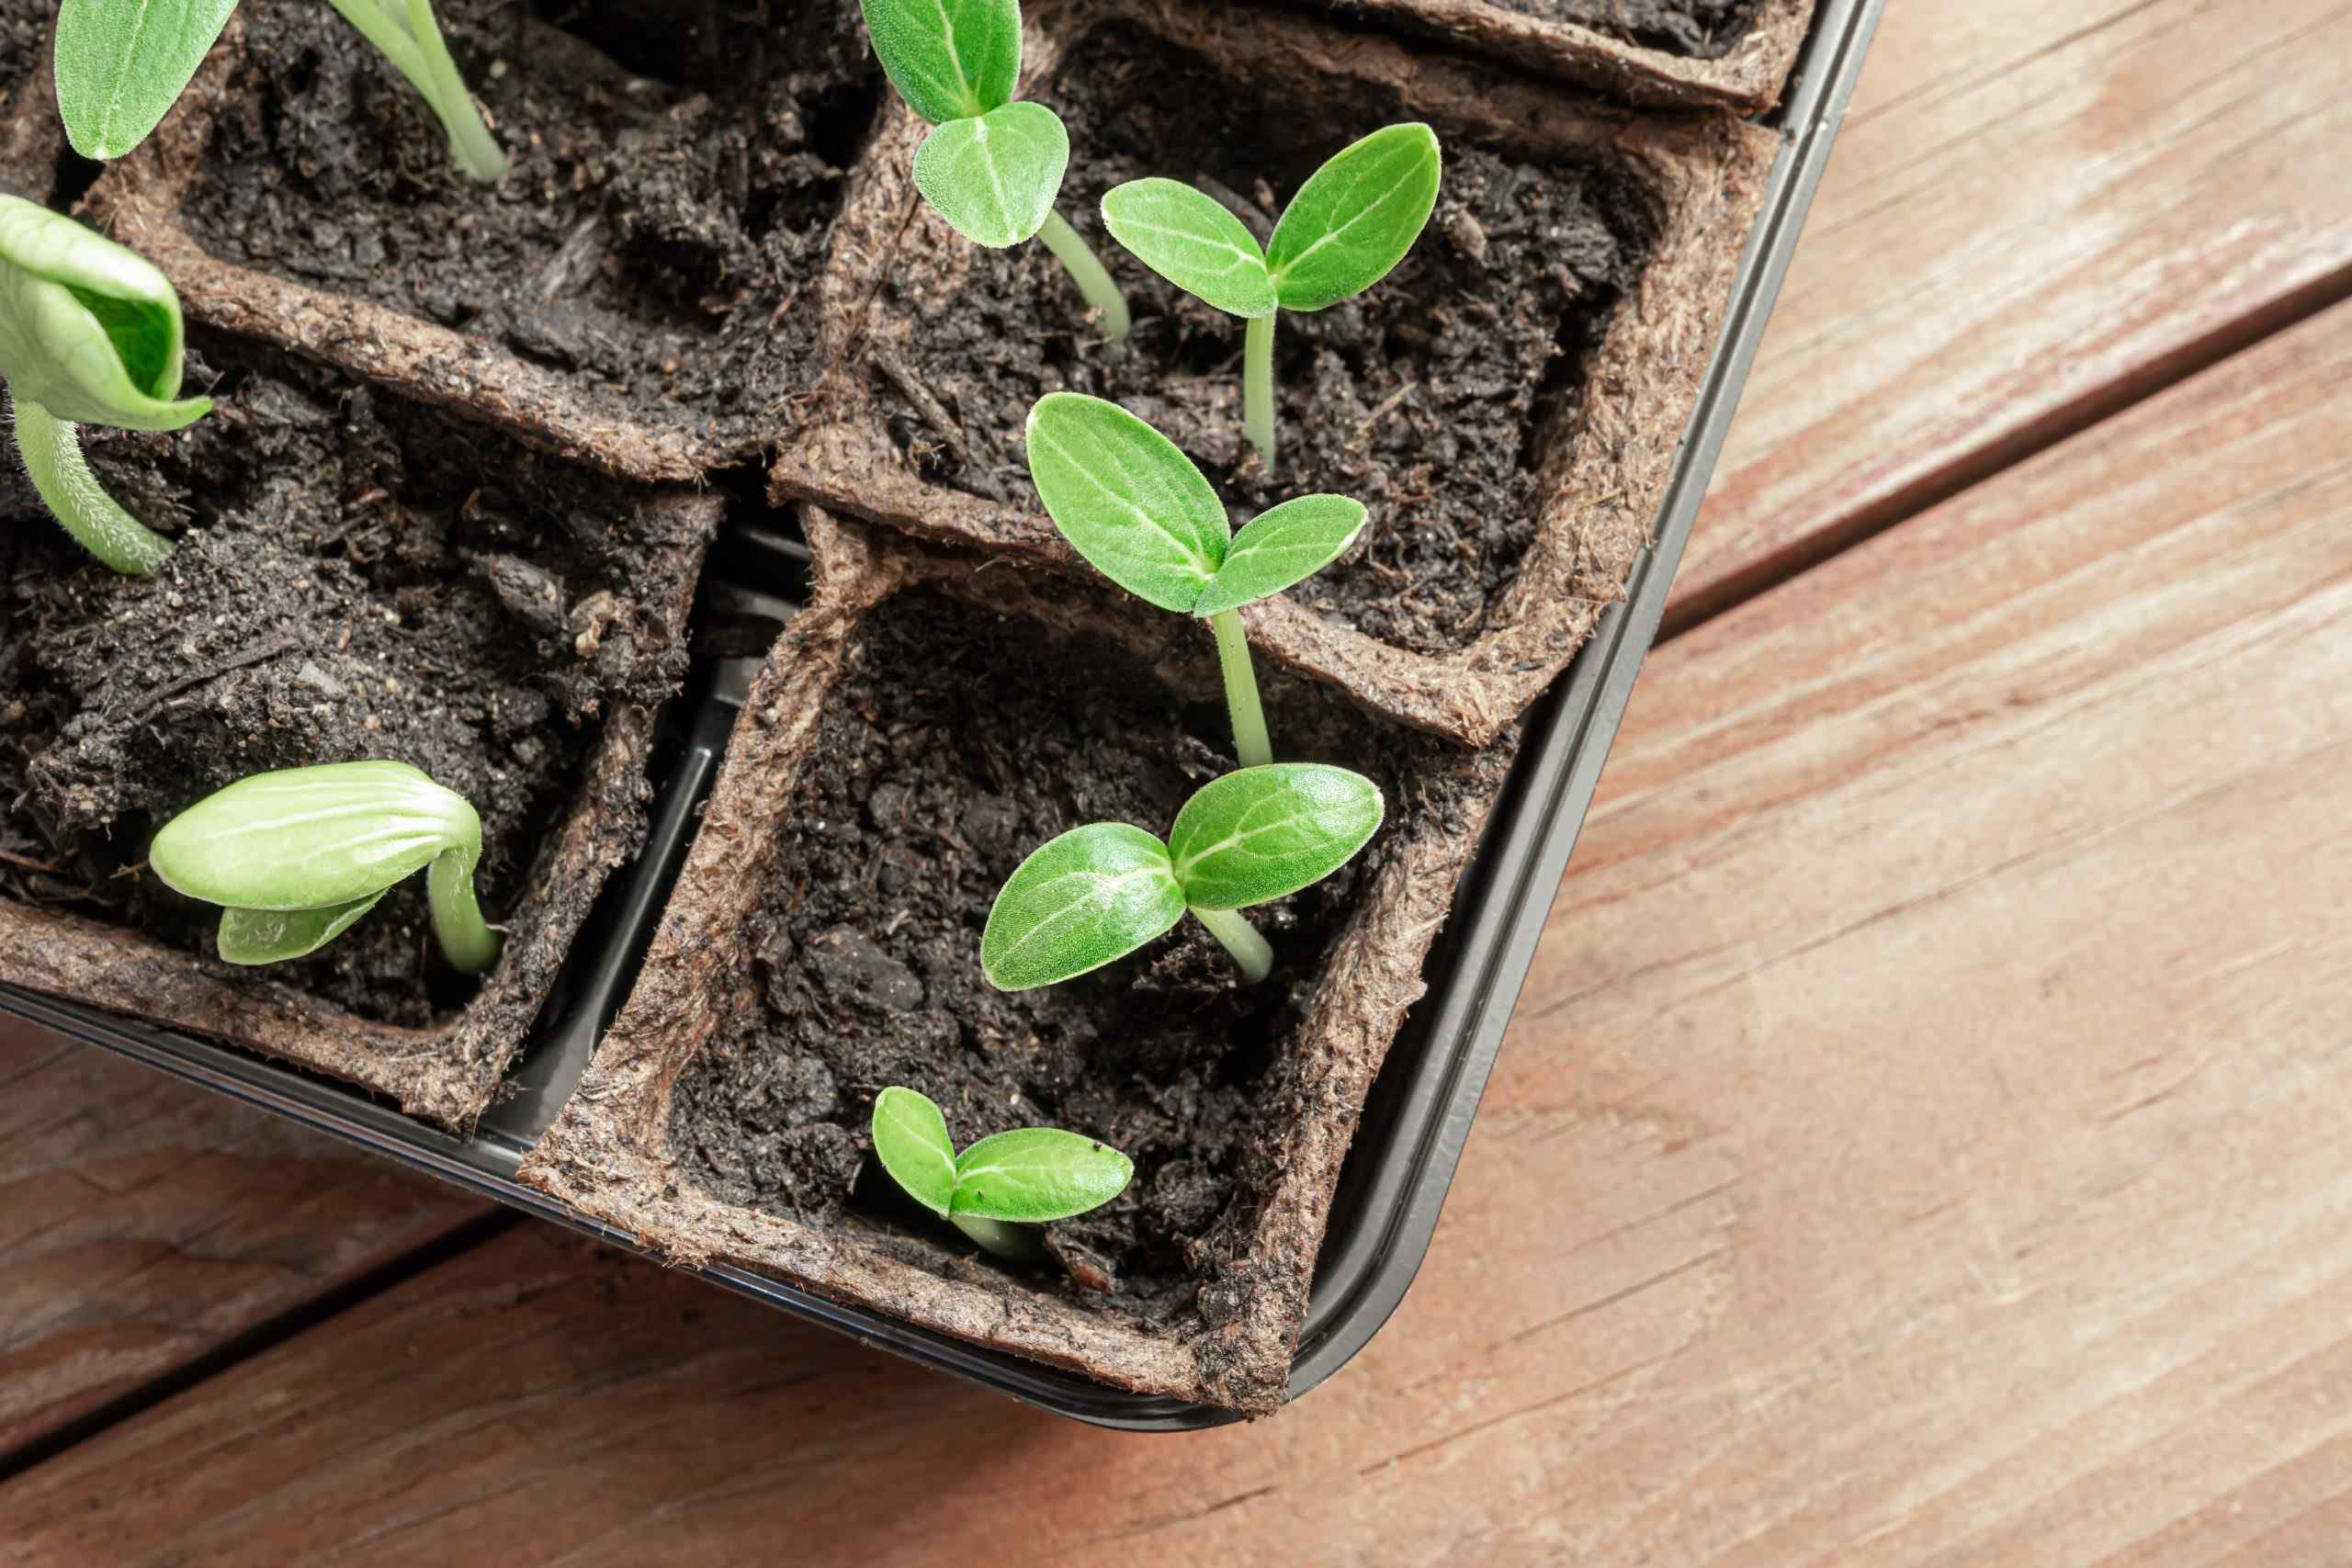
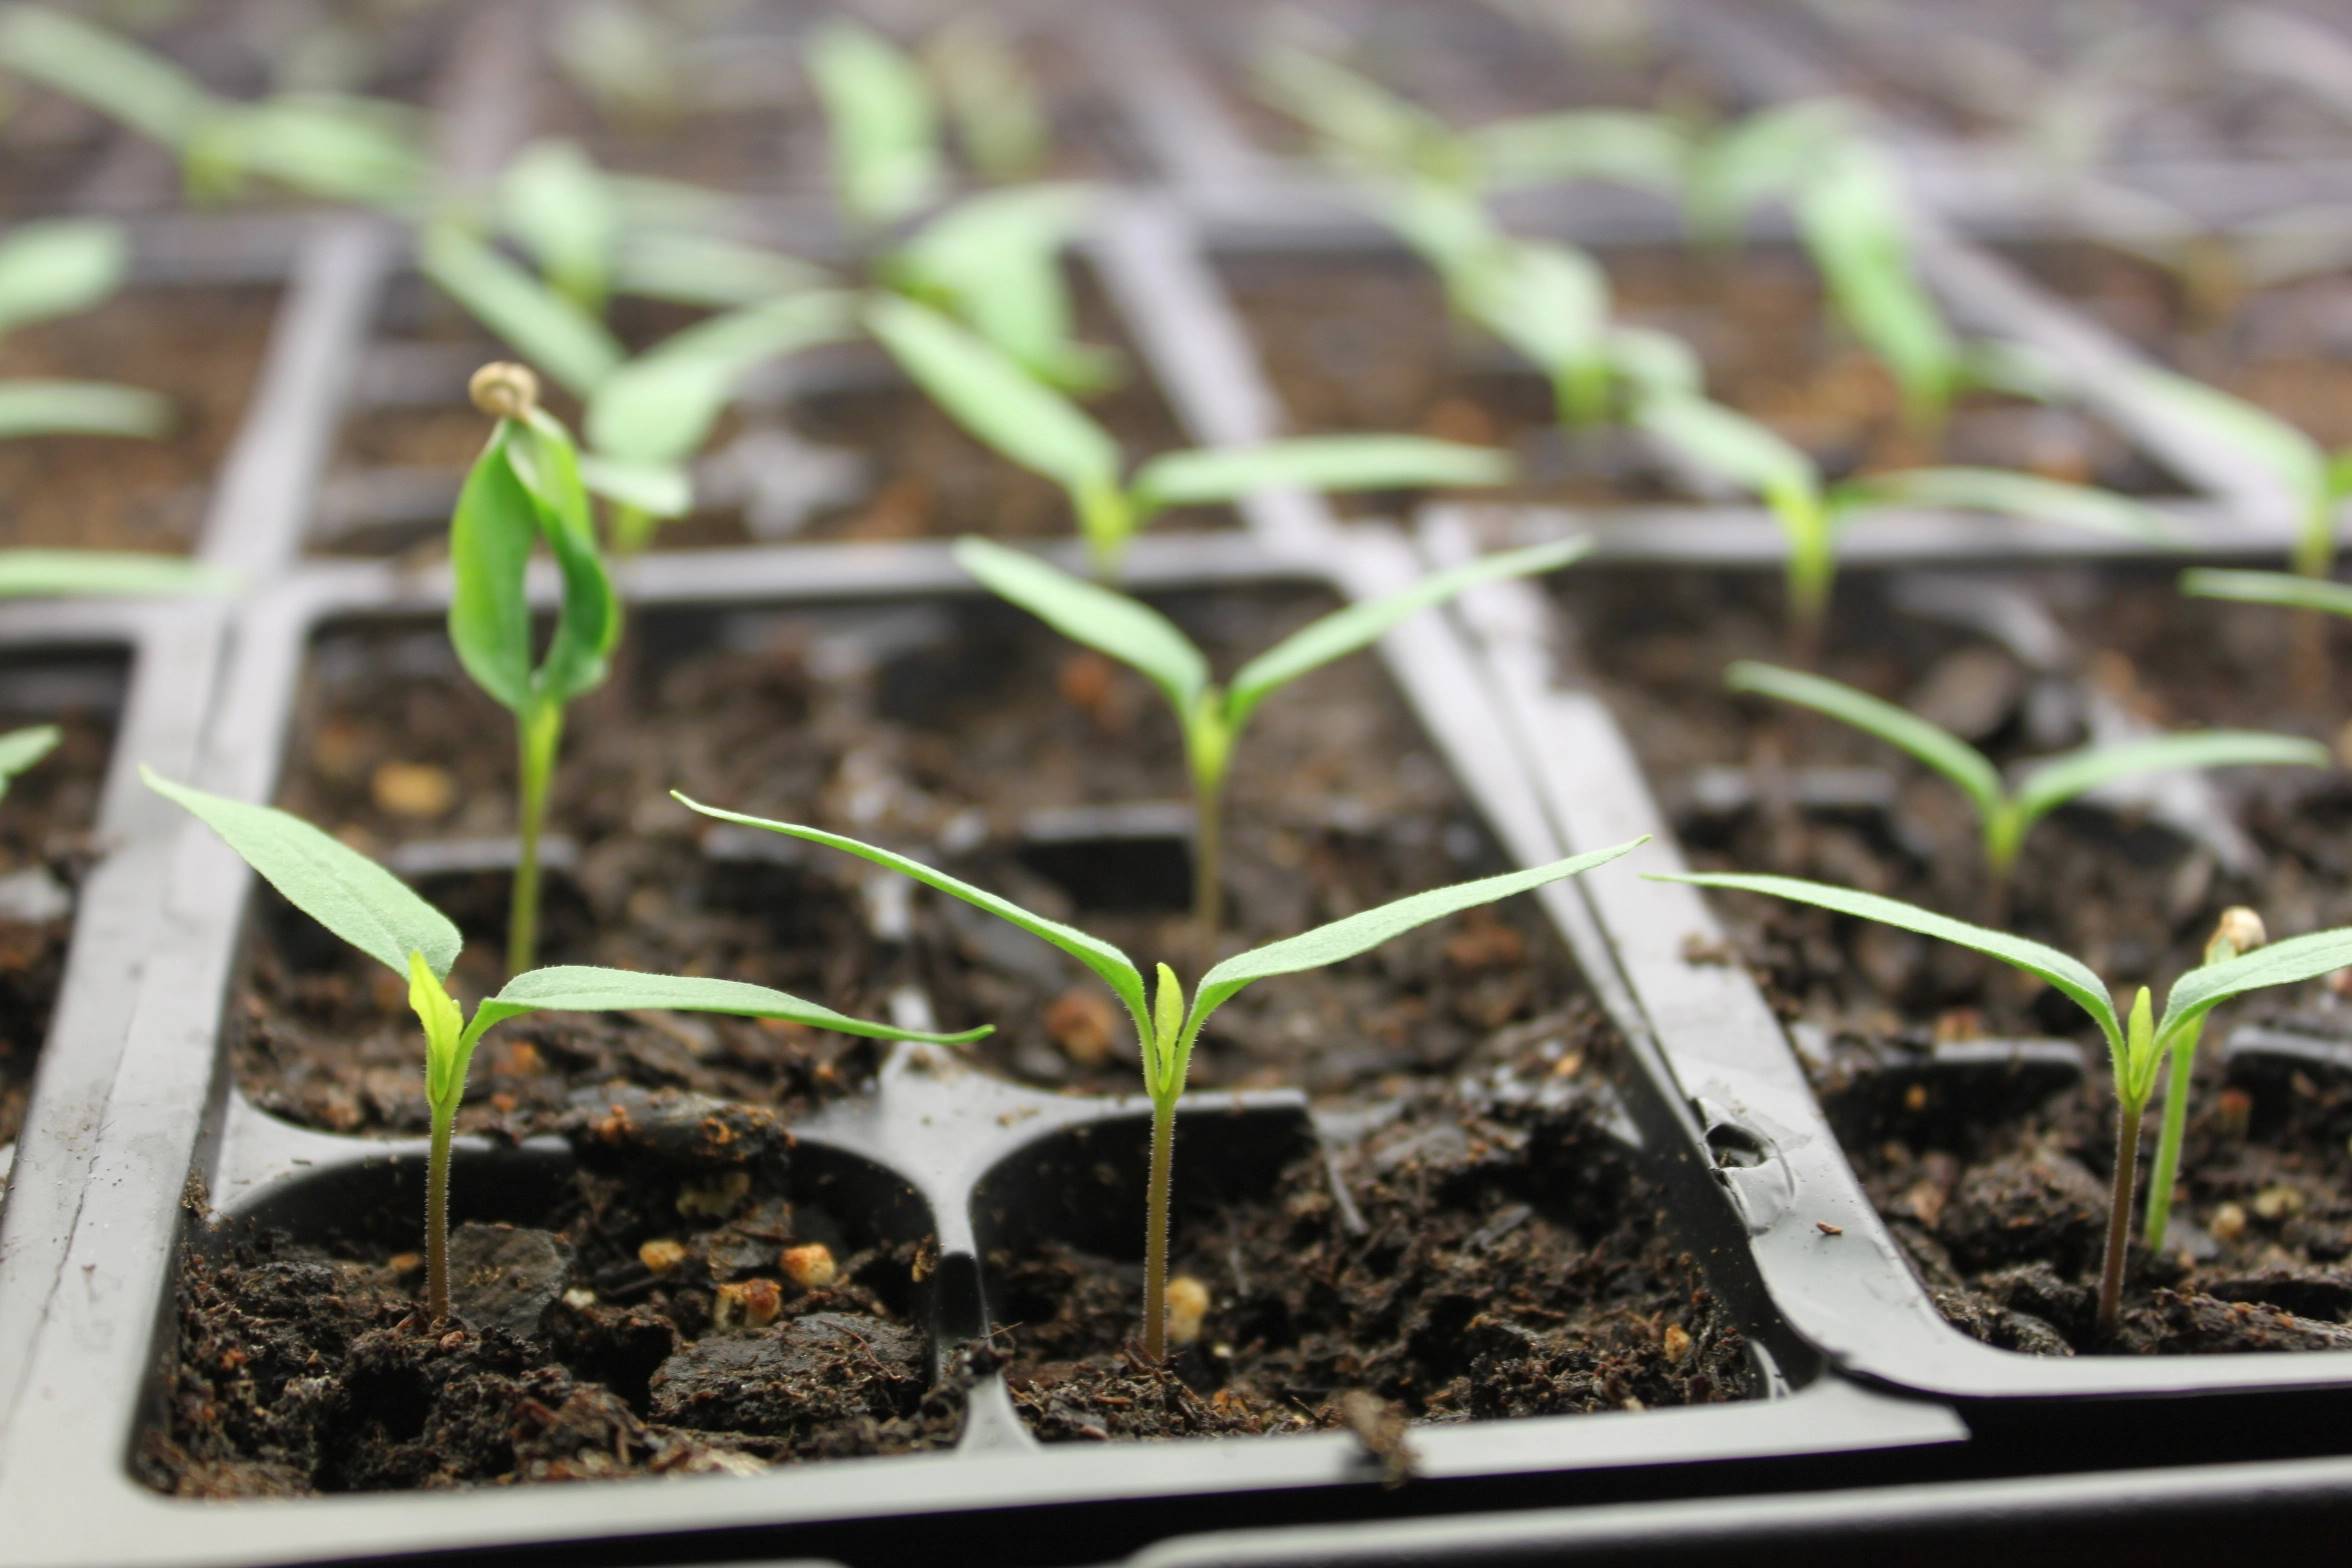
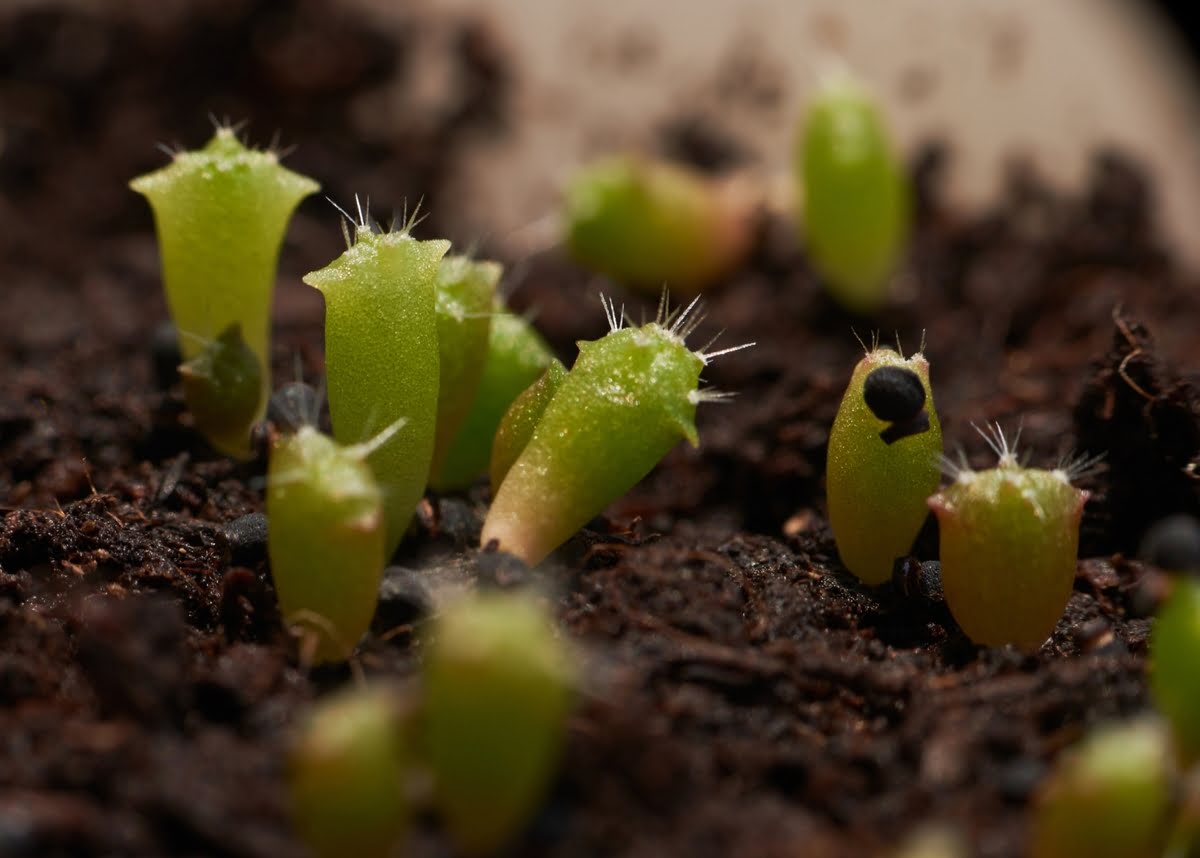
Remember to be patient during the germination process, as it can take anywhere from a few days to several weeks for the cactus seeds to sprout. Once the seeds have germinated and you see tiny seedlings emerging, it’s time to move on to the next step of providing proper care and conditions for their growth.
Step 5: Providing Proper Care and Conditions
Once the cactus seeds have germinated and the seedlings have emerged, it’s crucial to provide them with proper care and ideal growing conditions. Here are some essential factors to consider:
- Light: Place the seedlings in a well-lit area with indirect sunlight. Cacti thrive in bright light, but harsh direct sunlight can scorch their delicate leaves. If natural light is limited, consider using a grow light to provide sufficient illumination.
- Temperature: Maintain a warm and consistent temperature for the cactus seedlings. Most cacti prefer temperatures between 70°F to 90°F (21°C to 32°C) during their early growth stages.
- Avoid Overwatering: Cacti are adapted to arid environments and have low water requirements. Water the seedlings sparingly, allowing the top inch of the soil to dry out between waterings. Overwatering can lead to root rot and damage the delicate roots of the seedlings.
- Provide Adequate Airflow: Good airflow promotes healthy growth and prevents the growth of mold or fungal diseases. Do not overcrowd the seedlings and ensure there is ample space between pots.
- Fertilization: Wait until the cactus seedlings have established a few sets of true leaves before introducing fertilizer. Use a balanced, diluted cactus fertilizer, following the instructions on the packaging for proper dosage and frequency.
- Monitor for Pests: Regularly inspect the seedlings for signs of pests such as aphids or mealybugs. If pests are detected, treat them immediately using an appropriate pest control method or organic insecticide.
Remember to observe the growth patterns and health of the seedlings closely. This will help you identify any issues early on and make necessary adjustments to their care.
As the cactus seedlings continue to grow and mature, they will eventually outgrow their small containers. When this happens, it’s time to transplant them into larger pots to provide ample space for their roots to expand. This process will be covered in the next step.
Step 6: Monitoring and Watering the Seeds
Monitoring and watering the cactus seeds is an essential aspect of their care. Properly maintaining moisture levels ensures healthy growth and prevents issues like underwatering or overwatering. Here are some guidelines for monitoring and watering the seeds:
- Check Soil Moisture Regularly: Monitor the moisture level of the soil by touching the top inch with your finger. If the soil feels dry, it’s time to water the seeds. Cacti prefer dry conditions but still require occasional watering.
- Watering Technique: Use a gentle watering technique to avoid displacing the seeds or damaging the delicate seedlings. A spray bottle or a watering can with a narrow spout works well for this purpose.
- Watering Frequency: Only water the seeds when the top inch of the soil is dry. This may be once every 1-2 weeks, depending on the temperature and humidity levels in your environment.
- Avoid Overwatering: Overwatering is one of the leading causes of cactus seedling mortality. Excess moisture can lead to root rot and fungal diseases. Ensure that the pot has proper drainage and allow the soil to dry out between waterings.
- Water Quantity: Water the seeds until you see a small amount of water draining out of the bottom drainage holes. This indicates that the soil is adequately moist without being waterlogged.
- Adjust Watering Based on Seasons: During the growing season, cacti may require more frequent watering. However, in the dormant season, reduce the watering frequency to allow the plants to rest.
- Observe Plant Reactions: Monitor the cactus seedlings for signs of underwatering or overwatering. If the seedlings appear shriveled or the leaves turn yellow or mushy, adjust your watering routine accordingly.
Remember that different cactus species have varying water requirements, so it’s important to research the specific needs of the cacti you are growing.
By maintaining a careful balance of moisture and providing appropriate watering, you will help the cactus seeds thrive and grow into healthy and resilient plants.
Step 7: Transplanting the Seedlings
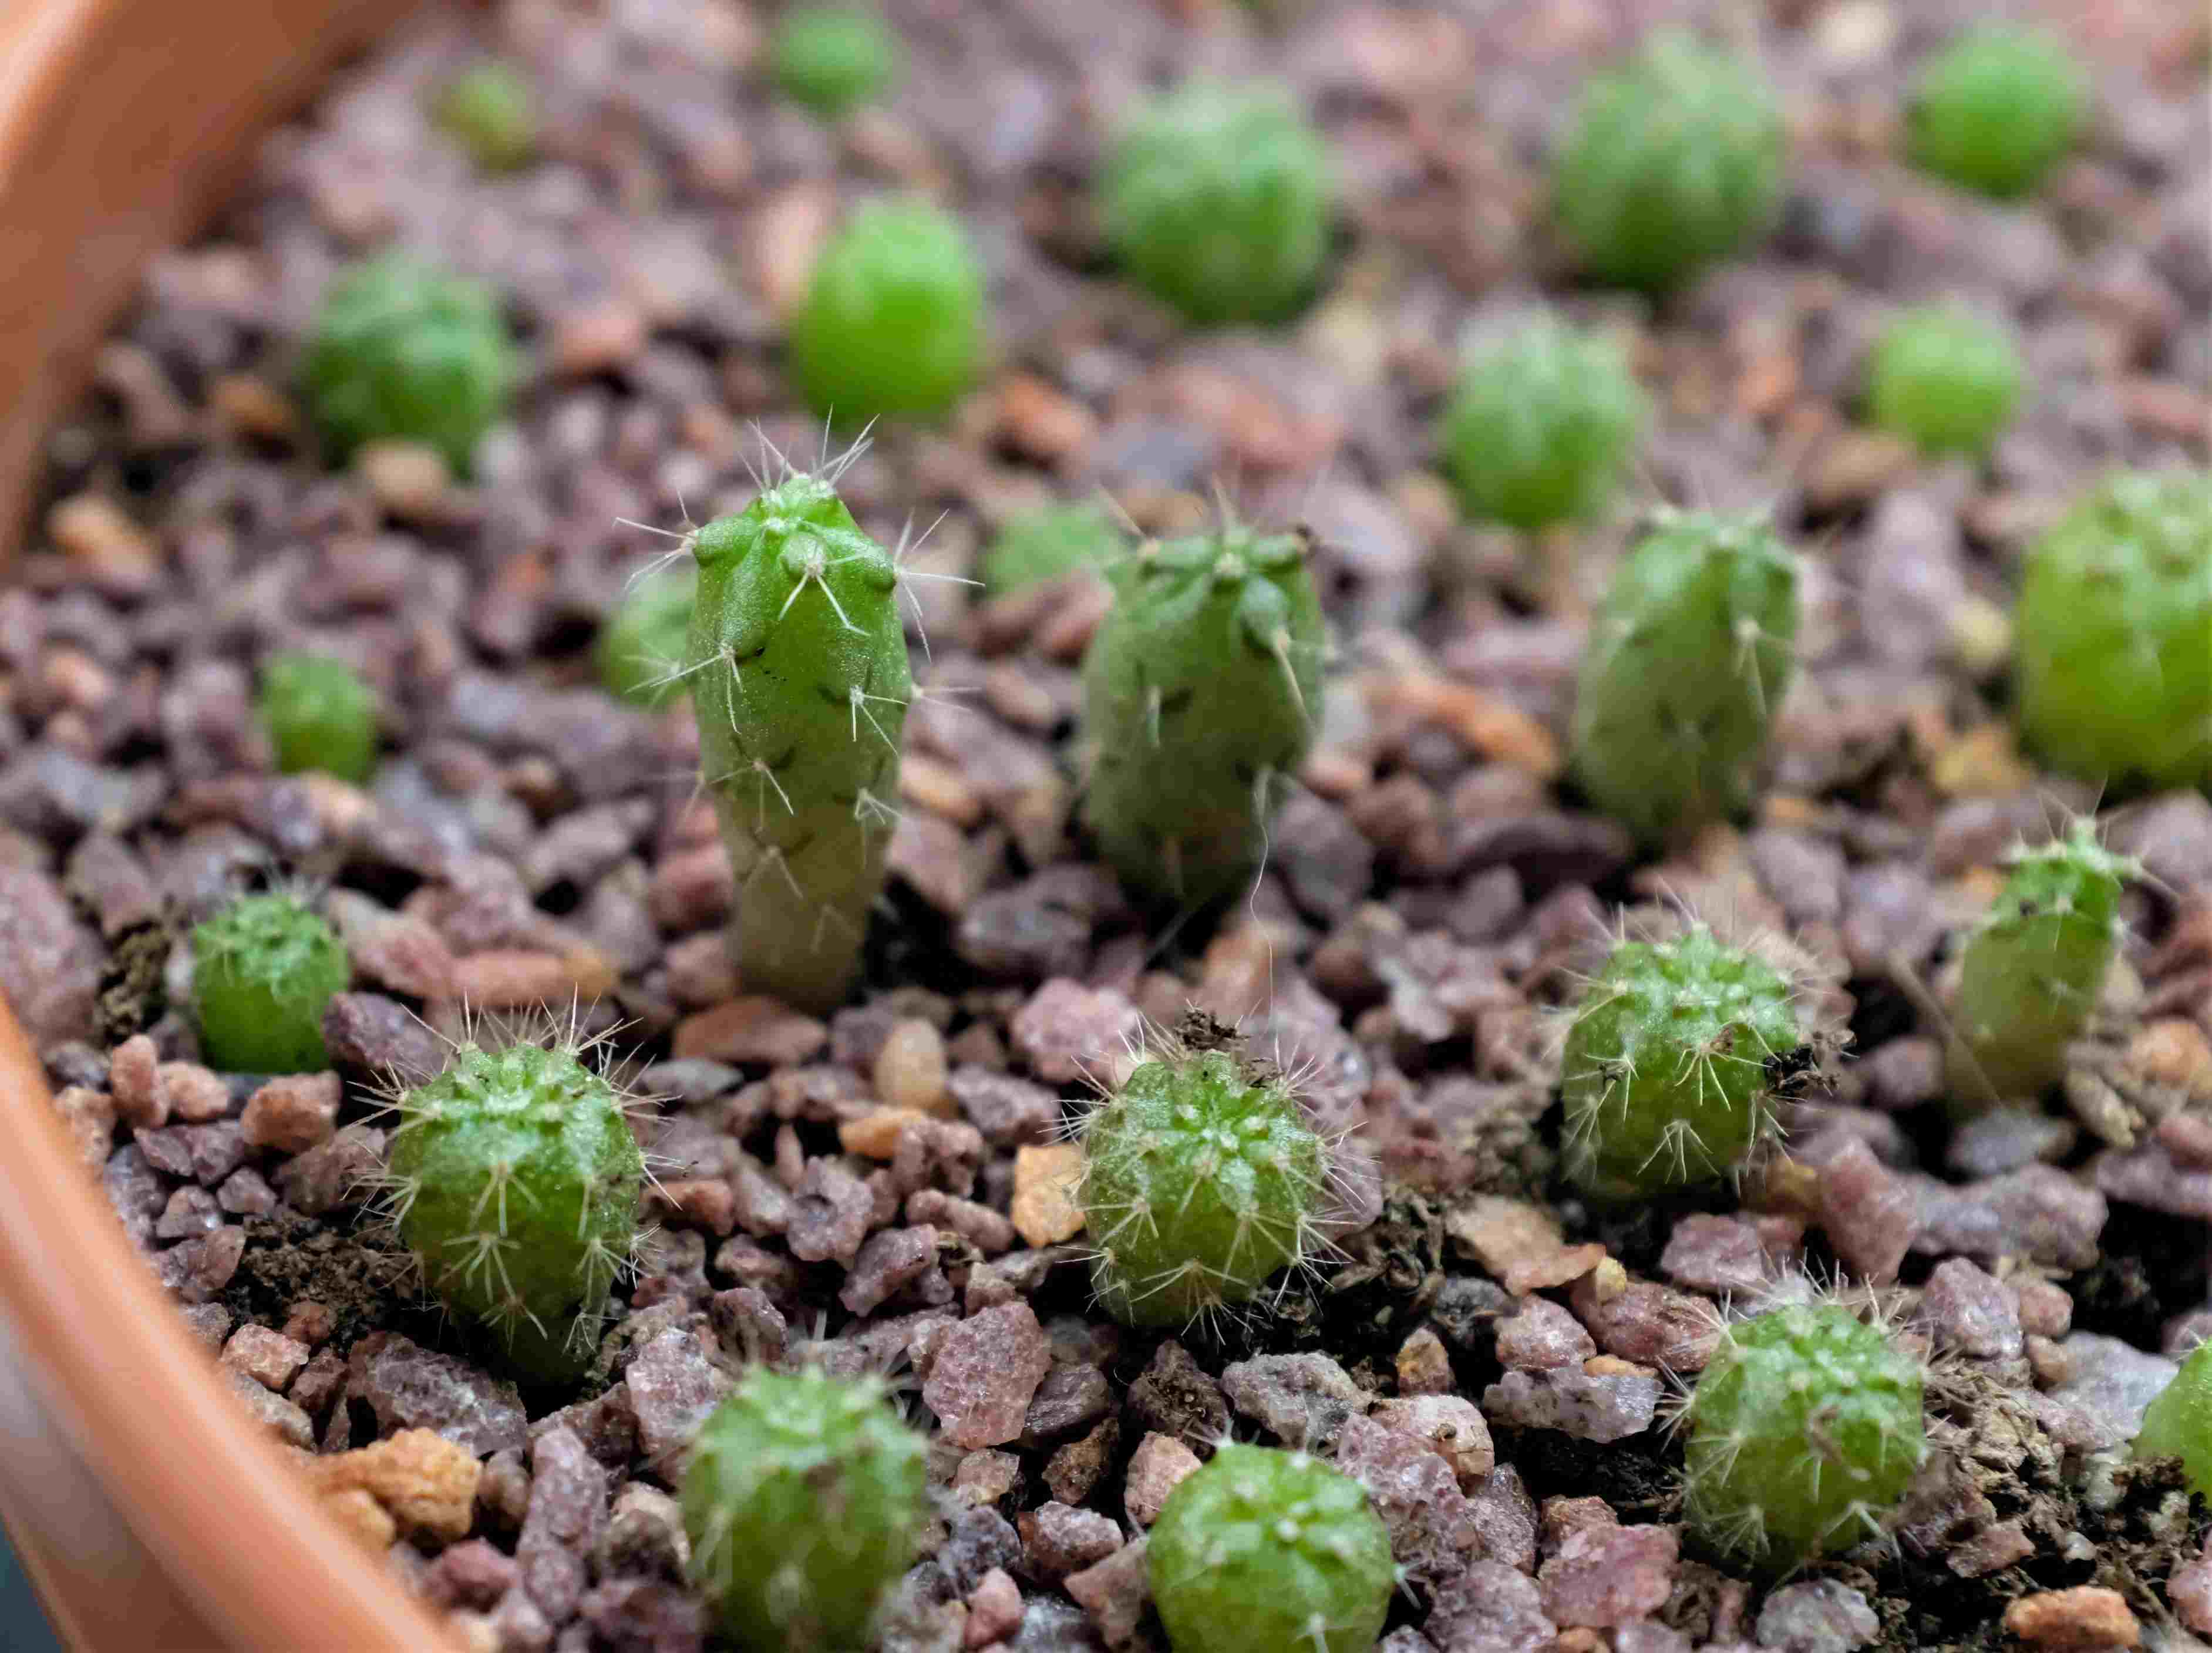
As your cactus seedlings grow and develop, they will eventually outgrow their initial pots. Transplanting them into larger containers allows their roots to spread and provides them with ample room to thrive. Follow these steps to successfully transplant your cactus seedlings:
- Select the Right Pot: Choose a pot that is slightly larger than the current one, with drainage holes at the bottom. This will ensure proper drainage and prevent the risk of overwatering.
- Prepare the New Pot: Fill the new pot with a well-draining cactus potting mix, leaving enough space at the top for the seedling and additional soil.
- Water the Seedling: Before transplanting, water the seedling a day or two in advance. This will help loosen the soil around the roots and facilitate easier removal from the current pot.
- Remove the Seedling: Gently turn the current pot upside down and tap the bottom to loosen the soil. Carefully lift the seedling out by holding its base or using a clean tool like a spoon or chopstick to gently pry it out.
- Inspect the Roots: Examine the roots for any signs of damage or rot. Trim off any brown or damaged roots with clean scissors, ensuring you maintain a healthy root system.
- Plant the Seedling: Place the seedling in the center of the new pot and gently spread out its roots. Add additional potting mix around the seedling, pressing it lightly to secure the plant in place.
- Allow for Settling: After transplanting, give the seedling time to settle and adjust to its new environment. Avoid watering the plant immediately after transplanting to reduce the risk of overwatering.
- Resume Care Routine: Follow the watering and care routine for established cacti. Gradually reintroduce watering, allowing the soil to dry out slightly between waterings to encourage healthy root development.
Transplanting cactus seedlings can be a delicate process, so handle them with care to minimize stress and damage. Remember to consider the size and growth patterns of the cactus species to ensure you provide adequate space for their future growth.
With proper transplanting, your cactus seedlings will continue to flourish and thrive in their new pots, bringing beauty and uniqueness to your garden or indoor space.
Step 8: Maintaining the Cactus Plants
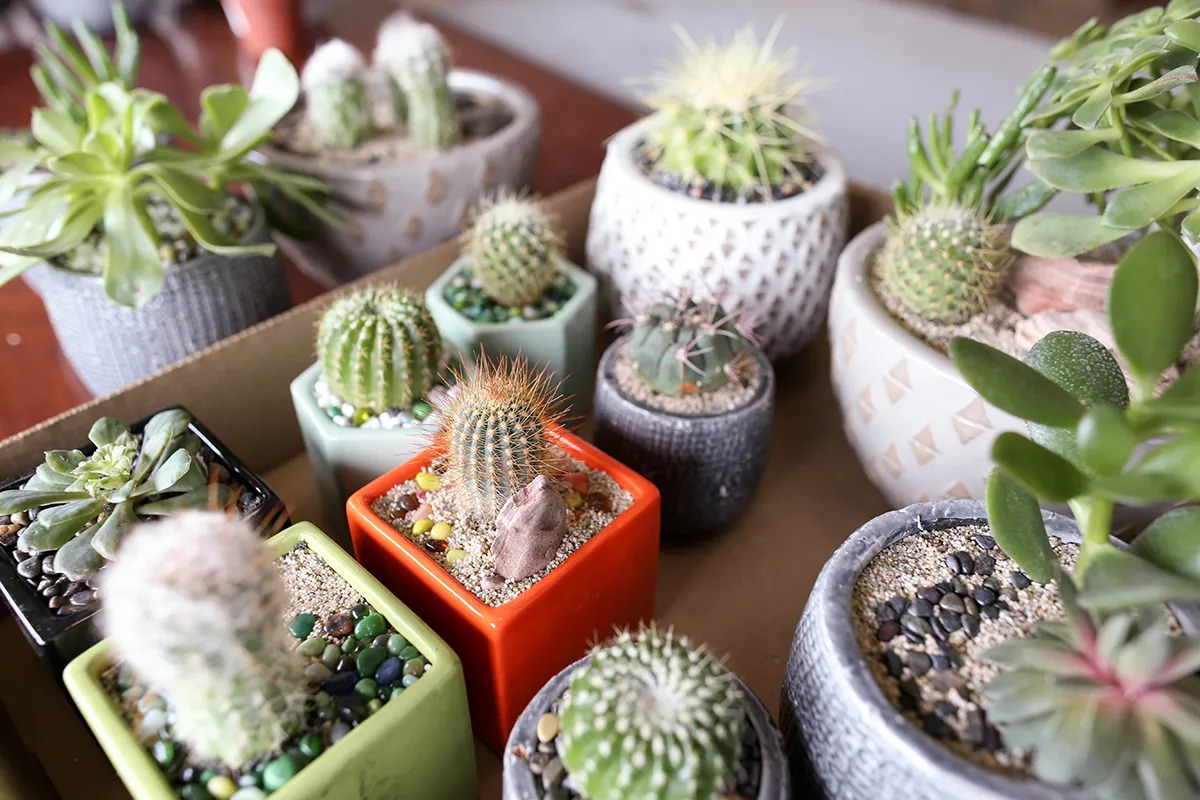
Maintaining your cactus plants is vital to ensure their long-term health and growth. These resilient plants require specific care and attention to thrive. Here are some essential maintenance practices to keep your cacti flourishing:
- Provide Adequate Sunlight: Cacti need ample sunlight to thrive. Place them in a location where they can receive at least 6 hours of sunlight per day. If you’re growing them indoors, place them near a sunny window or use artificial grow lights.
- Monitor Watering: Overwatering is a common mistake when it comes to caring for cacti. Water them sparingly, allowing the soil to dry out between waterings. A deep watering once every 2-3 weeks during the growing season is often sufficient.
- Use Well-Draining Soil: Cacti thrive in well-draining soil that replicates their natural habitat. Choose a soil mix specifically designed for cacti and succulents or create your own by combining regular potting soil with sand or perlite.
- Fertilize Appropriately: During the growing season, provide a balanced, diluted fertilizer specifically formulated for cacti. Follow the package instructions and avoid over-fertilizing, as it can lead to weak, spindly growth.
- Prune as Needed: Over time, your cacti may develop dead or damaged parts. Use clean, sterilized pruning shears to remove any unhealthy or unsightly portions. Be cautious of the spines and protect your hands.
- Protect from Extreme Temperatures: Most cacti can tolerate a wide range of temperatures, but extreme cold or heat can damage them. Provide protection during frost or heatwaves by moving potted cacti indoors or providing shade and insulation.
- Watch for Pests: Keep an eye out for common cactus pests such as mealybugs, scale, or spider mites. Inspect the plants regularly and take appropriate measures to control the pests if needed, such as using natural insecticides or wiping them off with a cotton swab dipped in rubbing alcohol.
- Rotate for Balanced Growth: To ensure even growth, rotate your cacti every few weeks to expose all sides to sunlight. This will prevent leaning or stretching of the plants towards the light source.
Regular observation and care will allow you to spot any potential issues early on and take appropriate action. Additionally, learning about the specific care requirements of the cactus species you’re growing will help you provide tailored care.
By incorporating these maintenance practices into your routine, you’ll ensure that your cactus plants remain healthy, vibrant, and a beautiful addition to your ornamental garden.
Conclusion
Starting cactus seeds and nurturing them into thriving plants is a gratifying experience that rewards you with stunning and unique additions to your ornamental garden. By following the steps outlined in this guide, you can successfully embark on this journey and enjoy the beauty of cacti in your own space.
From gathering the necessary materials and choosing the right cactus seeds to preparing the planting medium and providing proper care, each step is vital to ensure the success of your cactus garden. Monitoring the moisture levels, providing adequate light, and maintaining suitable temperatures are crucial aspects of caring for your cacti. Additionally, transplanting seedlings and maintaining ongoing care through proper watering, fertilization, and pest control will contribute to their long-term health.
Remember that each cactus species has its unique characteristics and care requirements. Researching specific species and their preferences will help you provide the best possible care for your cacti and ensure their well-being.
As you tend to your cactus garden, take joy in observing the growth and development of these fascinating plants. Appreciate their resilience and adaptability, capturing the essence of their natural habitats in your own space. Whether you’re growing cacti indoors or outdoors, their striking shapes and vibrant colors will transform your garden into a captivating oasis.
So, gather your materials, select your cactus seeds, and embark on this journey of growing and caring for these extraordinary plants. With patience, knowledge, and a nurturing touch, you’ll witness the transformation of tiny seeds into magnificent cactus plants that will bring beauty and joy for years to come.

