Home>Gardening Techniques>Plant Care>How To Start Pepper Seeds
Plant Care
How To Start Pepper Seeds
Modified: January 22, 2024
Learn the essential steps for starting pepper seeds with our detailed guide. Discover expert tips and tricks for successful plant care to ensure healthy growth!
(Many of the links in this article redirect to a specific reviewed product. Your purchase of these products through affiliate links helps to generate commission for Chicagolandgardening.com, at no extra cost. Learn more)
Table of Contents
Introduction
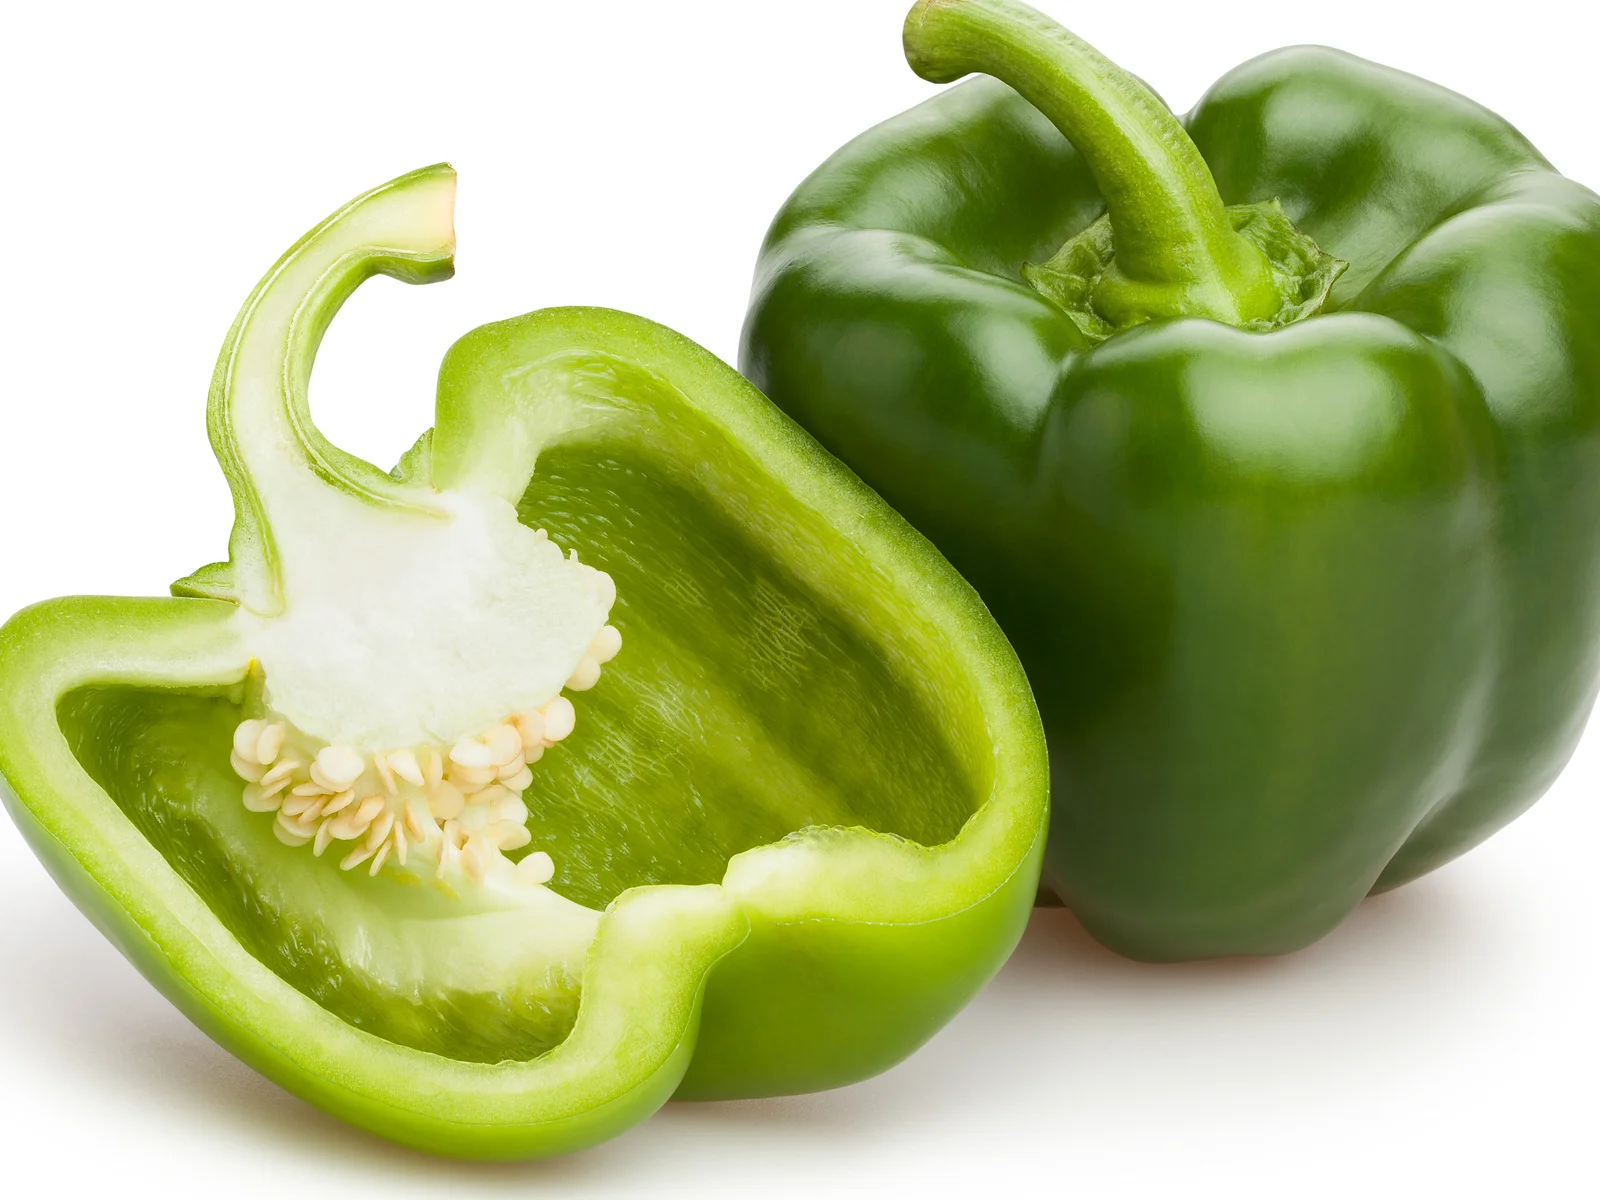
Welcome to the world of pepper plants! Whether you’re a seasoned gardener or a beginner, growing your own pepper plants from seeds is a rewarding and fulfilling experience. Not only do you get to enjoy the satisfaction of nurturing a plant from its infancy, but you also get to reap the delicious rewards of fresh, homegrown peppers.
Starting pepper seeds allows you to have a wider selection of pepper varieties compared to buying established plants at a nursery. From bell peppers to jalapenos, habaneros to cayenne peppers, there are countless fascinating and flavorful pepper varieties to explore.
In this article, we will guide you through the step-by-step process of starting pepper seeds. We’ll cover everything from choosing the right seeds and gathering the necessary supplies to planting the seeds, providing the ideal growing conditions, caring for the seedlings, and ultimately transplanting them into your garden.
So, whether you’re dreaming of vibrant bell peppers for stir-fries or fiery chili peppers for adding a kick to your dishes, let’s get started on your journey to growing your own pepper plants from seeds!
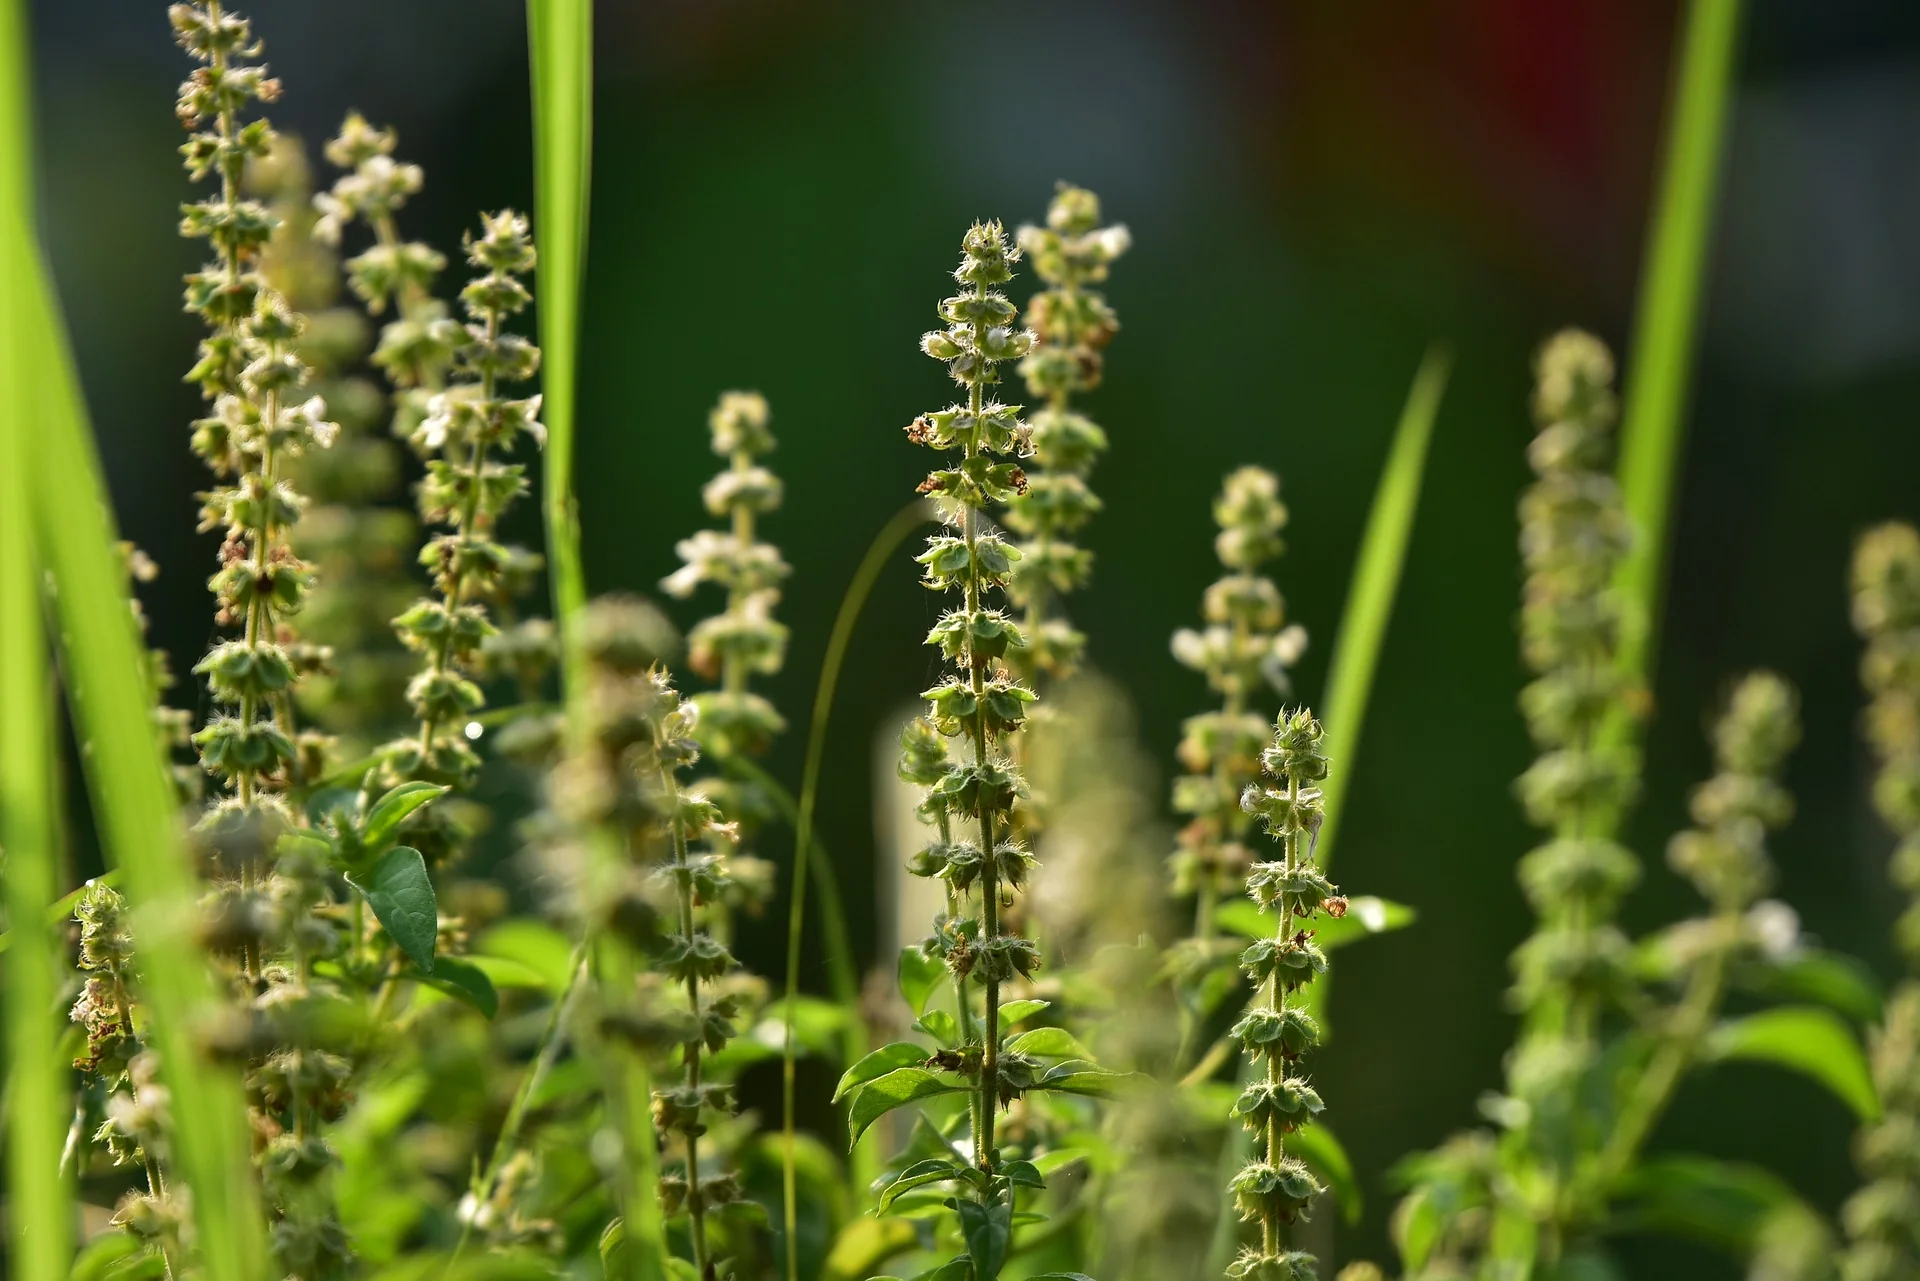
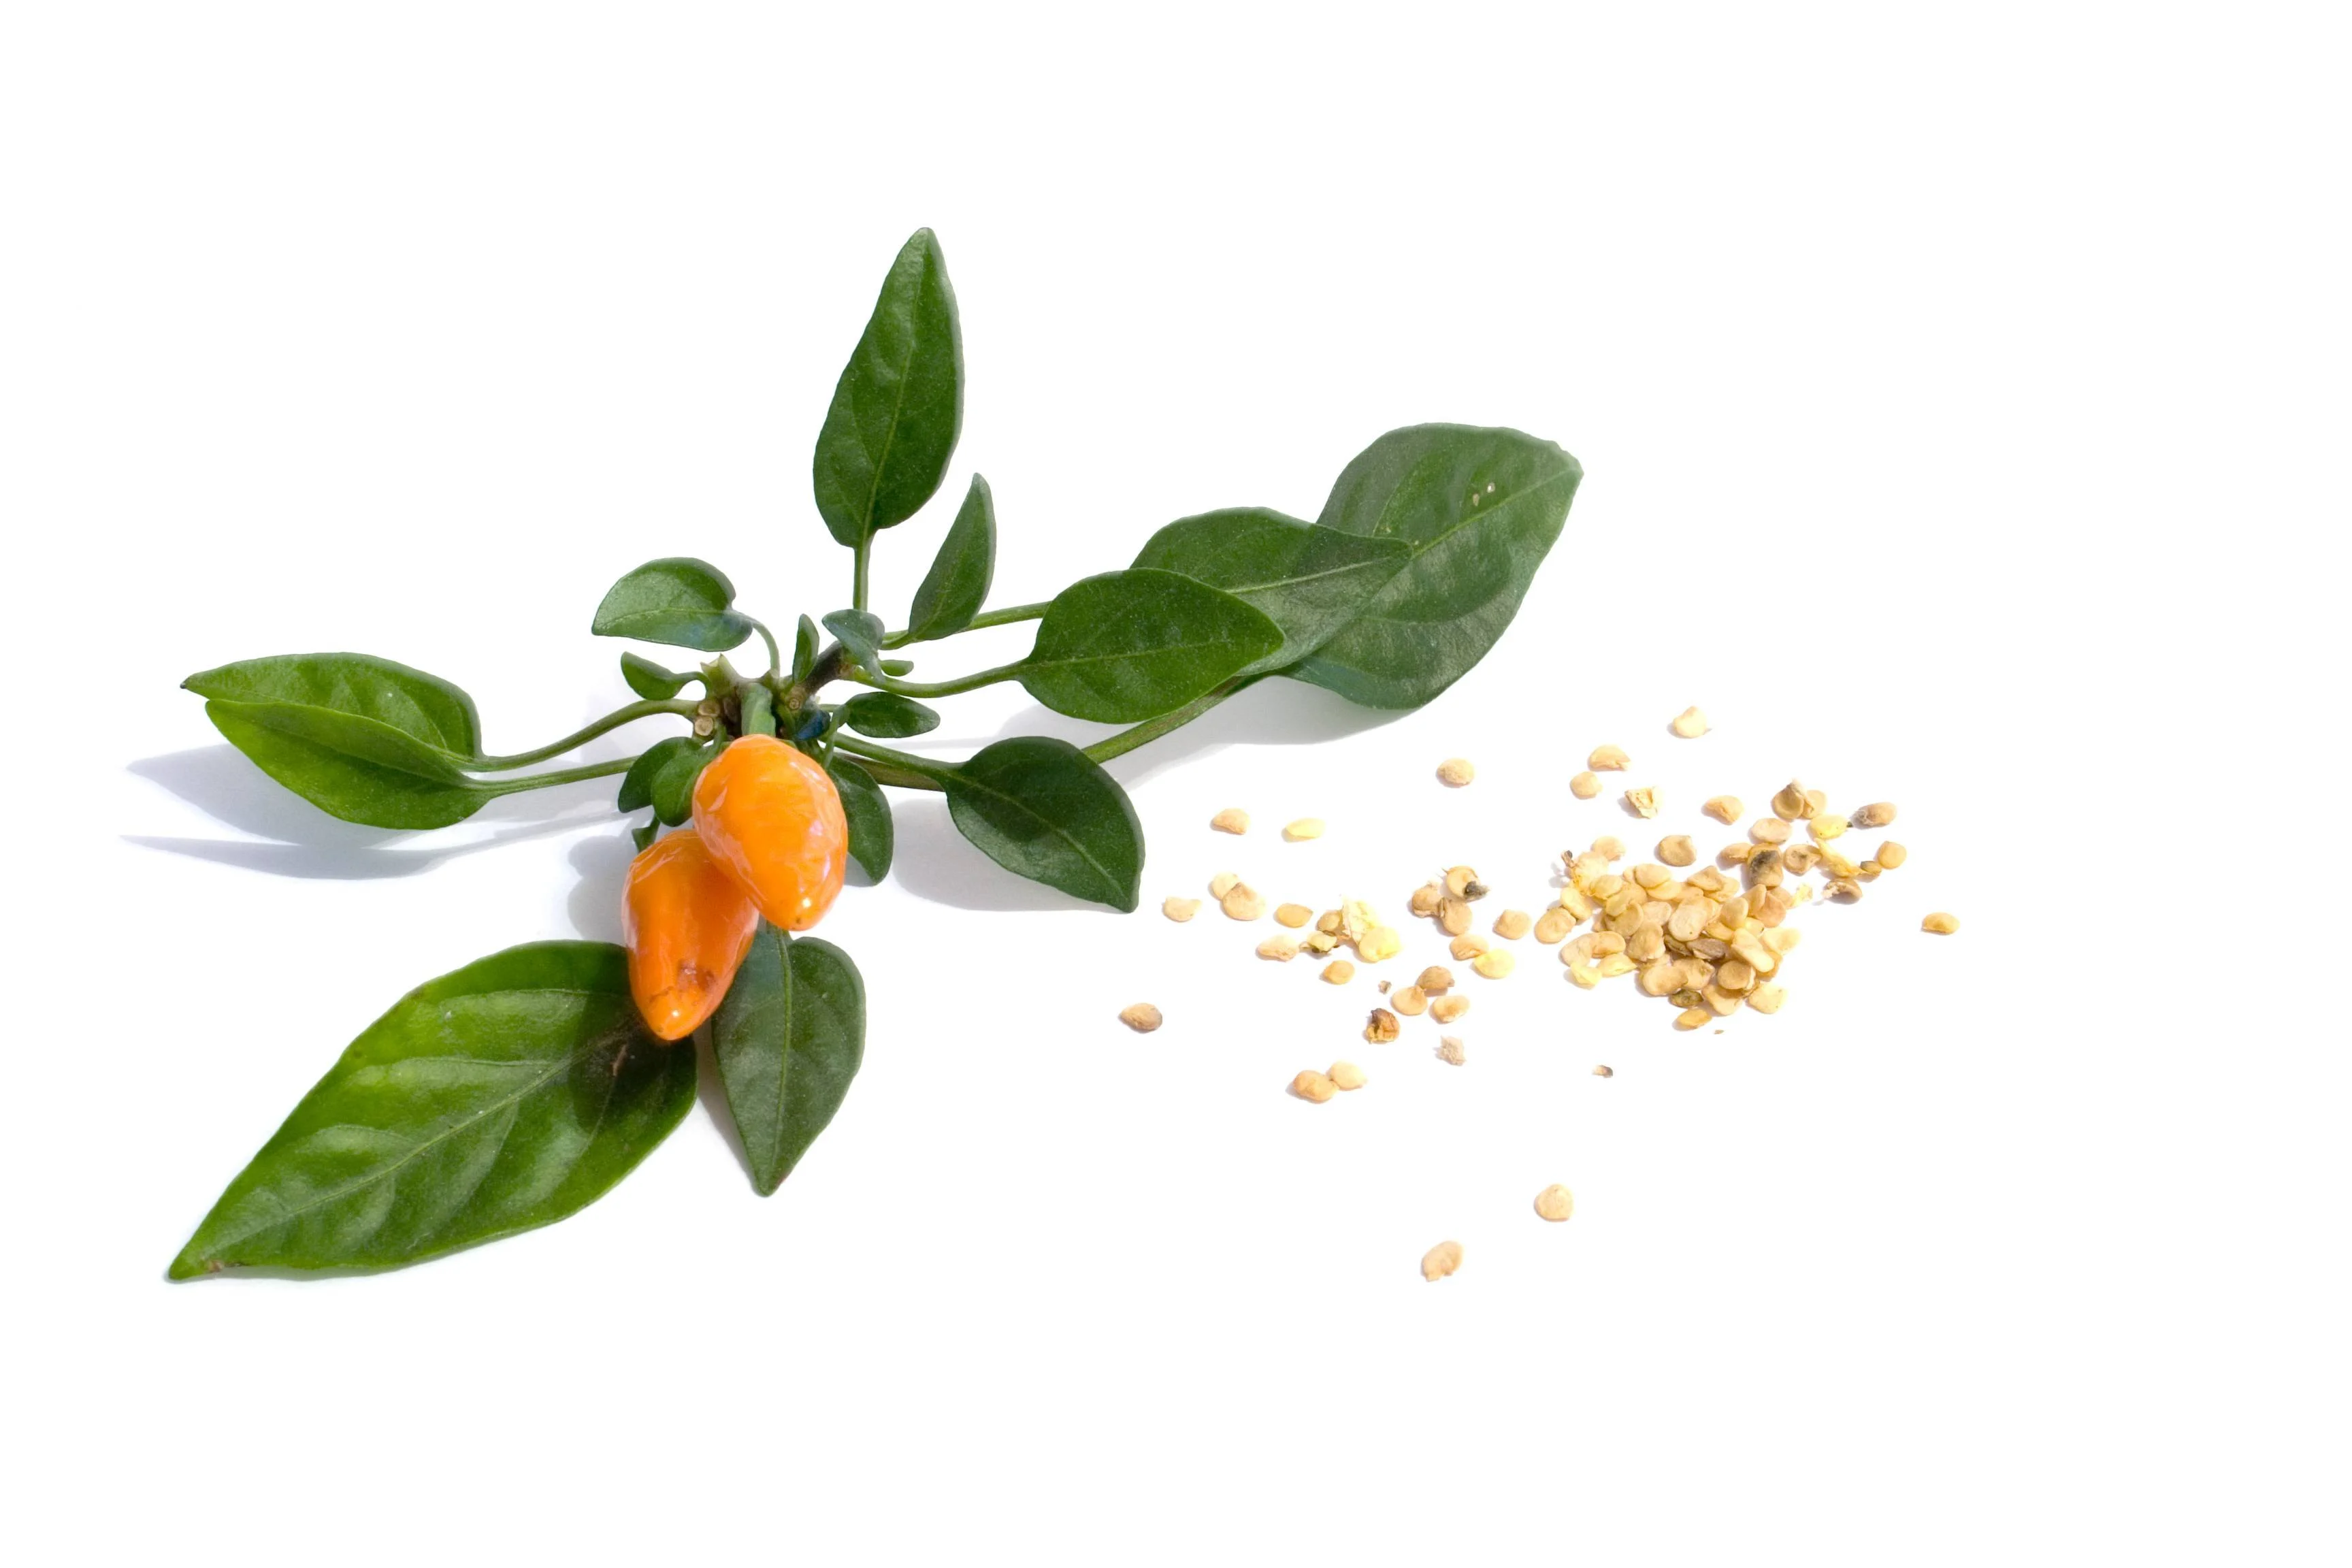
Choosing the Right Pepper Seeds
When it comes to choosing the right pepper seeds, there are a few factors to consider. First and foremost, think about the type of peppers you want to grow. Are you looking for mild and sweet peppers, or do you prefer the spicy heat of chili peppers? Consider your taste preferences and how you plan to use the peppers in your cooking.
Next, take into account the growing conditions in your area. Some pepper varieties thrive in hot and dry climates, while others prefer cooler temperatures. Research the specific requirements of different pepper varieties and choose seeds that are well-suited to your particular climate and growing conditions.
Another important consideration is the size of the plant and the space you have available. Pepper plants can range from compact varieties suitable for container gardening to sprawling plants that require ample space in a garden bed. If you have limited space, opt for compact or dwarf pepper varieties.
Additionally, pay attention to the days to maturity listed on the seed packets. This information indicates how long it takes for the peppers to reach their full size and ripen. If you have a shorter growing season, choose varieties with a shorter days to maturity to ensure a successful harvest.
Lastly, consider the disease resistance of the pepper seeds. Certain varieties are bred to be resistant to common pepper diseases, such as bacterial spot or pepper mosaic virus. Selecting disease-resistant seeds can help increase your chances of a healthy and productive pepper crop.
Once you’ve taken these factors into account, you can start exploring seed catalogs or visiting local nurseries to find the perfect pepper seeds for your garden. Remember to read the descriptions and characteristics of each variety to ensure you make the best choices for your specific needs and preferences.
Gathering the Necessary Supplies
Before you start planting your pepper seeds, it’s important to gather all the necessary supplies. Here’s a list of items you’ll need:
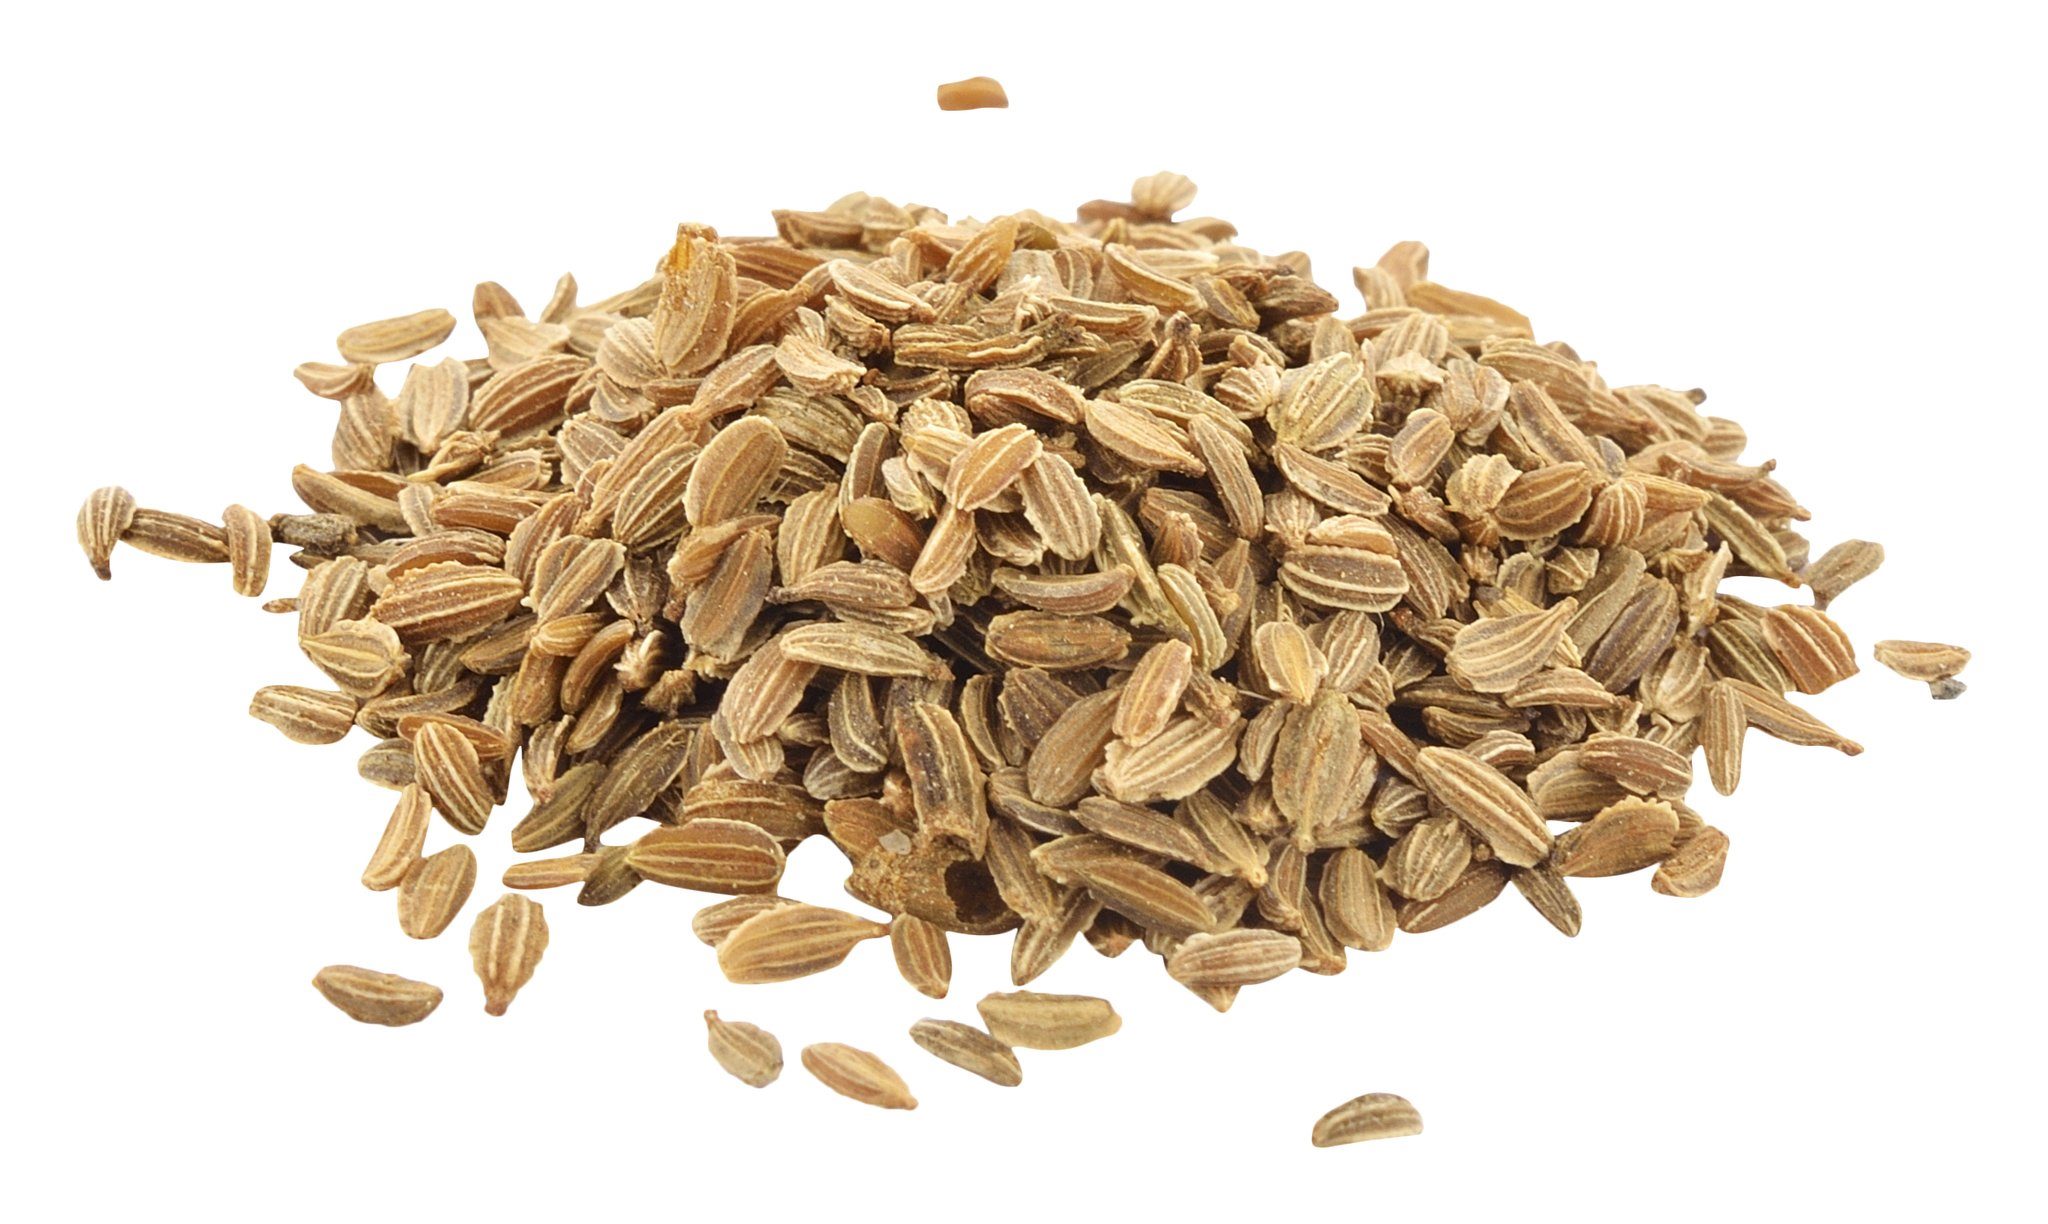
- Pepper Seeds: Choose the pepper seeds that you selected in the previous section. Make sure to have enough seeds for the desired number of plants.
- Seed Starting Trays or Containers: These are used to sow the pepper seeds. You can use plastic seed trays with individual cells or recycled containers like yogurt cups or egg cartons.
- Seed Starting Mix: This is a lightweight soilless mix that provides a sterile and well-draining environment for the seeds to germinate. You can purchase a pre-made seed starting mix or make your own using a combination of peat moss, perlite, and vermiculite.
- Labels: It’s essential to label your trays or containers to keep track of the different pepper varieties. Use waterproof labels or simply write on strips of plastic cut from yogurt containers.
- Watering Can or Spray Bottle: Ensure you have a watering can or a spray bottle to moisten the seed starting mix without disturbing the seeds.
- Heat Mat (optional): If you live in a cooler climate or want to speed up germination, a heat mat can provide a consistent warm temperature for the seeds.
- Grow Lights or a Sunny Window: Pepper seeds require ample light for healthy growth. If you are starting them indoors, ensure you have a good light source. If natural sunlight is limited, consider using fluorescent or LED grow lights.
- Plant Markers: These can be popsicle sticks or any other small stakes that you can write on to mark the variety and planting date.
Once you have gathered all these supplies, you’ll be well-prepared to begin the seed starting process. Remember that it’s essential to have everything in place before you start planting to maintain a smooth and organized workflow.
Preparing the Seed Starting Mix
The seed starting mix is a crucial component in the successful germination of your pepper seeds. It provides the necessary nutrients, aeration, and moisture retention for the seeds to develop into healthy seedlings. Here’s a step-by-step guide on how to prepare the seed starting mix:
- Choose a Suitable Container: Select a clean container that is large enough to hold the amount of seed starting mix you need. A large mixing bowl or a clean bucket works well.
- Measure the Ingredients: For a homemade seed starting mix, combine three parts peat moss, one part perlite, and one part vermiculite. For example, if you are using a 1-gallon container, mix 3 cups of peat moss, 1 cup of perlite, and 1 cup of vermiculite.
- Blend the Ingredients: Use your hands or a trowel to thoroughly mix the ingredients together in the container. Break up any clumps to ensure an even distribution of the materials.
- Moisten the Mix: Gradually add water to the mixture while stirring. Aim for a moist but not overly wet consistency. The mix should hold its shape when squeezed but not release excessive water.
- Fluff and Sift: Once the mix is evenly moistened, fluff it up with your hands or a fork to create a lighter texture. If needed, sift the mix through a fine mesh strainer to remove any large particles.
- Transfer to Containers: Fill your seed starting trays or containers with the prepared mix, leaving about 1/4 inch of space at the top. Gently tap the containers to settle the mix.
And there you have it! Your seed starting mix is now ready for planting your pepper seeds. Keep in mind that it’s essential to use a fresh mix for each batch of seedlings to prevent the risk of diseases or pests.
Remember to moisten the mix again just before planting the seeds to ensure optimal moisture levels. This will provide your seeds with the ideal environment for germination and early growth.
Planting the Pepper Seeds
Now that you have prepared your seed starting mix, it’s time to start planting your pepper seeds. Follow these steps to ensure successful seed germination:
- Moisten the Seed Starting Mix: Before planting the seeds, moisten the seed starting mix by gently watering it. Ensure it’s evenly moist but not waterlogged.
- Fill the Seed Trays or Containers: Fill each cell or container with the moistened seed starting mix, leaving a small indentation in the center of each cell to accommodate the seeds.
- Sow the Seeds: Plant 2-3 seeds in each cell or container, placing them about a quarter to a half inch deep. Space the seeds evenly and be sure not to overcrowd them.
- Cover and Label: Gently cover the seeds with a thin layer of the seed starting mix, and lightly press it down to ensure good soil-to-seed contact. Use plant markers or labels to identify the pepper variety in each tray or container.
- Mist with Water: Using a spray bottle or a fine mist nozzle on your watering can, mist the seeded trays or containers with water. This will help settle the soil and provide initial moisture for seed germination.
- Create a Greenhouse Effect: To enhance germination, cover the trays or containers with a plastic dome or a clear plastic bag. This creates a greenhouse-like environment that helps retain moisture and warmth.
- Provide Ideal Germination Conditions: Place the covered trays or containers in a warm location that receives indirect sunlight. Aim for a temperature between 75-85°F (24-29°C) to promote seed germination.
- Monitor and Water: Check the trays or containers regularly to ensure the seed starting mix remains moist but not saturated. Water gently whenever the surface begins to dry out, using a misting or watering can to prevent dislodging the seeds.
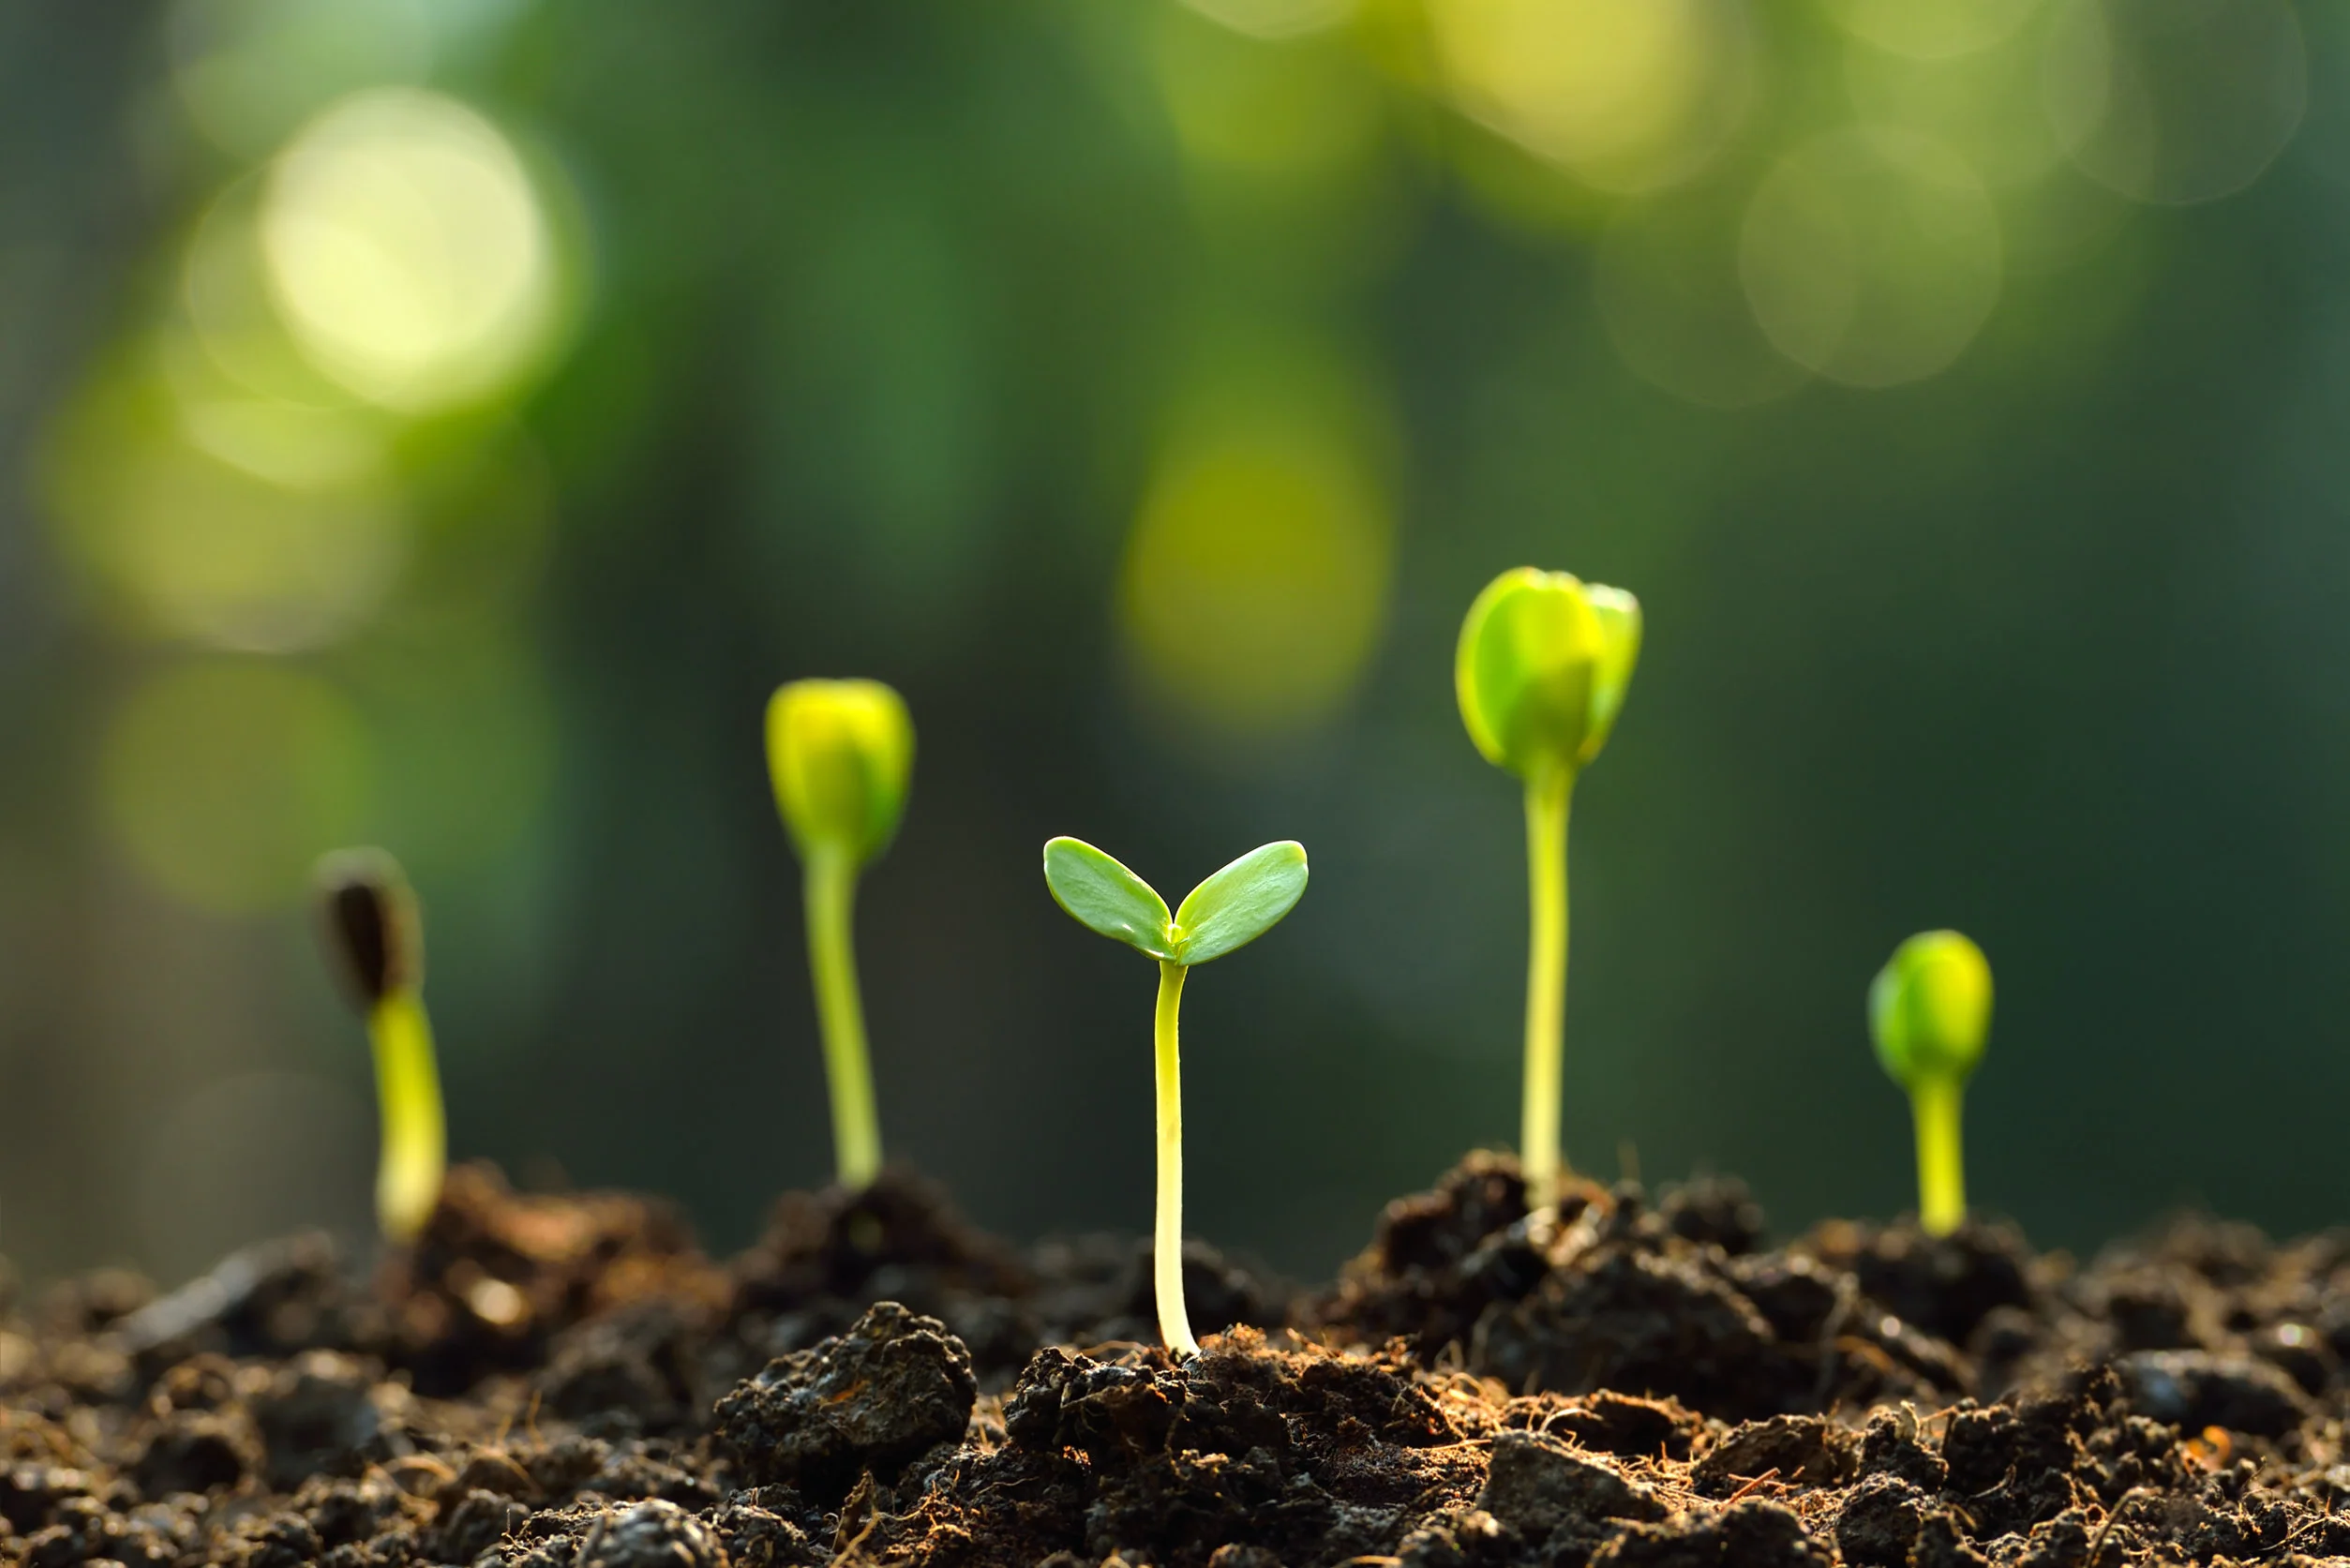
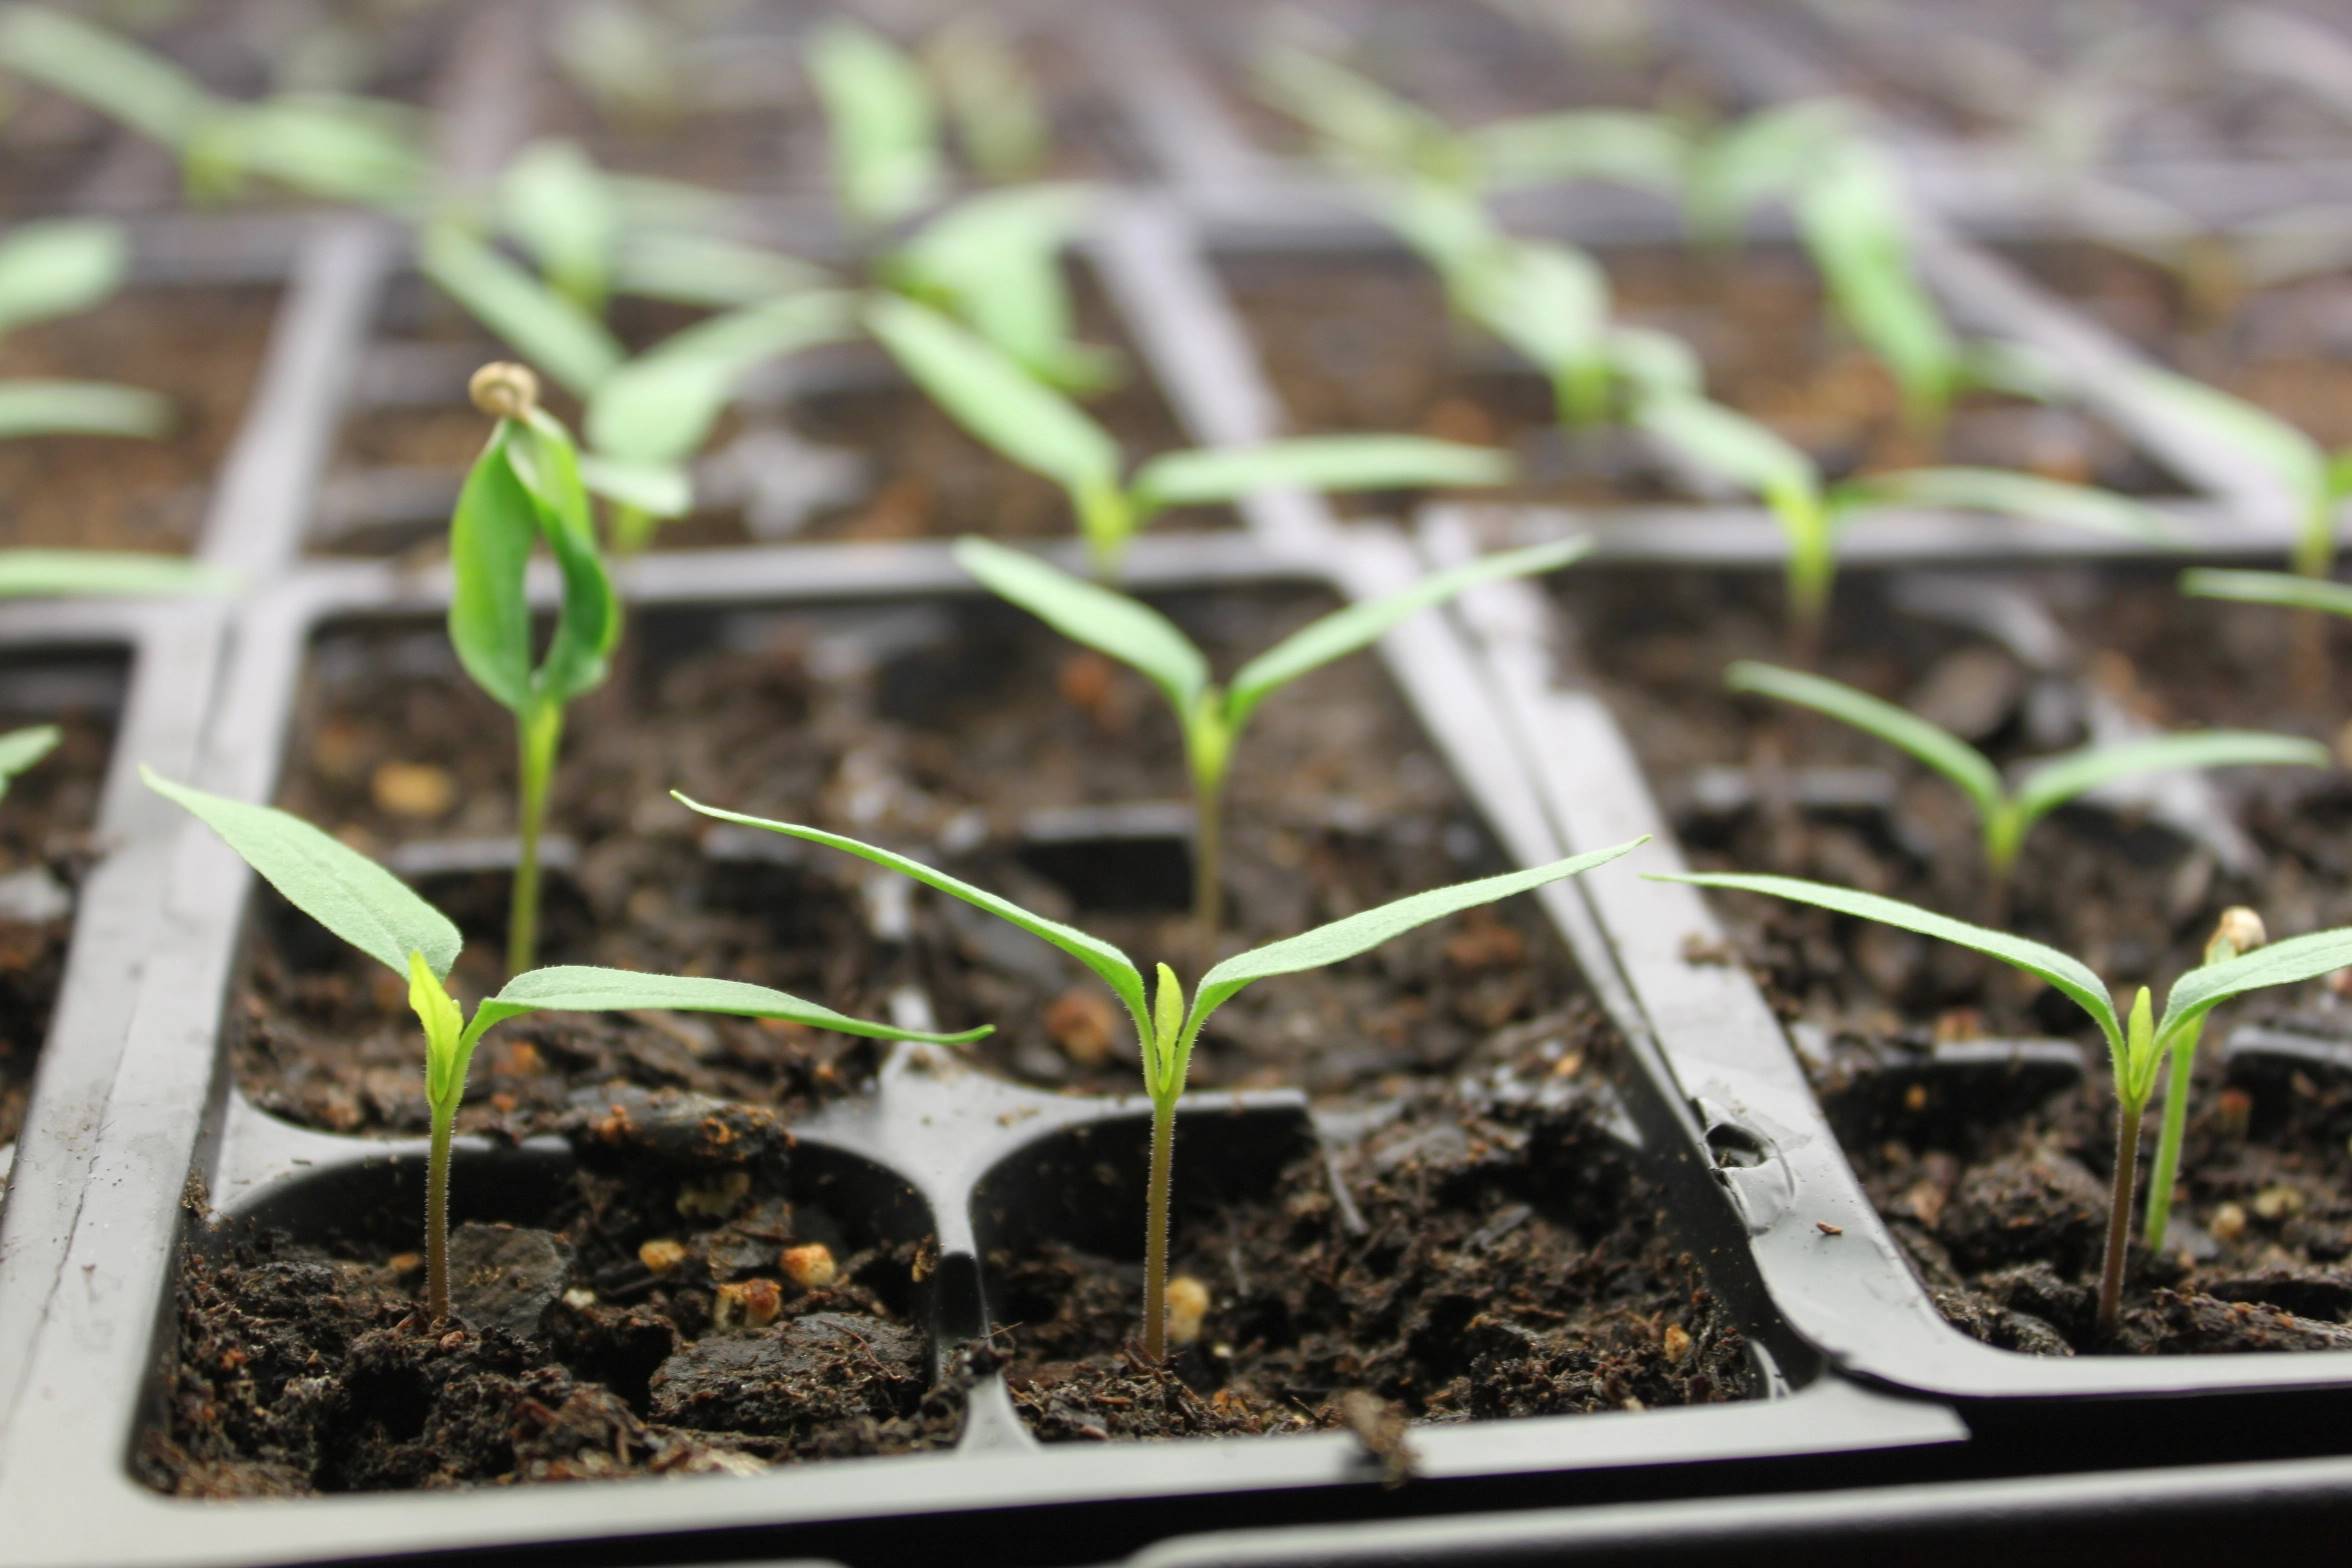
Now, all you need to do is patiently wait for your pepper seeds to germinate. Depending on the variety, germination can take anywhere from 7 to 14 days. Be sure to keep a close eye on the trays or containers and provide the necessary care and attention to give your seeds the best chance of success.
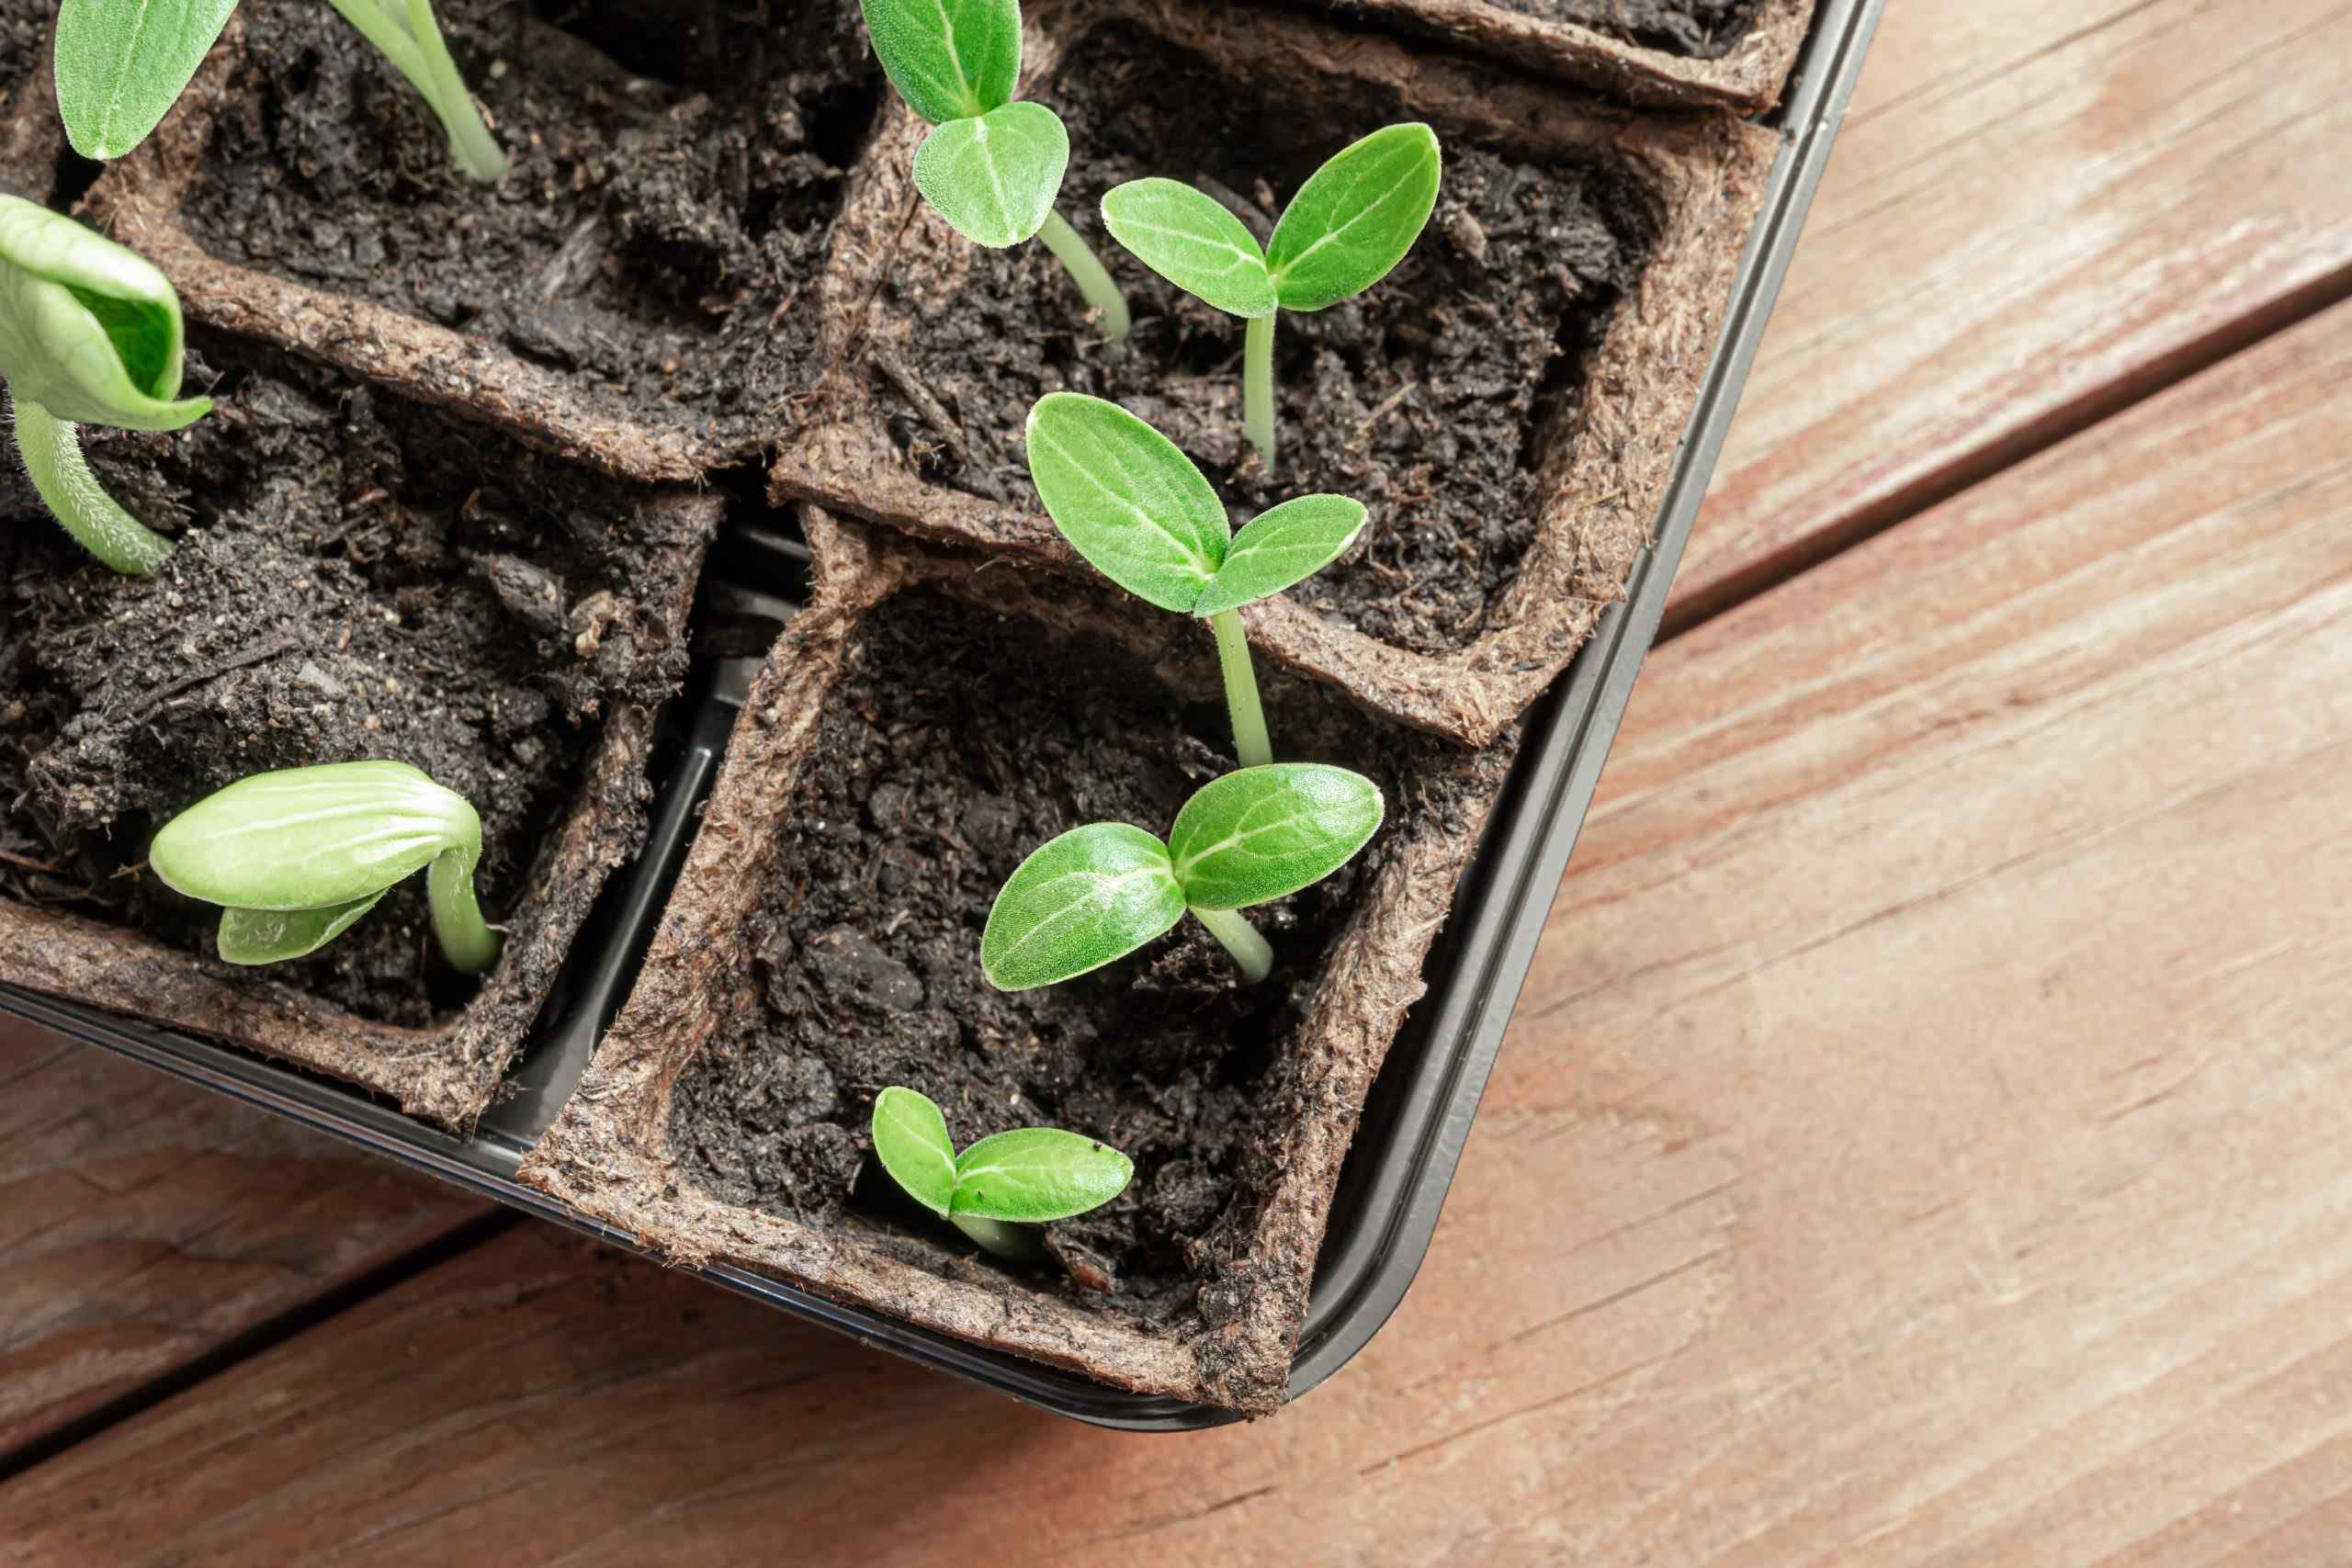
Once the seeds have germinated and the seedlings have developed their first set of true leaves, you can move on to the next step of caring for the pepper seedlings.
Providing the Ideal Growing Conditions
As your pepper seedlings begin to emerge and grow, it’s important to provide them with the ideal growing conditions to ensure their healthy development. Here are the key factors to consider:
- Light: Pepper plants require at least 10-12 hours of direct sunlight or bright, indirect light each day. Place your seedlings near a sunny window or provide artificial grow lights to supplement natural light.
- Temperature: Optimal temperature conditions for pepper seedlings range from 70-80°F (21-27°C) during the day and 60-70°F (15-21°C) at night. Avoid exposing them to temperatures below 60°F (15°C).
- Air Circulation: Good air circulation helps prevent diseases and strengthens the seedlings. Use a fan on low or open windows periodically to promote air movement around the plants.
- Watering: Keep the seedlings evenly moist but not waterlogged. Use a watering can or spray bottle to water from the bottom, allowing the plants to soak up water through the drainage holes. Avoid wetting the leaves excessively to prevent fungal diseases.
- Fertilization: Once the seedlings have their second set of true leaves, begin feeding them with a balanced liquid fertilizer diluted to half strength. Apply the fertilizer every two weeks or as recommended by the manufacturer.
- Transplantation: After the seedlings have developed a robust root system and at least four to six true leaves, they are ready for transplantation. This usually occurs when they are 6-8 weeks old or when all chances of frost have passed.
- Hardening Off: Before transplanting the seedlings outdoors, gradually acclimate them to the outdoor conditions by exposing them to a few hours of direct sunlight each day for a week. Start with a few hours and gradually increase the exposure time.
Remember to observe your pepper seedlings closely and make adjustments as needed. Monitor their growth, keep an eye out for any pest or disease issues, and provide additional support, such as stakes or trellises, for larger pepper varieties.
By providing the ideal growing conditions, you’ll help your pepper seedlings thrive and develop into healthy and robust plants that will produce a bountiful harvest of delicious peppers.
Caring for Pepper Seedlings
Once your pepper seedlings have emerged and are growing, they require proper care and attention to ensure their healthy development. Here are some essential care tips to keep in mind:
- Watering: Pepper seedlings need regular watering to keep the soil evenly moist. Water them when the top inch of soil feels dry to the touch. Avoid overwatering, as it can lead to root rot and other problems. Aim to keep the soil consistently moist but not waterlogged.
- Thinning and Transplanting: If multiple seedlings have germinated in the same cell or container, thin them out by removing the weaker ones, leaving only the strongest seedling. Transplant the thinned-out seedlings into separate containers to ensure they have enough space to grow and develop their root systems.
- Providing Support: As your pepper seedlings grow, they may require support to prevent them from bending or breaking under their own weight. Use stakes or small tomato cages to provide support to larger pepper varieties.
- Pinching: To encourage bushier growth, consider pinching back the top of your pepper seedlings when they reach about 6-8 inches in height. This promotes lateral branching and results in a fuller plant.
- Fertilization: After the seedlings have developed their first set of true leaves, begin fertilizing them every two weeks with a balanced liquid fertilizer diluted to half strength. This provides the necessary nutrients for healthy growth.
- Monitoring for Pests and Diseases: Regularly inspect your pepper seedlings for any signs of pests or diseases. Common pests include aphids, thrips, and whiteflies, while diseases like damping-off and powdery mildew can affect pepper seedlings. Treat any issues promptly with organic or chemical controls.
- Hardening Off: Before transplanting your pepper seedlings outdoors, they need to be gradually acclimated to outdoor conditions. Start by placing them outside in a sheltered area for a few hours a day, gradually increasing the duration and exposure to direct sunlight over a week or two.
By providing proper care and nurturing for your pepper seedlings, you’ll give them the best chance to grow into healthy and productive plants. Regular monitoring, watering, fertilization, and disease prevention measures will help ensure a successful and bountiful pepper harvest.
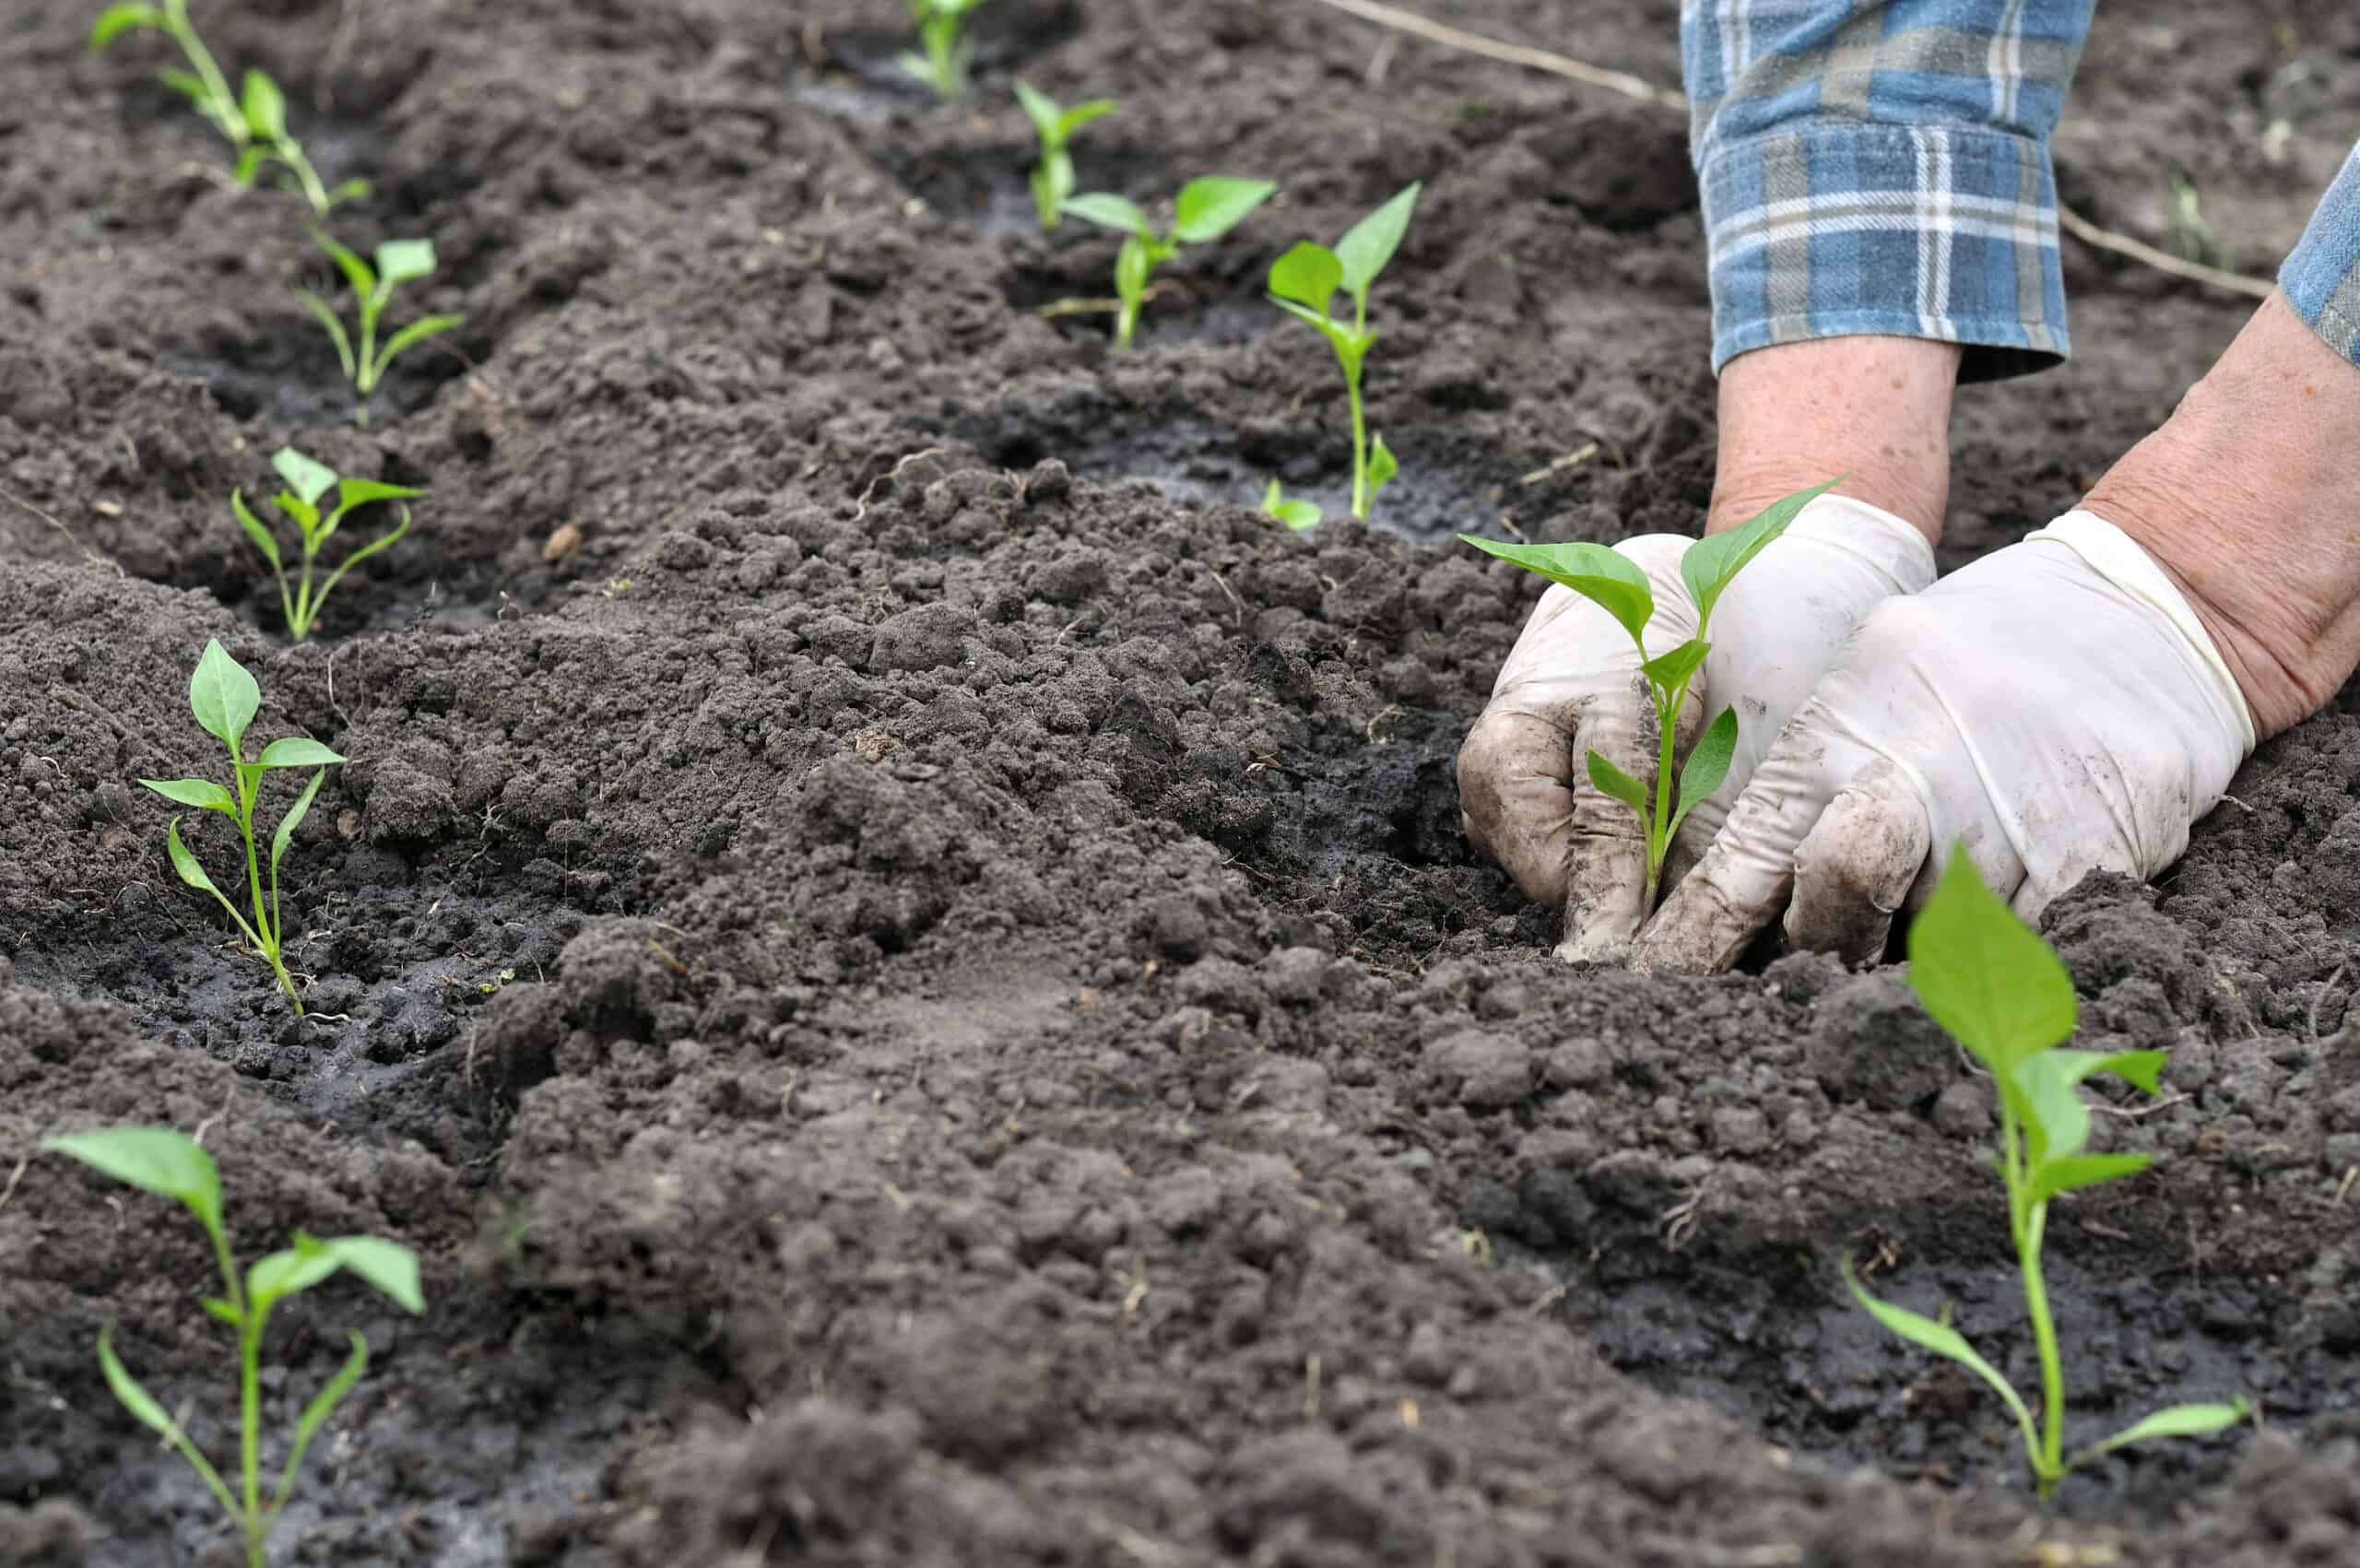
Transplanting Pepper Seedlings
Once your pepper seedlings have grown into sturdy plants with at least four to six true leaves and a well-developed root system, it’s time to transplant them into their final growing location. Follow these steps to ensure a successful transplant:
- Choose the Right Timing: Transplant your pepper seedlings outdoors when all chances of frost have passed and the weather has settled. Peppers thrive in warm temperatures, so ensure the soil temperature is consistently above 60°F (15°C).
- Prepare the Planting Site: Select a well-draining location in full sunlight for your pepper plants. Ensure the soil is rich in organic matter and has a pH level between 6.0 and 6.8, which is optimal for pepper growth.
- Amend the Soil: If the soil quality is poor, improve it by mixing in compost or well-rotted manure to enhance fertility and drainage. This will provide the peppers with the nutrients they need for healthy growth.
- Water the Seedlings: Before transplanting, water your pepper seedlings thoroughly to ensure their roots are well-hydrated. This will reduce transplant shock and help the plants establish themselves more quickly in their new location.
- Dig Proper Planting Holes: Dig holes in the prepared soil that are slightly larger than the root balls of the seedlings. Space the holes about 18-24 inches apart to allow for proper airflow and growth.
- Remove Seedlings from Containers: Gently remove the seedlings from their containers, being careful not to damage the roots. If the seedlings are root-bound, use your fingers to loosen the roots slightly before placing them in the planting holes.
- Plant at the Right Depth: Place each seedling in a planting hole, ensuring that it is planted at the same depth as it was in the seedling container. Backfill the hole with soil and gently press it around the base of the plant to secure it.
- Water and Mulch: After transplanting, give the newly planted seedlings a thorough watering to settle the soil around the roots. Apply a layer of organic mulch around the plants to help retain moisture, suppress weeds, and regulate soil temperature.
After transplanting, continue to water your pepper plants regularly, especially during dry spells, to ensure they receive ample moisture for healthy growth. Monitor the plants for any signs of stress or pests and take appropriate action if needed.
With proper care and attention, your transplanted pepper seedlings will quickly acclimate to their new environment and continue to grow into productive and vibrant pepper plants.
Conclusion
Congratulations on successfully starting your pepper seeds and caring for your seedlings! By following the steps outlined in this guide, you have set the foundation for growing healthy and productive pepper plants. With patience, dedication, and proper care, you can look forward to a bountiful harvest of delicious peppers.
Remember to choose the right pepper seeds based on your preferences and growing conditions. Gather the necessary supplies, including seed starting trays, seed starting mix, labels, and watering tools, to ensure a smooth planting process. Prepare the seed starting mix carefully, providing an ideal growing environment for the seeds.
As your pepper seedlings emerge and grow, provide them with the best possible conditions for optimal growth. This includes providing sufficient light, maintaining appropriate temperatures, watering diligently, fertilizing when needed, and monitoring for pests and diseases.
When the time is right, transplant your seedlings into their final growing location, ensuring proper spacing and soil preparation. Continue to care for your pepper plants by watering them regularly, providing support when necessary, and addressing any pest or disease issues promptly.
Through each step of the process, be attentive and observant, adjusting your care as needed to provide the best conditions for your pepper plants. The reward will be a thriving garden full of flavorful peppers that you can enjoy in your meals and share with others.
Remember, pepper plants can be a bit finicky, so don’t get discouraged if you encounter some challenges along the way. Gardening is a learning process, and each season provides valuable lessons and experience. Embrace the journey, enjoy the process, and have fun cultivating your own homegrown peppers!