Home>Gardening Tips and Tricks>Problem Solving>How To Dry Pepper Seeds
Problem Solving
How To Dry Pepper Seeds
Published: September 10, 2023
Learn how to dry pepper seeds effectively and solve your problem of preserving them for future use. Follow our step-by-step guide and never waste pepper seeds again.
(Many of the links in this article redirect to a specific reviewed product. Your purchase of these products through affiliate links helps to generate commission for Chicagolandgardening.com, at no extra cost. Learn more)
Table of Contents
How to Dry Pepper Seeds
Preserving and drying pepper seeds is a great way to ensure a steady supply of your favorite pepper varieties for future planting. Not only does it save you money, but it also allows you to cultivate the exact flavors and heat levels you love. Follow these simple steps to successfully dry pepper seeds:
1. Harvesting Pepper Seeds:
To start the process, you’ll need to harvest ripe peppers from the plant. Look for fully mature peppers with vibrant colors. Gently twist or cut them off the plant, being careful not to damage the seeds inside.
2. Separating the Seeds:
Once you have collected the peppers, you need to separate the seeds from the flesh. Cut open the peppers and scrape out the seeds onto a plate or tray. Be sure to use gloves or wash your hands thoroughly afterward, as the oils from the peppers can irritate the skin and eyes.
3. Preparing the Seeds for Drying:
Rinse the separated seeds under cool water to remove any remaining pulp or debris. Lay the seeds out on a paper towel or a fine-mesh sieve to dry for a few hours. Pat them gently to remove excess moisture.
4. Drying the Pepper Seeds:
Transfer the dried seeds to a clean, dry surface, such as a glass or ceramic plate. Place the plate in a well-ventilated area, away from direct sunlight. Allow the seeds to air dry for about 2-3 weeks or until they are brittle and break easily when bent.
5. Storing the Dried Pepper Seeds:
Once the seeds are completely dry, store them in airtight containers like glass jars or resealable plastic bags. Label the containers with the pepper variety and the date of collection. Keep the containers in a cool, dark place, such as a pantry or refrigerator. This will help preserve the viability of the seeds for future use.
By following these steps, you can successfully dry pepper seeds and enjoy a bountiful harvest year after year. Experiment with different pepper varieties to add excitement and unique flavors to your garden and culinary creations.
Introduction
Drying pepper seeds is a practical and economical way to ensure a continuous supply of your favorite pepper varieties. Whether you’re a seasoned gardener or just starting out, learning how to dry pepper seeds allows you to preserve the unique flavors and heat levels of different pepper varieties for future use.
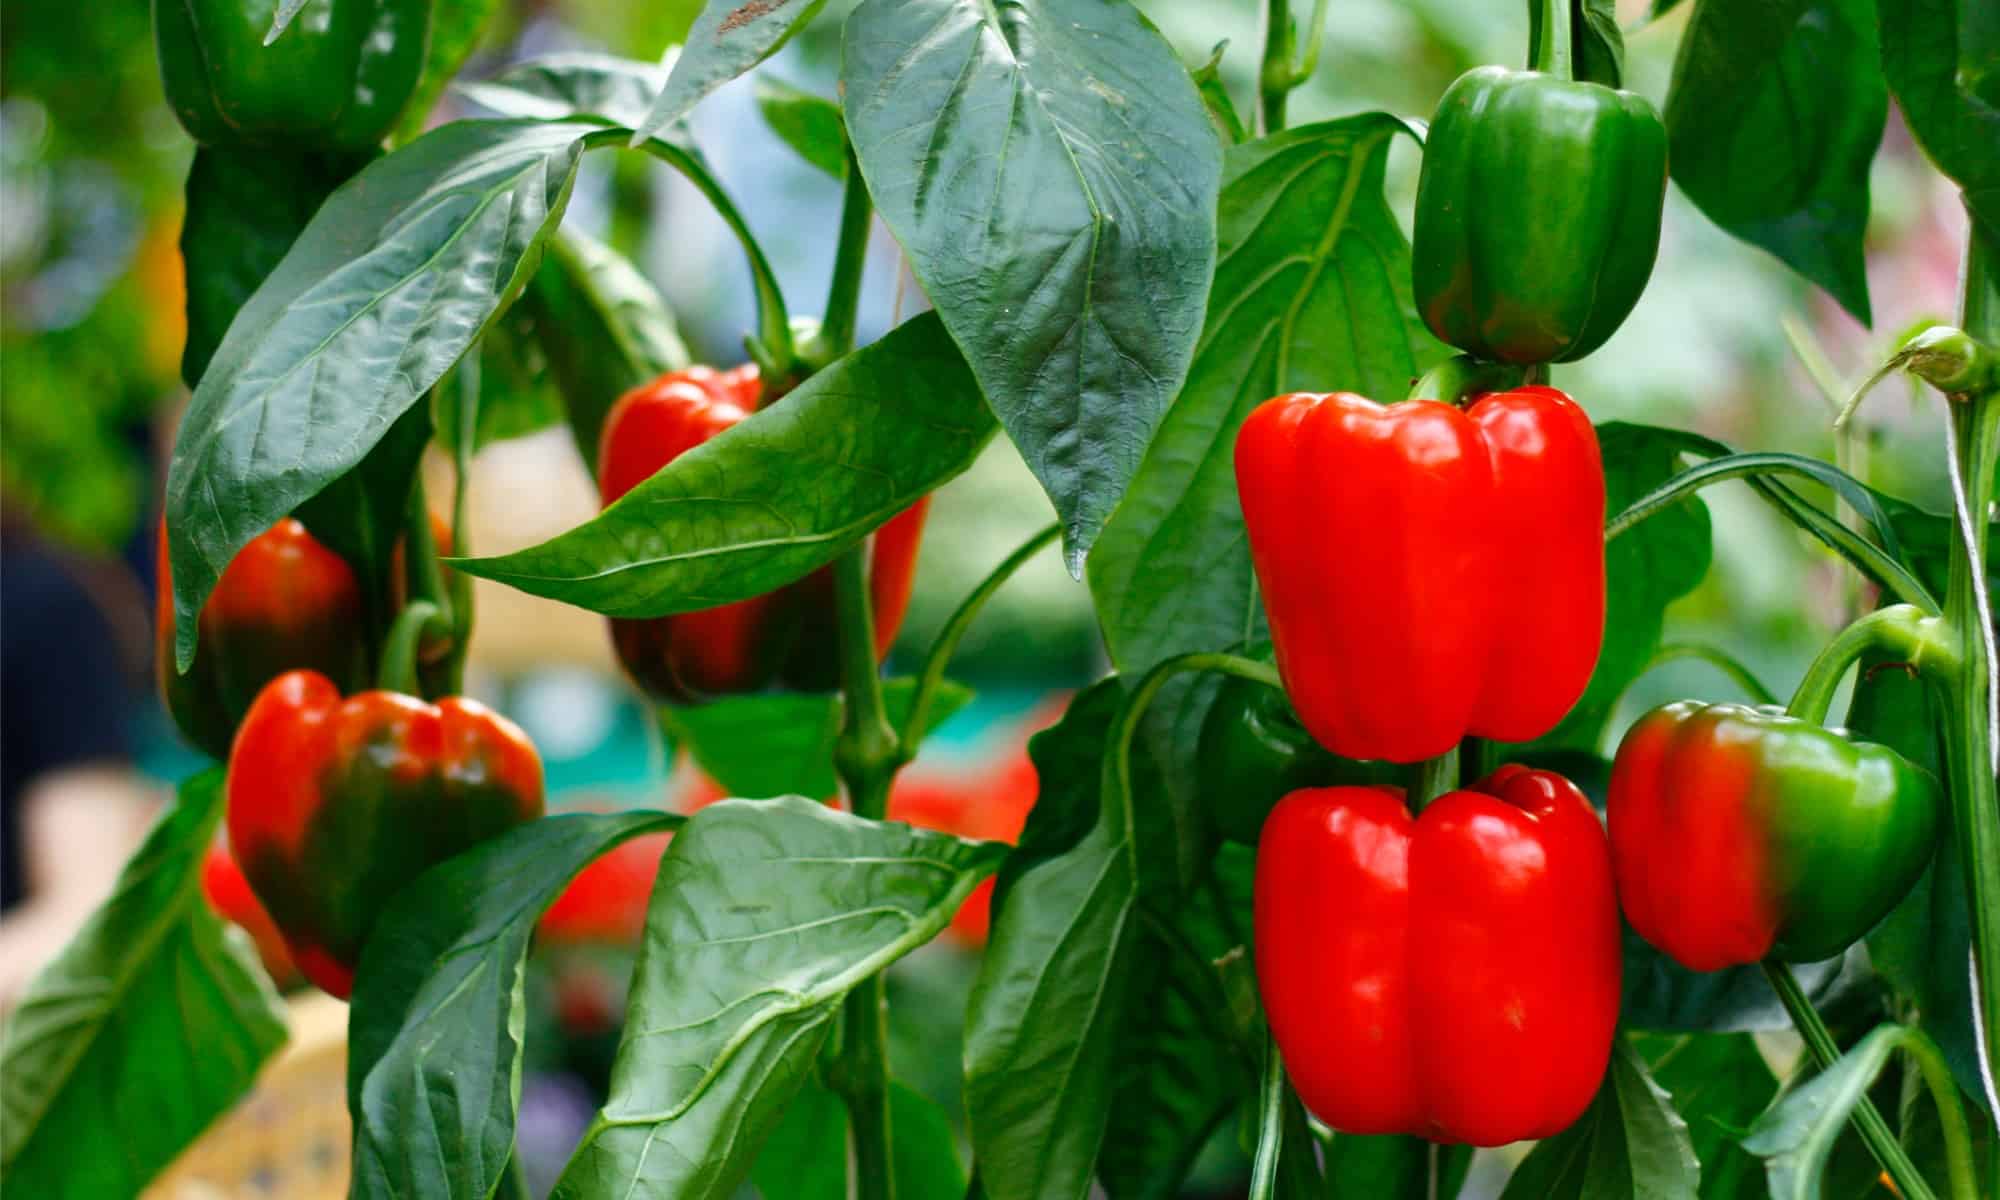
When it comes to peppers, there are countless varieties to choose from, each with its own distinct characteristics. From the mild and sweet bells to the blazing hot habaneros, drying the seeds of your favorite peppers gives you the opportunity to grow them year after year without relying on store-bought seeds.
Not only does drying pepper seeds save you money, but it also allows you to have more control over the quality and variety of peppers in your garden. By preserving the seeds of your best-performing plants, you can ensure that the next generation of peppers carries the traits you desire.
Additionally, drying pepper seeds is a simple process that can be done with minimal equipment. All you need are a few basic supplies and a little bit of time. By following the steps outlined in this guide, you can effectively dry pepper seeds and extend the lifespan of your favorite pepper varieties.
In this article, we will walk you through the step-by-step process of drying pepper seeds. We will start by discussing the supplies you’ll need for the task, followed by detailed instructions on how to harvest and separate the seeds. Then, we’ll guide you through the process of preparing the seeds for drying and provide tips on how to properly dry and store them for future use.
So, whether you’re a pepper enthusiast looking to expand your collection or a gardener wanting to preserve the flavors of your homegrown peppers, read on to discover how to dry pepper seeds and enjoy a continuous supply of your favorite varieties.
Supplies Needed
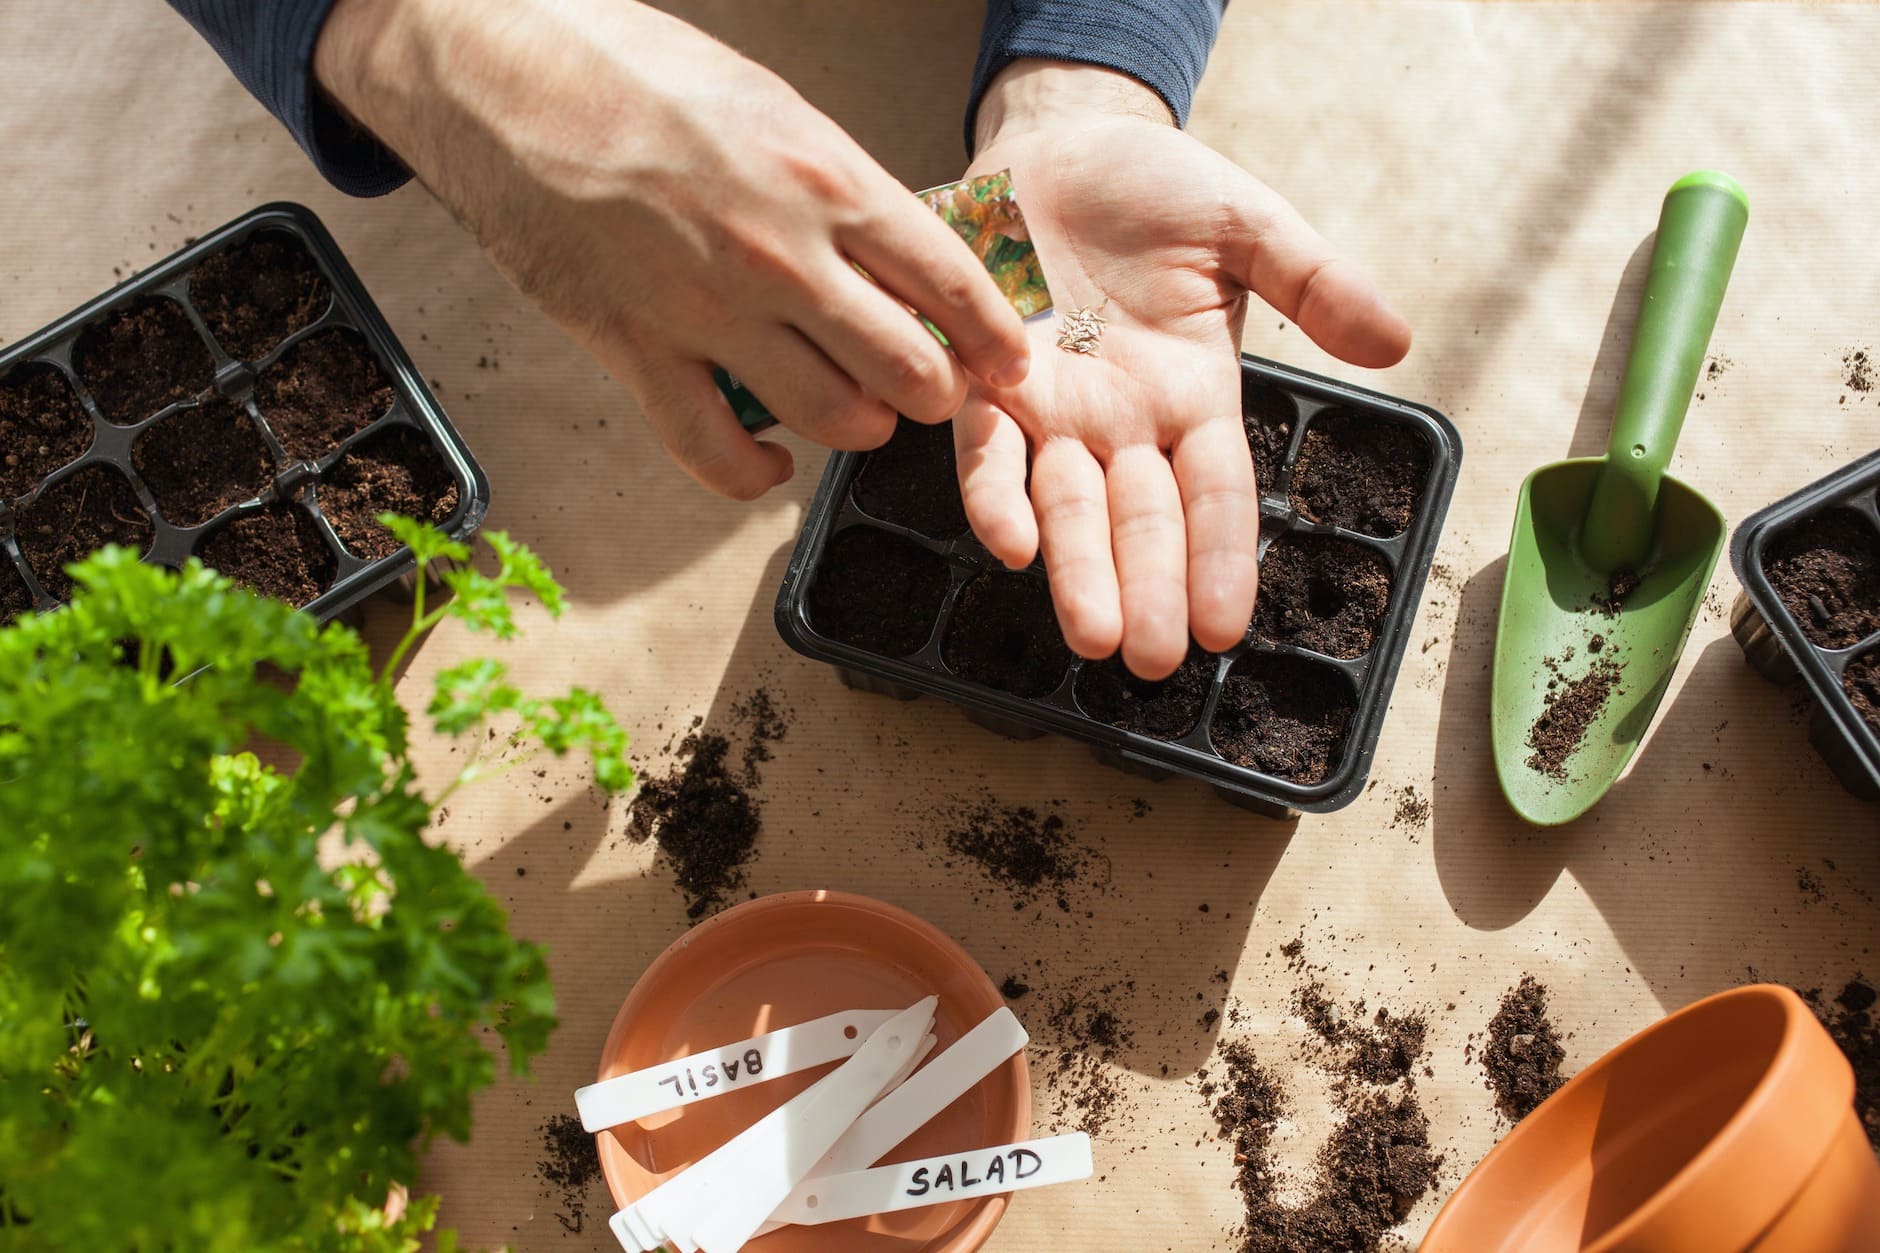
Before you begin the process of drying pepper seeds, make sure you have the following supplies on hand:
- Ripe Peppers: Look for fully mature peppers with vibrant colors. Choose peppers that are healthy and free from diseases or pests. Varieties with thick flesh and large seeds are often easier to work with.
- Gloves: It’s essential to protect your hands when handling hot pepper seeds. Wear gloves to avoid skin irritation or burns. Disposable gloves or kitchen gloves will do the trick.
- Knife or Scissors: Use a sharp knife or pair of scissors to cut or twist the peppers off the plant. Make sure they’re clean and sanitized to prevent any contamination.
- Plate or Tray: Choose a flat surface, such as a ceramic plate or a tray, to gather the seeds. Avoid using plastic or materials that may retain moisture, as it can hinder the drying process.
- Water and Paper Towel: Keep a bowl of cool water nearby to rinse the seeds and a stack of paper towels to pat them dry. This will help remove any residual pulp or debris.
- Air-Tight Containers: Once the seeds are dry, you’ll need containers to store them in. Glass jars with tight lids, resealable plastic bags, or seed envelopes are suitable options. Choose containers that are moisture-proof to maintain seed viability.
- Labels: It’s important to label your seed containers with the pepper variety and the collection date. This way, you can keep track of different seeds and know when they were collected.
Having these supplies ready will ensure a smooth and efficient process as you harvest, separate, and dry your pepper seeds. With the right tools at your disposal, you’ll be well-equipped to preserve the flavors and characteristics of your favorite pepper varieties for future planting.
Step 1: Harvesting Pepper Seeds
The first step in drying pepper seeds is to harvest ripe peppers from your plants. Here’s how to do it:
- Choose Ripe Peppers: Select fully mature peppers that have reached their peak color. Look for peppers that are firm and free from blemishes or signs of disease. These peppers will contain viable seeds for drying.
- Gently Remove the Peppers: To harvest the peppers, gently twist them or use a pair of clean, sanitized scissors or a knife to cut them off the plant. Be careful not to damage the stem or the seeds inside the peppers.
- Handle with Care: Some pepper varieties can be quite hot and may cause skin and eye irritation. It’s a good idea to wear gloves when handling hot peppers, especially if you’re working with particularly spicy varieties.
- Collect the Harvested Peppers: Place the harvested peppers on a clean surface or in a bowl. It’s best to work on a surface that can be easily cleaned afterward to avoid any lingering spice residue.
Remember, it’s essential to choose ripe peppers for your seed collection. Immature peppers may not have fully developed seeds, while overripe peppers may have partially germinated seeds that are no longer viable.
By ensuring that you harvest mature, healthy peppers, you increase the chances of obtaining good-quality seeds for drying and future planting. Take your time to carefully select and collect the peppers, preserving the flavors and characteristics of the varieties you love.
Step 2: Separating the Seeds
Once you have harvested the ripe peppers, the next step is to separate the seeds from the flesh. Follow these simple instructions to effectively separate the pepper seeds:
- Prepare the Peppers: Cut each pepper vertically from the stem to the tip using a sharp knife. Alternatively, you can simply twist off the stem and split the pepper open with your hands.
- Remove the Seeds: Use your fingers or a spoon to scoop out the seeds and placenta (the white membrane inside the pepper). Place the seeds on a plate or tray, ensuring that you remove as much of the flesh as possible.
- Wash the Seeds: Rinse the seeds under cool running water to remove any remaining pulp or debris. This will help ensure that the seeds are clean and ready for drying. Be careful not to wash away any seeds in the process.
- Pat the Seeds Dry: Gently pat the rinsed seeds dry using a stack of paper towels or a clean cloth. Avoid rubbing the seeds too vigorously to prevent damage.
It is important to handle hot pepper seeds with care as they can cause skin and eye irritation. Wearing gloves during the separation process is recommended, especially if you’re working with particularly spicy pepper varieties.
By properly separating the seeds from the flesh, you will ensure that the dried pepper seeds maintain their purity and are free from excess moisture or pulp. This step is crucial for successful seed drying and storage.
Now that you have effectively separated the seeds, you can proceed to the next step: preparing the seeds for drying.
Step 3: Preparing the Seeds for Drying
Before you can start the drying process, it’s important to properly prepare the pepper seeds. Follow these steps to ensure that the seeds are ready for drying:
- Rinse the Seeds: Transfer the separated seeds to a sieve or colander and rinse them under cool running water. Gently agitate the seeds with your fingers to remove any remaining pulp or debris. This will help ensure that the seeds are clean and free from any contaminants.
- Drain Excess Water: Allow the rinsed seeds to drain in the sieve for a few minutes to remove excess water. Alternatively, you can pat them gently with a paper towel to soak up any excess moisture.
- Spread the Seeds: Lay the seeds out on a clean, dry surface such as a paper towel or a fine-mesh sieve. Arrange them in a single layer, ensuring that they are not overcrowded. This will allow for proper airflow during the drying process.
- Dry the Seeds: Place the seeds in a well-ventilated area that is away from direct sunlight. The ideal drying conditions include low humidity and good air circulation. Allow the seeds to air dry for a few hours, or until they are no longer damp to the touch.
It’s important to note that some gardeners prefer to ferment or soak the seeds in water before drying. This process can help remove any remaining germination inhibitors and increase the chances of successful germination when planting the dried seeds.
However, the method of fermenting or soaking seeds is not necessary for all pepper varieties. If you choose to do so, follow specific instructions tailored to the pepper variety you are working with.
Properly preparing the seeds for drying by rinsing and removing excess moisture is crucial. This step ensures that the seeds will dry evenly and avoid potential issues such as mold or fungal growth.
Now that the seeds are clean and prepared, it’s time to move on to the next step in the process: drying the pepper seeds themselves.
Step 4: Drying the Pepper Seeds
Once the pepper seeds have been properly prepared, it’s time to dry them. Follow these steps to ensure that the seeds dry thoroughly and are ready for long-term storage:
- Choose a Drying Location: Select a well-ventilated area in your home that is away from direct sunlight. A room with good air circulation, such as a dry basement or a well-ventilated kitchen, is ideal.
- Arrange the Seeds: Transfer the prepared seeds to a clean, dry surface, such as a glass or ceramic plate. Spread them out in a single layer to allow for even drying. Avoid overcrowding the seeds, as this can lead to uneven moisture distribution.
- Air Dry the Seeds: Place the plate of spread-out seeds in the chosen drying location. Allow the seeds to air dry for approximately 2-3 weeks or until they are completely dry and brittle. During this time, it’s important to avoid disturbing or moving the seeds to ensure a consistent drying process.
- Check for Dryness: Periodically check the seeds for dryness by bending them gently. If the seeds snap or crack easily, they are dry and ready for storage. If they still feel slightly flexible or bendable, they need more drying time.
It’s crucial to note that optimal drying conditions are essential for preventing mold or fungal growth on the seeds. Ensure the drying location has low humidity levels and good air circulation to facilitate the drying process.
While some gardeners may use specialized equipment like dehydrators or ovens set at low temperatures for seed drying, air drying is a simple and effective method that requires no additional tools or energy consumption.
Remember, patience is key during the drying process. Do not rush the drying time as seeds that are not completely dry may develop mold during storage. Taking the time to allow the seeds to dry thoroughly will ensure their viability for future planting.
Once the pepper seeds are completely dry and brittle, it’s time to move on to the final step: storing the dried seeds for long-term preservation.
Step 5: Storing the Dried Pepper Seeds
Proper storage is essential for preserving the viability of dried pepper seeds for future use. Follow these guidelines to ensure that your seeds remain in optimal condition:
- Use Airtight Containers: Transfer the completely dried pepper seeds to airtight storage containers. Glass jars with tight lids, resealable plastic bags, or seed envelopes are suitable options. The containers should be clean and dry to prevent any moisture from entering and spoiling the seeds.
- Label the Containers: Clearly label each container with the pepper variety and the date of collection. This information will help you keep track of the seeds and their viability over time.
- Store in Cool, Dark Place: Find a cool, dark location to store the seed containers. Ideally, the storage area should have a consistently cool temperature, around 32-41°F (0-5°C), such as a pantry or a refrigerator. Avoid storing the seeds in areas that are subject to extreme temperature fluctuations or high humidity.
- Avoid Exposing to Light and Moisture: Protect the seeds from exposure to light and moisture, as these can degrade their quality. Store the containers in a dark place and ensure that the lids are securely fastened to prevent any moisture from entering.
- Check and Rotate: Periodically check the stored seeds for any signs of moisture or mold. If you notice any issues, discard those seeds to avoid contaminating the entire collection. It’s also a good practice to rotate your seed collection, using older seeds first and replenishing them with freshly harvested seeds.
Properly storing your dried pepper seeds in a cool, dark, and dry environment will help maintain their viability for future planting seasons. With the right storage conditions and labeling system, you can ensure that your seeds remain in good condition and ready to germinate when you’re ready to plant them.
Remember to only store dry seeds, as any remaining moisture can lead to mold growth and seed spoilage. Taking the time to store your dried pepper seeds properly will increase the chances of successful germination and ensure a continuous supply of your favorite pepper varieties.
Conclusion
Drying pepper seeds is a satisfying and practical way to preserve the flavors and characteristics of your favorite pepper varieties. By following the step-by-step process outlined in this guide, you can successfully dry and store pepper seeds for future planting.
From harvesting ripe peppers to separating the seeds and preparing them for drying, each step plays a critical role in ensuring the quality and viability of the seeds. Taking the time to properly dry and store the seeds in a cool, dark, and moisture-free environment will help maintain their longevity.
Drying pepper seeds not only saves you money on buying seeds but also gives you the opportunity to continue growing your preferred pepper varieties year after year. With a well-maintained seed collection, you can enjoy a bountiful harvest of peppers with the unique flavors and heat levels that you love.
Remember, experimenting with different pepper varieties and saving the seeds from your best-performing plants allows you to personalise your garden and culinary creations. Whether you’re a gardener looking to expand your collection or a food enthusiast seeking an abundant supply of flavorful peppers, drying pepper seeds is a skill worth mastering.
So, roll up your sleeves, gather your ripe peppers, and embark on the journey of drying pepper seeds. With patience and attention to detail, you can ensure the long-term preservation of your favorite pepper varieties and continue to enjoy their delicious flavors in your cooking for years to come.