Home>Types of Gardening>Edible Gardening>How To Dry Watermelon Seeds For Planting
Edible Gardening
How To Dry Watermelon Seeds For Planting
Modified: January 22, 2024
Learn how to dry watermelon seeds for planting in your edible gardening. Discover step-by-step instructions to save and store watermelon seeds for future growth.
(Many of the links in this article redirect to a specific reviewed product. Your purchase of these products through affiliate links helps to generate commission for Chicagolandgardening.com, at no extra cost. Learn more)
Table of Contents
Introduction
Welcome to the wonderful world of edible gardening! If you’ve ever enjoyed the refreshing taste of a juicy watermelon, you might have wondered if it’s possible to save and plant the seeds for your own homegrown bounty. Well, the good news is that you absolutely can!
Saving and planting watermelon seeds is a simple and rewarding practice that allows you to grow your own delicious fruits while saving money and reducing waste. Not only does it provide you with the satisfaction of nurturing a plant from seed to harvest, but it also gives you complete control over the growing process, ensuring that you have fresh and tasty watermelons to enjoy throughout the season.
By learning how to dry watermelon seeds for planting, you can preserve the genetic traits of a watermelon variety you particularly enjoy and cultivate it in your own backyard. Plus, it’s a great way to engage in sustainable gardening practices by reusing and recycling the seeds from fruits you already have.
In this comprehensive guide, we will walk you through the step-by-step process of saving and preparing watermelon seeds for planting. We will cover everything from selecting ripe watermelons to properly cleaning, drying, and storing the seeds. By the end of this article, you will have all the information you need to successfully grow your very own watermelon plants.
So, let’s dig in and discover the incredible journey of saving and planting watermelon seeds!
Benefits of Saving and Planting Watermelon Seeds
There are numerous benefits to saving and planting watermelon seeds. Not only is it a cost-effective way to grow your own watermelons, but it also offers a range of other advantages that make it a worthwhile endeavor. Let’s explore some of the key benefits below:
- Preservation of Genetic Traits: When you save and plant watermelon seeds from a variety you enjoy, you are preserving the specific genetic traits of that particular watermelon. This means that you can consistently grow watermelons with the same flavor, texture, and appearance year after year.
- Fresh and Delicious Watermelons: By planting your own watermelon seeds, you have full control over the growing process. You can ensure that your watermelons are grown using organic practices, resulting in fresh, flavorful, and healthy fruits for you and your family to enjoy.
- Cost Savings: Purchasing watermelon seeds or seedlings can add up over time. By saving and planting your own seeds, you eliminate the need to buy new ones each year. This can lead to significant cost savings, especially if you are growing watermelons on a large scale.
- Sustainability: Saving and planting watermelon seeds is an eco-friendly practice. It reduces waste by reusing the seeds from the watermelons you already have, minimizing the need for additional resources and packaging associated with purchasing new seeds.
- Education and Engagement: Growing watermelons from seeds can be a fun and educational experience for both children and adults. It allows you to learn about plant growth, the importance of pollination, and the lifecycle of a watermelon plant. It’s a great way to connect with nature and develop a green thumb.
By saving and planting your own watermelon seeds, you can enjoy all these benefits and more. Not only will you have a delicious supply of watermelons, but you’ll also gain a sense of satisfaction knowing that you played a part in the entire process from seed to fruit. So, let’s move on to the next step: selecting ripe watermelons for seed extraction.
Selecting Ripe Watermelon
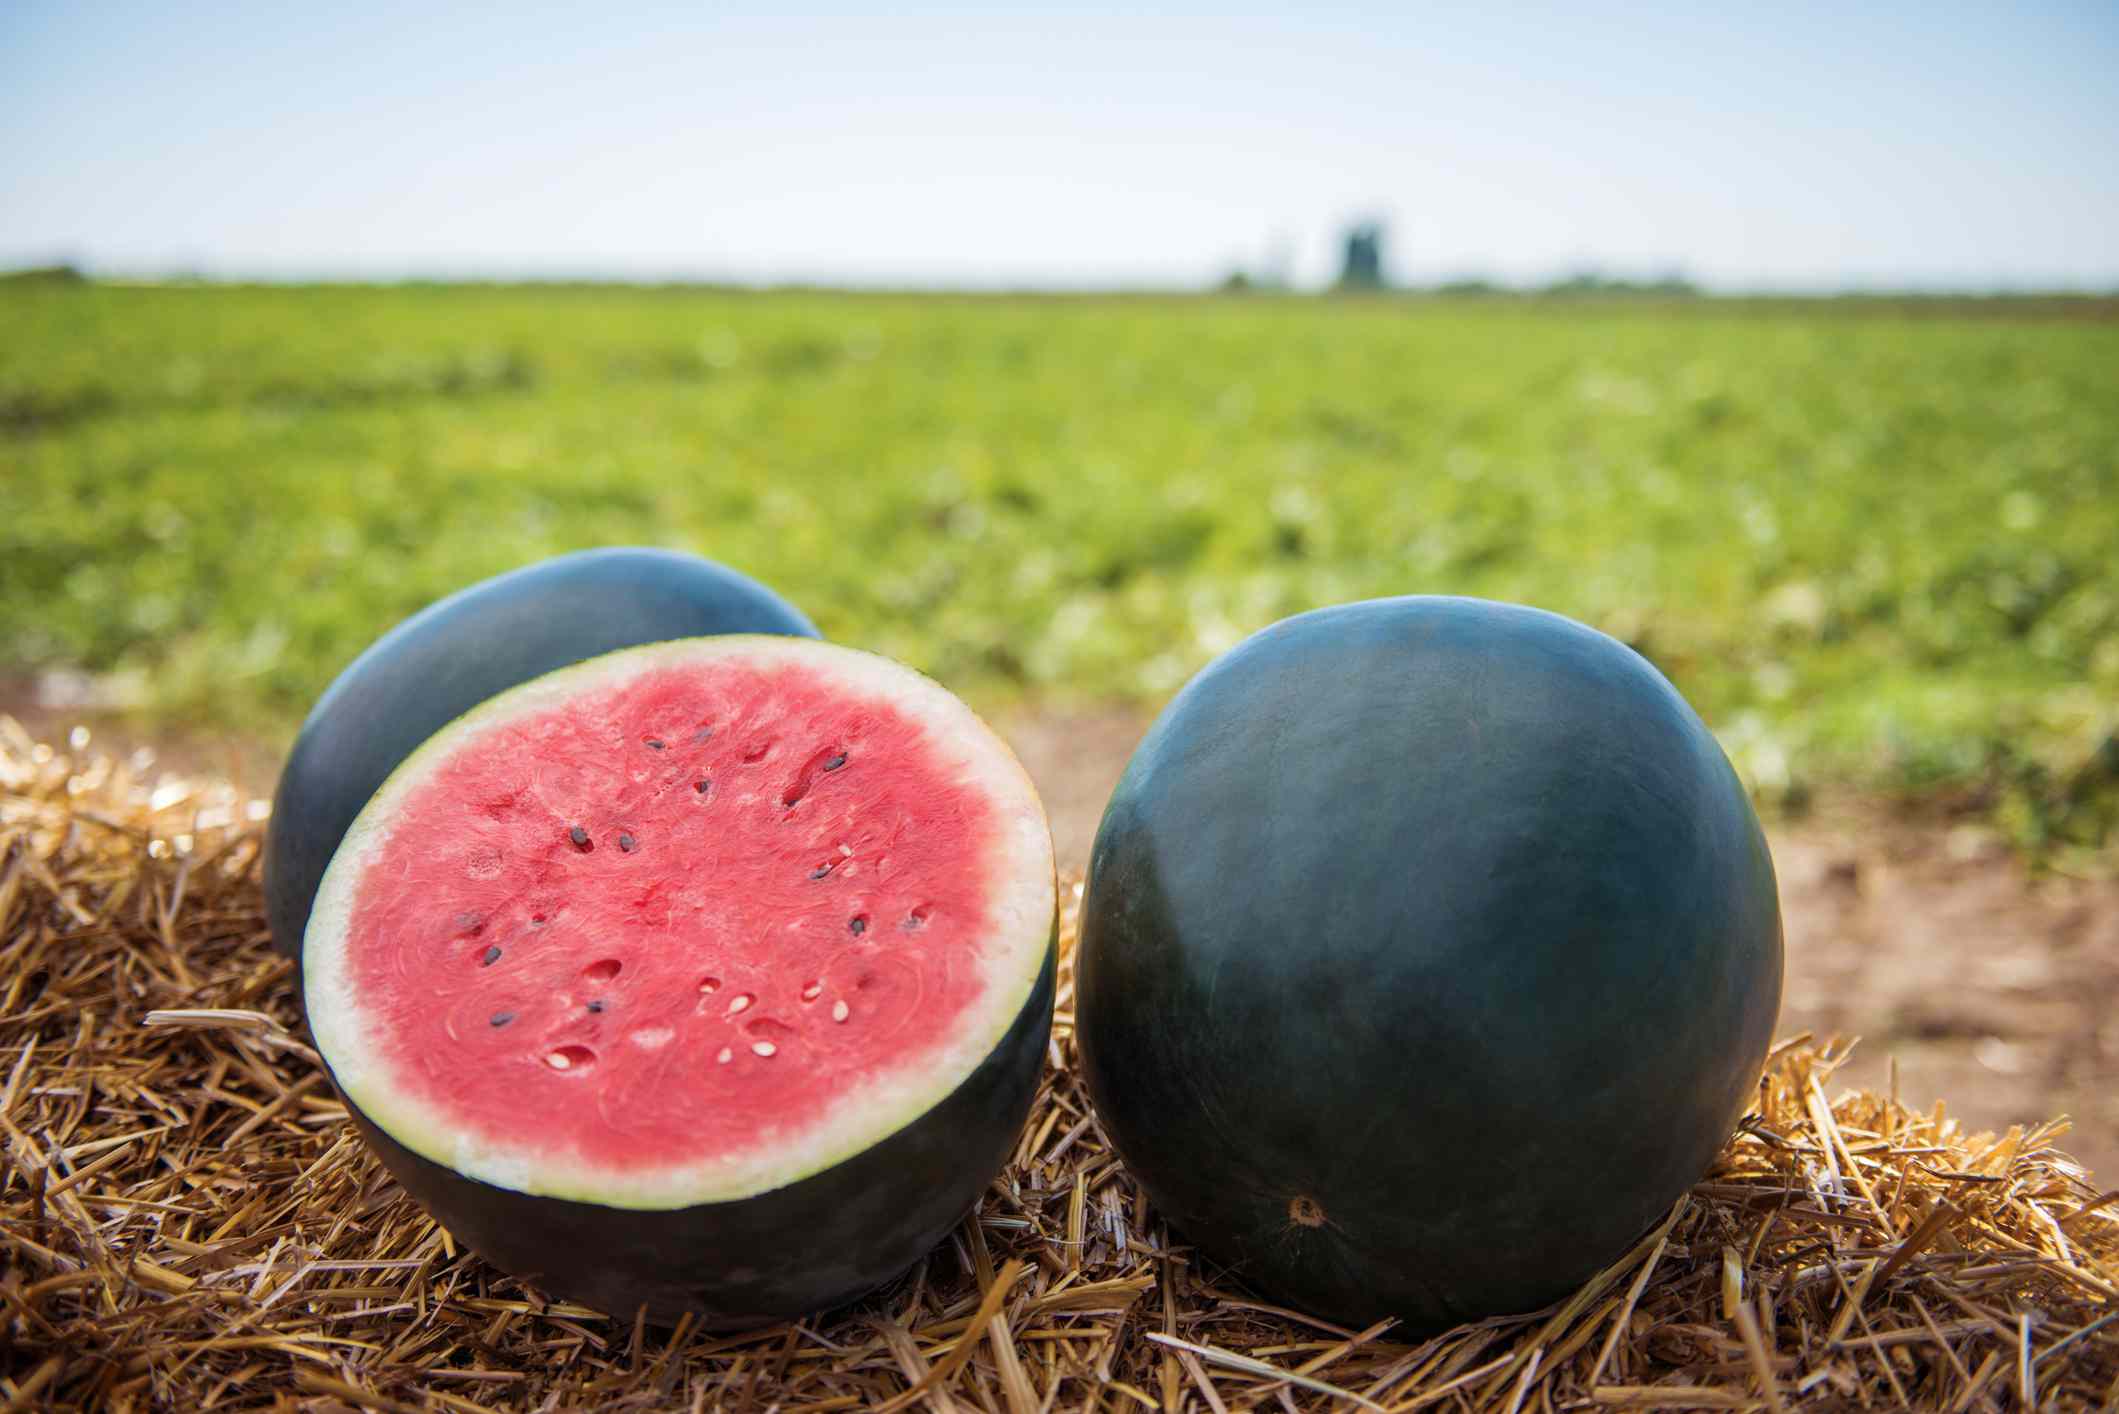
When it comes to saving watermelon seeds for planting, selecting ripe watermelons is crucial. Ripe watermelons ensure that the seeds inside are mature, viable, and ready for germination. Here are some tips to help you choose the perfect watermelon for seed extraction:
- Look for a Uniform Shape and Size: Ripe watermelons typically have a round or oval shape with no bumps or irregularities. They should also be fairly uniform in size, indicating that the fruits have matured evenly.
- Check the Ground Spot: The ground spot is the area where the watermelon was in contact with the ground. It should have a creamy yellow or light orange color. Avoid watermelons with green or white ground spots, as they may not be fully ripe.
- Examine the Skin: A ripe watermelon should have a dull skin rather than a shiny or waxy appearance. The skin should also be firm with no soft spots or bruises.
- Tap and Listen: Give the watermelon a gentle tap with your knuckles. A ripe watermelon will emit a deep, hollow sound. If it sounds dull or produces a high-pitched tone, it may not be ripe yet.
- Check if the Stem is Dry: If the watermelon still has a stem, check to see if it is dry and brown. A green or moist stem indicates that the watermelon is not fully ripe.
It’s worth noting that different watermelon varieties have different external appearances, so familiarize yourself with the characteristics of the specific variety you are growing. Additionally, the time it takes for watermelons to ripen can vary depending on the growing conditions and the variety itself. Refer to the seed packet or research the specific variety to determine the estimated ripening time.
By selecting ripe watermelons, you can ensure that the seeds inside are mature and ready to be extracted. Now that you know how to choose the right watermelons, let’s move on to the next step: extracting watermelon seeds.
Extracting Watermelon Seeds
Once you have selected ripe watermelons, it’s time to extract the seeds for planting. Extracting watermelon seeds is a fairly simple process that requires a few basic tools and a little bit of patience. Here’s a step-by-step guide to help you through the process:
- Cut the Watermelon: Use a sharp knife to carefully cut the watermelon in half, either lengthwise or crosswise, depending on your preference.
- Scoop Out the Flesh: Use a spoon or scoop to remove the flesh of the watermelon from each half. Place the flesh in a separate bowl or container, as it can be enjoyed later.
- Separate the Seeds: Take one of the watermelon halves and scrape the seeds from the flesh using a spoon or your fingers. Place the seeds in a strainer to separate them from any remaining pulp.
- Rinse the Seeds: Rinse the extracted seeds under cool running water to remove any leftover pulp or debris. Gently rub the seeds between your fingers to help clean them thoroughly.
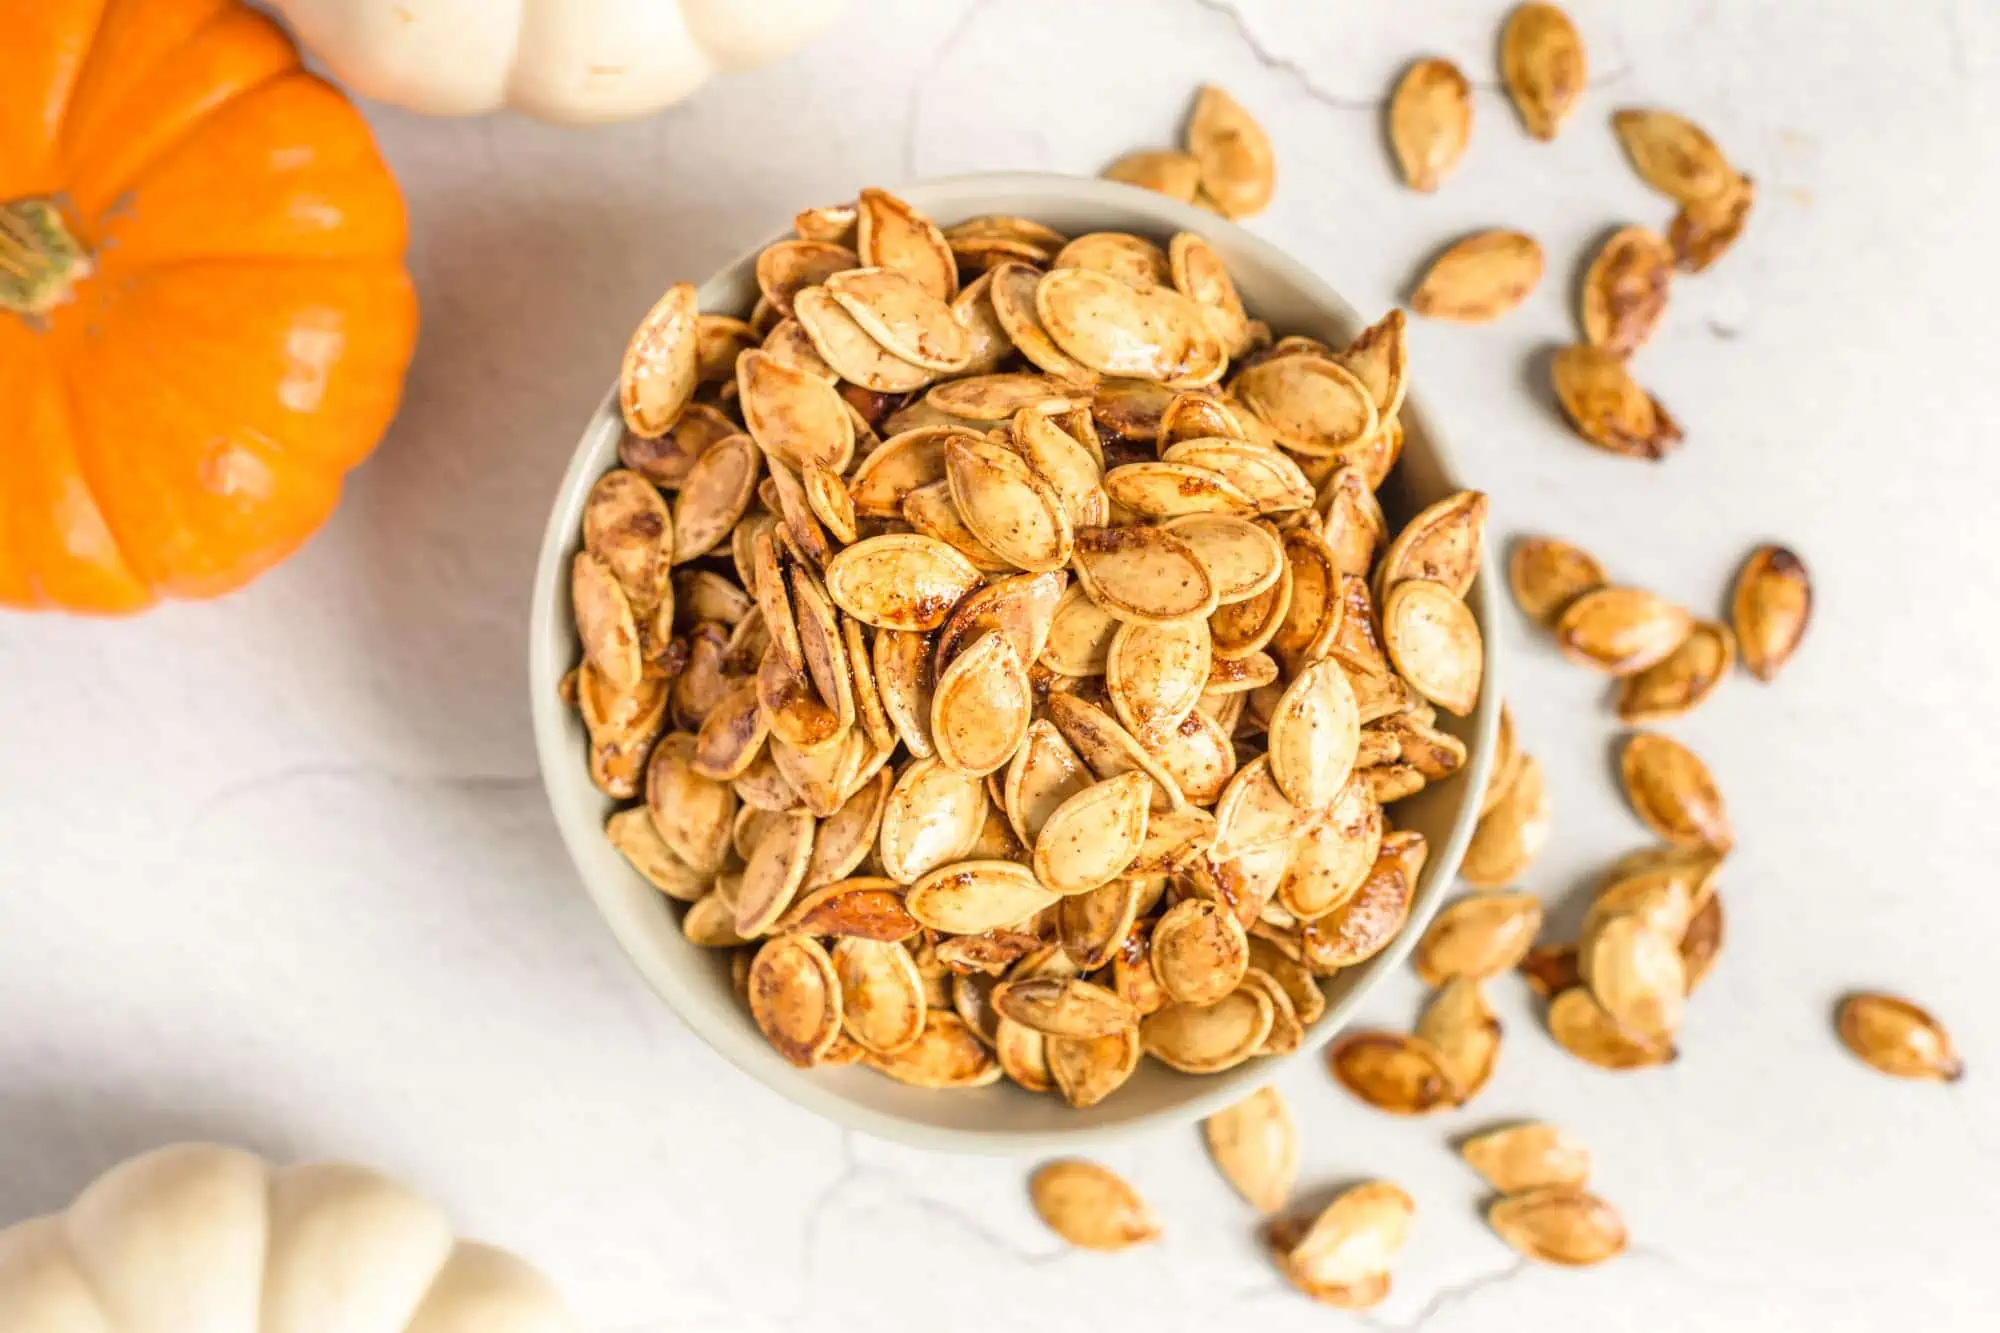
- Dry the Seeds: Using a paper towel or clean cloth, pat the rinsed seeds to remove excess moisture. Spread the seeds out on a flat surface, such as a baking sheet or a paper plate, and allow them to air dry completely. Make sure to keep the seeds in a well-ventilated area away from direct sunlight.
- Label and Store: Once the seeds are completely dry, transfer them to a labeled envelope or a small airtight container. Be sure to include the watermelon variety and the date of extraction. Store the seeds in a cool, dry place until you are ready to plant them.
It’s important to note that extracting watermelon seeds can be a messy process, so it’s a good idea to have a designated work area and some paper towels nearby for easy cleanup.
Now that you have successfully extracted the watermelon seeds, you are one step closer to growing your own watermelon plants. In the next section, we will learn how to clean the seeds to ensure optimal germination.
Cleaning the Watermelon Seeds
After extracting the watermelon seeds, it’s important to clean them thoroughly before storing or planting. Cleaning the seeds helps remove any remaining pulp and potential pathogenic organisms that may hinder germination. Follow these steps to effectively clean your watermelon seeds:
- Rinse the Seeds: Start by placing the extracted seeds in a fine-mesh strainer or colander. Hold the strainer under cool running water and gently rinse the seeds while agitating them with your fingers. This will help remove any clinging pulp or debris.
- Soak in Water: Fill a bowl with water and add the rinsed seeds. Allow the seeds to soak for about 24 to 48 hours. This soaking process helps to separate any stubborn pulp that may have been missed during rinsing and encourages the healthy development of viable, hydrated seeds.
- Stir the Seeds: After the soaking period, vigorously stir the seeds in the water. This will help dislodge any remaining pulp or debris that might be attached to the seeds.
- Strain the Seeds: Pour the seeds and water through a fine-mesh strainer or colander to separate the seeds from the soaking water. Rinse the seeds once more under running water to ensure that any loose pulp is removed.
- Dry the Seeds: Pat the cleaned seeds dry using a clean cloth or paper towel. Spread the seeds out on a flat surface in a single layer to air dry completely. Ensure that the seeds are thoroughly dry before storing or planting to prevent mold or fungal growth.
It’s vital to maintain cleanliness throughout the process, so wash your hands and utensils thoroughly before and after handling the seeds. Additionally, avoid using any chemicals or detergents during the cleaning process, as they may harm the seeds.
Once the watermelon seeds are cleaned and completely dry, they are ready for storage or planting. In the next section, we will explore the best practices for drying watermelon seeds to ensure long-term viability and successful germination.
Drying Watermelon Seeds
Properly drying watermelon seeds is essential to ensure their longevity and successful germination. Drying the seeds helps remove any remaining moisture, which can lead to mold or fungal growth. Follow these steps to effectively dry your watermelon seeds:
- Spread the Seeds: After cleaning the seeds, spread them out in a single layer on a flat surface. You can use a baking sheet, paper plate, or a clean cloth for this purpose. Avoid using paper towels, as the seeds may stick to them.
- Air Circulation: Place the seeds in a well-ventilated area where there is good air circulation. It’s important to keep the seeds away from direct sunlight, as excessive heat can damage their viability.
- Rotate the Seeds: Every few days, gently stir or rotate the seeds to ensure that all sides have equal exposure to air. This helps to prevent any potential moisture buildup and promotes even drying.
- Monitor the Seeds: Check the seeds regularly during the drying process. They should feel dry and brittle to the touch once they are fully dried. Avoid drying them for too long, as over-drying can negatively affect germination rates.
- Timeframe: The drying time for watermelon seeds can vary depending on factors such as humidity and seed moisture content. Generally, it can take anywhere from one to two weeks for the seeds to fully dry.
As the watermelon seeds dry, you may notice the protective seed coat hardening and the seeds becoming darker in color. This is a natural part of the drying process and indicates that the seeds are nearing readiness for storage or planting.
Once the watermelon seeds are completely dry, they can be stored in a suitable container until you are ready to use them. Proper storage is crucial to maintain their quality and viability, as we will explore in the next section.
Storing Watermelon Seeds
Proper storage is vital to maintain the quality and viability of watermelon seeds. Following these guidelines will help ensure that your seeds remain viable for future planting:
- Dry Completely: Before storing watermelon seeds, it’s crucial that they are fully dry. Any remaining moisture can lead to mold or fungal growth, which can render the seeds non-viable.
- Choose an Airtight Container: Transfer the dried watermelon seeds to an airtight container, such as a glass jar or a sealed plastic bag. Make sure the container is clean, dry, and free of any moisture to prevent the seeds from absorbing excess humidity.
- Label the Container: It’s essential to label the container with the watermelon variety and the date of seed extraction. This information will help you keep track of the seeds and ensure that you use the oldest seeds first.
- Store in a Cool, Dark Place: Place the labeled container in a cool and dark location, such as a pantry or a basement. The storage area should have a stable temperature and be away from any sources of heat or direct sunlight.
- Avoid Temperature Fluctuations: Temperature fluctuations can negatively impact seed viability. Avoid storing the seeds in areas prone to temperature changes, such as near windows or heating/cooling vents.
- Check for Moisture Regularly: Periodically check the stored seeds for any signs of moisture or mold. If you notice any moisture buildup, remove the seeds, allow them to dry thoroughly, and replace them in a new, dry container.
- Long-Term Storage: If you plan to store watermelon seeds for an extended period, consider placing the container in the refrigerator. The cold temperature will help prolong seed viability.
Properly stored watermelon seeds can remain viable for several years. However, it’s best to use them within the first two to three years to maximize their germination rates.
With your watermelon seeds safely stored, you are now ready to prepare them for planting, as we will explore in the next section.
Preparing Watermelon Seeds for Planting
Before planting watermelon seeds, it’s important to prepare them to maximize their germination potential and ensure successful growth. Follow these steps to properly prepare your watermelon seeds:
- Soak the Seeds: To promote faster and more uniform germination, you can soak the watermelon seeds in water for about 12 to 24 hours before planting. This helps soften the seed coat and promotes hydration.
- Seed Stratification (Optional): Some watermelon varieties benefit from a process called stratification, which mimics the natural conditions necessary for breaking seed dormancy. To stratify the seeds, place them in a damp paper towel or a plastic bag with lightly moistened vermiculite. Keep them in the refrigerator for about a week before planting.
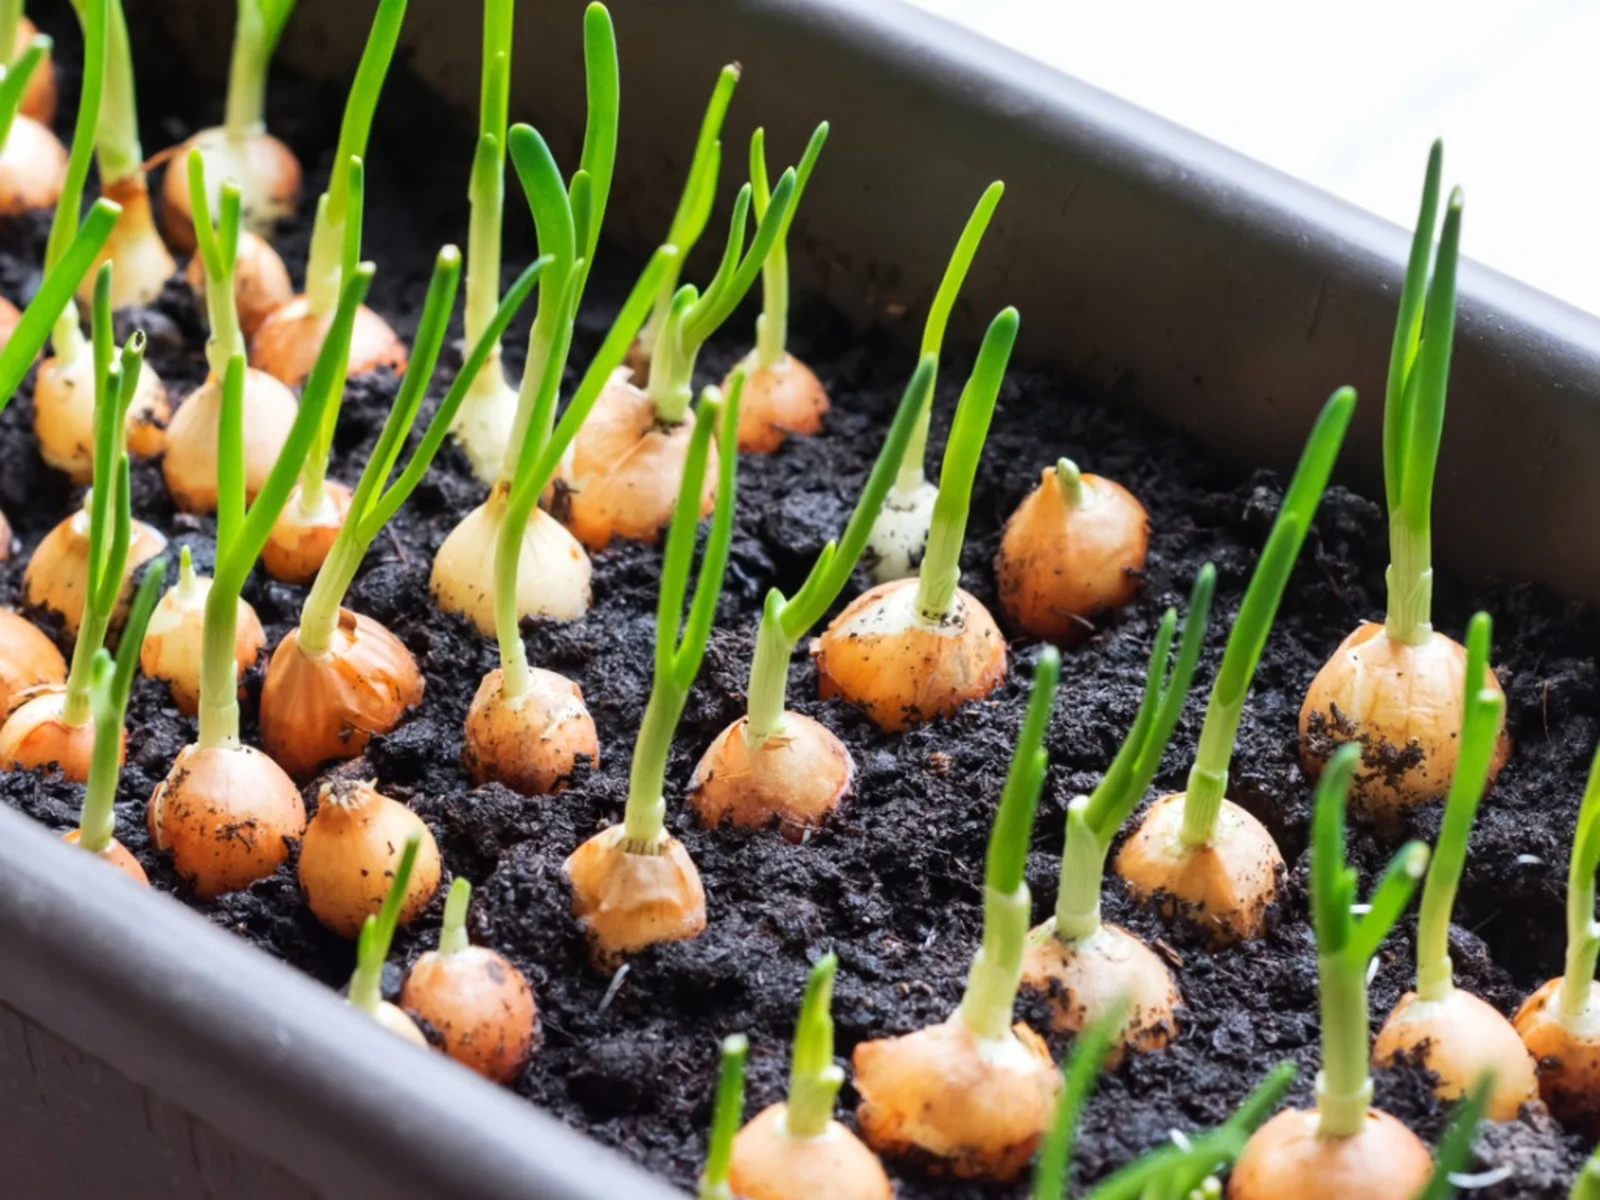
- Warm-up Period: Watermelon seeds require warm soil temperatures for successful germination. Therefore, it’s best to wait until the soil temperature reaches around 70°F (21°C) or higher before planting the seeds outdoors. You can also start the seeds indoors a few weeks earlier to get a head start on the growing season.
- Planting Depth: Sow the watermelon seeds about 1 inch (2.5 cm) deep into well-prepared soil. Space the seeds 12-18 inches (30-45 cm) apart in rows that are 6-8 feet (1.8-2.4 meters) apart.
- Proper Watering: Keep the soil consistently moist but not overly saturated until the seeds germinate. Once the seedlings have emerged, water deeply and less frequently, allowing the top layer of soil to dry out slightly between waterings.
- Provide Adequate Sunlight: Watermelon plants thrive in full sunlight, so choose a location that receives at least 6-8 hours of direct sunlight a day. Avoid planting in shaded areas where the plants may not receive sufficient light.
- Support and Space: Consider providing support or trellising for your watermelon plants, especially if you are growing large varieties. This helps prevent the fruits from sitting directly on the ground, reducing the risk of rotting or pest damage.
- Feeding the Plants: Watermelon plants are heavy feeders, so incorporate organic matter into the soil before planting to provide essential nutrients. Additionally, you can apply a balanced fertilizer during the growing season to ensure healthy plant growth and fruit development.
By following these preparations and planting practices, you will give your watermelon seeds the best chance for success. Remember to monitor the plants regularly and provide proper care, including regular watering, weeding, and pest control.
Now that you know how to prepare watermelon seeds for planting, it’s time to put your newfound knowledge into action and start growing your very own watermelon patch!
Conclusion
Congratulations! You have now learned the ins and outs of saving and planting watermelon seeds. By following the step-by-step process, from selecting ripe watermelons to preparing the seeds for planting, you are well on your way to enjoying the delicious fruits of your labor.
With the ability to save and plant watermelon seeds, you can preserve the genetic traits of your favorite varieties, have a steady supply of fresh and tasty watermelons, and save money in the process. Not to mention, you are engaging in sustainable gardening practices by reusing and recycling the seeds from fruits you already enjoy.
Remember, the key is to select ripe watermelons, properly extract and clean the seeds, dry them thoroughly, and store them in the right conditions. Additionally, don’t forget to prepare the seeds for planting by soaking or stratifying if necessary, and providing proper care to the growing watermelon plants.
So, gather your tools, find the perfect watermelons, and embark on this exciting journey of growing your own watermelon patch. Watch in awe as the plants grow, fruit develops, and you savor the taste of your homegrown watermelons.
Happy gardening and may your harvest be bountiful and sweet!