Home>Types of Gardening>Edible Gardening>How To Dry Beans For Planting
Edible Gardening
How To Dry Beans For Planting
Modified: January 22, 2024
Learn how to dry beans for planting in your edible gardening. Find out the steps and tips for successful bean drying and saving seeds.
(Many of the links in this article redirect to a specific reviewed product. Your purchase of these products through affiliate links helps to generate commission for Chicagolandgardening.com, at no extra cost. Learn more)
Table of Contents
Introduction
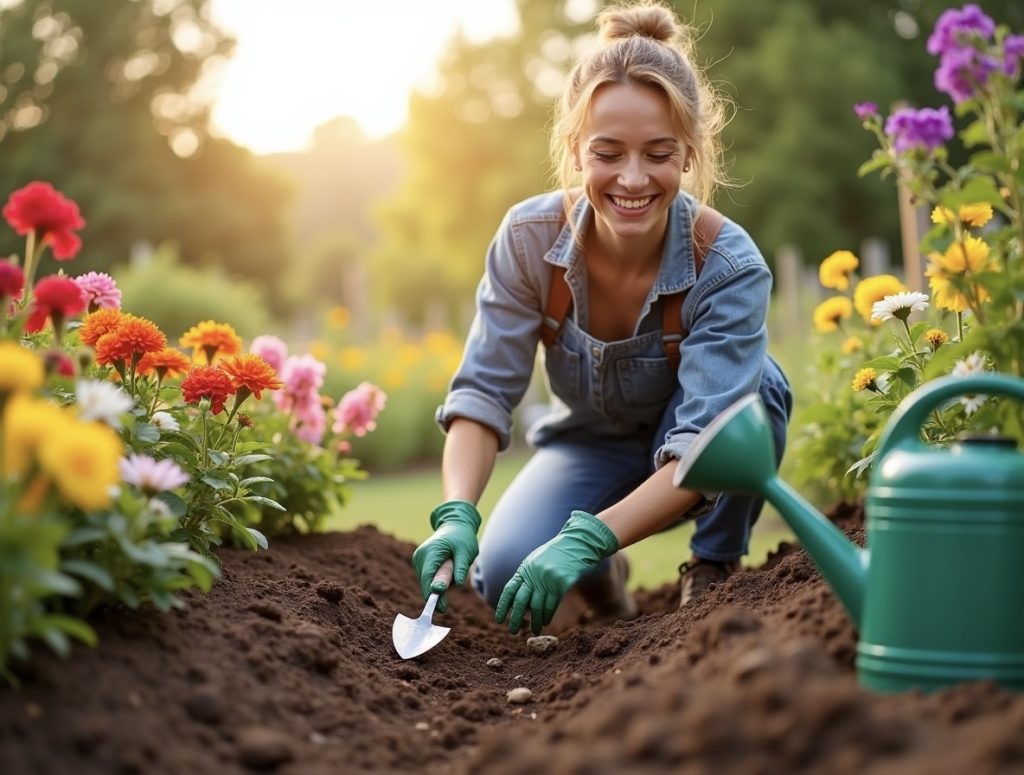
Welcome to the world of edible gardening! If you are looking to embark on a journey of growing your own food, you have come to the right place. Edible gardening is not only a rewarding and sustainable hobby, but it also allows you to have complete control over the quality of the produce you consume. One essential aspect of edible gardening is learning how to dry beans for planting. In this article, we will explore the benefits of drying beans, the types of beans suitable for drying, and the methods for harvesting, preparing, and storing dried beans for planting.
Drying beans for planting is an age-old practice that offers numerous advantages to gardeners. By drying beans, you can save money by not having to purchase new seeds every season. Additionally, dried beans have a longer shelf life, meaning you can store them for multiple years without worrying about their quality deteriorating. This comes in handy, especially if you encounter a bad growing season or want to keep certain bean varieties for future use.
When it comes to choosing the right beans for drying, you have a plethora of options. From the popular black beans and kidney beans to lesser-known varieties like adzuki beans and chickpeas, there is a wide range of beans that can be dried and planted later. Each bean type has its own unique flavor profile and nutritional benefits that can enhance your culinary experience.
Harvesting beans for drying involves timing and proper technique. It’s crucial to wait until the beans have fully matured on the plant before harvesting. This ensures that the beans are at their peak in terms of taste and texture. Once harvested, the beans need to be carefully prepared for drying. This typically involves removing the beans from their pods, cleaning them, and ensuring they are completely dry to prevent mold or rot.
There are several methods for drying beans, ranging from air drying to using specialized equipment like dehydrators. We will dive into each of these methods and discuss their pros and cons. Additionally, we will provide tips on how to store dried beans properly to maintain their viability for planting in the future.
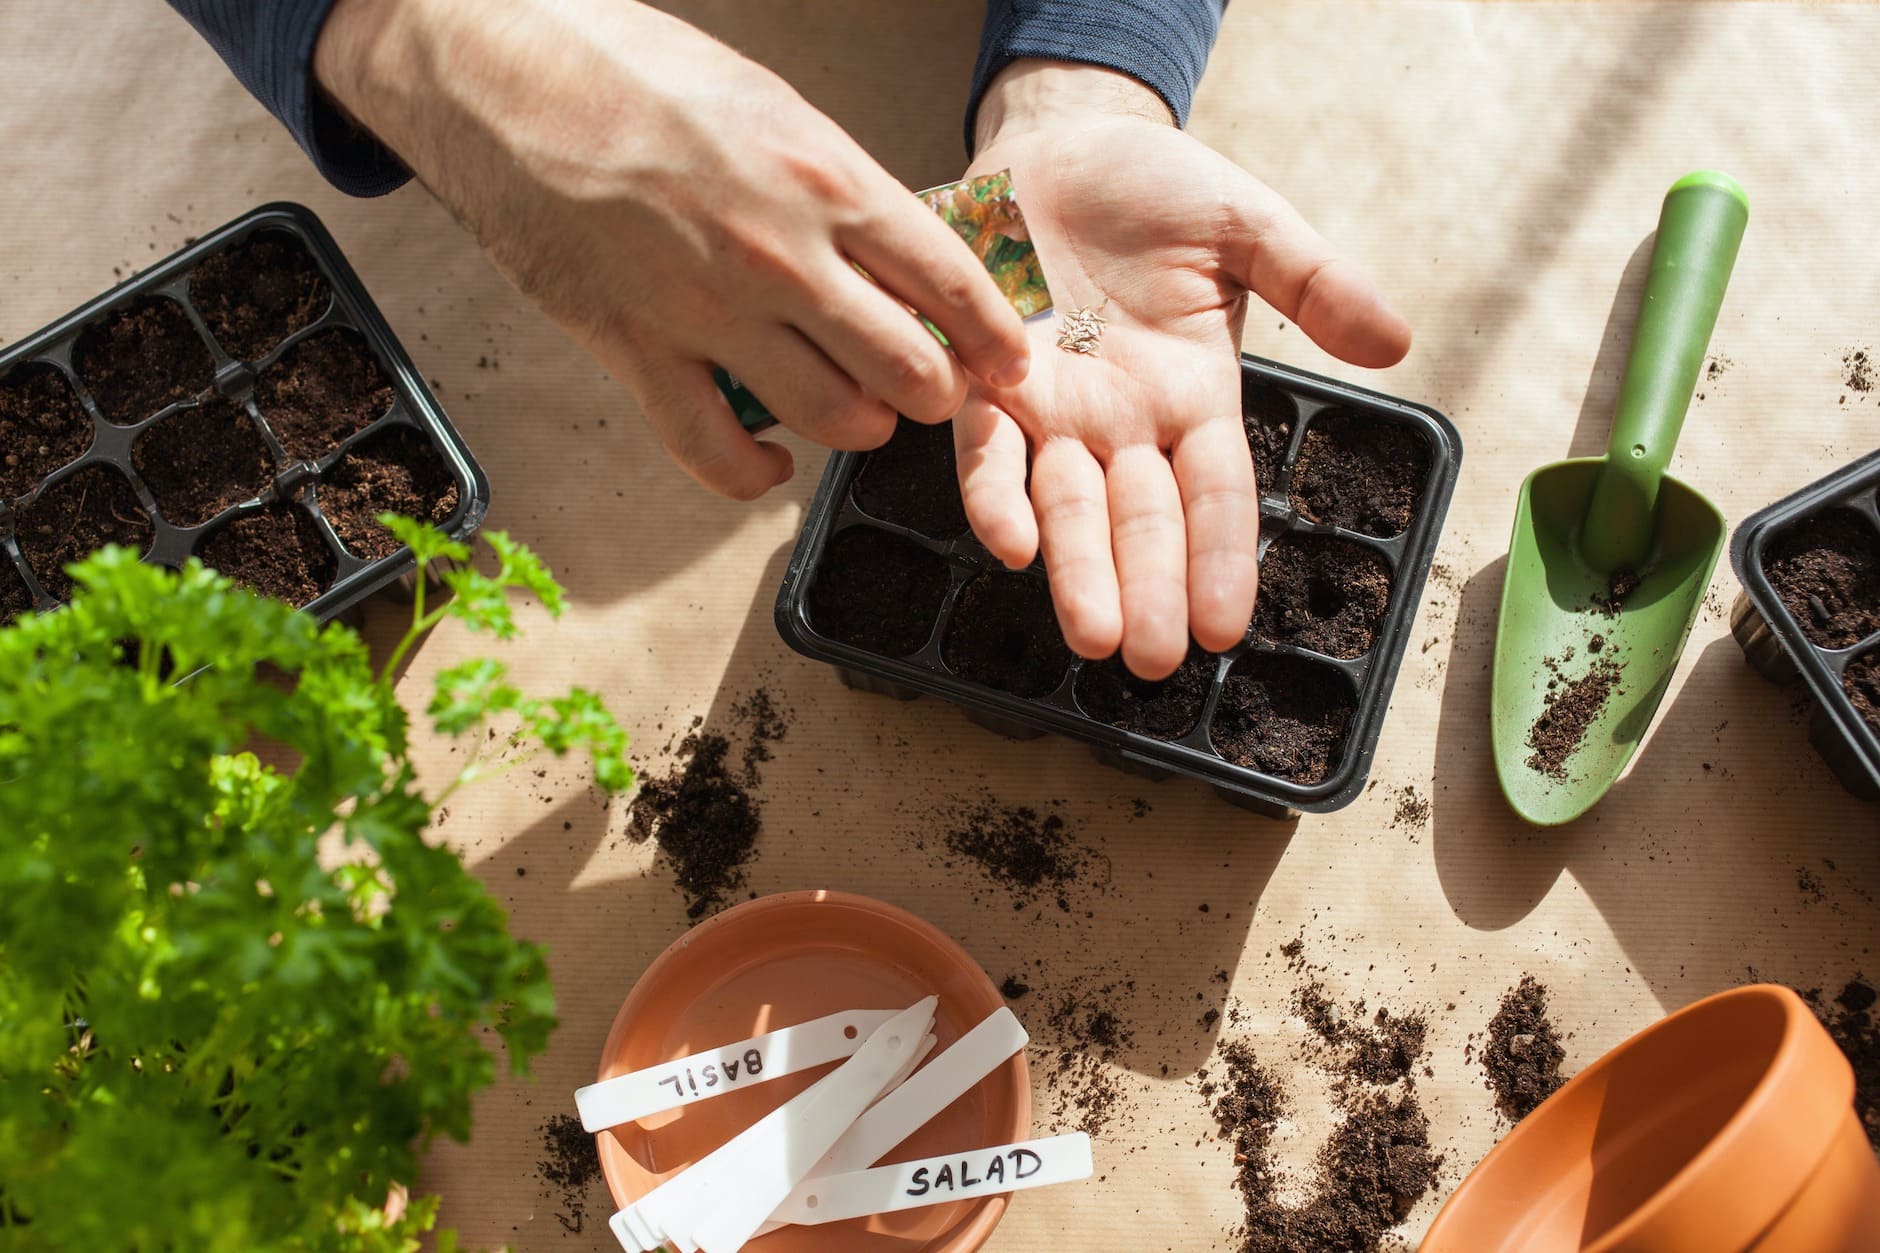
To ensure successful bean planting, we will share some valuable tips and tricks that will help you achieve optimal growth and yield. From proper soil preparation to providing the right amount of water and sunlight, you’ll learn the secrets to cultivating healthy and thriving bean plants in your garden.
So, whether you’re a seasoned gardener looking to expand your knowledge or a beginner eager to start your edible gardening journey, learning how to dry beans for planting is an essential skill that will enable you to grow your own sustainable food source. Let’s dive in and discover the wonderful world of dried beans!
Benefits of Drying Beans for Planting
Drying beans for planting offers a multitude of benefits for gardeners, making it a worthwhile practice to incorporate into your edible gardening routine. Here are some of the key advantages of drying beans:
- Cost savings: By drying beans and saving the seeds for future planting, you can significantly reduce your gardening expenses. Instead of purchasing new seeds each season, you can rely on the beans you have dried, ultimately saving money in the long run.
- Extended shelf life: Dried beans have a remarkably long shelf life compared to fresh beans. If properly stored, dried beans can last for several years without compromising their quality. This means you can stock up on your favorite bean varieties and have a readily available source of seeds for multiple growing seasons.
- Preserving heirloom varieties: Drying beans allows you to preserve heirloom bean varieties that may not be easily available in seed catalogs or nurseries. If you have a treasured heirloom bean that you want to continue growing in your garden, saving and drying its seeds ensures that you can maintain its unique characteristics for generations to come.
- Planting on your schedule: When you have dried beans on hand, you have the flexibility to plant them whenever it suits your gardening plan. This is particularly advantageous if you encounter unexpected weather conditions or unfavorable planting times. You can simply reach for your stash of dried beans and start planting at a more suitable time.
- Enhanced flavor and nutrition: Dried beans often have a more concentrated flavor compared to their fresh counterparts. The drying process intensifies the taste and aroma, making them perfect for soups, stews, and other cooked dishes. Additionally, dried beans are rich in fiber, protein, vitamins, and minerals, providing you with a nutritious addition to your meals.
- Consistency in performance: When you save and plant seeds from dried beans, you have greater control over the consistency of your crop. By selecting seeds from healthy and productive bean plants, you can expect more consistent growth and yield in subsequent seasons.
Drying beans for planting not only offers practical benefits, but it also connects you with the rich traditions of seed saving and preserving heirloom varieties. It empowers you as a gardener to have a sustainable and self-reliant approach to food production. With the knowledge and practice of drying beans, you can enjoy the rewards of edible gardening while building a resilient and diverse garden for years to come.
Choosing the Right Beans for Drying
When it comes to choosing beans for drying, you have a wide variety of options to suit your preferences and gardening goals. Here are some factors to consider when selecting beans for drying:
- Variety: There are numerous bean varieties that are well-suited for drying. Common choices include kidney beans, black beans, pinto beans, navy beans, and cannellini beans. However, don’t be afraid to explore lesser-known varieties like adzuki beans, lima beans, and chickpeas, as they offer unique flavors and textures. Consider the culinary uses and nutritional profiles of different bean varieties to find the ones that align with your preferences.
- Growing conditions: Take into account the climate and growing conditions in your region. Some bean varieties may thrive better in cooler climates, while others may be more heat-tolerant. Research the optimal growing conditions for the beans you are interested in and ensure that they can thrive in your environment.
- Plant size and growth habit: Consider the size of your gardening space and the growth habit of the bean plants. Some bean varieties may require trellising or support structures, while others may be more compact and suitable for small gardens or container gardening. Choose beans that fit well within your available space and align with your preferred gardening methods.
- Seed availability: Check the availability of bean seeds from local nurseries, seed catalogs, or online sources. You may find a wide selection of common bean varieties, but for more unique or heirloom varieties, you may need to explore specialty seed suppliers or join seed-saving networks to acquire the seeds.
- Taste and culinary uses: Think about your culinary preferences and the types of dishes you enjoy cooking. Some beans have a mild and versatile flavor that pairs well with a variety of cuisines, while others have a distinct taste that adds character to specific dishes. Consider how you plan to use the dried beans in your recipes to ensure they align with your culinary preferences.
Ultimately, the right beans for drying will depend on your personal preferences, gardening conditions, and culinary goals. Experiment with different varieties and explore the wide range of bean options available to find the ones that resonate with you. Remember to save the seeds from successful crops to ensure a consistent supply of beans for future drying and planting.
Harvesting Beans for Drying
Harvesting beans for drying is a crucial step in the process of preparing beans for long-term storage and future planting. Here are some guidelines to follow when harvesting beans for drying:
- Timing: It is important to wait until the beans have reached full maturity on the plant before harvesting them for drying. This means allowing the beans to fully develop and dry out inside the pods. Depending on the variety, this may take anywhere from 80 to 120 days from the time of planting. Patience is key, as harvesting too early can result in immature and underdeveloped beans.
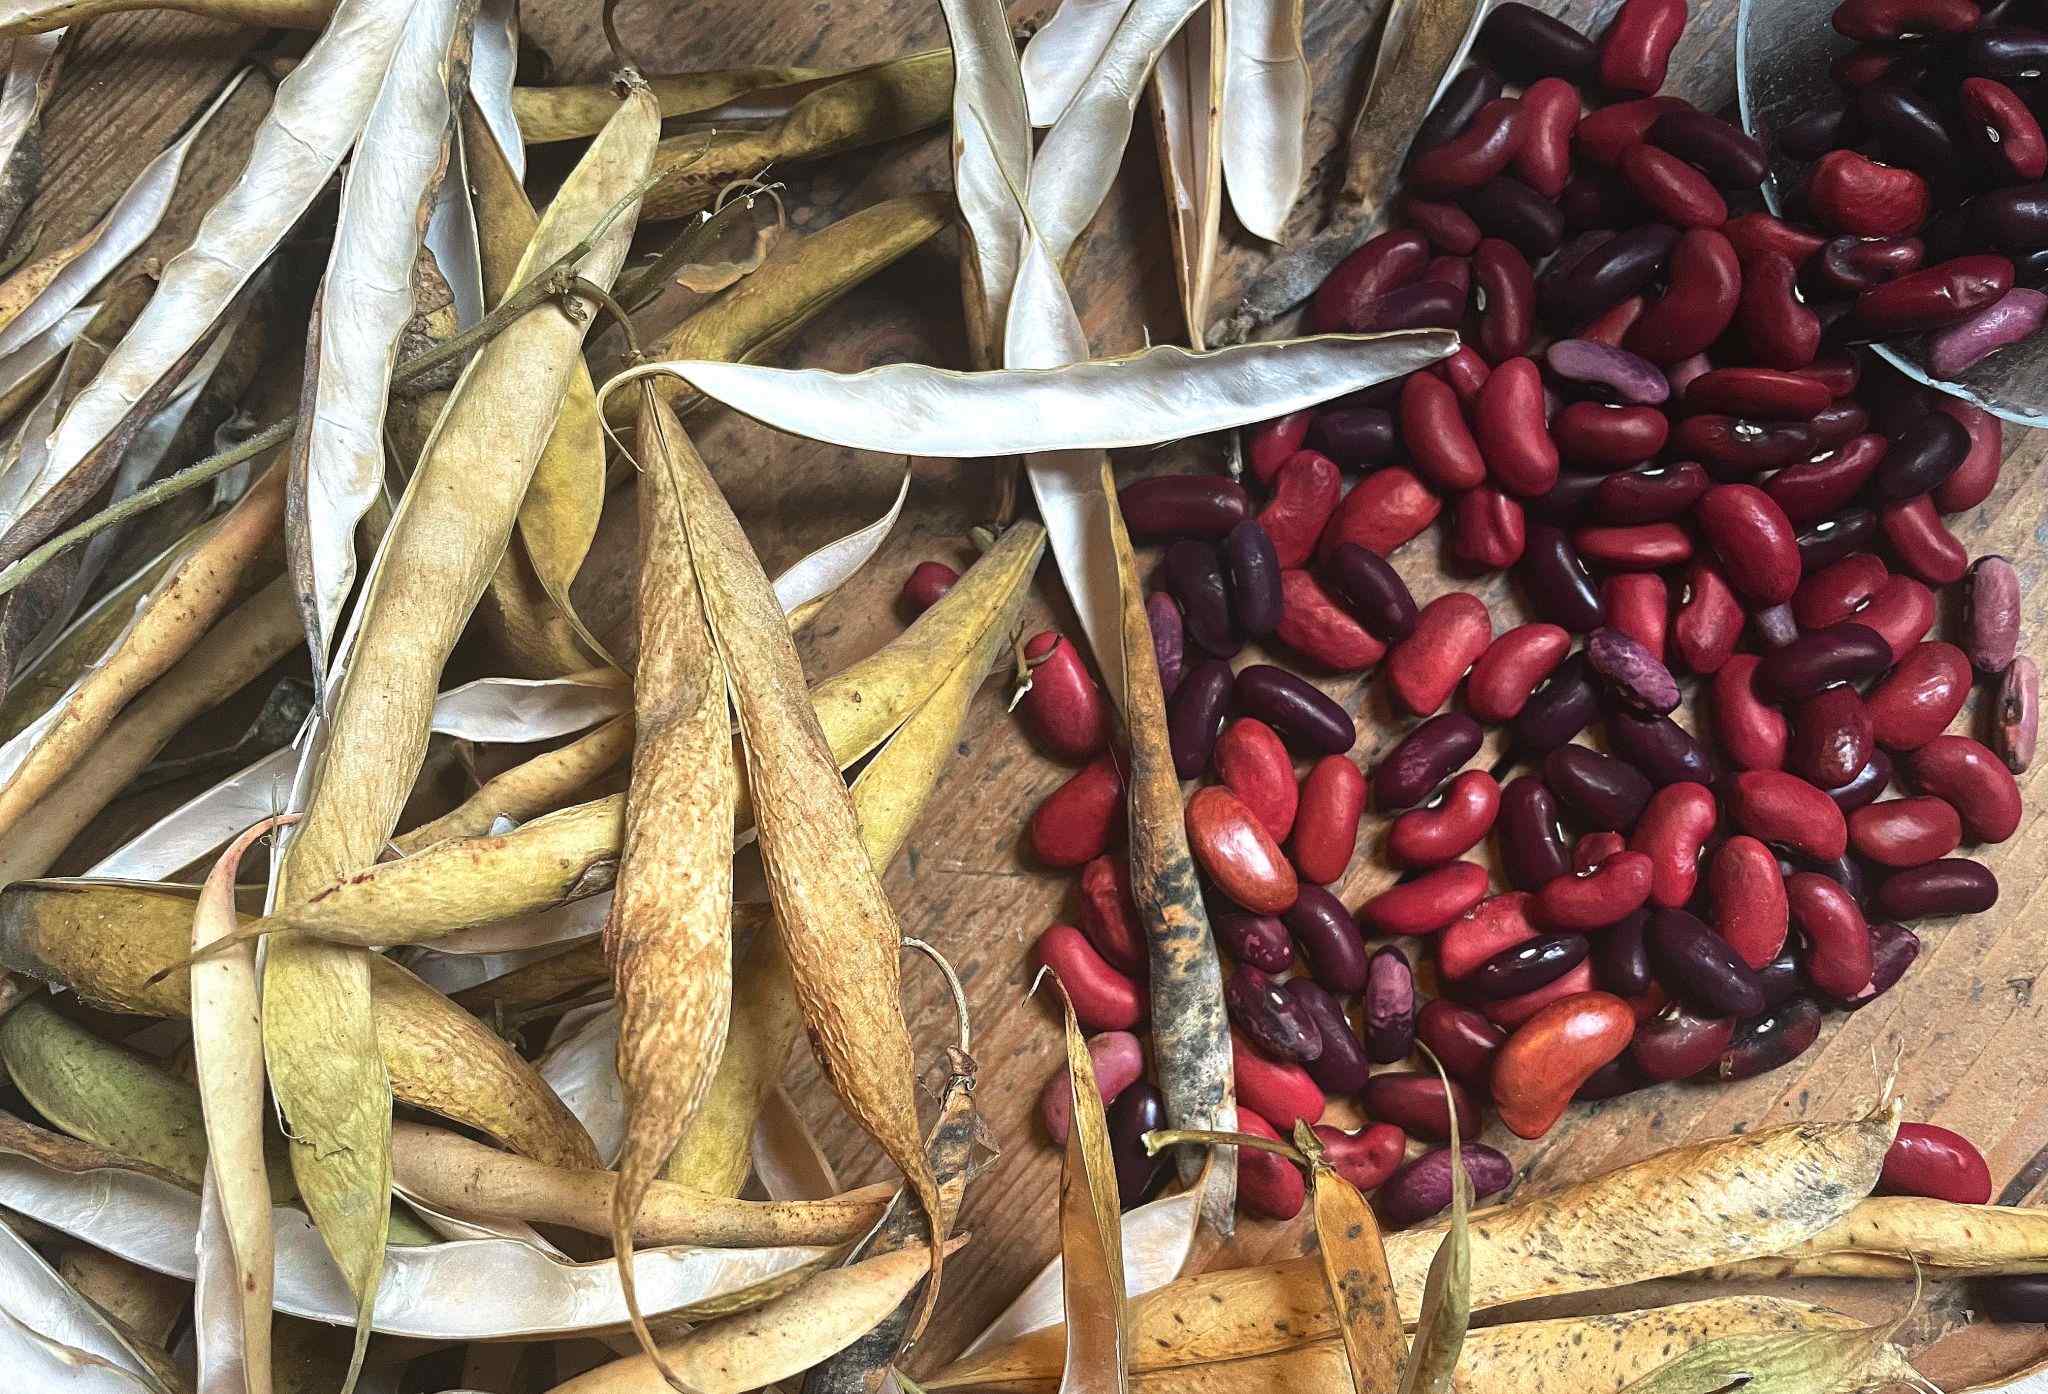
- Visual cues: Pay attention to the visual cues that indicate bean maturity. The pods will turn dry and brittle, changing from a vibrant green to a dull, papery brown or beige color. The beans inside should be hard and fully formed. When you squeeze the pod, you should feel the solidity of the beans and hear a rattling sound.
- Testing for readiness: To ensure that the beans are completely dry and ready for harvest, you can perform a simple test. Shell a few beans and test their moisture content by pressing the beans between your fingers. If they are hard and no moisture is released, it indicates that they are fully dry and can be harvested.
- Harvesting methods: Depending on the bean variety and personal preference, you can harvest the entire plant or pick individual pods. If you choose to harvest the entire plant, make sure to cut it at the base, leaving a few inches of stem attached to the pods. If you prefer to pick individual pods, gently twist or snap them off the plant.
- Handling harvested beans: Once the beans have been harvested, it is important to handle them carefully to avoid damaging the seeds. Avoid excessive squeezing or dropping the pods, as this can lead to bruising or cracked beans. Place the harvested beans in a clean and dry container, and avoid exposing them to excessive moisture or humidity.
- Further drying: After harvest, it is recommended to provide additional drying time to ensure that the beans are completely dry and moisture-free. Spread the harvested beans out in a well-ventilated area, away from direct sunlight, and allow them to air dry for a few more weeks. This step helps to further reduce the moisture content and eliminate any remaining risk of mold or rot.
By following these guidelines, you can ensure that your beans are harvested at the optimal time for drying. Harvesting beans at full maturity guarantees that the seeds are fully developed and capable of producing healthy and robust plants in the future. Once the beans are harvested and properly dried, you can move on to the next steps of preparing them for long-term storage and eventual planting.
Preparing Beans for Drying
Properly preparing beans for drying is essential to ensure their longevity and viability for future planting. Here are the steps to follow when preparing beans for drying:
- Removing the beans from the pods: Start by shelling the beans, which means removing them from their pods. This can be done by either gently squeezing the pods to release the beans or using your fingers to snap the pods open. Work through the pods one by one, transferring the beans to a clean container.
- Cleaning the beans: Once the beans are removed from the pods, they should be thoroughly cleaned to remove any dust, dirt, or debris. Rinse the beans in cool water, gently rubbing them between your fingers to clean all sides. Discard any discolored or damaged beans that could affect the quality of the dried beans.
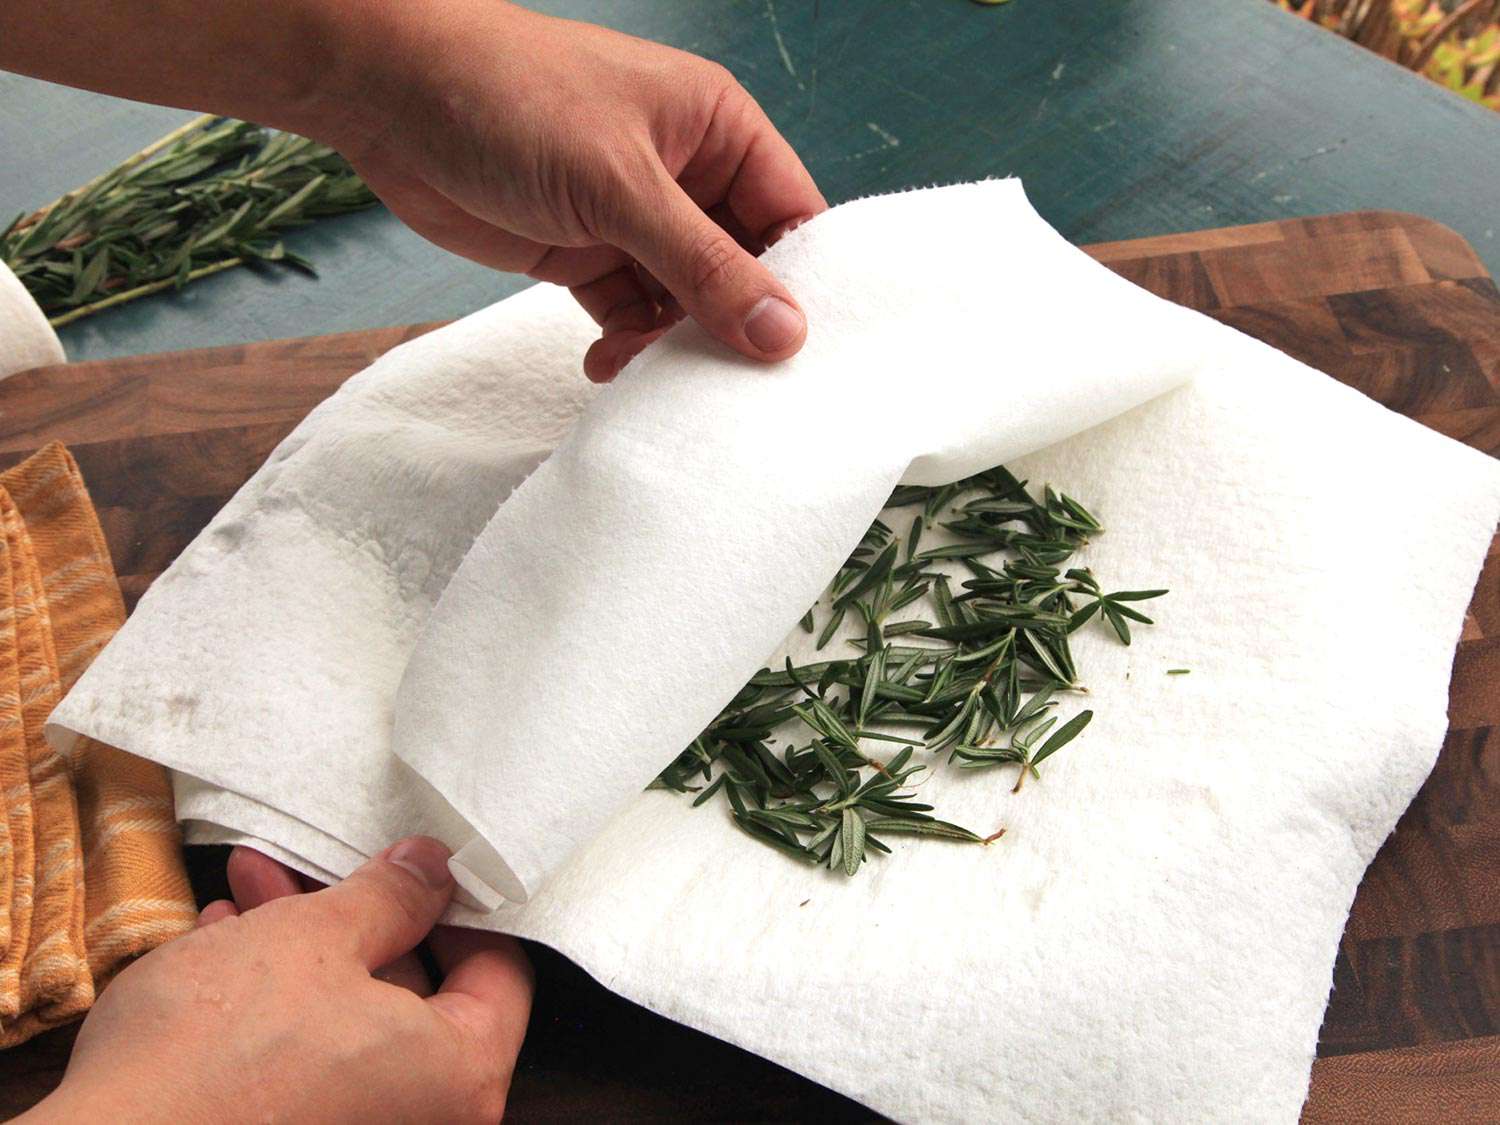
- Ensuring complete dryness: Before proceeding with the drying process, it is crucial to ensure that the beans are completely dry. Excess moisture can lead to mold or rot during storage. Spread the cleaned beans out on a clean, absorbent towel or a baking sheet lined with parchment paper. Allow them to air dry for at least 24 hours or until they are completely dry to the touch.
- Avoiding cross-contamination: To prevent cross-contamination and maintain the integrity of each bean variety, it is recommended to dry different types of beans separately. This helps to preserve their unique characteristics and prevents mixing of flavors and textures. Label each batch of beans accordingly to avoid confusion later on.
- Dealing with stubborn moisture: If you encounter stubborn moisture that prolongs the drying process, you can utilize additional drying methods. One option is to use a food dehydrator on the lowest setting, following the manufacturer’s instructions. Another method is to place the beans in the oven on the lowest temperature, checking frequently to prevent overheating. However, be cautious not to expose the beans to excessive heat, as this can affect their viability.
- Inspecting for quality: Before storing the dried beans, take a final moment to inspect their quality. Look for any signs of insect damage, rot, or mold. Discard any beans that show abnormalities or signs of deterioration. It’s vital to store only the highest quality beans to ensure successful planting and healthy bean plants.
By following these steps, you can ensure that your beans are properly prepared for the drying process. Taking the time to clean and dry the beans thoroughly helps to preserve their quality and extends their shelf life. Once the beans are adequately prepared, it’s time to move on to selecting the appropriate drying method.
Drying Methods for Beans
When it comes to drying beans, there are several methods you can choose from, depending on the equipment and resources available to you. Here are some common drying methods for beans:
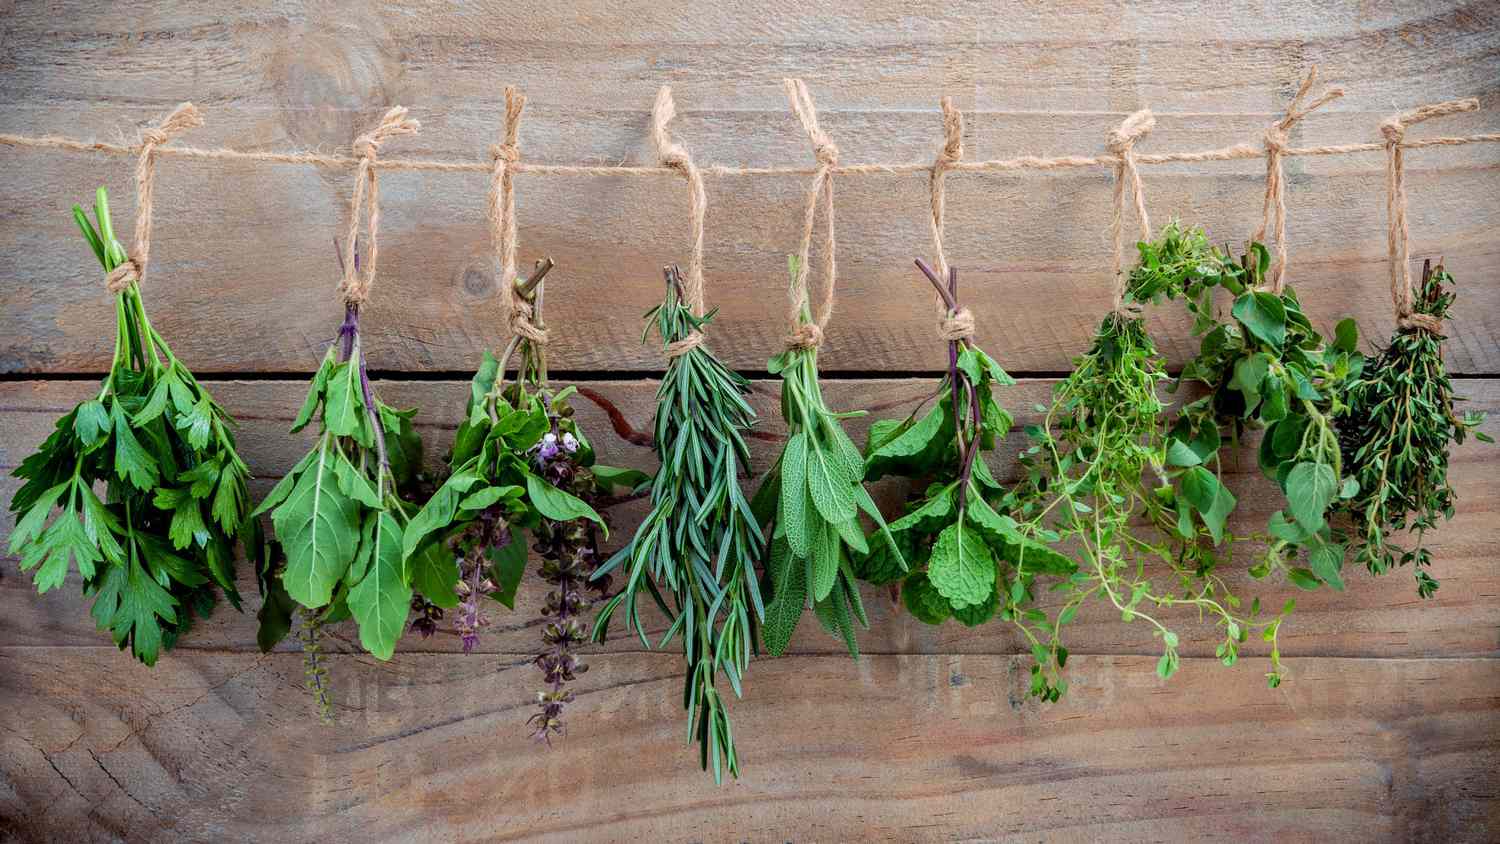
- Air drying: Air drying is the simplest and most traditional method for drying beans. Spread the cleaned and dry beans in a single layer on a clean, dry surface, such as a screen, tray, or towel. Place them in a well-ventilated area away from direct sunlight. Stir or turn the beans regularly to ensure even drying. This method may take several weeks to achieve the desired moisture content, but it is natural and effective.
- Cloth drying: For smaller quantities of beans, you can wrap them in a clean, breathable cloth, such as cheesecloth or muslin. Tie the cloth securely, leaving space between the beans for air circulation. Hang the wrapped beans in a cool, dry place with good air circulation. This method allows the beans to dry slowly and evenly.
- Dehydrator: If you have access to a food dehydrator, it can be a convenient and efficient option for drying beans. Arrange the cleaned and dry beans on the dehydrator trays in a single layer, ensuring proper airflow. Set the dehydrator to the lowest temperature setting recommended for vegetables and follow the manufacturer’s instructions. Check the beans regularly, as drying time may vary based on the dehydrator model and humidity levels.
- Oven drying: If you don’t have a food dehydrator, you can use your oven for drying beans. Preheat the oven to the lowest temperature setting, usually between 120°F (49°C) and 150°F (66°C). Spread the beans in a single layer on a baking sheet lined with parchment paper. Place the baking sheet in the oven and prop the oven door open slightly to allow moisture to escape. Stir or turn the beans every hour for even drying. Keep a close eye on the beans to prevent overheating or scorching.
- Solar drying: If you live in a sunny and dry climate, you can take advantage of solar drying. Spread the cleaned and dry beans in a single layer on a clean, flat surface, such as a screen or tray. Place the beans in a sunny area with good airflow. Cover the beans with a protective mesh or netting to prevent contamination from insects or birds. Monitoring the beans regularly, as they may dry faster under intense sunlight.
Choose the drying method that best suits your preferences and available resources. Regardless of the method you choose, it is important to monitor the beans closely to ensure they are drying properly and to avoid any signs of mold or spoilage. Once the beans are fully and evenly dry, they are ready for storage until you are ready to plant them in your garden.
Storing Dried Beans for Planting
Proper storage is crucial to maintain the quality and viability of dried beans for planting. Follow these guidelines to ensure your dried beans remain in optimal condition:
- Choose appropriate containers: Select containers that are airtight, moisture-proof, and resistant to light. Glass jars with tight-fitting lids, vacuum-sealed bags, or plastic containers with secure seals are all suitable options. Avoid using bags or containers that are permeable to moisture and air, as they can lead to spoilage or loss of viability.
- Clean and dry storage: Before storing the dried beans, make sure the containers are clean, dry, and free from any foreign particles that could contaminate the beans. Moisture can lead to mold or rot, so ensure the containers are completely dry before sealing them.
- Label and date: Properly label each container with the bean variety, date of harvest, and any other relevant information. This will help you keep track of the beans and ensure you use the oldest ones first when it’s time for planting. A permanent marker or adhesive labels can be used for this purpose.
- Store in a cool and dark place: Dried beans should be stored in a cool, dry, and dark place to maintain their quality. Excessive heat or direct sunlight can affect the viability of the seeds. A pantry, cellar, or a cool basement are suitable locations for storing dried beans. Avoid storing them in the freezer, as the fluctuating temperatures can damage the seeds.
- Check for moisture and pests: Regularly inspect the stored beans for signs of moisture or pests. Moisture can attract mold or cause the beans to spoil, so if you notice any signs of mold or excessive moisture, remove the affected beans immediately. Additionally, keep an eye out for any signs of pests, such as insects or rodents, and take necessary measures to prevent infestation.
- Rotate beans regularly: To ensure that the beans maintain their viability, it is recommended to rotate them every few years. Use the oldest batch of beans for planting and replace them with newly dried beans. This practice helps to maintain a fresh and vigorous seed stock.
By following these storage guidelines, you can ensure that your dried beans remain in excellent condition until you are ready to plant them. Proper storage not only preserves the viability of the seeds but also maintains their flavor and nutritional qualities. With a well-maintained collection of dried beans, you can continue to enjoy the benefits of homegrown produce in your garden season after season.
Tips for Successful Bean Planting
To ensure successful bean planting and a bountiful harvest, follow these tips and techniques:
- Choose the right planting location: Beans thrive in well-draining soil with a pH level between 6.0 and 7.5. Select a sunny spot in your garden that receives at least 6-8 hours of direct sunlight per day. The area should be sheltered from strong winds, as they can damage young bean plants.
- Prepare the soil: Before planting, prepare the soil by loosening it with a garden fork or tiller. Remove any weeds, rocks, or debris, and mix in organic matter, such as compost or well-rotted manure, to improve soil fertility and moisture retention.
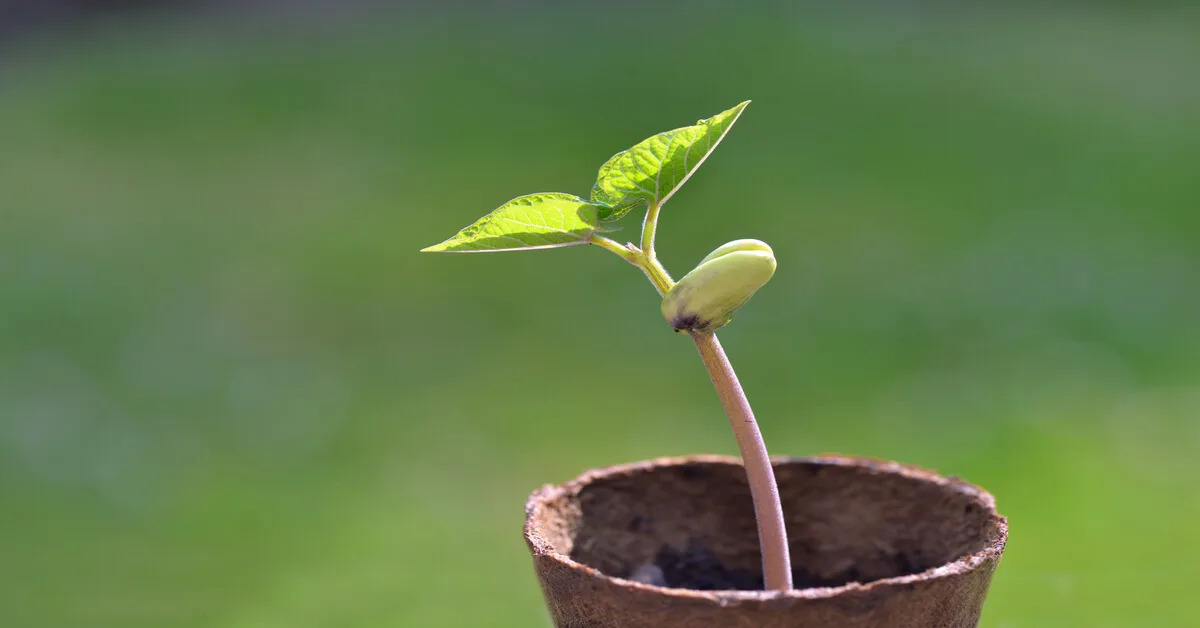
- Sow beans at the right time: Plant beans after any risk of frost has passed and the soil temperature has reached at least 50°F (10°C). Beans prefer warm soil for optimal germination and growth. Depending on the variety, sow the seeds directly into the garden or start them indoors a few weeks before the last frost date.
- Provide support if necessary: Some bean varieties, such as pole beans, require support as they grow. Install trellises, stakes, or bean teepees at the time of planting to provide the plants with a structure to climb on. This helps maximize the use of space and prevents the bean plants from sprawling on the ground.
- Water regularly and evenly: Beans need consistent moisture throughout their growth cycle. Water the plants regularly, aiming to keep the soil evenly moist but not waterlogged. Avoid overhead watering, which can increase the risk of disease. Instead, direct the water at the base of the plants to minimize foliage wetness.
- Mulch to conserve moisture: Apply a layer of organic mulch, such as straw or wood chips, around the base of the bean plants. This helps conserve moisture, suppresses weed growth, and regulates soil temperature. Mulching also prevents soil splashing onto the lower leaves, reducing the chance of disease.
- Monitor for pests and diseases: Regularly inspect the bean plants for signs of pests, such as aphids, bean beetles, or fungal diseases like powdery mildew. If an infestation or disease is detected, take immediate action to control the problem, such as using organic insecticides or disease-resistant bean varieties.
- Harvest at the right stage: Beans are best harvested when the pods are still tender and crisp. Pick the pods regularly once they reach the desired size, as this encourages the plants to produce more beans. Avoid leaving overly mature beans on the plants, as this can slow down further production.
- Save seeds for future planting: To continue the cycle of sustainable gardening, save some of the bean seeds from your harvest for future planting. Ensure that the dried seeds are properly stored in a cool, dark, and dry place until the next planting season.
By following these tips, you can maximize the success of your bean planting endeavors. Remember to adapt these suggestions based on your specific climate, bean variety, and gardening conditions. With proper care and attention, you’ll be rewarded with delicious and nutritious homegrown beans throughout the growing season.
Conclusion
Congratulations! You have now gained valuable knowledge on how to dry beans for planting, opening up a world of possibilities in your edible gardening journey. Drying beans not only allows you to save money and extend the shelf life of your favorite varieties but also gives you the opportunity to preserve heirloom beans and have complete control over your food source.
By carefully selecting the right beans for drying, harvesting them at the optimal time, and following proper preparation and drying methods, you can ensure the quality and viability of your dried beans. Storing them in appropriate containers, in cool and dark conditions, protects them from moisture and pests.
When it’s time to plant, following the tips provided for successful bean planting will help you create a thriving bean garden. From choosing the right location and preparing the soil to providing the necessary support and regular watering, these practices will contribute to the healthy growth and abundant yield of your bean plants.
Don’t forget the joy of seed saving! By saving and storing seeds from your dried beans, you can continue the cycle of self-sufficiency and sustainability in your garden. This rewarding practice allows you to maintain the diversity of bean varieties, ensuring the preservation of unique flavors and characteristics.
Now, armed with the knowledge and techniques shared in this article, you are ready to embark on your drying journey and experience the satisfaction of growing and harvesting your own beans. Enjoy the process, experiment with different varieties, and savor the flavors of homegrown beans in your favorite dishes. Happy planting!