Home>Types of Gardening>Edible Gardening>How To Dry Seeds For Planting
Edible Gardening
How To Dry Seeds For Planting
Published: August 27, 2023
Learn how to dry seeds for planting in your edible gardening journey. Discover the simple techniques to preserve and store seeds for successful future growth.
(Many of the links in this article redirect to a specific reviewed product. Your purchase of these products through affiliate links helps to generate commission for Chicagolandgardening.com, at no extra cost. Learn more)
Table of Contents
Introduction
Welcome to the world of edible gardening! Growing your own fruits, vegetables, and herbs can be a rewarding and fulfilling experience. Not only does it provide you with fresh and organic produce, but it also allows you to reconnect with nature and cultivate a sustainable lifestyle. One essential aspect of edible gardening is seed drying. While it may seem like a simple task, proper seed drying is crucial for successful planting and future harvests.
Seed drying is the process of removing excess moisture from harvested seeds, ensuring their viability and longevity. By drying the seeds properly, you can extend their shelf life, maintain their genetic integrity, and increase the chances of germination. Whether you are saving seeds from your own plants or acquiring seeds from a reputable source, understanding how to dry seeds for planting is an essential skill for every edible gardener.
In this article, we will explore why seed drying is important and guide you through the steps to effectively dry and store seeds. We will cover everything from choosing the right seeds for drying to different methods of drying and proper storage techniques. So, let’s dive into the world of seed drying and equip ourselves with the knowledge to nurture our edible gardens.
Why is Seed Drying Important?
Seed drying is a crucial step in the process of planting and growing healthy plants. The main reasons why seed drying is important can be summarized as follows:
- Prolonged Shelf Life: Drying seeds reduces their moisture content, which helps prevent them from rotting or developing mold during storage. This extends the shelf life of seeds, allowing you to store them for longer periods and use them in subsequent planting seasons.
- Maintaining Seed Viability: By removing excess moisture, seeds enter a state of dormancy, which preserves their viability. This means that when you are ready to plant the dried seeds, they have a higher chance of germinating and producing healthy plants.
- Preserving Genetic Integrity: Proper seed drying prevents genetic damage caused by moisture. DNA degradation can occur when seeds are exposed to high levels of humidity, leading to poor germination rates and weak plants. Drying seeds effectively helps maintain the genetic characteristics of the parent plant.
- Cost-effective and Sustainable: By learning how to dry seeds for planting, you can save money by harvesting and storing seeds from your own garden. This reduces the need to purchase new seeds every season, making gardening a more cost-effective and sustainable endeavor.
- Broadening Plant Varieties: Drying seeds allows you to collect and preserve seeds from heirloom or rare plant varieties. It empowers you to experiment with a wider range of plants, preserving biodiversity and contributing to the conservation of unique plant species.
Incorporating seed drying into your gardening routine is an investment in the future of your garden. It not only ensures a continuous supply of healthy plants but also empowers you with the ability to share seeds with fellow gardeners, propagate your favorite plants, and contribute to the preservation of plant biodiversity.
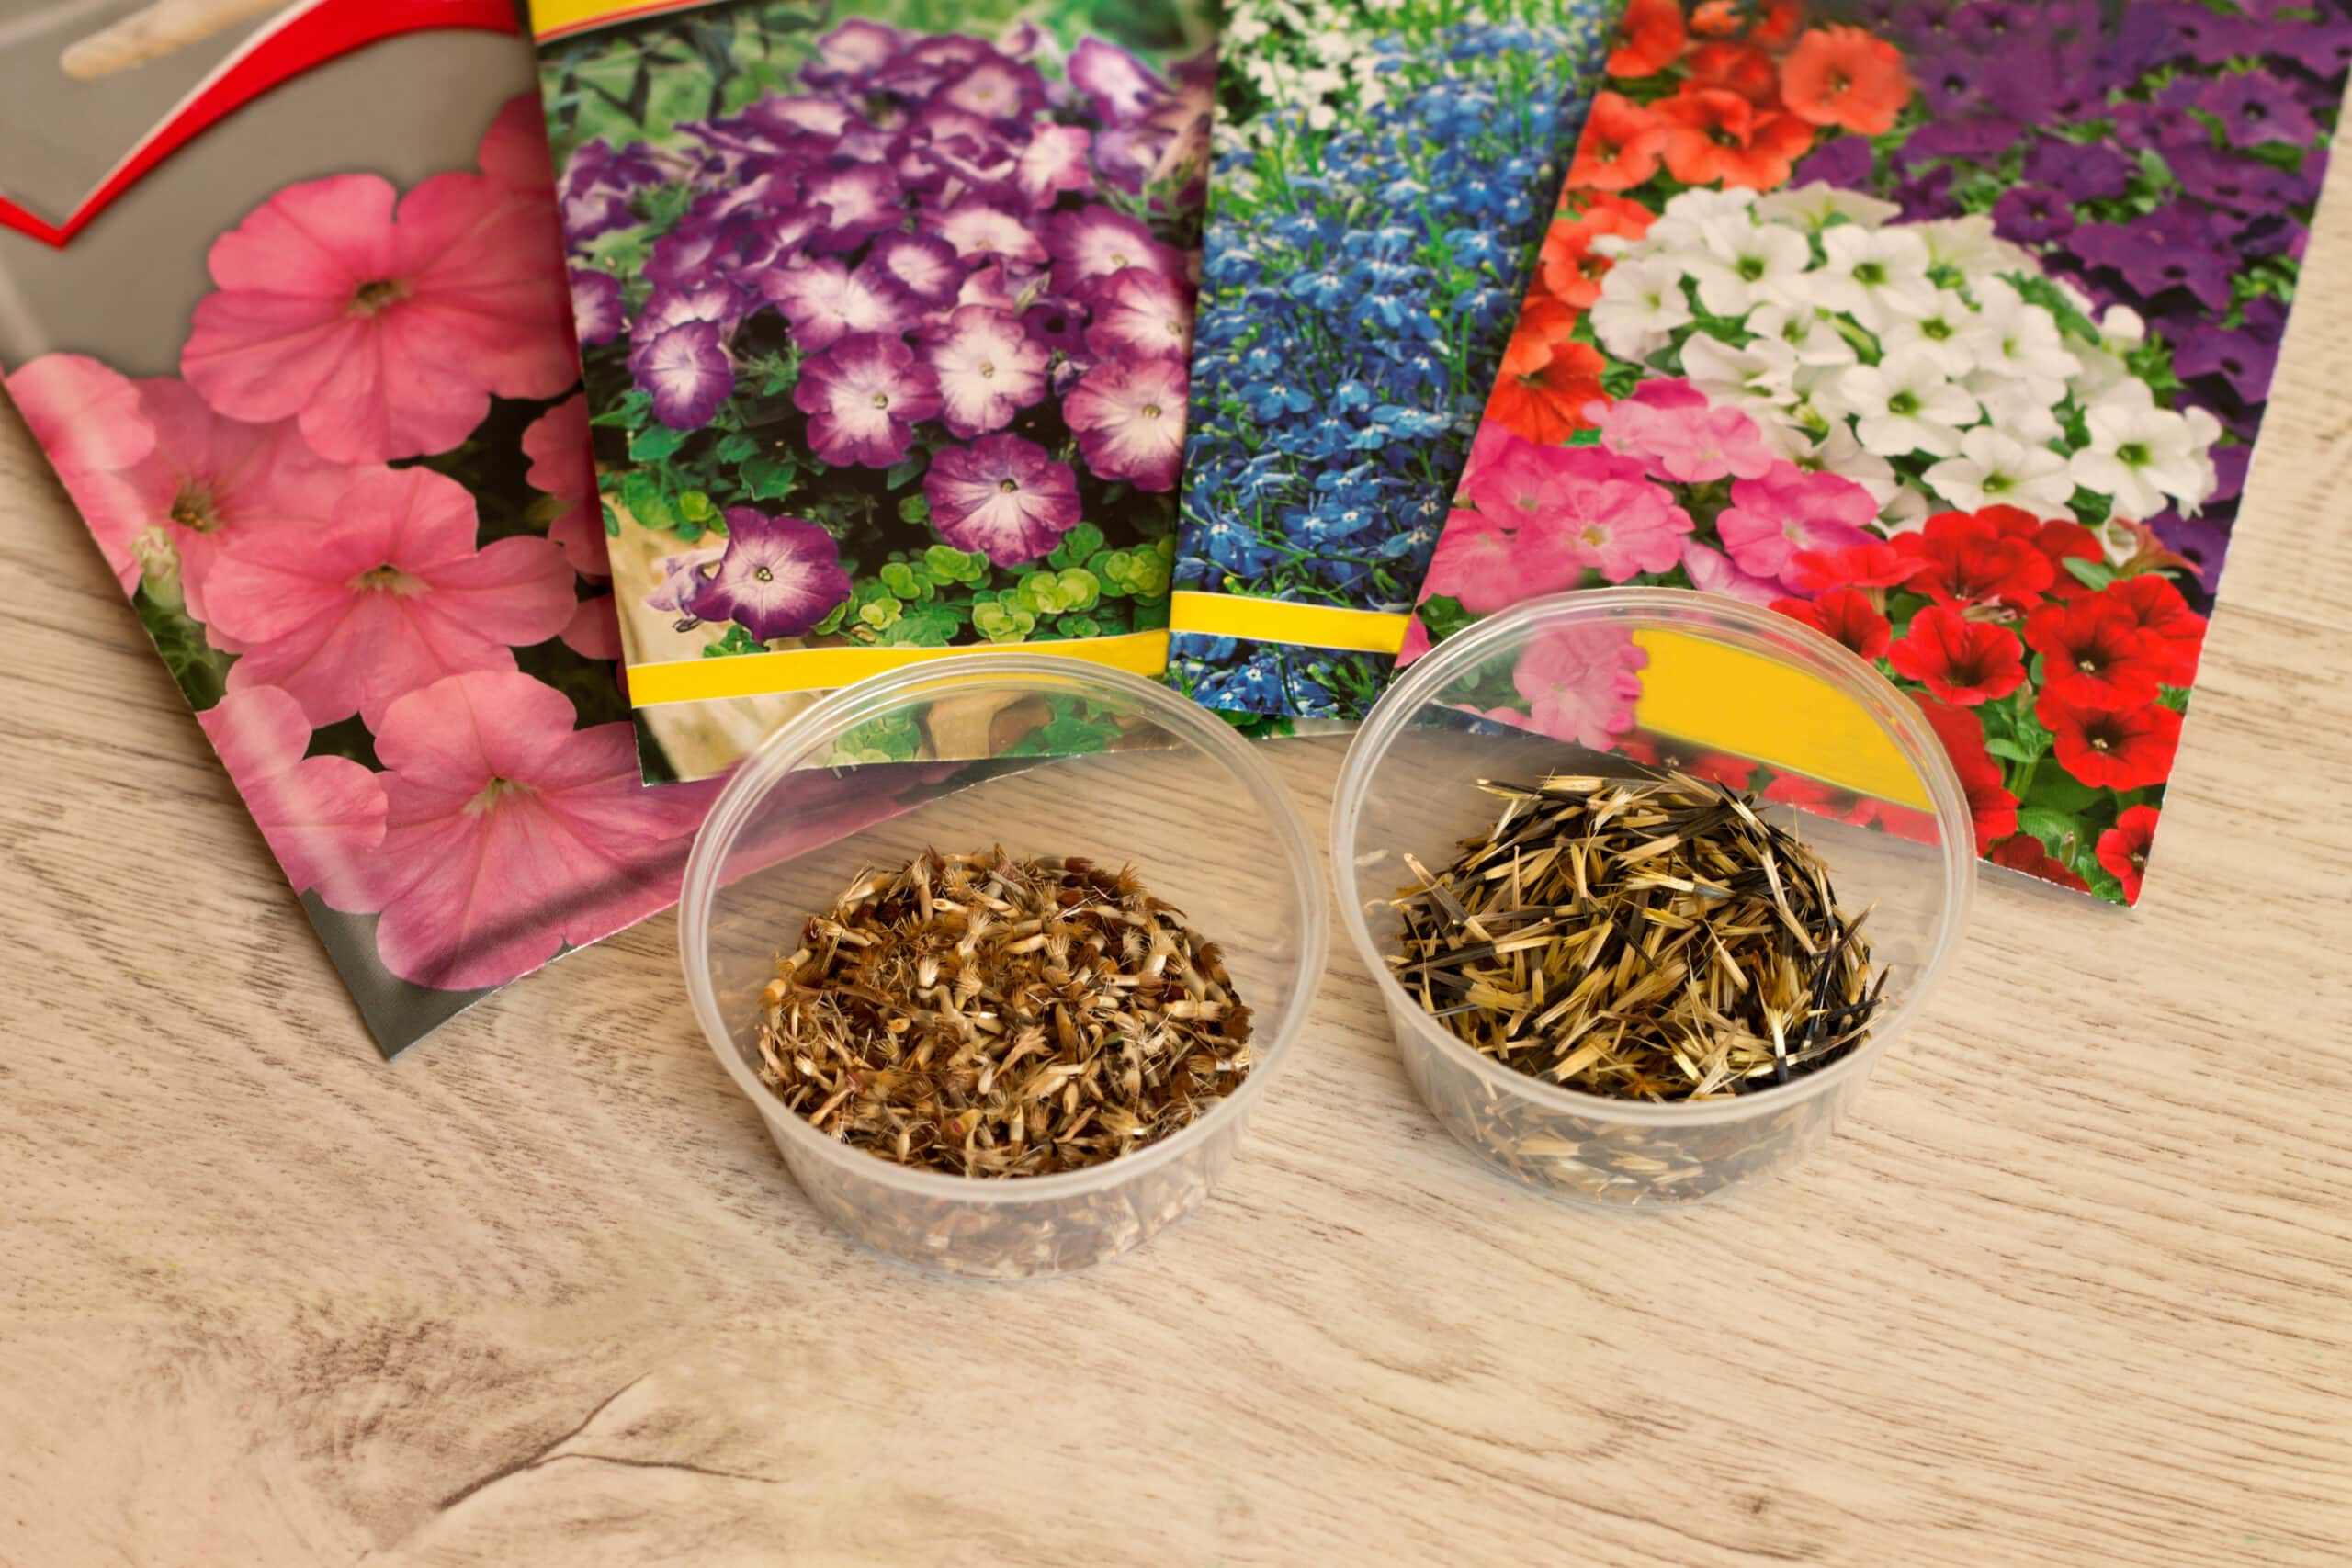
Choosing Seeds for Drying
When it comes to seed drying, selecting the right seeds is essential for a successful outcome. Here are some factors to consider when choosing seeds for drying:
- Open-pollinated or Heirloom Varieties: It is best to choose open-pollinated or heirloom varieties for seed drying. These varieties generally produce seeds that are true to the parent plant, ensuring that the next generation of plants retains the desired qualities.
- Non-Hybrid Seeds: Avoid using hybrid seeds for drying, as their offspring may not resemble the parent plant. Hybrid seeds are a cross between two different varieties and do not produce consistent results.
- Healthy and Disease-free Plants: Select seeds from plants that are healthy and free from diseases or pests. Seeds collected from unhealthy or weak plants may not produce robust offspring.
- Mature and Well-developed Seeds: Choose fully ripe seeds that have reached their maximum size and color. Immature seeds may not germinate or develop properly.
- Well-adapted Varieties: Consider choosing varieties that are well-suited to your local climate and growing conditions. These seeds are more likely to thrive in your garden and produce successful harvests.
- Desirable Traits: Look for plants that exhibit desirable traits such as flavor, color, size, or disease resistance. By selecting seeds from plants with these traits, you can enhance the quality of your future harvests.
Remember to select a diverse range of plants for seed drying to promote genetic diversity and resilience in your garden. By choosing seeds that meet these criteria, you are laying the foundation for successful seed drying and future planting endeavors.
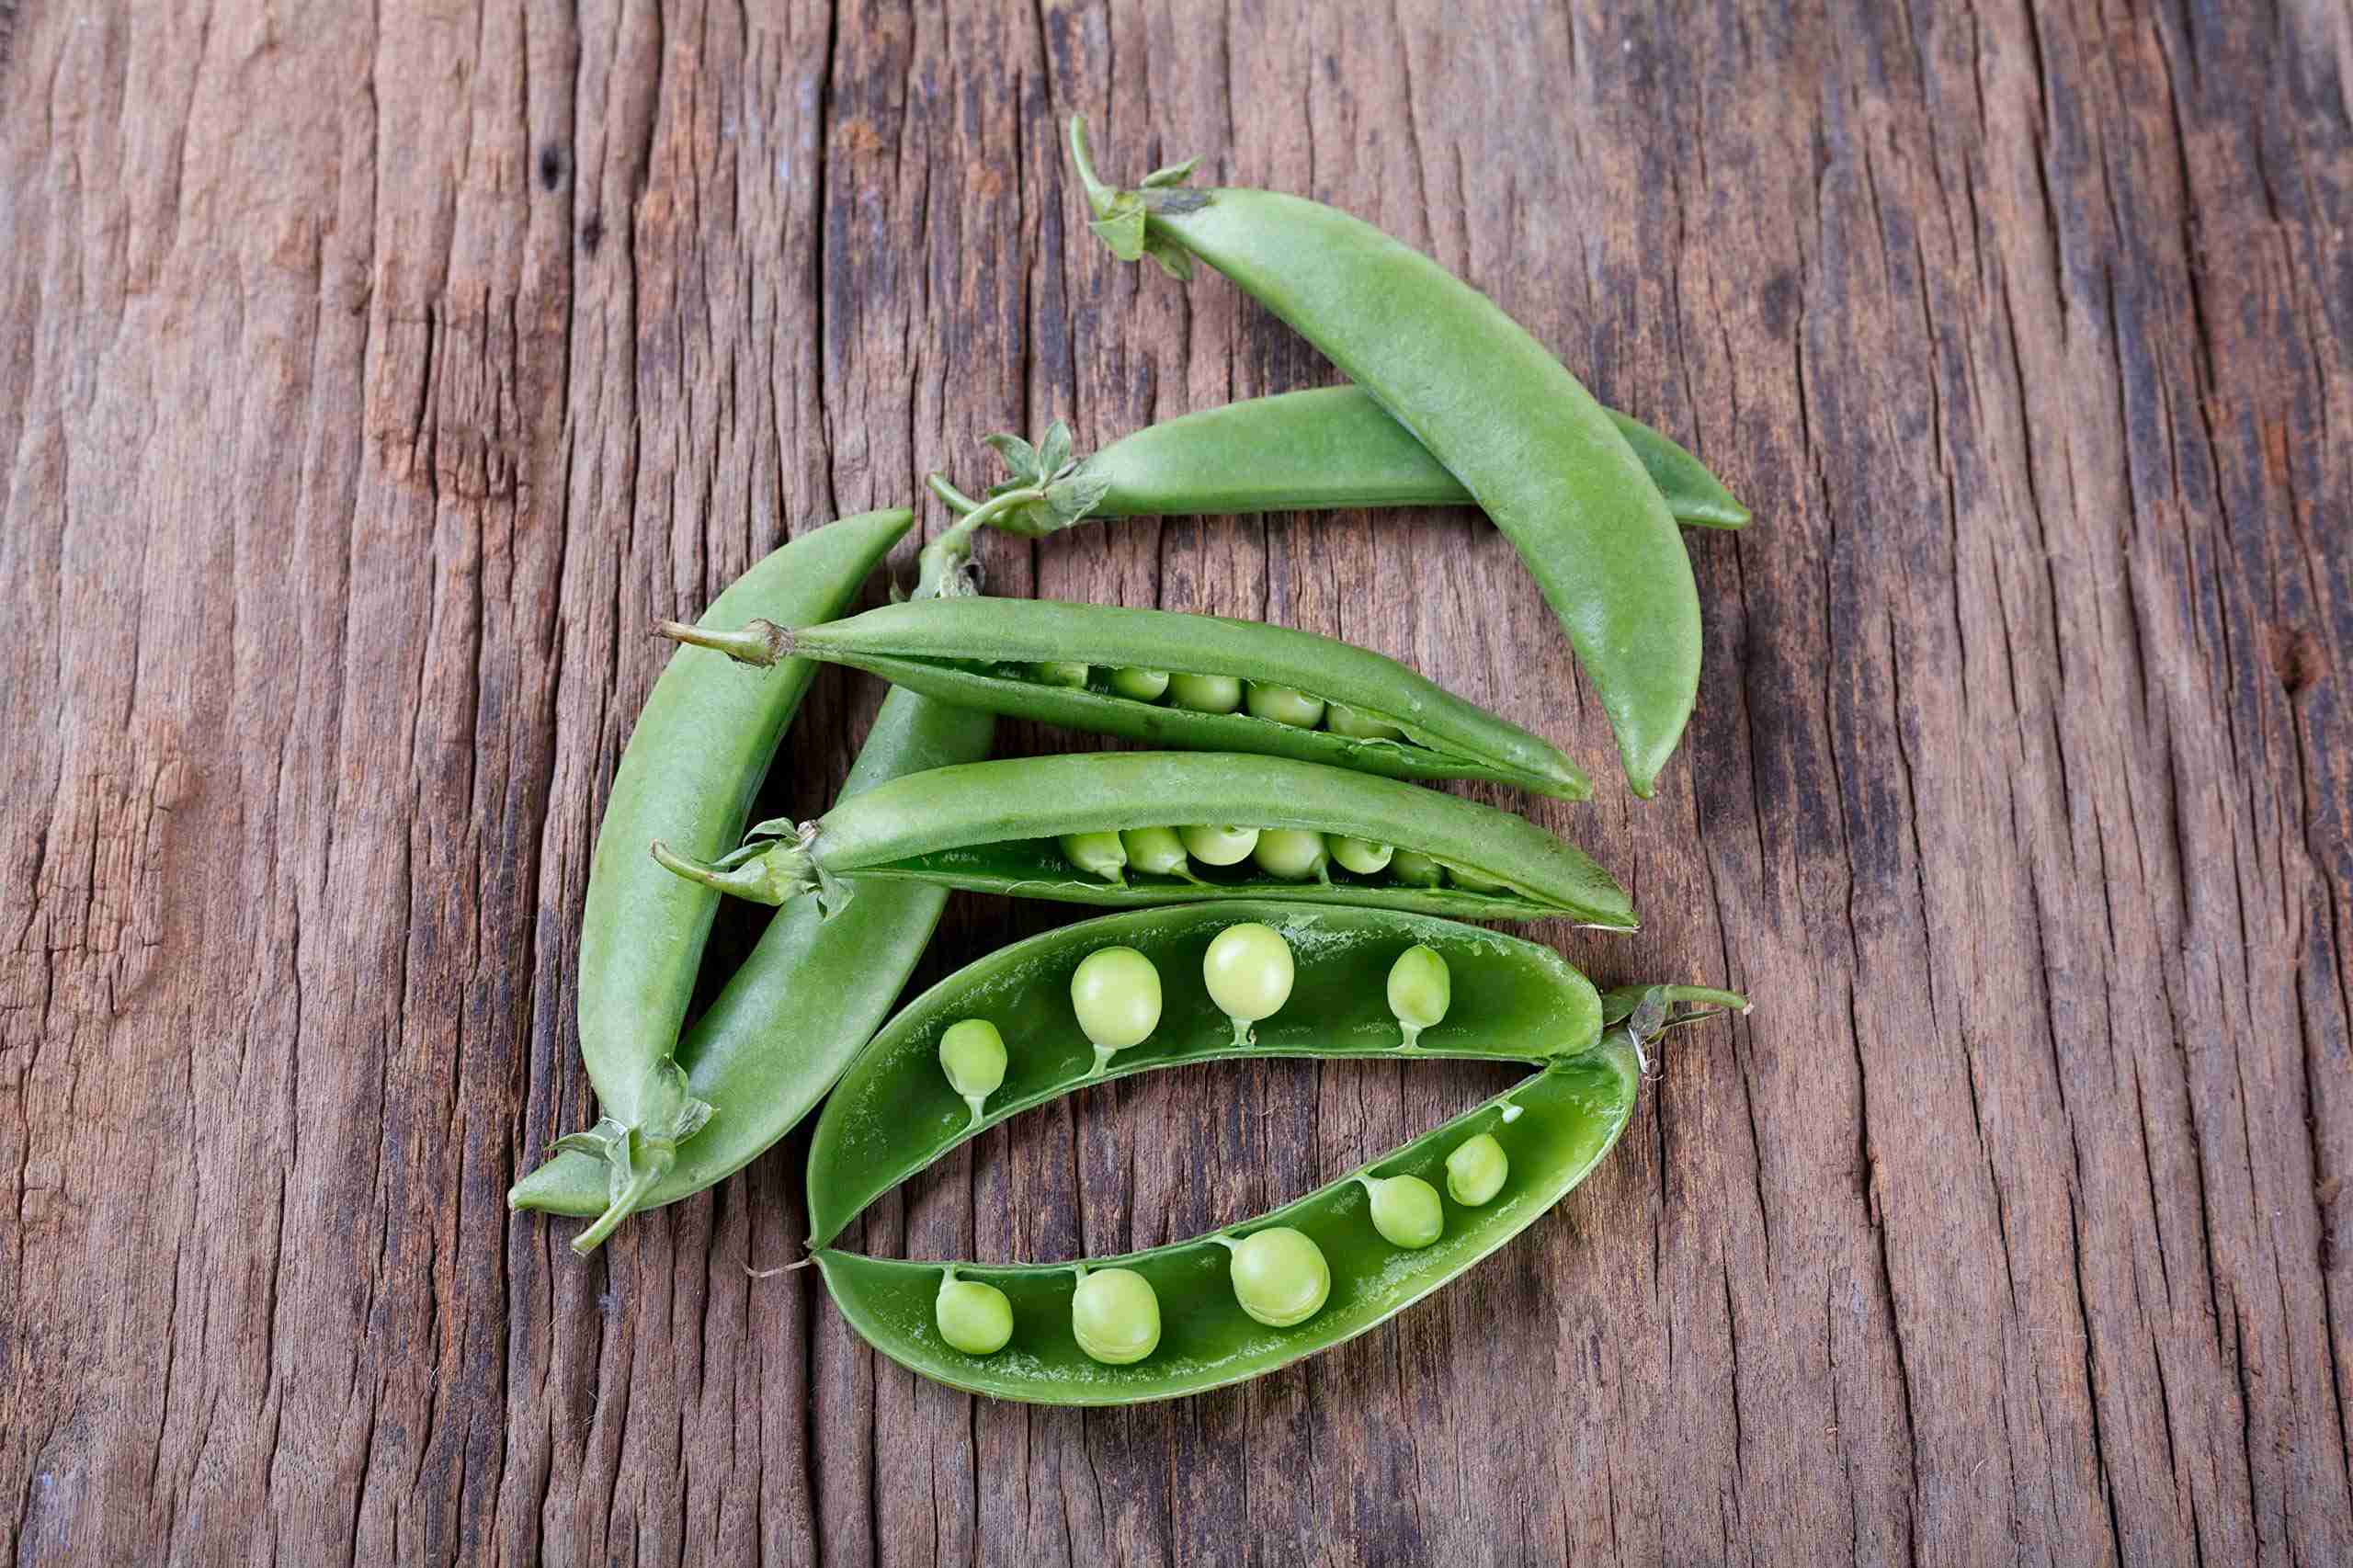
Harvesting Seeds for Drying
Harvesting seeds properly is key to obtaining high-quality seeds for drying. Here are the steps to follow when harvesting seeds:
- Timing: Allow the plant to mature fully before harvesting the seeds. The specific timing varies depending on the plant, but a general rule is to wait until the fruits or flowers have dried or turned brown, indicating that the seeds are ripe.
- Collection: Carefully collect the seeds by cutting the seed heads or pods from the plant. Place a container underneath to catch any loose seeds that may fall during the process.
- Cleaning: Remove any debris or plant materials from the collected seeds. This can be done by hand or by using a sieve or strainer. Make sure to separate the seeds from the chaff or husks.
- Drying: Spread the cleaned seeds in a single layer on a dry, clean surface. Choose a location with good air circulation and low humidity. Avoid direct sunlight, as it can cause excessive drying or heat damage to the seeds.
- Labeling: It is important to label the dried seeds with the plant name, variety, and date of harvest. This ensures proper organization and identification when it’s time for planting.
Remember, not all plants produce seeds in the same way. Some plants have seeds inside their fruits, while others have seeds in flowers or seed heads. It is important to familiarize yourself with the specific characteristics of the plants in your garden to ensure successful seed harvesting.
By following these steps, you can harvest seeds at the right time and ensure their viability for future planting. Proper seed harvesting sets the stage for effective seed drying, leading to fruitful and successful outcomes in your edible garden.
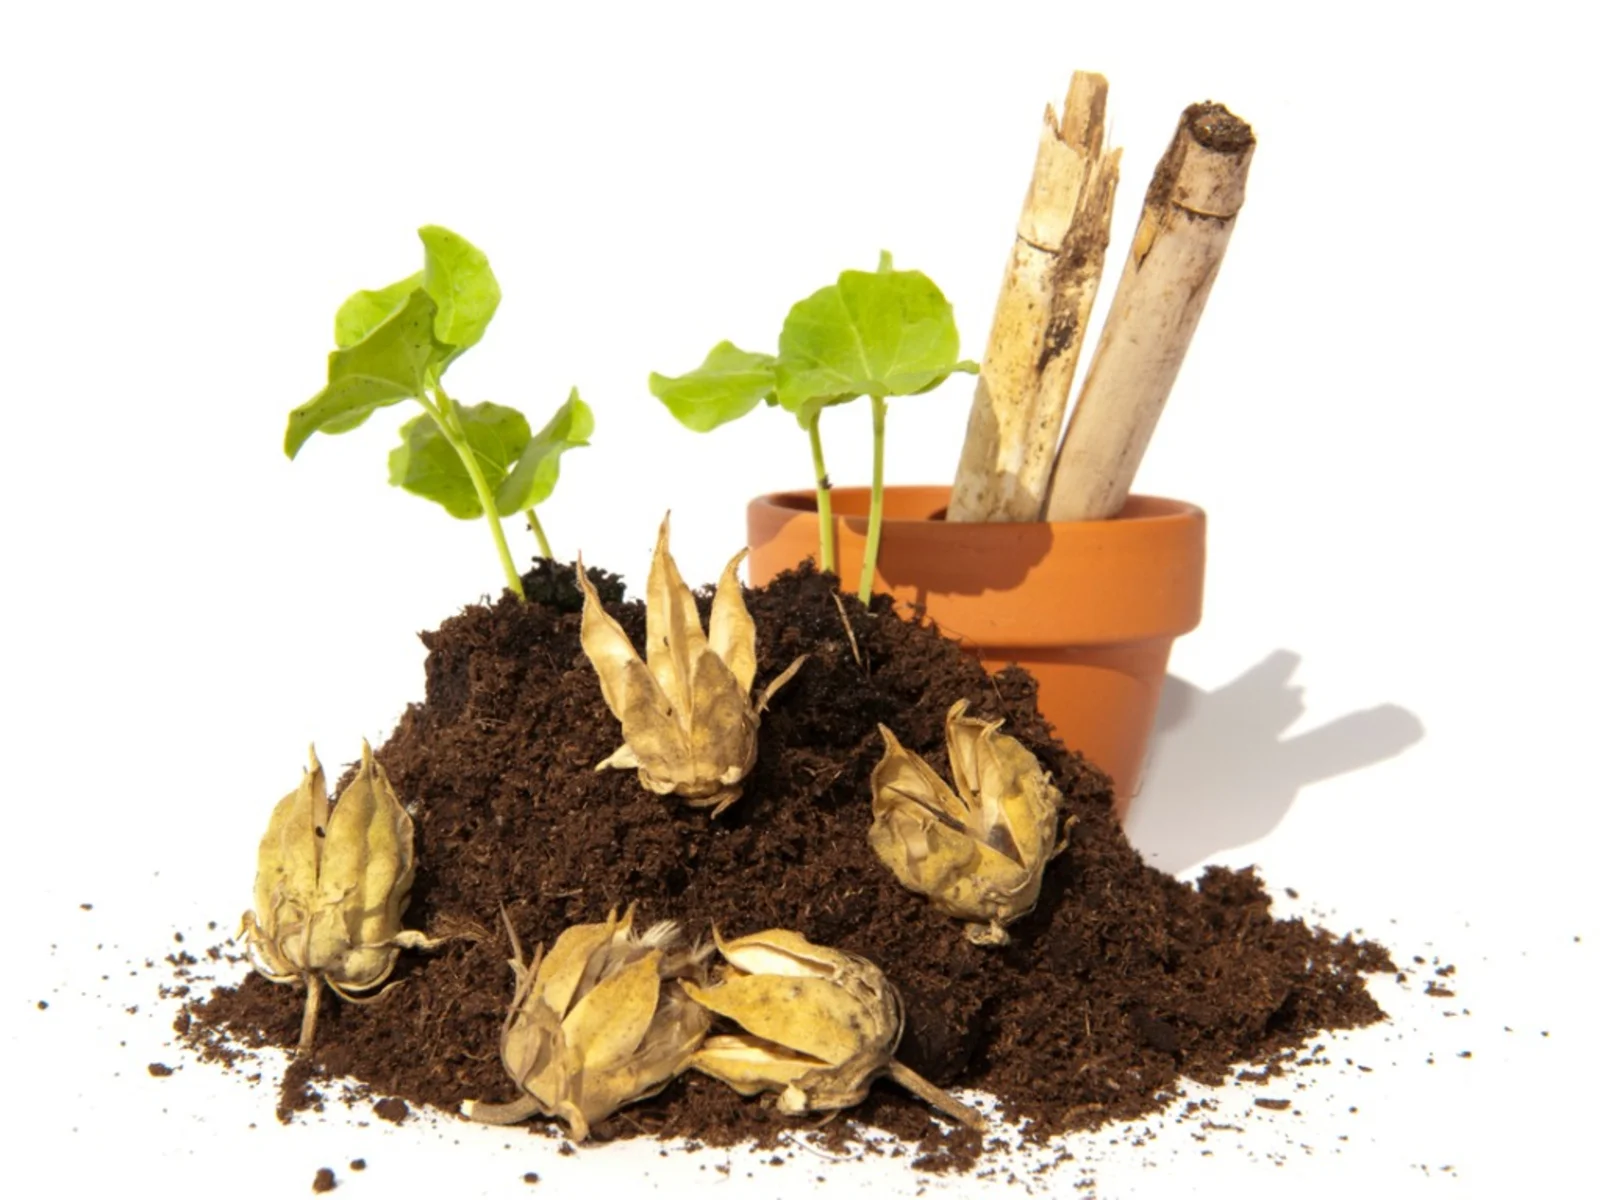
Preparing Seeds for Drying
Before you begin the seed drying process, it’s important to properly prepare the seeds to ensure their viability and longevity. Here are some steps to follow when preparing seeds for drying:
- Cleaning: Remove any excess plant material or debris from the seeds. This can be done by gently rubbing the seeds between your fingers or using a fine sieve to separate the seeds from any unwanted material.
- Removing Pulp: If you are working with seeds from fruits or vegetables with pulp, such as tomatoes or melons, make sure to remove the pulp completely. This can be done by soaking the seeds in water for a short period and then rinsing them to separate the seeds from the pulp.
- Drying Strategy: Depending on the type of seeds you are working with, there are different strategies for preparing them for drying.
- For small seeds, such as lettuce or basil, you can leave them on a clean towel or paper plate in a well-ventilated area to air dry.
- For larger seeds or seeds with a higher moisture content, you may want to use a technique called fermentation. This involves placing the seeds in a container with water and allowing them to ferment for a few days. The fermentation process helps to remove the gelatinous casing around the seeds, making drying easier.
- Patience: It’s important to exercise patience during the seed drying process. Depending on the size and moisture content of the seeds, it can take anywhere from a few days to several weeks for them to dry completely.
Remember to handle the seeds with care to avoid any damage. Avoid using high heat or direct sunlight to speed up the drying process, as this can negatively affect the viability of the seeds.
By properly preparing the seeds for drying, you increase their chances of successful germination and future growth. Take the time to clean and separate the seeds, and utilize the appropriate drying technique for the specific types of seeds you are working with. These preparatory steps will set the foundation for a successful seed drying process and ensure the long-term viability of your seeds.
Methods for Drying Seeds
Once you have harvested and prepared the seeds, it’s time to dry them thoroughly to ensure their long-term viability. There are several methods you can use to dry seeds effectively:
- Air Drying: Air drying is the most common and easiest method for drying seeds. Simply spread the seeds in a single layer on a clean paper towel, plate, or screen. Place them in a warm, dry, and well-ventilated area. Stir or turn the seeds regularly to ensure even drying. The seeds should be completely dry within a few days to a couple of weeks, depending on their size and moisture content.
- Oven Drying: Oven drying can be used for larger seeds or if you need to dry the seeds quickly. Preheat the oven to a low temperature, around 100-120°F (37-49°C). Spread the seeds on a baking sheet lined with parchment paper and place them in the oven. Keep the oven door slightly ajar to allow for proper airflow. It’s important to frequently check the seeds and stir them to prevent overheating or burning. Note that oven drying may affect the viability of some seeds, so this method is best suited for larger, hardier seeds.
- Using a Dehydrator: If you have a food dehydrator, you can use it to dry seeds. Follow the manufacturer’s instructions for drying fruits or vegetables. Spread the seeds in a single layer on the dehydrator trays, making sure there is proper airflow. Set the dehydrator to a low temperature, around 95-115°F (35-46°C), and let it run until the seeds are completely dry. Regularly check the seeds and rotate the trays if needed for even drying.
Regardless of the method you choose, it’s important to ensure that the seeds are completely dry before storing them. You can test the dryness by pressing a seed between your fingernails. If it feels hard and does not leave any moisture on your fingers, it is likely dry enough for storage.
Remember to label and store the dried seeds in a cool, dark, and dry place. Using airtight containers or sealed bags will help protect the seeds from humidity and moisture. Properly dried and stored seeds can remain viable for multiple years, ensuring that you have a ready supply for future planting seasons.
Air Drying Seeds
Air drying is one of the simplest and most widely used methods to dry seeds. It is suitable for a variety of seed types and can be done with minimal resources. Here is a step-by-step guide on air drying seeds:
- Clean the Seeds: Before air drying, ensure that the seeds are free from debris and other plant materials. This can be done by gently removing any unwanted materials using your hands or a fine sieve.
- Spread the Seeds: Lay the cleaned seeds in a single layer on a clean paper towel, plate, or screen. Make sure to spread them out evenly, allowing sufficient airflow around each seed.
- Choose a Dry Location: Select a warm, dry, and well-ventilated area for drying the seeds. The location should have low humidity and good air circulation. Avoid direct sunlight, as it may cause excessive heat or uneven drying.
- Stir or Turn the Seeds: Regularly stir or turn the seeds to ensure even drying. This helps to prevent mold or moisture buildup on the seeds. The frequency of stirring or turning depends on the seed size and moisture content, but aim to do it at least once a day.
- Monitor the Drying Process: Check the seeds regularly to assess their dryness. Larger seeds may take a few days to dry completely, while smaller seeds can take a couple of weeks. The seeds are considered dry when they are hard, brittle, and no longer soft or pliable.
Air drying seeds is a cost-effective and simple method that works well for many seed varieties. It allows the seeds to dry naturally, preserving their viability for future planting. However, keep in mind that certain seeds with high moisture content or those prone to seed sprouting may require alternative drying methods to prevent germination during the drying process.
Once the seeds are completely dry, store them in airtight containers or sealed bags in a cool, dark, and dry place. Label each container with the seed type, variety, and harvest date for easy identification. Properly air-dried seeds can remain viable for multiple years, providing you with a continuous supply of seeds for your edible garden.
Oven Drying Seeds
Oven drying is a method you can use to dry seeds quickly, especially larger seeds or when time is limited. Here is a step-by-step guide on oven drying seeds:
- Preheat the Oven: Preheat your oven to a low temperature, usually around 100-120°F (37-49°C). It’s important to keep the temperature low to prevent damage to the seeds.
- Spread the Seeds: Arrange the cleaned seeds in a single layer on a baking sheet lined with parchment paper. Make sure the seeds are evenly spaced and not touching each other, allowing for proper airflow during the drying process.
- Leave the Oven Door Ajar: To maintain good air circulation and regulate the temperature inside the oven, leave the oven door slightly ajar. This helps to prevent the buildup of moisture and excessive heat.
- Monitor the Drying Process: Regularly check the seeds to prevent over-drying or burning. Stir or turn the seeds every 15 minutes to ensure even drying. This also helps to prevent hot spots in the oven and ensures that all seeds dry uniformly.
- Test for Dryness: After a couple of hours, start testing the seeds for dryness. Press a seed between your fingernails, and if it feels hard and does not leave any moisture, it is likely dry enough. Keep in mind that the drying time can vary depending on the seed size and moisture content.
It’s important to note that oven drying may affect the viability of some seeds, especially those that are more delicate or have higher moisture content. It is recommended to reserve oven drying for larger, hardier seeds that can withstand the higher temperatures.
Once the seeds are completely dry, allow them to cool before transferring them to airtight containers or sealed bags. Label each container with the seed type, variety, and harvest date for easy identification. Store the dried seeds in a cool, dark, and dry place to maintain their viability for future planting.
Remember to exercise caution when using the oven drying method and closely monitor the seeds to prevent them from overheating or burning. When done correctly, oven drying can be an efficient way to dry seeds, providing you with a quick turnaround time and viable seeds for your edible garden.
Using a Dehydrator to Dry Seeds
Using a dehydrator is a convenient and effective method to dry seeds, providing precise temperature control and consistent airflow. Here is a step-by-step guide on how to use a dehydrator to dry seeds:
- Preparation: Ensure that your dehydrator is clean and in good working order. Familiarize yourself with the manufacturer’s instructions and recommended settings for drying fruits or vegetables.
- Clean the Seeds: Before placing the seeds in the dehydrator, make sure they are free from any debris or unwanted materials. Gently remove any debris by hand or use a fine sieve.
- Spread the Seeds: Spread the cleaned seeds in a single layer on the dehydrator trays. Make sure to arrange the seeds evenly and avoid overcrowding to allow proper airflow.
- Set the Temperature and Time: Refer to the dehydrator’s instructions for the recommended temperature and drying time for seeds. In general, a temperature range of 95-115°F (35-46°C) is suitable for most seeds.
- Monitor the Drying Process: Regularly check the seeds and rotate the trays if necessary to ensure even drying. This will help prevent any moisture buildup or uneven drying.
- Test for Dryness: After the recommended drying time has elapsed, test the seeds for dryness. Take a few seeds and press them between your fingers. If they feel hard and do not leave any moisture or impression, they are likely dry enough.
Using a dehydrator allows you to dry seeds efficiently while maintaining a controlled temperature and airflow. This method is particularly useful for drying seeds with higher moisture content or more delicate seeds that may be sensitive to higher temperatures.
Once the seeds are completely dry, allow them to cool before transferring them to airtight containers or sealed bags. Label each container with the seed type, variety, and harvest date for easy identification. Store the dried seeds in a cool, dark, and dry place to preserve their viability for future planting.
Using a dehydrator is a reliable and efficient method to dry seeds, providing consistent results and minimizing the risk of over-drying or damaging the seeds. It is a great option for edible gardeners who want to ensure the successful preservation of their seed stock for future planting seasons.
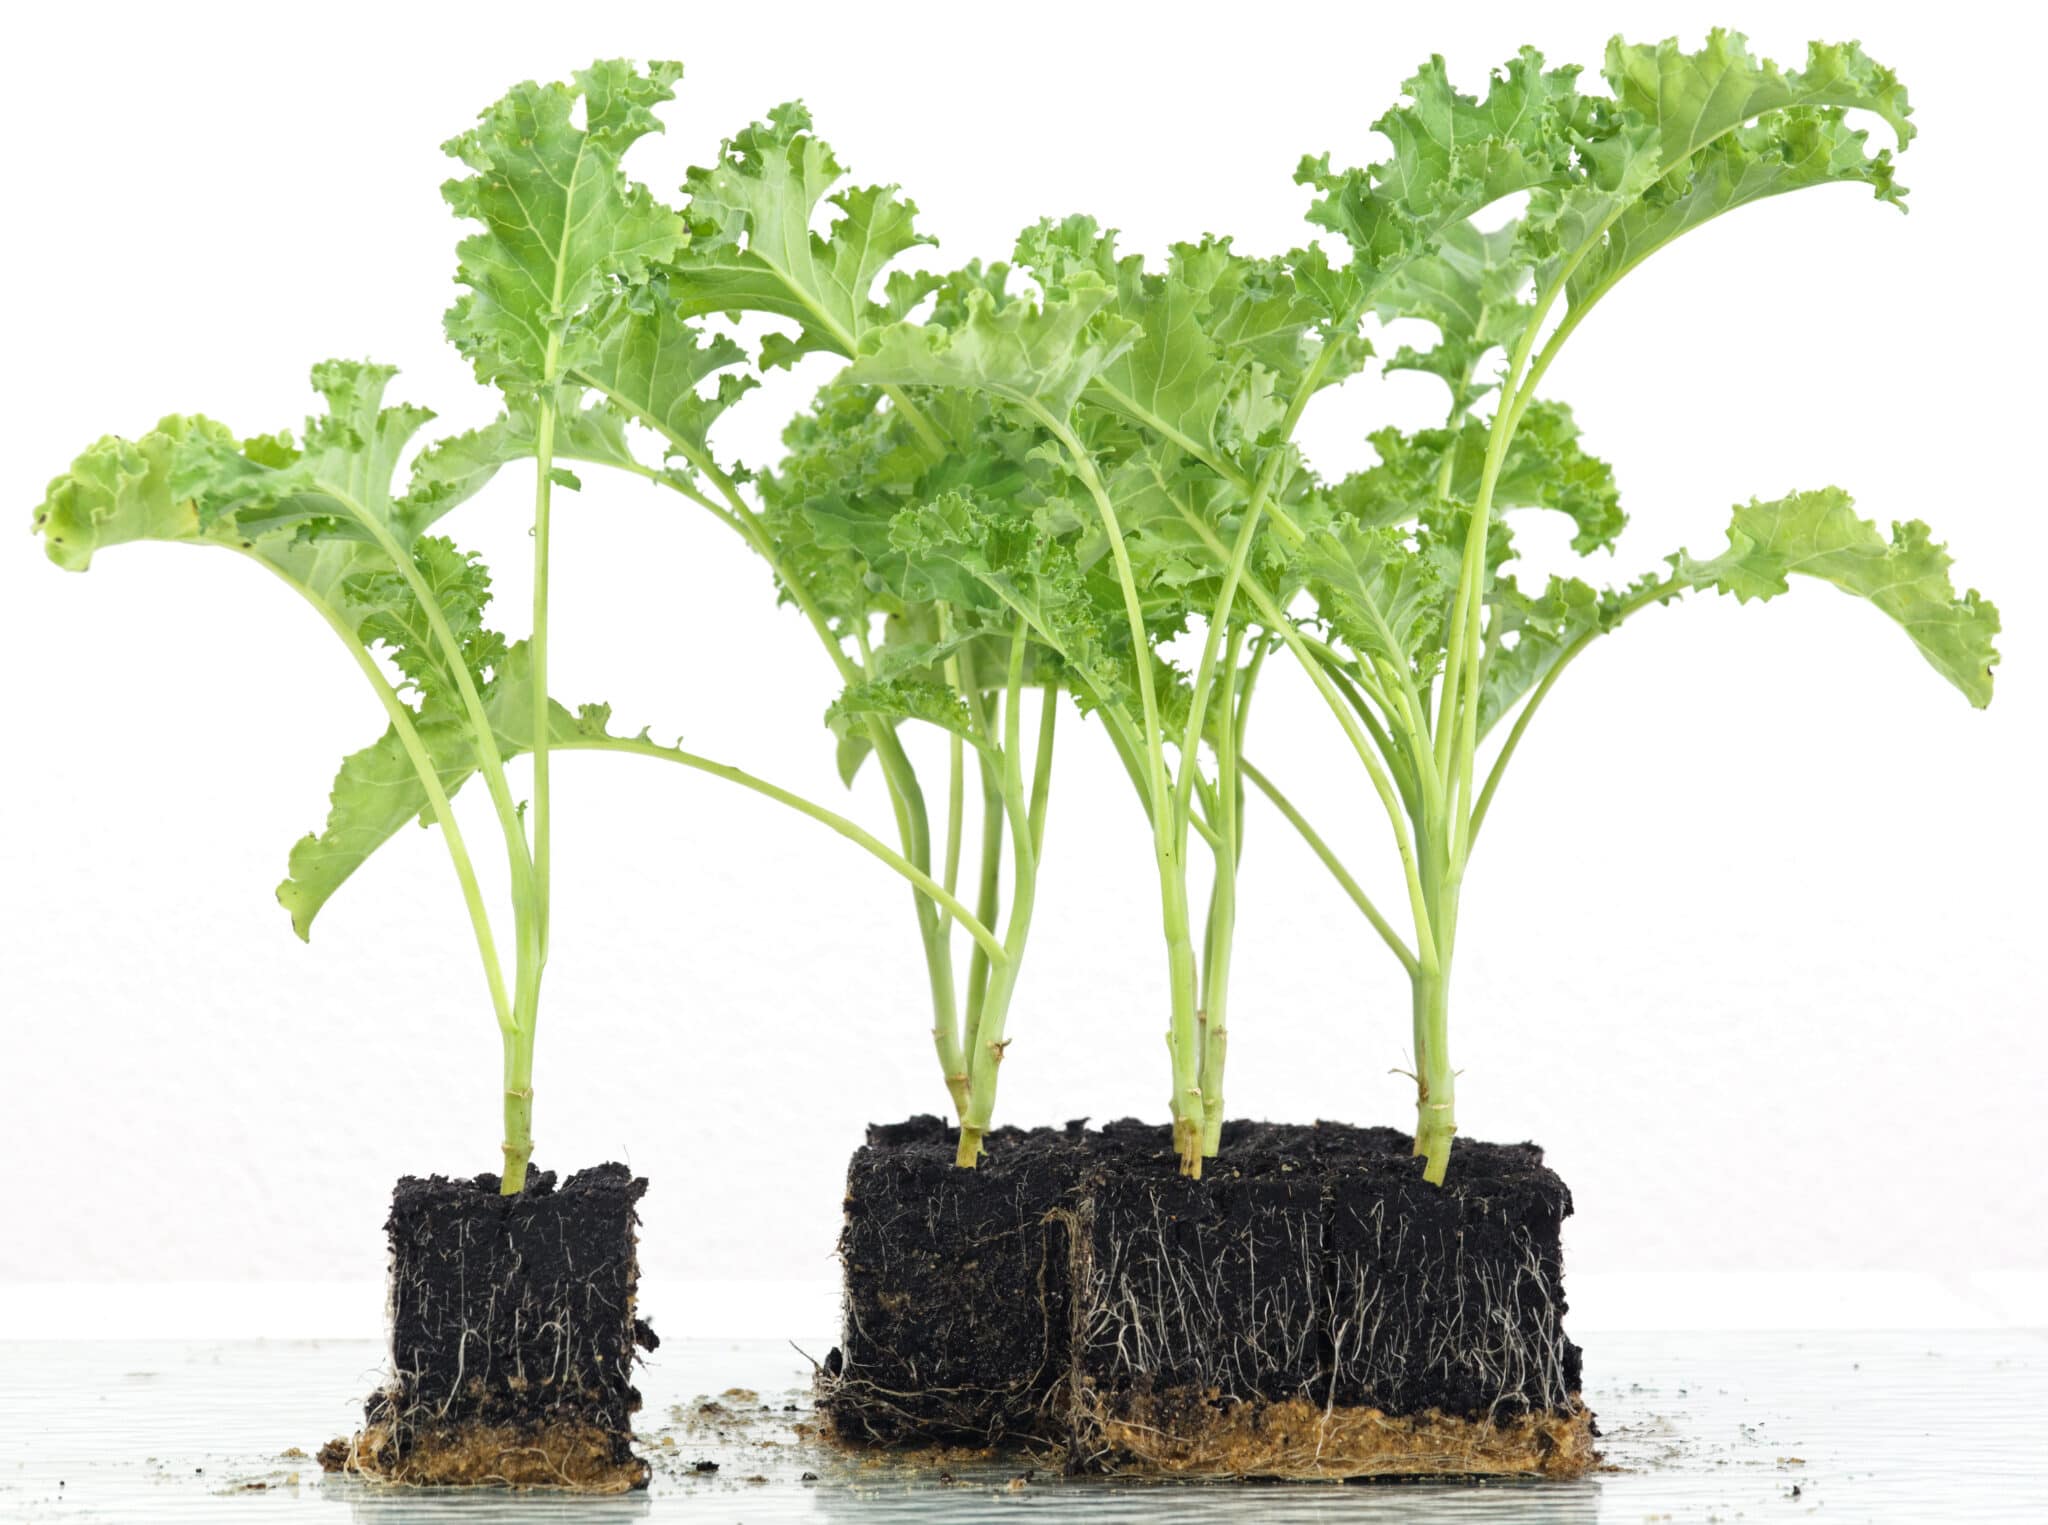
Storing Dried Seeds for Planting
Proper storage of dried seeds is essential to maintain their viability and ensure successful planting in the future. Here are some important guidelines to follow when storing dried seeds:
- Cool, Dark, and Dry Location: Choose a storage location that is cool, dark, and dry. Excess moisture, heat, and exposure to light can reduce the viability of the seeds over time. Airtight containers or sealed bags are ideal for creating a moisture-free environment.
- Labeling: Clearly label each container or bag with the seed type, variety, and harvest date. This information will help you identify and organize your seed collection, making it easy to find the seeds you need when it’s time for planting.
- Seed Packets: Consider using small paper envelopes or seed packets to store seeds. These allow for better air circulation and can help absorb any excess moisture. Make sure to label the packets with the necessary information.
- Moisture Absorbers: Including moisture-absorbing packets or silica gel packets in the storage containers can help minimize humidity and prevent the seeds from becoming damp or moldy.
- Cool Storage Temperature: It is recommended to store seeds in a cool environment with temperatures between 32-41°F (0-5°C). A refrigerator or a cool basement can be suitable options, as long as the seeds are protected from any fluctuations in temperature and humidity.
- Regularly Check Viability: Over time, the viability of seeds may naturally decline. To ensure successful germination, periodically perform a germination test by planting a small sample of the seeds and monitoring their sprouting rate. Replace any seeds that show a low germination rate over time.
Following these storage guidelines will help maintain the viability of your dried seeds for an extended period, ensuring they are ready for planting in the future.
Remember, it’s always a good idea to store a variety of different seeds, as some may have shorter lifespans than others. By maintaining a well-organized and carefully stored seed collection, you can continue enjoying the benefits of homegrown produce and contribute to the sustainability of your edible garden over time.
Conclusion
Seed drying is a critical step in the world of edible gardening, ensuring the viability and longevity of seeds for future planting. By understanding the importance of seed drying and following the proper methods, you can preserve the genetic integrity of your plants, prolong the shelf life of seeds, and contribute to a sustainable gardening practice.
Choosing the right seeds for drying, harvesting them at the appropriate time, and preparing them properly are essential for successful seed drying. Whether you choose to air dry seeds, use an oven, or a dehydrator, each method has its advantages and considerations. The ultimate goal is to remove excess moisture while maintaining the seeds’ vitality.
Once the seeds are dried, proper storage is crucial to maintain their viability. Storing dried seeds in cool, dark, and dry conditions, labeling them appropriately, and periodically performing germination tests will ensure that your seeds are ready to be planted when the time comes.
By incorporating seed drying into your edible gardening routine, you not only ensure a continuous supply of seeds but also contribute to preserving plant biodiversity and promoting self-sufficiency. The knowledge and skills you gain will empower you to become a successful seed saver and enable you to share seeds with fellow gardeners, fostering a sense of community and connection.
So, embrace the world of seed drying and take delight in the process of preserving and growing your own plants from seeds. Let nature’s gift of seeds guide you on a journey of discovery, sustainability, and fruitful harvests in your edible garden.