Home>Types of Gardening>Edible Gardening>How To Plant Chamomile Seeds
Edible Gardening
How To Plant Chamomile Seeds
Modified: January 22, 2024
Learn how to plant chamomile seeds in your edible garden and enjoy the soothing benefits of this versatile herb. Expert tips and advice for successful chamomile cultivation.
(Many of the links in this article redirect to a specific reviewed product. Your purchase of these products through affiliate links helps to generate commission for Chicagolandgardening.com, at no extra cost. Learn more)
Table of Contents
Introduction
Welcome to the wonderful world of edible gardening! If you’ve ever dreamed of growing your own food, then you’re in the right place. In this article, we will explore the delightful realm of planting chamomile seeds and cultivating your very own chamomile plants. Chamomile is a versatile herb with a myriad of uses, from brewing soothing teas to adding a distinctive floral note to culinary creations. Whether you have a spacious garden or a tiny balcony, growing chamomile is a rewarding and fulfilling experience that anyone can enjoy.
Chamomile is an herb that has been used for centuries for its calming and medicinal properties. It is renowned for its delicate daisy-like flowers, which emit a pleasant aroma and have a wealth of health benefits. From reducing anxiety and promoting sleep to soothing skin irritations, chamomile offers a natural remedy for various ailments. With its numerous applications, growing your own chamomile allows you to enjoy the full benefits of this incredible herb.
Not only is chamomile beneficial for our overall well-being, but it also adds beauty and charm to any garden. Whether you have a traditional flower bed, a raised planter box, or even a few pots on your windowsill, chamomile will thrive and bring a touch of elegance to your space. Its delicate white petals and vibrant yellow center are a sight to behold, attracting bees and butterflies, and adding a natural vibrancy to your outdoor oasis.
But before we dive into planting chamomile seeds, it’s essential to understand the basic requirements for successful growth. From choosing the right seeds to creating the ideal growing conditions, each step plays a vital role in the development of healthy chamomile plants. So, roll up your sleeves, grab your gardening tools, and let’s embark on this exciting journey of growing chamomile from seeds.
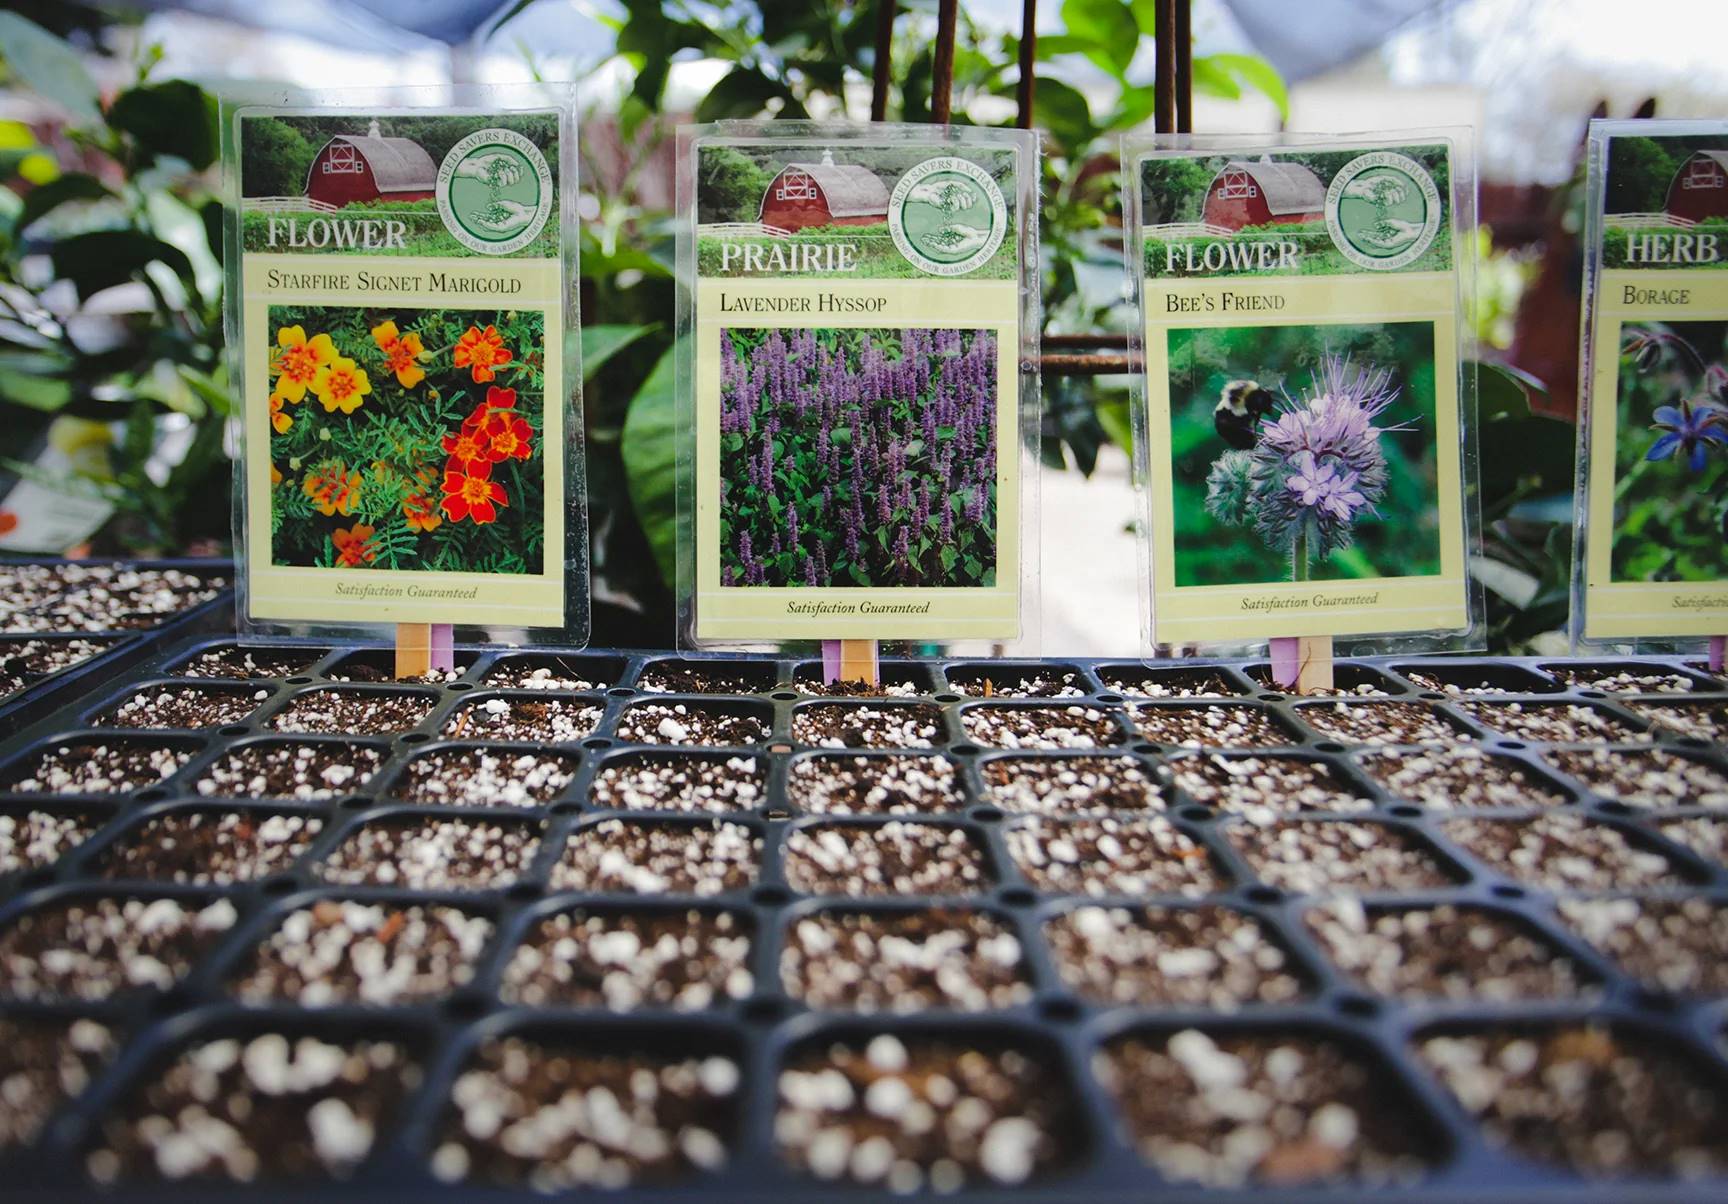
Step 1: Choosing the Right Seeds
When it comes to growing chamomile, selecting the right seeds is crucial for a successful harvest. There are two common types of chamomile: German chamomile (Matricaria chamomilla) and Roman chamomile (Chamaemelum nobile). The process of growing the two varieties is similar, but it’s essential to choose the type that suits your needs.
German chamomile is an annual plant that grows best from seeds. It’s known for its taller height and feathery foliage. This variety is a great choice if you’re looking to brew chamomile tea or use the flowers for their medicinal properties. On the other hand, Roman chamomile is a perennial plant that is often used as a ground cover. It has a low-growing habit and emits a lovely apple-like fragrance. If you’re interested in using chamomile as a decorative element in your garden or for making herbal crafts, Roman chamomile is the ideal choice.
When purchasing chamomile seeds, make sure to buy them from a reputable supplier to ensure quality and viability. Look for organic and non-GMO seeds whenever possible to promote sustainability and avoid any potential harmful chemicals. Reading customer reviews and checking for seed germination rates can also help you make informed decisions.
Before you start planting, consider the amount of space you have available. Chamomile plants can spread quickly, so ensure you have enough room for them to grow without overcrowding other plants. Additionally, think about your local climate and weather conditions. Chamomile thrives in temperate regions, but it can tolerate a wide range of conditions. If you live in an area with harsh winters, planting chamomile in containers and bringing them indoors during the colder months can help preserve the plants.
Remember that chamomile also self-seeds, meaning that it drops seeds and regenerates itself year after year. If you’re growing chamomile in your garden for the first time, consider planting it in an area where it can freely spread and establish itself without interfering with other plants.
Now that you have chosen the right chamomile seeds and considered the environment in which they will thrive, you’re ready to move on to the next step: preparing the soil.
Step 2: Preparing the Soil
Preparing the soil is a crucial step in ensuring the healthy growth of chamomile plants. Chamomile prefers well-draining soil that is rich in organic matter. Before planting, take the time to prepare the soil to create an optimal environment for your chamomile seeds.
Start by removing any weeds or grass from the area where you plan to grow chamomile. Weeds can compete with the chamomile plants for nutrients and water, hindering their growth. Use a garden fork or a hoe to loosen the top layer of soil, breaking up any compacted areas. This will allow the roots to penetrate easily and access the nutrients and moisture they need.
Chamomile thrives in slightly acidic to neutral soil, with a pH ranging from 5.6 to 7.5. You can test the pH level of your soil using a soil testing kit available at garden centers or through your local cooperative extension office. If the pH is off, you can adjust it by adding amendments. To lower the pH for acidic soil, you can incorporate organic matter such as compost or peat moss. To raise the pH for alkaline soil, add garden lime or wood ash. Follow the instructions on the product packaging and work the amendments into the soil according to the recommended quantities.
Once you have adjusted the pH, enrich the soil with organic matter to improve its fertility and moisture retention. Adding well-rotted compost, aged manure, or leaf mold will supply the chamomile plants with essential nutrients and encourage the development of strong roots. Spread a layer of organic matter over the soil and use a garden fork or a tiller to incorporate it into the top 6-8 inches of soil.
Before planting the chamomile seeds, rake the soil surface to create a smooth and level bed. This will make it easier for the seeds to make contact with the soil and establish good root contact. Avoid compacting the soil during this process.
Now that you have prepared the soil, it’s time to move on to the exciting part – sowing the chamomile seeds!
Step 3: Sowing the Seeds
Now that you have prepared the soil, it’s time to sow the chamomile seeds. Follow these steps to ensure proper germination and successful growth:
- Choose a sunny location: Chamomile thrives in full sun, so select a spot in your garden that receives at least 6-8 hours of direct sunlight each day. Sunlight is essential for healthy growth and abundant flower production.
- Prepare the soil: Before sowing the seeds, ensure that the soil is moist but not waterlogged. Use a watering can or a hose with a gentle spray to moisten the soil evenly. Avoid over-watering, as excessive moisture can lead to rotting of the seeds.
- Sow the seeds: Scatter the chamomile seeds evenly over the prepared soil surface. Aim for a spacing of about 6-8 inches between each seed to allow the plants to spread without overcrowding. It’s okay if the seeds fall close together, as chamomile plants can be easily thinned out later.
- Cover the seeds: Gently press the seeds into the soil using the back of a rake or your hands, ensuring they make good contact with the soil. Cover the seeds with a thin layer of soil or vermiculite, about a quarter-inch thick. This layer will help retain moisture around the seeds and provide some protection during germination.
- Water the seeds: After covering the seeds, water the area gently to provide moisture for germination. Use a mist setting on your hose nozzle or a watering can with a fine rose attachment to prevent excessive disturbance of the seeds. Keep the soil consistently moist until the seeds germinate, which usually takes about 7-14 days.
- Thin the seedlings: Once the seedlings have emerged and developed their first set of true leaves, thin them out to ensure adequate spacing. Remove weaker seedlings, leaving only the healthiest and strongest plants. Aim for a spacing of about 12-18 inches between each chamomile plant.
Remember to label the area where you planted chamomile seeds to differentiate them from other plants. This will help you keep track of their growth and care requirements.
Now that you have sown the chamomile seeds, it’s important to provide them with the right amount of water to promote healthy growth and development. Let’s move on to the next step: providing adequate water.
Step 4: Providing Adequate Water
Proper watering is essential for the health and vitality of your chamomile plants. While chamomile is relatively drought-tolerant, it still requires consistent moisture to thrive. Follow these watering guidelines to ensure your chamomile plants receive the right amount of water:
- Water deeply: When watering your chamomile plants, aim for deep, thorough watering rather than frequent shallow watering. This encourages the roots to grow deeper into the soil, making the plants more resilient and better able to withstand dry periods. Water the plants at the base, avoiding wetting the leaves, to minimize the risk of fungal diseases.
- Monitor soil moisture: Check the soil moisture regularly by inserting your finger about an inch into the soil. If it feels dry, it’s time to water. However, if the soil feels moist, refrain from watering to prevent over-saturation, which can lead to root rot.
- Watering frequency: Chamomile plants generally require about 1 inch of water per week. However, this may vary depending on external factors such as temperature and rainfall. During hot and dry periods, increase the frequency of watering to ensure the soil remains consistently moist. Adjust your watering schedule accordingly to maintain optimal soil moisture levels.
- Consider the potting conditions: If you’re growing chamomile in containers, be mindful of the potting conditions. Containers tend to dry out more quickly than garden beds, so check the soil moisture levels more frequently. Water the plants when the top inch of the soil feels dry, but avoid over-watering, as it can lead to root suffocation.
- Use mulch: Applying a layer of organic mulch around your chamomile plants can help conserve soil moisture by reducing evaporation and suppressing weed growth. Spread a 2-3 inch layer of mulch, such as straw, leaves, or wood chips, around the base of the plants, taking care to keep the mulch away from direct contact with the stems.
- Rainfall considerations: If your region receives regular rainfall, you may not need to water as frequently. Monitor the weather forecast and adjust your watering schedule accordingly. However, even during rainy periods, it’s still important to check the soil moisture levels, as heavy rainfall can sometimes result in excessive runoff and uneven distribution of water.
Remember, over-watering can be just as harmful as under-watering. Always prioritize providing adequate moisture without saturating the soil. By following these watering guidelines, you’ll ensure your chamomile plants stay hydrated and healthy throughout their growth cycle.
Next, we’ll discuss the importance of fertilizing your chamomile plants to provide them with the necessary nutrients for robust growth and vibrant blooms.
Step 5: Fertilizing the Plants
Fertilizing your chamomile plants is important for ensuring their healthy growth and maximizing flower production. While chamomile is generally a low-maintenance plant, providing it with the necessary nutrients can make a significant difference in its overall vigor and abundance. Here are some tips for effectively fertilizing your chamomile plants:
- Choose the right fertilizer: Use a balanced, water-soluble fertilizer with equal amounts of nitrogen (N), phosphorus (P), and potassium (K). Look for a fertilizer with an NPK ratio of 10-10-10 or similar. Alternatively, you can opt for organic fertilizers, such as compost or well-rotted manure, which provide slow-release nutrients and improve soil health.
- Apply fertilizer at the right time: Start fertilizing your chamomile plants when they begin to show signs of active growth, usually in early spring. Avoid fertilizing during winter or when the plants are dormant. Follow the instructions on the fertilizer packaging for the recommended application rates and frequency.
- Apply fertilizer evenly: Spread the fertilizer evenly around the base of the chamomile plants, taking care not to let it touch the stems or leaves. Use a hand trowel or rake to gently work the fertilizer into the top layer of soil, or water it in if you’re using a water-soluble fertilizer. This helps the plants absorb the nutrients more effectively.
- Avoid over-fertilizing: While it’s important to provide the chamomile plants with nutrients, avoid over-fertilizing as it can lead to excessive foliage growth at the expense of flower production. Too much fertilizer can also result in the accumulation of salts in the soil, causing root burn and plant damage. Always follow the recommended application rates and guidelines.
- Supplement with organic matter: In addition to applying synthetic or organic fertilizers, incorporating organic matter into the soil can offer long-term benefits. Organic matter helps improve soil structure, enhances nutrient retention, and promotes beneficial microbial activity. Add well-rotted compost or aged manure to the soil surface around the chamomile plants, and gently work it into the top layer of soil.
- Monitor plant response: Keep an eye on how your chamomile plants respond to fertilization. If you notice excessive foliage growth with minimal flowering, reduce the frequency or amount of fertilizer. On the other hand, if the plants appear pale or weak, you may need to increase fertilizer application to provide adequate nutrients.
Remember to always water the chamomile plants after fertilizing to help distribute the nutrients evenly and prevent any potential fertilizer burn on the roots. By following these fertilization practices, you’ll ensure that your chamomile plants are well-nourished and produce an abundance of beautiful and aromatic flowers.
Now, let’s move on to the next step, where we’ll discuss how to protect your chamomile plants from potential pests and diseases.
Step 6: Protecting from Pests and Diseases
To ensure the health and vitality of your chamomile plants, it’s important to protect them from common pests and diseases that can affect their growth and productivity. By being proactive and implementing preventive measures, you can minimize the risk of infestations and keep your chamomile plants thriving. Here are some strategies to protect your chamomile plants:
- Monitor regularly: Regularly inspect your chamomile plants for signs of pests or diseases. Look for any visible damage to the leaves, wilting, discoloration, or the presence of pests such as aphids, slugs, or spider mites. Early detection allows for prompt intervention and mitigation of the problem.
- Practice proper hygiene: Ensure good garden hygiene by removing any fallen leaves, plant debris, or weeds from the vicinity of your chamomile plants. These can serve as breeding grounds for pests and harbor disease-causing pathogens. Dispose of the debris in sealed bags or burn it to prevent reinfestation.
- Provide adequate airflow: Proper air circulation is essential in preventing the development of fungal diseases such as powdery mildew or damping-off. Avoid overcrowding your chamomile plants and provide sufficient spacing between them to promote good airflow. This helps to keep the foliage dry and reduces the risk of fungal infections.
- Water at the base: When watering your chamomile plants, try to avoid wetting the leaves. Moisture on the foliage for extended periods can create a conducive environment for fungal infections. Instead, focus the water at the base of the plants, directly onto the soil.
- Natural pest control methods: Consider using natural pest control methods such as companion planting, beneficial insects, or homemade insecticidal sprays. Some plants, like yarrow, dill, or marigold, can repel pests that are commonly attracted to chamomile. Ladybugs, lacewings, and parasitic wasps are beneficial insects that can help control aphids and other pests.
- Organic insecticides: If pest infestations become severe and natural methods aren’t effective, you may need to resort to organic insecticides. Choose products that are specifically labeled for the pests affecting your chamomile plants and make sure to follow the instructions carefully. Avoid using broad-spectrum insecticides that can harm beneficial insects.
- Rotate plantings: To prevent the buildup of soil-borne diseases, practice crop rotation by not planting chamomile in the same spot year after year. Rotating the crop with other plants helps break the life cycle of pests and diseases that may be present in the soil, reducing their impact on your chamomile plants.
Remember that prevention is key when it comes to protecting your chamomile plants from pests and diseases. By implementing these practices, you can maintain a healthy growing environment and enjoy vibrant, pest-free chamomile plants.
Next, let’s move on to the final step, where we’ll explore the exciting process of harvesting the beautiful chamomile flowers.
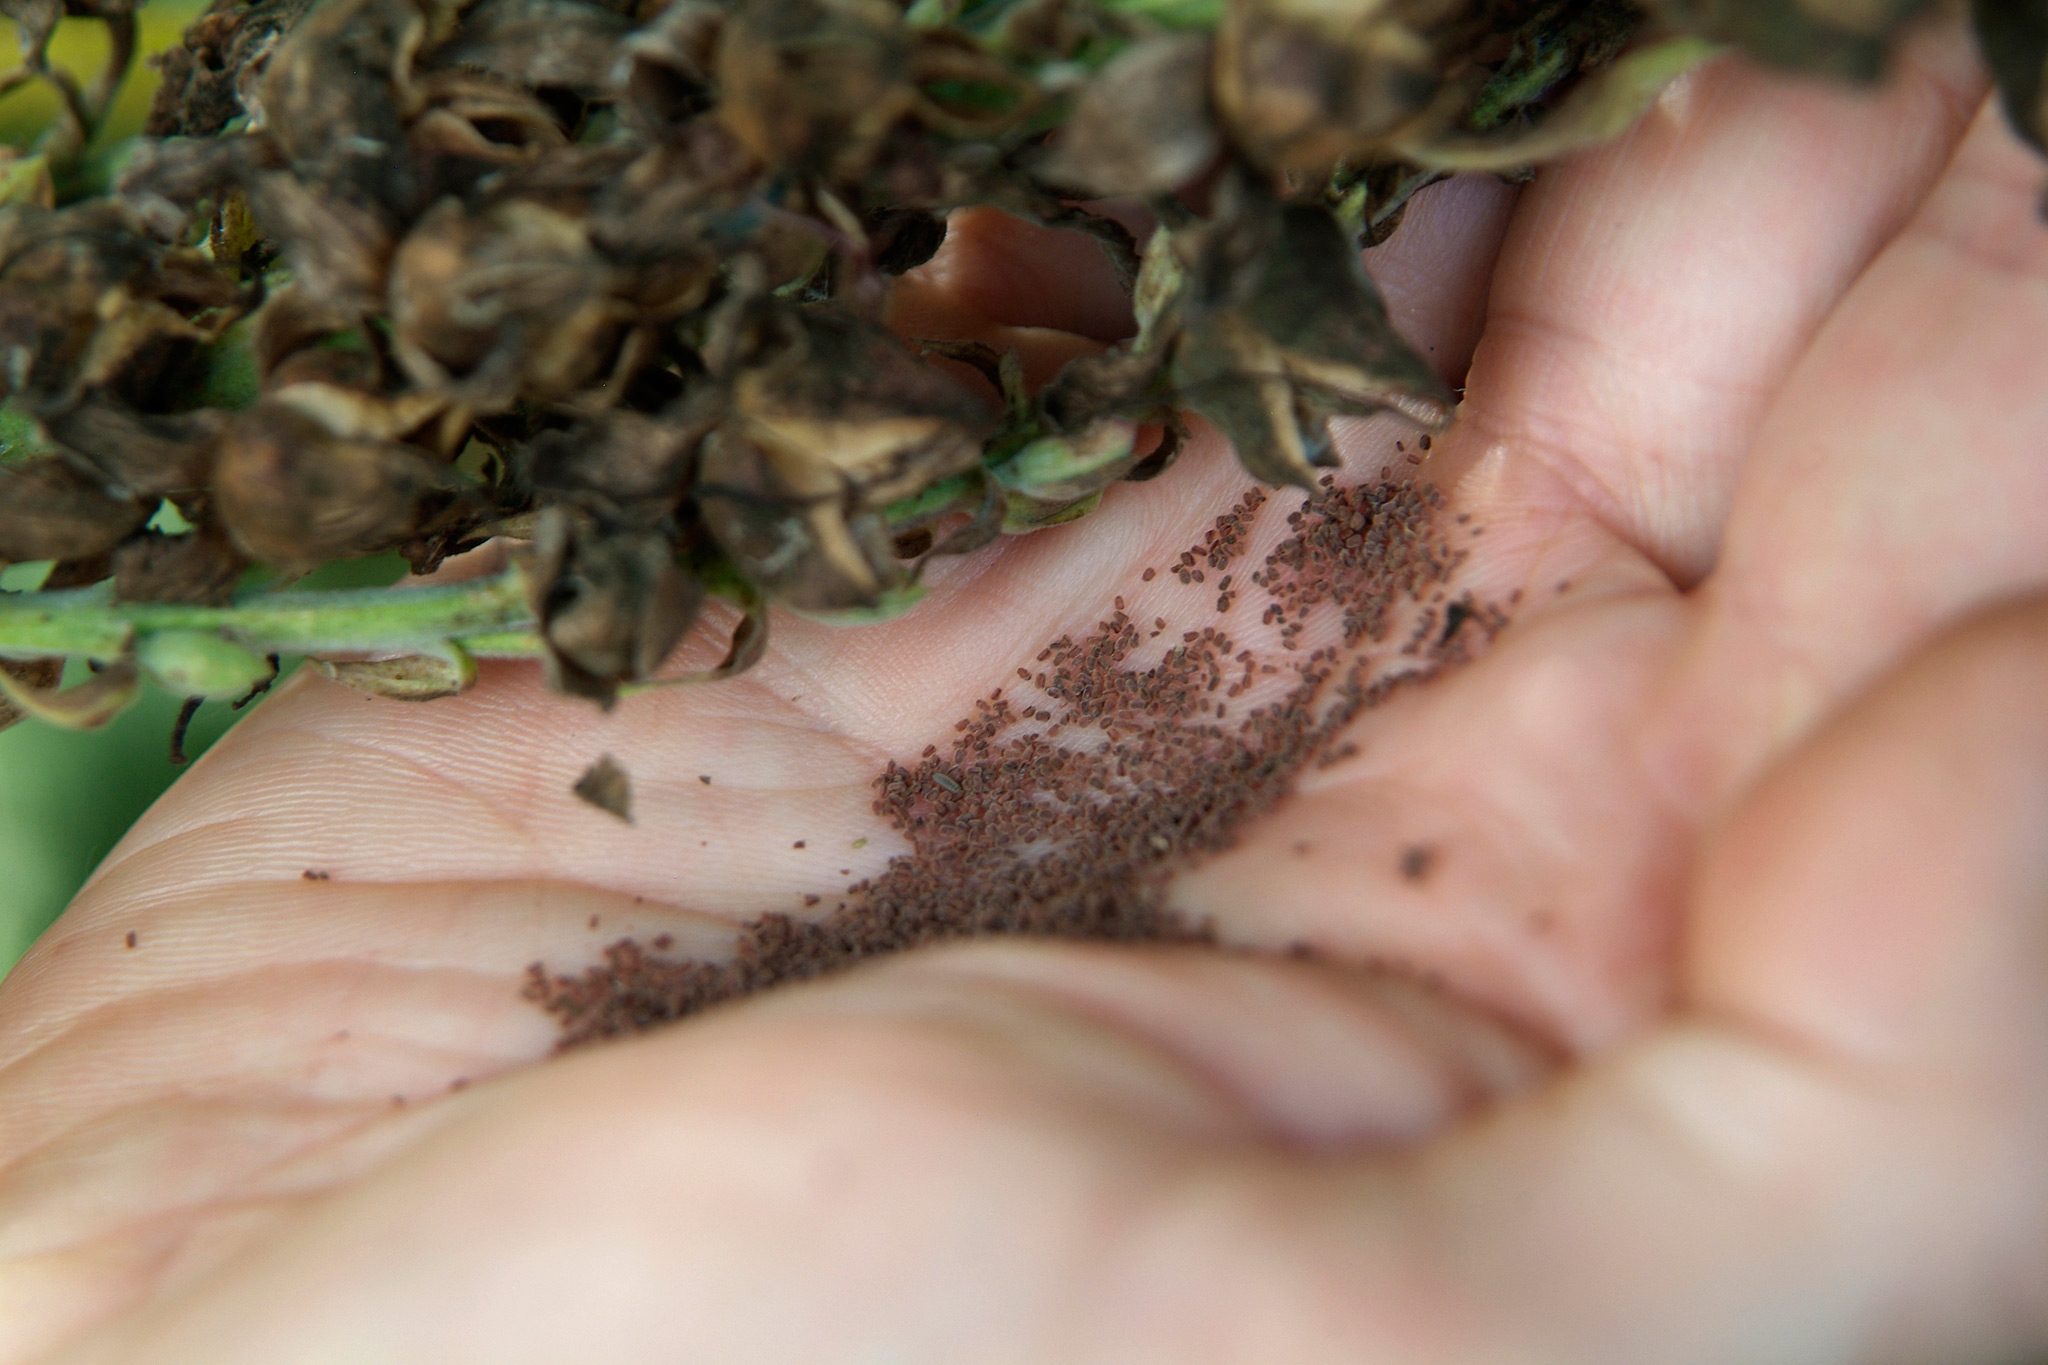
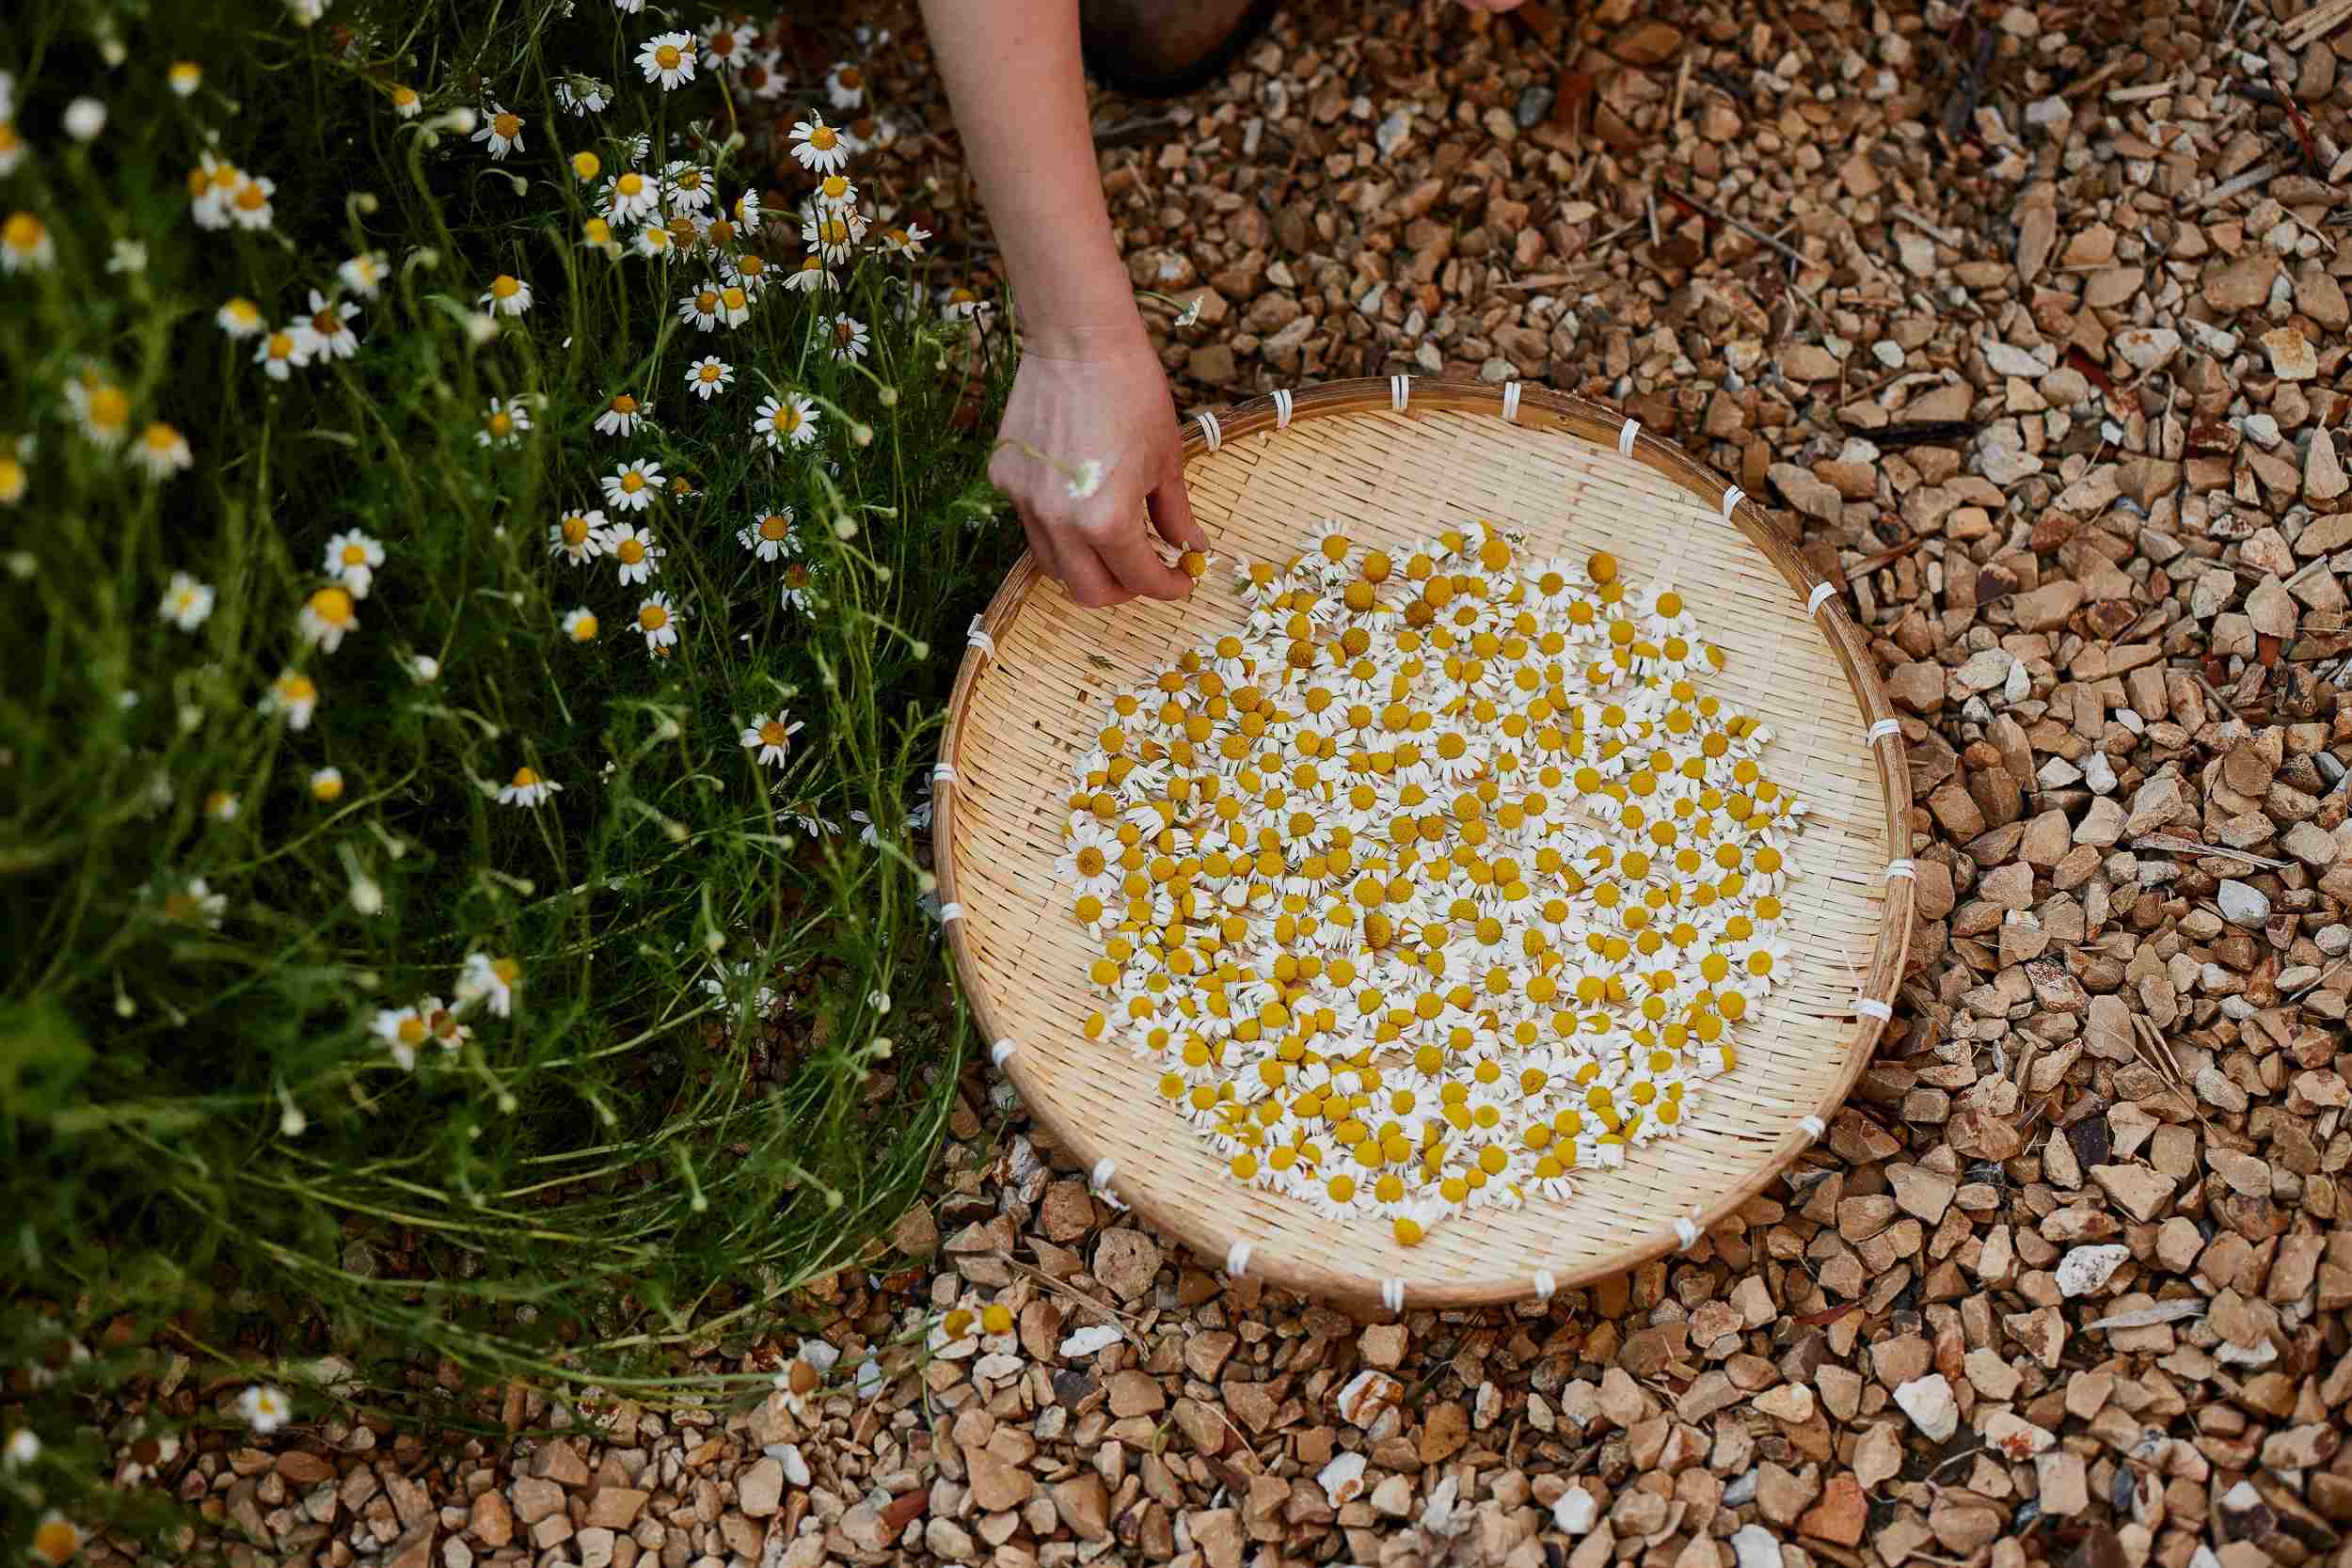
Step 7: Harvesting the Chamomile Flowers
The time has come to harvest the beautiful chamomile flowers you’ve been nurturing so carefully. Harvesting at the right time ensures the best flavor and aroma, allowing you to fully enjoy the benefits of chamomile. Here’s how to harvest chamomile flowers:
- Timing is key: Chamomile flowers are best harvested when they are fully open and at their peak of fragrance and flavor. Wait until the morning dew has dried, usually in the late morning or early afternoon, to ensure that the flowers are dry.
- Inspect the flowers: Examine the flowers closely and select those that have fully opened and are a vibrant white with a yellow center. The petals should be slightly curved backward, and the center should be filled with pollen.
- Plucking the flowers: Grasp the stem of the chamomile flower between your thumb and forefinger, as close to the base of the flower head as possible. Gently twist or wiggle the stem to detach the flower from the plant. Avoid pulling or tugging too hard, as this may damage the plant.
- Harvesting methods: Depending on your needs, there are two primary methods for harvesting chamomile flowers. You can either pick the individual flowers as mentioned above or use the “haircut” method. To use the haircut method, use a pair of sharp scissors or pruners to cut the entire flower head along with a short portion of the stem.
- Drying the flowers: Once you’ve harvested the chamomile flowers, it’s time to dry them. Lay the flowers in a single layer on a clean and dry surface, such as a clean towel or a drying rack. Place them in a well-ventilated area away from direct sunlight, as prolonged exposure to sunlight can cause the flowers to lose their potency. Allow the flowers to air dry for about one to two weeks until they feel crisp and dry to the touch.
- Storing the dried flowers: After the flowers have dried completely, store them in an airtight container, such as a glass jar or airtight plastic bag. Keep them in a cool, dark, and dry place. Properly stored chamomile flowers can retain their flavor and aroma for up to a year.
- Enjoying chamomile flowers: Once your chamomile flowers are dried and stored, you can brew them into a soothing tea by steeping a few teaspoons of dried flowers in hot water for 5-10 minutes. You can also use the dried flowers to infuse oils, create herbal bath blends, or add a delightful floral flavor to culinary dishes.
By following these steps, you can harvest the chamomile flowers at the right time and preserve their quality for long-term enjoyment. Experiment with different ways to use chamomile flowers and let their natural beauty and beneficial properties enhance your daily life.
Congratulations! You have successfully completed the steps to grow, nurture, and harvest chamomile flowers. Remember to enjoy the process and take pride in growing your very own chamomile plants. Happy gardening!
Conclusion
Congratulations on your journey into the world of growing chamomile! From choosing the right seeds to harvesting the beautiful flowers, you’ve learned the essential steps to successfully cultivate chamomile plants. By following these guidelines, you can create a thriving garden filled with fragrant chamomile blooms and enjoy the bountiful benefits it offers.
Chamomile, with its calming and medicinal properties, is not only a delightful addition to your garden but also a versatile herb with numerous uses. From sipping on a soothing cup of chamomile tea to incorporating its floral notes into various culinary creations, chamomile adds a touch of elegance and flavor to your daily life.
Throughout this journey, you’ve discovered the importance of choosing the right seeds, preparing the soil, sowing the seeds, providing adequate water, fertilizing the plants, protecting from pests and diseases, and harvesting the chamomile flowers at their peak. Each step plays a crucial role in the overall success of your chamomile garden.
Remember to enjoy the process of nurturing your chamomile plants, observing their growth, and delighting in the rewards of your efforts. Take advantage of the versatility of chamomile by exploring its various uses and allowing its gentle properties to enhance your well-being.
Whether you have a vast garden or a small balcony, growing chamomile provides a fulfilling and rewarding experience. It connects you to nature, allows you to cherish the beauty of the plants, and brings a sense of satisfaction as you harvest and enjoy the fruits of your labor.
So, roll up your sleeves, put on your gardening gloves, and embark on this delightful journey of growing your own chamomile plants. With proper care and attention, you’ll have a flourishing garden filled with the fragrant and soothing chamomile flowers that you can enjoy for years to come.
Happy gardening and may your chamomile garden thrive!