Home>Types of Gardening>Ornamental Gardening>How To Plant Rose Seeds

Ornamental Gardening
How To Plant Rose Seeds
Modified: February 9, 2024
Learn the art of ornamental gardening with our step-by-step guide on how to plant rose seeds. Transform your garden into a vibrant oasis with these expert tips.
(Many of the links in this article redirect to a specific reviewed product. Your purchase of these products through affiliate links helps to generate commission for Chicagolandgardening.com, at no extra cost. Learn more)
Table of Contents
Introduction
Ornamental gardening is a delightful and rewarding hobby that allows individuals to create beautiful outdoor spaces with a variety of plants and flowers. Among the many choices available, roses hold a special place in the hearts of gardeners due to their timeless beauty and enchanting fragrance.
While many gardeners opt to purchase established rose plants, growing roses from seeds can be a truly gratifying experience. It gives you the opportunity to witness the entire life cycle of these stunning flowers, from seed to blooming beauty. Plus, it allows for a wider selection of rose varieties, as there are countless cultivars and hybrids to choose from.
However, it’s important to note that growing roses from seeds can be a bit challenging compared to other plants. Roses have specific germination requirements, and it can take longer for them to reach a mature stage compared to planting established rose bushes. But fear not, with the right knowledge and a little patience, you can successfully grow roses from seeds and enjoy the satisfaction of nurturing them from the very beginning.
In this article, we will guide you through the steps involved in planting rose seeds. From gathering the necessary materials to transplanting the seedlings, we will cover everything you need to know to create a flourishing rose garden. So, put on your gardening gloves and let’s get started on this exciting journey to grow your own roses!
Step 1: Gathering Materials
Before you embark on the journey of planting rose seeds, it’s essential to gather all the necessary materials. Having everything ready will ensure a smooth and efficient process. Here are the materials you’ll need:
- High-quality potting soil: Choose a well-draining potting mix specifically formulated for roses.
- Containers: Opt for small pots or seed trays with drainage holes to sow the rose seeds.
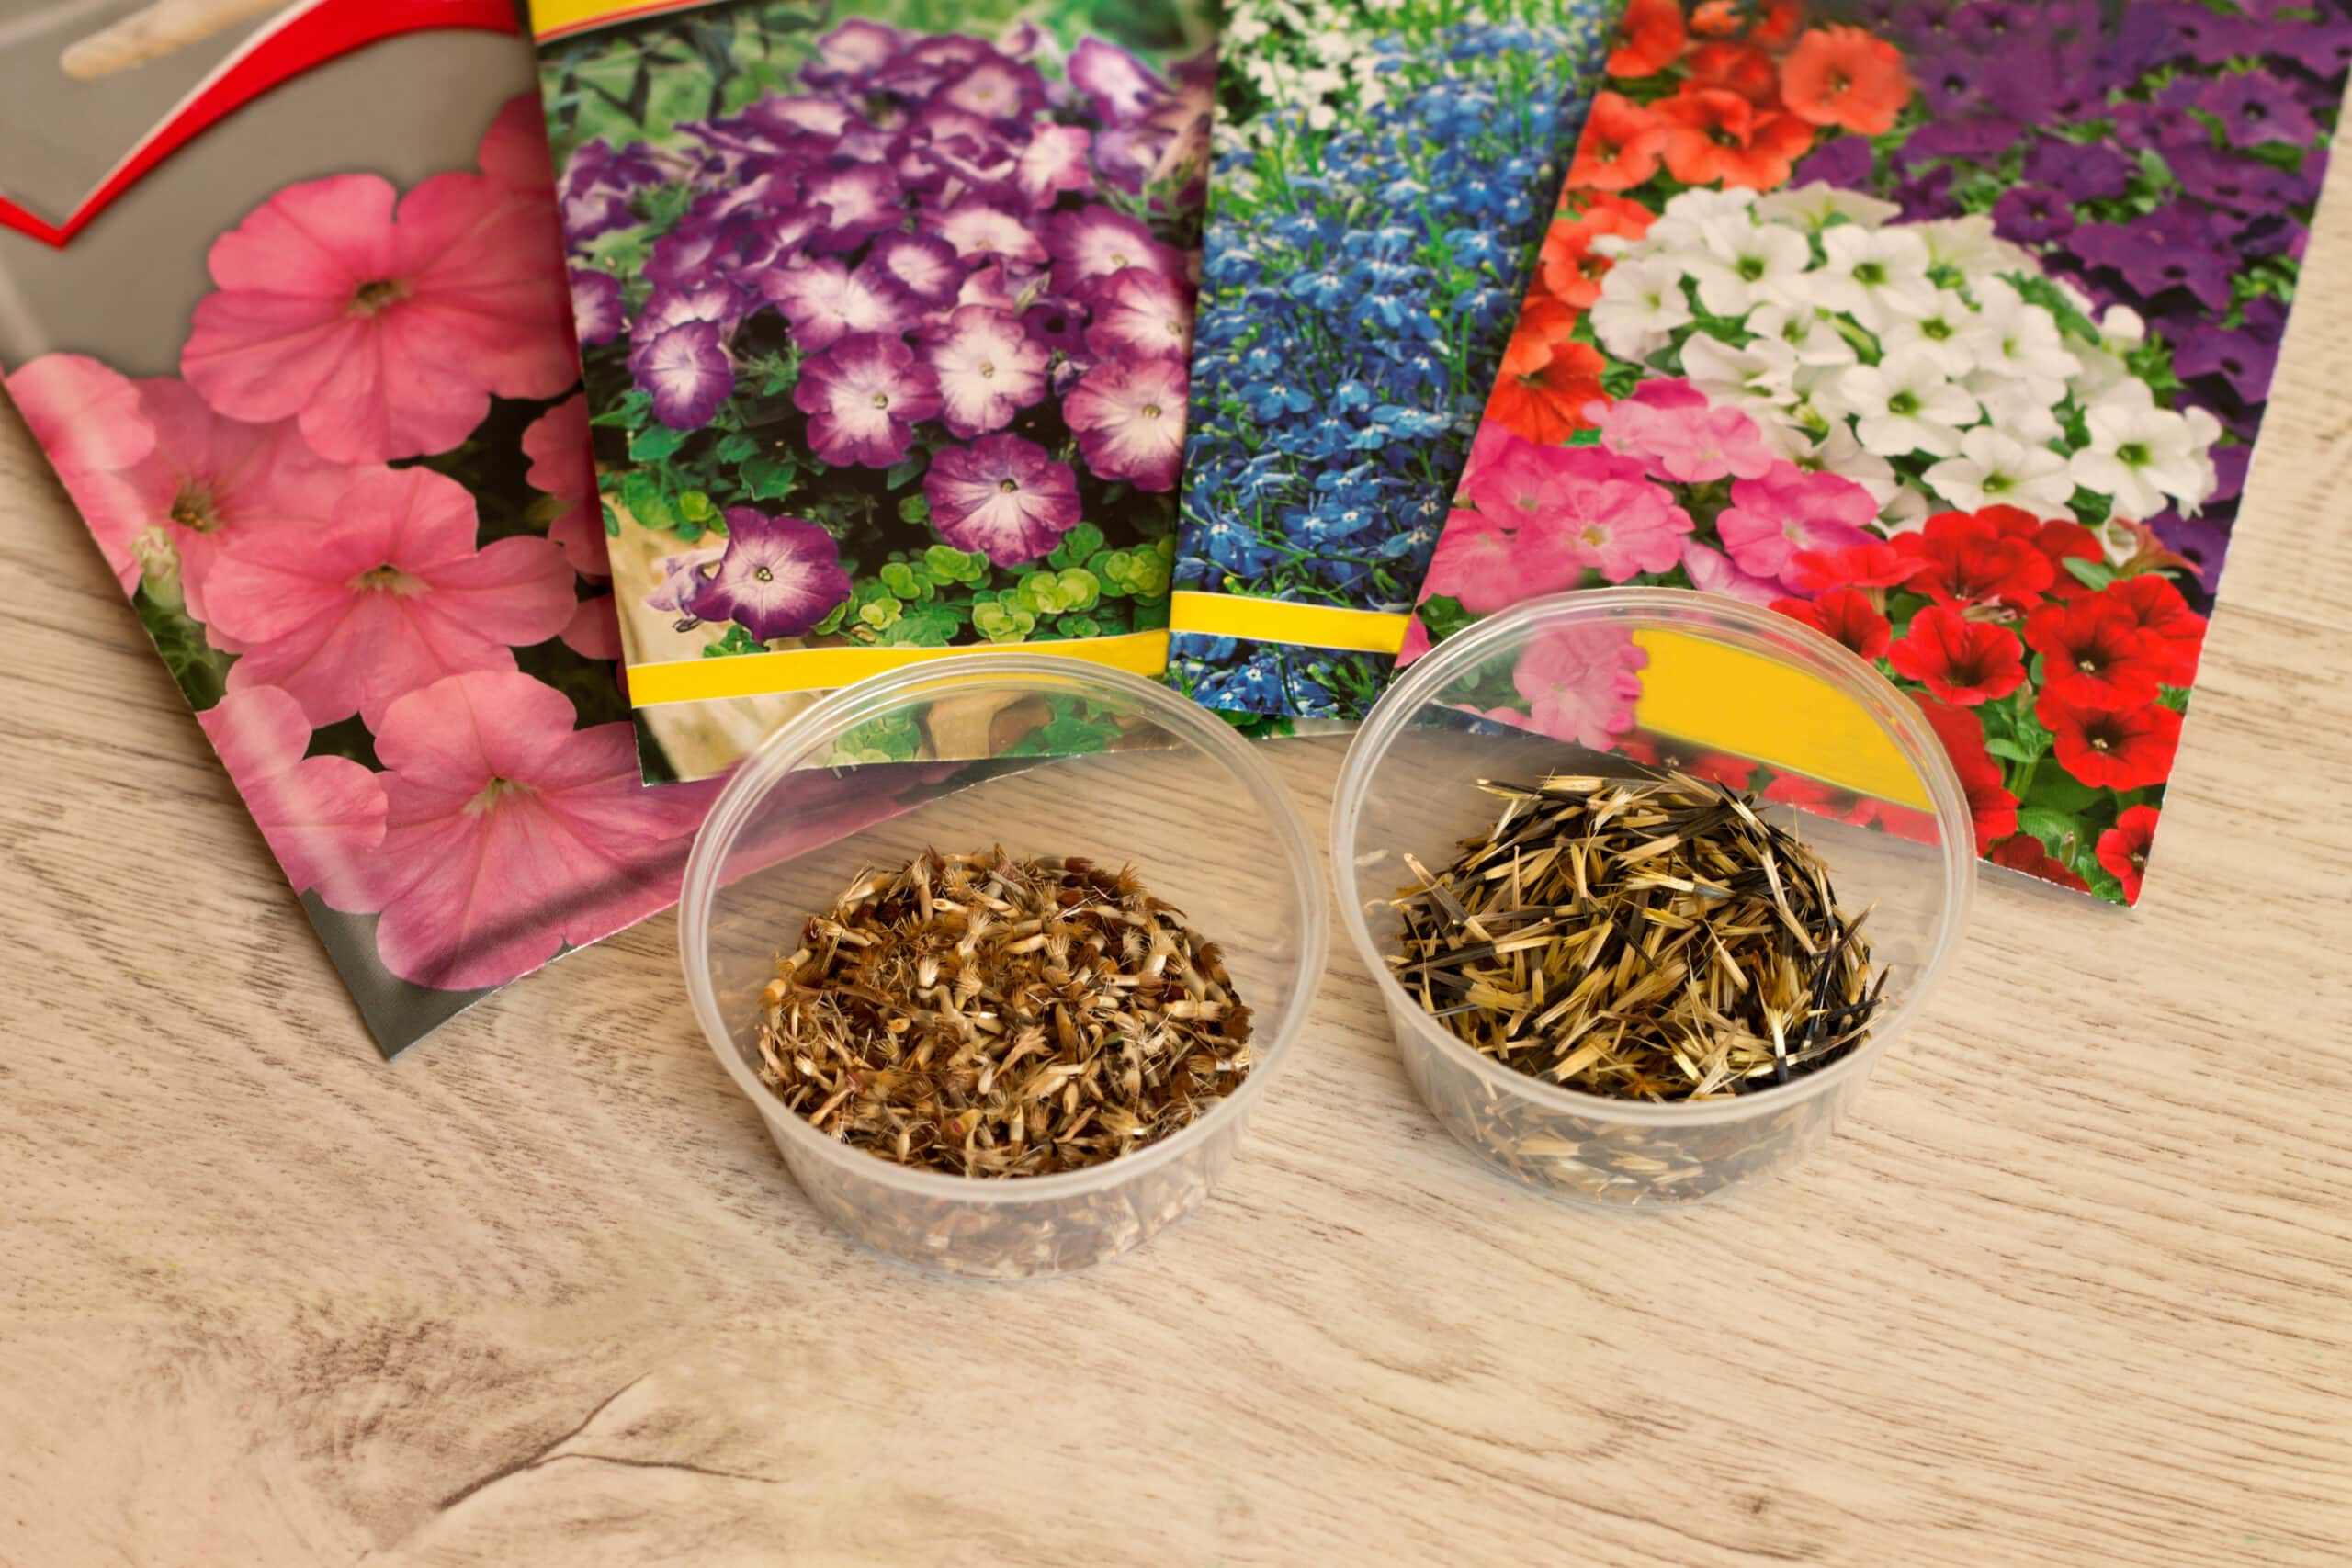
- Seeds: Obtain rose seeds from reputable nurseries or online seed suppliers. Select the rose varieties that appeal to you.
- Plastic wrap or a clear plastic dome: This will create a greenhouse-like environment, aiding in germination.
- Watering can or spray bottle: Use it to water the seeds gently without disturbing their delicate roots.
- Labels: Keep track of the rose varieties by labeling the pots or trays. It will make it easier to identify and care for each variety.
- Grow lights or a sunny location: Roses need ample light to thrive. If you don’t have access to direct sunlight, consider using grow lights to provide supplementary light.
- Water-soluble fertilizer: Once the seedlings sprout, you’ll need a balanced water-soluble fertilizer to nourish them.
Having all these materials at hand will set the foundation for a successful rose seed planting journey. Make sure to gather them before you start the process.
Step 2: Preparing the Soil
Preparing the soil is a crucial step in ensuring optimal growth and development of your rose seeds. Here’s how you can prepare the soil for planting:
- Choose a well-draining location: Roses thrive in well-drained soil. Avoid areas that are prone to waterlogging, as it can lead to root rot and other diseases. If your garden soil doesn’t drain well, consider planting in raised beds or containers.
- Loosen the soil: Use a garden fork or tiller to loosen the soil to a depth of at least 12 inches. This will improve drainage and allow the roots to penetrate easily.
- Remove weeds and debris: Clear the area of any weeds, rocks, or debris that may hinder the growth of your rose seeds.
- Amend the soil: Roses prefer slightly acidic soil with a pH level between 6.0 and 6.5. If needed, add organic matter such as compost, well-rotted manure, or peat moss to improve the soil’s fertility and acidity.
- Blend in fertilizer: Incorporate a balanced slow-release organic fertilizer into the soil. This will provide a steady supply of nutrients to nourish the rose seeds as they germinate and grow.
- Smooth and level the soil: After amending and fertilizing, use a rake to smooth and level the soil surface. This will provide an even planting bed for your rose seeds.
By following these steps, you’ll create an ideal environment for your rose seeds to develop and thrive. Remember, preparing the soil properly is the foundation for healthy and robust rose plants.
Step 3: Obtaining Rose Seeds
Obtaining high-quality rose seeds is essential to ensure successful germination and growth. Here are a few ways to obtain rose seeds:
- Purchase from reputable nurseries: Many nurseries specialize in selling rose seeds. Look for reputable sources that offer a wide variety of rose seeds to choose from.
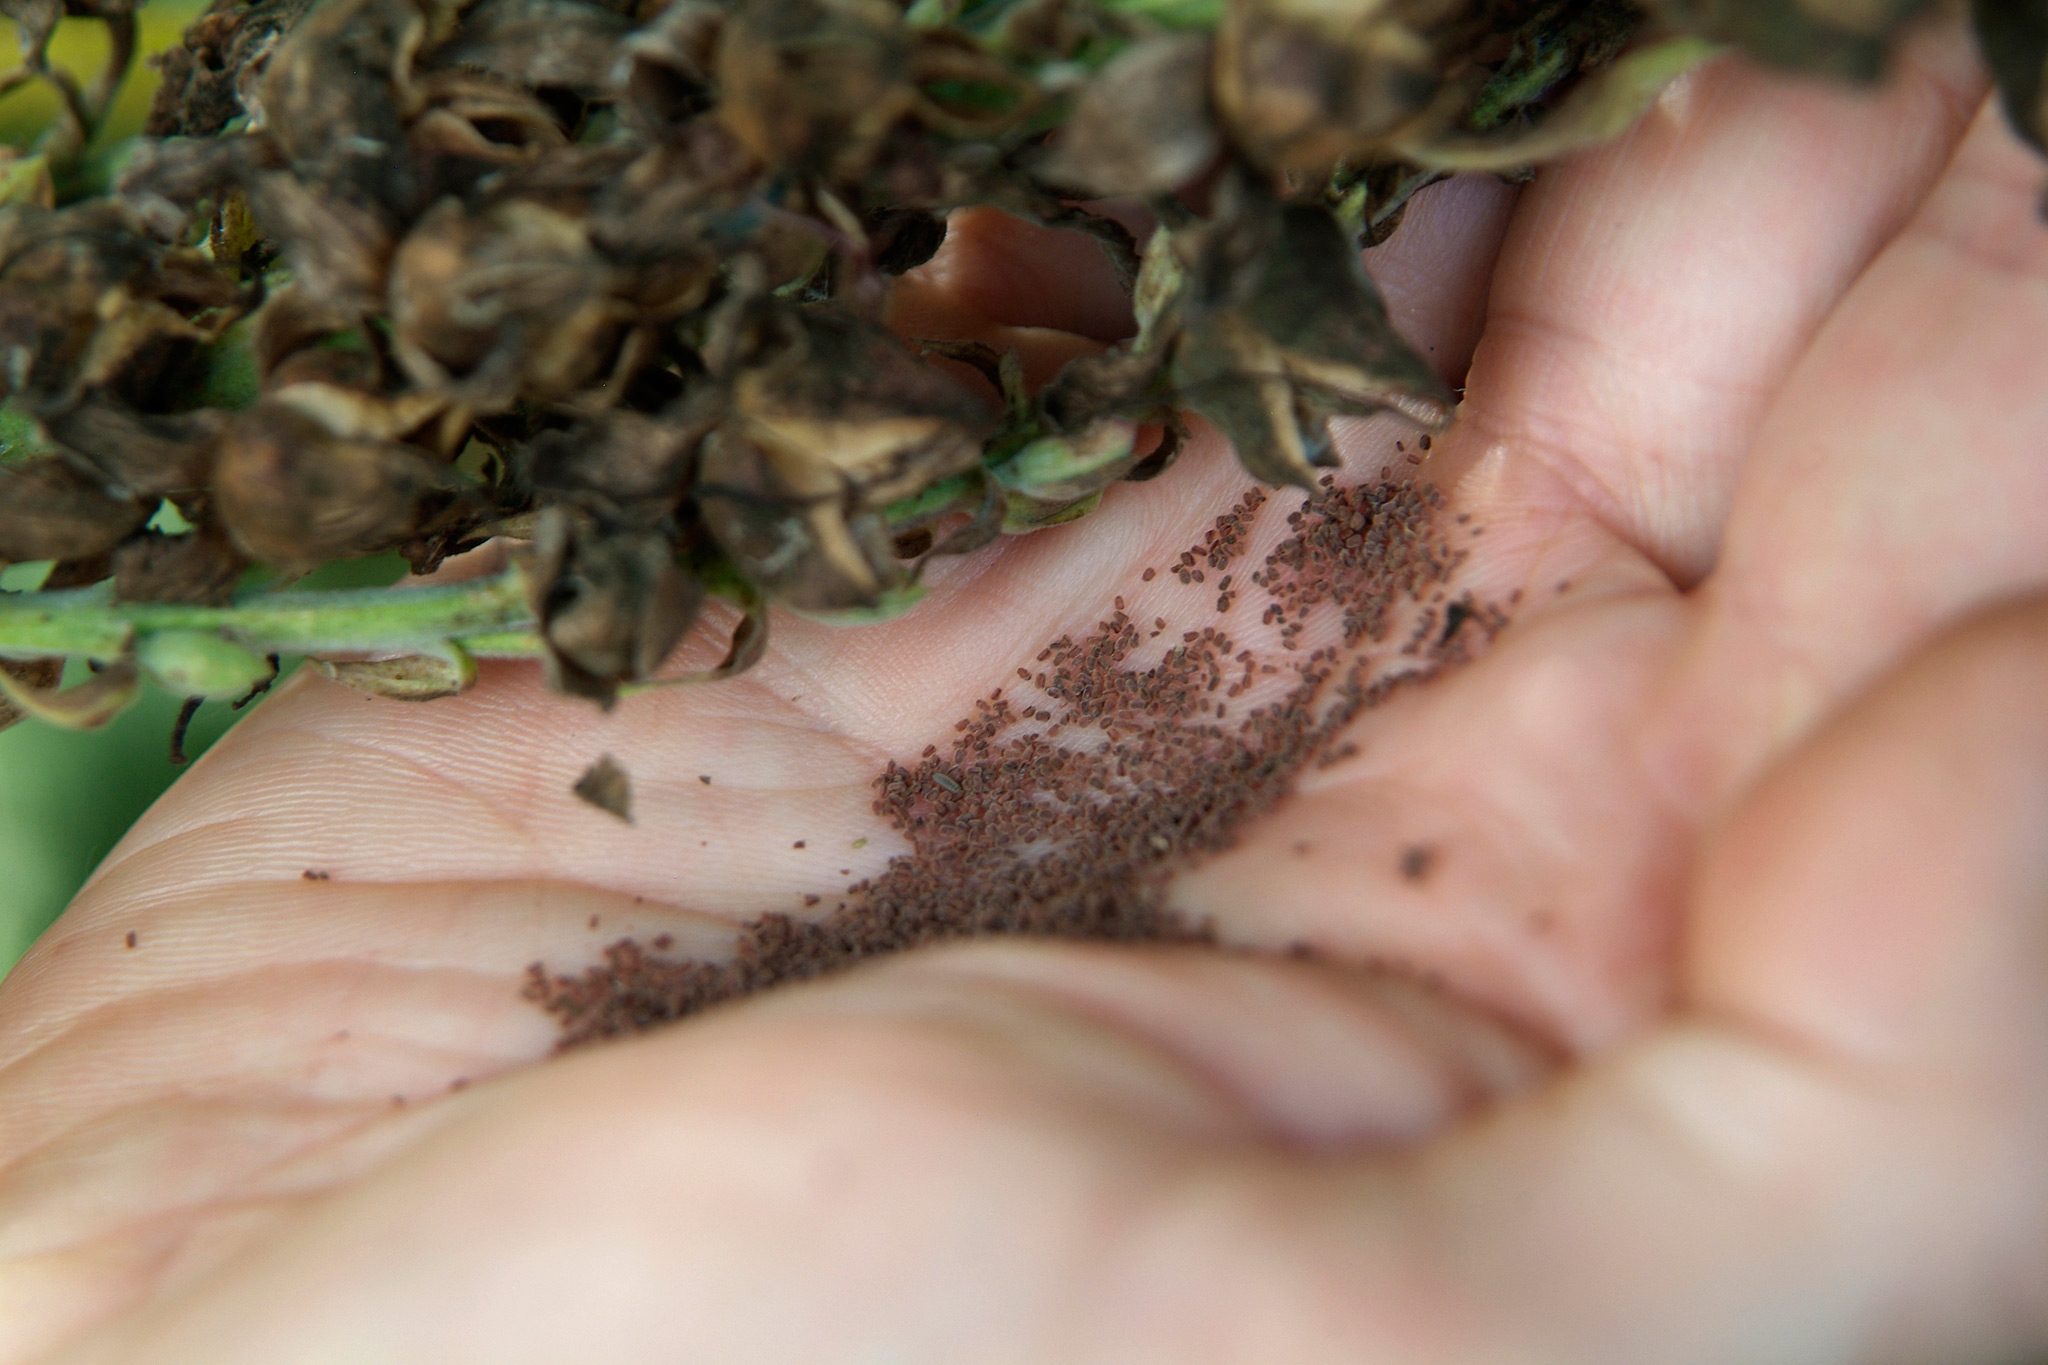
- Save seeds from existing roses: If you have existing rose plants in your garden, you can save seeds from spent blooms. However, keep in mind that these seeds may not produce roses with the exact traits as the parent plant.
- Join rose societies or clubs: Rose enthusiasts often exchange or share seeds within rose societies or clubs. Participating in these communities can be a great way to obtain unique and rare rose seeds.
- Order online: The internet has made it easier than ever to find and order rose seeds. Numerous online seed suppliers and marketplaces offer a wide selection of rose seeds, including heirloom and hybrid varieties.
When obtaining rose seeds, it’s important to select varieties that suit your preferences and growing conditions. Consider factors such as bloom color, fragrance, disease resistance, and planting zone compatibility. Additionally, make sure to choose reputable sources to ensure the quality and authenticity of the seeds.
Remember that patience is key when growing roses from seeds. It may take several years for the plants to reach maturity and begin blooming. But the reward is well worth the wait, as you’ll have unique and truly special rose plants in your garden.
Step 4: Pretreating the Rose Seeds
To increase germination rates and promote successful seedling growth, pretreating rose seeds is often recommended. Here are some common pretreatment methods:
- Stratification: Many rose seeds require a period of cold stratification to break their dormancy and stimulate germination. Place the seeds in a plastic bag with a moistened paper towel or sphagnum moss. Seal the bag and refrigerate it for 4-6 weeks. Check the moisture level periodically and ensure it remains moist but not soggy.
- Scarification: Some rose seeds have hard seed coats that need to be scarified to promote germination. This can be done by gently nicking or scratching the seed coat with a small file or sandpaper. Be careful not to damage the actual seed inside.
- Soaking: Pre-soaking the rose seeds in water overnight can help soften the seed coat and enhance germination. Fill a small container with room-temperature water and place the seeds in it. Allow them to soak for 12-24 hours before planting.
- Smoke treatment: Certain rose species, especially those native to regions with regular wildfires, benefit from exposure to smoke. This can be simulated by treating the seeds with smoke-water solution or by using commercially available smoke priming products.
It’s worth noting that not all rose seeds require pretreatment. Some varieties may germinate readily without any pretreatment methods. However, for those that do benefit from pretreatment, it can significantly improve germination rates and ensure a higher success rate in growing healthy rose seedlings.
Before attempting any pretreatment method, make sure to research the specific requirements of the rose variety you are planting. Each rose species or cultivar may have different needs, so it’s essential to follow the appropriate pretreatment method for the particular seeds you have.
Step 5: Sowing the Rose Seeds
Once you have gathered the materials, prepared the soil, obtained the rose seeds, and pretreated them if necessary, it’s time to sow the rose seeds. Follow these steps to ensure successful seed planting:
- Fill the containers: Fill the small pots or seed trays with the prepared potting soil. Leave a small gap at the top, as this will make watering easier.
- Sow the seeds: Place the pretreated rose seeds on top of the soil in the containers. Depending on the seed size, plant them at a depth of approximately 1/4 to 1/2 inch. Space the seeds a few inches apart to allow room for growth.
- Cover the seeds: Gently cover the seeds with a thin layer of soil. It should be just enough to cover the seeds without burying them too deep.
- Water the seeds: Using a watering can or a spray bottle, moisten the soil with water. Ensure the soil is evenly moist but not waterlogged, as excessive moisture can lead to rotting.
- Create a greenhouse-like environment: Place a clear plastic dome or cover the containers with plastic wrap. This will help create a humid environment that promotes germination. Ventilate the cover periodically to prevent mold or fungal growth.
- Provide proper lighting: Place the containers in a warm location with indirect sunlight or under grow lights. Roses require adequate light for proper growth, so ensure they receive at least 6-8 hours of light each day.
- Maintain moisture: Check the soil moisture regularly and water the seeds as needed to keep the soil consistently moist. Avoid overwatering, as it can cause the seeds to rot.
Now, sit back and patiently wait for the rose seeds to germinate. The germination time can vary depending on the rose variety, with some seeds sprouting within a few weeks while others may take several months.
During the germination period, it’s crucial to provide consistent moisture, adequate light, and a favorable environment for the seeds to thrive. Be patient, as the reward of seeing the first tiny rose seedlings emerge from the soil is worth the wait.
Step 6: Providing Proper Care
As your rose seedlings begin to emerge and grow, it’s important to provide them with proper care to ensure their healthy development. Follow these guidelines to give your rose seedlings the best chance to thrive:
- Watering: Water the seedlings regularly, keeping the soil consistently moist but not waterlogged. Use a watering can or spray bottle to provide gentle moisture to avoid disturbing the delicate roots.
- Lighting: Ensure the seedlings receive adequate light. If growing indoors, provide 12-16 hours of bright, indirect sunlight or use grow lights to supplement natural light.
- Temperature: Maintain a moderate temperature range of around 60-75°F (15-24°C). Avoid extremes of heat or cold, as it can stress the fragile seedlings.
- Fertilization: Once the seedlings have developed a few sets of true leaves, begin feeding them with a diluted, balanced liquid fertilizer. Follow the package instructions for proper application and frequency.
- Thinning: If the seedlings are growing too close together, carefully thin them out to provide adequate space for growth. This will help prevent overcrowding and competition for resources.
- Transplanting: As the seedlings grow larger and develop stronger roots, they will need to be transplanted into larger pots or containers. Ensure the new containers have proper drainage holes and use a quality potting mix.
- Hardening off: Before transitioning the seedlings to an outdoor environment, gradually acclimate them to the outdoors through a process called hardening off. This involves gradually exposing the seedlings to outdoor conditions over a period of one to two weeks.
- Pest and disease control: Monitor the seedlings for any signs of pests or diseases. Treat promptly using organic pest control methods or appropriate fungicides if needed.
Remember, caring for rose seedlings requires attentiveness and patience. With proper care, the seedlings will continue to grow and develop into healthy and robust rose plants.
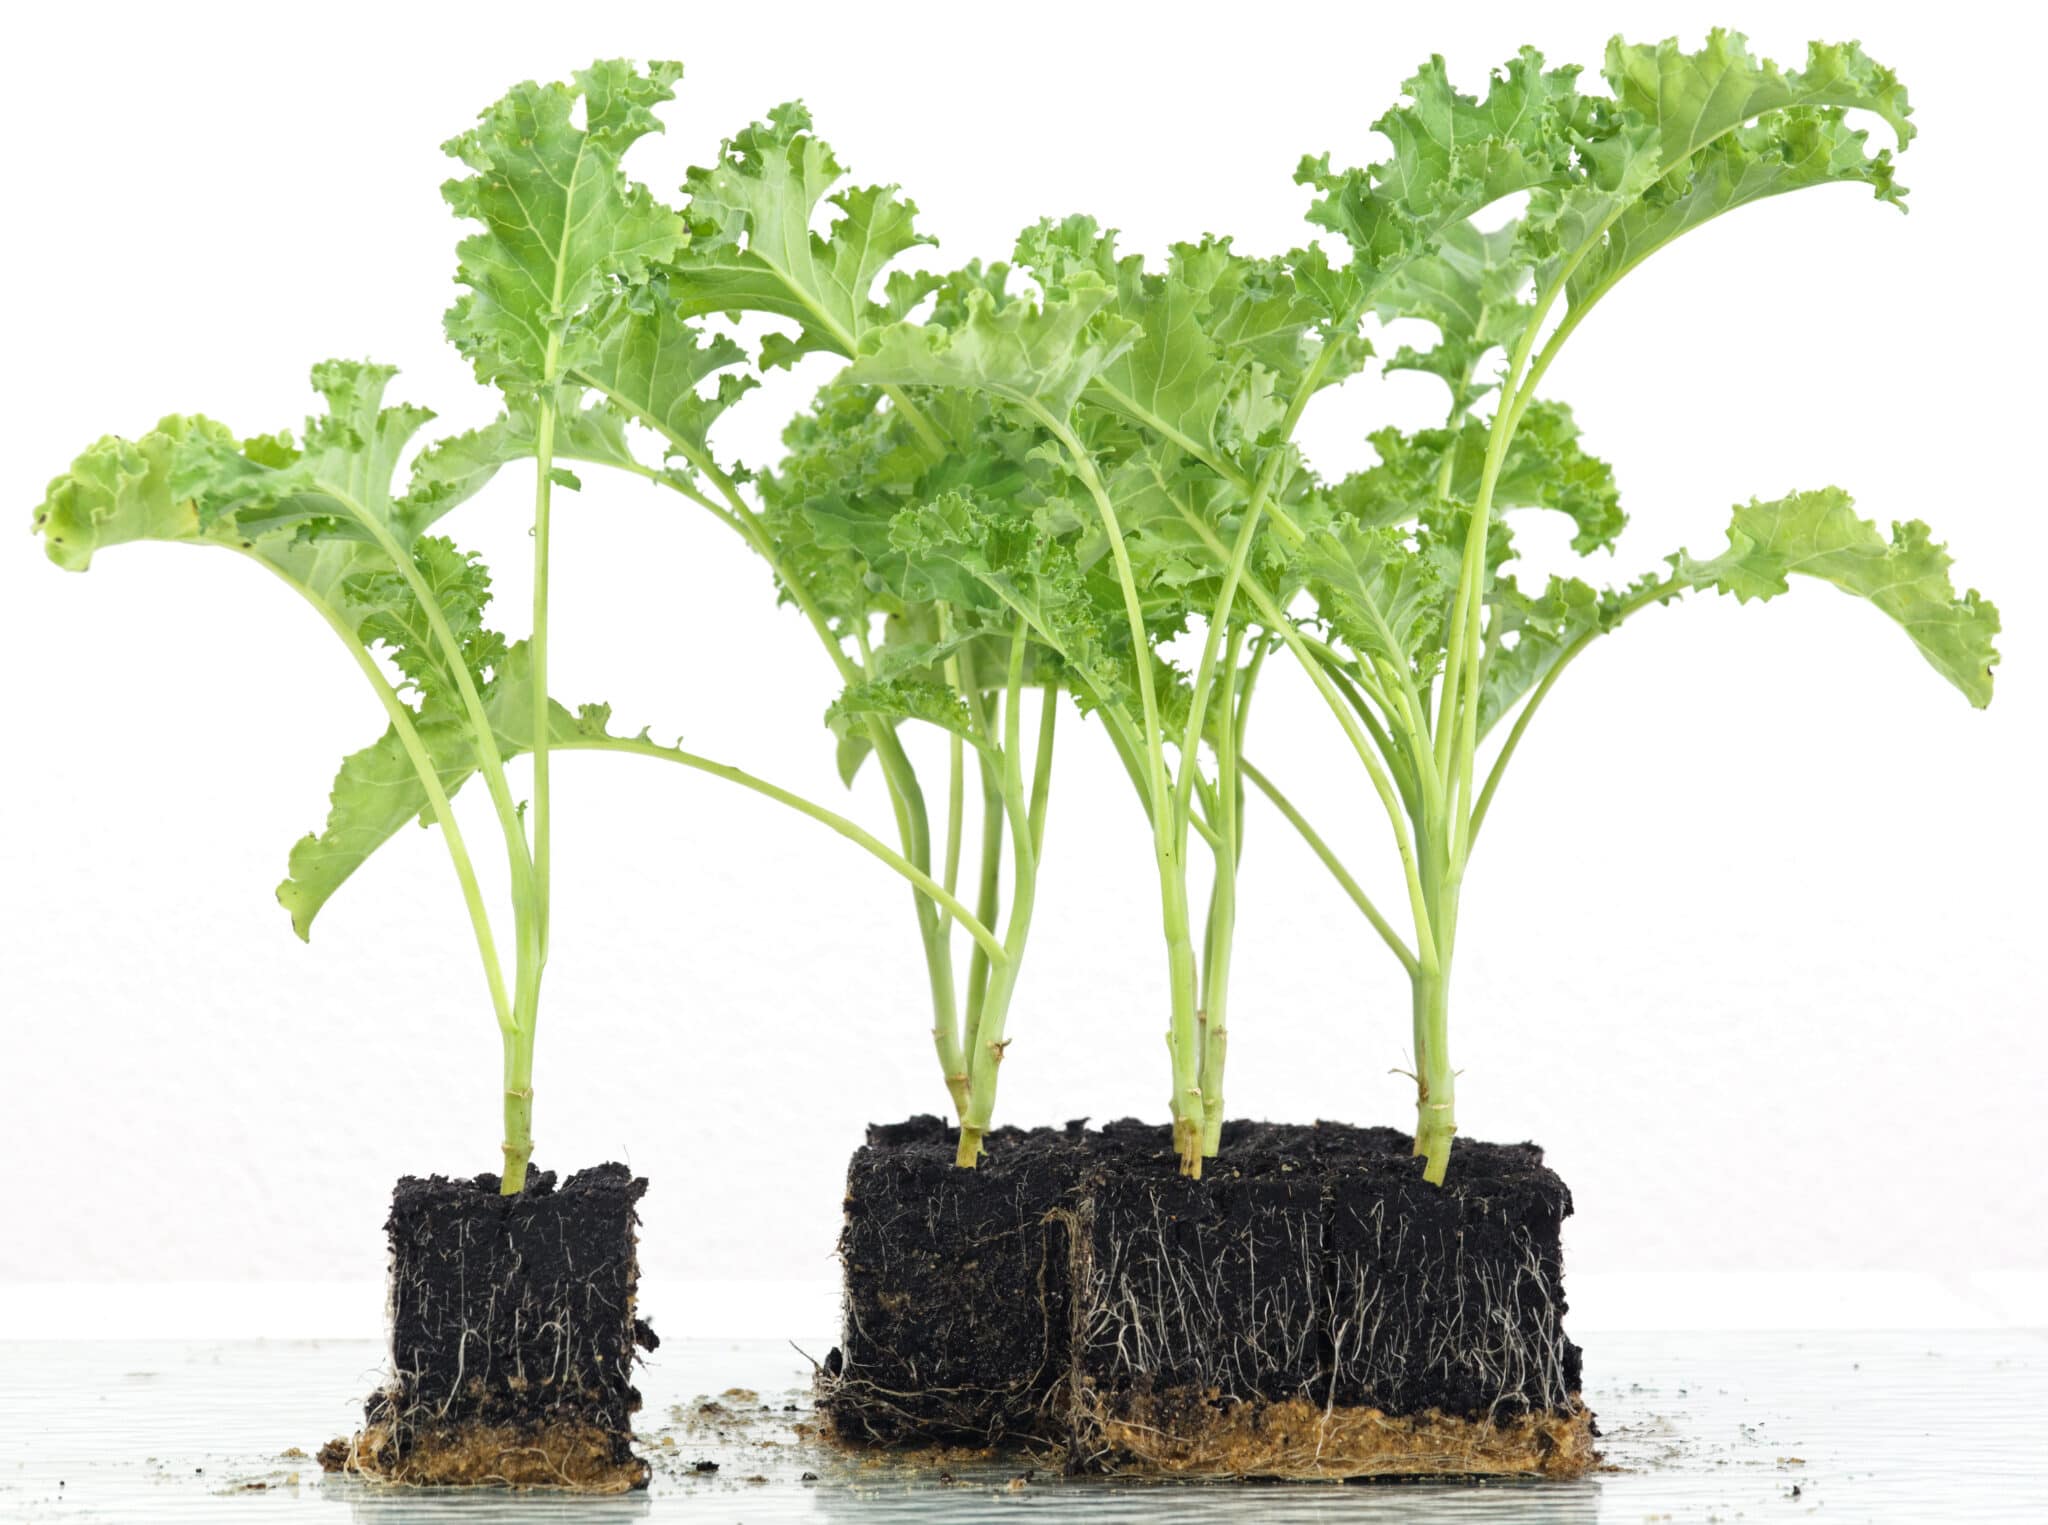
Step 7: Transplanting the Seedlings
Transplanting is a crucial step in the growth journey of your rose seedlings. It involves moving them from their initial containers to larger pots or directly into the garden. Follow these steps to ensure a successful transplant:
- Choose the right time: Wait until the seedlings have developed a strong root system and are 4-6 inches tall before transplanting. This typically takes 8-12 weeks from sowing the seeds.
- Select the transplant location: Choose a spot in your garden that receives at least 6 hours of direct sunlight daily and has well-draining soil. Avoid areas with strong winds or excessive shade.
- Prepare the planting hole: Dig a hole that is slightly larger than the root ball of the seedling. Ensure the hole is deep enough to accommodate the entire root system without bending or crowding the roots.
- Water the seedlings: Water the seedlings thoroughly before transplanting. This will help keep the root ball intact during the transplant process.
- Carefully remove the seedlings: Gently loosen the soil around the seedlings with a small garden trowel or spoon. Lift the seedlings from the container, being careful to handle them by the leaves or root ball, avoiding any damage to the delicate stems.
- Place the seedlings in the hole: Set the seedlings in the prepared hole, making sure the top of the root ball is level with the soil surface. Avoid burying the seedlings too deep, as this can lead to stem rot.
- Backfill and firm the soil: Fill the hole with soil, gently firming it around the root ball to eliminate air pockets. Ensure the seedlings are secure and upright.
- Water thoroughly: After transplanting, water the seedlings thoroughly to settle the soil and provide moisture to the roots. Add a layer of mulch around the base of the plants to conserve moisture and suppress weed growth.
During the first few weeks after transplanting, monitor the seedlings closely and provide regular watering and light fertilization to help them establish in their new location. Protect the seedlings from extreme weather conditions and provide support, such as stakes or trellises, if needed.
With proper care and attention, your transplanted rose seedlings will continue to grow and develop into beautiful, mature rose plants that will bring joy to your garden for many years to come.
Step 8: Maintaining Healthy Rose Plants
Maintaining healthy rose plants requires ongoing care and attention to ensure their continued growth and beauty. Follow these tips to keep your roses thriving:
- Watering: Provide consistent and deep watering to keep the soil evenly moist, especially during dry periods. Avoid overhead watering to prevent fungal diseases, and instead, water at the base of the plants.
- Fertilizing: Feed your roses regularly with a balanced fertilizer formulated for flowering plants. Follow the package instructions for application rates and frequency.
- Pruning: Prune your roses during the dormant season to remove dead or diseased wood and to shape the plants. Pruning encourages new growth and improves air circulation within the plant, reducing the risk of diseases.
- Mulching: Apply a layer of organic mulch around the base of your rose plants, leaving a small gap around the stem to prevent rot. Mulch helps retain moisture, suppresses weeds, and regulates soil temperature.
- Pest and disease control: Monitor your roses regularly for any signs of pests or diseases. Identify and treat them promptly using organic pest control methods or appropriate fungicides to prevent further damage.
- Supporting and training: Depending on the rose variety, provide necessary support such as trellises, stakes, or wire frames to help the plants grow upright and prevent distortion or breakage.
- Deadheading: Remove spent blooms regularly to encourage new blooms and prolong the flowering season. Cut the stems just above a leaf node or a set of healthy leaves to encourage healthy growth.
- Winter protection: Depending on your climate, provide winter protection for your rose plants. Mulch around the base, wrap the canes in burlap, or cover the plants with a protective layer to shield them from harsh winter conditions.
Regular observation and care will help you identify and address any issues before they worsen. Additionally, staying well-informed about the specific needs of your rose varieties will enable you to provide tailored care to keep them healthy and thriving.
By following these maintenance practices, you can enjoy a garden filled with vibrant, healthy roses that will continue to bring beauty and joy to your outdoor space.
Conclusion
Growing roses from seeds can be a fulfilling and rewarding experience, allowing you to witness the entire life cycle of these beautiful flowers. While it requires patience, attention to detail, and proper care, the outcome is well worth the effort.
By following the steps outlined in this guide, you can successfully plant rose seeds and nurture them into healthy and thriving plants. From gathering the materials and preparing the soil to obtaining the seeds, pretreating them, sowing, transplanting, and providing ongoing care, each step plays a crucial role in the growth and development of your roses.
Remember to select high-quality seeds, prepare the soil properly, and provide the optimal growing conditions including appropriate lighting, watering, fertilizing, and protection from pests and diseases. Regular maintenance such as pruning, deadheading, and winter protection will keep your rose plants healthy and vibrant.
Whether you choose to grow roses for their fragrance, beauty, or as a symbol of love and admiration, the process of growing them from seeds allows for a deeper connection and appreciation for these incredible flowers.
So, roll up your sleeves, put on your gardening gloves, and embark on the journey of growing your own roses from seeds. With dedication, patience, and a touch of love, you will be rewarded with a stunning rose garden that will be the envy of all who see it.