Home>Types of Gardening>Edible Gardening>How To Plant Muscadine Seeds

Edible Gardening
How To Plant Muscadine Seeds
Modified: January 22, 2024
Learn how to plant muscadine seeds and cultivate your own edible garden with our step-by-step guide. Start growing delicious and nutritious muscadine grapes today!
(Many of the links in this article redirect to a specific reviewed product. Your purchase of these products through affiliate links helps to generate commission for Chicagolandgardening.com, at no extra cost. Learn more)
Table of Contents
- Introduction
- Step 1: Collecting the Muscadine Seeds
- Step 2: Preparing the Seeds for Planting
- Step 3: Choosing the Planting Location
- Step 4: Planting the Muscadine Seeds
- Step 5: Caring for the Muscadine Seedlings
- Step 6: Transferring the Seedlings to the Ground
- Step 7: Continued Care and Maintenance of the Muscadine Plants
- Conclusion
Introduction
Welcome to the world of edible gardening! If you have a passion for growing your own food and enjoying the freshest produce right from your backyard, then you’re in the right place. In this article, we will explore the wonderful art of planting muscadine seeds, a popular fruit that is loved for its unique flavor and versatility.
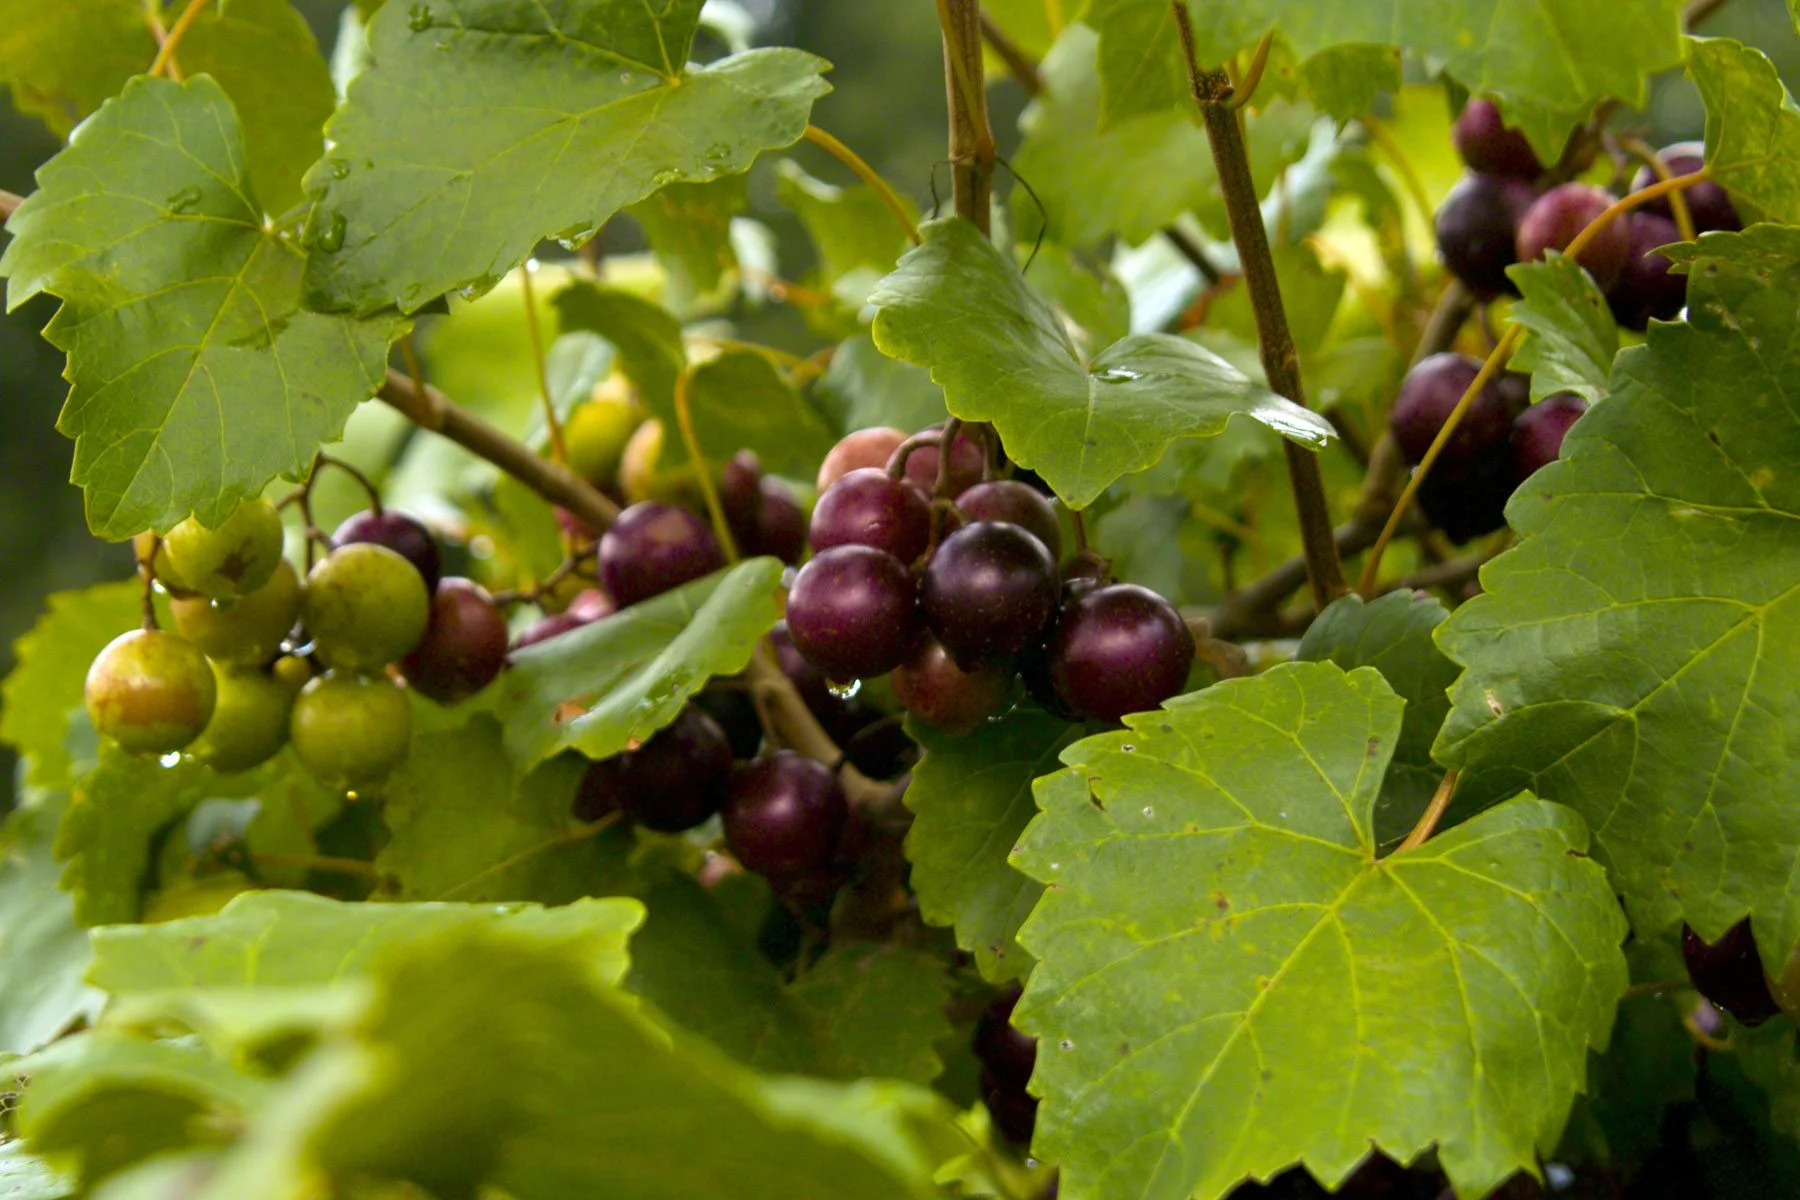
Muscadines are a type of grape native to the southeastern United States. They are known for their thick skin, sweet pulp, and high nutritional value. Growing muscadine plants from seeds is a rewarding journey that allows you to witness the miracle of nature firsthand. You will see the tiny seeds transform into vigorous seedlings and eventually mature into robust plants that bear delicious, juicy fruit.
In addition to the joy of growing your own food, there are numerous benefits to planting muscadines. These hardy plants are resistant to many common grape diseases, making them relatively easy to grow. They also thrive in a variety of soil types and climates, making them suitable for gardeners across different regions.
Whether you are a seasoned gardener or just getting started, this step-by-step guide will provide you with the knowledge and confidence to successfully plant and care for muscadine seeds. From collecting the seeds to transferring the seedlings to the ground, each stage of the process will be covered in detail, ensuring that you have all the information you need to cultivate thriving muscadine plants.
So let’s roll up our sleeves, grab our gardening tools, and embark on a journey of edible gardening as we learn how to plant muscadine seeds. Get ready to experience the satisfaction of growing your own luscious grapes and enjoy the fruits of your labor for years to come.
Step 1: Collecting the Muscadine Seeds
Before we can start planting muscadine seeds, we need to collect them. This process begins by selecting ripe and healthy muscadine grapes from an existing plant or purchasing them from a local farmer’s market.
When choosing muscadine grapes, look for ones that are fully mature and have a deep color. The grapes should feel firm and plump, indicating that the seeds inside are developed and ready for planting.
To collect the seeds, gently squeeze the muscadine grapes over a bowl or a plate. The ripe grapes will easily release their seeds. Separate the seeds from the fruit pulp by rinsing them under cool water. It is essential to remove any remaining fruit residue to prevent mold and fungal growth during the germination process.
After rinsing the seeds, place them on a paper towel and gently pat them dry. Avoid using tissues or towels with fragrances or oils, as these can potentially harm the seeds. Allow the seeds to air dry for about 24 hours to ensure that they are completely moisture-free before moving on to the next step.
Once the muscadine seeds are dry, it’s a good idea to store them in a cool, dry place until you’re ready to plant them. An airtight container or a labeled paper bag is ideal for keeping the seeds safe and viable.
Remember, the quality of the seeds you collect plays a vital role in the success of your muscadine plants. Make sure to choose healthy and fully mature grapes, and always handle the seeds with care to avoid damaging them.
Step 2: Preparing the Seeds for Planting
Now that you have collected the muscadine seeds, it’s time to get them ready for planting. Proper preparation ensures that the seeds have the best chance of germinating and growing into healthy seedlings.
One important step in preparing the muscadine seeds is scarification. Muscadine seeds have a hard outer coating that can inhibit germination. To break through this tough exterior, you can scarify the seeds by gently filing or sanding the seed coat with a fine-grit sandpaper. This process allows water to penetrate the seed, kick-starting the germination process.
Another method you can use for scarification is soaking the seeds in water for 24 hours. The water absorption helps soften the seed coat and facilitate germination. However, keep in mind that muscadine seeds have a high water content naturally, so do not exceed the recommended soaking time, as it can lead to damage or even rotting of the seeds.
After scarification, you can further improve the germination rate by stratifying the seeds. Stratification mimics the natural winter dormancy period that muscadine seeds experience outdoors. To stratify the seeds, place them in a damp paper towel or peat moss inside a sealable plastic bag. Then, refrigerate the bag for about 30-60 days. This process helps break any remaining seed dormancy, increasing the chances of successful germination.
Throughout the stratification period, occasionally check the seeds for mold or fungus. If you notice any signs of decay, remove those seeds immediately to prevent the spread of disease.
Once the stratification period is complete, remove the seeds from the refrigerator and allow them to come to room temperature. At this point, the muscadine seeds are ready for planting.
Preparing the muscadine seeds for planting may require a bit of time and effort, but it greatly improves the germination rate and increases the chances of successful seedling growth.
Step 3: Choosing the Planting Location
Choosing the right planting location is crucial for the successful growth of your muscadine plants. Here are some key factors to consider when selecting the perfect spot:
- Sunlight: Muscadine plants thrive in full sun, so choose a location that receives at least 6-8 hours of direct sunlight each day. This ensures optimal growth and proper fruit production.
- Soil: Muscadines prefer well-draining soil with a pH level between 5.5 and 6.5. Conduct a soil test to determine the pH level and make any necessary amendments to create an ideal growing environment.
- Space: Muscadine plants can grow quite large, so make sure to choose a planting location with enough space for them to spread out. Consider the mature size of the plant and provide adequate support such as trellises or fences.
- Air Circulation: Good air circulation is essential for preventing disease and promoting healthy plant growth. Avoid planting muscadines in areas with poor air circulation, such as low-lying spots or densely crowded areas.
- Proximity to Other Plants: Keep in mind the proximity of muscadine plants to other trees, shrubs, or plants. Overcrowding can lead to competition for resources and hinder the growth of your muscadines. Allow sufficient space between plants for proper air circulation and root development.
Consider these factors when choosing the planting location to ensure that your muscadine plants have the best chance of thriving and producing a bountiful harvest. Take the time to assess your garden or yard, taking into account sunlight, soil, space, air circulation, and neighboring plants. By providing the optimal growing conditions, you will set your muscadines up for success.
Step 4: Planting the Muscadine Seeds
Now that you have prepared the muscadine seeds and chosen the perfect planting location, it’s time to start planting. Follow these steps to ensure a successful planting process:
- Prepare the Soil: Before planting, prepare the soil by removing any weeds, rocks, or debris. Loosen the soil to a depth of at least 12 inches, incorporating organic matter such as compost or well-rotted manure to improve the soil structure and fertility.
- Dig the Planting Hole: Dig a planting hole that is approximately twice the size of the root ball or seedling container. Make sure the hole is deep enough to comfortably accommodate the roots without bending or crowding.
- Plant the Seeds: If you are planting directly from seeds, sow them about 1 inch deep into the prepared soil. Space the seeds at least 6-8 inches apart to allow adequate room for growth. Gently cover the seeds with soil and press down to ensure good soil-to-seed contact.
- Water the Seeds: After planting, thoroughly water the seeds to settle the soil and provide essential moisture for germination. Ensure the soil remains consistently moist but not waterlogged throughout the germination process.
- Provide Support: Muscadine plants are vigorous climbers, so it’s important to provide them with proper support. Install a trellis or fence adjacent to the planting area, allowing the vines to climb and spread out. Make sure the support structure is sturdy enough to withstand the weight of mature vines laden with fruit.
- Keep an Eye on Germination: Depending on the conditions, muscadine seeds can take anywhere from 2 to 8 weeks to germinate. During this period, regularly monitor the planting area for signs of sprouting seedlings. Ensure the soil remains consistently moist, but be cautious not to overwater and cause rotting.
By following these steps, you will successfully plant your muscadine seeds and set them on the path to growth. Remember to be patient, as muscadines take time to establish themselves. Keep a close eye on the soil moisture and provide support as the plants start to grow. With proper care, you will soon see your muscadine seedlings emerge from the soil, ready to flourish and become fruitful vines.
Step 5: Caring for the Muscadine Seedlings
Once your muscadine seedlings have sprouted and emerged from the soil, it’s time to provide them with the care they need to grow into healthy, strong plants. Follow these guidelines to ensure the successful development of your muscadine seedlings:
- Watering: Proper watering is crucial for the health of your muscadine seedlings. Keep the soil consistently moist, but not soggy. Water deeply, allowing the water to penetrate the root zone. Avoid overwatering, as this can lead to root rot and other fungal diseases.
- Fertilizing: Muscadine seedlings benefit from regular fertilization to promote healthy growth. Apply a balanced fertilizer specifically formulated for grapes or use compost to provide essential nutrients. Follow the package instructions for application rates and frequency.
- Pruning: Pruning is an important part of muscadine plant care, even for seedlings. Once your seedlings have grown a few sets of true leaves, gently pinch off the top to encourage branching and promote a bushier growth habit.
- Weed Control: Keep the area around your muscadine seedlings free from weeds. Weeds compete with plants for nutrients and water, potentially stunting their growth. Regularly remove weeds by hand or use mulch to suppress weed growth and conserve soil moisture.
- Protection from Pests: Keep a watchful eye for common pests that can damage your muscadine seedlings, such as aphids, snails, or birds. Use organic pest control methods like handpicking or introducing natural predators to keep pest populations at bay.
- Providing Support: As your muscadine seedlings grow, continue to provide them with support. Train the vines onto the trellis or fence, gently tying them with soft plant ties. Prune and guide the vines to establish a well-structured framework for future growth.
Caring for muscadine seedlings requires attention to detail and regular maintenance. By providing them with adequate water, proper fertilization, and protection from pests, you are creating the optimal environment for their growth. With consistent care, your muscadine seedlings will flourish and develop into robust vines ready to bear delicious fruit.
Step 6: Transferring the Seedlings to the Ground
As your muscadine seedlings grow stronger and outgrow their pots or temporary containers, it’s time to transplant them into the ground. Transferring the seedlings to the ground will provide them with more space to spread their roots and establish a permanent home. Follow these steps to ensure a successful transplanting process:
- Choose the Right Time: Transplant your muscadine seedlings in early spring after the last frost has passed. This will give the plants ample time to acclimate to their new environment before the hot summer months.
- Prepare the Planting Hole: Dig a hole that is large enough to accommodate the root ball of the seedling. Make sure the hole is deep and wide enough to avoid bending or crowding the roots.
- Amend the Soil: Mix well-rotted compost or organic matter into the soil to improve its fertility and drainage. This will provide the seedlings with the necessary nutrients for healthy growth.
- Remove the Seedling from its Container: Gently tap or squeeze the sides of the container to loosen the root ball. Carefully remove the seedling from the container, being mindful not to damage the delicate roots.
- Place the Seedling in the Hole: Lower the seedling into the planting hole, ensuring that the root ball is level with or slightly above the soil surface. This will promote good drainage and prevent the seedling from being buried too deep.
- Backfill and Firm the Soil: Fill the hole with the amended soil, gently firming it around the seedling to eliminate air pockets. Avoid compacting the soil excessively, as this can hinder root growth.
- Water Thoroughly: After transplanting, provide the seedling with a deep watering to settle the soil and ensure good root-to-soil contact. This will help the seedling establish itself in its new location.
- Apply Mulch: Apply a layer of organic mulch around the base of the seedling, leaving a small gap around the stem. Mulch helps conserve moisture, suppress weeds, and maintain a stable soil temperature.
- Stake if Needed: If your muscadine seedling is tall or has weak stems, consider staking it for support. Use a soft plant tie to secure the main stem to the stake, ensuring it has room to grow and avoid constriction.
By following these steps, you will successfully transplant your muscadine seedlings into the ground. Remember to provide adequate water and monitor the newly planted seedlings closely. With proper care and attention, your muscadines will continue to grow and thrive in their new permanent home.
Step 7: Continued Care and Maintenance of the Muscadine Plants
Transplanting your muscadine seedlings into the ground is just the beginning of their journey. To ensure their long-term health and productivity, proper care and maintenance are essential. Follow these guidelines to keep your muscadine plants thriving:
- Watering: Muscadines require consistent moisture, especially during their growing season. Water deeply and regularly, providing approximately 1-2 inches of water per week. Adjust watering frequency based on rainfall and soil moisture levels.
- Fertilizing: Regular fertilization is crucial for the optimal growth of muscadine plants. Apply a balanced fertilizer specifically formulated for grapes in early spring, just before new growth begins. Follow the package instructions for application rates and timing.
- Pruning: Pruning is crucial to maintain the health, structure, and yield of your muscadine plants. Prune during the dormant season (winter) or early spring before new growth begins. Remove dead or diseased branches and thin out excess growth to improve air circulation and sunlight penetration.
- Training: Muscadine vines can become unruly if left untrained. Guide the vines along your trellis or support system, tying them with soft plant ties as needed. Encourage vertical growth and manage lateral shoots to maintain a well-structured vine.
- Pest and Disease Control: Regularly inspect your muscadine plants for pests such as aphids, beetles, or fungal diseases. Use organic pest control methods, like applying neem oil or introducing beneficial insects, to manage pests. Promptly remove any diseased leaves or infected fruit to prevent the spread of diseases.
- Thinning Fruit: Muscadine plants tend to bear an abundance of fruit. To ensure the best quality and size, thin out excessive fruit clusters. Leave about 4-6 inches between individual fruit to allow for proper growth and development.
- Harvesting: Harvest your muscadine grapes when they reach their full maturity. The grapes should be fully colored and have a slight softness when gently squeezed. Harvest clusters selectively, using pruning shears to avoid damaging the vines.
- Winter Care: Before winter arrives, protect your muscadine plants by covering them with mulch or straw, especially if you live in colder regions. This insulation helps protect the roots from freezing temperatures.
Consistent care and maintenance of your muscadine plants will ensure their continued health, growth, and productivity. Regularly assess their water needs, provide proper fertilization, and stay vigilant against pests and diseases. With proper attention and care, your muscadine plants will reward you with abundant and delicious fruit year after year.
Conclusion
Congratulations on mastering the art of planting muscadine seeds and caring for your muscadine plants! By following the step-by-step guide outlined in this article, you have learned how to collect and prepare muscadine seeds, choose an appropriate planting location, and provide the necessary care for healthy seedling growth. You have also discovered the importance of continued maintenance, including watering, fertilizing, pruning, and pest control.
As your muscadine plants continue to grow and mature, be sure to monitor them closely, addressing any issues promptly to ensure their long-term health and productivity. The rewards of your efforts will come in the form of abundant harvests of juicy, delicious muscadine grapes that you can enjoy fresh, use in cooking, or even turn into homemade wine.
Remember, gardening is not an exact science, and each gardener may have their own unique experiences and challenges. It’s essential to adapt your approach based on your specific climate, soil conditions, and local growing recommendations. Experiment, learn from your successes and failures, and continue to expand your knowledge in the world of edible gardening.
So, embrace this journey of growing your own muscadine grapes and savor the satisfaction that comes with harvesting and enjoying the fruits of your labor. Happy gardening!
