Home>Types of Gardening>Ornamental Gardening>How To Plant Dahlia Seeds
Ornamental Gardening
How To Plant Dahlia Seeds
Modified: February 9, 2024
Learn how to plant dahlia seeds and create a stunning ornamental garden with our step-by-step guide. Grow beautiful dahlias from seed and enjoy a colorful and vibrant garden.
(Many of the links in this article redirect to a specific reviewed product. Your purchase of these products through affiliate links helps to generate commission for Chicagolandgardening.com, at no extra cost. Learn more)
Table of Contents
Introduction
Welcome to the world of ornamental gardening, where beauty and botanical wonders come together to create stunning landscapes. One particular flower that enthusiasts and gardeners love to cultivate is the Dahlia. With its vibrant colors and captivating blooms, the Dahlia is a favorite choice for adding flair to gardens, borders, and containers.
The Dahlia is a flowering plant native to Mexico, known for its variety of shapes, sizes, and colors. From the delicate “pompon” types to the large dinner-plate varieties, there is a Dahlia to suit every gardener’s taste and preference. While many gardeners opt to grow dahlias from tubers, an alternative and budget-friendly option is to plant dahlia seeds.
Planting Dahlia seeds offers a sense of fulfillment and pride as you witness the entire growth process, from germination to a full-blown blooming plant. It requires patience, care, and attention, but the rewards are well worth the effort.
In this article, we will guide you through the process of planting Dahlia seeds, ensuring you have all the knowledge and tools necessary to embark on this exciting gardening endeavor. From choosing the right seeds to caring for the growing plants and harvesting the tubers, we will cover each step in detail. Let’s dive in and discover the wonders of growing Dahlia plants from seeds!
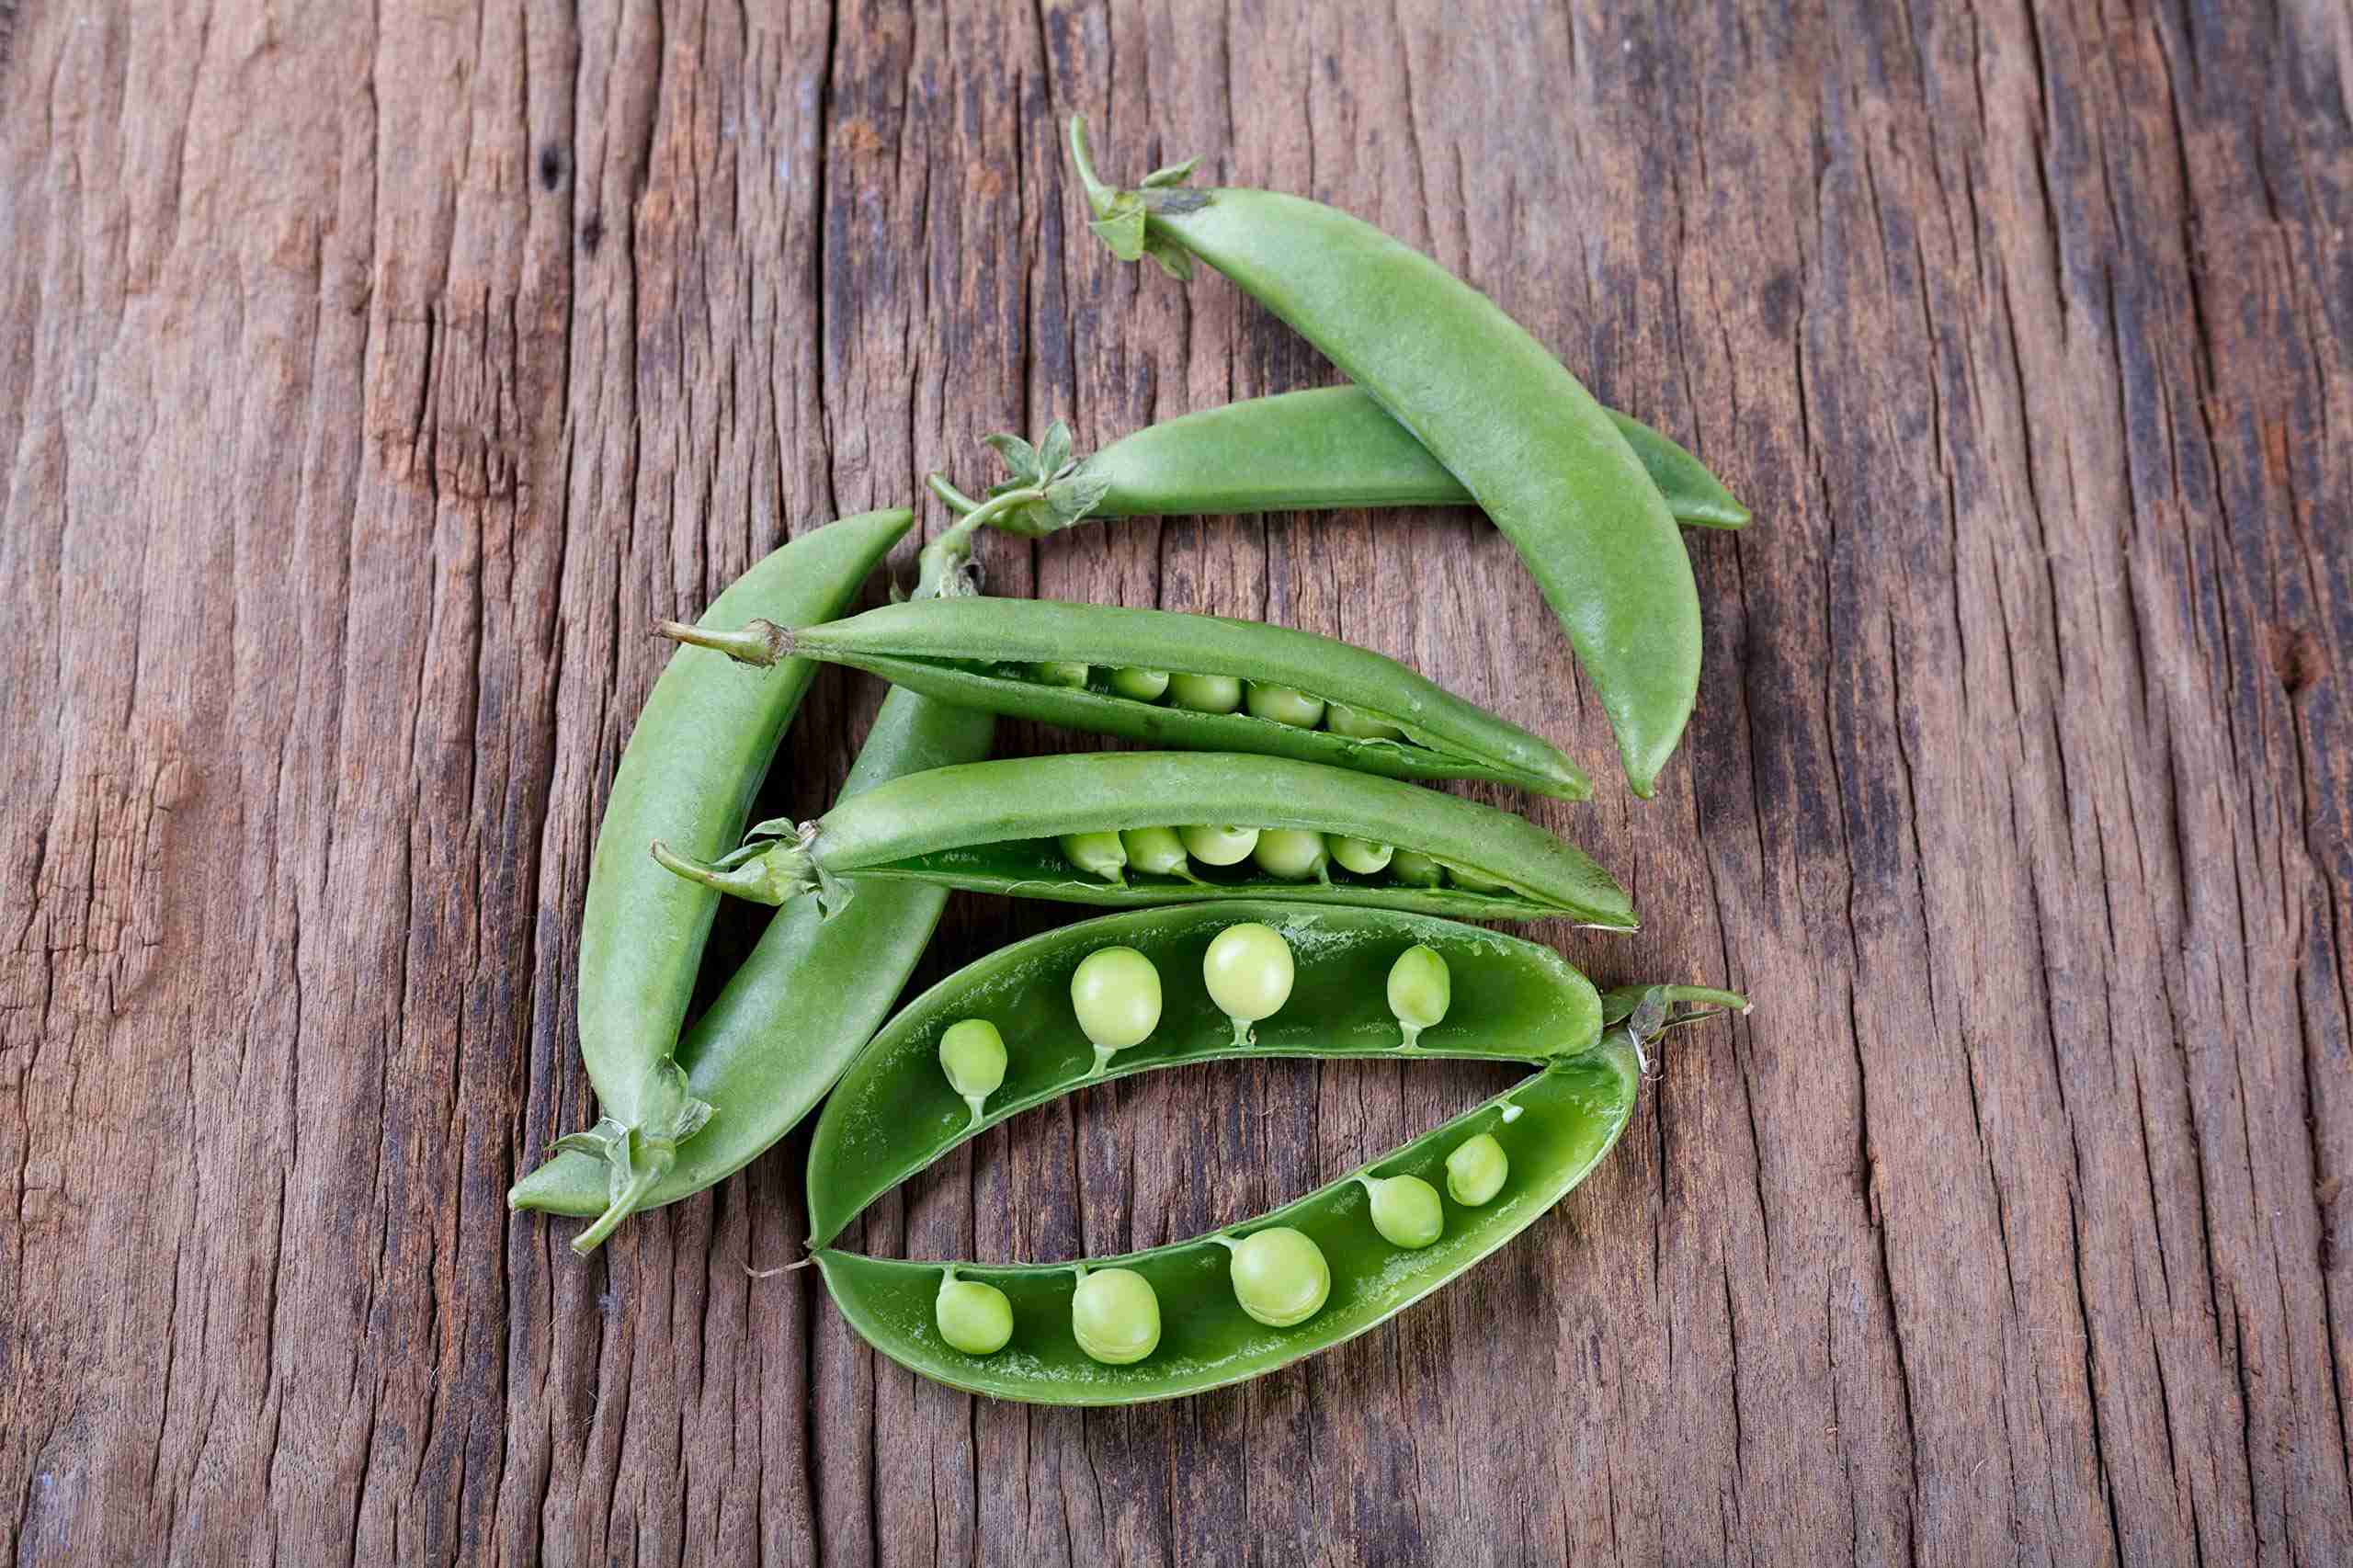
Step 1: Choosing the Right Seeds
When it comes to planting Dahlia seeds, selecting the right seeds is crucial for ensuring successful growth and beautiful blooms. Here are a few key factors to consider:
- Variety: Dahlia seeds come in a wide range of varieties, each with its own unique characteristics. Consider the size, shape, and color of the blooms you desire. Whether you prefer small, round flowers or large, decorative ones, there is a Dahlia variety for everyone.
- Quality: Opt for high-quality seeds from reputable suppliers or nurseries. Look for fresh seeds that are well-packaged and properly stored to ensure the best germination rates.
- Germination Rate: Check the germination rate of the seeds, which indicates the percentage of seeds likely to sprout and grow into plants. Higher germination rates increase the chances of successful growth.
- Hardiness: Consider the hardiness of the Dahlia variety and whether it is suitable for your climate zone. Some Dahlia varieties thrive in specific climates, while others may require extra care and protection in colder regions.
- Availability: Determine whether the seeds are readily available in your area. Some rare or exotic Dahlia varieties may be harder to find, so be sure to plan accordingly and source your seeds in advance.
Researching and exploring different Dahlia varieties will give you a better understanding of their growth habits, care requirements, and potential yields. Take your time to select the seeds that align with your gardening goals and preferences. Remember, the joy of gardening lies in the process, so choose varieties that truly inspire you.
Step 2: Preparing the Planting Space
Creating the ideal planting space for your Dahlia seeds is essential for their successful growth and development. Follow these steps to prepare the planting space:
- Location: Choose a location that receives ample sunlight, preferably 6-8 hours a day. Dahlias thrive in full sun but can tolerate partial shade. Ensure the soil drains well to prevent waterlogging.
- Soil Preparation: Prepare the soil by removing any weeds, rocks, or debris. Loosen the soil using a garden fork or tiller to a depth of around 8-10 inches. This will create a loose, well-draining bed for the Dahlia seeds.
- Soil Enrichment: Amend the soil with organic matter, such as compost or well-rotted manure, to improve its fertility and texture. This will provide the necessary nutrients for the growing plants.
- pH Level: Check the soil pH level using a soil testing kit. Dahlia plants prefer slightly acidic to neutral soil, with a pH range of 6.0-7.0. Adjust the pH if necessary by adding lime to raise it or sulfur to lower it.
- Spacing: Determine the spacing requirements for the Dahlia plants. Follow the guidelines provided on the seed packet or spacing recommendations specific to the variety you have chosen. Generally, Dahlias should be spaced 12-18 inches apart for optimal growth.
- Protection: Consider using supports, such as stakes or cages, to provide support for the tall-growing Dahlias. This will prevent bending or breakage of the stems and keep the plants upright and healthy.
By adequately preparing the planting space, you are creating a fertile and suitable environment for the Dahlia seeds to germinate and grow. Taking the time to ensure proper soil conditions and spacing will contribute to healthy and robust plants with bountiful blooms in the future.
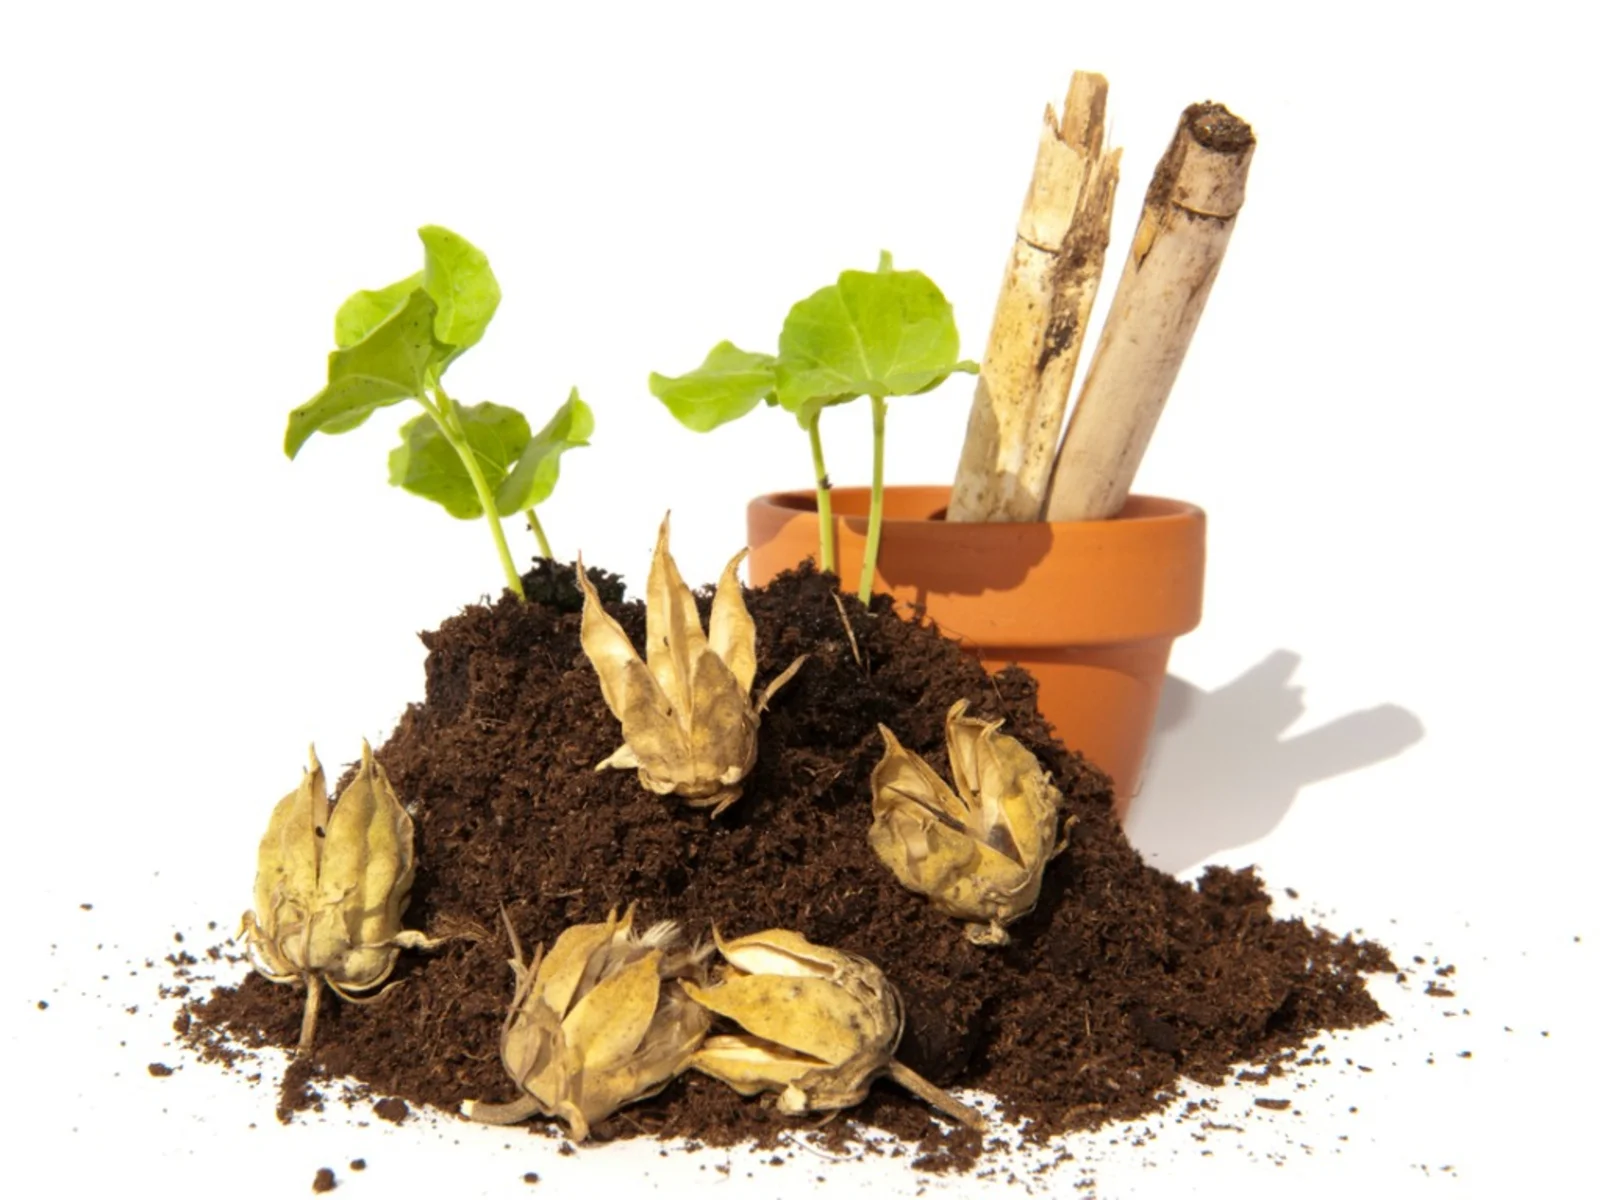
Step 3: Sowing the Dahlia Seeds
Sowing Dahlia seeds is an exciting and rewarding process that marks the beginning of your journey towards growing beautiful Dahlia plants. Follow these steps to sow your Dahlia seeds:
- Sowing Time: Start sowing Dahlia seeds indoors 6-8 weeks before the last frost date in your area. This will give the seeds enough time to germinate and develop into healthy seedlings.
- Seed Starting Mix: Fill seed trays or pots with a high-quality, well-draining seed starting mix. Avoid using garden soil, as it may contain pathogens that can harm seedlings.
- Seed Depth: Sow Dahlia seeds about 1/4 to 1/2 inch deep in the seed starting mix. Gently press the seeds into the soil and cover them lightly with a thin layer of soil.
- Moisture: Keep the soil consistently moist but not waterlogged. Water the pots from below or use a fine mist sprayer to avoid dislodging the seeds. Maintain a moist environment until germination occurs.
- Temperature: Place the seed trays or pots in a warm location with a temperature range of 70-75°F (21-24°C). Providing bottom heat with a heat mat can help facilitate germination.
- Light: Dahlia seeds require light to germinate, so ensure they receive adequate light exposure. Place the seed trays near a sunny window or use artificial grow lights to provide 12-16 hours of light per day.
As the Dahlia seeds germinate, tiny seedlings will emerge from the soil. At this stage, thin out the weaker seedlings, leaving the strongest ones to continue growing. This will prevent overcrowding and competition for resources.
Remember, Dahlia seeds are not always 100% true to the parent plant. This means that the resulting plants may exhibit some variations in color, size, or shape compared to the parent seed. Embrace the surprises and enjoy the unique characteristics each plant brings.
With proper care, the Dahlia seedlings will develop into healthy plants ready for transplanting into the garden. By sowing the seeds indoors, you can get a head start on the growing season and enjoy the blooms of your Dahlias for an extended period.
Step 4: Providing Adequate Water and Sunlight
Water and sunlight are two vital elements that contribute to the healthy growth and development of Dahlia plants. Following these guidelines will ensure that your dahlias thrive:
- Watering: Dahlia plants require regular watering to keep the soil moist but not waterlogged. Water deeply once or twice a week, ensuring that the water reaches the root zone. Avoid overwatering, as it can lead to rotting of the tubers or the development of fungal diseases.
- Irrigation Method: Consider using drip irrigation or a soaker hose system to deliver water directly to the soil. This method helps avoid wetting the foliage, reducing the chances of diseases like powdery mildew. Watering in the morning is ideal, as it allows the foliage to dry before nighttime.
- Sunlight: Dahlias are sun-loving plants and require at least 6-8 hours of direct sunlight each day. Place them in a location that receives ample sunlight to promote robust growth and abundant blooms. In hotter climates, partial shade during the hottest part of the day can prevent stress on the plants.
- Shelter from Strong Winds: Dahlia plants have tender stems and delicate flowers that can be damaged by strong winds. Consider providing support or planting them in a location that is protected from intense wind gusts.
- Mulching: Apply a layer of organic mulch around the base of the Dahlia plants to conserve moisture, regulate soil temperature, and suppress weed growth. Maintain a 2-3 inch layer of mulch, taking care to keep it a few inches away from the stems to prevent rot.
- Fertilization: Feed the Dahlia plants with a balanced, water-soluble fertilizer every 2-3 weeks during the growing season. This will provide them with the necessary nutrients to support healthy growth and vibrant blooms.
Monitoring the moisture levels and ensuring adequate sunlight will help prevent issues like root rot, wilting, or stunted growth. Pay attention to the specific needs of your Dahlia plants, as different varieties may have slight variations in their water and sunlight requirements.
By maintaining a balance between watering and sunlight, you will pave the way for strong, robust Dahlia plants that reward you with a spectacular display of colorful blooms throughout the growing season.
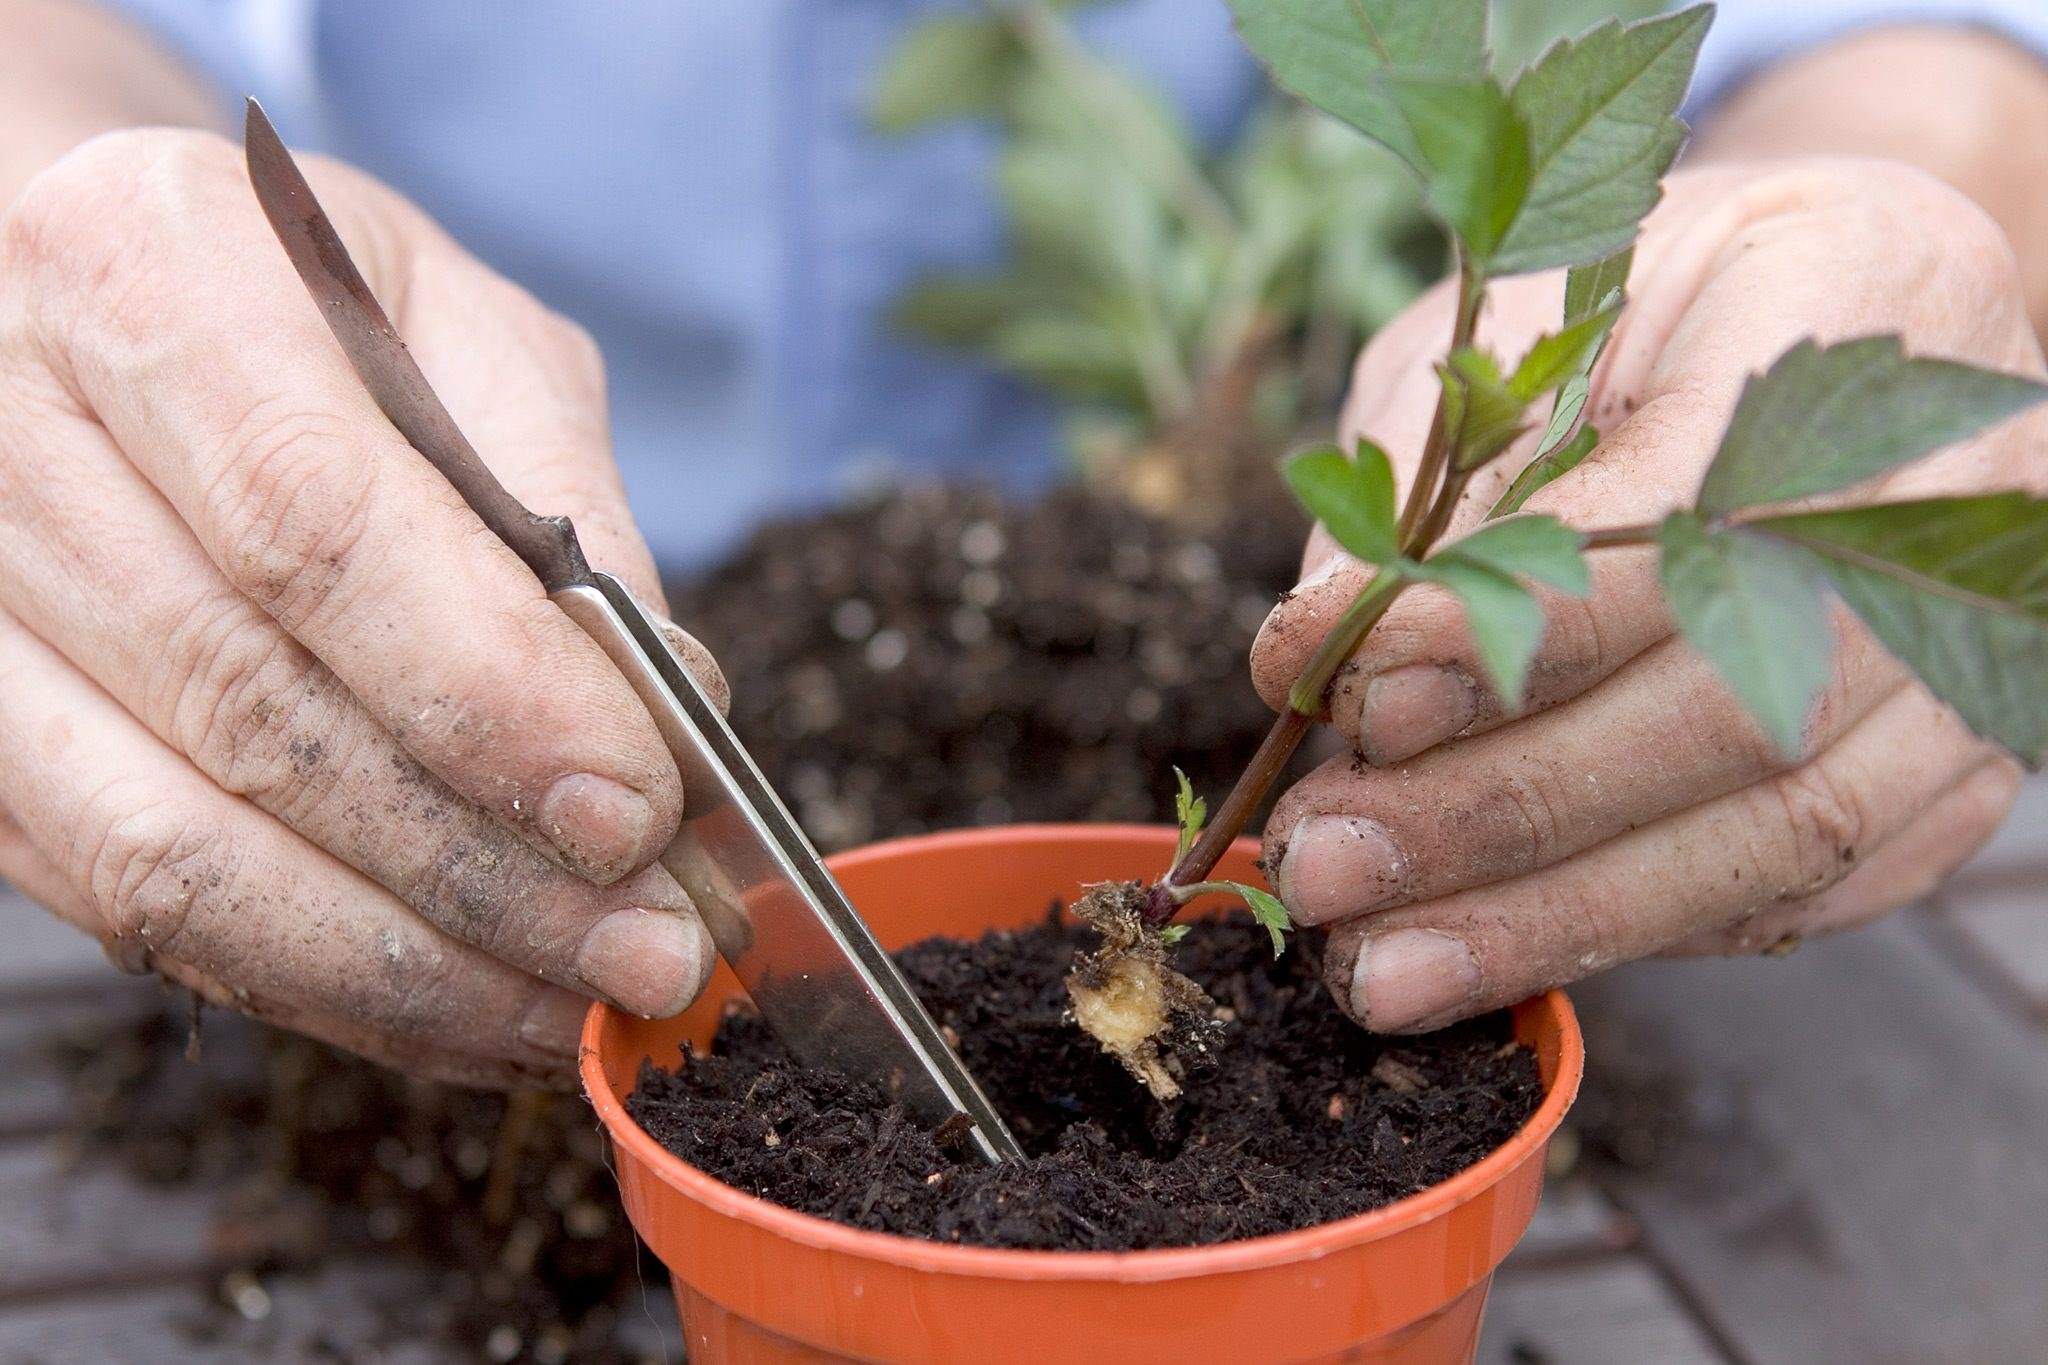
Step 5: Transplanting Seedlings (if necessary)
If you started your Dahlia seeds indoors, there will come a time when the seedlings outgrow their initial containers and need to be transplanted into larger pots or directly into the garden. Transplanting allows the plants to spread their roots and continue their growth. Follow these steps for successful transplantation:
- Timing: Wait until all risk of frost has passed and the soil has warmed up before transplanting Dahlia seedlings. This is typically around the same time as the last frost date in your area.
- Preparation: Prepare the transplanting site by loosening the soil and amending it with organic matter, such as compost or well-rotted manure. This will ensure a nutrient-rich and well-draining planting bed.
- Hardening Off: Before transplanting, gradually acclimate the seedlings to outdoor conditions. Place them outdoors in a sheltered location for a few hours each day, gradually increasing the time over a period of 7-10 days. This will help them adjust to temperature, wind, and sunlight.
- Spacing: If planting in the garden, determine the desired spacing for the Dahlia plants based on their mature size. Follow the guidelines provided on the seed packet or spacing recommendations for the specific variety. Space the plants accordingly to allow for proper air circulation and growth.
- Transplanting: Gently remove the Dahlia seedlings from their original containers, taking care not to damage the delicate roots. Dig a hole in the transplanting site and place the seedling in the hole, ensuring that the top of the root ball is level with or slightly above the soil surface. Backfill the hole with soil, firming it gently around the roots.
- Watering: After transplanting, water the seedlings thoroughly to settle the soil and help them establish their roots. Keep the soil consistently moist during the initial weeks to aid in their recovery and promote new growth.
Transplanting Dahlia seedlings allows them to continue their growth in a more spacious environment. Whether you choose to transplant them into larger pots or directly into the garden, providing them with ample space and proper care will encourage healthy development and vibrant blooms.
Step 6: Caring for Growing Dahlia Plants
Providing proper care for your growing Dahlia plants is crucial to ensure their vitality, health, and abundant blooms. Here are some essential tips to help you care for your Dahlia plants:
- Watering: Water the Dahlia plants deeply once or twice a week, allowing the soil to dry slightly between waterings. Aim to keep the soil consistently moist but not waterlogged. Adjust the frequency of watering based on the weather conditions and the moisture level of the soil.
- Support and Pruning: As Dahlia plants grow, they may require support to prevent them from toppling over or bending under the weight of their blooms. Stake or cage the plants, tying them gently to the supports as they grow. Regularly pinch or prune the plants to encourage branching and bushier growth.
- Deadheading: Regularly remove faded or spent flowers, a process known as deadheading. This will promote continuous blooming and prevent the plants from putting energy into seed production. Use clean gardening shears or scissors to cut the flowers just above a set of healthy leaves or nodes.
- Pest and Disease Control: Monitor your Dahlia plants for common pests such as aphids, slugs, or spider mites. If you notice signs of infestation, use organic pest control methods such as insecticidal soap or neem oil. Additionally, keep an eye out for common Dahlia diseases like powdery mildew or root rot. Proper spacing, good air circulation, and well-draining soil can help prevent these issues.
- Fertilization: Apply a balanced water-soluble fertilizer every 3-4 weeks throughout the growing season. This will provide the necessary nutrients for healthy plant growth and abundant blooms. Follow the instructions on the fertilizer package for the correct application rates.
- Winter Care: In regions with cold winters, Dahlias are typically considered tender perennials. Before the first frost, cut back the foliage to a few inches above the ground. Carefully dig up the tubers and store them in a cool, dry location for the winter. Inspect the tubers for rot or damage before storing, and consider labeling them for easier identification in the next growing season.
Regular observation, attentive care, and timely intervention will help keep your Dahlia plants healthy and vibrant. Remember to enjoy the journey as you witness the growth and beauty of your beloved Dahlias.
Step 7: Harvesting and Storing Dahlia Tubers
Harvesting and storing the Dahlia tubers successfully is an essential step in preserving them for the next growing season. Follow these steps to ensure a successful tuber harvest and proper storage:
- Timing: Wait until the first frost has blackened the foliage and the plant has entered its dormancy period before harvesting the Dahlia tubers. This usually occurs in late autumn.
- Digging: Using a garden fork or spade, carefully dig around the outer perimeter of the plant, gradually working your way inward to avoid damaging the tubers. Take care to loosen the soil around the tubers without causing any cuts or bruises.
- Drying: Gently shake off excess soil from the tubers, but avoid washing them as moisture can promote rot. Allow the tubers to air-dry in a well-ventilated area for a few days. This drying period helps cure the tubers and prepare them for storage.
- Labeling: It’s important to label your harvested tubers to keep track of the different varieties. Use small tags or markers to indicate the name, color, and any other relevant information about each tuber. This will make it easier for identification and selection in the next growing season.
- Storage: Store the tubers in a cool, dry, and dark location. Ideal temperatures range from 40-50°F (4-10°C), with low humidity. Paper bags or horticultural mesh bags are suitable for storing Dahlia tubers, allowing air circulation to prevent moisture buildup. Avoid plastic bags, as they can promote rotting.
- Periodic Check: Regularly inspect the stored tubers throughout the winter months for any signs of rot or other damage. Remove any tubers showing signs of decay to prevent further spread. If necessary, gently dust the tubers with fungicide powder to inhibit fungal growth.
- Spring Planting: As the next growing season approaches, inspect the stored tubers for healthy growth buds or “eyes.” Discard any tubers that appear shriveled, soft, or damaged. About 4-6 weeks before the last frost date, start preparing the tubers for planting by introducing them to warmth and light to stimulate growth.
Properly harvested and stored Dahlia tubers have the potential to produce healthy plants and beautiful blooms for years to come. Taking the time to carefully handle and store these underground treasures will ensure their longevity and success in future growing seasons.
Conclusion
Cultivating Dahlia plants from seeds is a rewarding and fulfilling endeavor that allows you to experience the entire growth process, from planting tiny seeds to witnessing the vibrant blooms. By following the steps outlined in this guide, you can successfully grow beautiful Dahlia plants and create a stunning display in your garden.
Remember to start by choosing the right Dahlia seeds, selecting varieties that captivate your imagination and align with your gardening goals. Adequately prepare the planting space, ensuring optimal soil conditions and spacing to promote healthy growth. Sow the seeds with care, providing the right amount of water, sunlight, and warmth for germination.
As your Dahlia plants grow, continue to provide them with proper care, including watering, support, deadheading, and pest control. Fertilize regularly to ensure they receive the necessary nutrients for robust growth and abundant blooms. In regions with cold winters, take the necessary steps to harvest and store the tubers, ensuring their safekeeping for the next growing season.
With each step, observe your Dahlia plants as they flourish and transform, adding beauty and charm to your garden. Enjoy the process and embrace the unique characteristics of each Dahlia variety. The world of ornamental gardening is enriched by the stunning colors and intricate forms of Dahlia blooms.
Now armed with the knowledge and guidance provided in this article, you are ready to embark on your journey to grow spectacular Dahlia plants from seeds. Delve into the magic of ornamental gardening and witness the wonders of nature unfold before your eyes.