Home>Gardening Techniques>Plant Care>How To Sterilize Seeds For Planting

Plant Care
How To Sterilize Seeds For Planting
Published: August 27, 2023
Learn how to sterilize seeds for planting with our helpful guide. Ensure successful plant care by following these simple steps.
(Many of the links in this article redirect to a specific reviewed product. Your purchase of these products through affiliate links helps to generate commission for Chicagolandgardening.com, at no extra cost. Learn more)
Table of Contents
Introduction
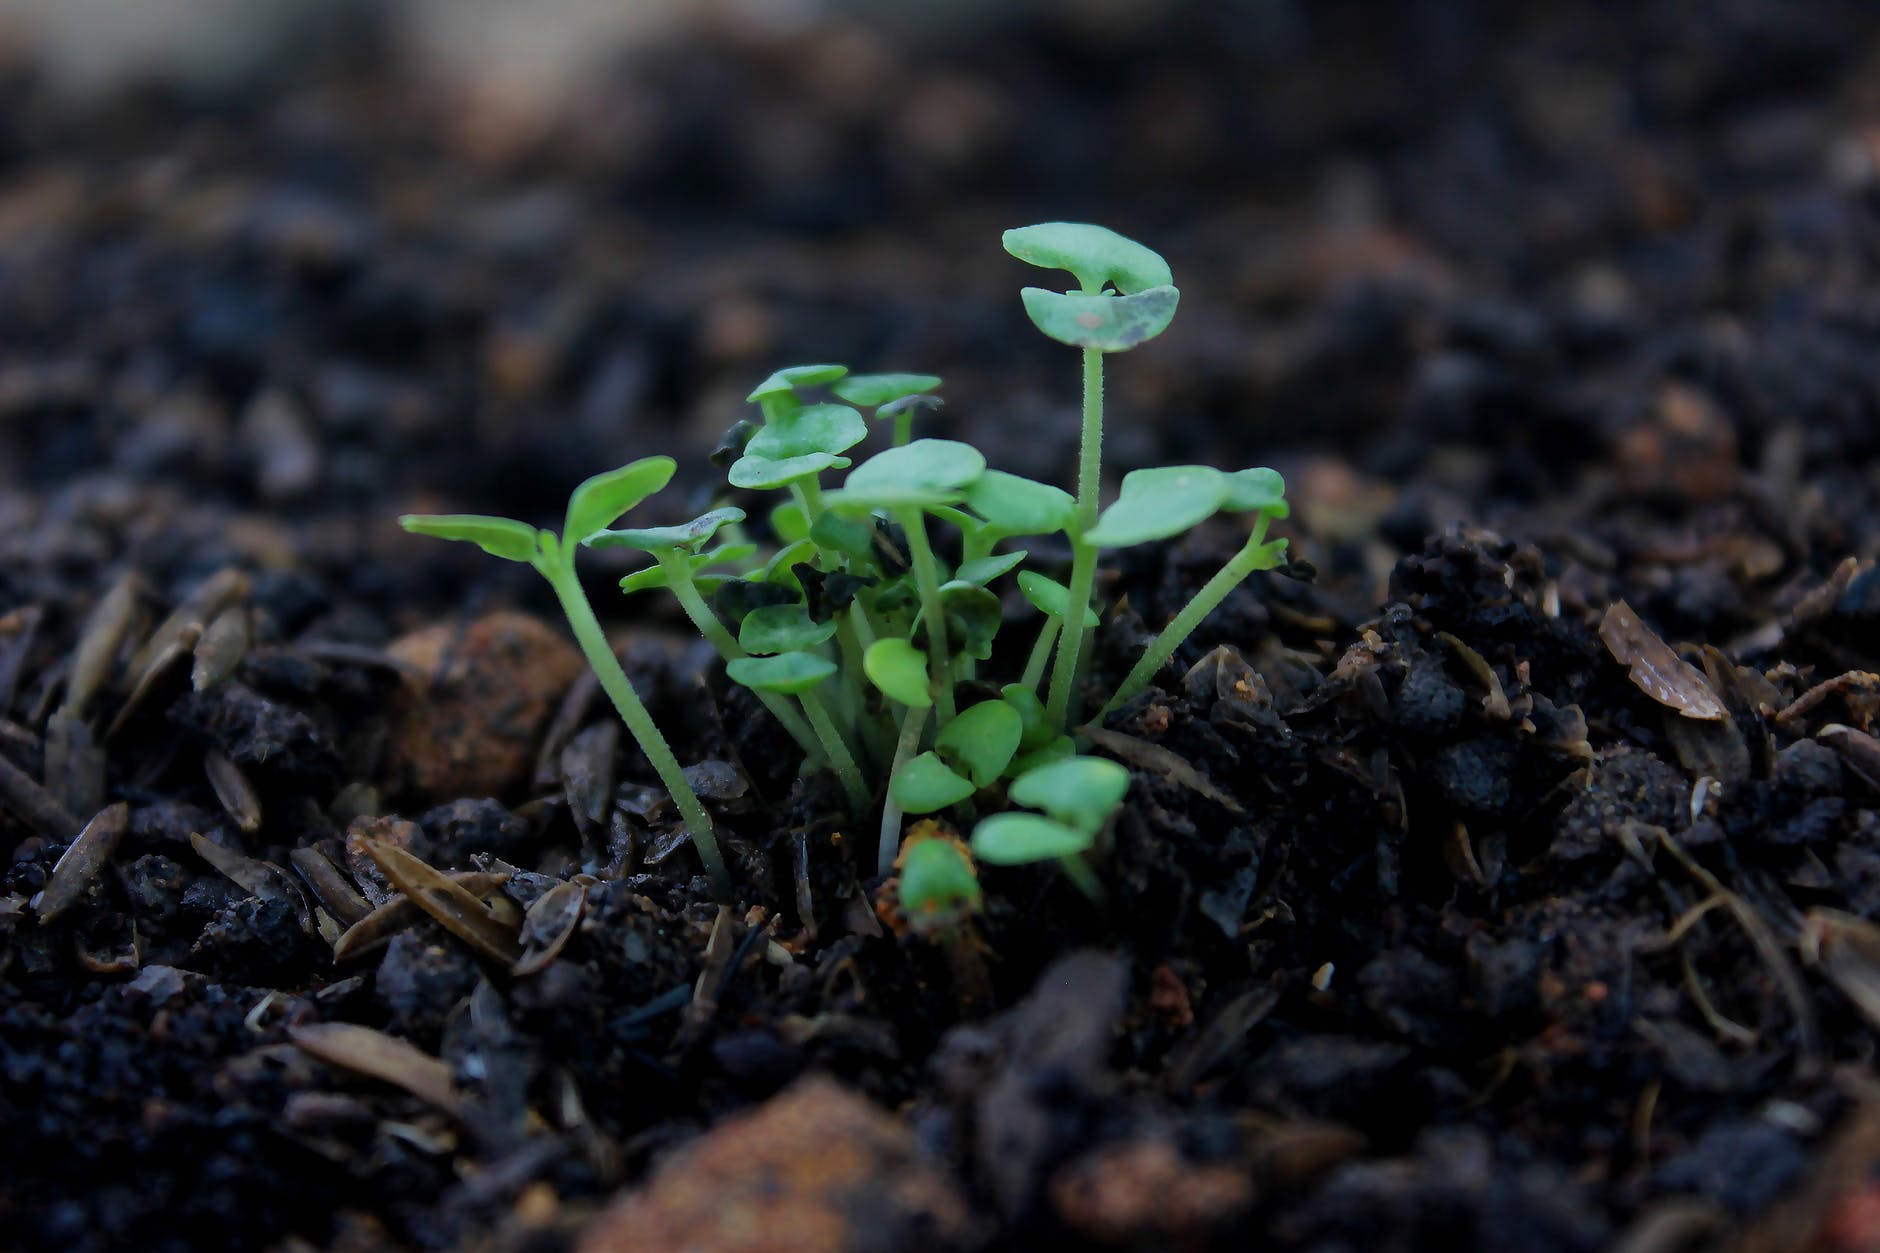
Welcome to the world of gardening! Whether you are a seasoned plant enthusiast or just starting to explore the joys of growing your own plants, one thing you will need to consider is the sterilization of seeds for planting. This crucial step can greatly impact the success of your plants and the overall health of your garden.
Sterilizing seeds is the process of eliminating or reducing the presence of pathogens, pests, and other harmful microorganisms that may be present on or within the seeds. By doing so, you are creating a clean and healthy environment for your plants to grow and thrive. This is especially important for preventing diseases and ensuring optimal seed germination rates.
In this article, we will explore why sterilizing seeds is essential, as well as various methods you can use to effectively sterilize your seeds. Additionally, we will discuss some precautions to keep in mind during the sterilization process for the best results.
So, whether you are planning to grow flowers, vegetables, or herbs, read on to learn more about the importance of sterilizing seeds and how to achieve it successfully.
Why Sterilizing Seeds is Important
Sterilizing seeds before planting is a critical step in ensuring the health and success of your plants. Here are several key reasons why sterilization is important:
- Disease Prevention: Seeds can carry various pathogens and diseases that can harm your plants. By sterilizing the seeds, you eliminate or greatly reduce the risk of introducing harmful organisms into your garden. This helps maintain the overall health of your plants and prevents the spread of diseases among them.
- Improved Germination: Some seeds may have a hard outer coating that inhibits or delays germination. By sterilizing the seeds, you can break down this coating, allowing them to germinate faster and more uniformly. This ensures a higher success rate and a healthier start for your plants.
- Pest Control: In addition to pathogens, seeds can also harbor pests such as insects, mites, or fungi. Sterilizing the seeds helps eliminate any pests that may be present, preventing them from attacking and damaging your plants.
- Consistency and Predictability: When you sterilize your seeds, you are creating a controlled environment for their growth. This allows you to have better control over factors such as soil quality, moisture levels, and nutrient availability. As a result, you can achieve more predictable and consistent growth, ensuring that your plants develop uniformly.
- Longer Shelf Life: Sterilizing your seeds can extend their shelf life by preventing the growth of mold, bacteria, or other microorganisms that can cause decay. This means that you can store your seeds for longer periods without worrying about them losing their viability.
- Increased Success Rate: By taking the time to sterilize your seeds, you are investing in the overall success of your garden. Sterilization helps create an ideal environment for seed germination, increasing the chances of a higher success rate and robust plant growth.
With these important reasons in mind, it is clear that sterilizing seeds is a crucial step for any gardener who wants to promote plant health, prevent diseases and pests, and achieve optimal growth. Now, let’s dive into the various methods you can use to effectively sterilize your seeds.
Methods for Sterilizing Seeds
There are several methods available for sterilizing seeds, each with its own benefits and considerations. Let’s explore these methods:
- Method 1: Heat Treatment
- Method 2: Chemical Treatment
- Method 3: Cold Treatment
- Method 4: Radiation Treatment
- Method 5: Biological Treatment
Heat treatment involves subjecting seeds to high temperatures to kill pathogens and pests. Common heat treatment methods include hot water treatment, dry heat treatment, and steam treatment. These methods effectively eliminate most disease-causing organisms without damaging the seeds.
Chemical treatment involves using disinfectants or fungicides to sterilize seeds. The chosen chemical should be safe for seeds and effective against pathogens. It’s important to carefully follow the manufacturer’s instructions to avoid any negative effects on seed viability.
Cold treatment, also known as stratification, involves exposing seeds to a period of cold temperatures to break seed dormancy and kill certain pests. This method is often used for seeds that require a cold period to germinate or for eliminating pests that are sensitive to low temperatures.
Radiation treatment involves exposing seeds to ionizing radiation, such as gamma rays or X-rays, to kill microorganisms and pests. This method is highly effective at sterilizing seeds but requires specialized equipment and controlled conditions.
Biological treatment involves using beneficial microorganisms, such as bacteria or fungi, to suppress pathogens and pests. This method relies on the competitive nature of these beneficial organisms to outcompete and control harmful ones. It is often used in organic gardening practices.
It’s important to note that each method has its own set of advantages and considerations. Factors such as seed type, desired outcome, and available resources should be taken into account when choosing a sterilization method. Additionally, it’s always recommended to follow specific guidelines or protocols provided by seed suppliers or gardening experts to ensure effective sterilization.
In the next section, we will cover some precautions you should take while sterilizing seeds to ensure the best results and avoid any potential pitfalls.
Method 1: Heat Treatment
Heat treatment is a commonly used method to sterilize seeds, as it effectively kills pathogens and pests without significantly impacting seed viability. There are several heat treatment techniques you can employ:
- Hot Water Treatment: This method involves immersing seeds in hot water at a specific temperature and duration. The heat of the water kills pathogens and pests while minimizing damage to the seeds. It is commonly used for seeds that are susceptible to fungal or bacterial infections.
- Dry Heat Treatment: Dry heat treatment involves exposing seeds to high temperatures in a dry environment. This method is effective in killing pests and pathogens that may reside on the seed coat or within the seed. It is particularly useful for larger seeds or those with hard seed coats.
- Steam Treatment: Steam treatment utilizes heat and moisture to eliminate microorganisms from seeds. This method is relatively quick and can be done at home using a pressure cooker or steam sterilizer. It is essential to follow specific instructions to ensure adequate sterilization without damaging the seeds.
When using heat treatment, it’s crucial to consider the specific requirements of the seeds you are sterilizing. Different seeds have different temperature and duration preferences. It’s best to refer to guidelines provided by seed suppliers or gardening experts to ensure the optimal treatment conditions.
Here are some general steps to follow when applying heat treatment for seed sterilization:
- Preparation: Before starting the treatment, gather all the necessary equipment and materials. This may include a thermometer, a container for the seeds, and a heat source.
- Soaking (for hot water treatment): Place the seeds in a fine mesh bag or cheesecloth and soak them in water at the prescribed temperature for the recommended duration. Stir the seeds occasionally to ensure even heating and penetration of heat into the seed coat.
- Drying (for dry heat and steam treatment): Spread the seeds evenly on a clean and dry surface or in a single layer on a baking sheet. Place them in an oven or sterilizer set at the appropriate temperature and duration. Remove the seeds promptly after treatment to prevent overheating or damage.
- Cooling: Allow the treated seeds to cool down before handling or storing them. This will prevent potential damage or premature germination.
- Storage: Once cool, store the sterilized seeds in a cool, dry place in airtight containers to maintain their viability until ready for planting.
By utilizing heat treatment correctly, you can effectively eliminate harmful microorganisms and pests, ensuring the health and success of your plants.
In the following section, we will explore another method for sterilizing seeds: chemical treatment.
Method 2: Chemical Treatment
Chemical treatment is another effective method for sterilizing seeds, utilizing disinfectants or fungicides to eliminate pathogens and pests. It is important to note that when using chemical treatments, it is crucial to select products that are safe and approved for seed sterilization. Here are some common chemical treatment methods:
- Diluted Bleach Solution: A diluted bleach solution is an affordable and accessible option for sterilizing seeds. Prepare a solution by mixing one part household bleach with nine parts water. Soak the seeds in this solution for a specified duration, based on the recommendation for the particular seed type. Rinse the seeds thoroughly with clean water afterward to remove any residual bleach.
- Hydrogen Peroxide: Hydrogen peroxide is another effective disinfectant for sterilizing seeds. Create a solution by mixing equal parts of 3% hydrogen peroxide and water. Soak the seeds in this solution for the recommended time, then rinse them thoroughly to remove any remaining hydrogen peroxide.
- Fungicides: Certain fungicides are specifically formulated for seed treatment, providing protection against fungal pathogens. Follow the instructions provided by the manufacturer regarding the suitable concentration and duration for seed treatment. It is important to handle and apply fungicides safely and according to the recommended guidelines.
When using chemical treatments, always follow safety precautions, wear protective gloves, and work in a well-ventilated area to avoid potential harm or inhalation of chemical fumes.
Here are some general steps to follow when utilizing chemical treatment for seed sterilization:
- Preparation: Gather all the necessary materials, including the chosen disinfectant or fungicide, a container, and clean water for rinsing.
- Soaking: Place the seeds in the chosen solution, ensuring they are fully submerged. Follow the recommended soaking time provided for the particular seed type or as instructed by the supplier or packaging.
- Rinsing: After the prescribed soaking time, thoroughly rinse the seeds with clean water to remove any residual chemicals.
- Drying: Allow the seeds to air-dry on a clean and dry surface. Ensure they are completely dry before storing to prevent moisture-related issues or fungal growth.
- Storage: Store the sterilized seeds in a cool, dry place in airtight containers until ready for use.
Chemical treatment can be an effective means of sterilizing seeds, killing harmful pathogens and pests, and minimizing the risk of disease in your garden. However, it is crucial to follow the instructions and guidelines provided by manufacturers to ensure the safe and proper use of these chemicals.
Next, we will explore another method of seed sterilization: cold treatment.
Method 3: Cold Treatment
Cold treatment, also known as stratification, is a method of seed sterilization that involves exposing seeds to low temperatures for a specific period. This technique is mainly used for seeds that require a cold period to break dormancy or to eliminate pests sensitive to low temperatures. Here’s how to perform cold treatment:
- Research and Preparation: Identify which seeds in your collection or new seeds you have acquired require cold treatment. Consult seed packets, gardening references, or online resources for specific information on the cold stratification requirements of each seed type.
- Moisture and Temperature Control: To prepare for cold treatment, the seeds need to be moistened to a specific degree. This can be done by dampening a paper towel or using a moistened growing medium such as vermiculite or peat moss. Place the seeds in a plastic bag or container with the damp medium to maintain the desired moisture level.
- Cold Stratification: Place the container with the seeds in a refrigerator or another cool location with temperatures between 1-5°C (34-41°F). The duration of cold treatment varies depending on the seed type, ranging from a few weeks to a few months. During this period, regularly check the moisture level of the medium and ensure it remains adequately moist.
- Monitoring and Transition: After the designated cold stratification period, check for signs of germination such as root or shoot emergence. Once germination begins, transfer the seeds to appropriate growing conditions, such as pots or trays with suitable soil or growing media.
- Planting: Plant the stratified seeds at the recommended depth and in the appropriate growing conditions for the specific seed type. Follow guidelines for spacing, watering, and other care requirements to ensure the successful growth of the plants.
Cold treatment is particularly beneficial for seeds of woody plants, certain perennials, or plants native to regions with distinct seasons. It helps break seed dormancy, mimicking the natural environmental conditions necessary for germination. Cold treatment can also be an effective method for controlling pests and diseases that are sensitive to low temperatures.
Always ensure you have accurate information regarding the cold stratification requirements of each seed type to maximize effectiveness and success. Guidelines may differ for different plants, so pay close attention to specific instructions provided by seed suppliers or gardening references.
In the next section, we will explore another method for sterilizing seeds: radiation treatment.
Method 4: Radiation Treatment
Radiation treatment is a sterilization method that involves exposing seeds to ionizing radiation, such as gamma rays or X-rays. This process effectively kills microorganisms, pests, and pathogens present in or on the seeds. It is commonly used in commercial seed production and research facilities where specialized equipment is available. Here’s an overview of radiation treatment:
- Preparation: Collect the seeds that need sterilization and assemble the necessary equipment. Radiation treatment requires specialized equipment, such as a radiation chamber or irradiation facility. It’s important to consult with experts or professionals who can guide you through the process.
- Expert Guidance and Safety Measures: Radiation treatment should be performed under the guidance of professionals trained in operating the equipment and following safety protocols. Since ionizing radiation can be harmful, it is crucial to strictly adhere to safety measures to protect yourself and minimize radiation exposure.
- Irradiation Process: The seeds are exposed to ionizing radiation, such as gamma rays or X-rays, in a controlled environment. The duration and intensity of the exposure are carefully calculated based on the specific seed type and desired sterilization level. The radiation effectively kills pests, pathogens, and microorganisms.
- Post-treatment Handling: After irradiation, the seeds are carefully handled and stored in a suitable environment. It’s crucial to ensure proper labeling and documentation to avoid confusion or mix-ups with untreated seeds.
- Safety and Regulatory Compliance: Radiation treatment of seeds is subject to regulatory guidelines and safety standards. It is important to comply with these regulations and obtain necessary permissions or licenses as required by local authorities.
Radiation treatment is highly effective in sterilizing seeds, but it requires specialized equipment, expertise, and an understanding of safety protocols. It is commonly used in commercial seed production and research facilities to ensure the production of high-quality, disease-free seeds.
Since radiation treatment is not easily accessible to home gardeners, other methods discussed earlier, such as heat treatment or chemical treatment, are more practical for sterilizing seeds on a smaller scale. However, it’s always interesting to learn about various methods used in seed sterilization to understand the breadth of techniques available.
On the topic of seed sterilization methods, let’s now explore a natural approach: biological treatment.
Method 5: Biological Treatment
Biological treatment is a natural and eco-friendly method of seed sterilization, utilizing beneficial microorganisms to suppress pathogens and pests. This method harnesses the competitive nature of these organisms to create an environment that inhibits the growth of harmful microorganisms. Here’s how biological treatment can be used for seed sterilization:
- Research and Selection: Identify and select suitable beneficial microorganisms that can effectively control pathogens or pests specific to the seeds you are treating. This may involve researching and consulting experts or referring to biological control products available on the market.
- Application: Apply the selected beneficial microorganisms to the seeds using appropriate techniques. This may include coating the seeds with microbial solutions or using seed inoculants that contain the desired microorganisms.
- Environmental Conditions: Maintain optimal environmental conditions for the growth and establishment of the beneficial microorganisms. This may include providing suitable moisture levels, temperature, and pH conditions that promote the growth and activity of the microorganisms.
- Microorganism Competition: The beneficial microorganisms outcompete and suppress the growth of harmful pathogens or pests through various mechanisms, such as the production of antimicrobial compounds or by occupying the same ecological niche.
- Monitoring and Assessment: Regularly monitor the treated seeds for signs of disease or pest damage. If necessary, perform appropriate interventions to further control or manage any potential issues.
Biological treatment offers several benefits, such as being environmentally friendly, sustainable, and compatible with organic gardening practices. It can be particularly useful in promoting plant health, preventing diseases, and reducing the use of chemical pesticides. However, it is important to select suitable beneficial microorganisms and consider their compatibility with the specific seeds and environmental conditions.
It is worth noting that, while biological treatment can effectively control certain pathogens and pests, it may not be applicable for all situations. Some diseases or pests may require a combination of biological, chemical, or other control methods for effective management.
Now that we have explored various methods of seed sterilization, it is crucial to understand some important precautions to take during the seed sterilization process. These precautions will help ensure the best results and avoid any potential pitfalls, which we will discuss in the next section.
Precautions to Take While Sterilizing Seeds
While sterilizing seeds is an important step in promoting plant health and success, it is essential to take certain precautions to ensure the best results. Here are some important precautions to keep in mind during the seed sterilization process:
- Read and Follow Instructions: It’s crucial to carefully read and follow the instructions provided by seed suppliers or gardening references specific to the sterilization method you are using. This includes recommended temperatures, exposure times, and any other specific guidelines.
- Choose the Right Method: Consider the specific requirements and characteristics of the seeds you are sterilizing when selecting a method. Different seed types may require different sterilization techniques, and it’s important to choose the method that is most suitable for the particular seeds.
- Maintain Proper Sterility: Ensure that all equipment, containers, and tools used for the sterilization process are thoroughly cleaned and sterilized. Any contamination during the process can compromise the effectiveness of the sterilization and potentially introduce new pathogens.
- Use Suitable Disinfectants: If using chemical treatments, make sure to select disinfectants or fungicides that are safe for seed sterilization. Use the recommended concentrations and follow proper safety precautions to protect yourself and avoid any adverse effects on the seeds.
- Monitor Treatment Times: Timing is crucial when sterilizing seeds. Overexposure to heat, chemicals, or radiation can harm the seeds, while underexposure may not effectively eliminate pathogens or pests. Set timers or alarms to accurately track and follow the recommended treatment durations.
- Handle Seeds with Care: While sterilizing seeds, handle them gently to minimize damage to the seed coat or embryos. Rough handling can reduce germination rates or quality of seedlings, affecting the overall success of your garden.
- Provide Suitable Storage Conditions: After sterilization, store the seeds in a cool, dry place in airtight containers. Proper storage conditions help maintain seed viability and prevent recontamination by microorganisms or pests.
- Take Note of Seed Viability: It is important to note that not all seeds are suitable for sterilization. Some seeds naturally have low viability or may be damaged during the sterilization process. Ensure you start with high-quality seeds that are known to respond well to the chosen sterilization method.
Following these precautions will help ensure the efficiency and effectiveness of the seed sterilization process, maximizing the chances of successful germination and healthy plant growth.
As a responsible gardener, taking these precautions during the seed sterilization process is key to starting your garden off on the right foot and enjoying a fruitful and robust plant growth.
Now that we have explored the precautions, let’s bring all the information together.
Conclusion
Sterilizing seeds before planting is a crucial step in ensuring the health, success, and longevity of your plants. Whether you choose to employ heat treatment, chemical treatment, cold treatment, radiation treatment, or biological treatment, each method serves the purpose of eliminating pathogens, pests, and other harmful microorganisms that can hinder seed germination and affect plant growth.
By sterilizing seeds, you can prevent diseases, improve germination rates, control pests, maintain consistency, prolong shelf life, and increase the overall success of your garden. It is important to select the appropriate sterilization method based on the characteristics and requirements of the seeds you are treating.
Throughout the sterilization process, taking precautions is vital. It is essential to read and follow instructions, maintain sterility, handle seeds carefully, and provide suitable storage conditions. By adhering to these precautions, you can ensure the effectiveness and efficiency of the seed sterilization process.
As a responsible gardener, understanding and implementing proper seed sterilization techniques is key to creating a healthy and thriving garden. So, whether you are growing flowers, vegetables, or herbs, remember to prioritize seed sterilization to set the foundation for successful plant growth and bountiful harvests.
Begin your gardening journey with the confidence that comes from knowing you have taken the necessary steps to provide your plants with the best possible start. Happy gardening!