Home>Types of Gardening>Edible Gardening>How To Plant Mint Seeds
Edible Gardening
How To Plant Mint Seeds
Modified: February 9, 2024
Learn how to plant mint seeds for your edible gardening. Grow fresh, aromatic mint in your garden with our step-by-step guide.
(Many of the links in this article redirect to a specific reviewed product. Your purchase of these products through affiliate links helps to generate commission for Chicagolandgardening.com, at no extra cost. Learn more)
Table of Contents
Introduction
Welcome to the wonderful world of edible gardening! If you’re a fan of fresh and flavorful herbs, then growing your own mint is an excellent choice. Mint is a versatile herb that can be used in a variety of culinary creations and is known for its refreshing aroma and taste.
Whether you have a full-fledged garden or just a small balcony, planting mint seeds can be a rewarding experience. Not only does it provide you with a steady supply of delicious leaves, but it also adds a touch of greenery and fragrance to your space.
In this article, we will guide you through the process of planting mint seeds, from gathering the necessary supplies to harvesting your first batch of leaves. With a little time, effort, and patience, you’ll soon be enjoying the benefits of having your very own mint plant at home.
Before we dive into the details, it’s important to note that mint is a fairly resilient herb and can grow quite vigorously. Therefore, it’s recommended to plant mint in containers or designated areas to prevent it from taking over your garden. Now, let’s get started on your mint-growing journey!
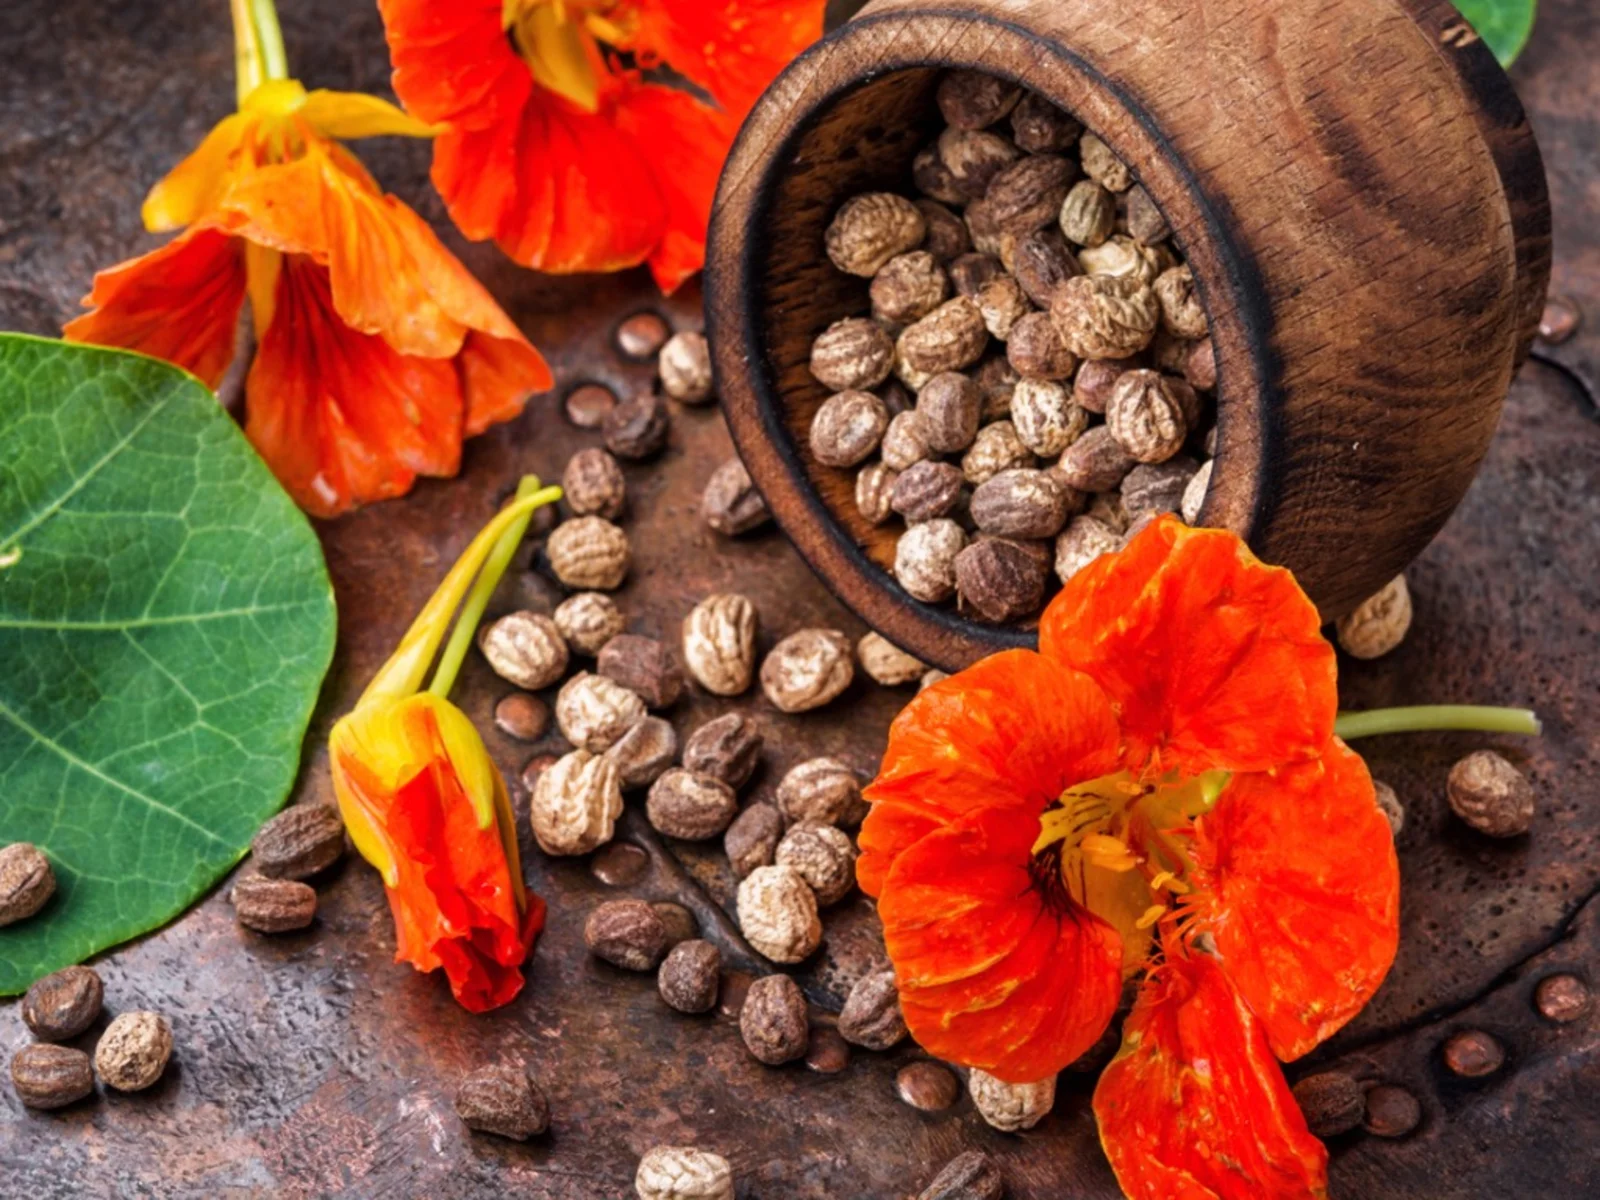
Step 1: Gather Supplies
Before you begin planting mint seeds, it’s essential to gather all the necessary supplies. Here are the items you’ll need:
- Mint seeds: Start with high-quality mint seeds, which can be purchased from a local nursery or online. Consider choosing a mint variety that suits your tastes, such as spearmint or peppermint.
- Pot or container: Since mint is a fast-spreading herb, it’s best to plant it in a container to contain its growth. Select a pot or container that is at least 8-10 inches deep and has drainage holes to prevent waterlogging.
- Good quality potting soil: Choose a well-draining potting mix that is rich in organic matter. Avoid using garden soil, as it can be too heavy and may not provide adequate drainage for the mint seeds to germinate and grow.
- Watering can or spray bottle: You’ll need a watering can or spray bottle to provide moisture to the mint seeds during the germination process and to keep the soil evenly moist as the plants grow.
- Sunlight: Mint thrives in full sun to partial shade. Find a location where your mint plants will receive at least 4-6 hours of direct sunlight every day.
- Fertilizer (optional): While not necessary, you may choose to use a balanced liquid fertilizer to provide additional nutrients to your mint plants. Follow the instructions on the fertilizer packaging for proper dilution and application.
Gathering these supplies beforehand will ensure a smooth planting process and set the stage for healthy growth and development of your mint plants. Once you have everything ready, it’s time to move on to the next step – preparing the soil.
Step 2: Prepare the Soil
Creating the right environment for your mint seeds to thrive is crucial. Follow these steps to prepare the soil:
- Choose the right container: Select a pot or container that is large enough to accommodate the growing mint plants. Make sure it has drainage holes to prevent waterlogging, as mint prefers well-drained soil.
- Fill the container: Fill the container with a good quality potting mix. Avoid using garden soil, as it may be too heavy and may not provide the necessary drainage for the mint seeds.
- Amend the soil: Consider adding organic matter, such as compost or aged manure, to the potting mix. This will enrich the soil, improve moisture retention, and provide essential nutrients for the mint plants.
- Ensure proper drainage: Place a layer of small stones or broken pieces of terracotta pots at the bottom of the container. This will help improve drainage and prevent water from pooling around the mint roots.
- Loosen the soil: Gently loosen the top layer of soil in the container with a small hand trowel or fork. This will allow the mint seeds to establish their roots more easily.
Once you have prepared the soil, it’s time to move on to the exciting part – planting the mint seeds. Remember to choose a sunny location for your container and consider placing it near a kitchen window or outdoor seating area for easy access to fresh mint leaves.
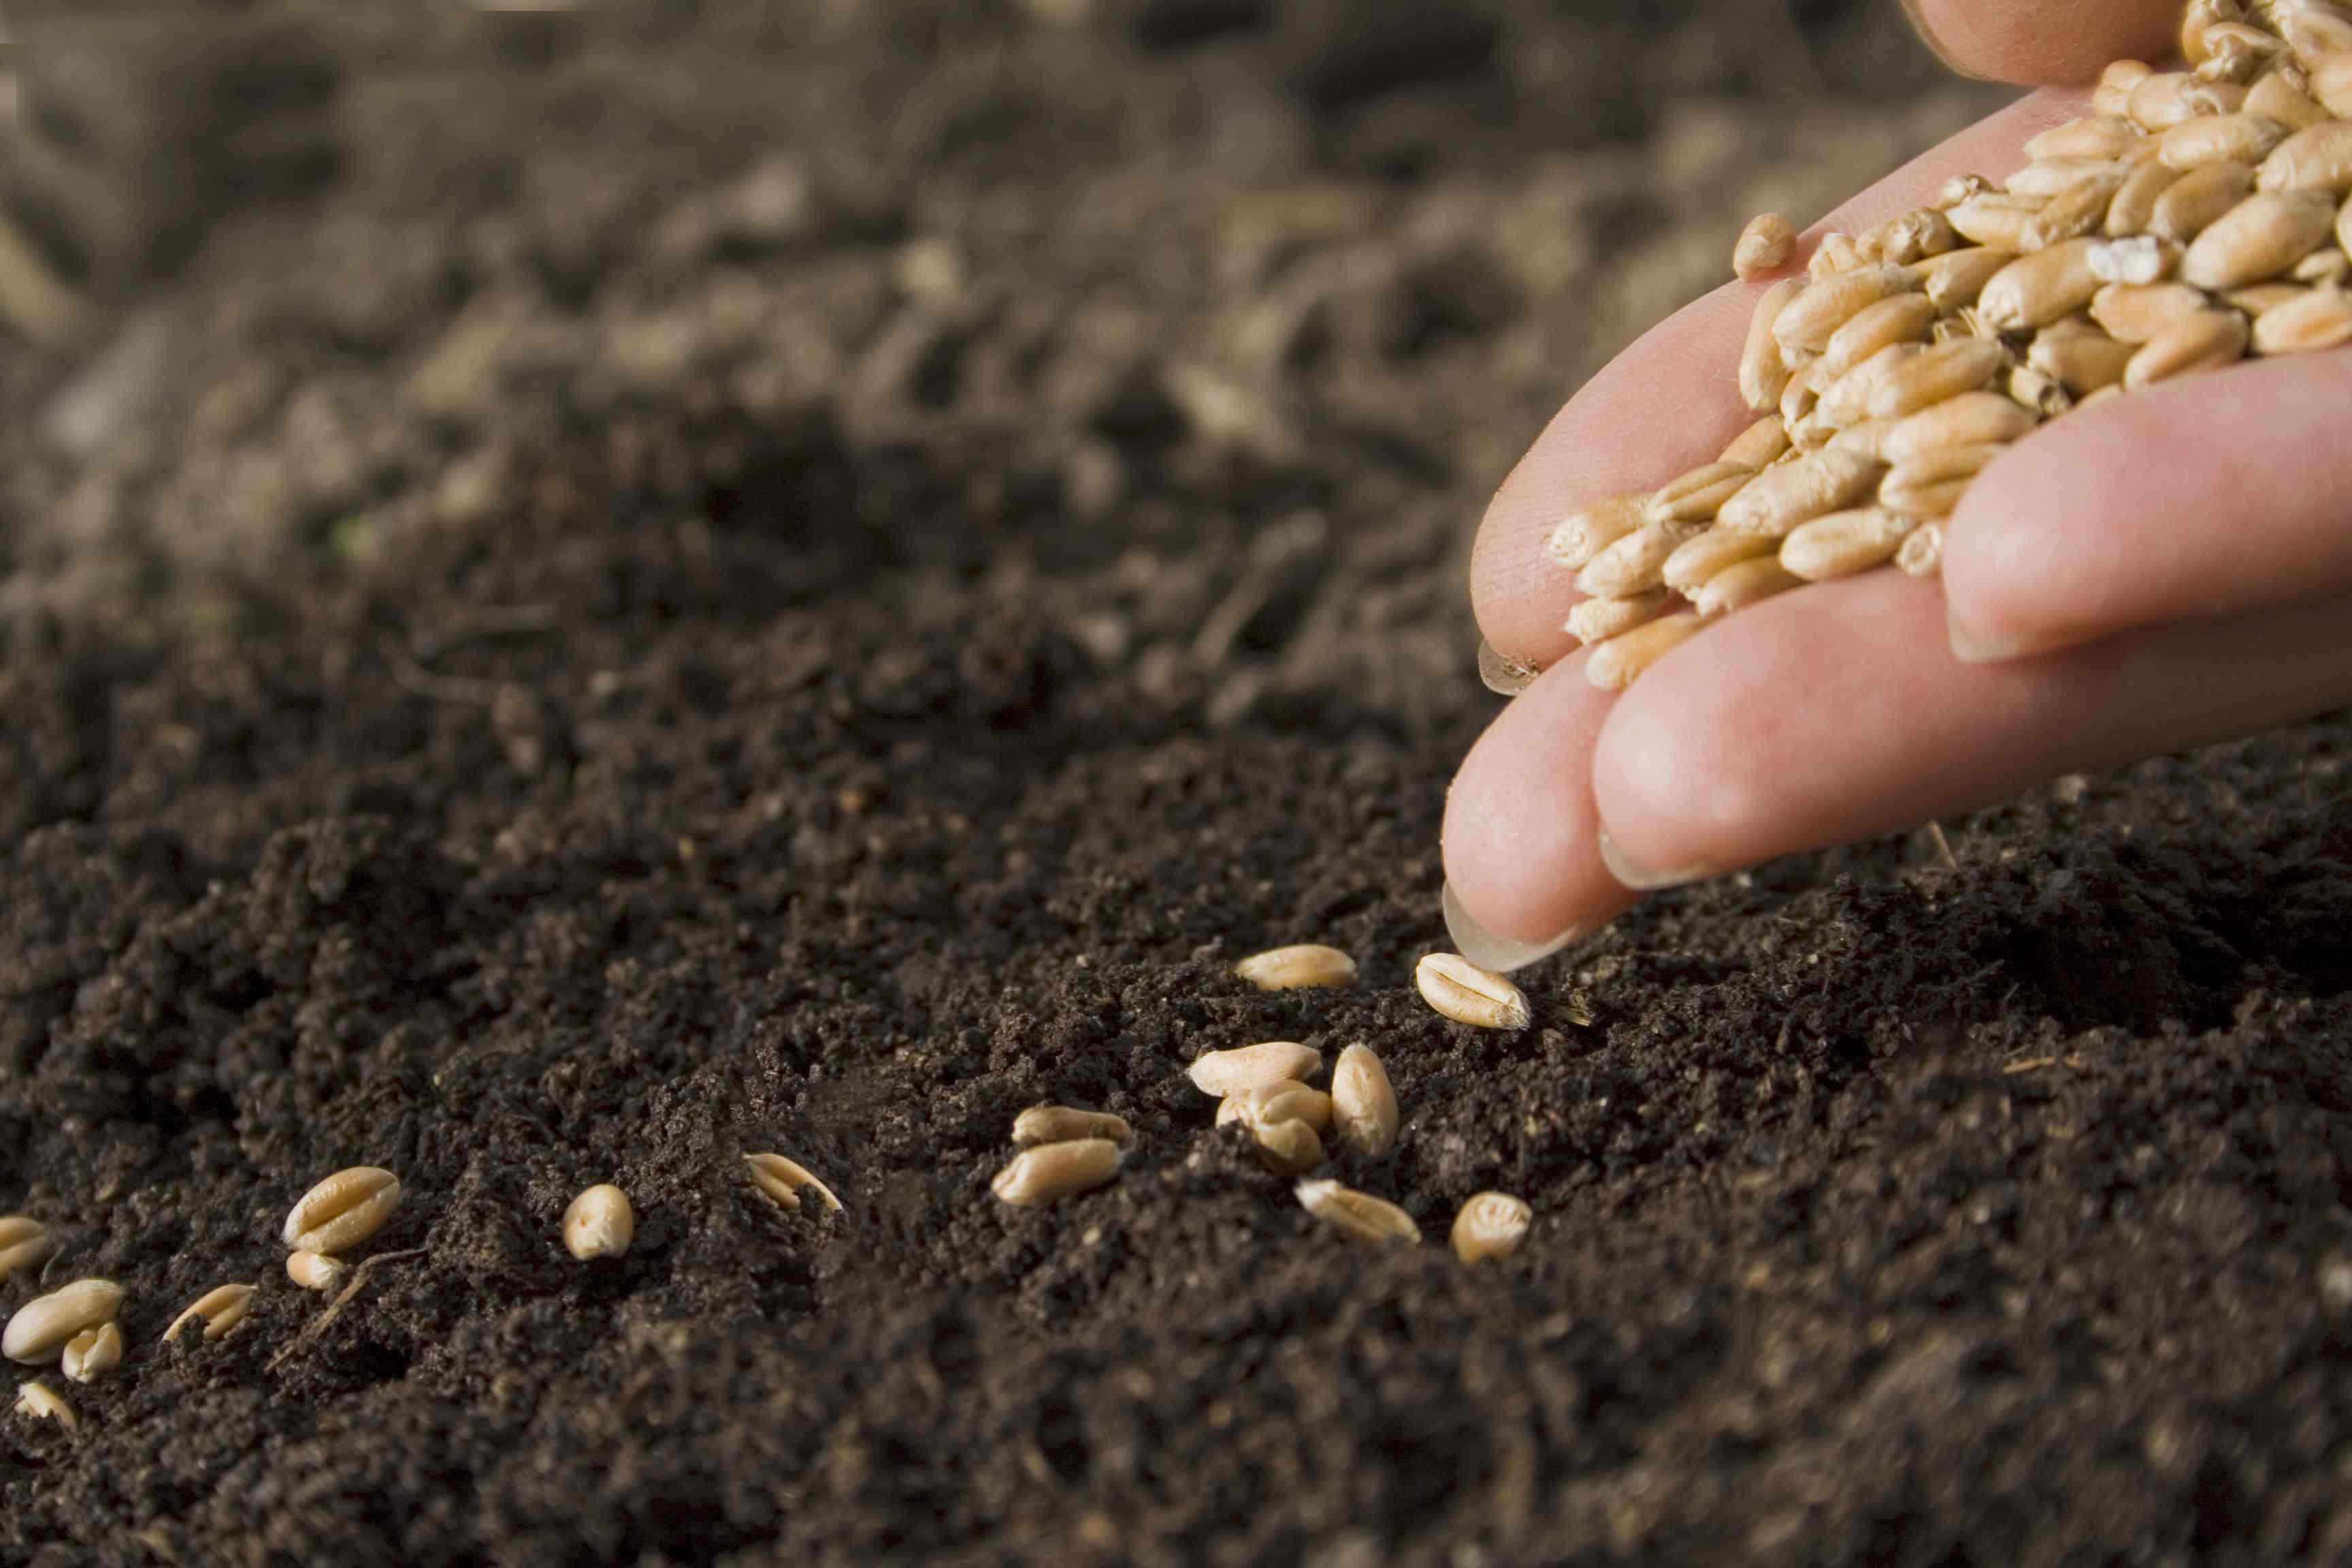
Step 3: Planting the Mint Seeds
Now that you have your supplies ready and the soil prepared, it’s time to plant the mint seeds. Follow these steps for successful planting:
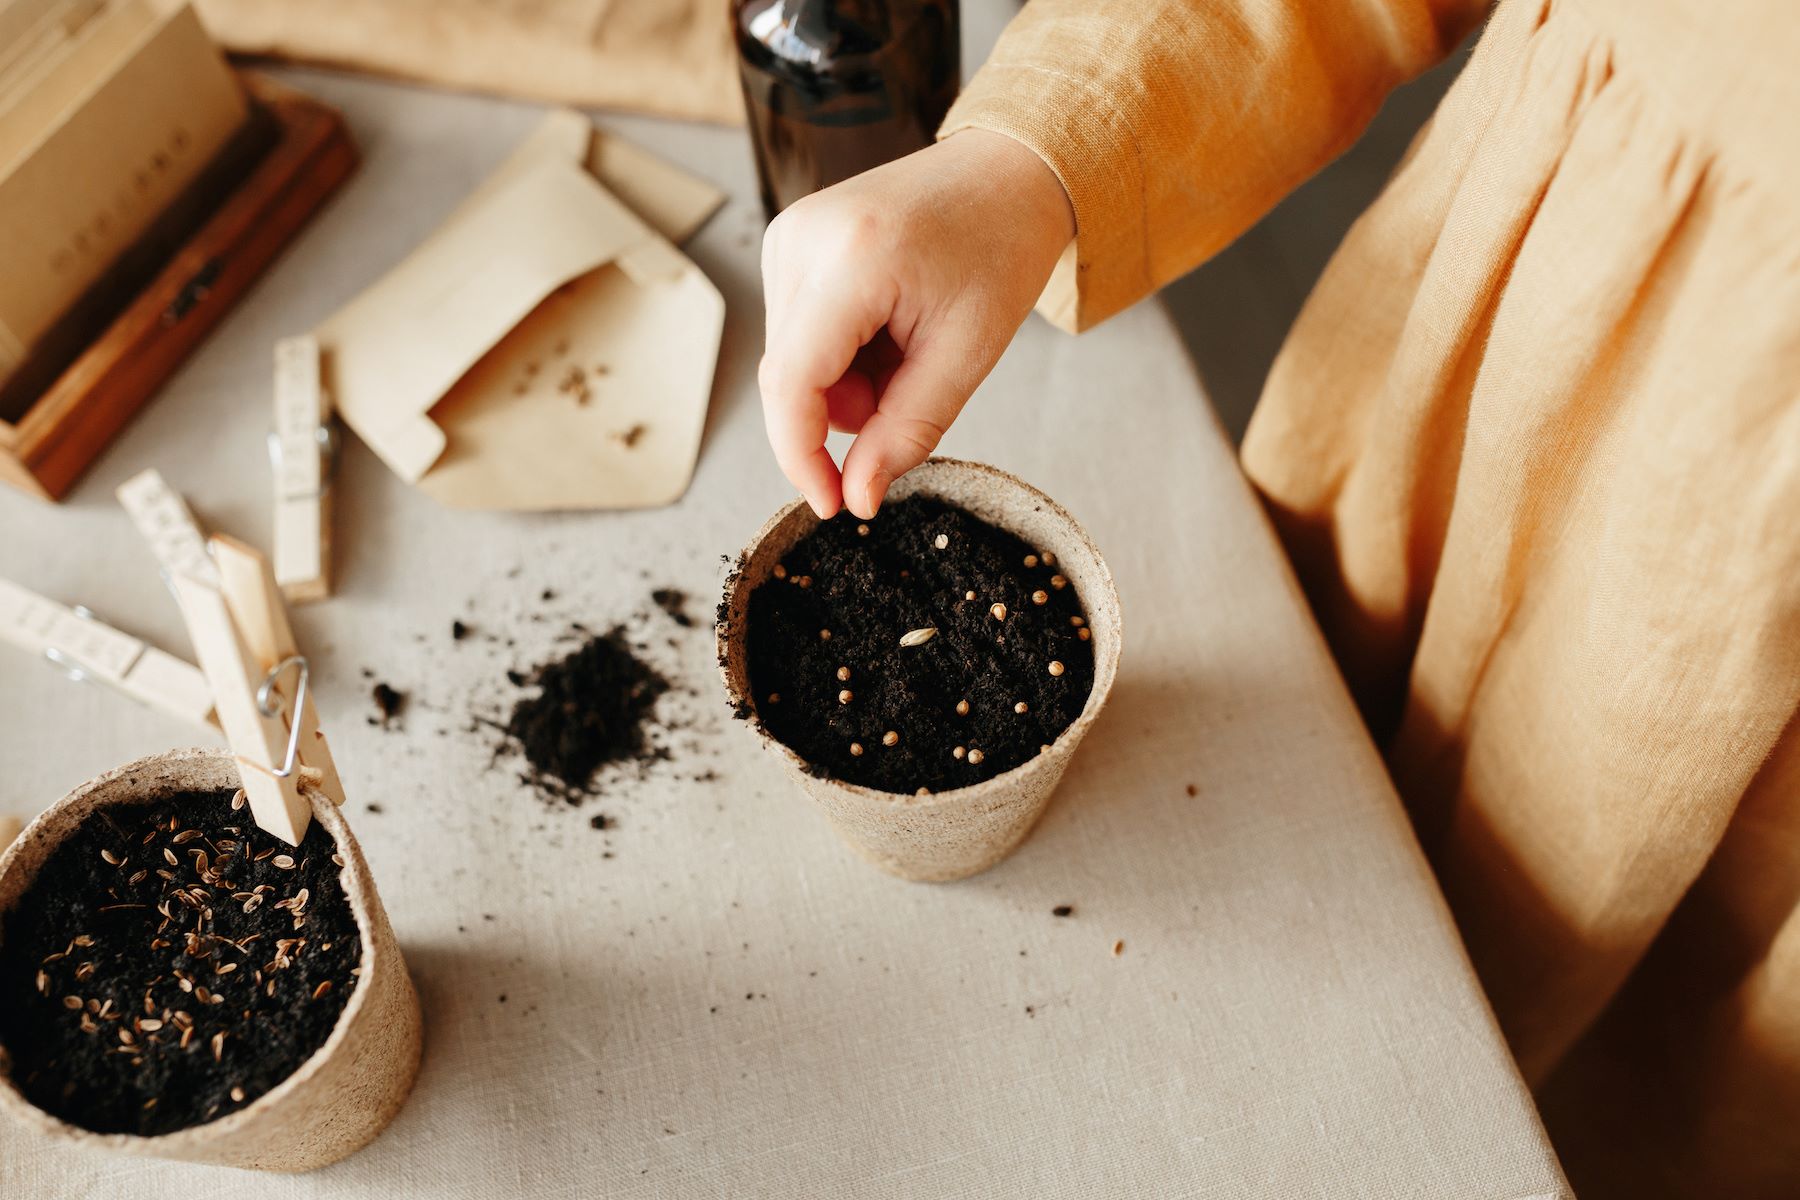
- Sow the seeds: Create small indentations in the soil, approximately 1/4 inch deep. Place 2-3 mint seeds in each indentation, spacing them out evenly.
- Cover the seeds: Gently cover the seeds with a thin layer of potting mix or vermiculite. This will help provide the seeds with the darkness they need to germinate while still allowing air and moisture to reach them.
- Water the seeds: Use a watering can or spray bottle to moisten the soil gently. Avoid overwatering, as excessive moisture can lead to seed rot. Keep the soil consistently moist during the germination process.
- Provide warmth: Place the container in a warm location, preferably around 70-75°F (21-24°C). You can also cover the container with a plastic bag or a clear plastic wrap to create a mini greenhouse effect and promote germination.
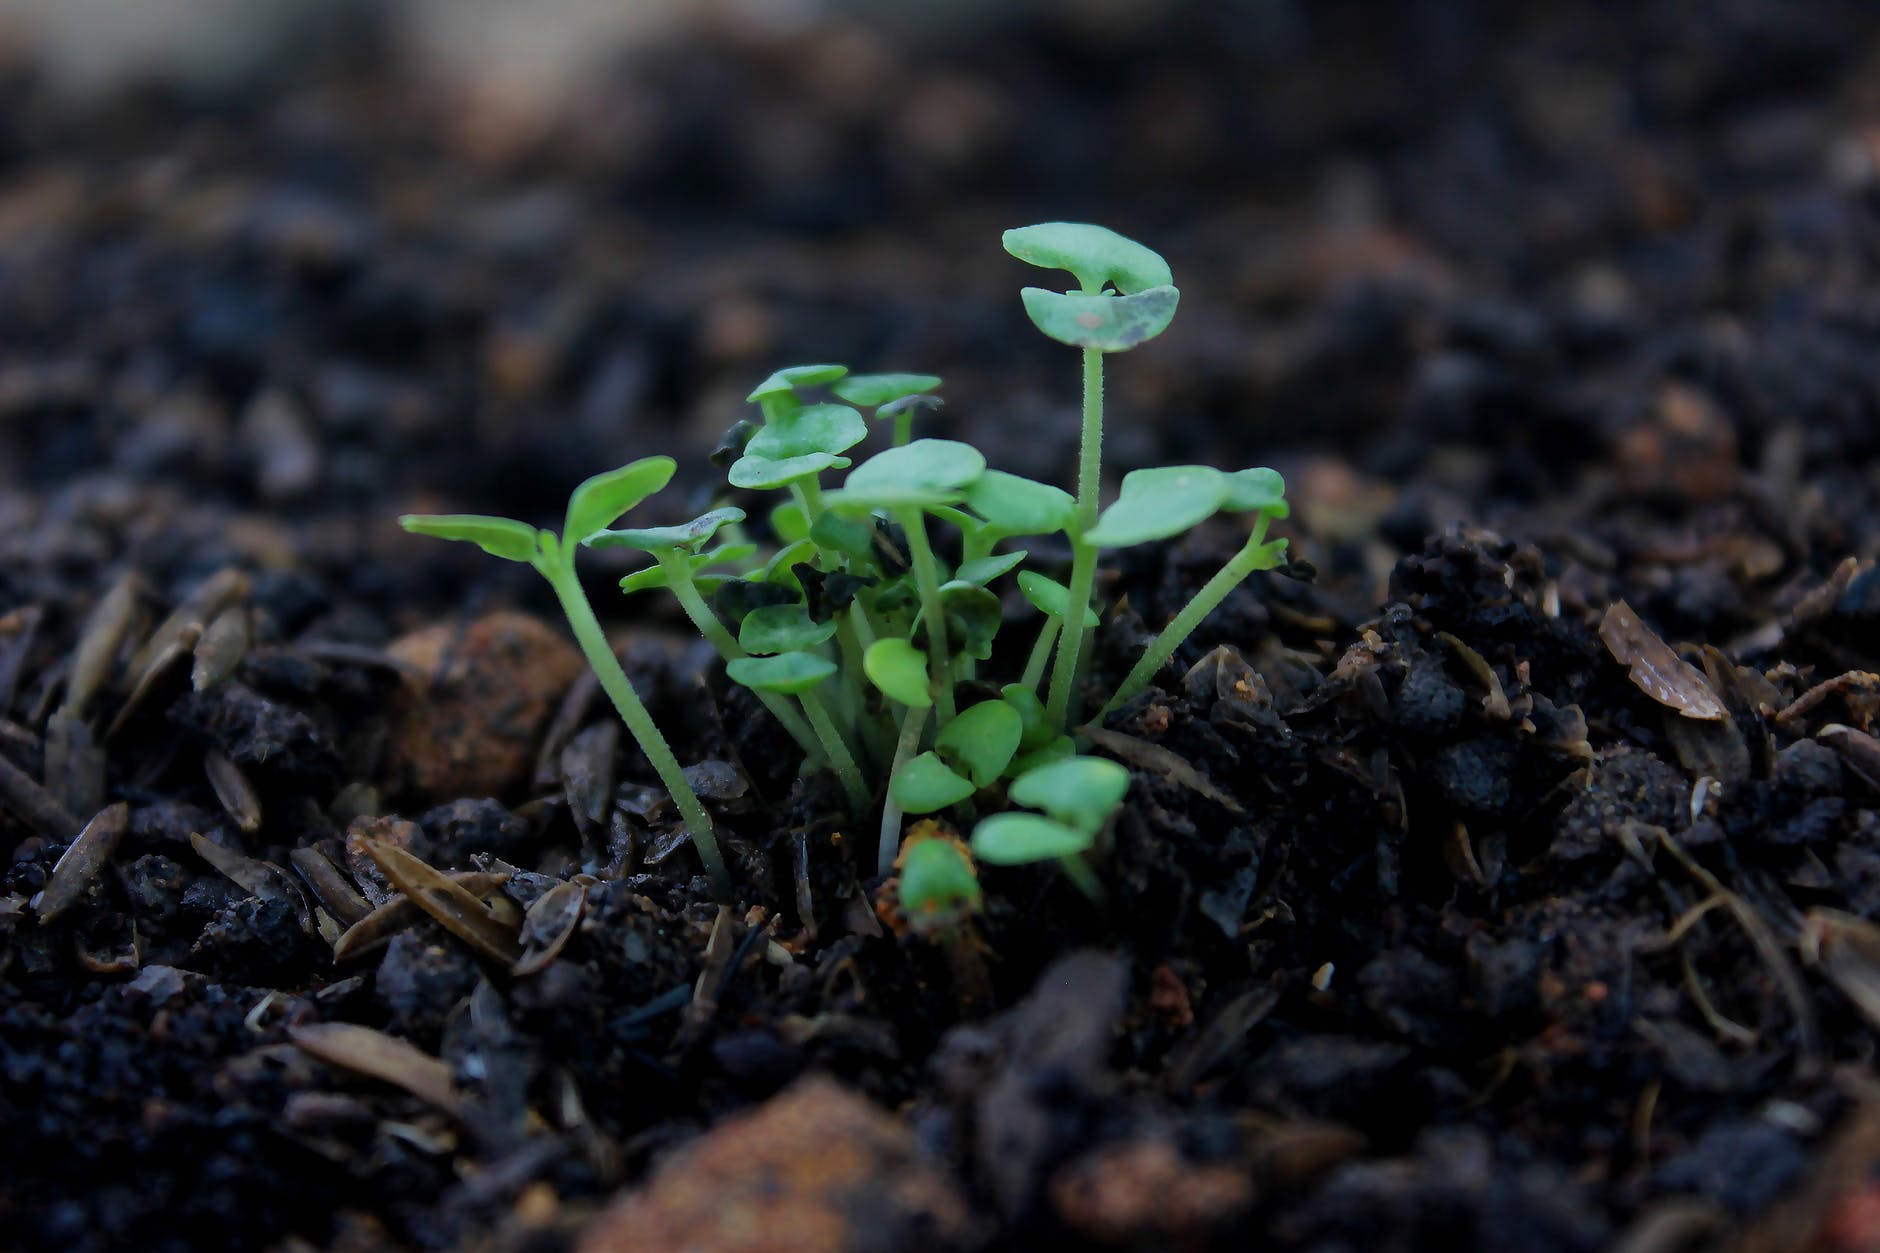
- Germination time: Mint seeds typically germinate within 7-14 days, although some varieties may take longer. Be patient and continue to provide the seeds with the necessary moisture and warmth.
As the mint seeds germinate and the seedlings start to develop, you can remove the plastic cover and move the container to a location with brighter light. Maintain consistent moisture in the soil by watering gently and regularly.
At this stage, the mint plants will require care and attention to ensure healthy growth. In the next step, we will explore watering and care tips for your mint plants.
Step 4: Watering and Care
Proper watering and care are essential for the healthy growth of your mint plants. Follow these guidelines to ensure your mint thrives:
- Watering: Mint plants prefer consistently moist soil. Water them regularly, ensuring the soil is evenly moist but not waterlogged. Aim to keep the soil moist, but avoid overwatering, as it can lead to root rot.
- Light requirements: Mint plants thrive in full sun to partial shade. Ensure they receive at least 4-6 hours of direct sunlight each day. If you’re growing mint indoors, place it near a window that receives ample sunlight.
- Fertilization: Mint plants are relatively low-maintenance and typically don’t require heavy fertilization. However, you can apply a balanced liquid fertilizer every few weeks during the growing season to support healthy growth. Follow the instructions on the fertilizer packaging for dosage and frequency.
- Pruning: Mint is a fast-growing herb that can become quite bushy. Prune the mint plants regularly to maintain their shape and encourage new growth. Trim off any leggy or damaged branches, focusing on the upper portion of the plant.
- Watch for pests: Keep an eye out for common pests like aphids or spider mites. Inspect the leaves regularly for any signs of damage or infestation. If pests are detected, treat them with organic pest control methods or consult with a local gardening expert for appropriate solutions.
By following these watering and care tips, you’ll be able to maintain healthy and thriving mint plants. Now, let’s move on to the final step – harvesting your mint leaves!
Step 5: Harvesting Mint Leaves
After all the hard work of planting and caring for your mint plants, it’s time to enjoy the fruits (or rather, leaves) of your labor. Follow these steps to harvest your mint leaves:
- Wait for maturity: Mint plants typically reach maturity in about 8-10 weeks from the time of planting. You’ll know they’re ready for harvest when they have developed enough healthy foliage.
- Choose the right time of day: For the best flavor and aroma, harvest mint leaves in the morning when the essential oils are at their peak concentration. This will ensure you get the maximum flavor and fragrance from your mint.
- Use sharp scissors: Snip the mint stems just above a leaf node (where the leaves attach to the stem) using sharp scissors or pruning shears. This encourages lateral growth and allows the plant to continue producing new leaves.
- Harvest selectively: Avoid harvesting more than one-third of the plant at a time to prevent stress and promote ongoing growth. Leave enough leaves on the plant for it to continue photosynthesizing and producing energy.
- Remove any damaged leaves: During the harvesting process, remove any leaves that are wilted, discolored, or damaged. This will keep your mint plants healthy and ensure the quality of the harvested leaves.
The harvested mint leaves can be used immediately or stored for later use. To store them, gently rinse the leaves under cold water, pat them dry with paper towels, and store them in airtight containers or sealable plastic bags in the refrigerator. Fresh mint leaves can typically stay fresh for about a week.
Now you can enjoy the fresh, aromatic flavors of your very own homegrown mint in a variety of culinary creations, such as teas, cocktails, salads, sauces, and desserts.
And there you have it – a comprehensive guide to planting and growing mint from seeds. With a little patience and care, you’ll have a bountiful supply of mint leaves to add freshness and flavor to your dishes. Happy gardening and happy mint harvesting!
Conclusion
Congratulations! You have successfully learned how to plant mint seeds and grow your very own mint plants. By following the steps outlined in this guide, you are now equipped with the knowledge and skills to create a thriving mint garden.
Remember, mint is a versatile herb that adds a refreshing touch to various culinary creations. From teas to cocktails, salads to desserts, the uses for fresh mint leaves are endless. Having your own mint plants not only provides you with a steady supply of delicious leaves but also adds a touch of greenery and fragrance to your space.
Throughout this journey, you’ve learned how to gather the necessary supplies, prepare the soil, plant the mint seeds, and provide proper care for the plants. You’ve also discovered the art of harvesting mint leaves to enjoy their flavors and aromas in your culinary adventures.
As you continue your edible gardening endeavors, don’t hesitate to explore different mint varieties, experiment with different recipes, and share your homegrown mint with family and friends. Remember to keep an eye on your mint plants and provide them with the attention they need to thrive.
Now, armed with the knowledge and confidence to grow your own mint, it’s time to get started on this exciting journey. So go ahead, plant those mint seeds, and watch as your mini mint garden flourishes and brings joy to your senses.
Happy gardening and enjoy the flavors of your homegrown mint!