Home>Types of Gardening>Edible Gardening>How To Plant Cabbage Seeds

Edible Gardening
How To Plant Cabbage Seeds
Modified: January 22, 2024
Learn how to plant cabbage seeds and start your own edible gardening journey. Follow our step-by-step guide for successful cabbage cultivation and enjoy fresh, homegrown produce.
(Many of the links in this article redirect to a specific reviewed product. Your purchase of these products through affiliate links helps to generate commission for Chicagolandgardening.com, at no extra cost. Learn more)
Table of Contents
Introduction
Welcome to the world of edible gardening! If you’re looking for a rewarding and economical way to enjoy fresh and healthy produce right from your own backyard, then growing your own cabbage is a fantastic place to start. Not only is cabbage a versatile and nutritious vegetable, but it is also relatively easy to grow, making it a great choice for beginners in the world of edible gardening.
Whether you have a large plot or just a small space, planting cabbage seeds is a convenient and cost-effective way to enjoy the satisfaction of growing your own food. Plus, growing cabbage allows you to have complete control over the use of pesticides and chemicals – ensuring that you are consuming the freshest and healthiest produce possible.
In this comprehensive guide, we will take you through the step-by-step process of planting cabbage seeds and cultivating healthy, vibrant cabbage plants. From selecting the right seeds to harvesting your own homegrown cabbage, we’ve got you covered.
So, put on your gardening gloves, grab your tools, and let’s embark on this edible gardening journey together. By the end of this article, you’ll have all the necessary knowledge and skills to grow your own bountiful cabbage harvest. Let’s get started!
Selecting the Right Cabbage Seeds
When it comes to growing cabbage, selecting the right seeds is crucial for a successful harvest. With so many different varieties available, it’s important to choose seeds that are well-suited to your climate, growing conditions, and personal preferences. Here are some key factors to consider when selecting cabbage seeds:
- Variety: There are several varieties of cabbage to choose from, each with its own unique characteristics. Common varieties include green cabbage, red cabbage, savoy cabbage, and Napa cabbage. Consider the flavor, texture, and size of the cabbage heads that you prefer and select a variety that aligns with your preferences.
- Growing season: Cabbage can be categorized as either early-season, mid-season, or late-season, based on the time it takes for the plants to mature. Choose a variety that suits your desired harvesting timeline. If you have a shorter growing season, opt for an early-season variety to ensure a successful harvest.
- Resistance to diseases: Some cabbage varieties are more resistant to common diseases such as clubroot, powdery mildew, and black rot. Check the seed packet or consult your local garden center to find varieties that are disease-resistant, especially if you have dealt with these issues in the past.
- Space requirements: Cabbage plants can vary in size, so consider the available space in your garden when selecting seeds. If you have limited space, look for compact or mini cabbage varieties that can be grown in containers or small raised beds.
- Taste preferences: Different cabbage varieties have distinct flavors, ranging from mild and sweet to tangy and peppery. Consider your taste preferences and how you plan to use the cabbage in cooking when selecting seeds.
Remember to purchase high-quality seeds from a reputable supplier. It’s worth investing in organic or heirloom seeds if you prioritize sustainability and want to maintain the integrity of your edible garden. Also, ensure that the seeds are not expired and have been properly stored to maintain their viability.
By carefully selecting the right cabbage seeds for your specific needs, you’ll set yourself up for a successful and satisfying gardening experience. Now that you’ve chosen your seeds, it’s time to prepare the soil for planting.
Preparing the Soil
Before you start sowing cabbage seeds, it’s essential to prepare the soil to create a nutrient-rich and well-drained environment for your plants to thrive. Here’s a step-by-step guide to preparing the soil:
- Clean the area: Begin by removing any weeds, rocks, or debris from the planting area. Clearing the space will prevent competition for nutrients and ensure optimal growing conditions for your cabbage plants.
- Loosen the soil: Cabbage prefers loose and well-drained soil, so use a garden fork or tiller to break up compacted soil. This will improve water drainage and allow the roots to penetrate the soil easily. Avoid excessive tilling as it can damage the soil structure.
- Amend the soil: Cabbage thrives in nutrient-rich soil, so amend your soil by adding organic matter such as compost or well-rotted manure. This will improve the soil’s fertility and moisture-holding capacity. Aim to incorporate at least 2-4 inches (5-10 cm) of organic matter into the top 6-8 inches (15-20 cm) of soil.
- Test the soil: Consider conducting a soil test to assess its pH level and nutrient composition. Cabbage prefers slightly acidic soil with a pH range of 6.0-6.8. If the pH is outside this range, you may need to adjust it by adding lime to raise the pH or sulfur to lower it. Soil testing kits are available at garden centers or through your local agricultural extension office.
- Address nutrient deficiencies: Based on soil test results or general knowledge about your soil, you may need to add additional nutrients like nitrogen, phosphorus, and potassium. Use a balanced fertilizer or organic amendments to address any nutrient deficiencies and promote healthy cabbage growth.
- Level the soil: After amending the soil, use a rake to level the surface and remove any excess debris. This will ensure an even planting surface and facilitate proper water distribution.
Remember to consider the specific requirements of the cabbage variety you are growing. Some varieties may prefer slightly different soil conditions, so refer to the seed packet or do some research to ensure you are meeting their specific needs.
By taking the time to properly prepare the soil, you are setting a strong foundation for your cabbage plants. The next step is sowing the cabbage seeds and nurturing them into healthy seedlings. Let’s explore that process in the next section.
Sowing Cabbage Seeds
Now that you’ve prepared the soil, it’s time to sow your cabbage seeds and kickstart the growth of your plants. Follow these steps to ensure successful sowing:
- Select the planting method: There are two primary methods for sowing cabbage seeds: direct sowing and starting seeds indoors. Direct sowing involves planting the seeds directly in the garden, while starting seeds indoors allows you to get a head start by germinating the seeds in a controlled environment.
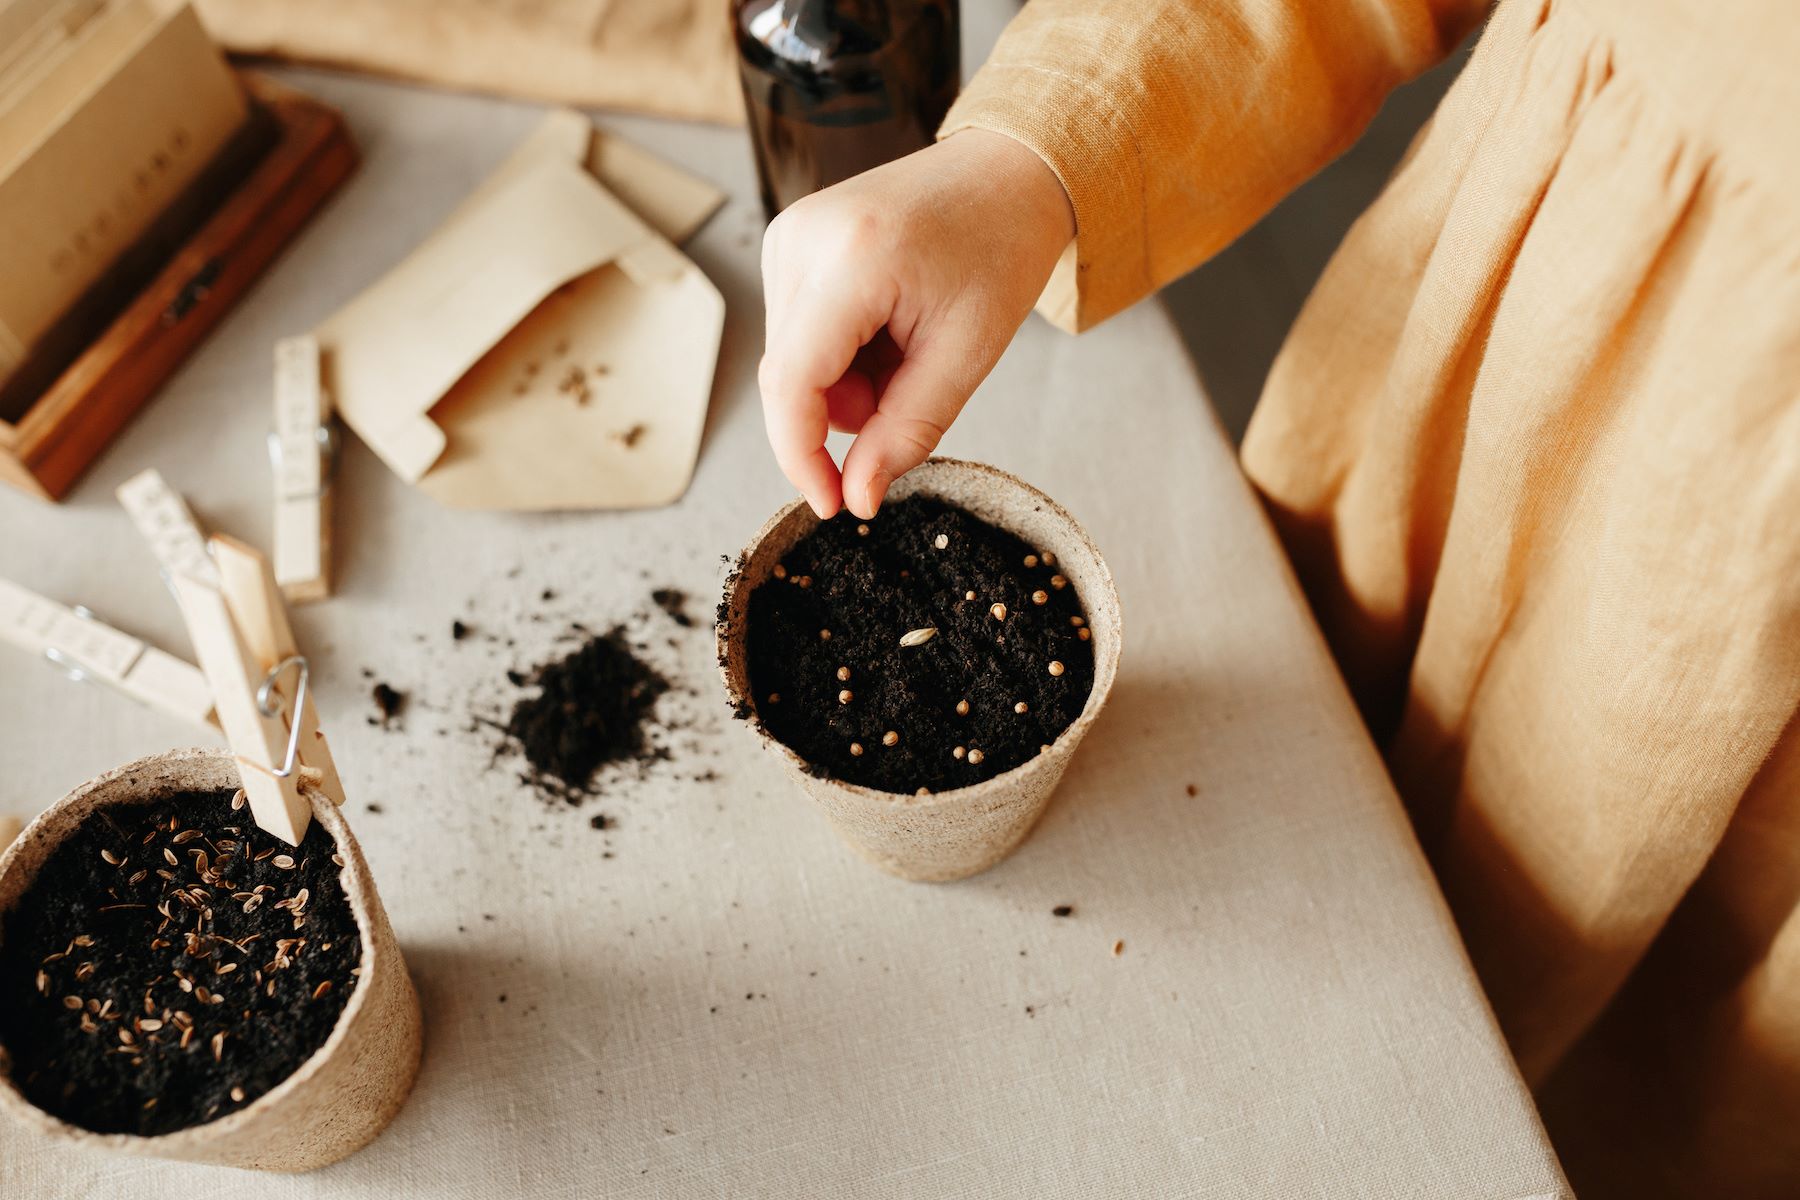
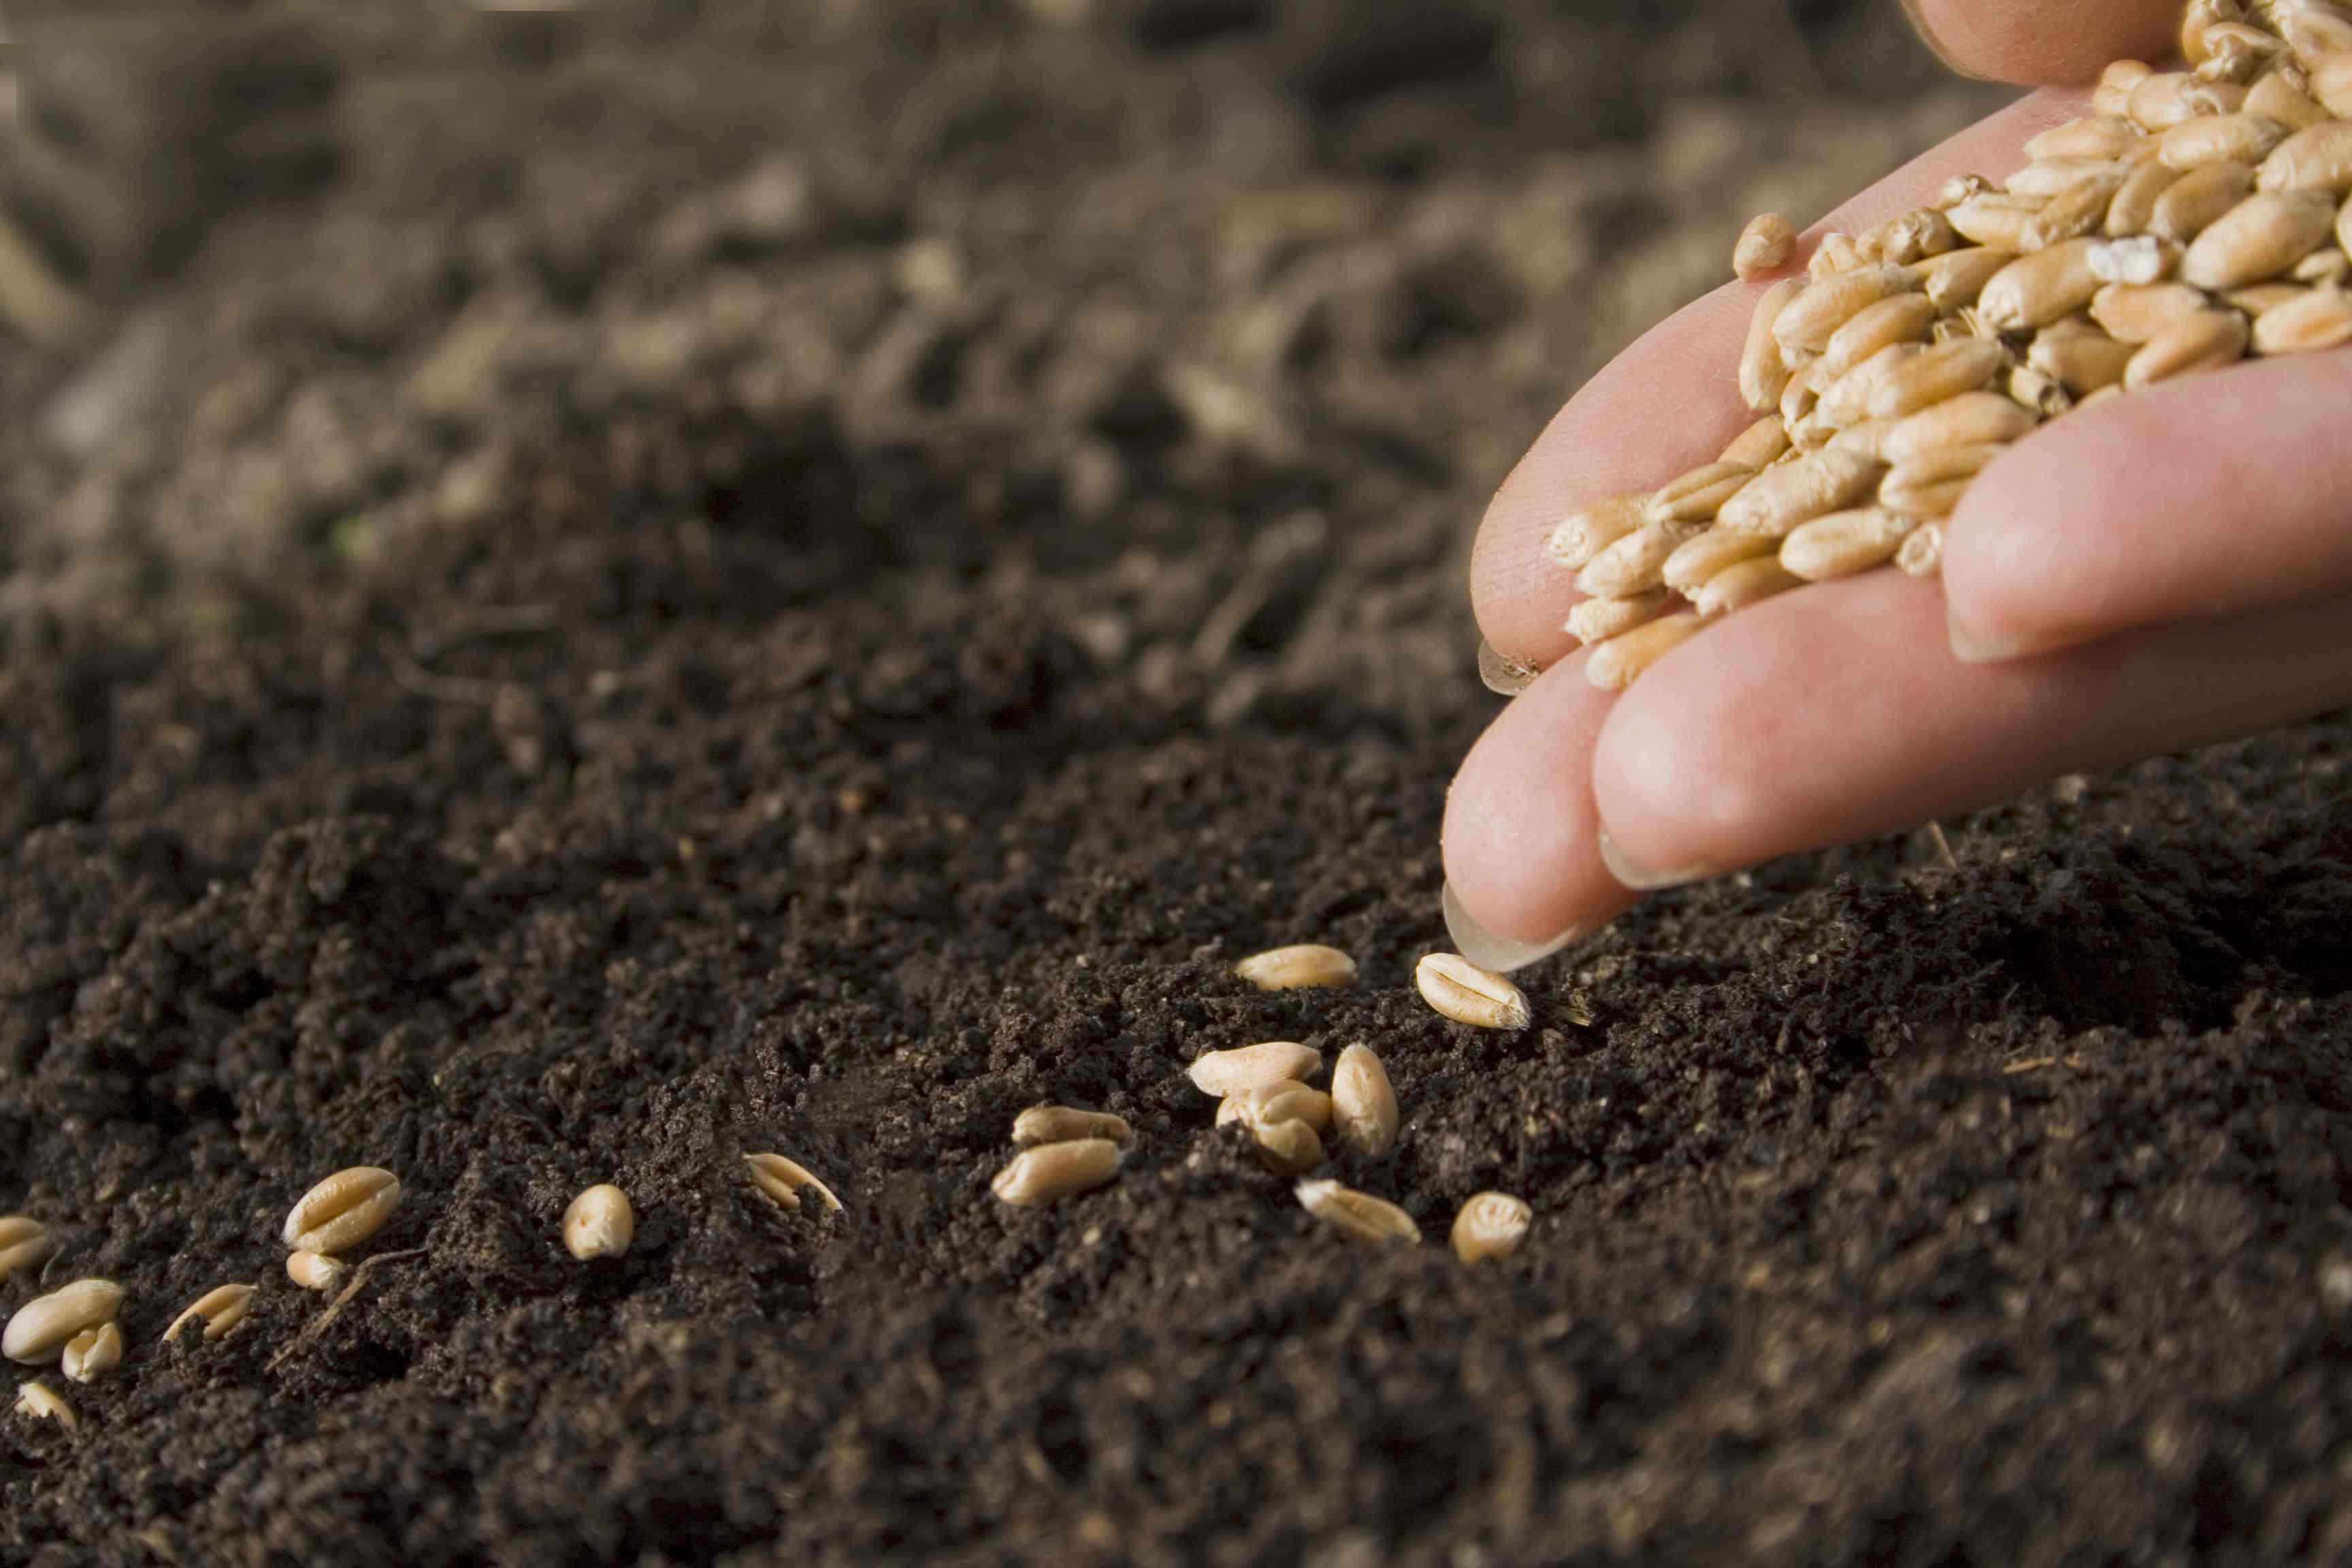
- Direct sowing: If you choose to sow seeds directly in the garden, wait until the soil temperature is at least 50°F (10°C), as cabbage seeds prefer cool soil for germination. Create shallow rows or furrows in the soil, about ¼ to ½ inch (6-12 mm) deep, and space them according to the spacing requirements of the specific cabbage variety. Place the seeds in the furrows, spacing them evenly, and cover them with soil. Water gently to ensure good seed-to-soil contact.
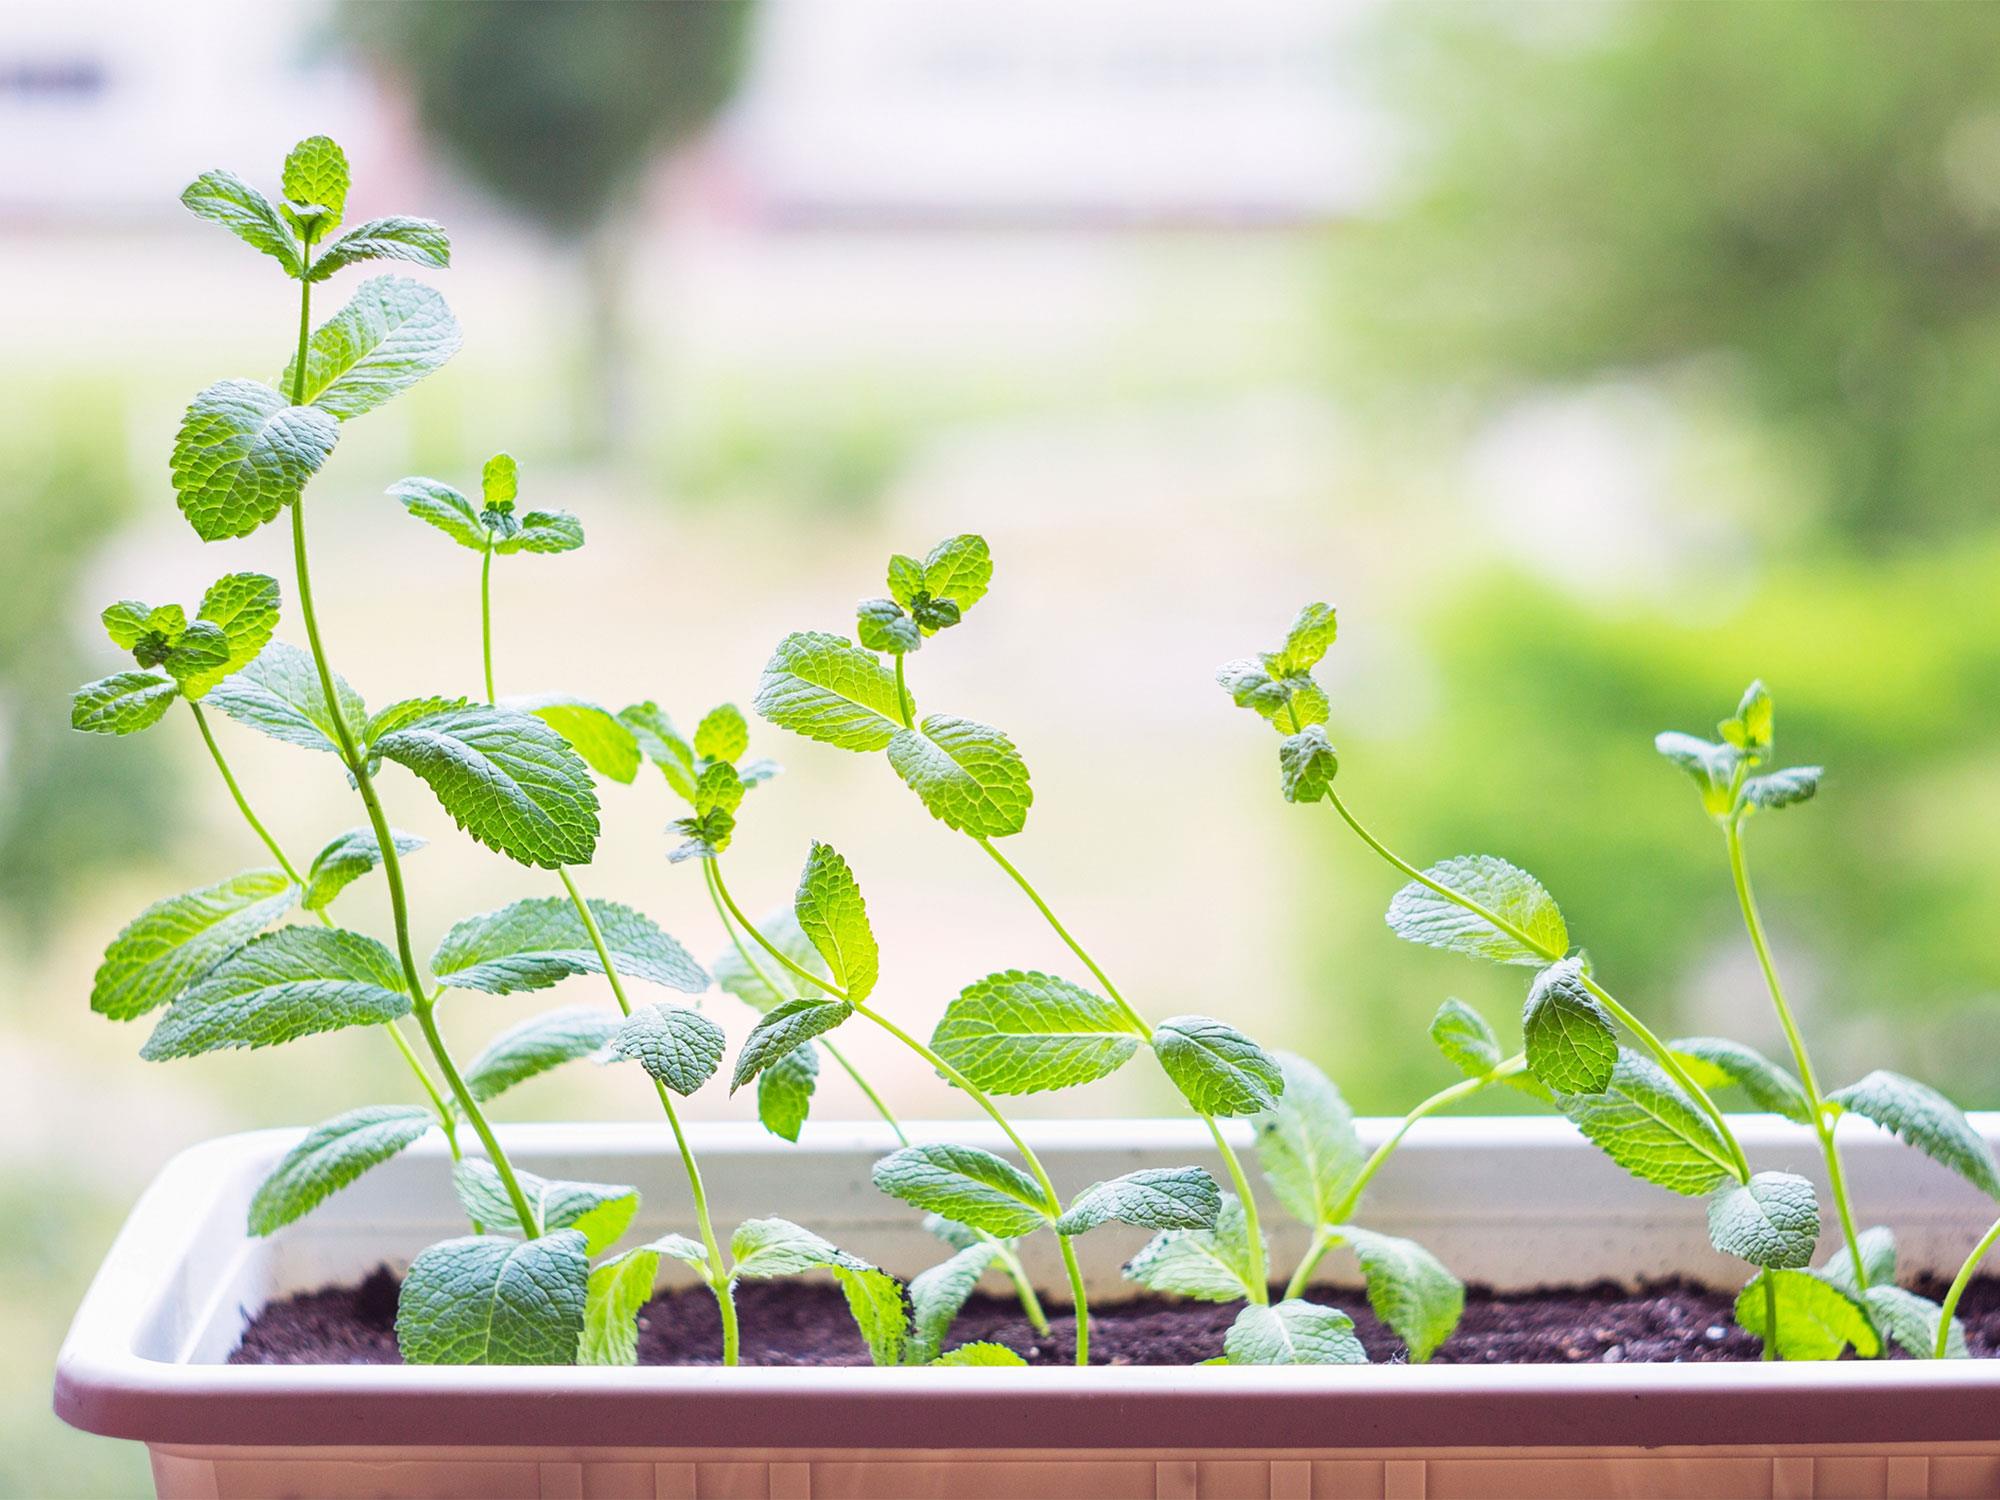
- Starting seeds indoors: If you prefer to start seeds indoors, sow the cabbage seeds in seed trays or containers filled with a high-quality seed starting mix. Plant the seeds around ¼ inch (6 mm) deep and lightly cover them with soil. Keep the trays or containers in a warm and bright location or under grow lights. Once the seedlings have developed a few true leaves, typically in 4-6 weeks, they can be transplanted into the garden.
- Keep the soil moist: After sowing the cabbage seeds, water the soil gently to keep it consistently moist. Avoid overwatering, as excessive moisture can lead to root rot. Consider using a fine mist or a watering can with a fine spout to provide gentle and even moisture distribution.
- Provide protection: Cabbage seeds and seedlings are vulnerable to pests and extreme weather conditions. Consider using protective measures, such as floating row covers or netting, to protect the seeds and seedlings from pests like birds and insects.
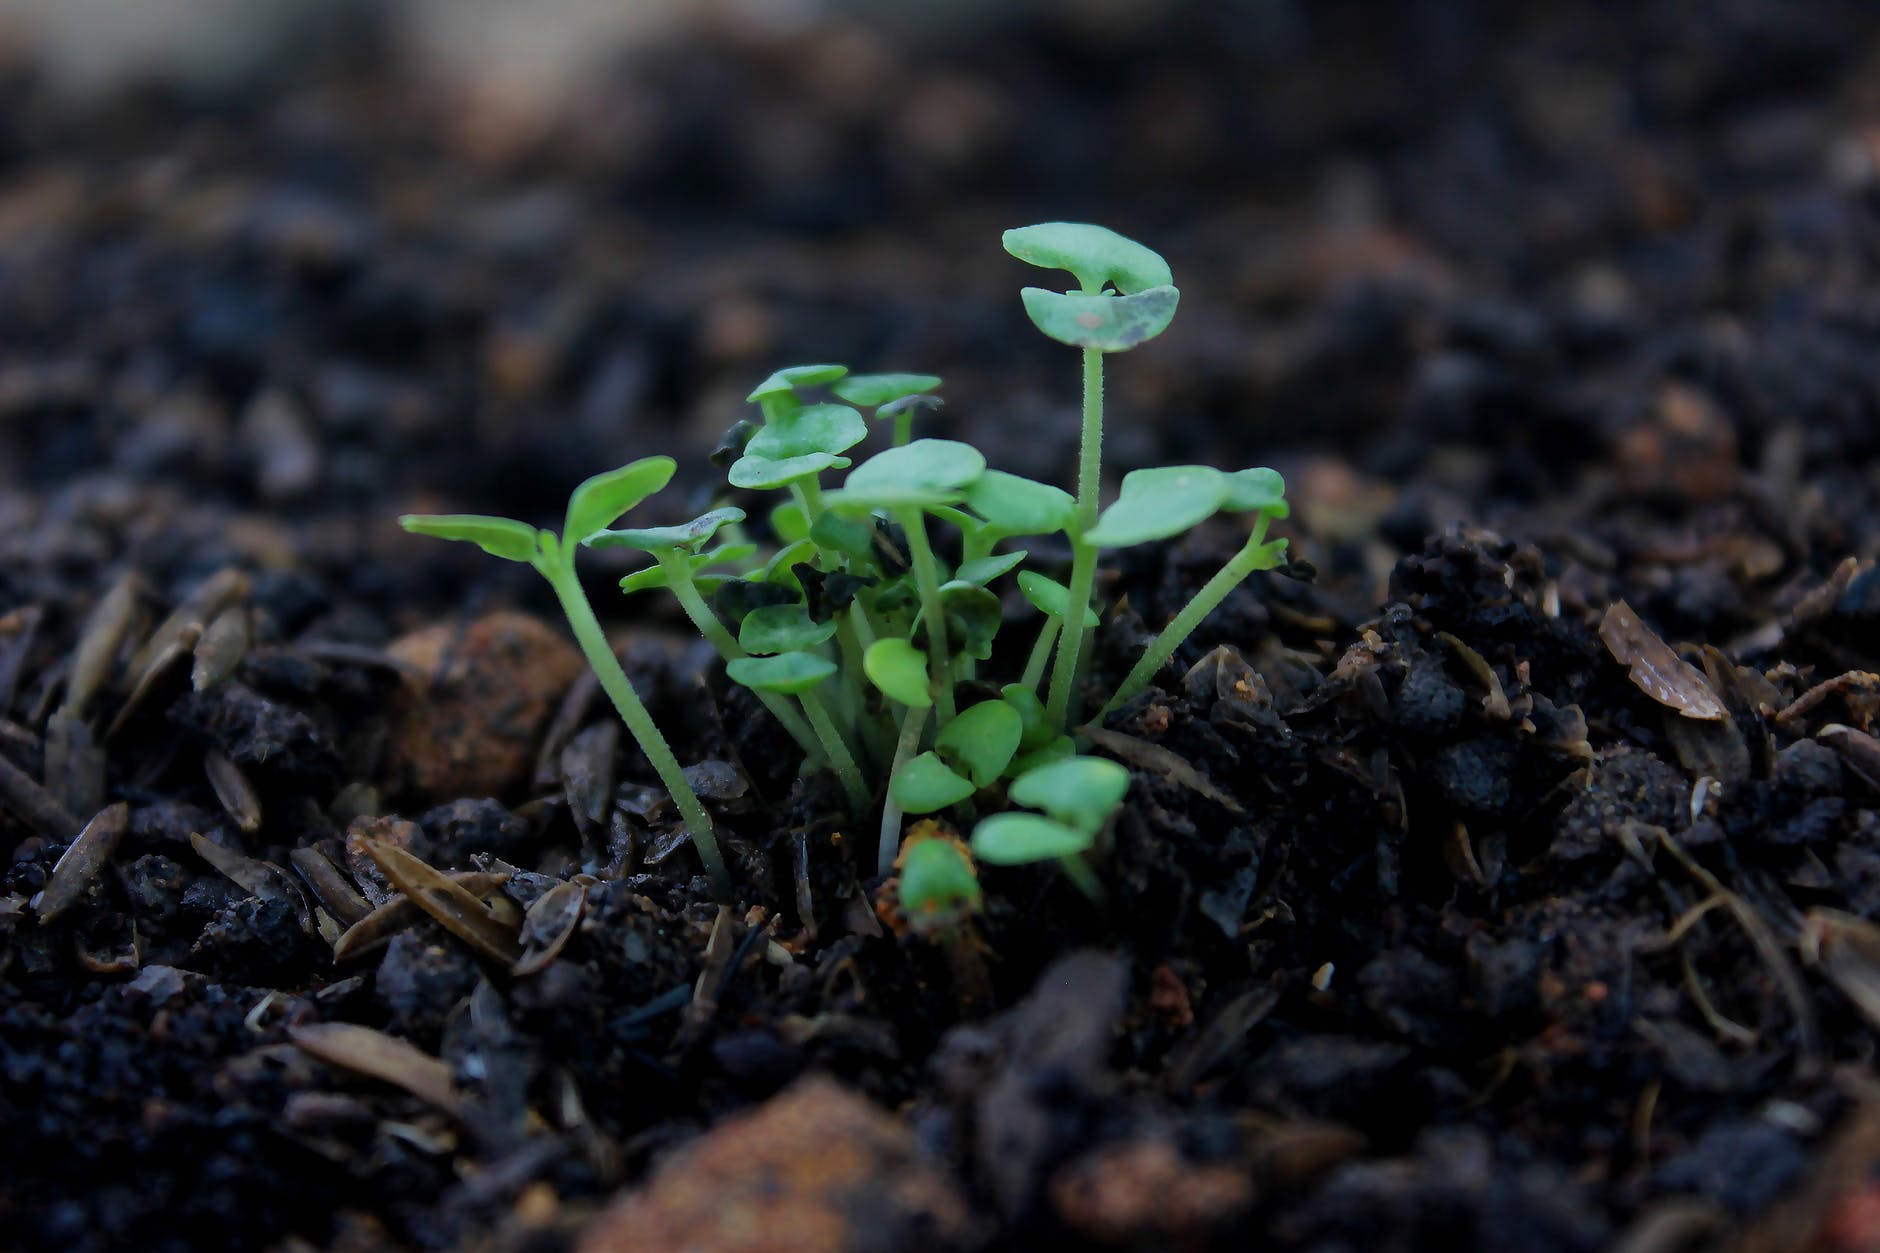
Remember to label the rows or containers with the cabbage variety and planting date to keep track of your plants. Germination typically takes 7-14 days, depending on the variety and growing conditions. Once the seedlings have emerged and grown a few inches tall, it’s time to thin them out to ensure proper spacing and healthy growth.
Sowing cabbage seeds is an exciting step in your gardening journey, and with proper care and attention, you’ll soon have a thriving cabbage patch. In the next section, we’ll discuss essential watering techniques to keep your cabbage plants hydrated and healthy.
Proper Watering Techniques
Water is a vital component for the growth and development of cabbage plants. Proper watering techniques ensure that your cabbage plants receive the right amount of moisture, contributing to healthy foliage and robust heads. Here are some essential watering tips to keep in mind:
- Consistent moisture: Cabbage plants require consistent moisture to thrive. Aim to keep the soil evenly moist, especially during the early stages of growth when the roots are establishing. Avoid waterlogged conditions, as this can lead to root rot and other problems. Use your finger or a moisture meter to gauge the soil’s moisture level, and water accordingly.
- Deep watering: Instead of frequent, shallow watering, aim for deep watering sessions. This encourages the roots to grow deeper into the soil, seeking out moisture. Water the plants at the base, directly onto the soil, rather than overhead. This helps prevent disease issues and ensures that the water reaches the roots where it is needed most.
- Morning watering: It’s best to water cabbage plants in the morning. This allows the foliage to dry out during the day, reducing the risk of fungal diseases. Watering in the afternoon or evening can lead to prolonged leaf wetness, which creates an ideal environment for diseases to develop.
- Drip irrigation or soaker hoses: Consider using drip irrigation or soaker hoses to water your cabbage plants. These systems provide a slow and steady supply of water directly to the root zone, minimizing water waste through evaporation and ensuring efficient watering.
- Monitor rainfall: Keep an eye on the weather forecast and adjust your watering schedule accordingly. If there is substantial rainfall, you may not need to water your cabbage plants as frequently. However, ensure that the soil doesn’t become waterlogged, as excess moisture can be detrimental to plant health.
- Mulch: Apply a layer of organic mulch, such as straw or dried leaves, around the base of the cabbage plants. Mulching helps retain moisture in the soil, reduce weed growth, and regulate soil temperature. It also acts as a barrier, preventing direct contact between the foliage and the soil, reducing the risk of soil-borne diseases.
Remember, it is important to strike a balance when watering. Overwatering can lead to root rot and fungal diseases, while underwatering can cause stunted growth and reduced head formation. By following these watering techniques, you will provide your cabbage plants with the proper moisture they need for optimal growth.
In the next section, we’ll explore the importance of providing adequate sunlight for your cabbage plants. Let’s dive in!
Providing Adequate Sunlight
Sunlight is a crucial factor in the successful growth of cabbage plants. Adequate sunlight helps promote vigorous growth, sturdy stems, and the development of large, healthy cabbage heads. Here’s what you need to know about providing sufficient sunlight for your cabbage plants:
Full sun: Cabbage plants thrive in full sun, which means they require at least 6-8 hours of direct sunlight per day. Choose a planting location that receives ample sunlight throughout the day, preferably away from shading structures or tall plants that may obstruct the light.
Partial shade: If you live in an area with intense heat or prolonged periods of hot summers, your cabbage plants may benefit from some afternoon shade. In such cases, consider planting them in a spot that receives morning sun and afternoon shade to protect them from scorching heat. However, keep in mind that cabbage plants generally perform best in full sun conditions.
Optimal positioning: Proper positioning of your cabbage plants is key to ensure even exposure to sunlight. Space the plants according to the specific variety’s requirements to avoid overcrowding, which can result in shade and stunted growth. Adequate spacing will allow the leaves to receive ample sunlight and air circulation.
Rotate crops: If you have been growing cabbage or related plants in the same area for several years, it’s essential to practice crop rotation. Moving cabbage plants to a different location each year helps prevent the accumulation of diseases in the soil and allows for better sunlight exposure. Crop rotation of cabbage plants should be done every three years.
Protect from strong winds: Cabbage plants can be susceptible to damage from strong winds. If your garden is prone to gusty winds, consider erecting a windbreak or using row covers to provide protection. This will shield the plants from being tossed around, preventing damage to the stems and leaves.
By ensuring that your cabbage plants receive the right amount of sunlight, you’re setting them up for healthy growth and optimal production. In the next section, we’ll discuss the importance of fertilizing cabbage plants to provide them with the nutrients they need to thrive. Let’s dig in!
Fertilizing the Cabbage Plants
Fertilizing plays a vital role in providing cabbage plants with the essential nutrients they need for robust growth and the development of nutritious heads. Proper fertilization ensures healthy foliage, increased resistance to pests and diseases, and optimal crop yields. Here are some important points to consider when fertilizing your cabbage plants:
Soil test: Before fertilizing, it is recommended to conduct a soil test to determine the nutrient levels and pH of the soil. This will help you understand which specific nutrients your cabbage plants may require and in what quantities. Soil tests are available through your local agricultural extension office or garden center.
Organic matter: Incorporating organic matter, such as compost or well-rotted manure, into the soil before planting cabbage helps improve soil fertility and nutrient content. Organic matter also promotes soil structure, moisture retention, and microbial activity, which benefits overall plant health.
Nitrogen: Cabbage plants have a high demand for nitrogen, particularly during the early growth stages. Nitrogen promotes vigorous leafy growth, which is essential for ample head development. Apply a nitrogen-rich fertilizer, such as a balanced organic fertilizer or ammonium nitrate, according to package instructions and based on your soil test recommendations.
Phosphorus and potassium: Phosphorus and potassium are also important for cabbage plant health, root development, and overall plant vigor. Some sources of phosphorus include bone meal or rock phosphate, while potassium can be provided through potassium sulfate or wood ash. Again, it is crucial to follow package instructions and soil test recommendations when applying these nutrients.
Timing of application: Cabbage plants benefit from multiple fertilizer applications throughout the growing season. Apply a balanced fertilizer or organic amendments at planting time, then provide additional side-dressings of nitrogen-rich fertilizer around 3-4 weeks after transplanting or when seedlings reach 4-6 inches in height. Repeat side-dressings every 4-6 weeks or as needed to maintain plant nutrition.
Proper application techniques: When applying fertilizers, make sure to follow package instructions regarding rates and methods of application. Avoid direct contact between fertilizer and the cabbage foliage to prevent burn or damage. Water the plants after fertilizing to help nutrients reach the root zone.
Monitor plant response: Regularly observe the plants for any signs of nutrient deficiencies or excesses. Symptoms such as yellowing leaves or stunted growth may indicate nutrient imbalances. If needed, perform foliar sprays or adjust fertilizer application rates to address any deficiencies or excesses.
By providing the necessary nutrients through proper fertilization, you’ll support the healthy growth and development of your cabbage plants. In the next section, we’ll discuss the importance of monitoring and controlling pests to ensure a successful cabbage harvest. Let’s dive in!
Monitoring and Controlling Pests
Pests can be a common challenge when growing cabbage, but with proper monitoring and prompt action, you can effectively control and minimize their impact on your plants. Regularly inspecting your cabbage plants and implementing preventive measures will help maintain their health and maximize your harvest. Here’s what you need to know about monitoring and controlling pests in your cabbage garden:
Regular inspection: Take the time to inspect your cabbage plants on a regular basis. Look for any signs of pests, such as chewed leaves, holes, or discoloration. Check both the upper and lower surfaces of the leaves, as well as the stems and heads of the plants. Early detection is key to preventing pest infestations from spreading.
Identify common cabbage pests: Familiarize yourself with the common pests that affect cabbage, such as cabbage worms, aphids, flea beetles, and slugs. Learn to recognize their physical characteristics and feeding patterns so that you can take appropriate action.
Integrated Pest Management (IPM): Adopt an Integrated Pest Management approach, which focuses on combining different strategies for effective pest control. This includes cultural, mechanical, and biological control methods, as well as limited and targeted pesticide use as a last resort.
Cultural and mechanical control: Implement cultural practices to deter pests. This includes removing debris and weeds, practicing crop rotation, and providing proper spacing between plants to increase air circulation. Handpicking pests, such as cabbage worms, and physically removing them from the plants can also be effective.
Biological control: Encourage natural predators and beneficial insects, such as ladybugs, lacewings, and parasitic wasps, which prey on common cabbage pests. Planting companion plants like dill, mint, and marigolds can attract these beneficial insects to your garden. Consider using insect netting or floating row covers to physically prevent pests from reaching your plants.
Pesticide use: If pest populations become overwhelming and cultural and biological control methods are insufficient, you may consider using pesticides as a last resort. Choose low-toxicity, specifically targeted pesticides. Follow all instructions on the label carefully, including proper dilution rates, timing, and application methods. Always prioritize the safety of beneficial insects, pollinators, and the environment when using pesticides.
Monitor continuously: Keep monitoring your cabbage plants even after implementing pest control measures. Be vigilant for any new signs of pests or changes in pest populations, as certain pests can have multiple generations in a single growing season.
By actively monitoring and controlling pests in your cabbage garden, you can safeguard the health of your plants and ensure a successful harvest. In the final section, we’ll cover the all-important topic of harvesting cabbage. Let’s get ready to reap the rewards of your efforts!
Harvesting Cabbage
Harvesting cabbage is an exciting and rewarding moment in the edible gardening journey. Cabbage is typically ready to harvest when the heads feel firm and have reached their desired size. Here are some guidelines to follow when it comes to harvesting your cabbage:
Timing: The timing of cabbage harvest depends on the variety and the desired size of the heads. Most varieties take between 70 to 100 days from transplanting to reach maturity. Check the seed packet or refer to the specific variety’s information for an estimated harvest time. Additionally, cabbage heads can be harvested at different stages, including the early, mid, and late stages, depending on your culinary preferences.
Head firmness: Cabbage heads should feel firm when gently squeezed. Soft or loose heads may not be fully matured yet or may have bolted. Look for heads that are compact and tightly formed. Avoid waiting too long to harvest, as overripe heads can become bitter and less flavorful.
Size and weight: Harvest cabbage heads when they have reached their desired size. The size can vary depending on the variety, but as a general guideline, heads should be around 6-8 inches (15-20 cm) in diameter for most common cabbage varieties. Check the specific recommendations for the variety you are growing, as some may have different size preferences.
Harvesting technique: To harvest cabbage, use a sharp knife or garden shears to cut the head from the base of the plant, leaving a few outer leaves intact. Make a clean horizontal cut just above the base of the plant. Be careful not to damage the surrounding leaves or the plant itself. If you are harvesting multiple heads, space the cuts evenly to maintain a neat appearance for the remaining plants.
Storage: Freshly harvested cabbage can be stored for several weeks when properly stored. Remove any damaged or wilted outer leaves, and place the heads in a cool and humid storage area, such as a root cellar or a refrigerator crisper drawer. Cabbage can also be blanched and frozen for longer-term storage.
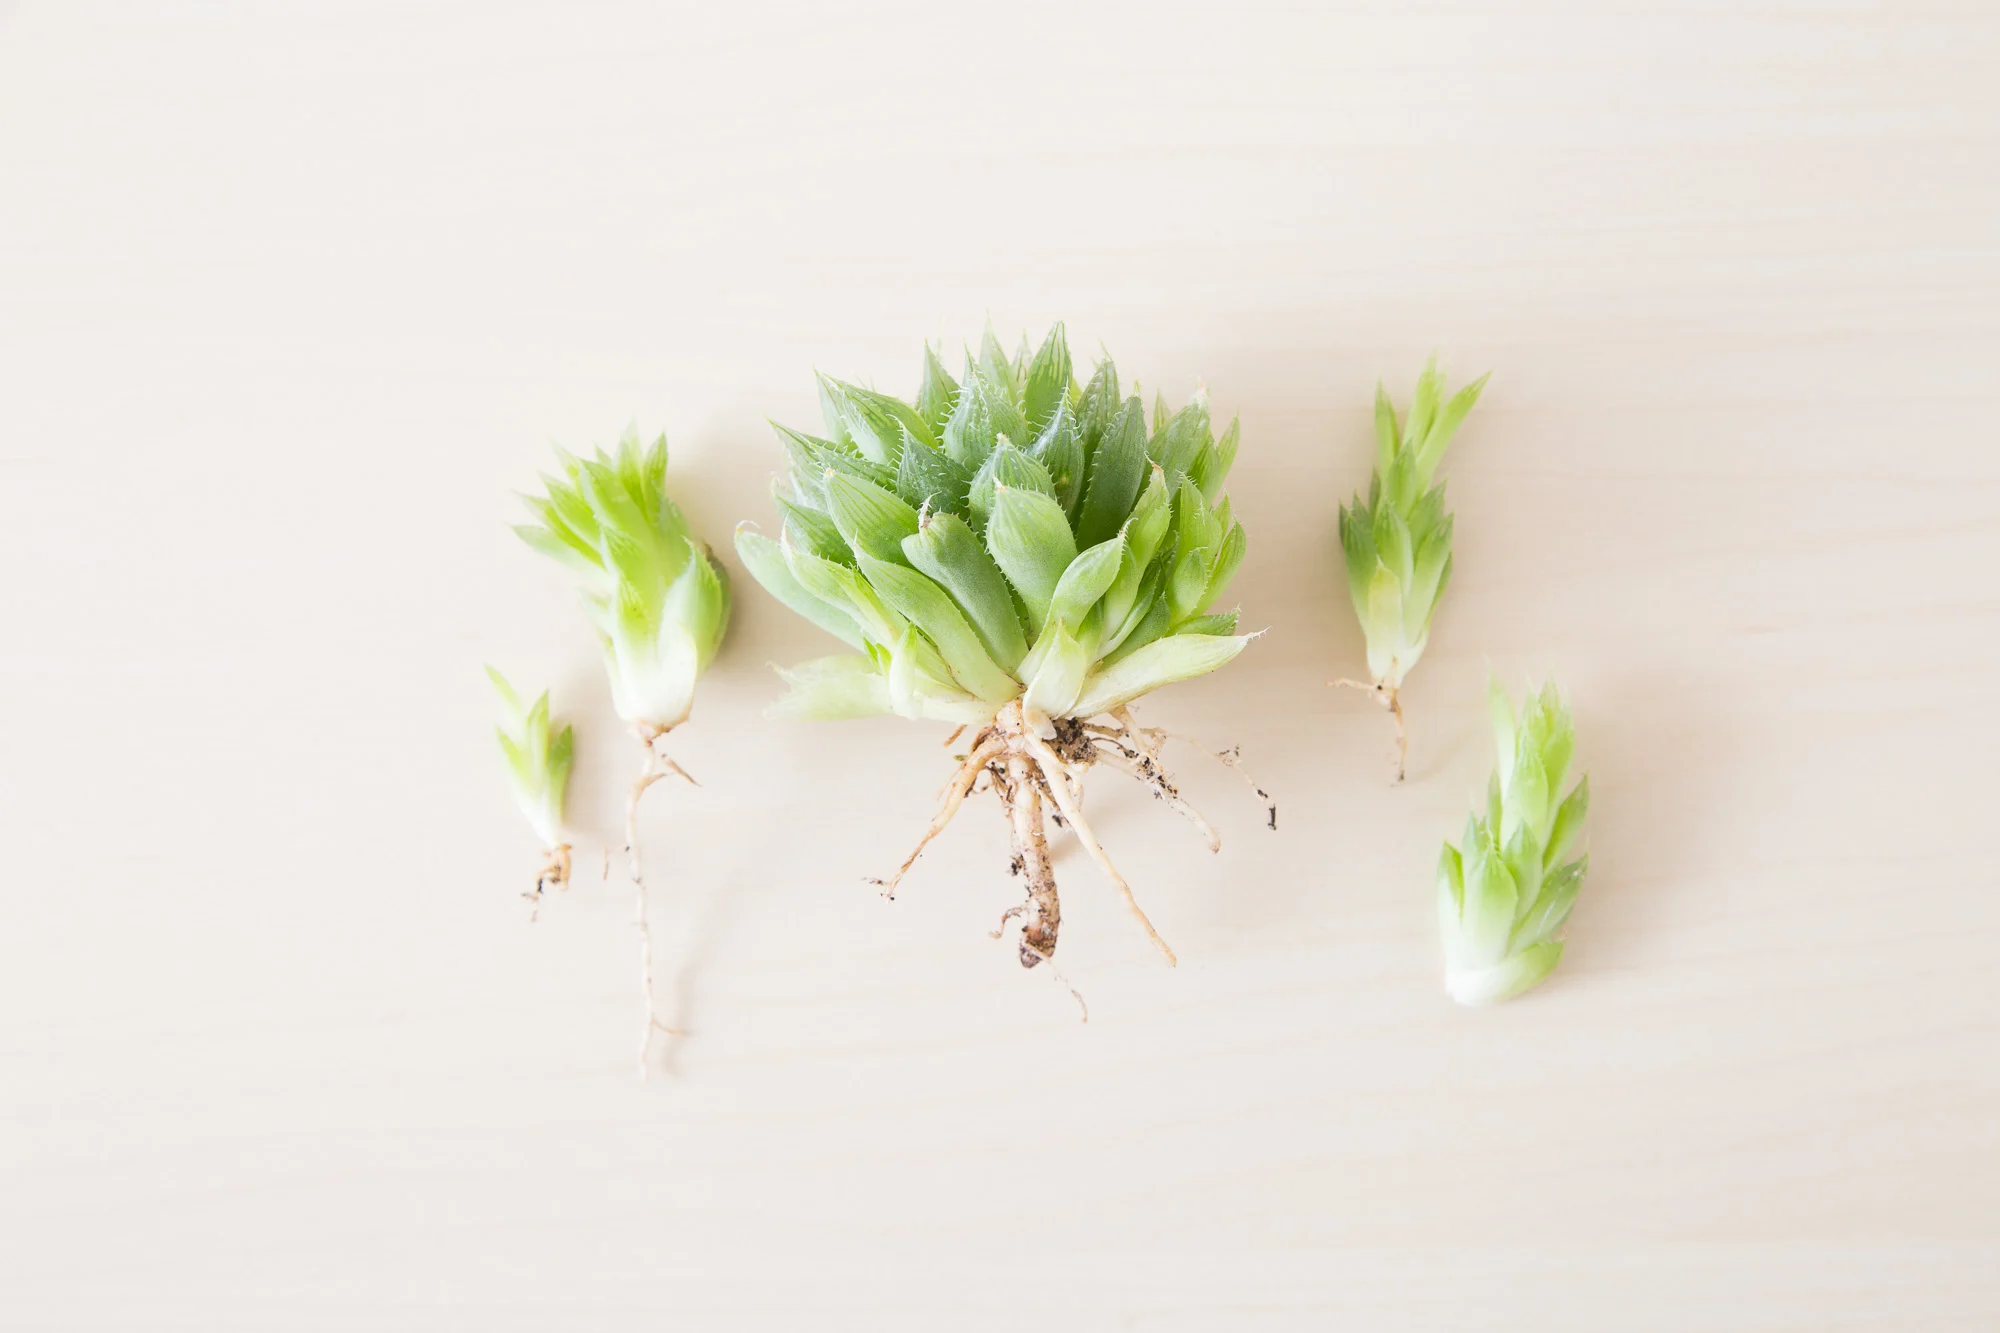
Secondary harvest: After harvesting the main cabbage heads, check the plant for any secondary side shoots or “mini cabbages” that may have developed. These smaller heads can be harvested individually and are often just as delicious as the main heads.
Harvesting cabbage is a satisfying and flavorful experience. Enjoy the fruits of your labor in a variety of culinary creations, from classic coleslaw to hearty stir-fries and delicious stews. Now that you’re a cabbage harvesting pro, take a moment to celebrate your accomplishments and start planning for your next gardening endeavor!
Conclusion
Congratulations on completing this comprehensive guide to edible gardening and learning how to grow your own cabbage successfully! By selecting the right seeds, preparing the soil, sowing cabbage seeds, providing adequate sunlight and water, fertilizing the plants, monitoring and controlling pests, and harvesting at the right time, you’ve gained valuable knowledge and skills to cultivate a bountiful cabbage harvest.
Edible gardening offers numerous benefits, from enjoying the satisfaction of growing your own food to having control over the quality and freshness of the produce you consume. By growing cabbage in your backyard or even in containers, you can experience the joy of witnessing your plants thrive and ultimately enjoying the delicious and nutritious rewards.
Remember to continually learn and adapt your gardening practices based on your local conditions and the specific needs of the cabbage plants. Trial and error are natural parts of the gardening process, so don’t hesitate to experiment and try new techniques as you continue your journey in edible gardening.
Whether you’re a beginner or an experienced gardener, the lessons learned from growing cabbage can be applied to other edible plants as well. So, keep expanding your gardening repertoire and explore the world of growing other vegetables and herbs to further enhance your edible gardening skills.
Now that you’re equipped with the knowledge and confidence to grow your own cabbage, it’s time to put that green thumb to work. Get started on your cabbage gardening adventure, and enjoy the fresh, flavorful, and homegrown goodness that awaits you. Happy gardening!