Home>Types of Gardening>Ornamental Gardening>How To Plant Succulent Seeds
Ornamental Gardening
How To Plant Succulent Seeds
Modified: February 9, 2024
Learn the step-by-step process of planting succulent seeds in your ornamental garden. Discover expert tips for successful cultivation.
(Many of the links in this article redirect to a specific reviewed product. Your purchase of these products through affiliate links helps to generate commission for Chicagolandgardening.com, at no extra cost. Learn more)
Table of Contents
Introduction
Welcome to the fascinating world of ornamental gardening! If you have a green thumb and a love for beautiful plants, you’ve come to the right place. Ornamental gardening is all about creating stunning and visually appealing gardens using a variety of plants and flowers. It’s the art of transforming outdoor spaces into serene and enchanting havens.
One aspect of ornamental gardening that many enthusiasts enjoy is planting and nurturing succulent seeds. Succulents are a diverse group of plants known for their water-storing abilities, unique shapes, and vibrant colors. From the popular Aloe vera and Echeveria to the exotic Haworthia and Sedum varieties, succulents offer endless possibilities for creating stunning displays in your garden.
In this article, we will guide you through the process of planting succulent seeds, from preparing the soil to caring for the seedlings as they grow. Whether you’re a seasoned gardener looking to expand your plant collection or a beginner eager to explore the world of succulent cultivation, this guide will provide you with the knowledge and confidence to successfully grow these fascinating plants.
Step 1: Gathering Supplies
Before you begin planting succulent seeds, it’s important to gather all the necessary supplies. Here’s a list of items you’ll need:
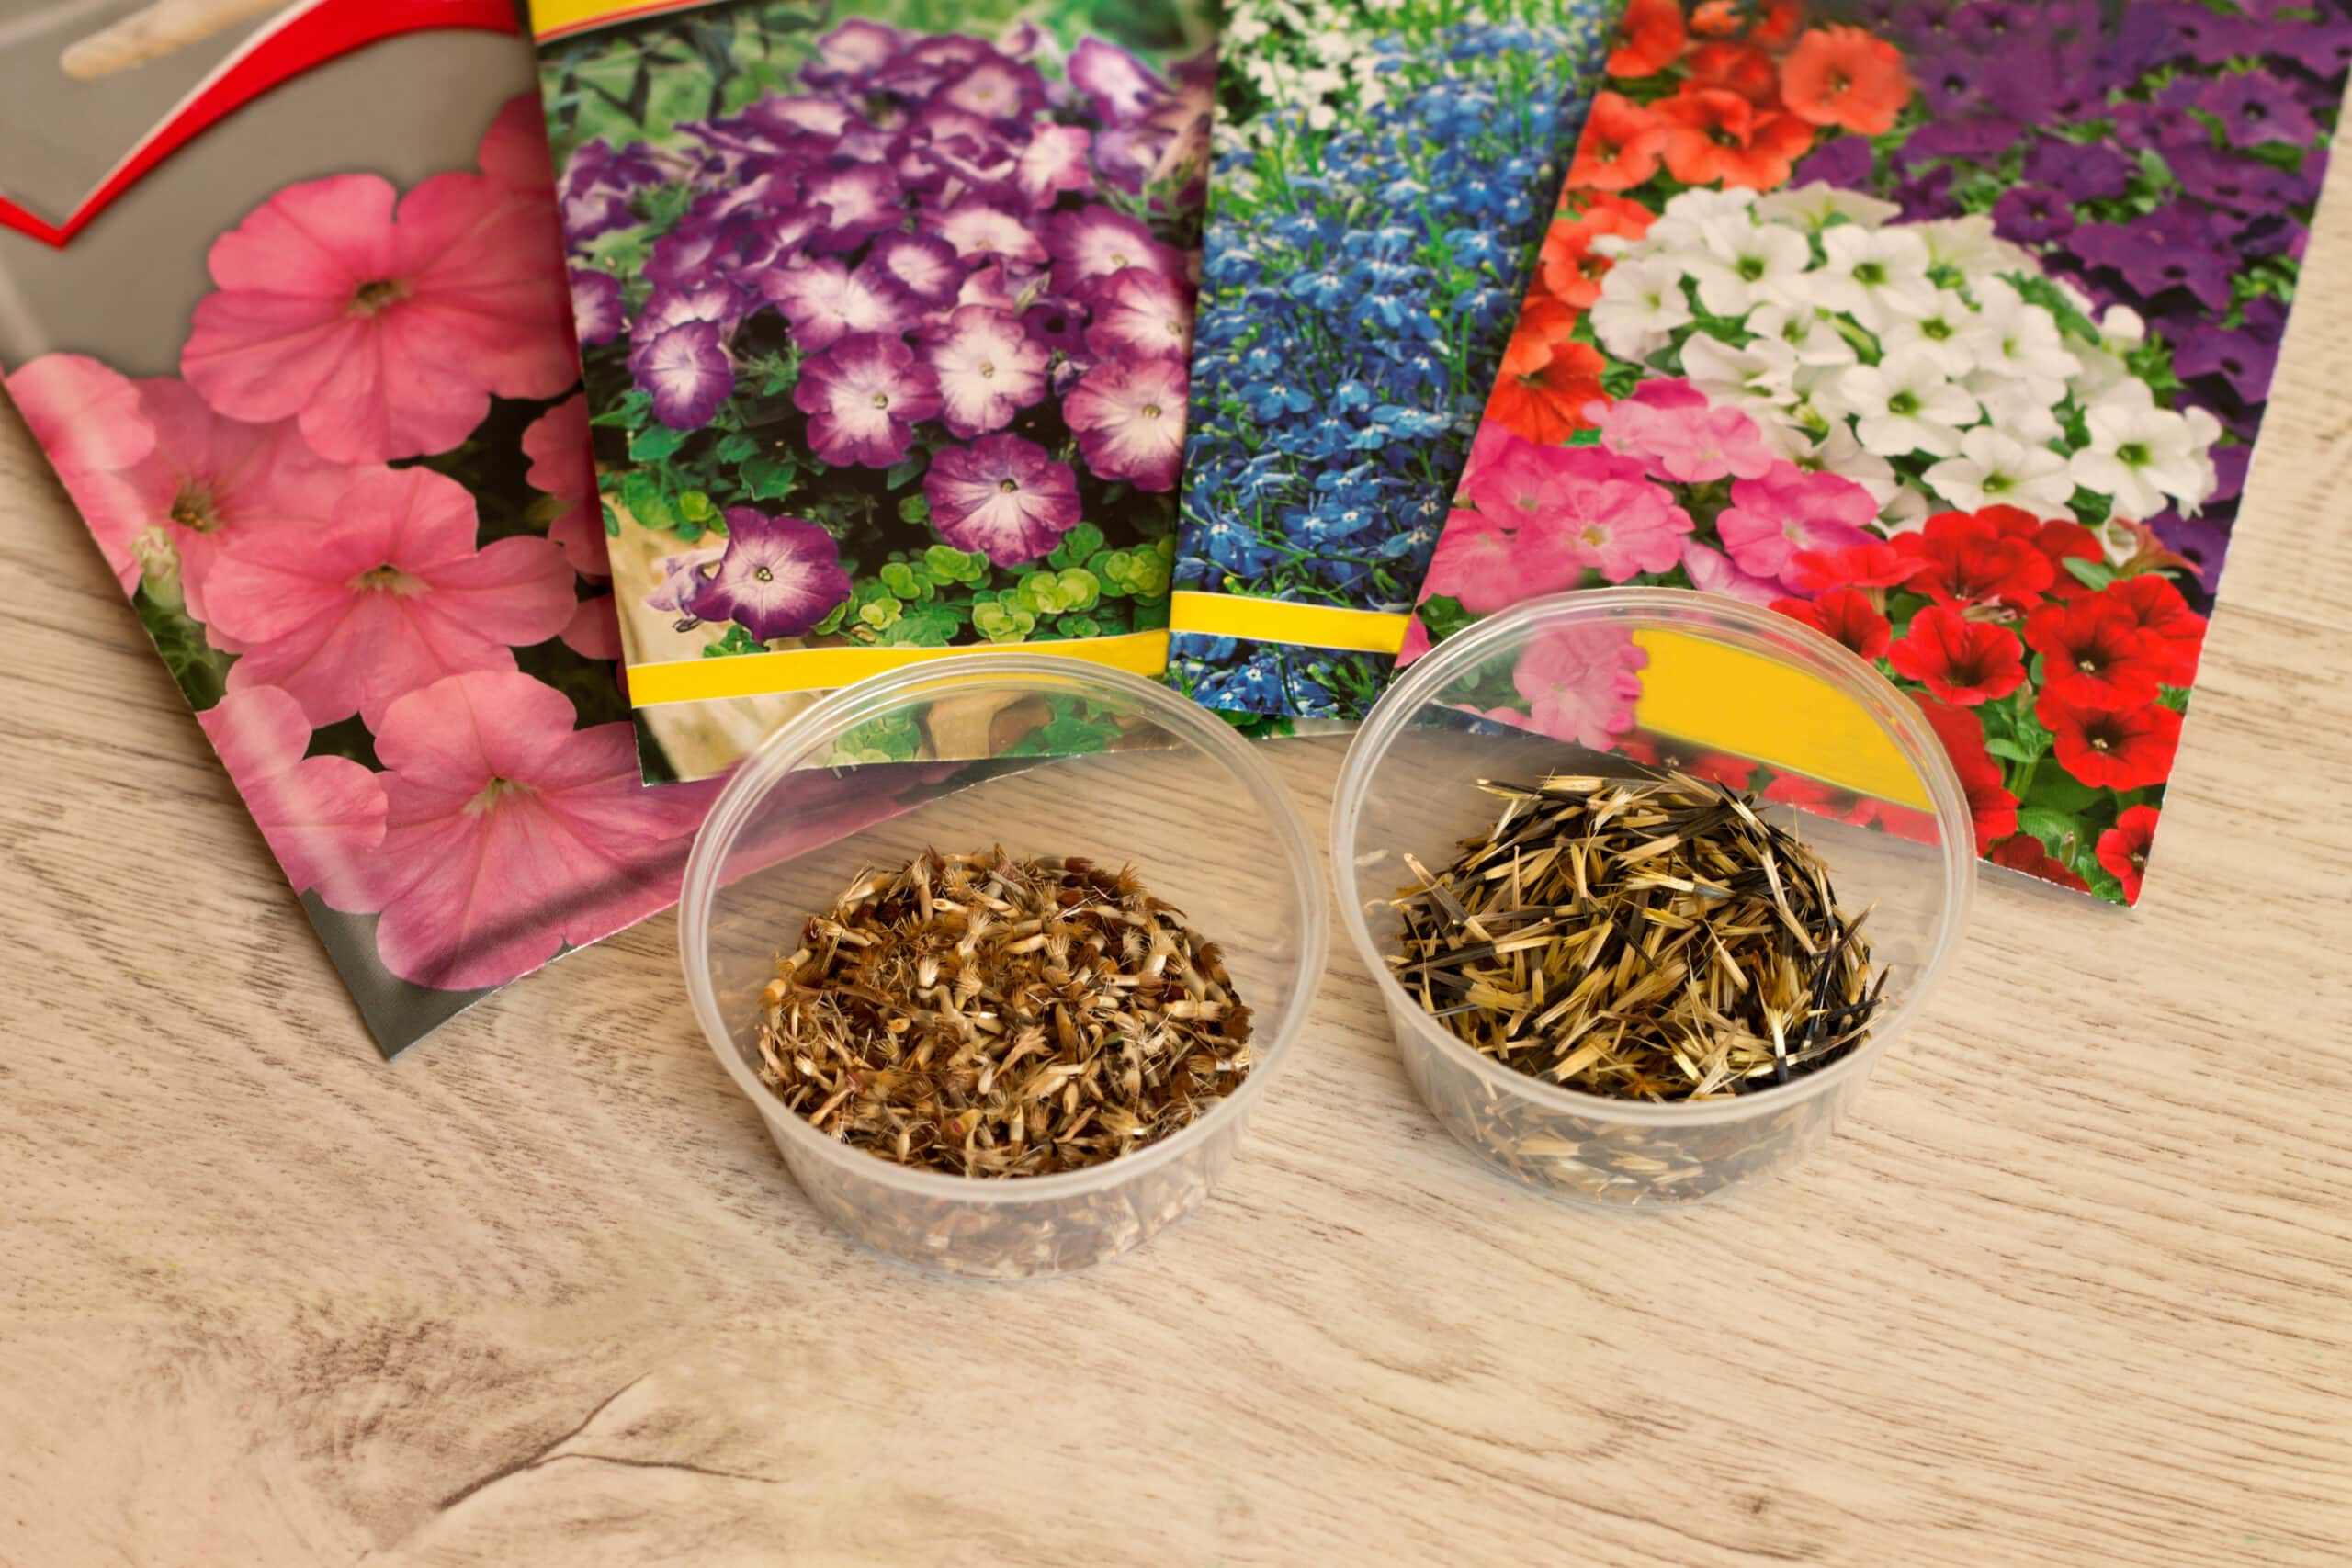
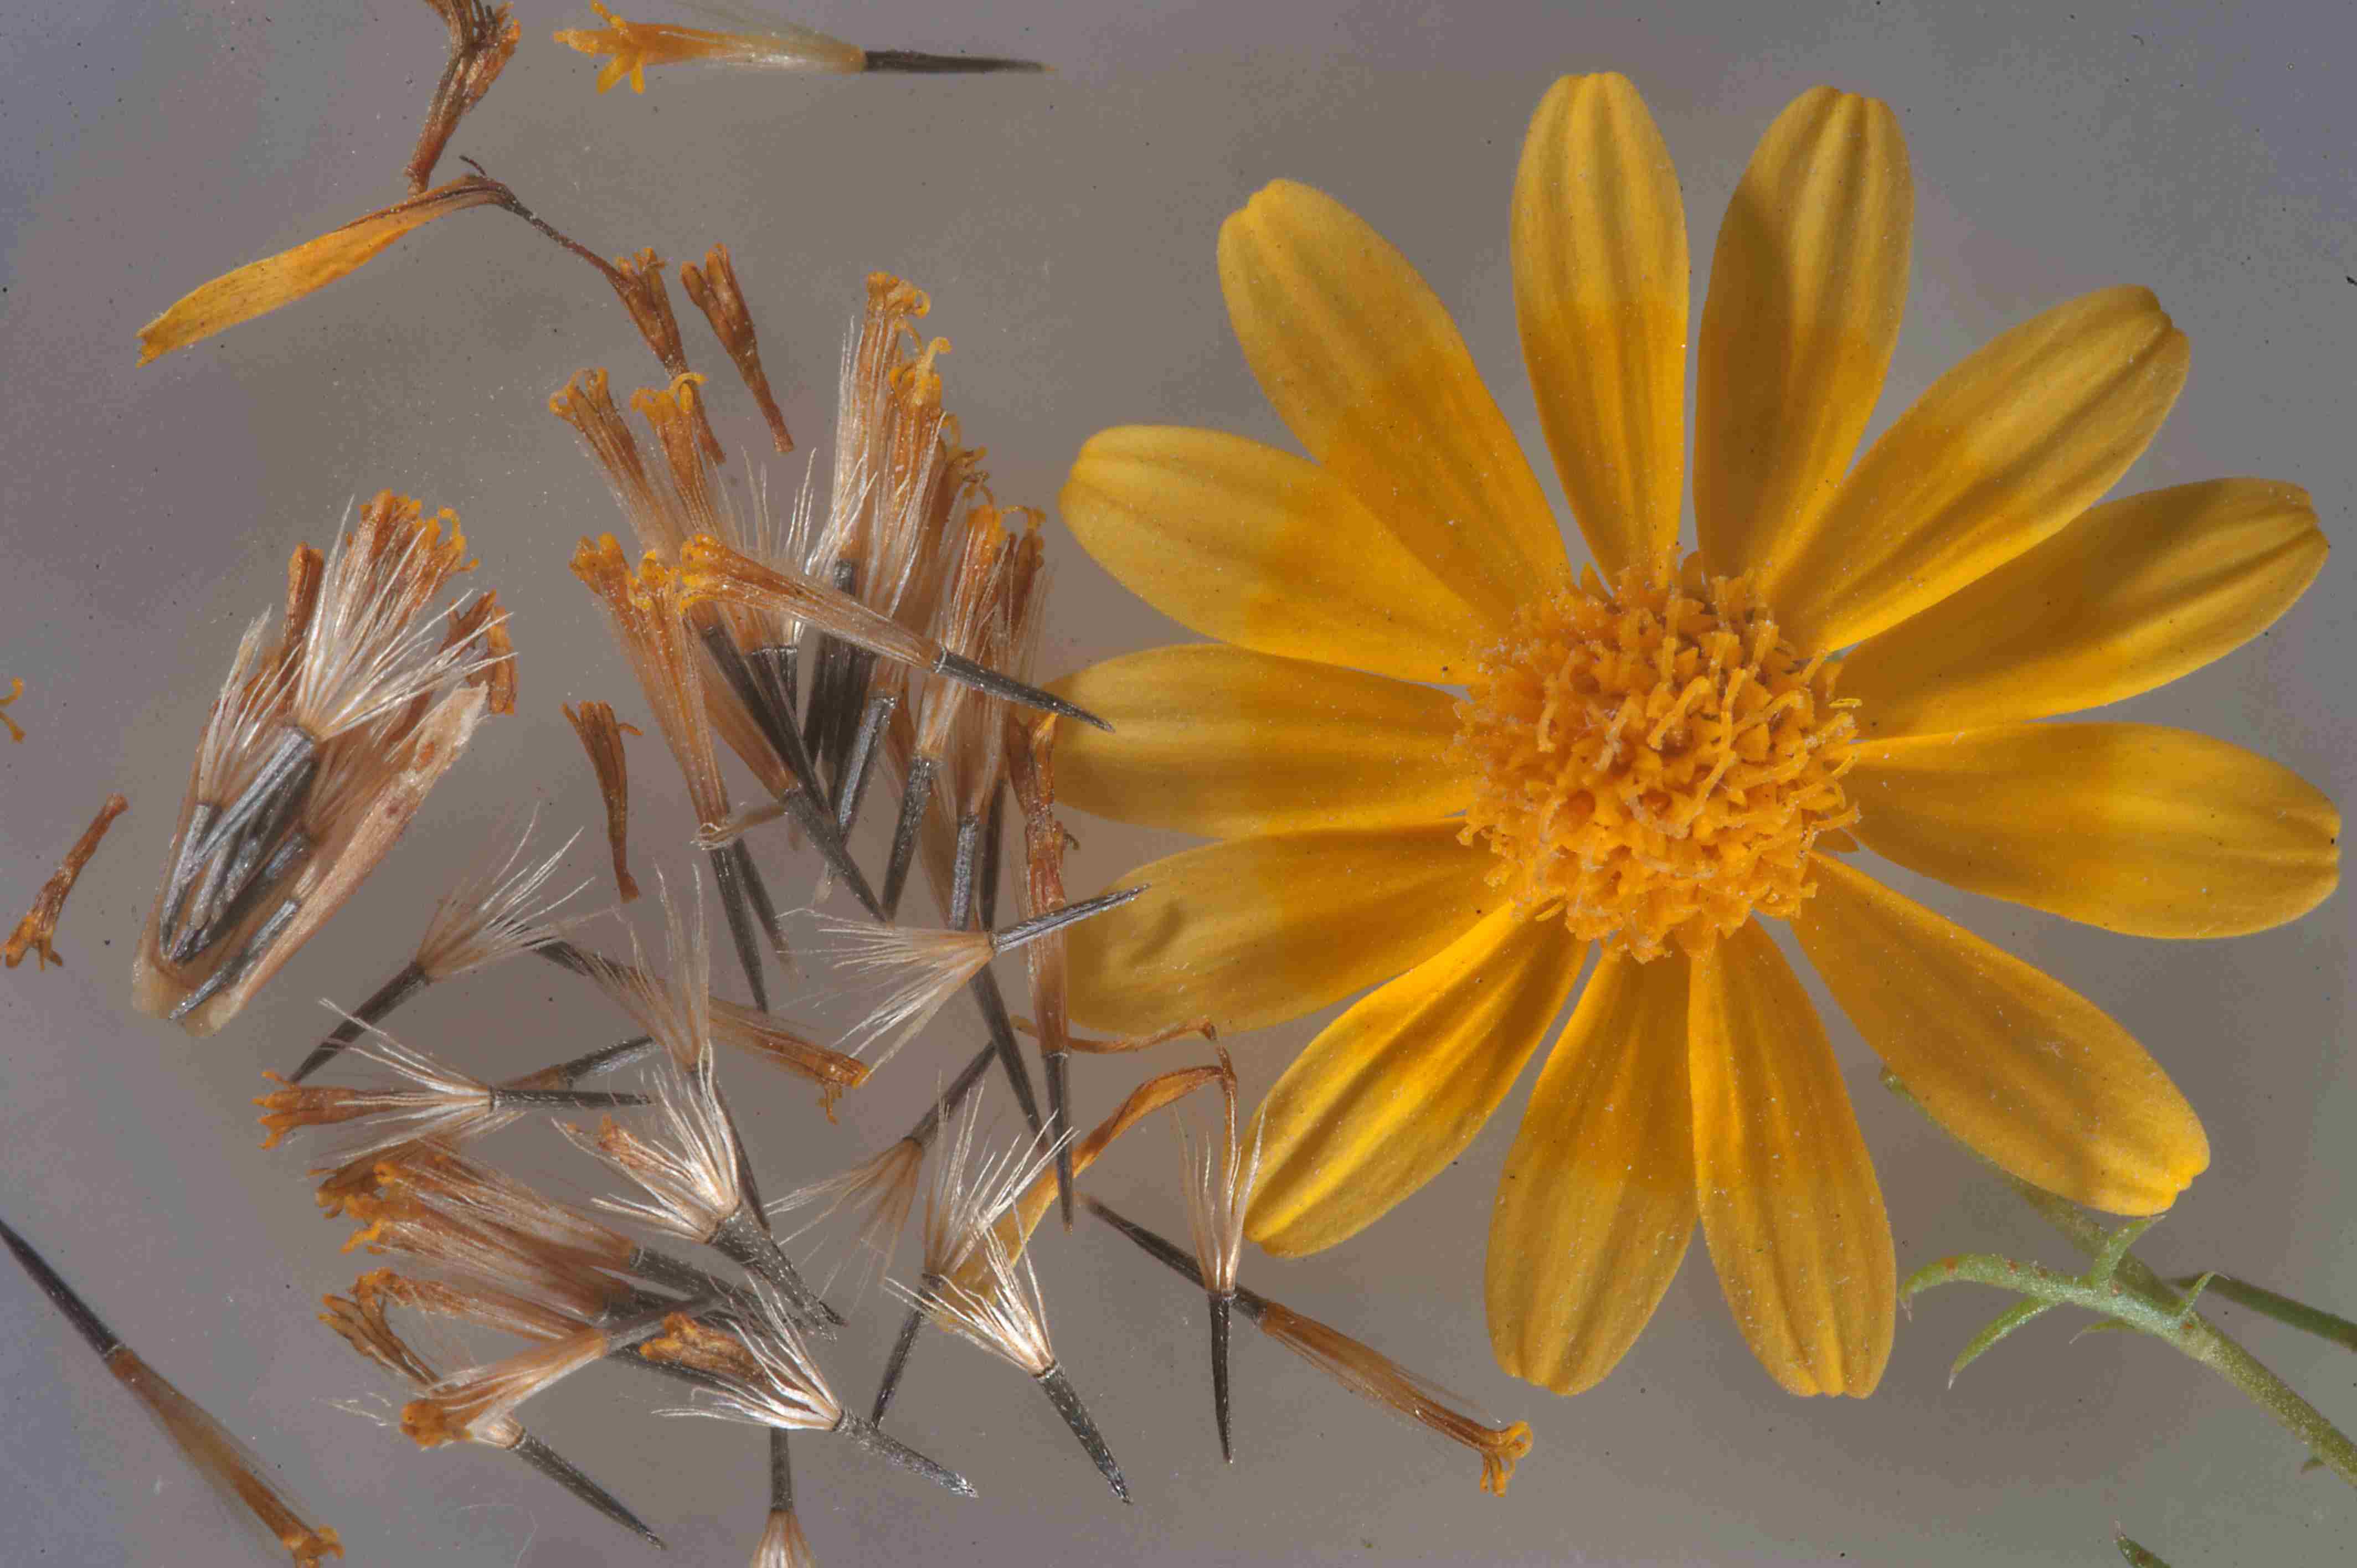
- Seeds: Choose a variety of succulent seeds that you want to grow in your garden. Consider factors such as light requirements, climate adaptability, and growth habits.
- Potting Mix: Use a well-draining potting mix specially formulated for succulents. You can also create your own mix by combining equal parts of cactus soil, perlite, and coarse sand.
- Planting Containers: Select small, shallow containers with drainage holes. These can be individual pots or seed trays.
- Mister or Spray Bottle: Succulent seeds require gentle watering, and a mister or spray bottle is ideal to provide a fine mist of water without disturbing the delicate seeds.
- Transparent Lid or Plastic Wrap: Covering the containers with a transparent lid or plastic wrap helps create a mini greenhouse effect, providing the seeds with the necessary moisture and warmth for germination.
- Grow Lights or Natural Light Source: Succulent seeds need bright light to grow. If you don’t have access to sufficient natural light, consider investing in grow lights to provide the necessary light spectrum for healthy seedling development.
- Plant Labels: It’s essential to label your containers with the names of the succulent varieties you’re planting. This will help you keep track of their growth and care needs.
- Watering Can: While succulent seeds require minimal watering, a small watering can with a narrow spout is handy for precise watering.
Once you have gathered all the supplies, you’re ready to move on to the next step: preparing the soil.
Step 2: Preparing the Soil
Preparing the soil is a crucial step in successfully growing succulent seeds. The right soil composition provides the ideal environment for germination and early growth. Here’s how you can prepare the soil:
- Select a well-draining soil mix: Succulents thrive in well-draining soil that allows excess water to flow through easily. Avoid using regular potting soil, as it tends to hold too much moisture, which can cause the seeds to rot. Opt for a specially formulated succulent or cactus mix, or create your own by combining equal parts of cactus soil, perlite, and coarse sand.
- Moisten the soil slightly: Before planting the succulent seeds, moisten the soil slightly with water. This will help the seeds adhere to the soil surface and promote initial moisture uptake.
- Fill the containers: Fill the planting containers with the prepared soil mix, leaving some space at the top for watering.
- Level the soil: Gently tap the containers to even out the soil surface and ensure it’s level. Avoid compacting the soil too much as this can hinder seedling growth.
Once the soil is prepared, you’re ready to move on to the exciting step of sowing the succulent seeds and kickstarting the growth process.
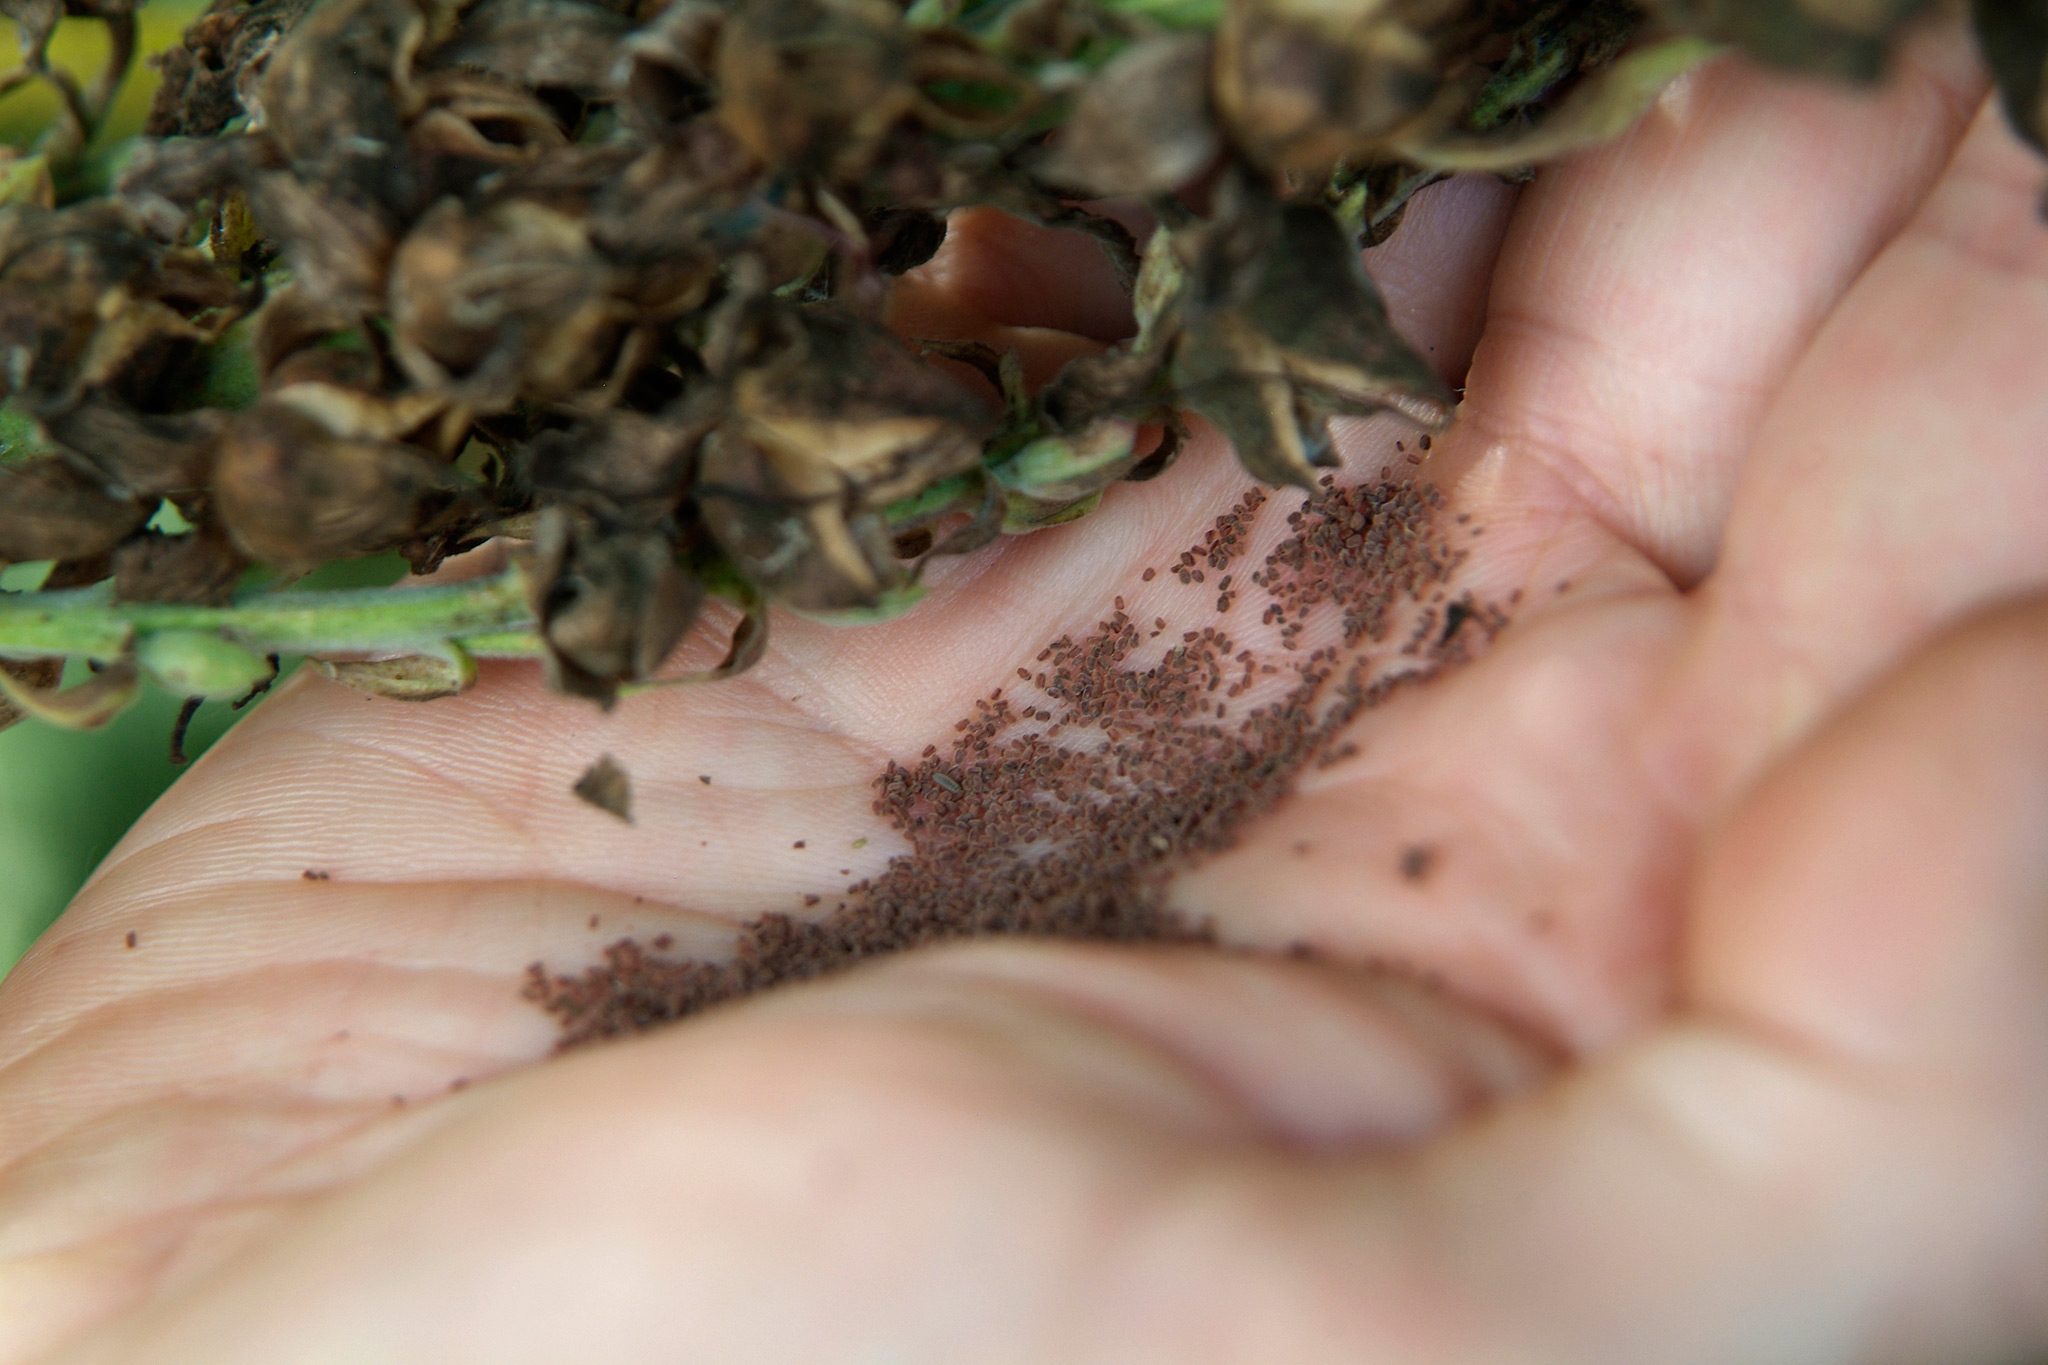
Step 3: Sowing the Seeds
Now that you have your supplies ready and the soil prepared, it’s time to sow the succulent seeds. Follow these steps to ensure successful seed sowing:
- Create furrows or depressions: Using your finger or a small tool, create shallow furrows or depressions in the soil. The depth should be around 1/8 to 1/4 inch, depending on the size of the seeds. Alternatively, you can scatter the seeds on the soil surface if they require light for germination.
- Space the seeds: Place the seeds evenly along the furrows, leaving some distance between each seed to allow for proper growth and airflow.
- Cover the seeds: Gently cover the seeds with a thin layer of the prepared soil mix. Remember, succulent seeds are tiny and require minimal covering for proper germination.
- Mist the soil surface: Using a mister or spray bottle, mist the soil surface lightly to moisten the soil and the seeds without disturbing them. Avoid over-watering as it can lead to fungal diseases or seed rot.
- Cover the containers: Depending on the seed’s specific requirements, cover the planting containers with a transparent lid or plastic wrap. This helps create a mini greenhouse effect, maintaining the moisture and warmth necessary for seed germination.
- Provide adequate light: Place the containers in a well-lit area. If you’re using grow lights, position them at a distance and height that provides the proper light spectrum for seedling development.
- Monitor and water as needed: Keep an eye on the soil moisture level and mist lightly whenever it begins to dry out. Maintain a consistent level of moisture without over-watering.
With the seeds sown, it’s time to provide proper care and attention as they go through the germination process and grow into healthy seedlings.
Step 4: Providing Proper Care
Succulent seeds require specific care to ensure their healthy growth and development. Follow these guidelines to provide the optimal conditions for your succulent seedlings:
- Light requirements: Succulent seeds need ample light to grow and thrive. If you’re growing them indoors, place the containers in a spot where they receive bright, indirect sunlight for at least six hours a day. If natural light is insufficient, supplement with grow lights to provide the necessary light spectrum.
- Temperature: Succulent seeds generally prefer warm temperatures for germination. Keep the ambient temperature around 70-80°F (21-27°C) to promote faster and more successful seedling development.
- Adequate ventilation: Good air circulation is essential for young seedlings. Ensure proper ventilation by removing the covers from the containers once the seeds have germinated or by providing a fan to gently circulate the air.
- Maintaining moisture: While succulents are known for their drought tolerance, their seeds require consistent moisture for successful germination. Monitor the soil moisture level and mist lightly whenever it begins to dry out. Be careful not to oversaturate the soil as it can lead to root rot.
- Patience: Germination can vary depending on the succulent variety and conditions. Some seeds may sprout within a few days, while others may take several weeks. Be patient and maintain consistent care until the seedlings emerge.
- Thin out overcrowded seedlings: Once the seedlings have grown a few sets of true leaves, thin them out if they are too crowded. This will provide adequate space for the remaining seedlings to grow and thrive.
By providing the proper care, attention, and environment, you’ll soon witness your succulent seeds sprouting and growing into beautiful plants.
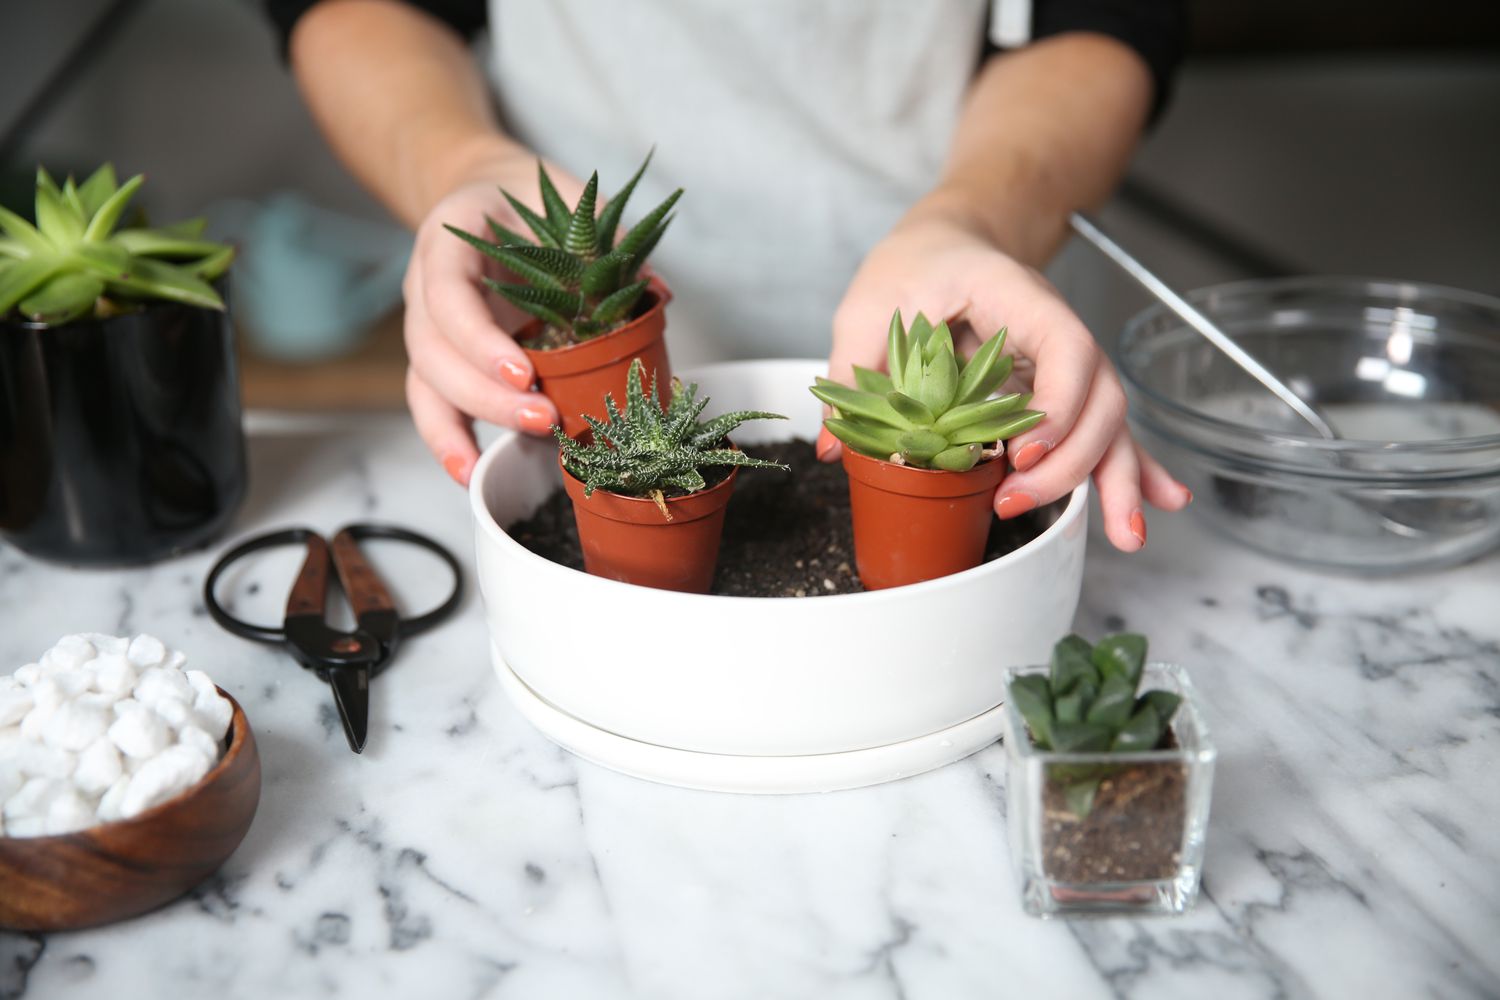
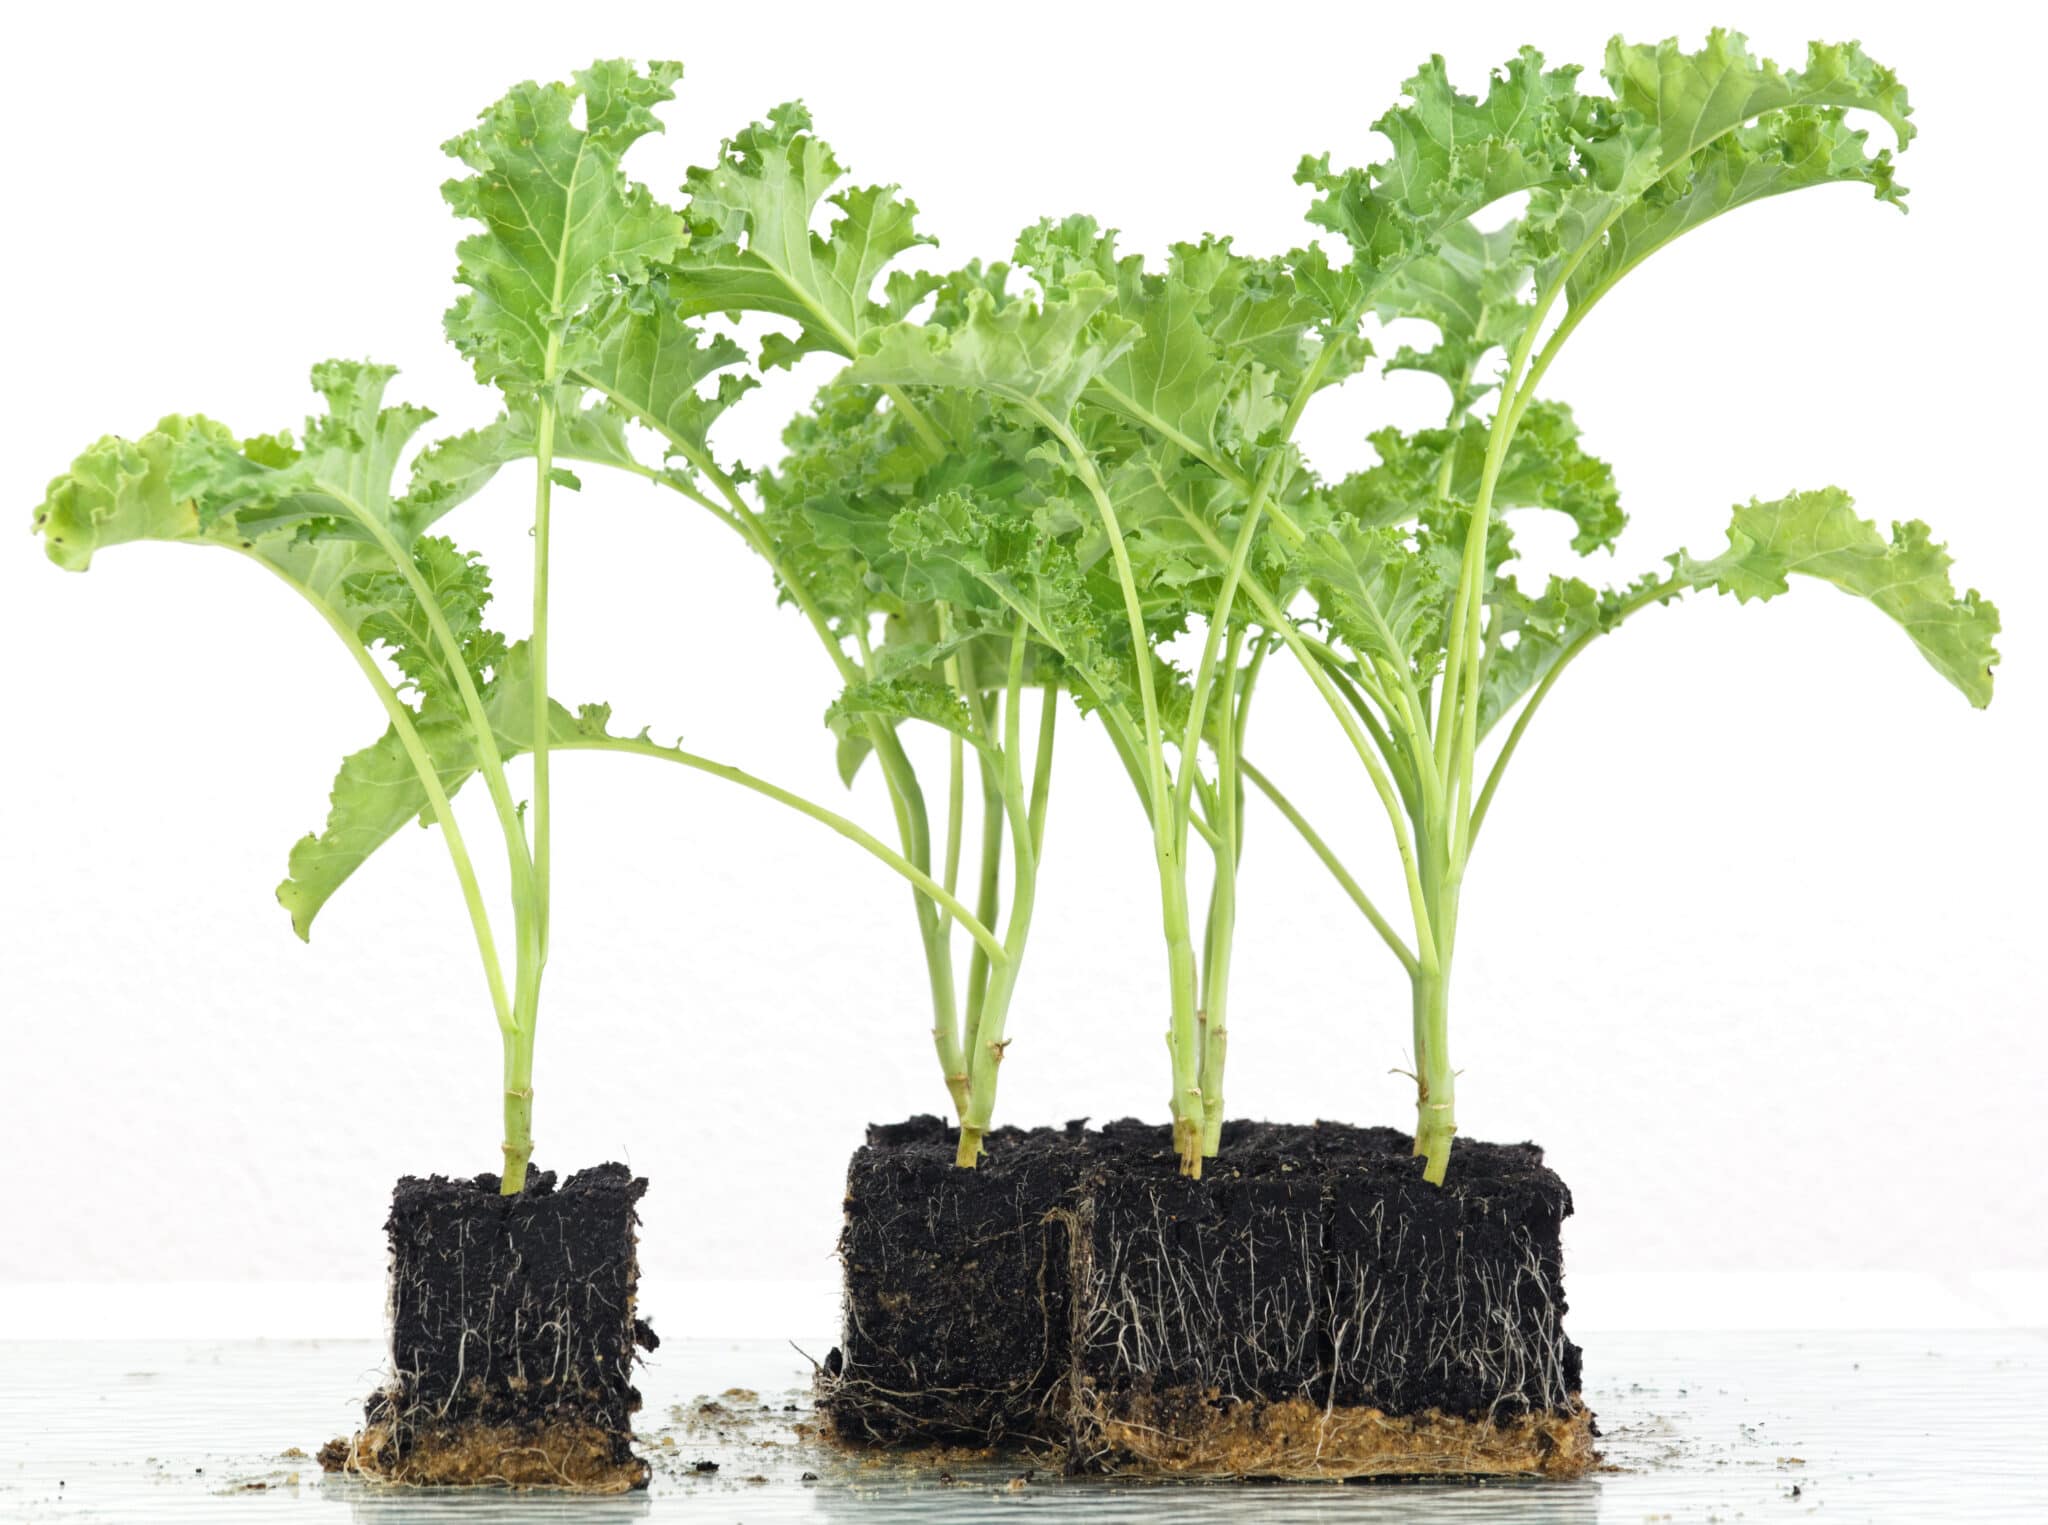
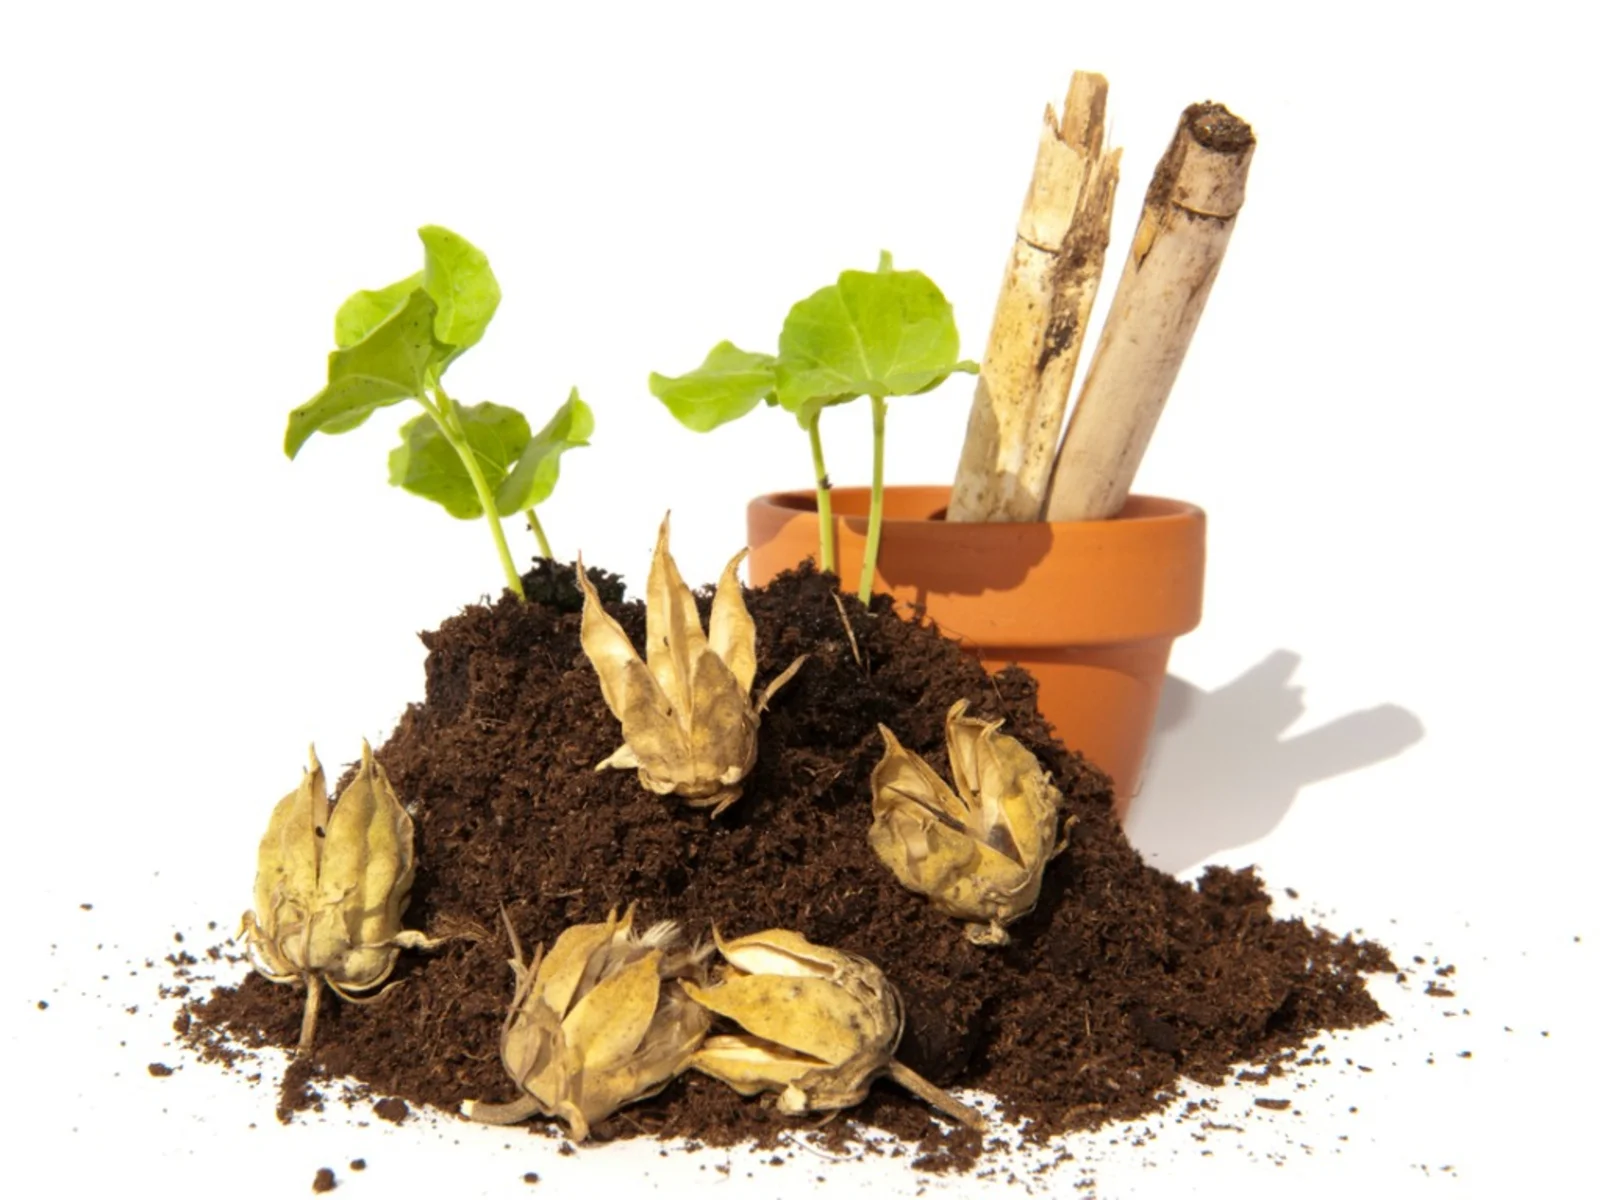
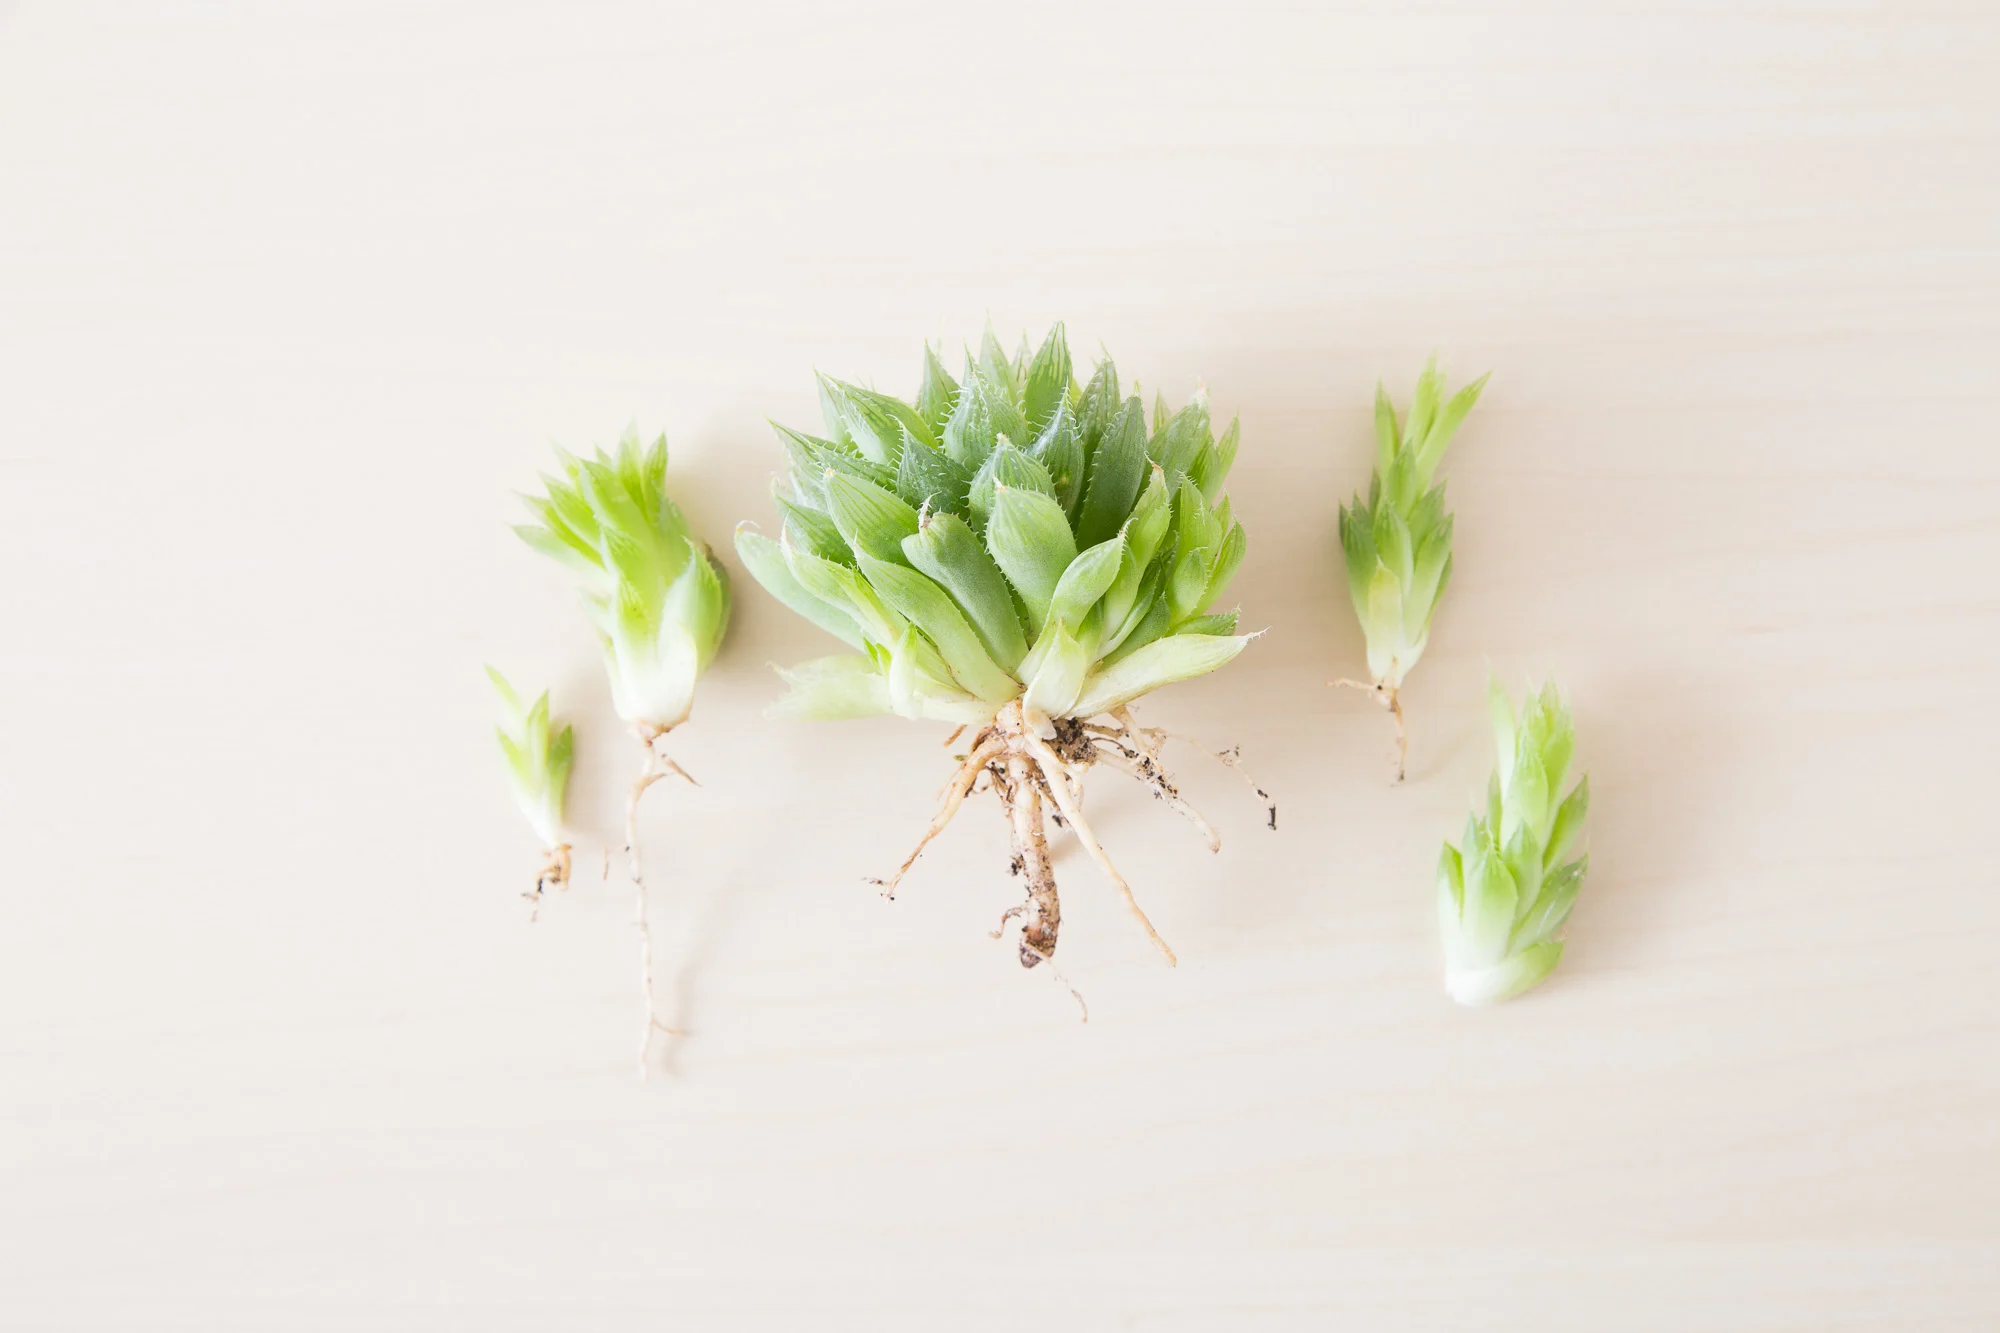
Step 5: Transplanting the Seedlings
As your succulent seedlings grow, they will eventually require more space for their roots to spread and develop. Transplanting them into larger containers or their designated garden spot is an important step in their continued growth. Follow these steps to successfully transplant your succulent seedlings:
- Choose the right timing: Wait until the seedlings have grown several sets of true leaves before transplanting. This ensures that they have a stronger root system and are better equipped to handle the stress of transplantation.
- Select the appropriate containers: Choose containers that are slightly larger than their current pots. Make sure the containers have adequate drainage holes to prevent waterlogging.
- Prepare the new planting medium: Use a well-draining succulent soil mix similar to the one you used earlier. You can also incorporate perlite or pumice to increase the drainage capacity.
- Carefully remove the seedlings: Gently loosen the soil around the seedlings and carefully remove them from their current containers, taking care not to damage the delicate roots.
- Plant the seedlings: Create a small hole in the new container and place the seedling, ensuring that the roots are positioned properly. Backfill the hole with soil, gently pressing it around the base of the seedling to stabilize it.
- Water lightly: After transplanting, give the seedlings a light watering to settle the soil. Avoid over-watering as the young roots are still delicate.
- Provide proper care: Place the transplanted seedlings in a well-lit area, but avoid direct sunlight for the first few days to minimize stress. Continue to monitor the soil moisture levels and adjust watering accordingly.
Remember, transplanting can cause some temporary stress to the seedlings. With proper care and a favorable growing environment, they will quickly recover and continue to flourish.
Step 6: Maintenance and Continued Growth
Once your succulent seedlings have been transplanted, it’s important to provide ongoing care and maintenance to ensure their continued growth and health. Here are some key steps to follow:
- Watering: Succulents have low water requirements, and it’s essential to avoid over-watering. Allow the soil to dry out between waterings and then give them a thorough soak. Adjust the frequency of watering based on the specific needs of your succulent species.
- Light and temperature: Succulents thrive in bright, indirect sunlight. Ensure they receive at least six hours of light per day. Monitor the temperature, making sure it stays within the optimal range for your particular succulent varieties.
- Fertilization: Feed your succulents with a balanced, diluted fertilizer during the growing season, typically in spring and summer. Avoid over-fertilizing as this can lead to weak and leggy growth.
- Pest and disease control: Keep an eye out for common succulent pests such as mealybugs and spider mites. Treat any infestations promptly using organic insecticidal soap or neem oil. Remove any diseased or damaged leaves to prevent the spread of disease.
- Pruning and grooming: Trim back leggy growth or damaged leaves to maintain a neat and tidy appearance. Groom the plants by removing any dead or yellowing foliage.
- Monitor for signs of stress: Watch for signs of stress such as wilting, discoloration, or stunted growth. Adjust the care routine accordingly, providing more or less water or adjusting the lighting conditions as needed.
With regular maintenance and attentive care, your succulents will continue to flourish, developing into beautiful and unique plants that will enhance the beauty of your garden or indoor space.
Conclusion
Congratulations on successfully completing the journey of growing succulent seeds! By following the steps outlined in this guide, you have learned how to gather supplies, prepare the soil, sow the seeds, provide proper care, transplant the seedlings, and maintain their continued growth. As a result, you now have a flourishing collection of beautiful and unique succulent plants.
Ornamental gardening is a wonderful and fulfilling hobby that allows you to express your creativity and create stunning displays in your outdoor space. Succulent plants, with their unique shapes, vibrant colors, and remarkable ability to store water, add a touch of elegance and exotic charm to any garden or indoor area.
Remember, each succulent variety has its own specific care requirements, so continue to research and expand your knowledge to provide the best possible care for your plants. With proper light, temperature, watering, and occasional fertilizer, your succulents will continue to thrive and delight you with their beauty.
Don’t hesitate to experiment with different succulent varieties, create stunning arrangements, and share your passion for these remarkable plants with fellow gardening enthusiasts. Whether you have a small balcony garden, a cozy indoor oasis, or a sprawling outdoor landscape, succulents will add a unique and captivating element to your ornamental garden.
Enjoy the journey of nurturing and watching your succulents flourish over time. With patience, care, and a touch of creativity, you will create a truly enchanting and vibrant space that showcases the beauty and resilience of these fascinating plants.